


Learning how to deep clean kitchen spaces doesn’t have to feel like an all-day chore. With the right order of operations, you can move from a greasy, cluttered room to a space that genuinely sparkles. A thoughtful cleaning routine turns the kitchen back into the heart of the home, rather than the room everyone avoids.
This guide breaks the process into manageable, numbered steps that cover every major surface and appliance. Whether you’re tackling a seasonal deep clean or just resetting after a busy month, each section gives you a clear starting point and a list of quick tips. By the end, you’ll have a repeatable system you can use again and again.
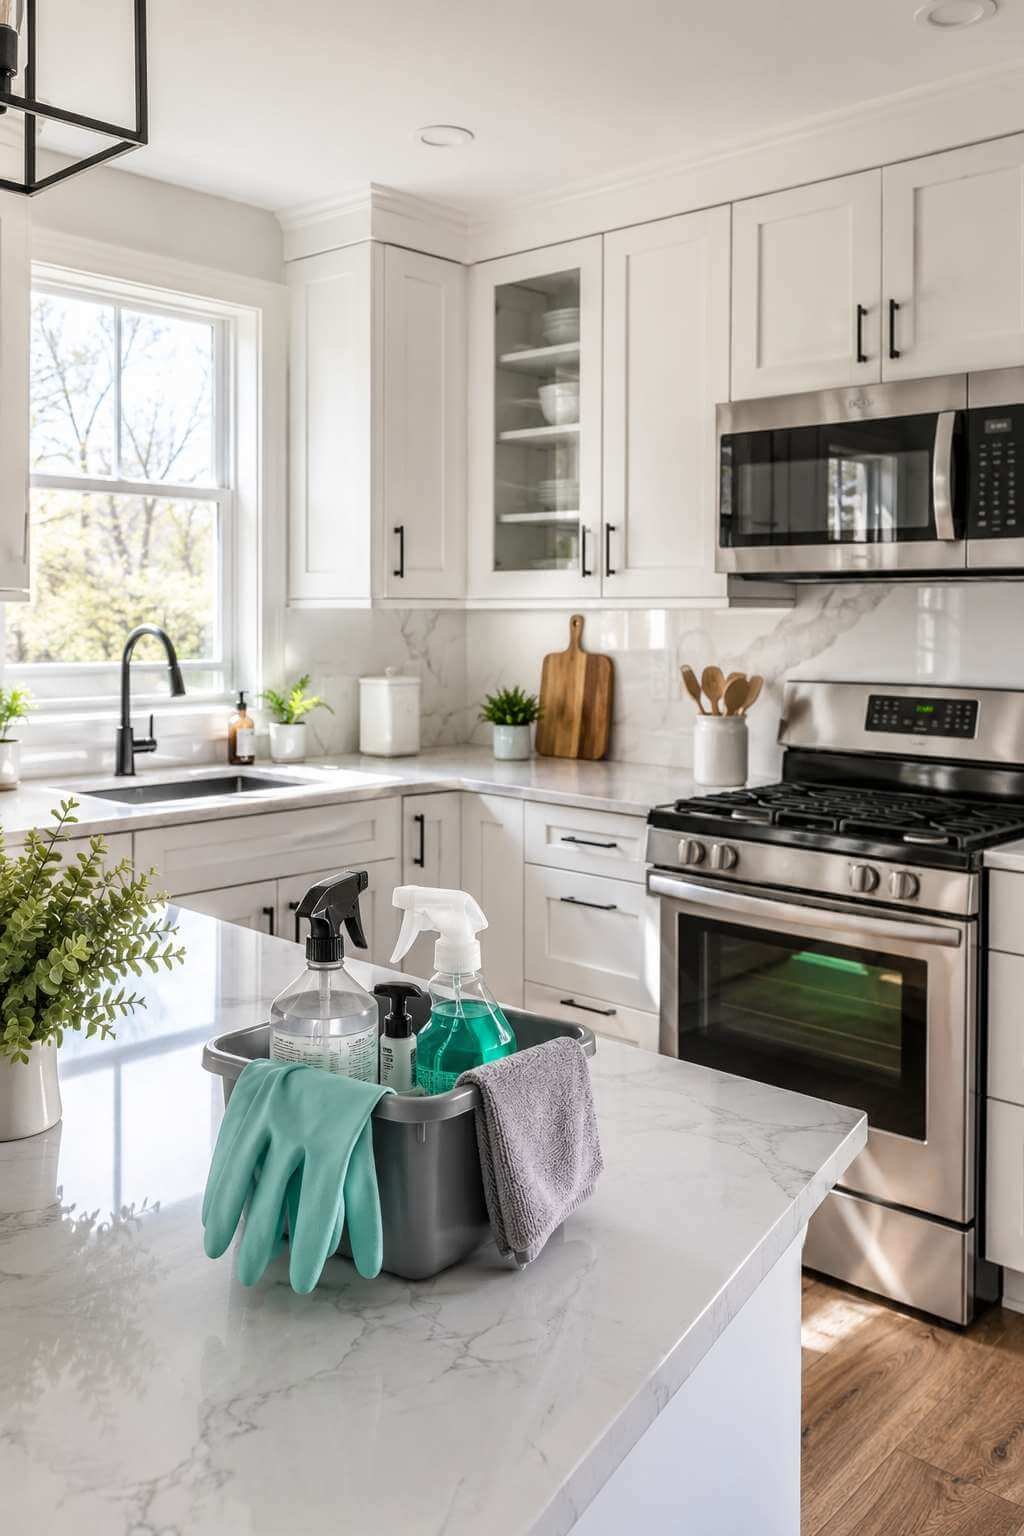
Along the way, we’ll point you toward more detailed guides for specific areas, like cabinets, appliances, and the sink, so you can go deeper on any step that needs extra attention.
1. Clear the Clutter and Prep Your Space
Before any real cleaning starts, remove everything from the counters. A clutter-free workspace makes every following step faster and safer. Set aside mail, gadgets, and stray dishes so you can see exactly what you’re working with.
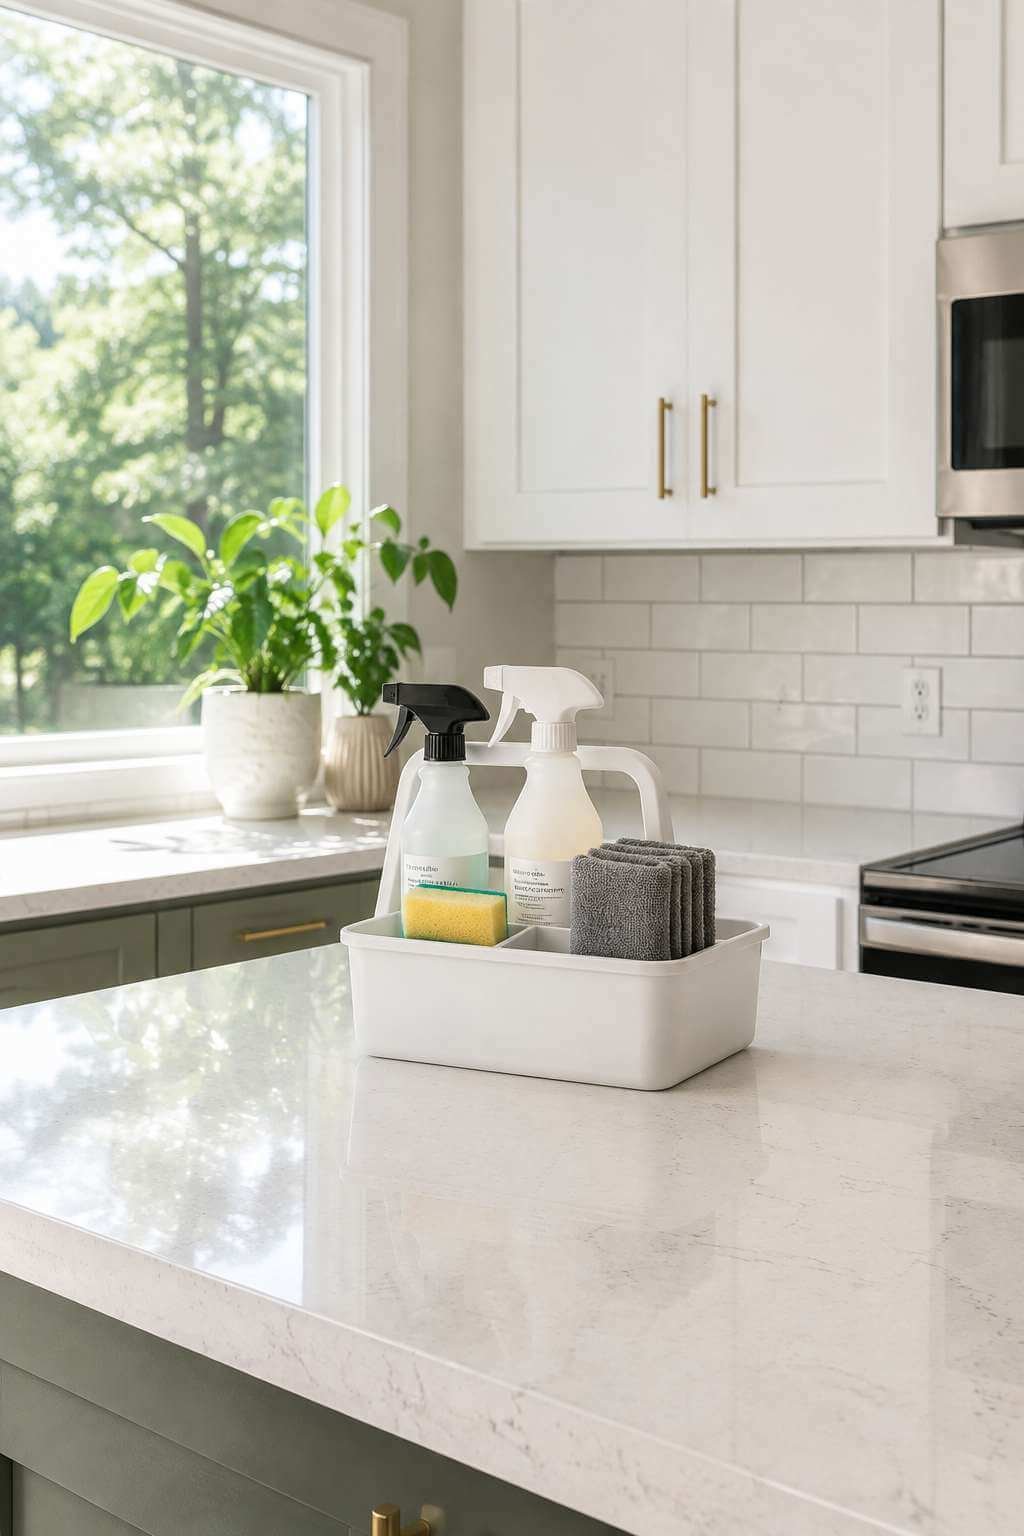
Gather your cleaning supplies in one caddy so you aren’t hunting for a sponge mid-task. Having everything within reach keeps momentum going and prevents half-finished sections. This small setup step saves real time later.
Take a moment to open windows or turn on the exhaust fan. Good ventilation helps cleaning fumes dissipate and keeps the air fresh while you work through stronger products.
- Clear counters completely before starting
- Group supplies into one portable caddy
- Sort mail and clutter into keep, toss, or relocate piles
- Open a window or run the exhaust fan
- Put on rubber gloves for tougher jobs
- Set a rough time budget for each zone
2. Tackle the Refrigerator Inside and Out
Start by removing everything from the fridge and checking expiration dates. This is the easiest time to spot expired condiments and clear space you didn’t know you had. Toss anything questionable before it goes back in.
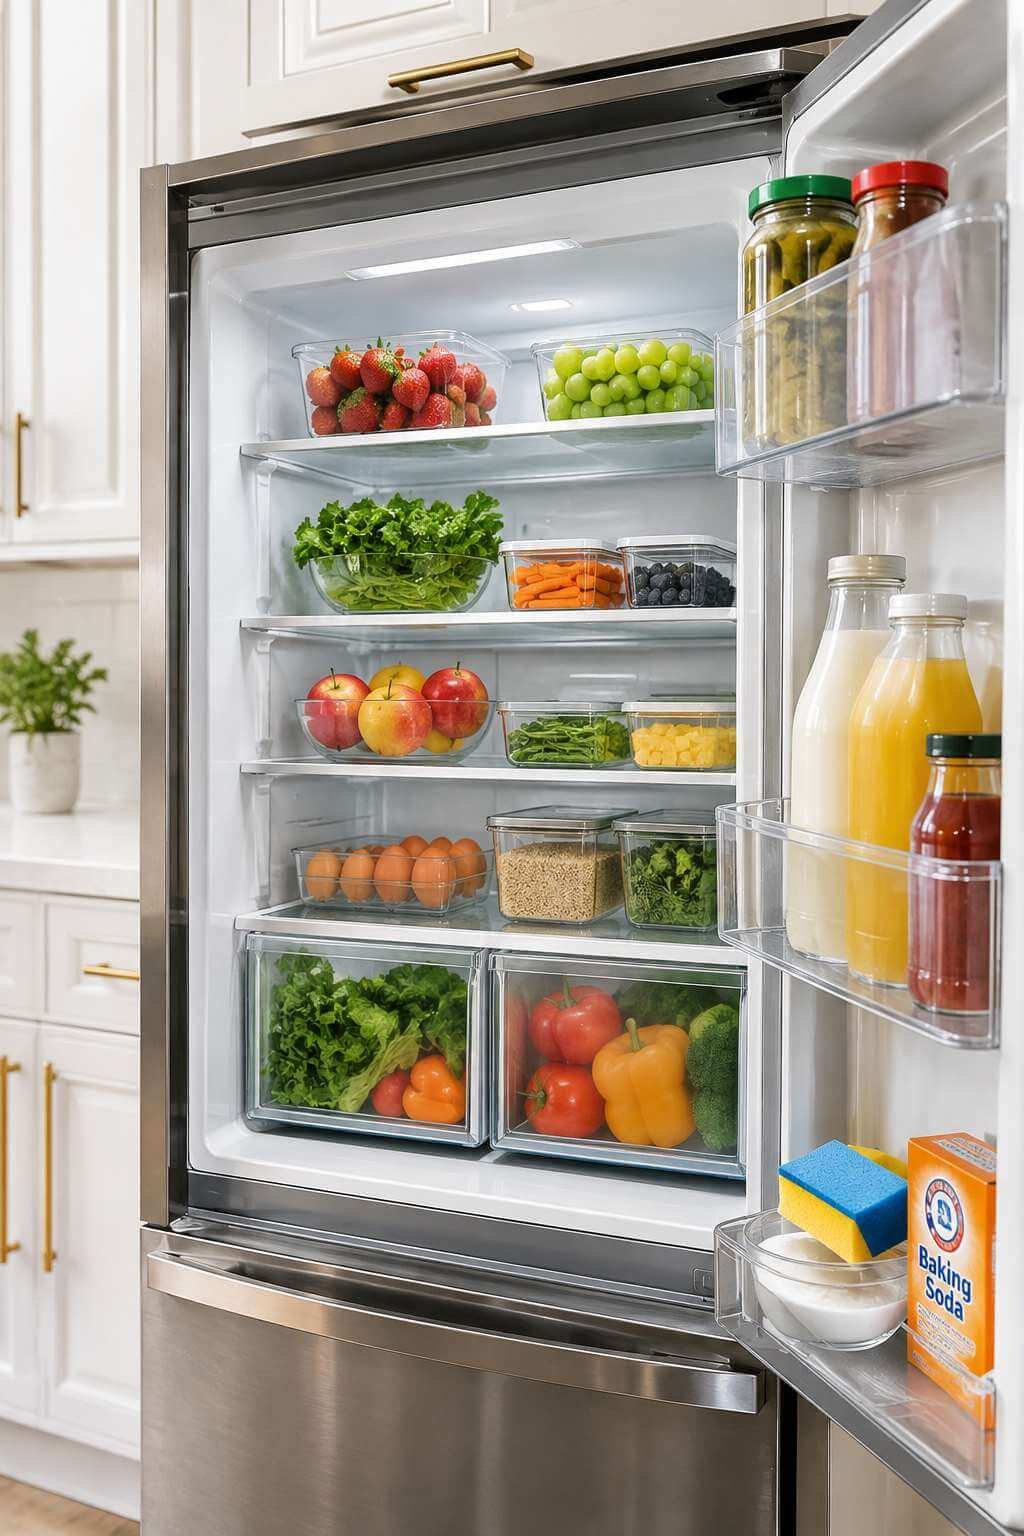
Wipe down every shelf and drawer with warm, soapy water. Pay special attention to the crisper drawers, since spilled produce juice tends to collect there. A mixture of baking soda and water works well on stubborn residue without leaving a strong smell.
Finish by wiping the exterior, including the top, which collects a surprising amount of dust. A stainless steel cleaner brings back shine and helps prevent new fingerprints from showing immediately.
- Remove all items and check expiration dates
- Wipe shelves with warm, soapy water
- Use baking soda paste on stuck-on spills
- Clean door seals where crumbs collect
- Vacuum the coils on the back or bottom
- Finish with a streak-free exterior wipe
3. Deep Clean the Oven and Stovetop
The oven often gets ignored during regular cleaning, but a baked-on grease buildup only gets harder to remove over time. Use your oven’s self-clean cycle if available, or apply a dedicated oven cleaner and let it sit before scrubbing.
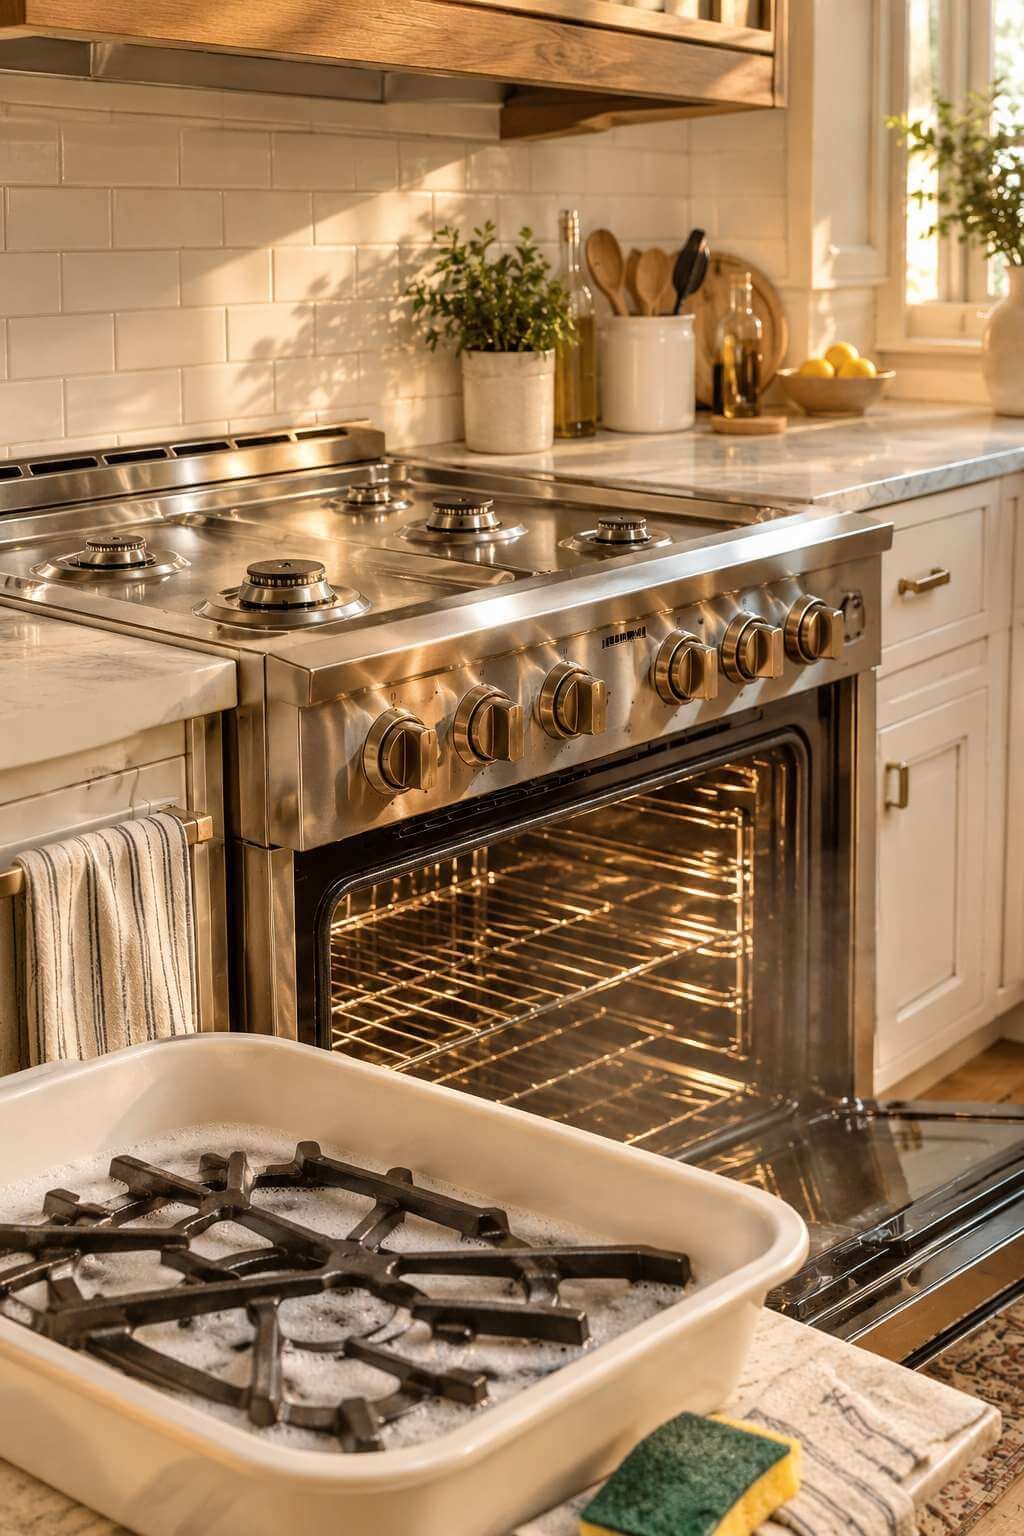
For the stovetop, remove burner grates and knobs so you can soak them separately. A degreasing spray cuts through cooked-on residue far faster than plain soap and water. Let it sit for several minutes before wiping.
Don’t forget the range hood filter, which quietly collects grease over months of cooking. If your filter is looking dull or sticky, our guide on how to clean kitchen hood filters walks through the soak-and-scrub process in detail.
- Run the self-clean cycle or apply oven cleaner
- Soak removable grates and knobs separately
- Spray degreaser and let it sit before scrubbing
- Wipe the oven door glass with vinegar
- Replace or wash the hood filter
- Check and clean the drip pans underneath burners
4. Descale and Disinfect the Sink
The sink handles constant use, so it deserves focused attention. Start by clearing dishes and giving the basin a full rinse and scrub with a non-abrasive cleaner. Baking soda works well on stainless steel without scratching the finish.
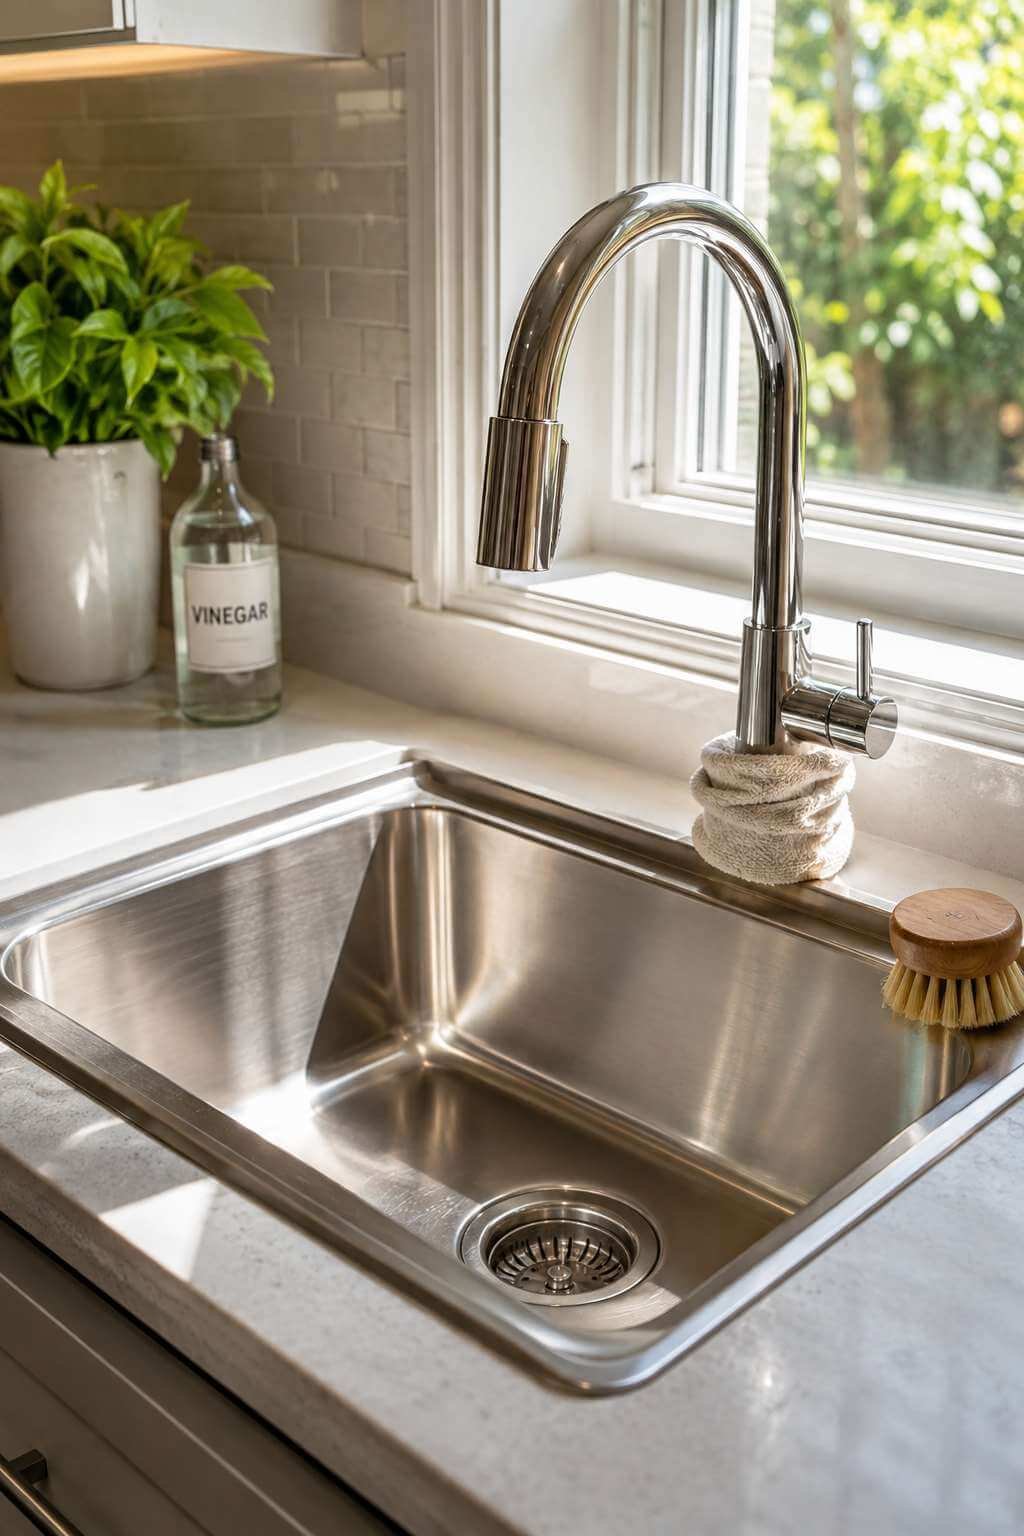
Pay attention to the faucet base and handles, where mineral deposits tend to build up from hard water. A vinegar soak on a cloth wrapped around the fixture can dissolve this buildup overnight if it’s especially stubborn.
If your basin is a wash basin style with a garbage disposal, a quick ice-and-salt cycle helps sharpen the blades and clear odors. For a full walkthrough on this fixture specifically, see our guide on how to clean a kitchen wash basin.
- Scrub the basin with baking soda paste
- Wipe down the faucet and handle base
- Soak mineral buildup with a vinegar-soaked cloth
- Run ice and salt through the disposal
- Disinfect the drain with a diluted bleach solution
- Replace a worn-out sponge or scrub brush
5. Wipe Down Cabinets and Drawers
Cabinet exteriors collect a thin film of grease and dust that’s easy to miss. A mild dish soap solution applied with a soft cloth removes most everyday grime without stripping the finish. Always dry the surface afterward to avoid water spots.
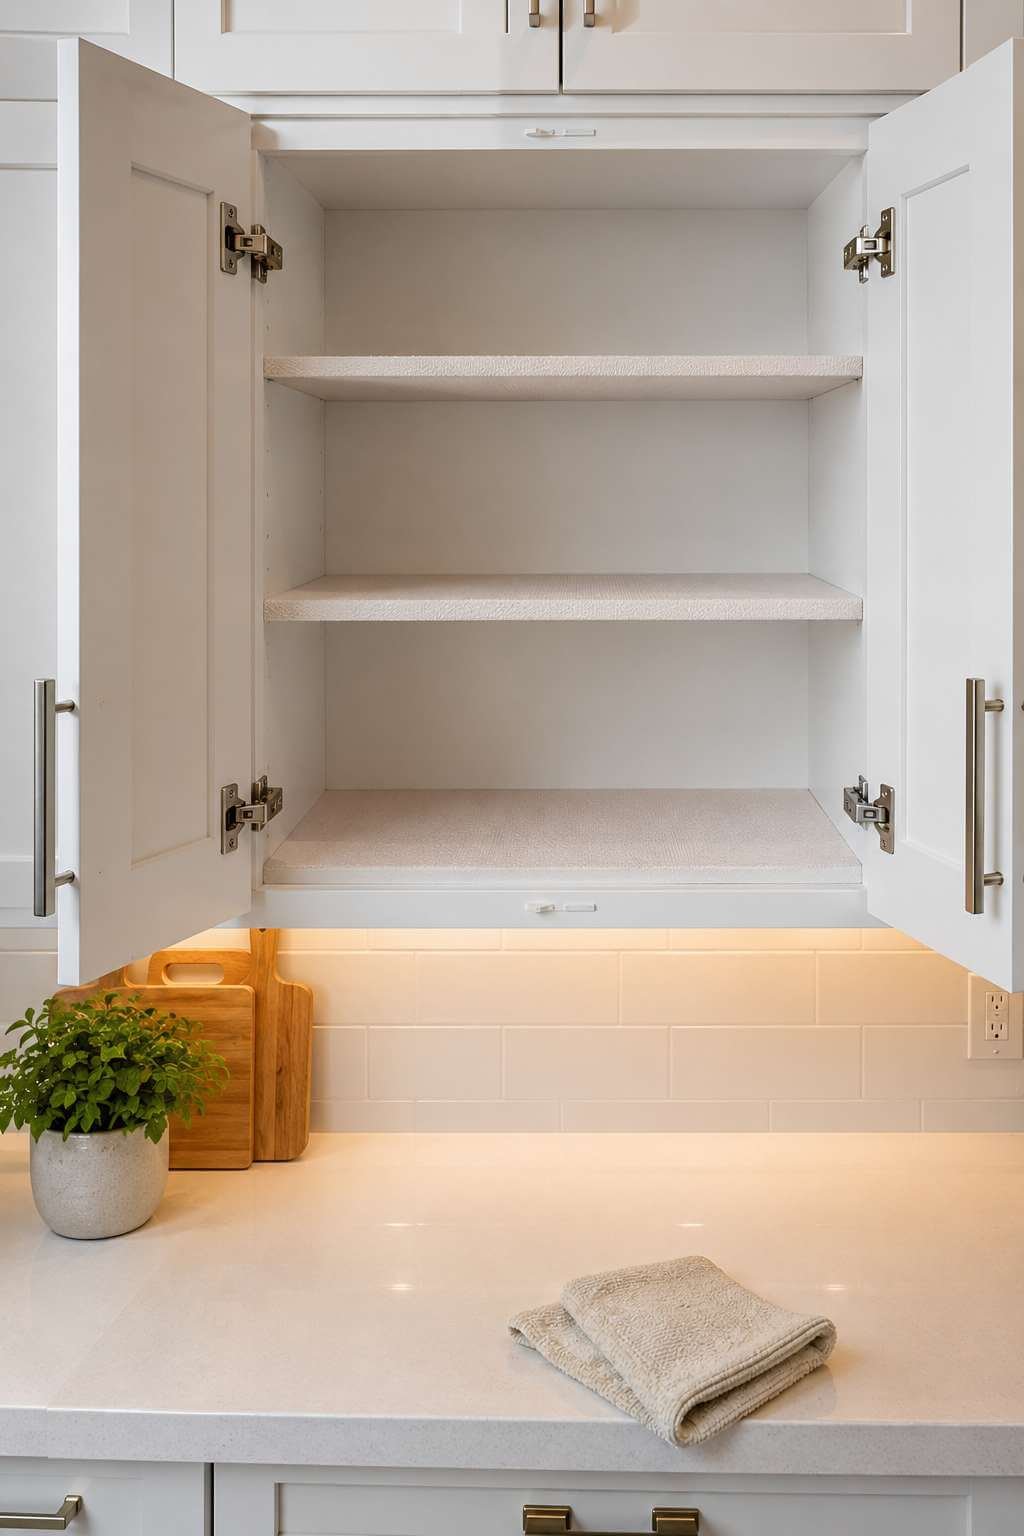
Inside the cabinets, empty each shelf and wipe away crumbs or spilled ingredients. Shelf liner that’s peeling or stained is worth replacing now, since fresh liner makes the whole cabinet feel cleaner instantly.
Cabinet hardware, like handles and hinges, benefits from a quick wipe too. If you’re planning a bigger project like repainting, our guide on how to clean kitchen cabinets for painting covers the extra prep steps needed for paint to actually adhere.
- Wipe exteriors with a mild soap solution
- Empty and wipe down interior shelves
- Replace stained or peeling shelf liner
- Clean handles and hinges with a damp cloth
- Check for loose screws while you clean
- Air out cabinets before closing doors
6. Clean Countertops and Backsplash
Countertops see near-constant use, so a daily wipe-down habit makes deep cleaning easier. For the deep clean itself, use a cleaner suited to your countertop material, whether that’s granite, quartz, or laminate.
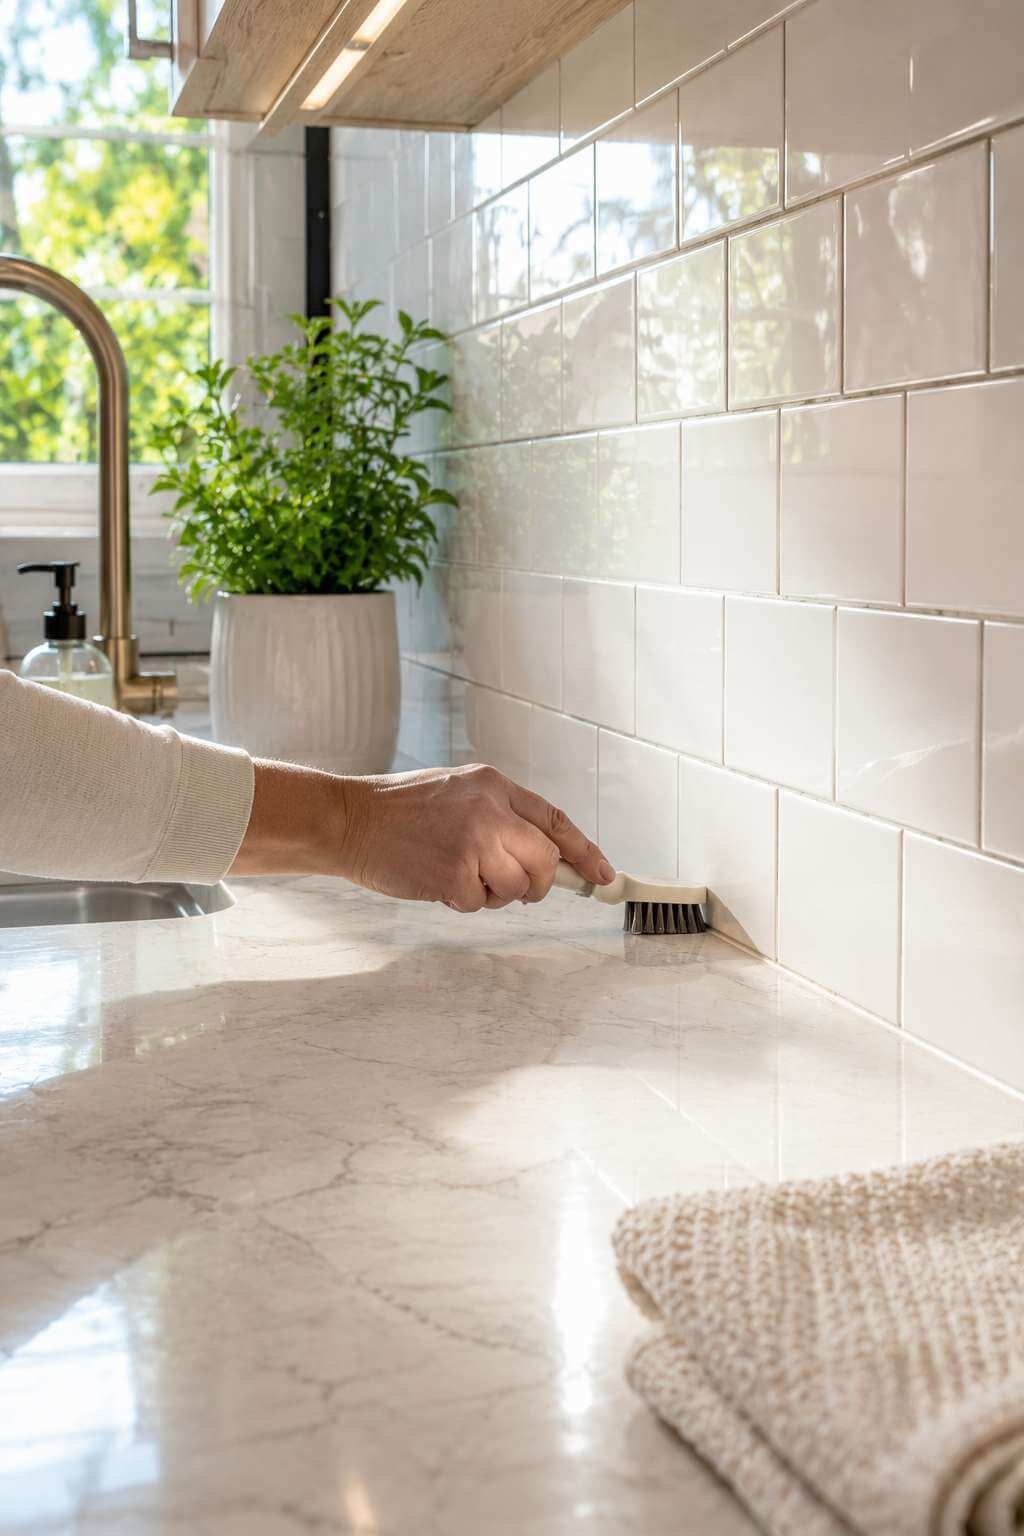
The backsplash tends to catch splatters from cooking that go unnoticed for weeks. A grout brush works well for tiled backsplashes, getting into the thin lines where grease and grime settle.
If your grout has darkened over time, a paste of baking soda and water left to sit for ten minutes can lift much of the discoloration. For stubborn grout lines throughout the kitchen, check our detailed guide on how to clean kitchen grout.
- Use a material-appropriate countertop cleaner
- Scrub backsplash tiles with a grout brush
- Apply baking soda paste to stained grout lines
- Dry countertops to prevent water spotting
- Disinfect areas near the stove and sink
- Reseal natural stone counters if needed
7. Freshen Up the Kitchen Floor
Floors take the brunt of daily foot traffic, spills, and dropped food. Start with a thorough sweep or vacuum to remove loose debris before any liquid touches the surface. Skipping this step just turns dirt into mud.
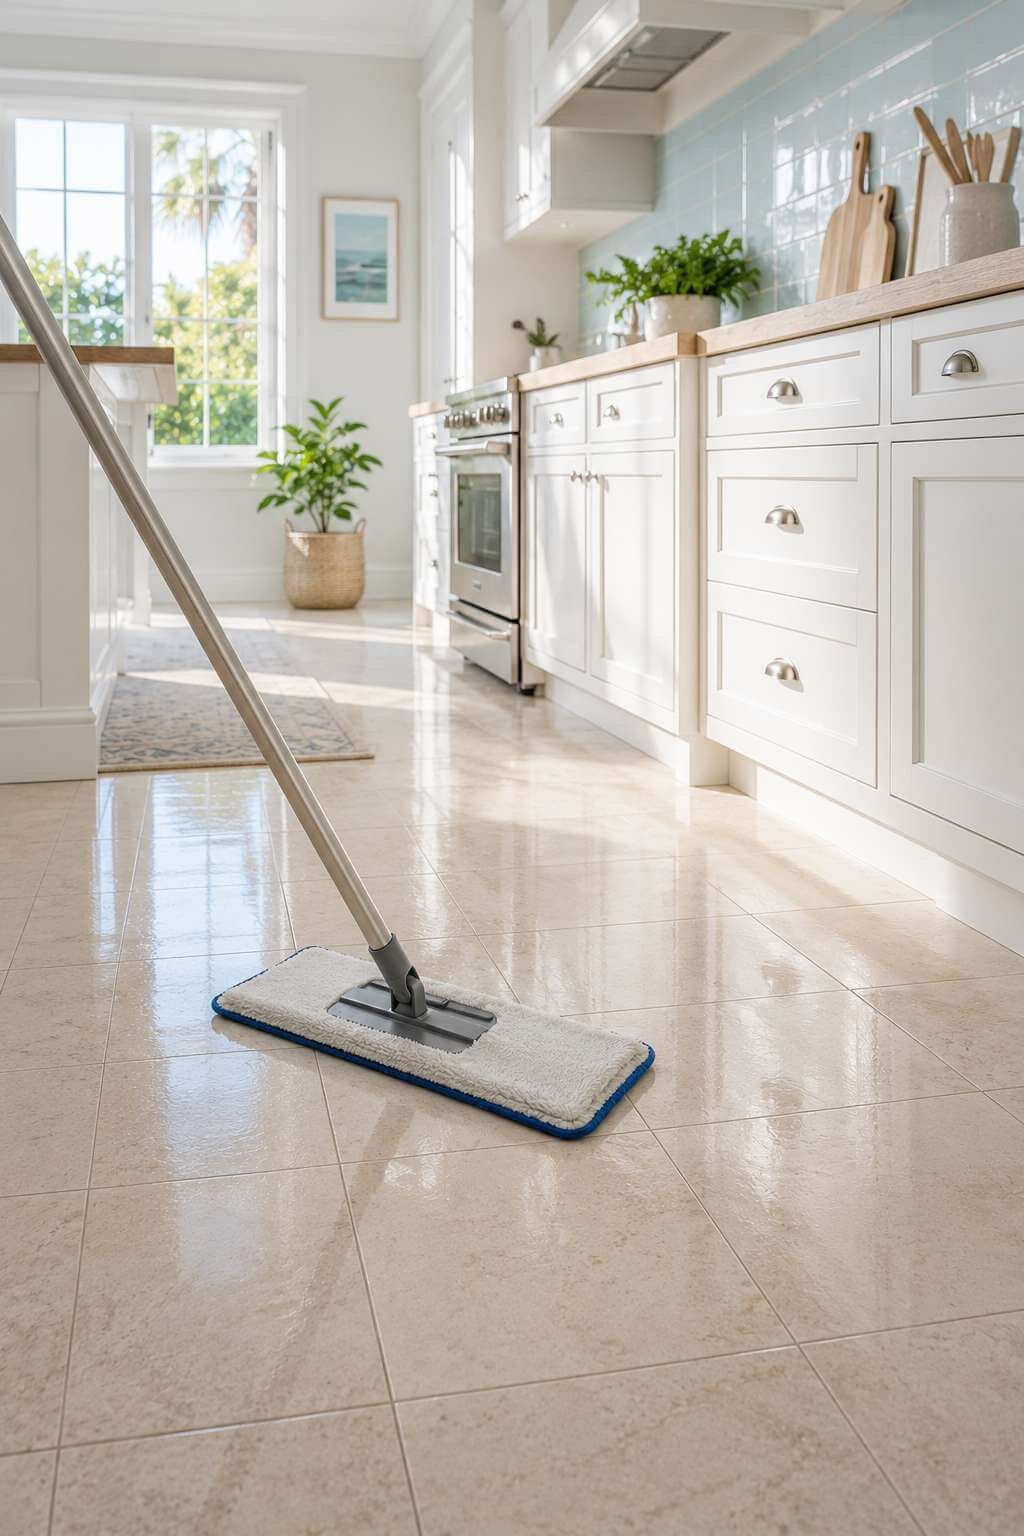
Mop with a cleaner suited to your flooring type, whether tile, vinyl, or hardwood. Overly wet mopping can damage certain wood flooring, so wring the mop well and work in small sections.
Pay extra attention to corners and the base of cabinets, where dust and crumbs tend to accumulate unnoticed. A microfiber mop picks up fine particles better than traditional string mops in these tight spots.
- Sweep or vacuum before mopping
- Choose a cleaner matched to your flooring type
- Wring mops well to avoid excess moisture
- Focus extra attention on corners and edges
- Spot-treat sticky or stained areas first
- Let floors air dry before walking on them
8. Clean Small Appliances
Small appliances like the toaster, coffee maker, and microwave get used daily but cleaned rarely. Crumb trays should be emptied and wiped, and a simple vinegar rinse cycle clears mineral buildup from coffee makers.
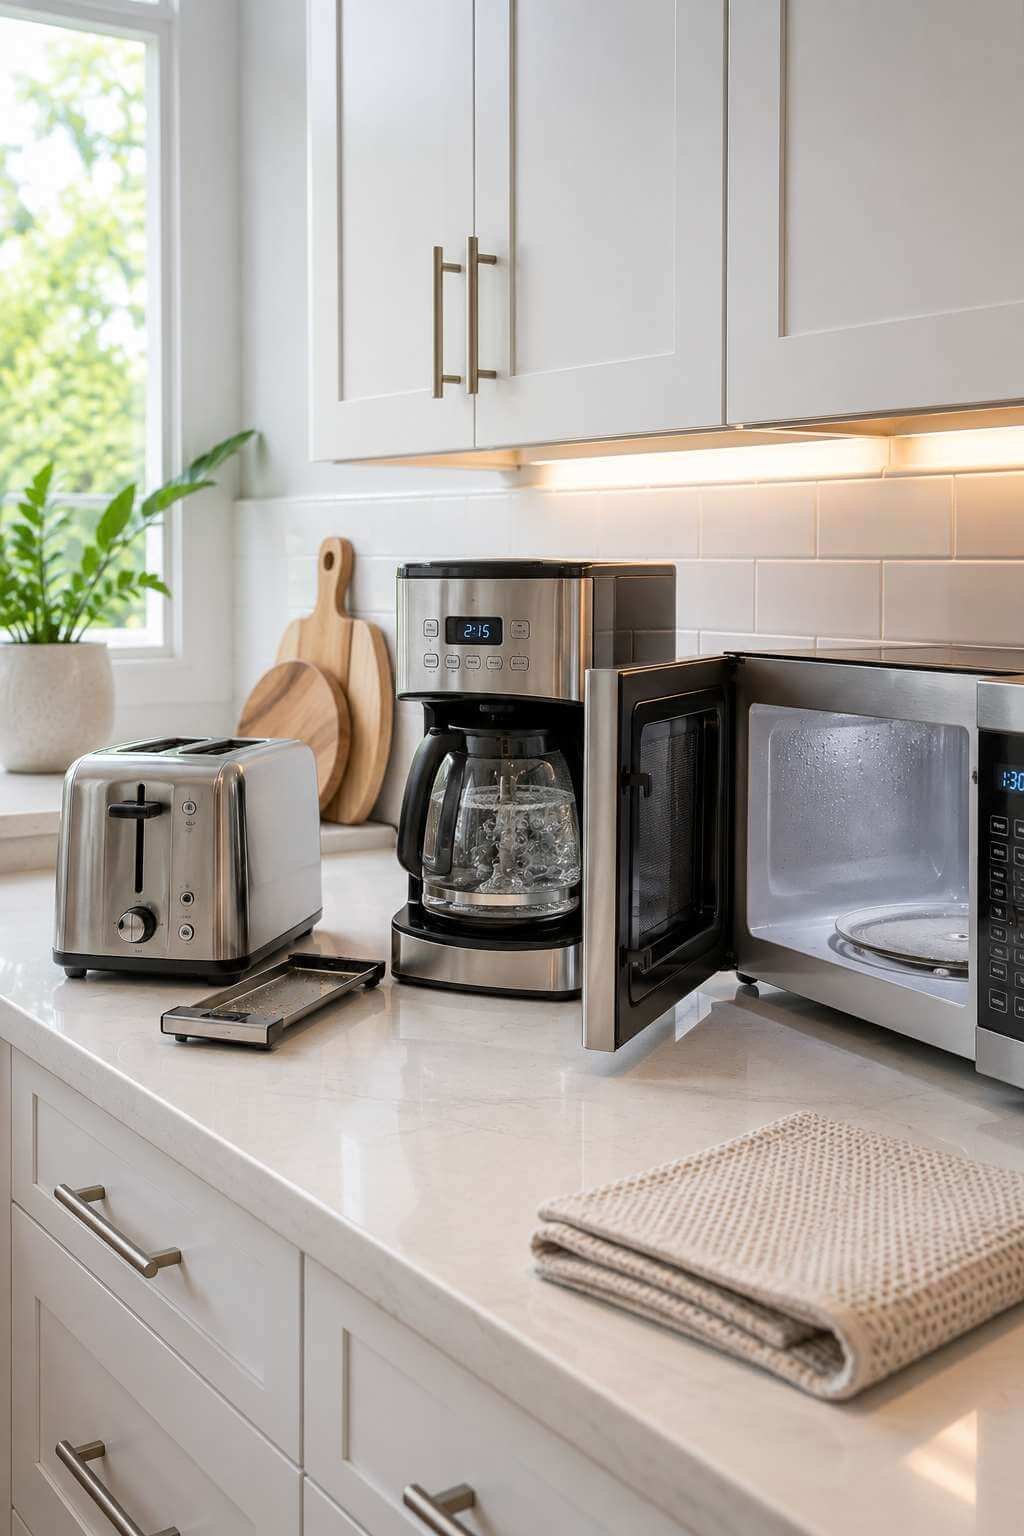
The microwave benefits from a quick steam trick: heat a bowl of water with lemon slices for a few minutes, then wipe the loosened splatters away. This avoids scrubbing at dried food residue with harsh chemicals.
For a complete rundown covering every countertop appliance in one pass, our guide on how to clean kitchen appliances walks through each machine step by step.
- Empty and wipe toaster crumb trays
- Run a vinegar cycle through the coffee maker
- Steam-clean the microwave with lemon water
- Wipe down blender and mixer bases
- Descale electric kettles periodically
- Check appliance cords for wear while cleaning
9. Sanitize High-Touch Surfaces and Handles
It’s easy to focus on visible mess and forget the surfaces touched most often. Cabinet handles, drawer pulls, and light switches all collect bacteria and grime from daily hands, even when they look clean.
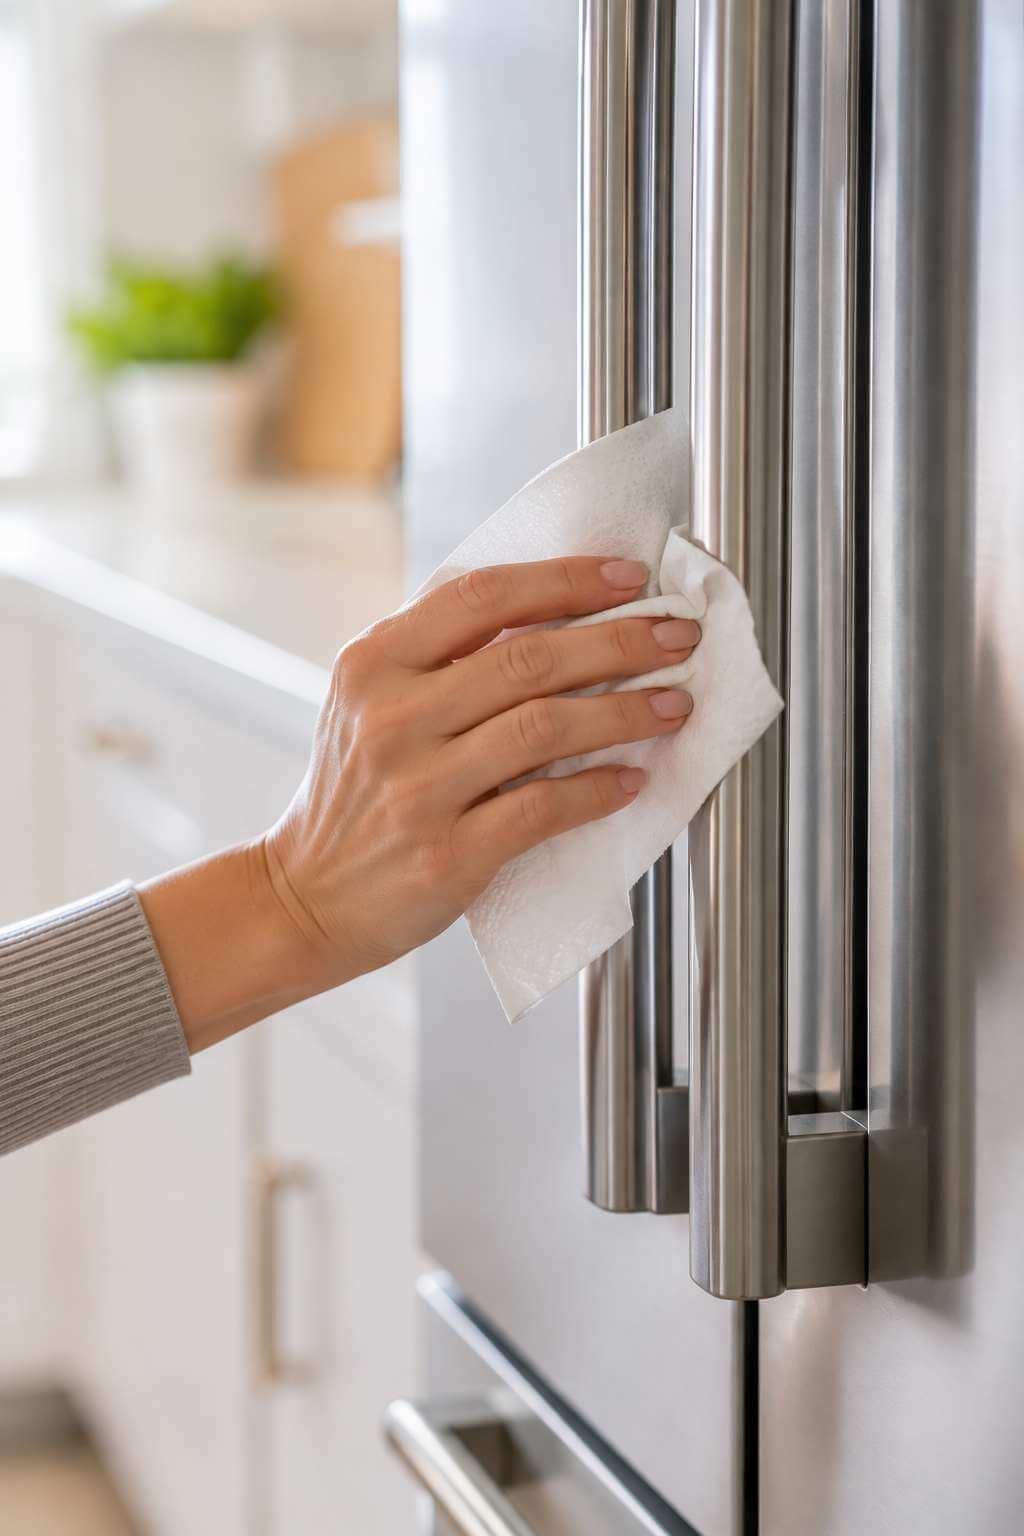
A disinfecting wipe or a diluted cleaning solution works well here. Focus on the refrigerator handle, faucet handle, and any pantry door pulls, since these get touched constantly throughout the day.
This step takes only a few extra minutes but makes a real difference in overall kitchen hygiene, especially during cold and flu season.
- Disinfect cabinet and drawer handles
- Wipe down light switches near the kitchen
- Clean the refrigerator and pantry door handles
- Sanitize faucet handles and knobs
- Wipe down trash can lids and handles
- Replace dish towels used for hand-drying
10. Organize and Maintain Your Clean Kitchen
Once everything is clean, take a few minutes to put items back with intention. Grouping similar tools together creates a more functional layout and makes the next cleaning session easier to start.

Consider a simple weekly maintenance routine to keep the space from sliding back into clutter. Wiping counters nightly and doing a quick floor sweep every few days prevents grime from building up between deep cleans.
For a broader overview of ongoing kitchen upkeep, our guide on how to clean kitchen spaces covers the daily and weekly habits that keep this deep clean lasting longer.
- Return items to logical, grouped locations
- Wipe counters each night before bed
- Sweep floors every two to three days
- Restock cleaning supplies before they run out
- Schedule a monthly appliance check
- Note any repairs needed for next time
Frequently Asked Questions
How do I clean a kitchen drainage pipe connector?
Unscrew the connector slowly over a bucket to catch any trapped water and debris. Scrub the inside with a bottle brush and warm, soapy water, then rinse thoroughly before reattaching. Running hot water through afterward helps clear any remaining residue.
How do I clean kitchen wood cabinets?
Use a soft cloth dampened with a mild soap solution, wiping in the direction of the wood grain. Avoid soaking the wood, since excess moisture can cause warping or discoloration over time. Dry immediately with a clean towel and apply wood polish occasionally.
How do I clean a kitchen hood?
Remove the filter and soak it in hot water with degreasing dish soap for at least fifteen minutes. Scrub gently with a soft brush to loosen trapped grease, then rinse and let it dry fully. Wipe the hood’s exterior surface with a degreasing spray.
How do I clean kitchen cabinets before painting?
Wash surfaces with a trisodium phosphate solution or a strong degreaser to remove grease and residue. Lightly sand the surface afterward to help primer adhere properly. Wipe away all dust with a tack cloth before applying any paint.
How do I clean kitchen grout?
Mix baking soda and water into a thick paste and apply it directly to the grout lines. Let it sit for ten minutes, then scrub with a small grout brush or old toothbrush. Rinse thoroughly and repeat on particularly dark or stained sections.
How do I clean a kitchen floor?
Sweep or vacuum first to remove loose dirt and crumbs before any liquid touches the floor. Mop using a cleaner suited to your specific flooring material, working in small sections. Dry the floor with a clean towel or let it air dry fully.
Conclusion
Deep cleaning the kitchen feels like a big undertaking, but breaking it into these ten focused steps makes it genuinely manageable. Each section builds toward a space that’s not just visibly clean, but truly sanitized and organized.
Try tackling one or two sections at a time if the full list feels like too much in a single day. Your kitchen will thank you, and future cleanups will only get easier from here.

