


Few things transform a kitchen faster than knowing how to organize kitchen drawers the right way. When every spatula, ladle, and stray twist-tie has a home, cooking stops feeling like a scavenger hunt and starts feeling like a calm, intuitive process. Thoughtful interior design isn’t just about how a room looks — it’s about how efficiently it functions for the people who actually live there.
Every household has a different rhythm in the kitchen, which is why drawer systems should reflect personal cooking habits rather than a one-size-fits-all template. A weekend baker needs different drawer real estate than someone who cooks three meals a day for a family of five. Both approaches, though, share the same foundation: clear categories, the right dividers, and a system that’s easy to maintain.
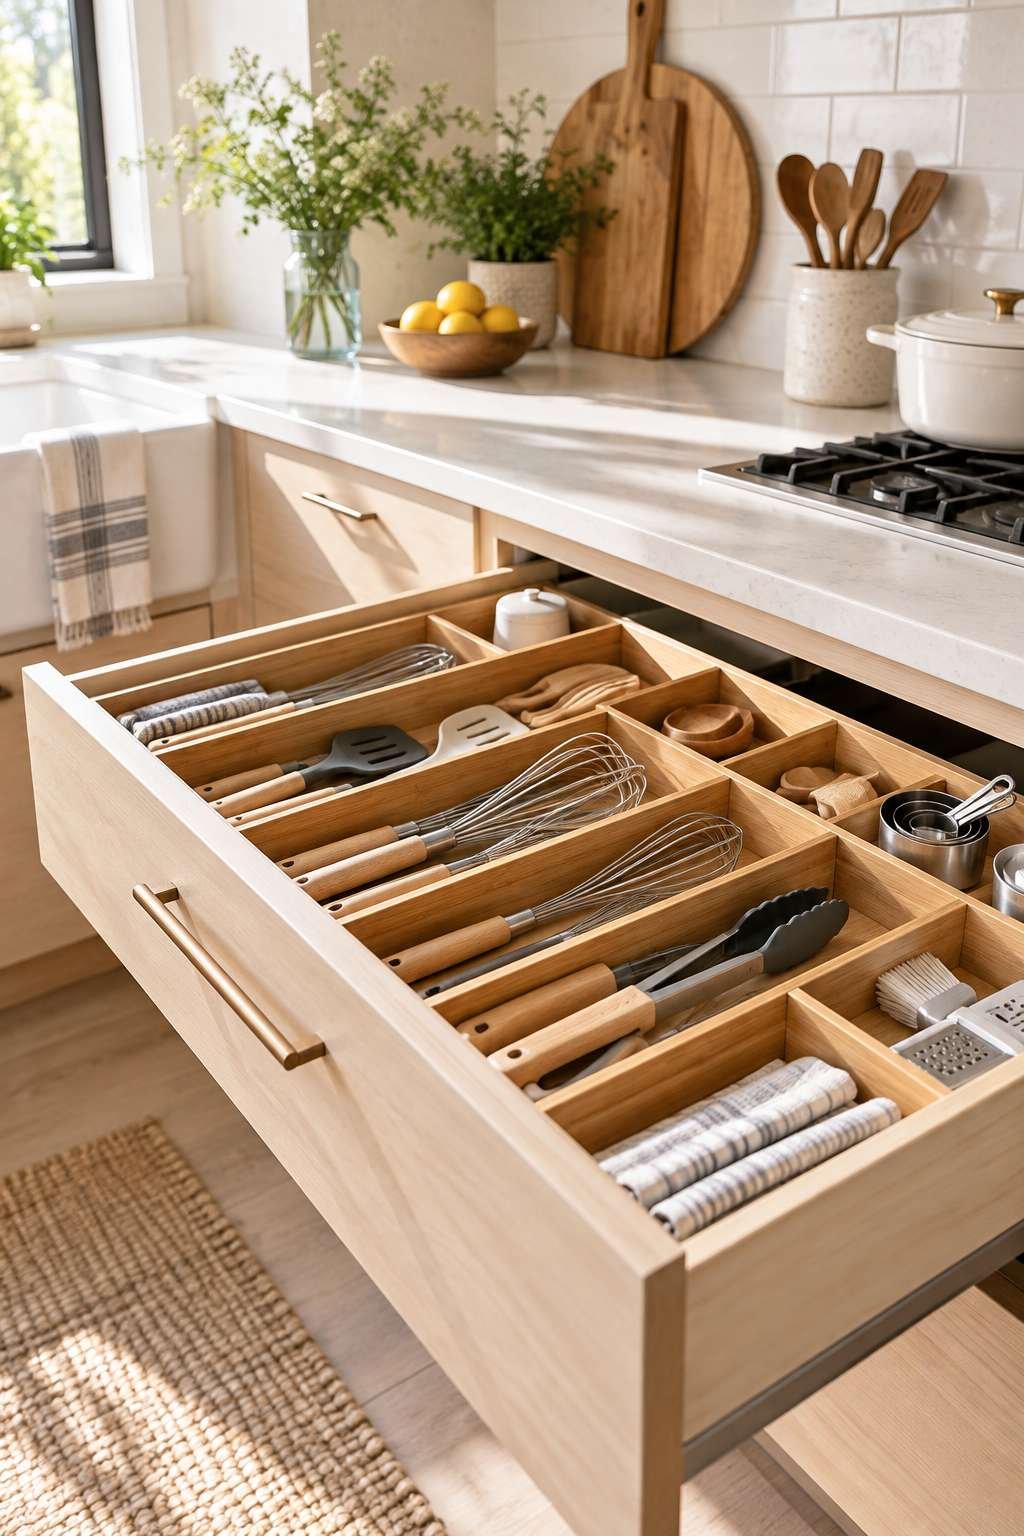
This guide walks through ten practical strategies, from assessing your space to building habits that keep the chaos from creeping back. Whether you’re starting with a single overstuffed junk drawer or reorganizing an entire kitchen from scratch, these ideas will help you build a system that actually lasts.
1. Assess Your Drawer Space Before You Begin
Before buying a single organizer, take everything out of every drawer and lay it on the counter. This full reset is the only way to see what you actually own, rather than what you assume you own. Most kitchens accumulate duplicate tools, expired gadgets, and items that never should have ended up in a drawer in the first place.
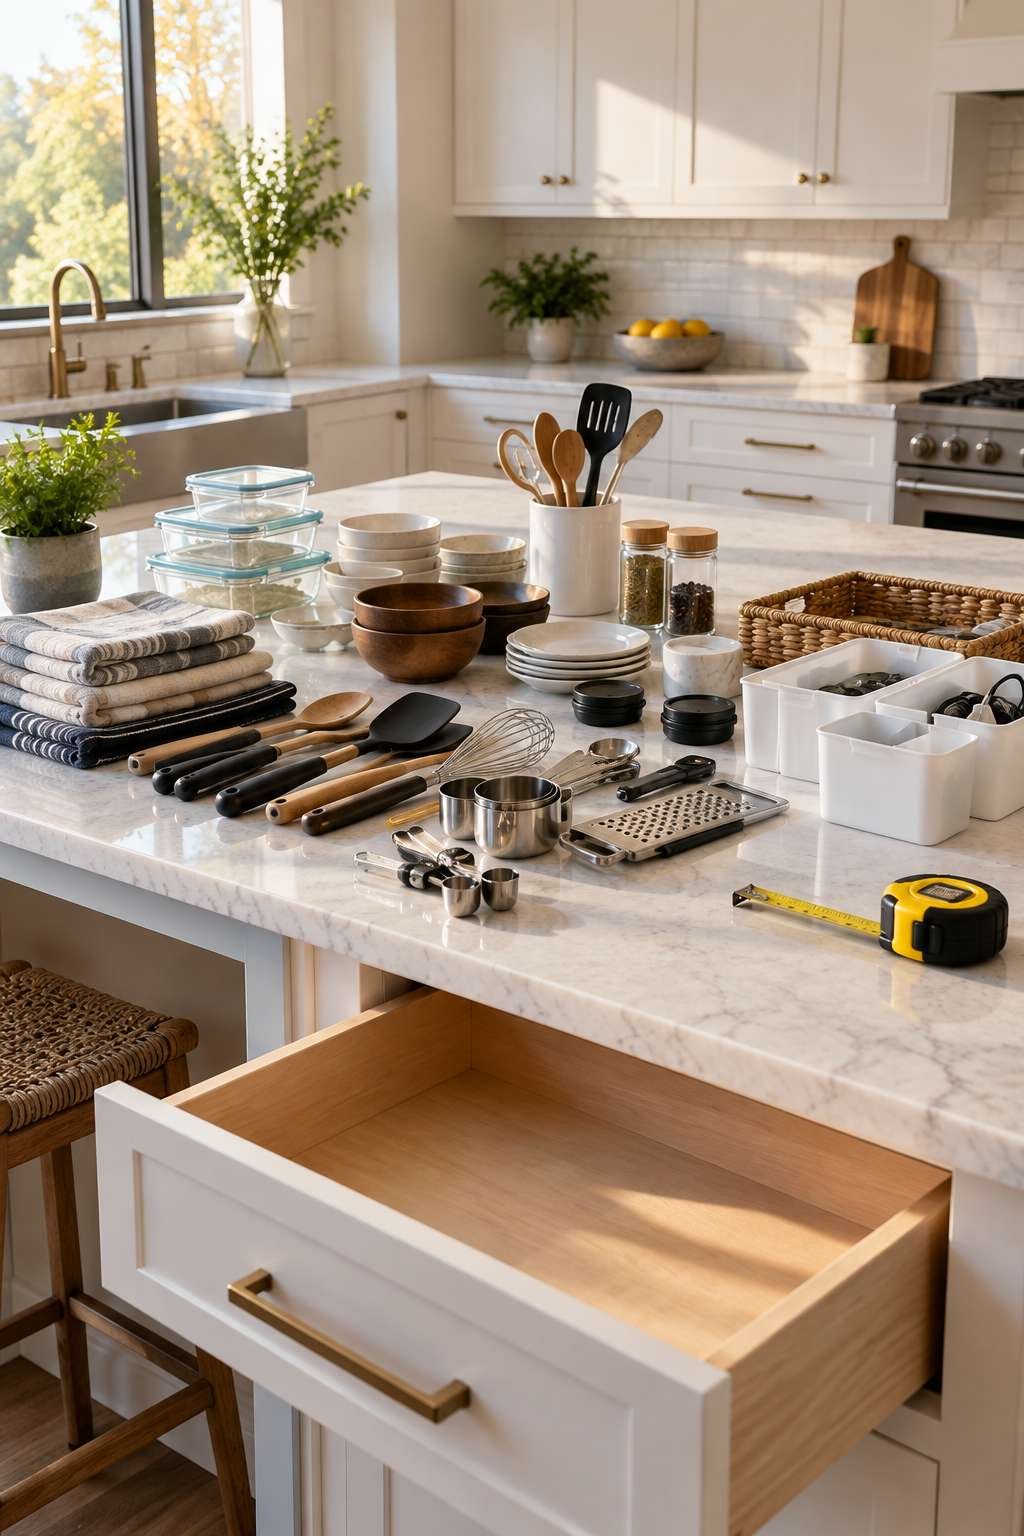
Once everything is out, measure the interior dimensions of each drawer, including depth. A drawer that looks spacious can be surprisingly shallow once you account for the runners and back stop, and this detail matters enormously when shopping for inserts. Group your items loosely into piles — utensils, tools, linens, miscellaneous — so you have a rough sense of how much space each category needs.
This process pairs naturally with a broader look at how to organize your kitchen, since drawers rarely function in isolation from the cabinets and counters around them.
- Empty one drawer completely before starting the next
- Wipe down the interior with a mild degreasing spray
- Measure width, depth, and height with a tape measure
- Sort items into rough categories on the counter
- Discard anything broken, duplicated, or unused in the last year
- Note which drawers are shallow versus deep for later planning
2. Choose the Right Drawer Organizers
Not all drawer organizers are created equal, and picking the wrong ones can undo all your sorting work within a week. Adjustable bamboo dividers tend to outperform fixed plastic trays because they expand or contract to fit the exact drawer size, leaving no wasted gaps where clutter can sneak back in.
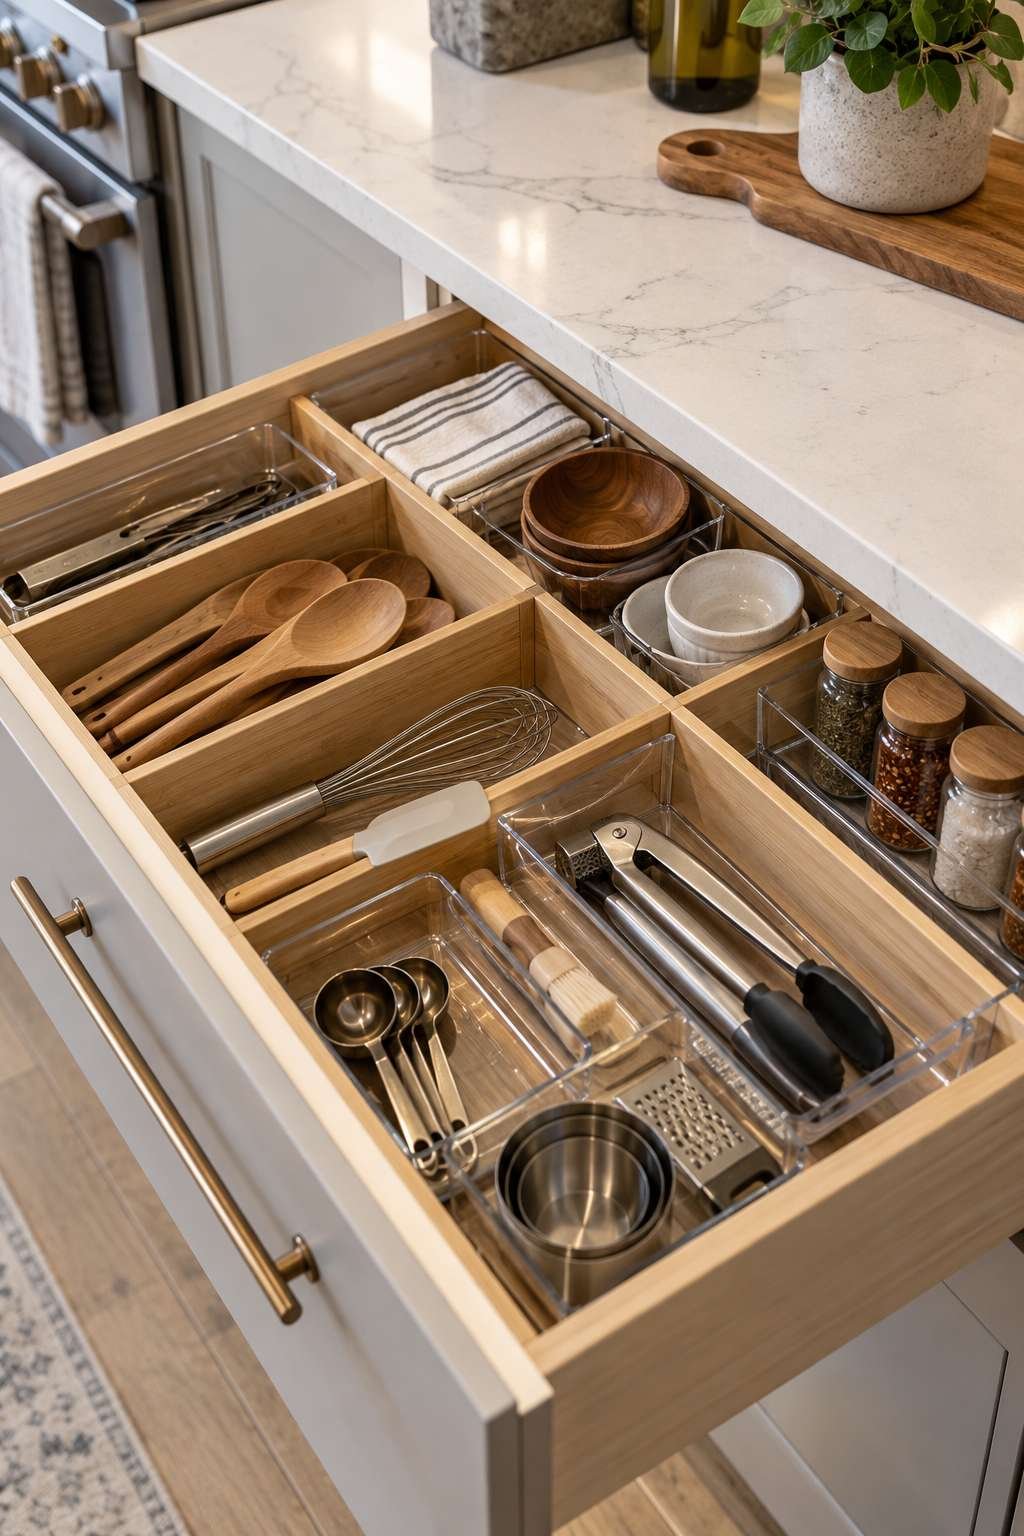
For deeper drawers, consider stackable trays that create two usable layers instead of one flat surface. This is especially useful in kitchens with limited drawer count but generous depth, since it effectively doubles your storage without any renovation. Clear or light-colored organizers also make it easier to see contents at a glance, which reduces the temptation to just toss items in randomly.
- Measure twice before purchasing any organizer set
- Favor adjustable or expandable dividers over fixed-size trays
- Use non-slip liners underneath to keep trays from shifting
- Choose stackable inserts for drawers deeper than four inches
- Avoid overly small compartments that fragment storage too much
- Test one organizer style before committing to a whole kitchen set
3. Sort by Category, Not by Guesswork
The single biggest mistake people make is organizing by available space instead of by logical category. A drawer should hold one type of item — cooking utensils, for example — rather than a random mix of whatever happened to fit. This is the same principle worth applying when you eventually look at how to organize kitchen cabinets, since consistent categorization across the whole kitchen makes everything easier to find.
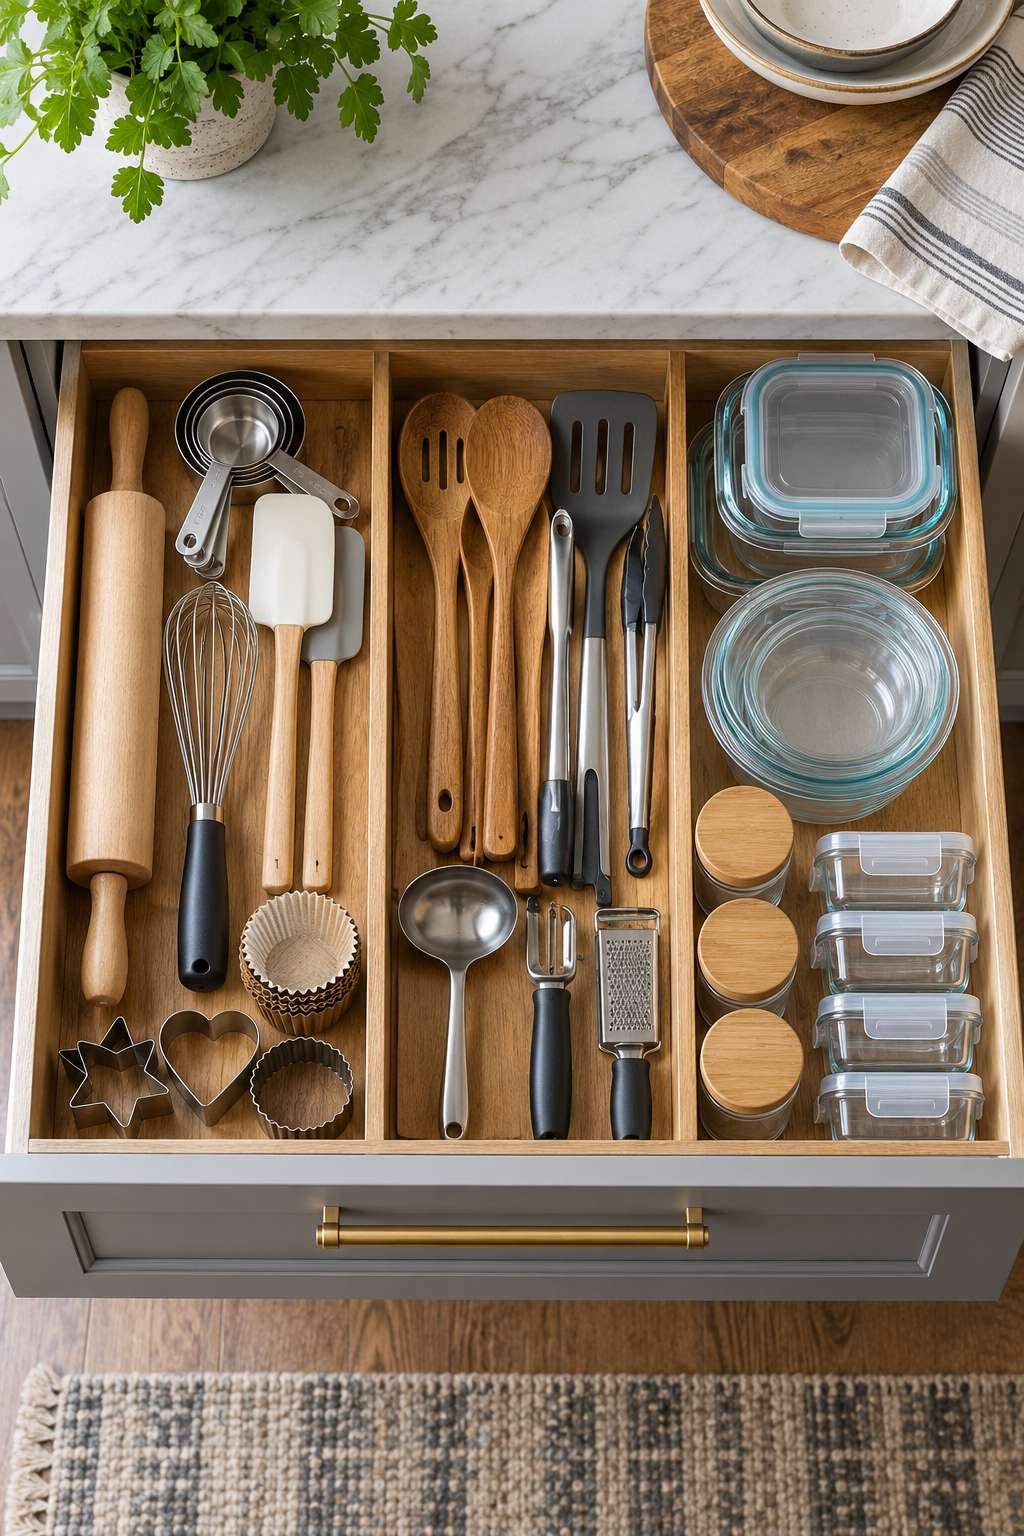
Group items by how often you use them and where you use them. Tools used at the stove belong in a drawer near the stove, while baking tools can live farther away if baking is an occasional activity. This proximity-based sorting shaves seconds off every task and adds up to real time saved over a week of cooking.
- Assign each drawer a single clear category
- Keep frequently used tools in the drawer nearest your workspace
- Separate everyday items from occasional-use or seasonal items
- Avoid mixing food storage tools with cooking utensils
- Revisit categories every few months as habits shift
- Use small labels to reinforce each drawer’s designated category
4. Master the Utensil Drawer
The utensil drawer is usually the most-opened drawer in the entire kitchen, so it deserves special attention. A well-designed utensil tray should have individual slots for spatulas, tongs, whisks, and serving spoons rather than one large open bin where everything tangles together.
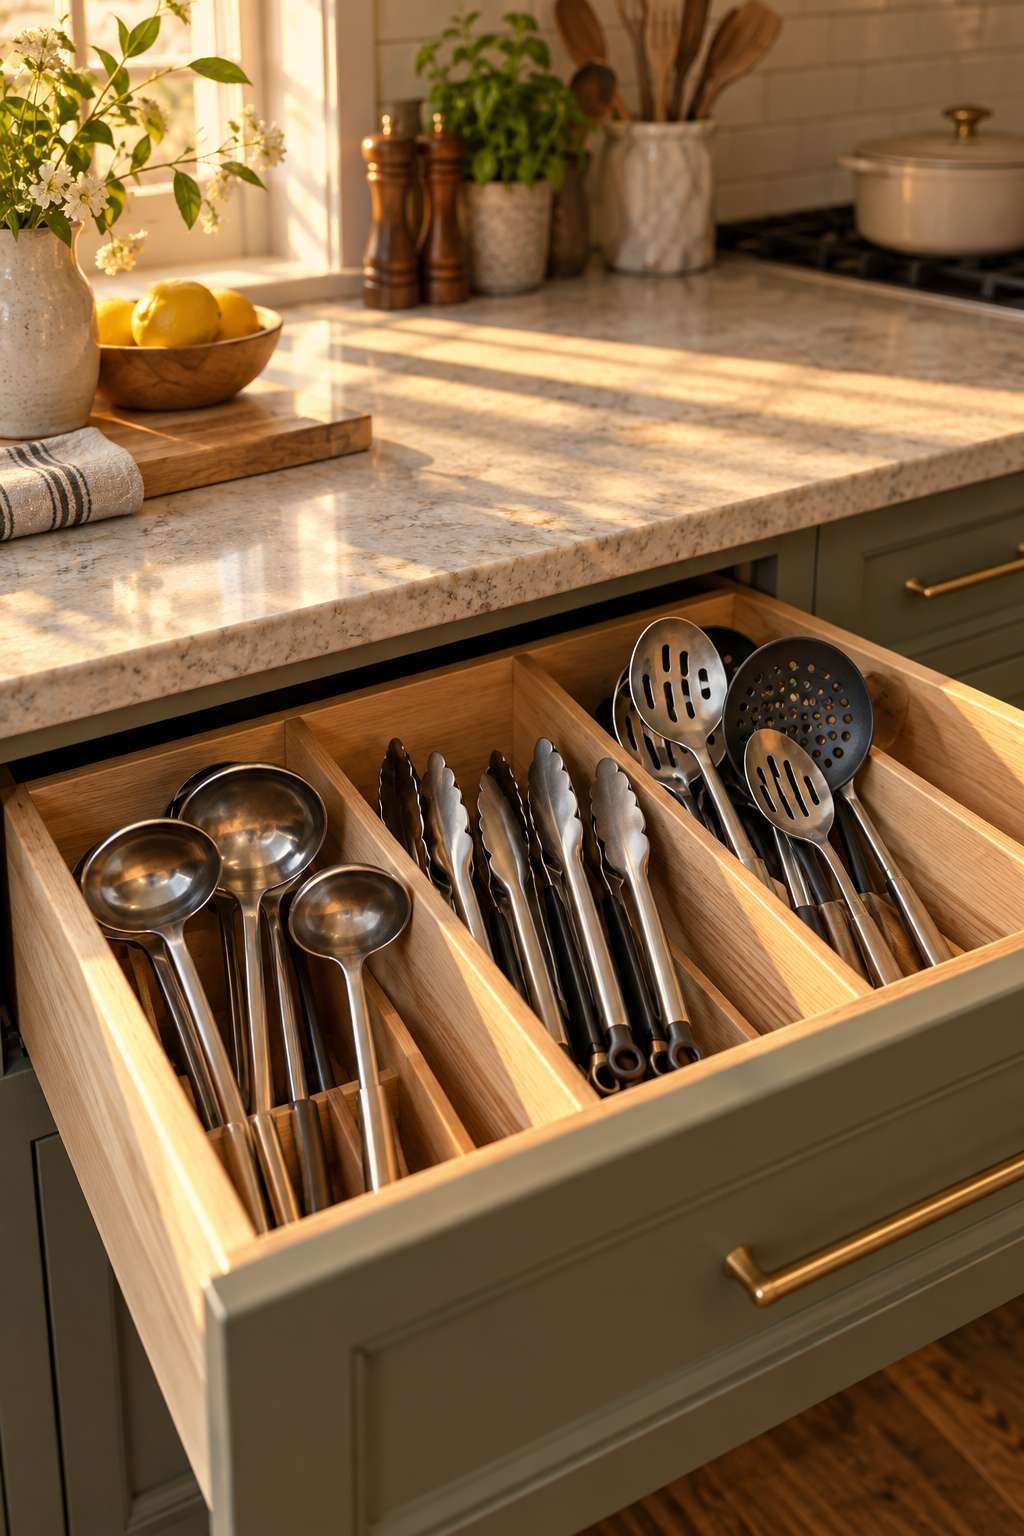
Stand taller items like ladles and slotted spoons upright in vertical slots when possible, since this reduces the surface area they take up and makes them easier to grab mid-cook. Keep duplicate tools — like a second identical spatula — in a separate drawer or donate them, since true duplicates rarely earn their keep in a well-organized kitchen.
- Assign one slot per utensil type, not per individual item
- Store tall utensils vertically to save horizontal space
- Keep only one of each duplicate tool in daily rotation
- Group utensils by material (silicone, wood, metal) if helpful
- Place the utensil drawer within arm’s reach of the stove
- Clean the tray monthly to prevent grease buildup in corners
5. Tackle the Junk Drawer Once and For All
Every kitchen has one, and it’s rarely as hopeless as it looks. The key to taming a junk drawer is accepting that it needs boundaries, not elimination — a small dedicated space for batteries, tape, and odd tools is reasonable as long as it doesn’t sprawl into neighboring drawers.
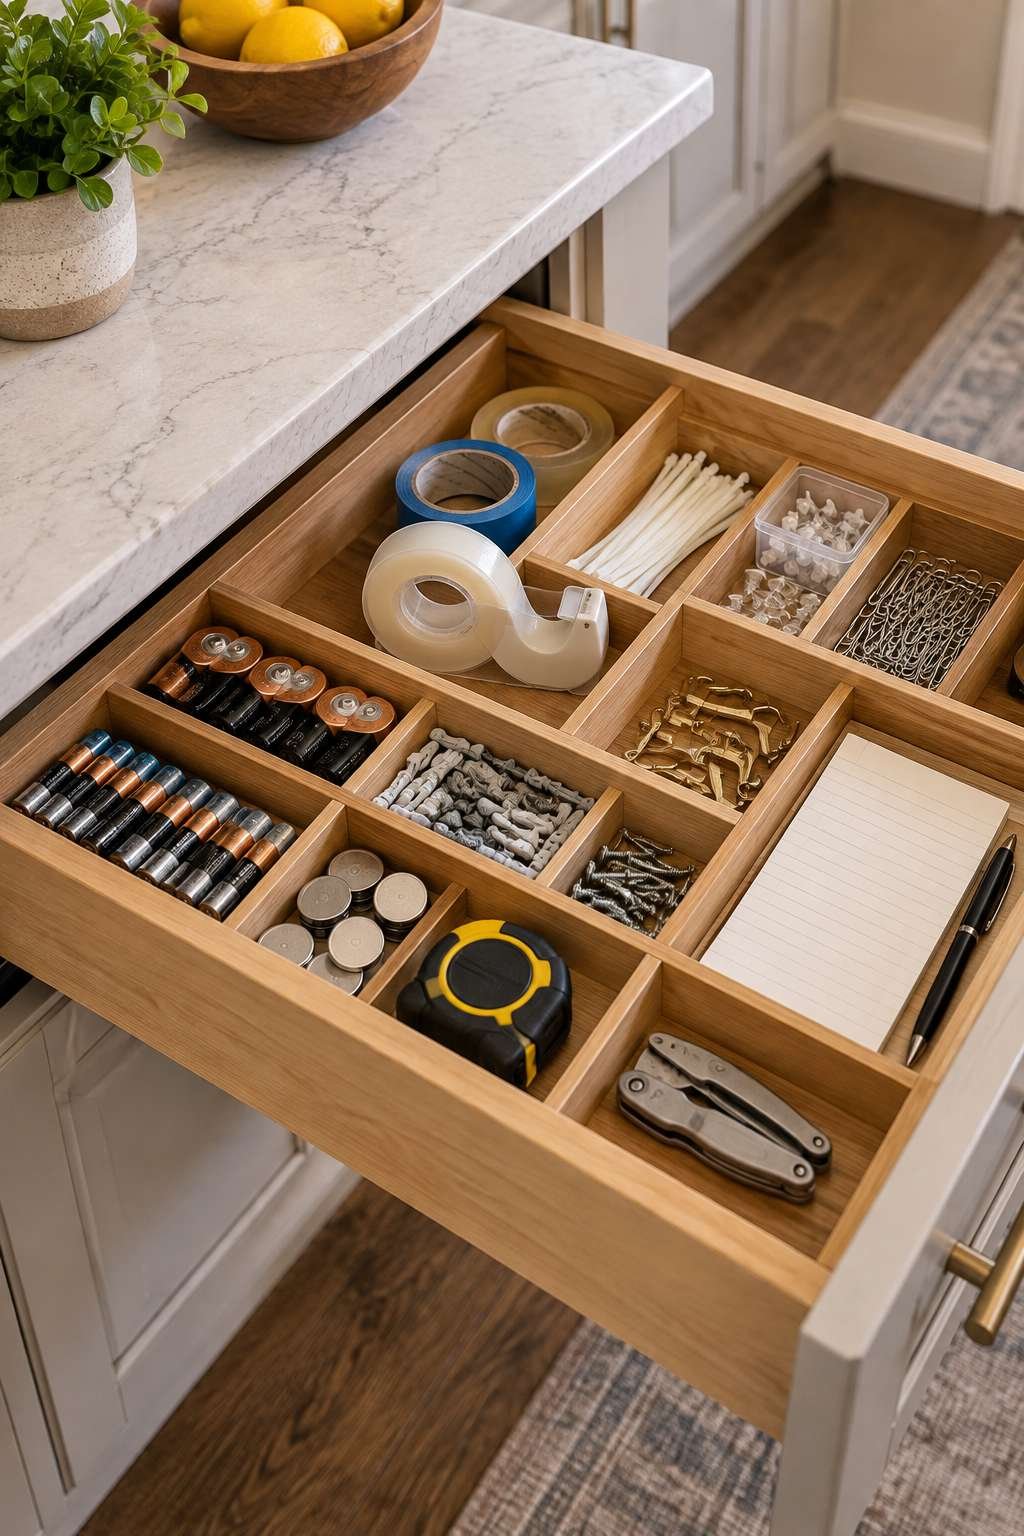
Use a small divided tray to break the drawer into distinct zones: writing tools, adhesives, small hardware, and miscellaneous. This zoned approach prevents the drawer from reverting to its old chaotic state, since each item has a specific home rather than a general dumping ground.
- Limit the junk drawer to one designated space, not several
- Use a divided tray with at least four to six compartments
- Remove anything that belongs in a toolbox or office supply drawer
- Reassess contents every season to catch new clutter early
- Keep a small notepad and pen in one compartment for quick notes
- Avoid storing anything perishable or food-related in this drawer
6. Organize Pots, Pans, and Lids
Deep drawers near the stove are often the best home for cookware, especially in kitchens without a dedicated pot cabinet. A peg-board style base allows you to customize dividers around the exact shapes of your pots and pans, keeping them from sliding and clanging every time the drawer opens.
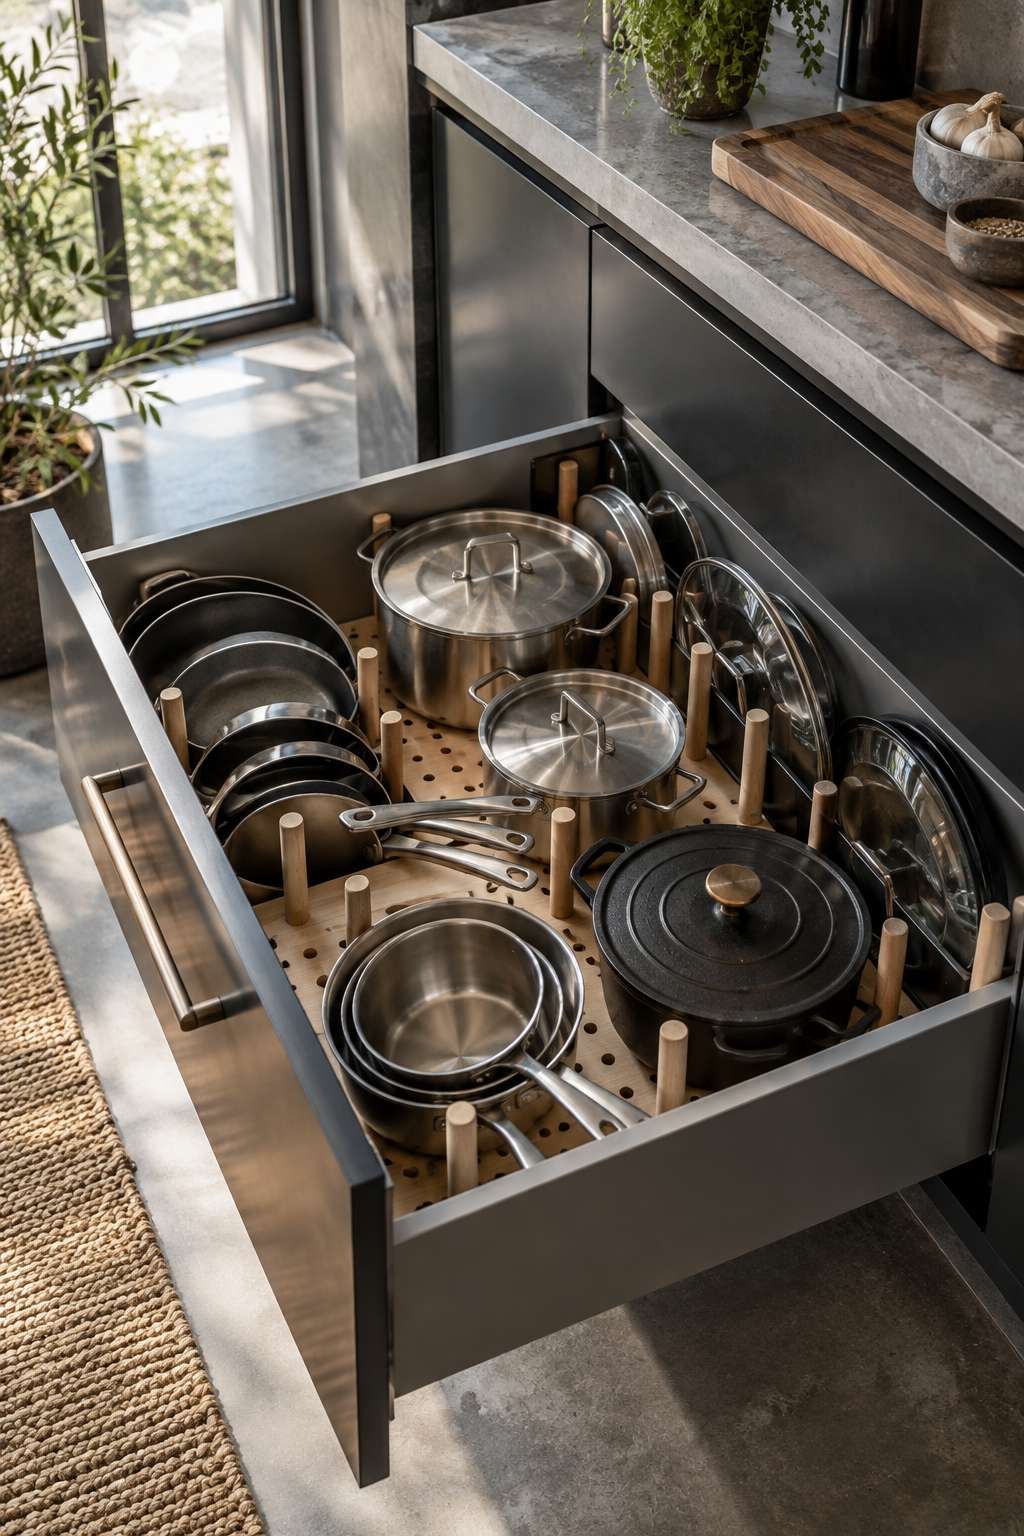
Lids present their own challenge, since they rarely stack neatly with their matching pots. A vertical lid organizer installed along one side of the drawer keeps lids upright and visible, so you can grab the right one without lifting out three others first.
- Install adjustable pegs to custom-fit your cookware collection
- Store lids vertically using a slotted lid organizer
- Nest pots by size when a full peg system isn’t practical
- Keep the heaviest cookware in the lowest, sturdiest drawer
- Pair pots with their lids only if the drawer allows both
- Add a felt or silicone liner to reduce noise and scratching
7. Create a Dedicated Spice Drawer
A shallow drawer near the stove makes an excellent spice storage solution, especially compared to a cluttered upper cabinet shelf. Angled spice inserts let you see every label at a glance, which speeds up cooking and prevents the frustration of digging through jars for the right one.
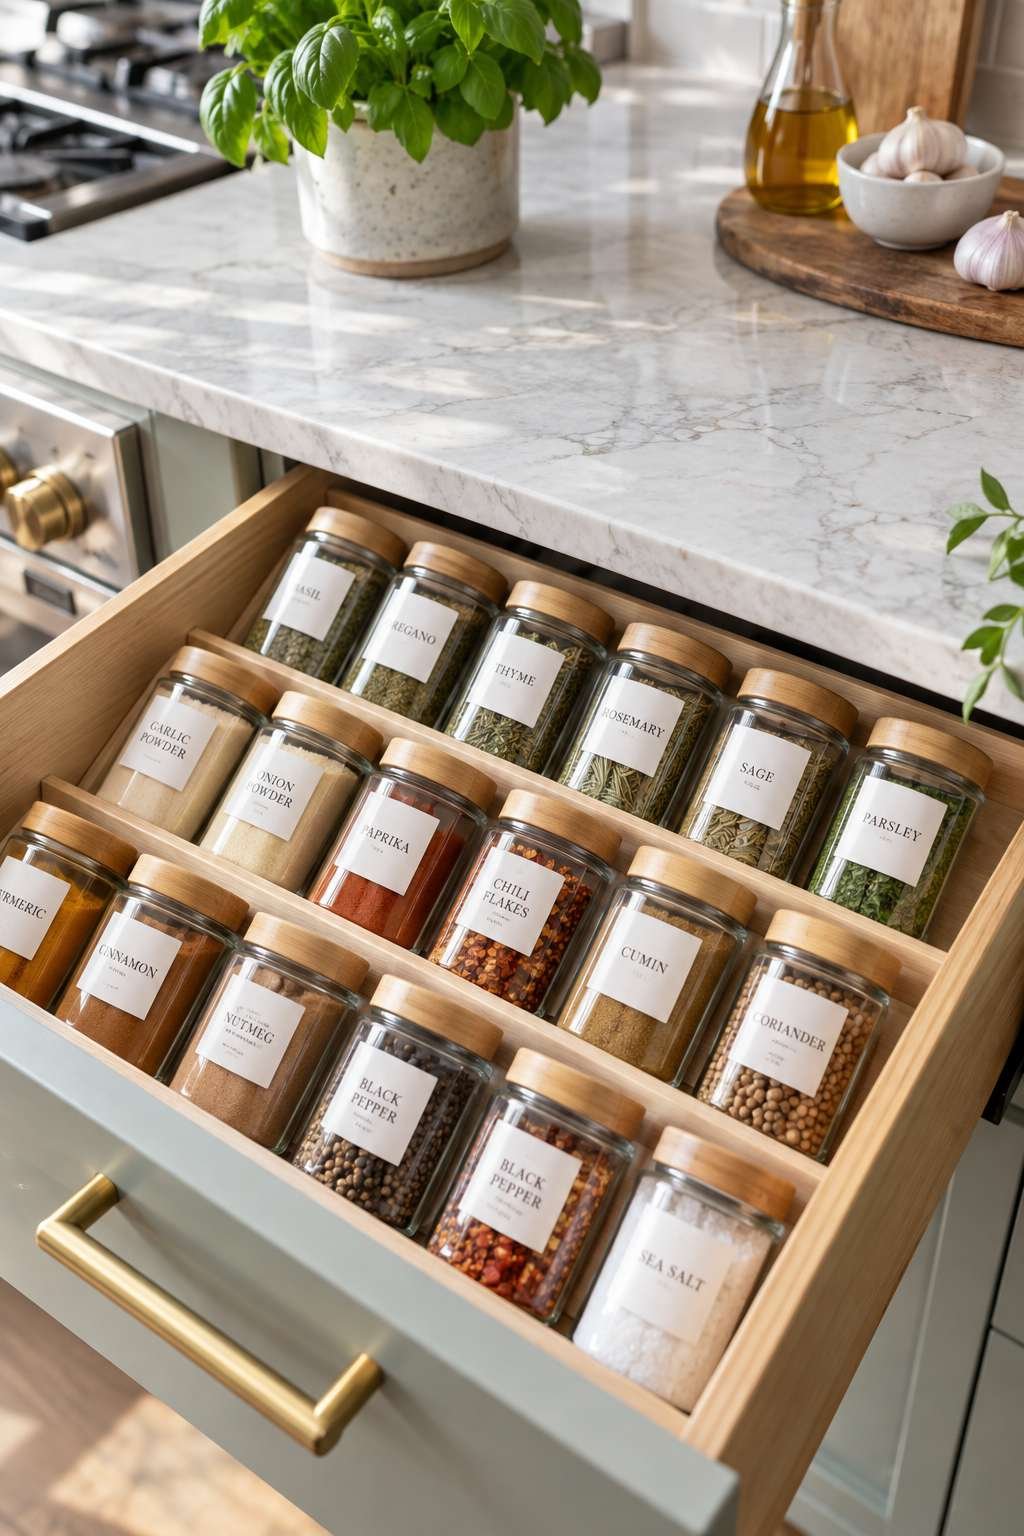
Decant spices into uniform matching jars when possible, since consistent sizing maximizes the number of spices a single drawer can hold. Alphabetizing or grouping by cuisine type — baking spices, savory blends, chili varieties — makes the system intuitive for anyone in the household, not just the person who set it up.
- Choose angled inserts so labels remain visible from above
- Decant spices into uniform, stackable jars
- Group spices by cuisine or usage frequency
- Keep the most-used spices toward the front of the drawer
- Label jar lids as well as the front for double visibility
- Replace spices past their prime every twelve to eighteen months
8. Use Drawer Dividers for Small Tools
Small gadgets like peelers, can openers, and citrus zesters tend to get lost in larger drawers unless they’re given their own compartments. Adjustable acrylic dividers work well here because they can be repositioned as your tool collection grows or changes over time.
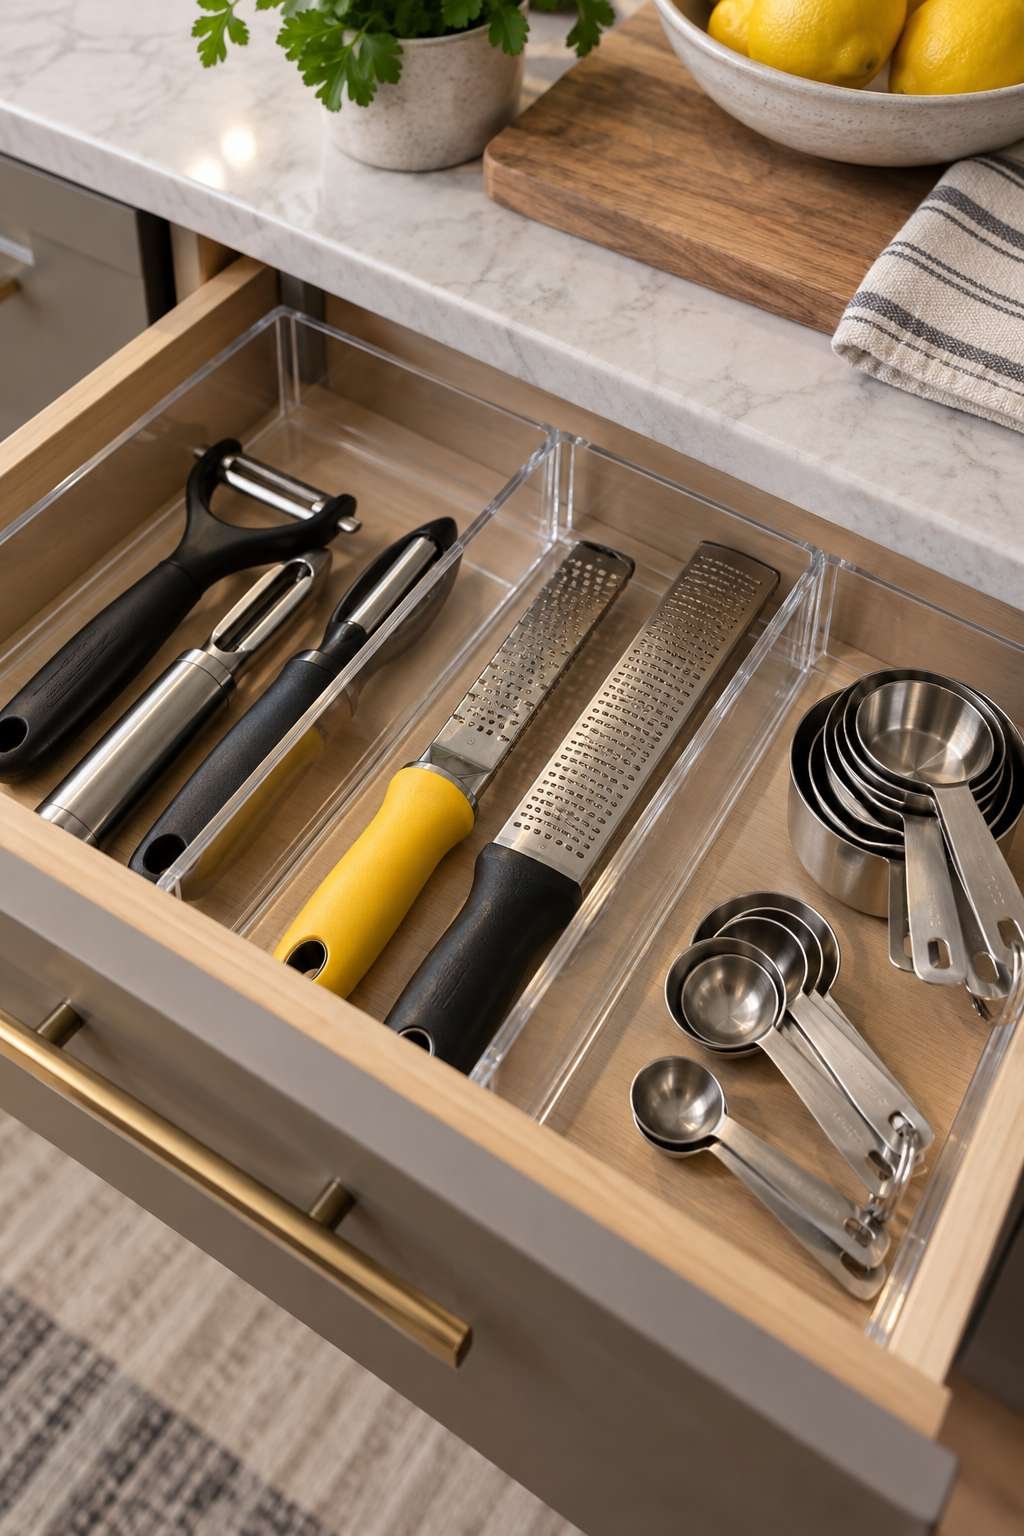
Grouping tools by function — cutting tools together, measuring tools together — makes it easier to grab what you need without opening multiple drawers mid-recipe. This same logic applies well beyond drawers; anyone working through how to organize a kitchen cabinet will find that functional grouping saves just as much time on shelves as it does in drawers.
- Use narrow dividers for single-purpose gadgets and tools
- Group by function rather than by size or shape
- Keep measuring cups and spoons in one dedicated section
- Store sharp tools like peelers in a slotted, protected slot
- Reassess groupings every few months as your toolkit changes
- Avoid overcrowding a single divider section with too many tools
9. Label Everything for Long-Term Success
Labels aren’t just for pantry jars — they’re one of the most effective tools for keeping drawers organized long after the initial setup. A simple label maker or even handwritten tags on masking tape can dramatically reduce the chance that items drift back into the wrong spot.
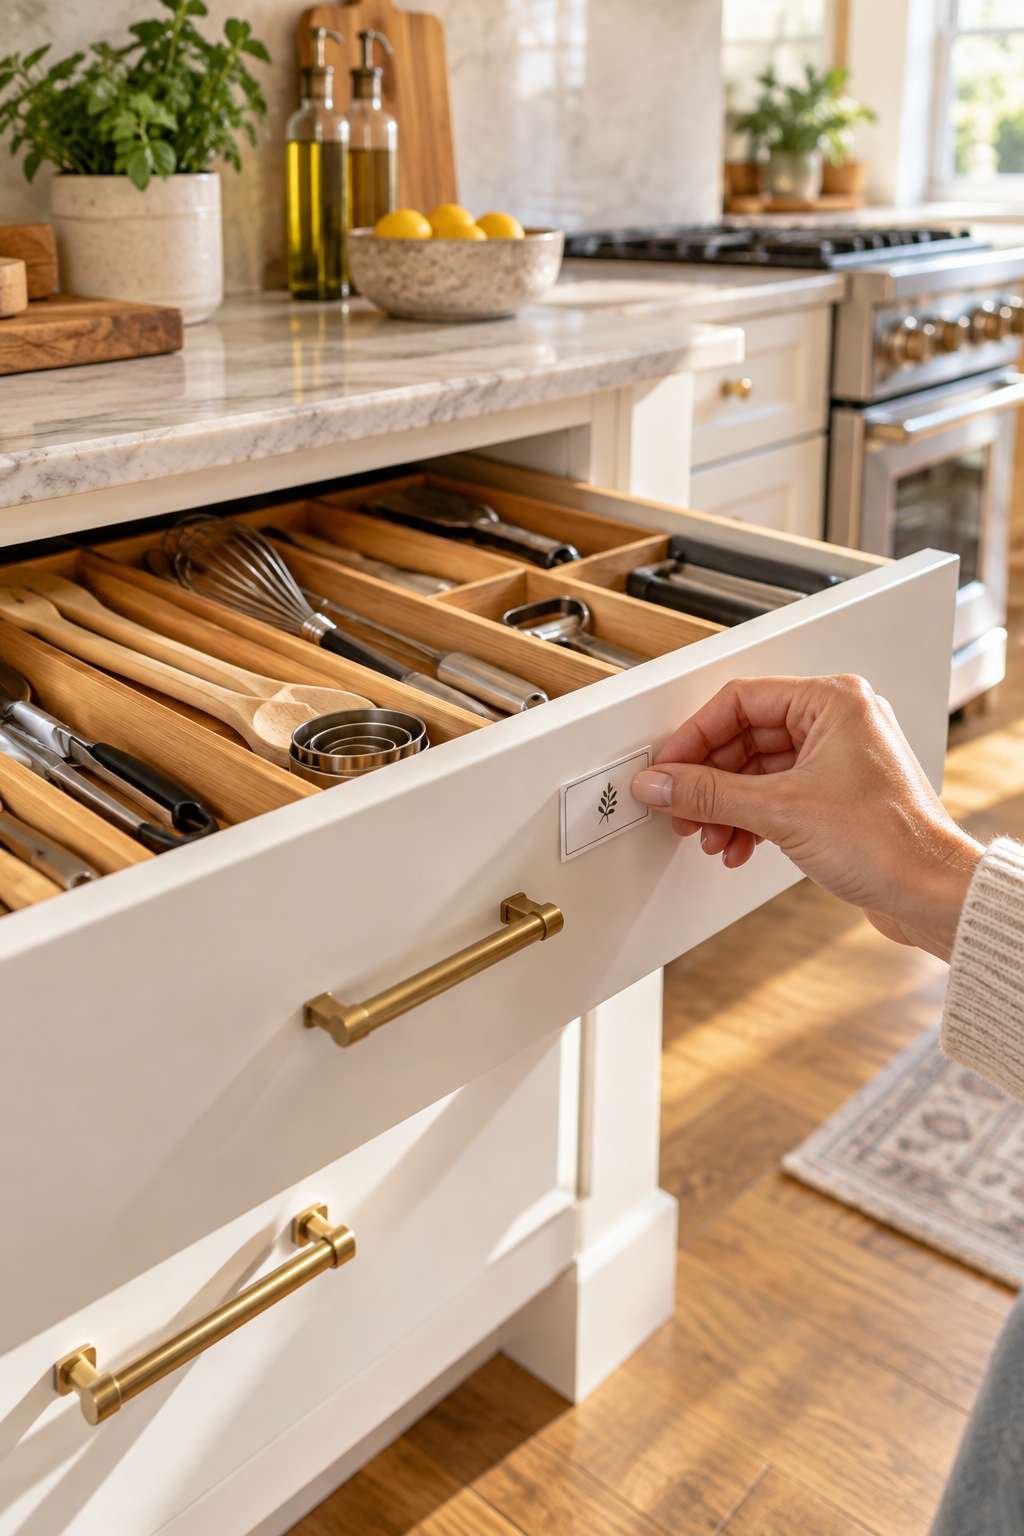
Labeling is especially valuable in shared households, where not everyone remembers the system the way its creator does. This is the same reason labeling pays off when tackling how to organize kitchen pantry shelves, since visual cues remove the guesswork for every family member, not just the most organized one.
- Label each drawer’s general category on the front edge
- Add smaller labels inside compartments for specific items
- Use a label maker for a clean, consistent look
- Choose removable labels if your system may change later
- Involve household members in learning the new label system
- Update labels promptly whenever a drawer’s contents shift
10. Maintain Your System Weekly
Even the best-organized drawer system will drift without a small weekly check-in. Spend five minutes each week doing a quick reset, returning stray items to their designated spots before the clutter has a chance to compound.
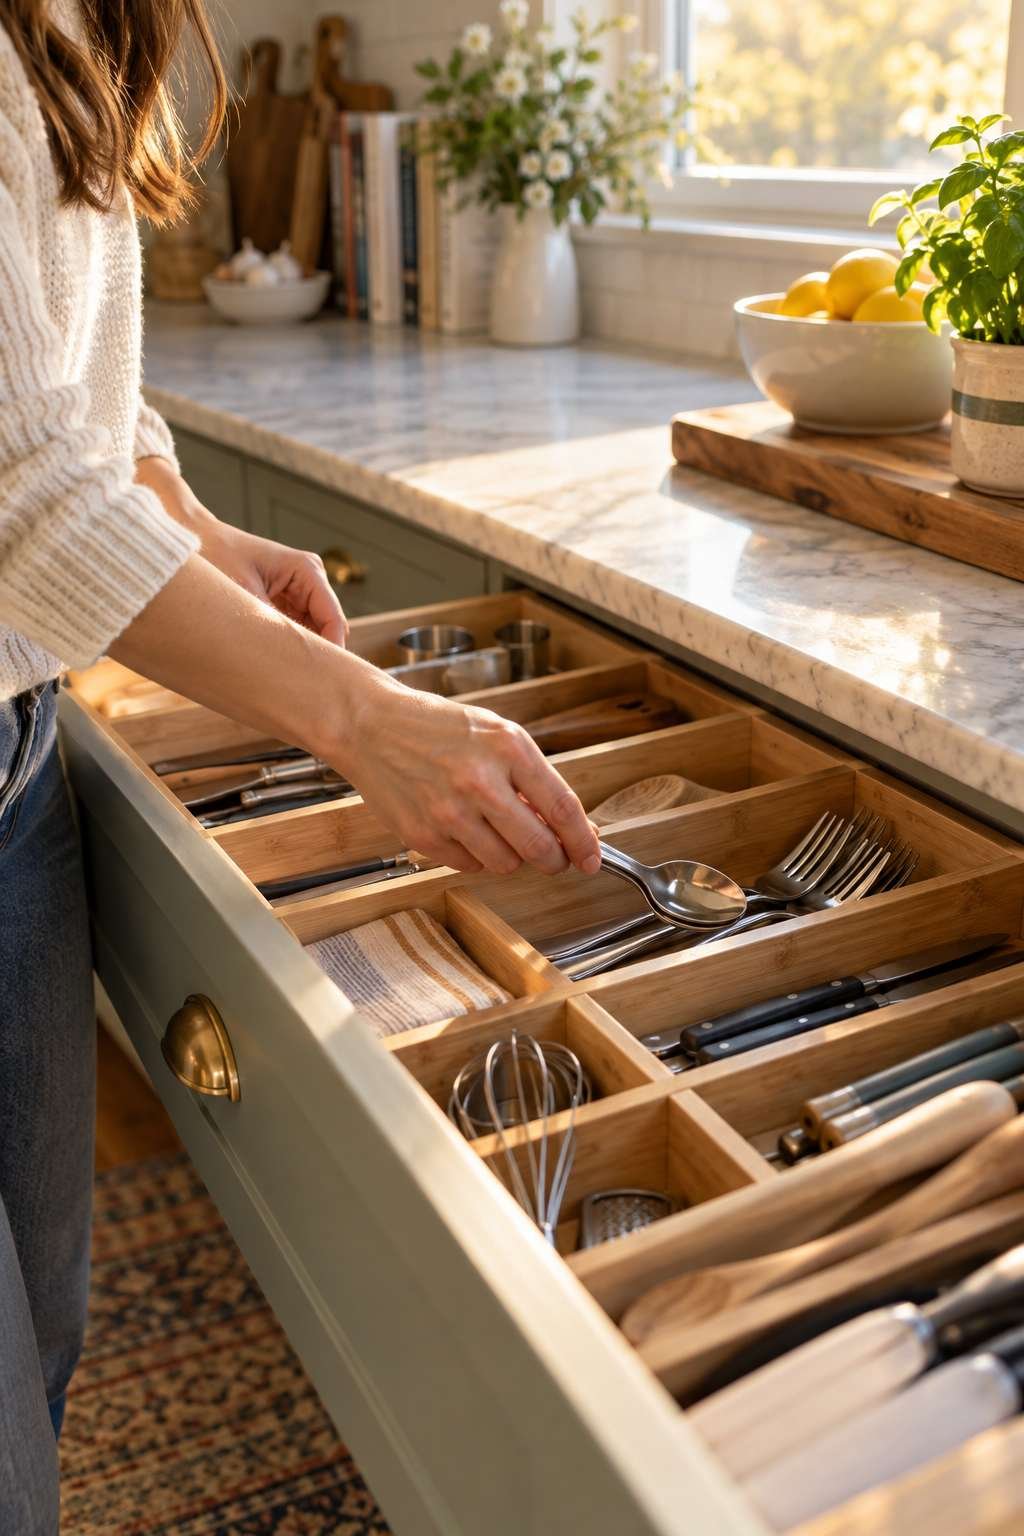
Pair this habit with a monthly deeper look, similar to the seasonal refresh many people use when revisiting how to organize my kitchen cupboards. Consistency, more than any single product or divider, is what keeps a kitchen feeling calm and functional over the long run.
- Set a recurring five-minute weekly reset reminder
- Do a deeper monthly review of every drawer
- Involve the whole household in the maintenance routine
- Re-donate or discard items that no longer earn their space
- Adjust dividers as seasonal cooking habits shift
- Celebrate small wins to keep the habit sustainable
Frequently Asked Questions
How do I organize kitchen cabinets and drawers together as one system?
Treat cabinets and drawers as one connected system rather than separate projects. Assign each zone a clear purpose based on proximity to where it’s used, then use matching organizers and labels across both so the logic stays consistent throughout the kitchen.
How do I organize a kitchen cupboard efficiently?
Group items by category and frequency of use, placing everyday dishes and cookware at eye level. Use risers or turntables for smaller items so nothing gets pushed to the back and forgotten, and leave a little breathing room instead of packing shelves edge to edge.
What’s the best way to organize a kitchen counter?
Keep only daily-use appliances and a few decorative pieces on the counter, storing everything else in drawers or cabinets. A clear counter makes food prep faster and safer, and it also makes the whole kitchen feel more spacious and calm.
How should I organize a kitchen utensil drawer specifically?
Use a slotted tray with individual sections for each utensil type, standing taller tools upright when possible. Keep only one of each duplicate tool in the drawer, and place it as close to your primary cooking area as you can.
What’s the easiest way to organize kitchen utensils overall?
Split utensils between a countertop crock for daily favorites and a drawer tray for everything else. This keeps the most-used tools within arm’s reach while preventing the drawer from becoming overcrowded with rarely used pieces.
How do I organize kitchen tools beyond just utensils?
Separate cooking utensils from true tools like can openers, peelers, and thermometers, giving each its own small compartment. Grouping by function rather than by size makes it far easier to find the right tool during a busy cooking session.
Conclusion
Organizing kitchen drawers isn’t a one-weekend fix so much as a system you build and refine over time. Starting with a full reset, choosing the right dividers, and sorting by clear categories creates a foundation that actually holds up to daily use rather than collapsing back into clutter within a month.
The real reward comes from the small moments — reaching for a spatula and finding it instantly, or opening the spice drawer and seeing every label at a glance. Start with just one drawer this week, build momentum, and let that success carry you through the rest of the kitchen.

