


A quiet water feature can transform an ordinary yard into a personal retreat, and learning how to build a backyard pond is more approachable than most homeowners expect. With the right planning, materials, and a bit of patience, you can create a feature that looks like it belongs in a professional landscape design. The sound of trickling water, the shimmer of koi beneath the surface, and the greenery around the edges all work together to build a space that feels calm and intentional.
Interior design doesn’t stop at your back door, and thoughtful outdoor spaces deserve the same attention as any indoor room. A backyard pond can anchor a naturalistic garden style, complement a modern minimalist patio, or serve as the centerpiece of a lush cottage-style yard. Different homeowners want different things from their water feature, whether that’s a habitat for fish, a soothing backdrop for entertaining, or simply a focal point that adds value to the property.
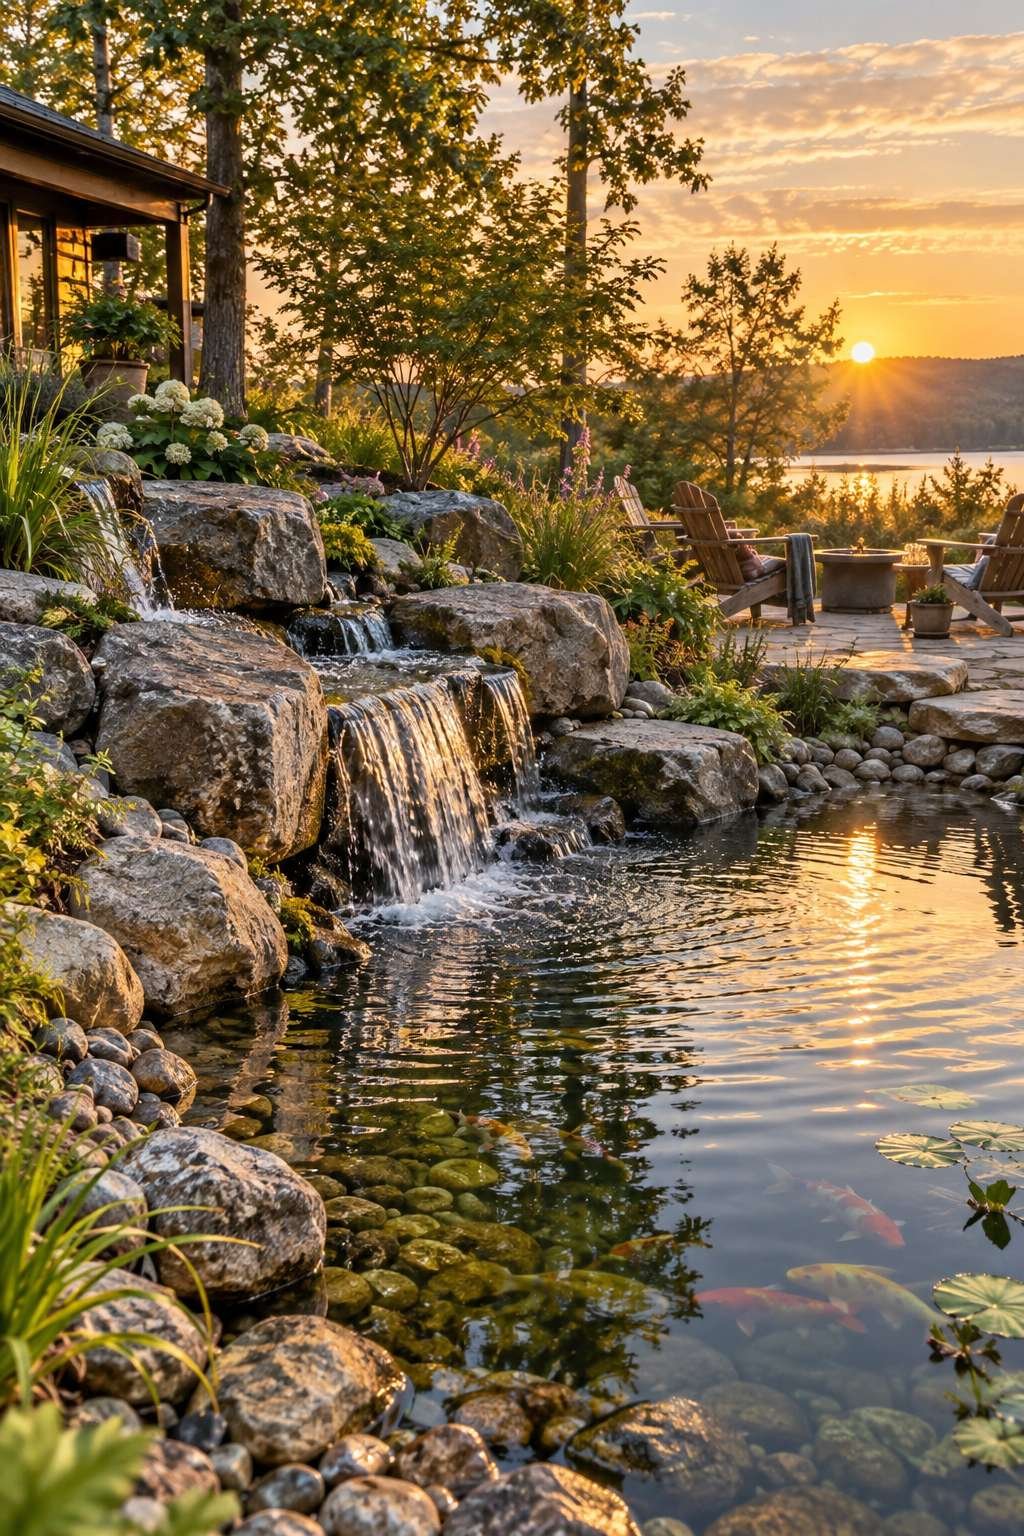
This guide walks through every stage of the process, from choosing a location to keeping the water healthy long after installation. Along the way, we’ll cover liner selection, filtration, planting, and the seasonal upkeep that keeps a pond thriving for years.
1. Planning Your Backyard Pond Location
Before any digging begins, spend time observing your yard at different times of day. The ideal spot balances partial sunlight with some afternoon shade, since too much direct sun encourages algae growth. Avoid placing the pond directly under large trees, as falling leaves create ongoing maintenance and root systems can damage the liner.
Think about how the pond will connect to the rest of your outdoor layout. A pond positioned near a patio or seating area becomes part of daily life rather than a feature tucked away and forgotten. If you’re already planning other additions, like a fire pit for cooler evenings or even a backyard zipline for the kids, mapping out the whole yard together prevents awkward spacing later.
Check local utility lines and drainage patterns before committing to a site. Water naturally flows downhill, so a slight low point in the yard can actually work in your favor for future overflow management.
- Observe sunlight patterns for at least one full day
- Keep the pond at least 10 feet from large trees
- Confirm no utility lines run through the chosen area
- Consider visibility from indoor windows and the patio
- Plan for a nearby power source for pumps and lighting
2. Choosing the Right Pond Size and Shape
Pond size depends on your goals, available space, and budget. A small decorative pond might span just 4 to 6 feet across, while a fish-friendly pond typically needs at least 100 square feet to maintain stable water temperatures. Larger ponds are generally easier to keep balanced because they resist rapid temperature swings.
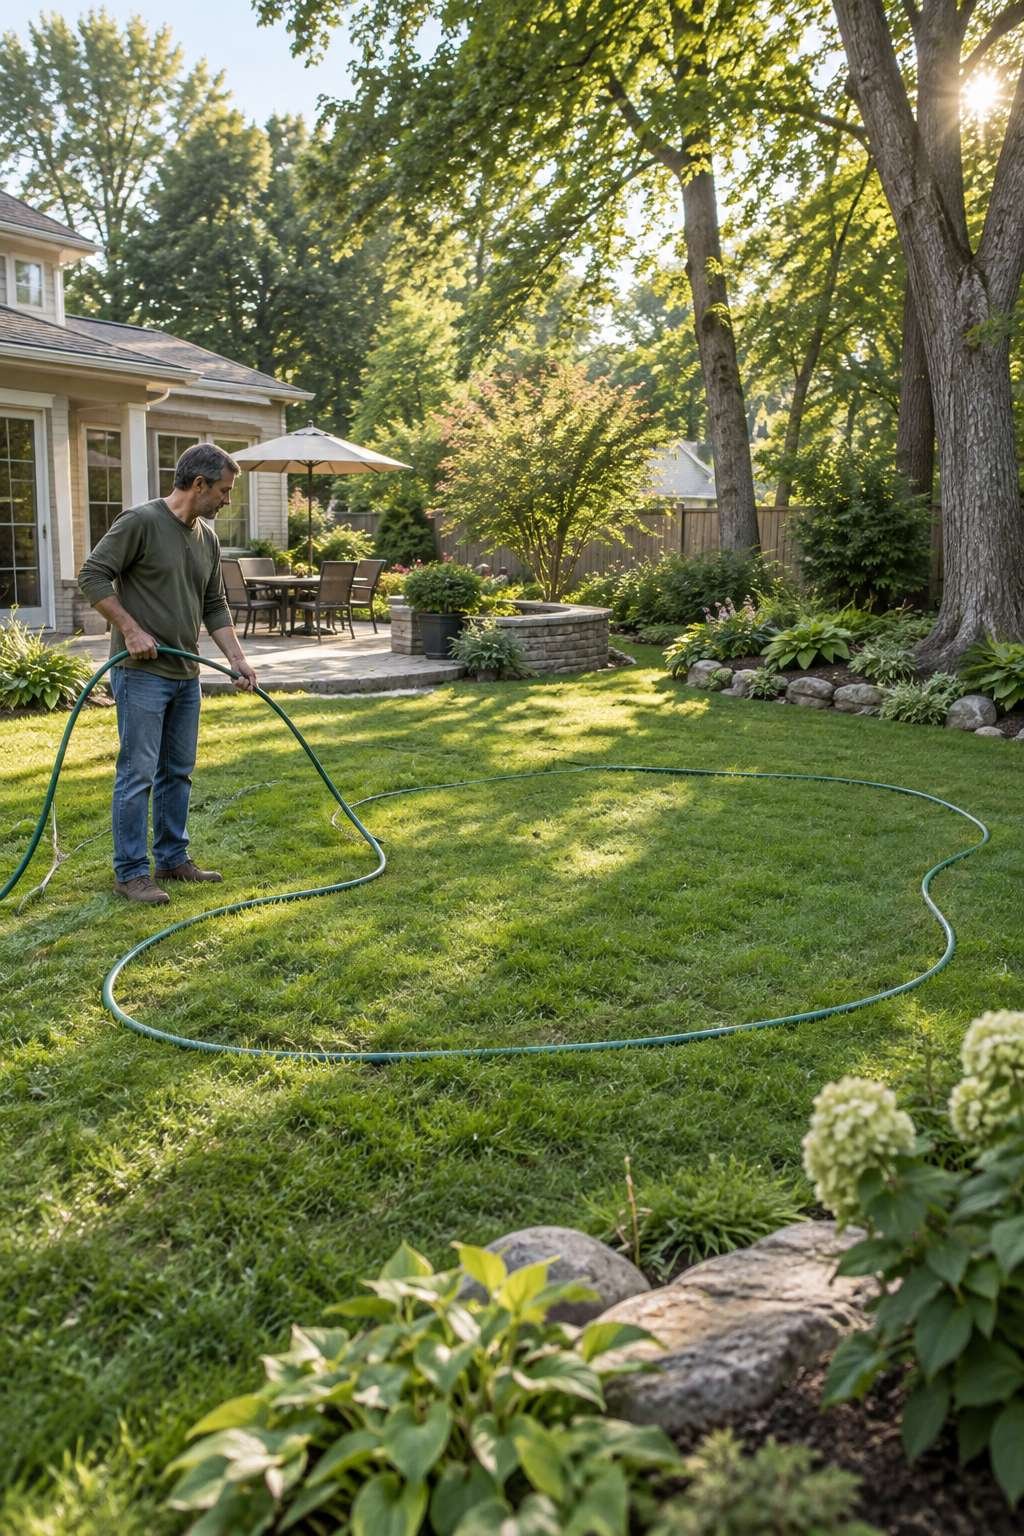
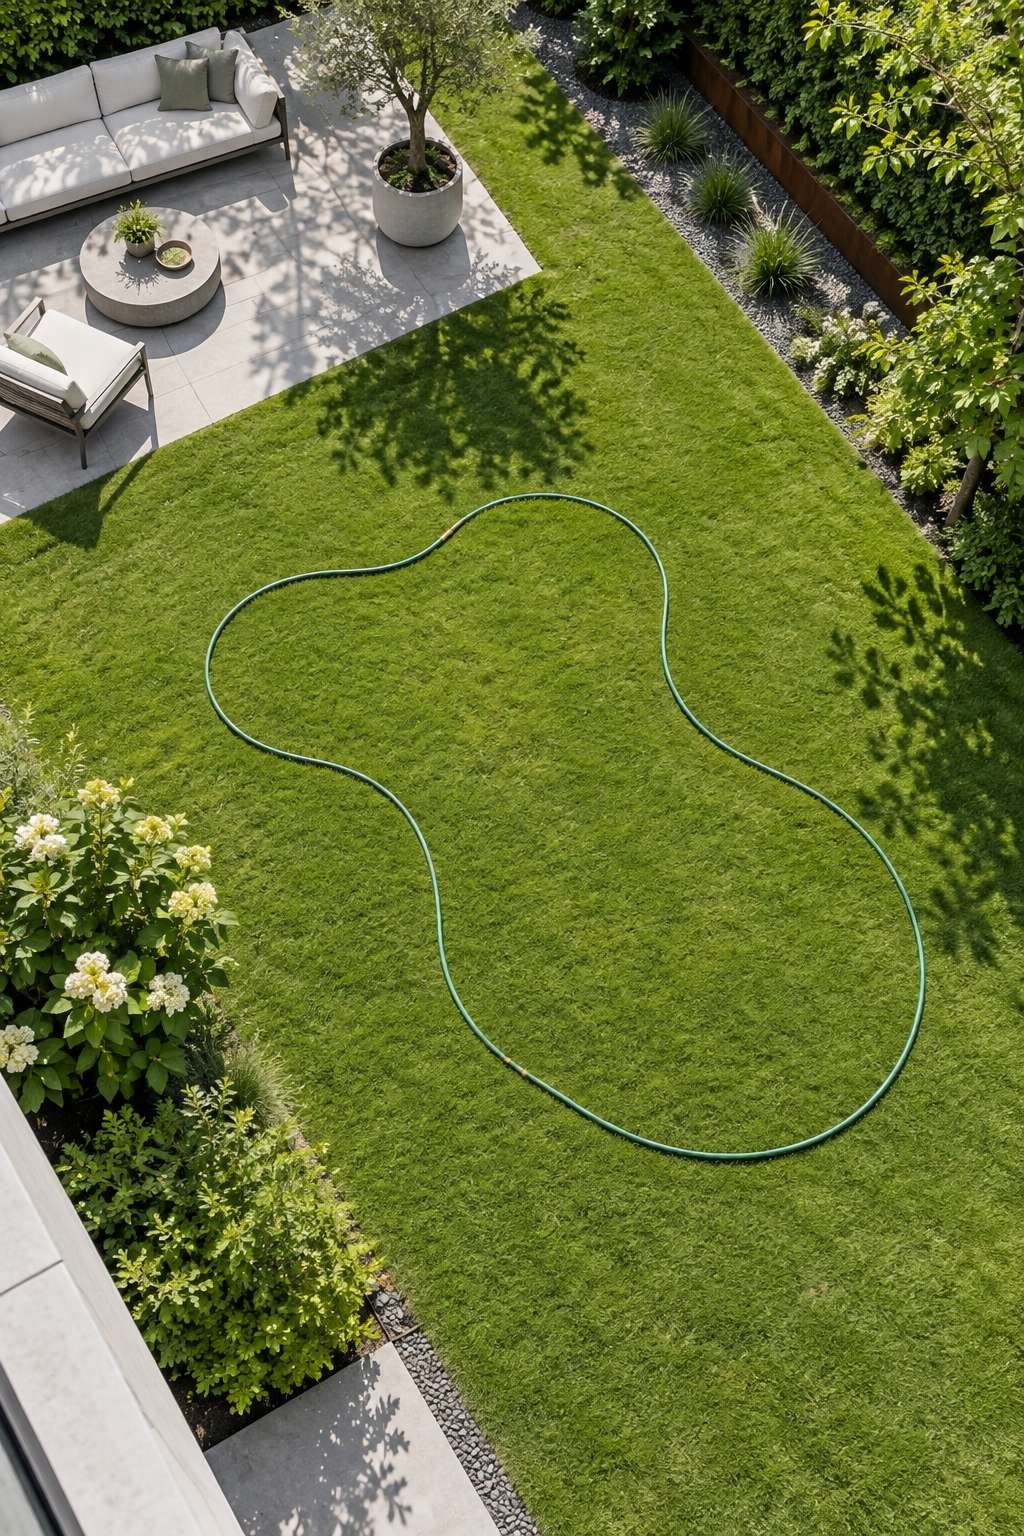
Shape should reflect the overall style of your yard. Curved, organic outlines suit naturalistic gardens, while clean rectangular shapes pair well with modern landscaping. Sketch a few options on paper or use a garden hose to lay out the shape directly on the grass before digging.
Depth matters as much as surface size. Include at least one section that reaches 24 inches deep to give fish a refuge from summer heat and winter freezes.
- Use a garden hose to outline the shape before digging
- Plan at least one zone with 24 inches of depth
- Match the shape to your yard’s existing design style
- Account for future plant and rock placement in the footprint
- Leave extra space around the edge for landscaping
3. Selecting a Pond Liner
The liner is the single most important material in the entire project, since it determines how long the pond holds water without leaking. Flexible rubber liners, especially EPDM, are the industry standard because they resist UV damage and can be molded around irregular shapes. Rigid preformed liners work well for smaller, simpler pond designs.
Measure your excavation carefully before purchasing, adding extra length and width to account for depth and folds. A common mistake is buying a liner that’s too small, which leaves no margin for adjustments once the hole is dug.
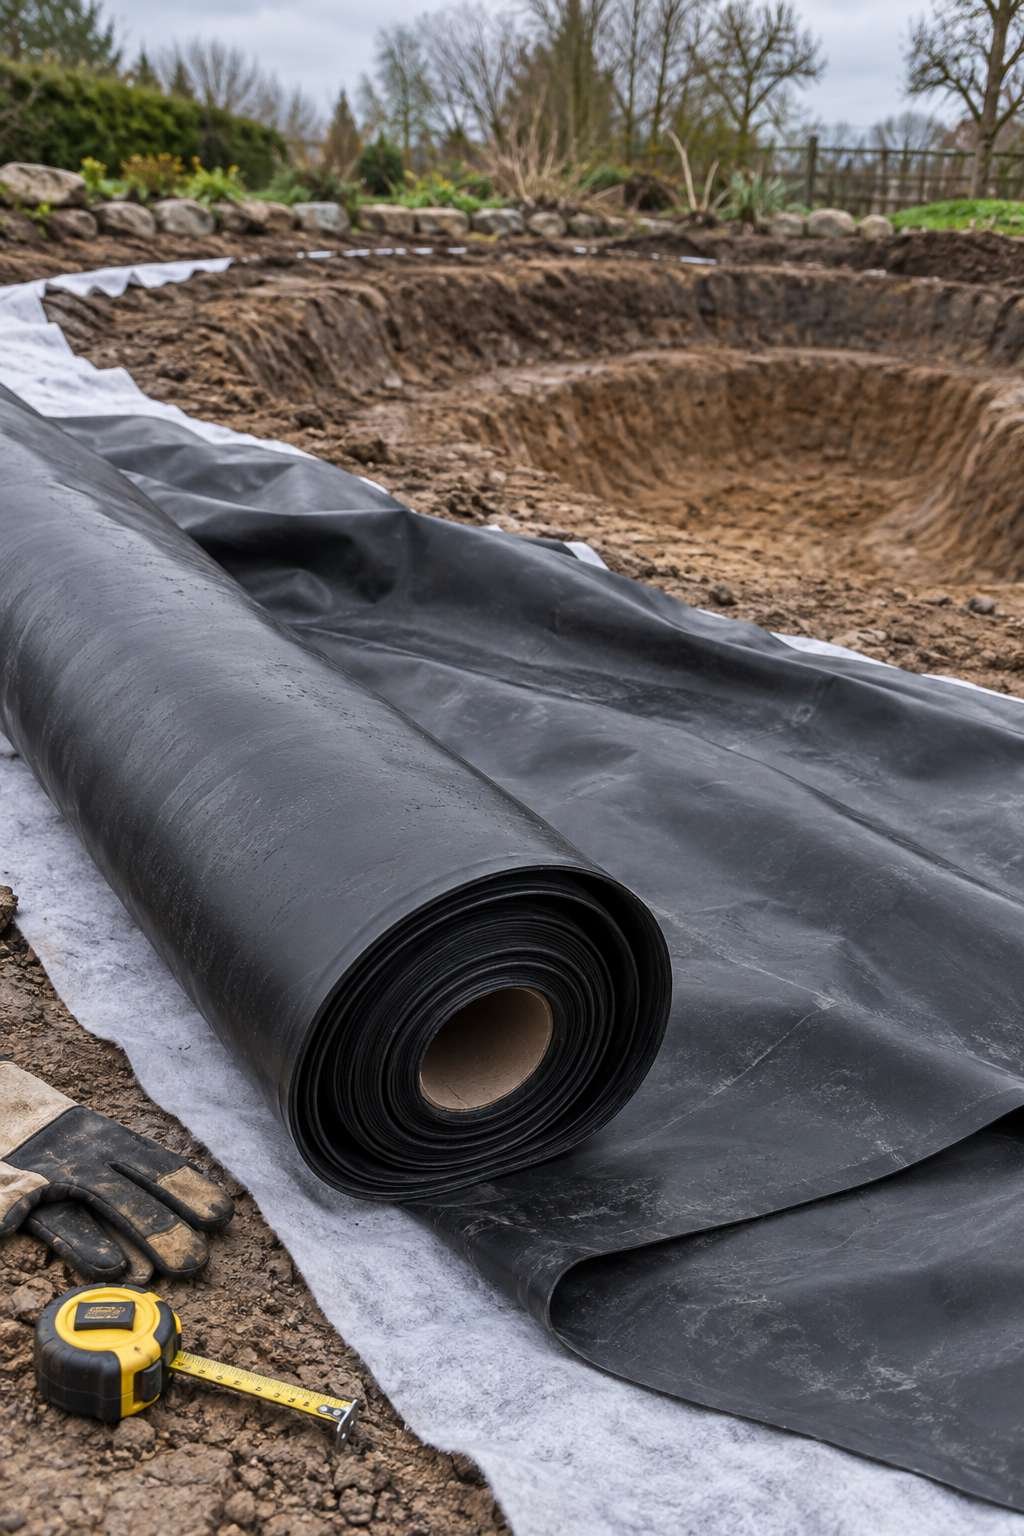
Always pair the liner with a protective underlayment. This soft barrier prevents rocks and roots beneath the pond from puncturing the liner over time.
- Choose EPDM rubber for flexibility and durability
- Add extra liner length for depth plus edge overlap
- Install underlayment beneath the liner in every case
- Avoid liners with visible seams unless properly sealed
- Check the liner’s warranty length before buying
4. Digging and Shaping the Pond Excavation
Once your layout is marked, begin digging from the center outward. Create shelving levels at different depths to support marginal plants near the edges and deeper zones for fish. Most successful ponds include at least two or three distinct depth tiers.
Keep the walls of the excavation gently sloped rather than vertical. Sloped sides reduce soil collapse and make it easier to press the liner smoothly against the ground. Remove sharp rocks, roots, and debris as you go, since these can tear the liner during installation.
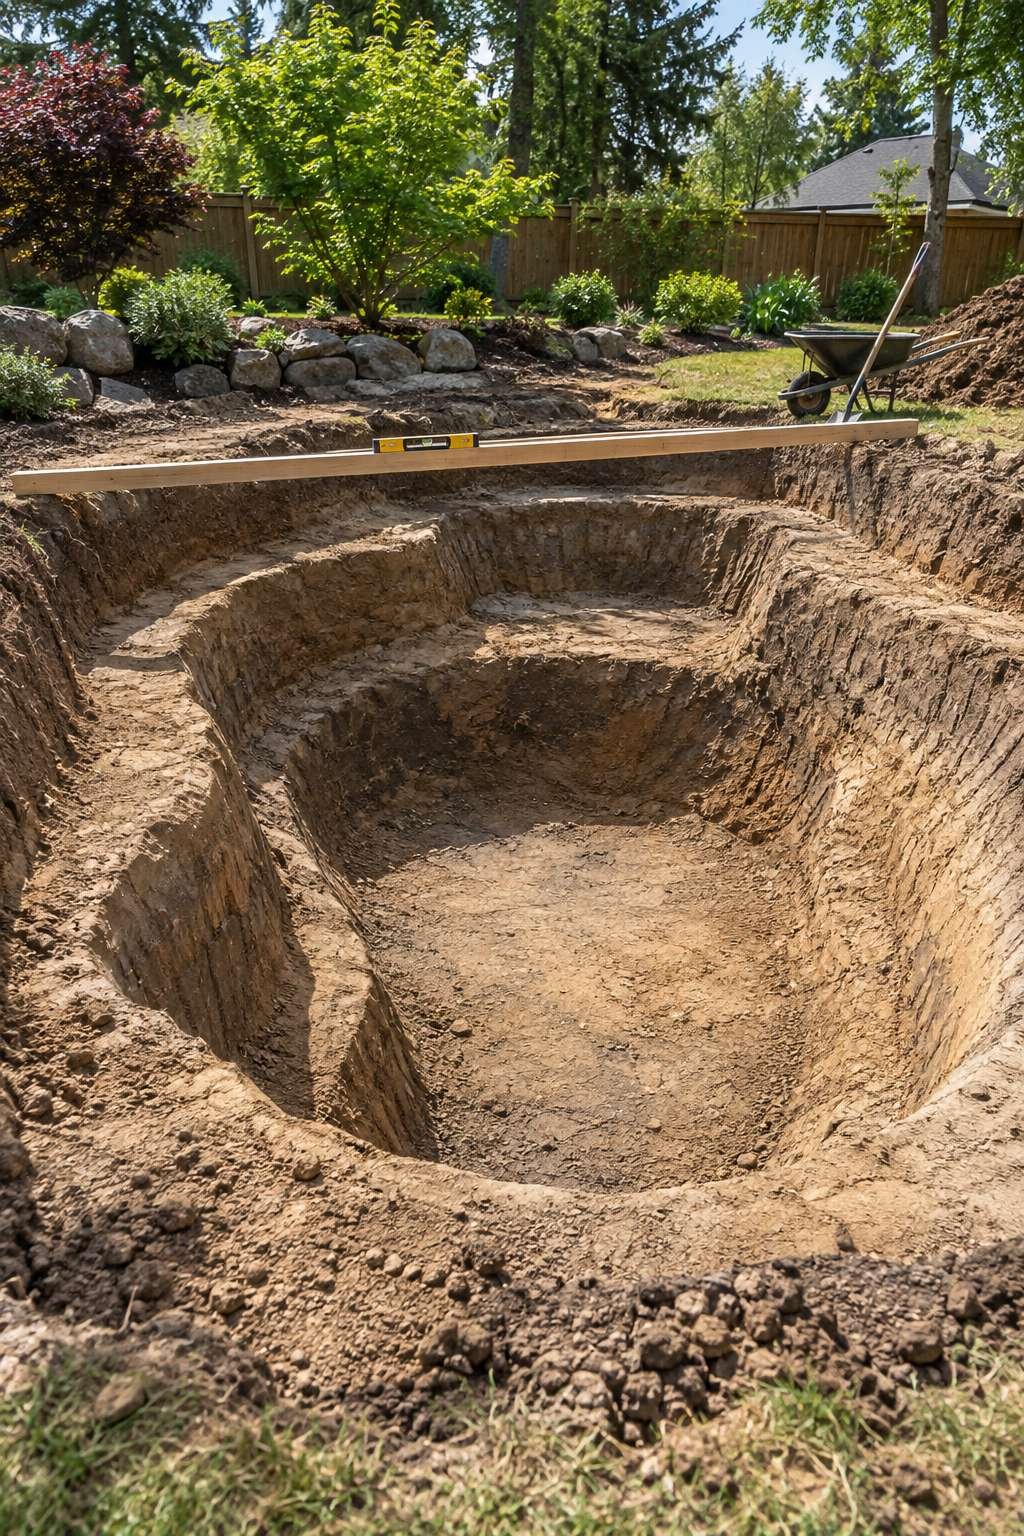
Check that the perimeter is level using a long board and a bubble level. An uneven edge causes water to spill unevenly once the pond is filled.
- Dig shelving tiers for plants at varying depths
- Slope the walls instead of digging straight down
- Remove all sharp debris from the excavation
- Level the perimeter with a board and bubble level
- Compact the soil floor before adding underlayment
5. Installing the Pond Liner and Underlayment
With the hole shaped and cleared, lay the underlayment first, smoothing out wrinkles as you go. Center the liner over the top and let it settle into the contours of the excavation naturally rather than forcing it into place. Fill the pond with a few inches of water to help the liner mold to the shape before making any trims.
Work slowly around the edges, pleating the liner neatly at corners and curves. Rushing this step often causes visible creases that are difficult to hide later with rocks or plants.
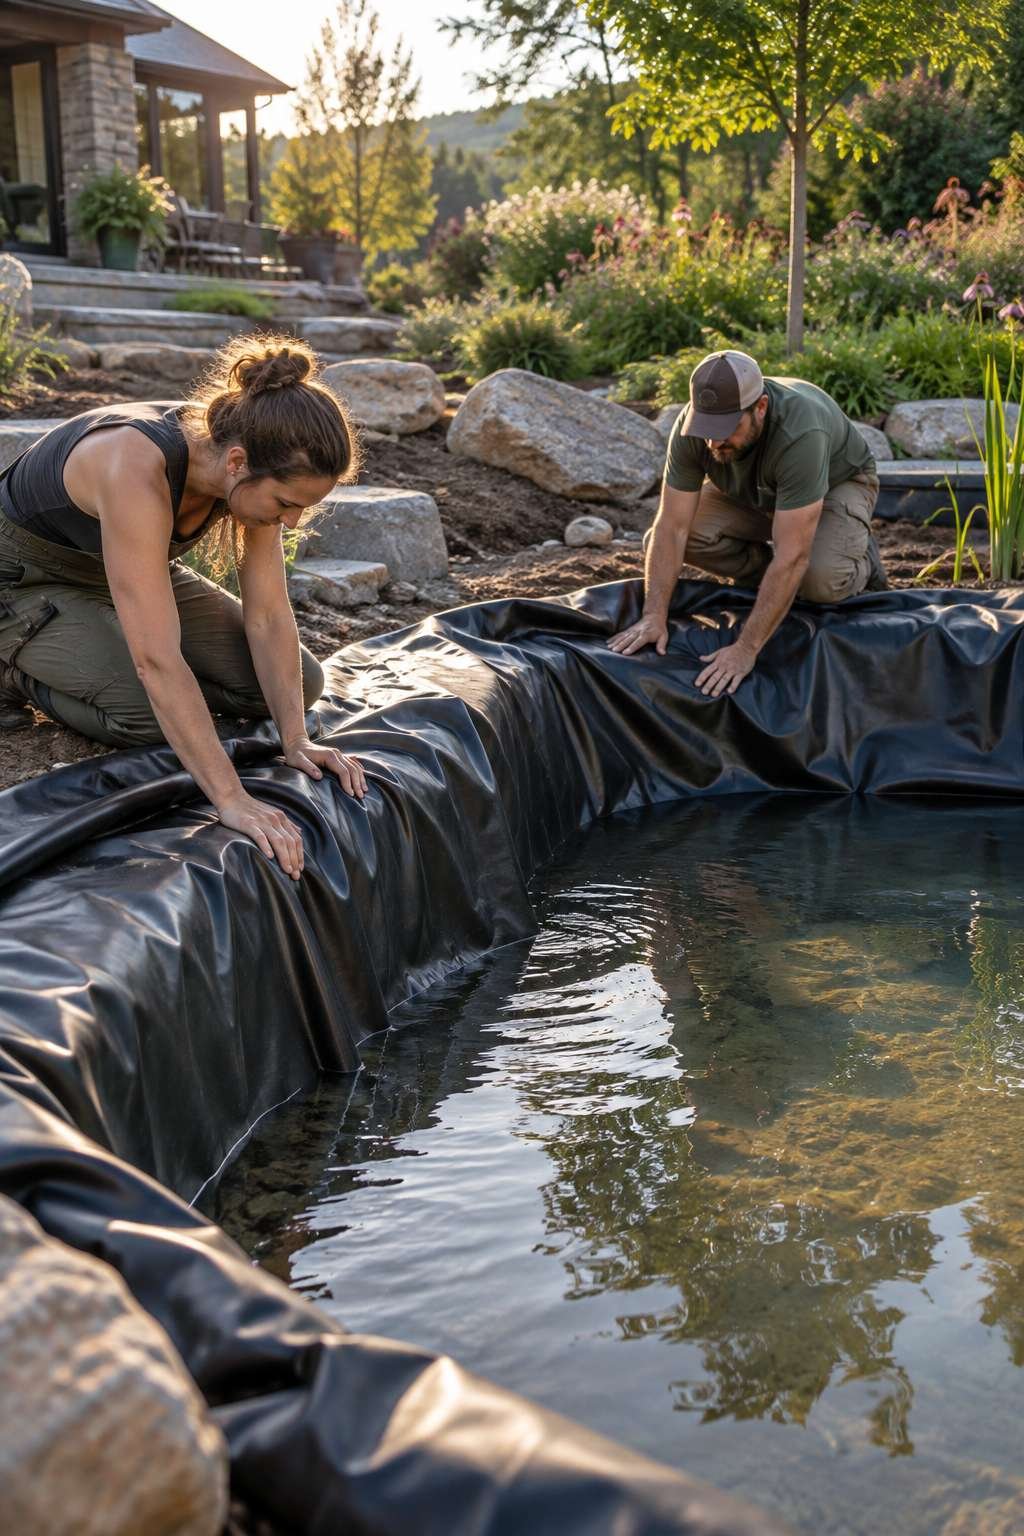
Leave excess liner material draped over the edges until the pond is completely full. Trimming too early risks cutting away material you’ll need once the water settles.
- Smooth the underlayment before placing the liner
- Add a few inches of water before adjusting the fit
- Pleat corners neatly instead of cutting excess fabric
- Wait until the pond is full before trimming edges
- Secure the liner edge with rocks or soil temporarily
6. Setting Up a Pump and Filtration System
A reliable filtration system keeps water clear and supports healthy fish and plants. Submersible pumps are easiest for smaller ponds, while external pumps handle larger volumes more efficiently. Size the pump so it can circulate the entire pond’s volume roughly once every one to two hours.
Biological filters house beneficial bacteria that break down fish waste and organic debris. Mechanical filters catch larger particles before they settle on the pond floor. Combining both types gives the clearest, healthiest results.
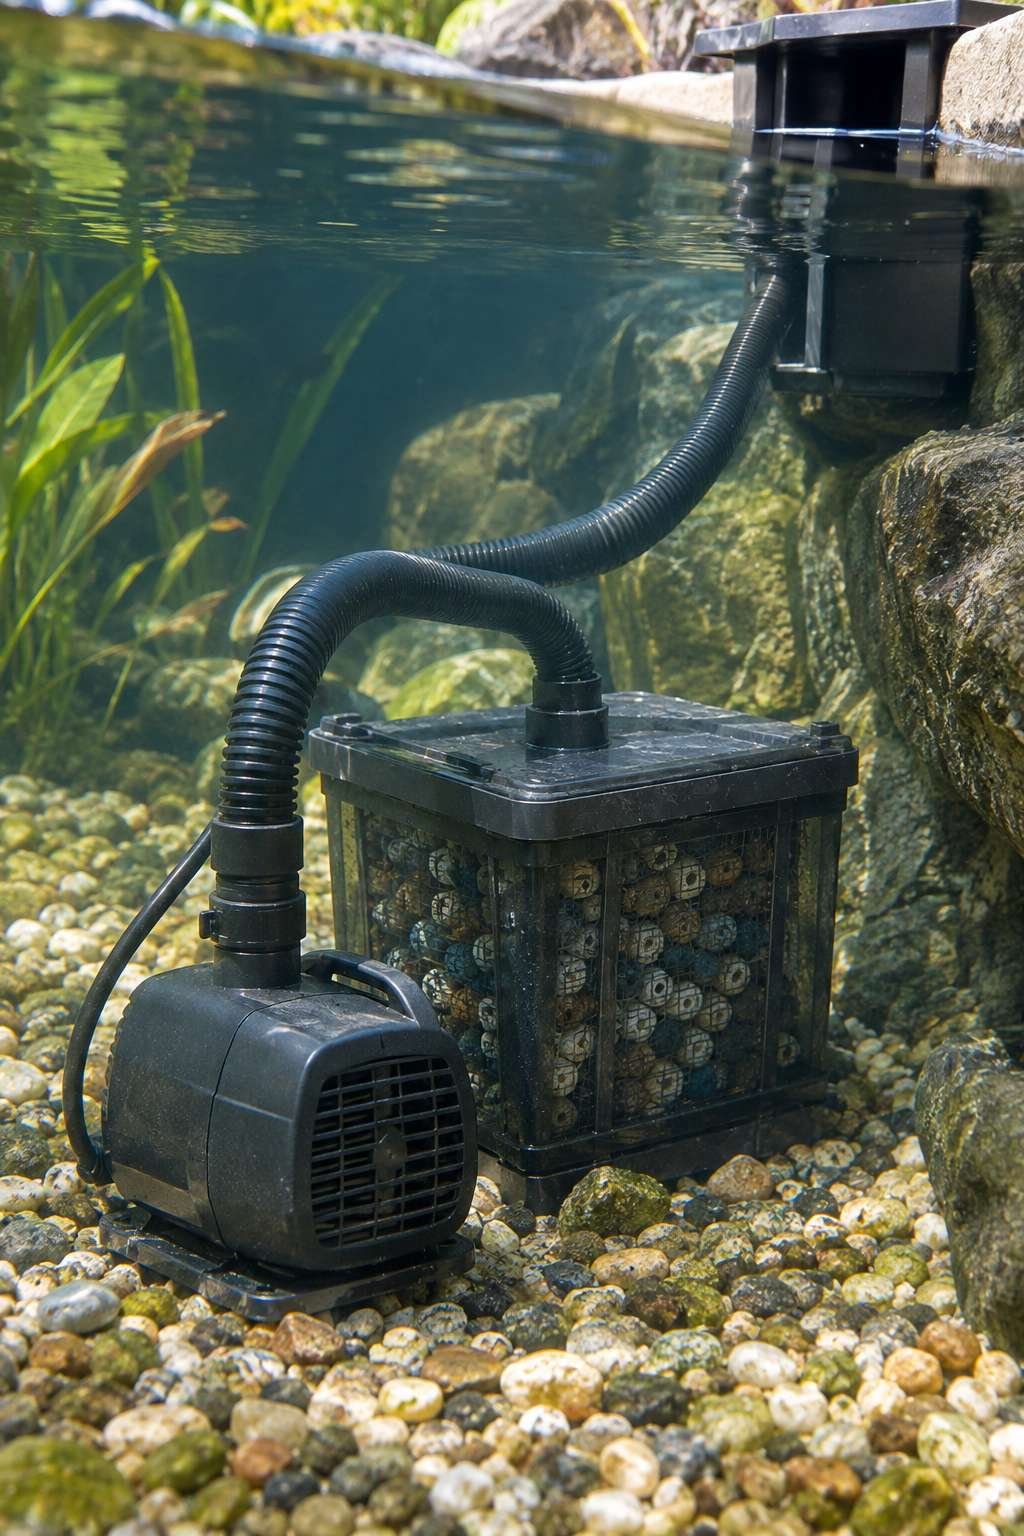
Position the pump intake away from the pond floor to avoid pulling in excess sediment. A skimmer attachment near the surface can also remove floating leaves before they sink and decompose.
- Match pump size to your pond’s total water volume
- Combine mechanical and biological filtration together
- Position the intake off the pond floor
- Add a surface skimmer to catch debris early
- Clean filter media on a consistent monthly schedule
7. Adding Rocks, Edging, and Waterfalls
Rocks and edging hide the liner’s raw edges while giving the pond a natural, finished appearance. Layer stones of different sizes, placing larger boulders as anchors and smaller stones to fill gaps. This layered approach mimics how rock formations appear naturally near real water sources.
A small waterfall or stream feature adds movement, sound, and extra oxygenation for fish. Position the waterfall so it flows into the pond rather than off to one side, which keeps splash contained within the liner.
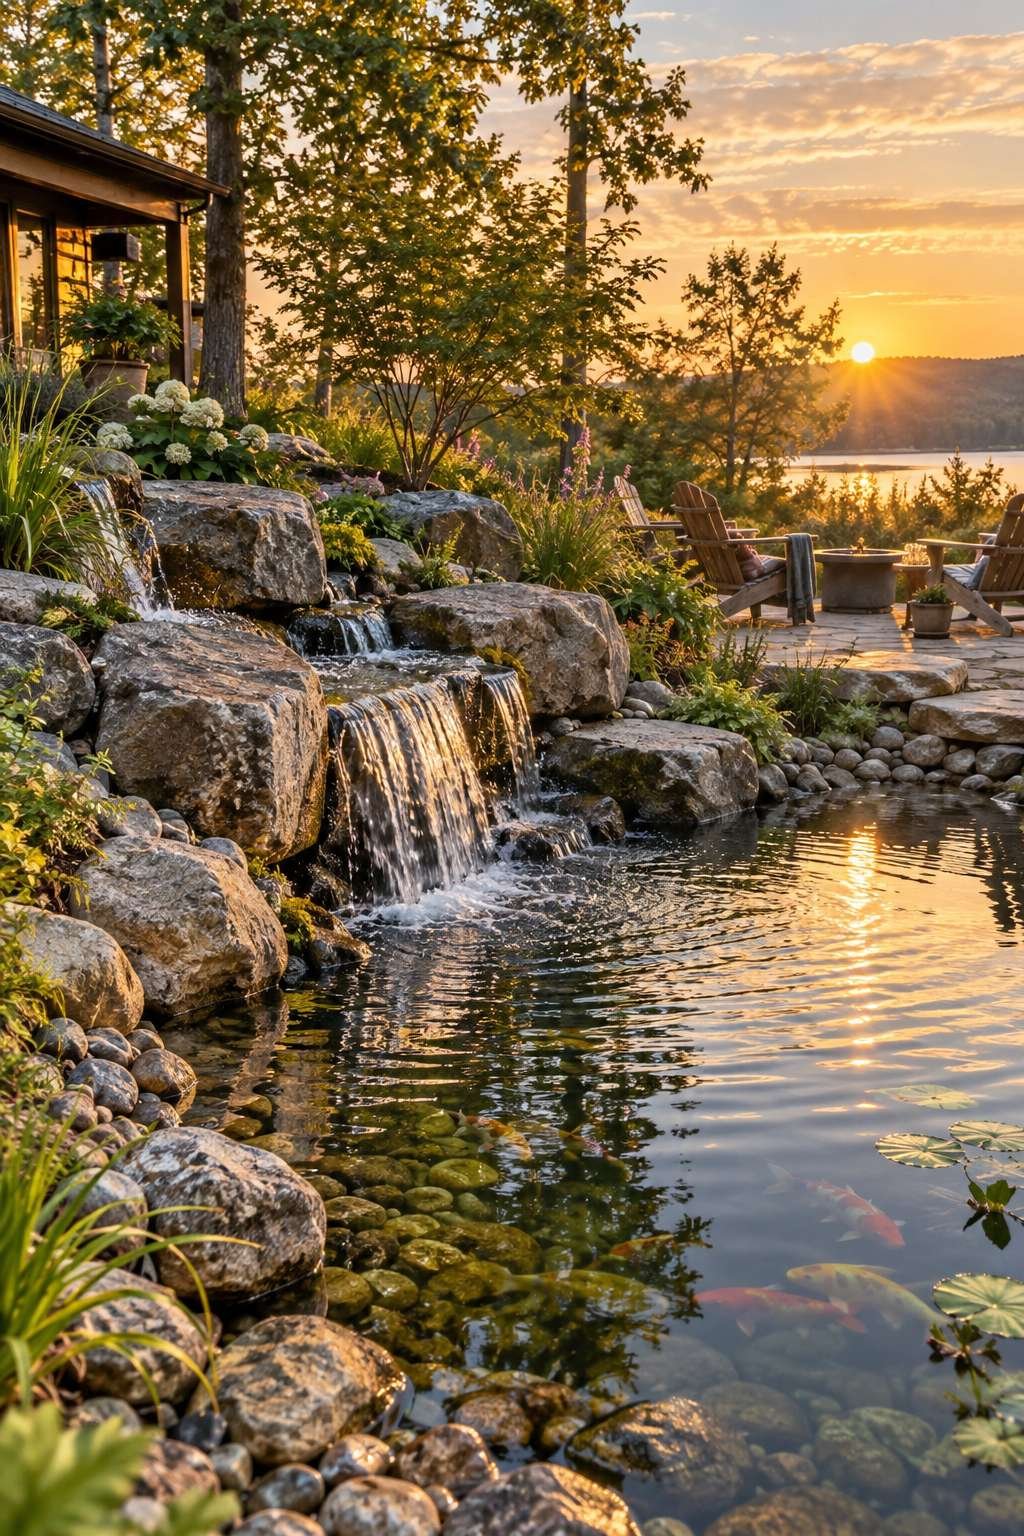
If your yard also includes a seating area, consider how the sound of moving water will carry there. Many homeowners find that pairing a pond’s ambiance with a nearby gathering spot makes the whole yard more inviting in the evening.
- Layer rocks from large boulders to small pebbles
- Secure edging stones so they overhang the liner slightly
- Angle waterfalls to flow directly into the pond
- Use flat stones near the edge for safe footing
- Hide pump tubing beneath the rock layer completely
8. Choosing Aquatic Plants for Your Pond
Plants do more than add beauty; they help balance the pond’s ecosystem naturally. Floating plants like water lilies shade the surface and reduce algae growth by limiting sunlight penetration. Submerged oxygenating plants release oxygen directly into the water, benefiting fish and beneficial bacteria alike.

Marginal plants, such as irises and rushes, thrive in the shallow shelves around the pond’s edge. These plants also help soften the transition between water and surrounding landscaping.
Introduce plants gradually rather than all at once, giving the pond time to establish a stable microbial balance. Overcrowding early on can actually slow the ecosystem’s development.
- Add floating plants to reduce algae through shading
- Include submerged plants for natural oxygenation
- Plant marginals along the shallow shelf areas
- Introduce new plants gradually over several weeks
- Remove dead plant material regularly to limit decay
9. Introducing Fish and Wildlife Safely
Fish add movement and color, but timing matters for their long-term health. Wait at least two to four weeks after filling the pond before adding fish, allowing the water chemistry to stabilize. Test pH, ammonia, and nitrite levels before introducing any livestock.
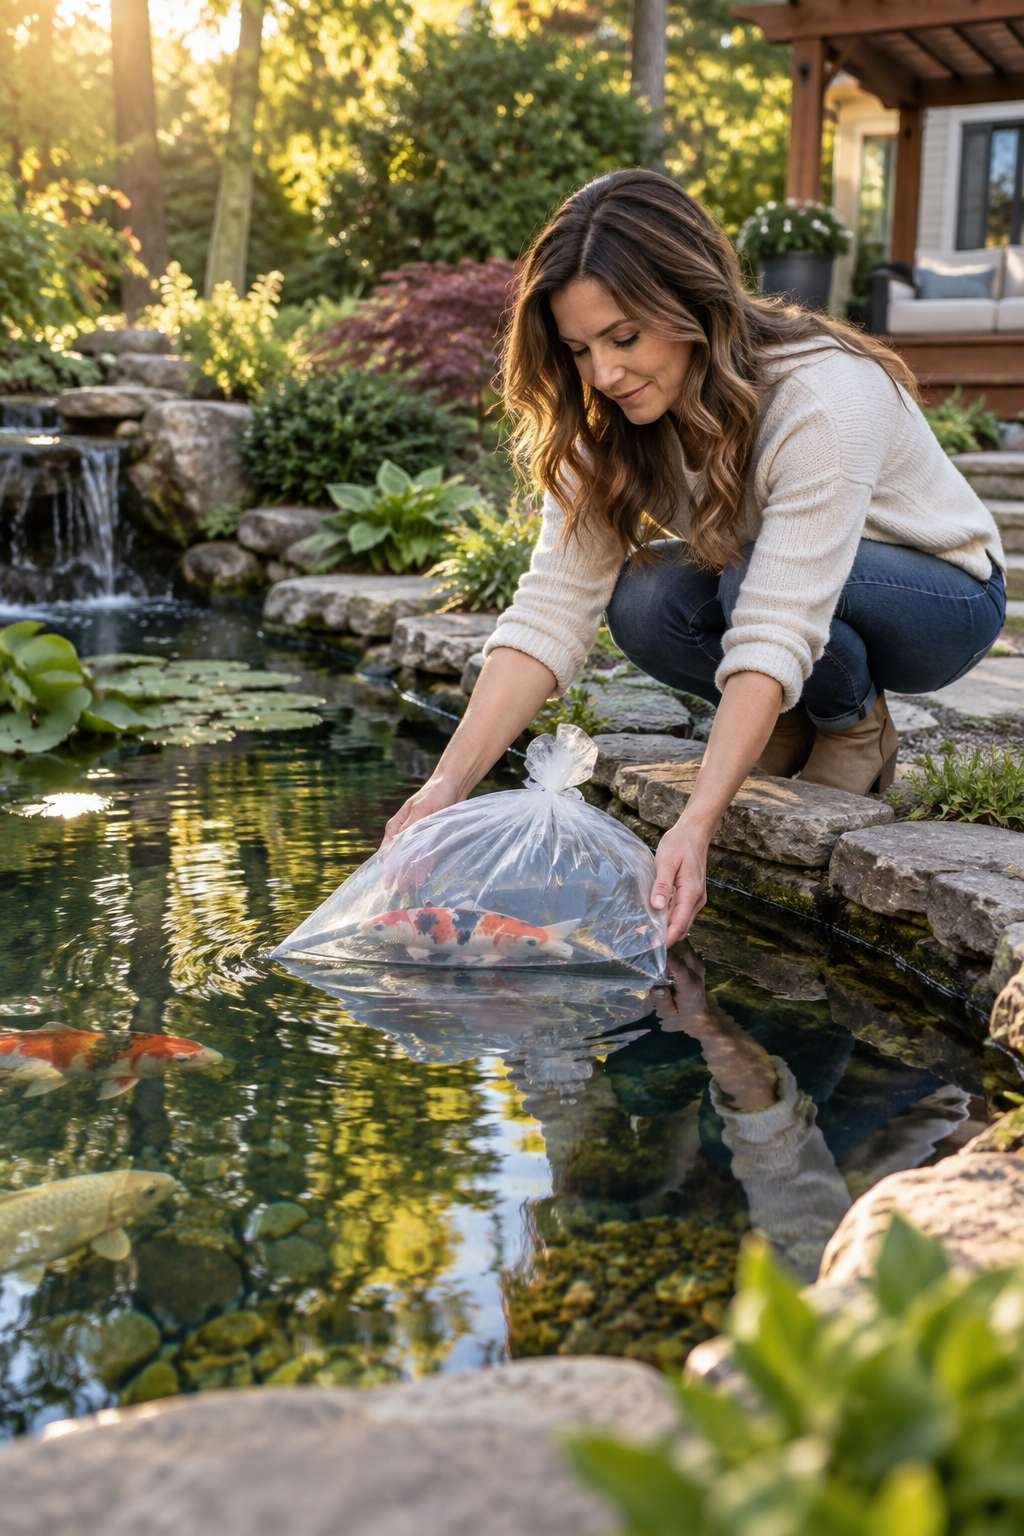
Koi and goldfish are popular choices because they tolerate a wide range of conditions and grow to complement larger ponds. Acclimate fish slowly by floating their bag in the pond water for 15 to 20 minutes before release.
Wildlife like frogs and dragonflies often arrive naturally once a pond matures, adding to its ecological value. Avoid pesticides near the pond, since runoff can harm both fish and beneficial insects.
- Wait several weeks before introducing fish
- Test water chemistry before adding any livestock
- Acclimate fish gradually to avoid temperature shock
- Choose hardy species suited to your climate
- Skip pesticide use anywhere near the water’s edge
10. Pond Maintenance and Seasonal Care
Routine maintenance keeps a backyard pond healthy through every season. In spring, remove debris that settled over winter and check equipment for damage. Summer maintenance focuses on algae control and topping off water lost to evaporation.
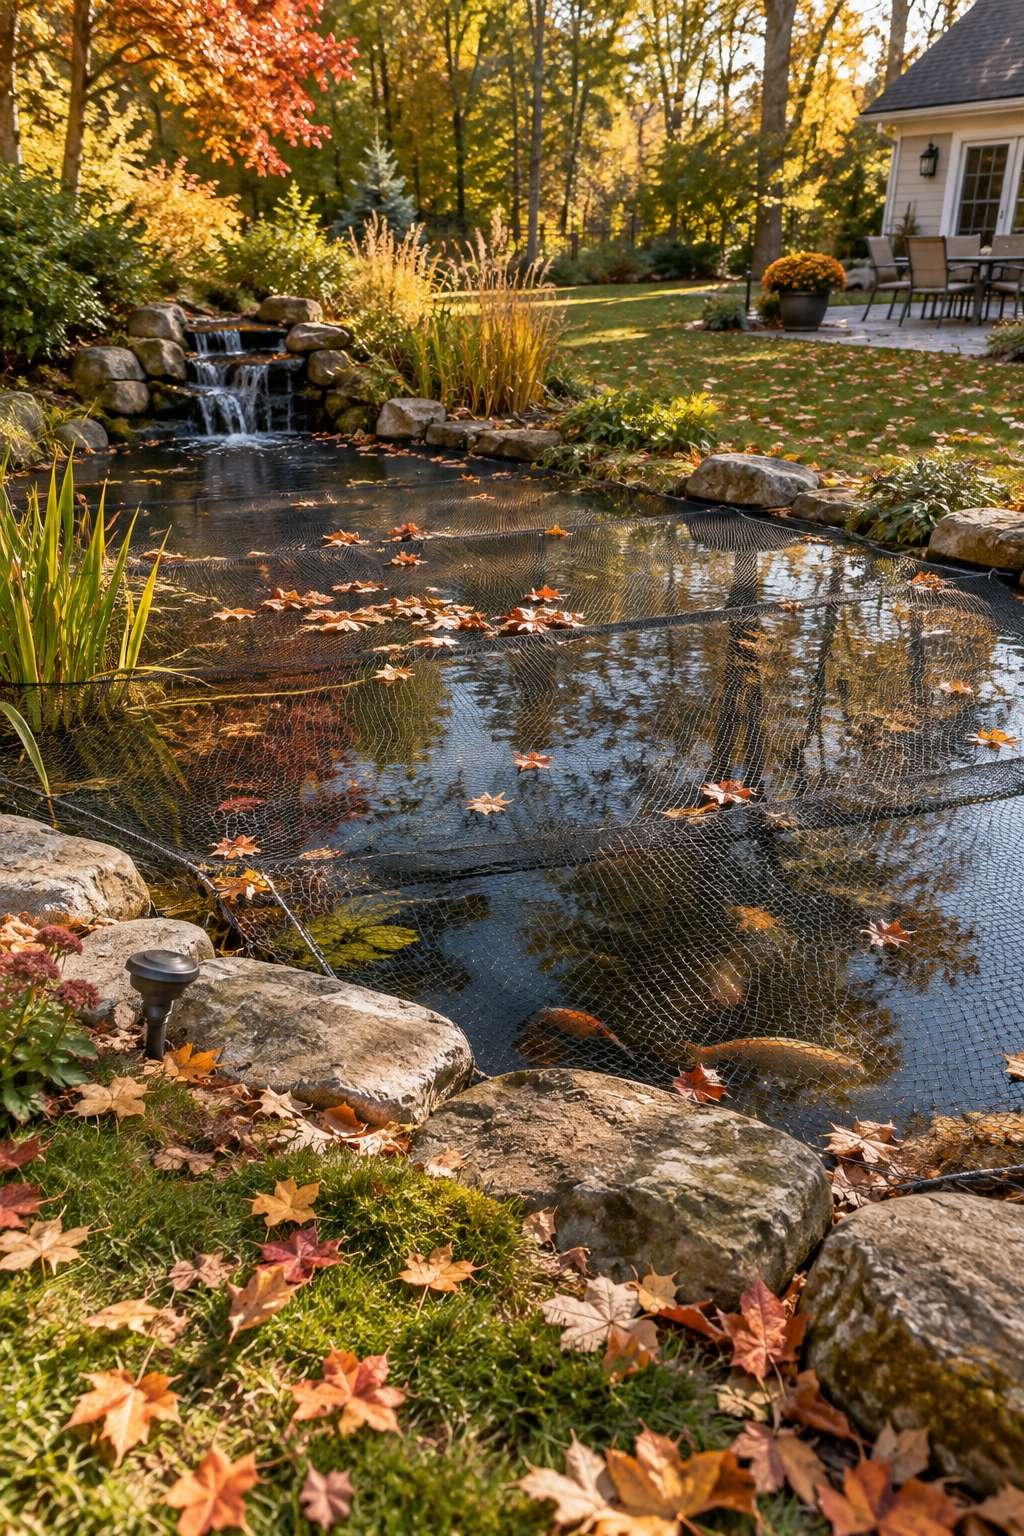
Autumn calls for netting the pond to catch falling leaves before they decompose and cloud the water. As temperatures drop, reduce fish feeding gradually since their metabolism slows in colder water.
Winter brings its own considerations, especially in regions where the surface can freeze. A floating de-icer keeps a small opening for gas exchange, which matters even if you’re not planning a backyard skating rink nearby that season.
- Net the pond each autumn to catch falling leaves
- Reduce fish feeding as water temperatures drop
- Use a de-icer to maintain a winter opening
- Inspect pumps and filters each spring for wear
- Top off water regularly during hot summer months
Frequently Asked Questions
How do I build a backyard fireplace?
Building a backyard fireplace starts with a solid, non-combustible foundation like poured concrete or pavers. From there, stack fire-rated brick or stone around a metal firebox insert, leaving proper clearance from any structures. Many homeowners pair this feature with a chimney or spark arrestor for safety and better smoke control.
How do I build a backyard skating rink?
A backyard skating rink typically uses a rigid liner or heavy-duty plastic sheeting laid over a flat, leveled section of lawn. Framing boards hold the water in place while it freezes in stages, building up a smooth surface over several cold nights. Choose a spot with good drainage for when the ice eventually melts in spring.
Conclusion
Building a backyard pond is a rewarding project that blends landscaping, engineering, and a bit of creativity. From choosing the right liner to introducing the first fish, each step builds toward a feature that will bring years of enjoyment. Take your time with the planning stages, since a little extra care early on prevents most common problems later.
Once your pond is thriving, don’t be afraid to experiment with new plants, lighting, or seasonal decorations around its edges. A well-maintained water feature has a way of becoming the favorite corner of the entire yard.

