


Learning how to paint a bedroom the right way turns a weekend project into a lasting upgrade instead of a patchy do-over. With the right prep, tools, and technique, even a first-timer can get professional-looking results. This guide walks through every stage, from gathering supplies to applying that final coat.
A freshly painted bedroom does more than change color — it can make a small room feel larger, soften harsh lighting, or set the mood for better rest. The steps below apply whether you’re going bold with a deep accent wall or keeping things simple with a soft neutral. We’ll also cover the details people often skip, like priming and proper drying time.
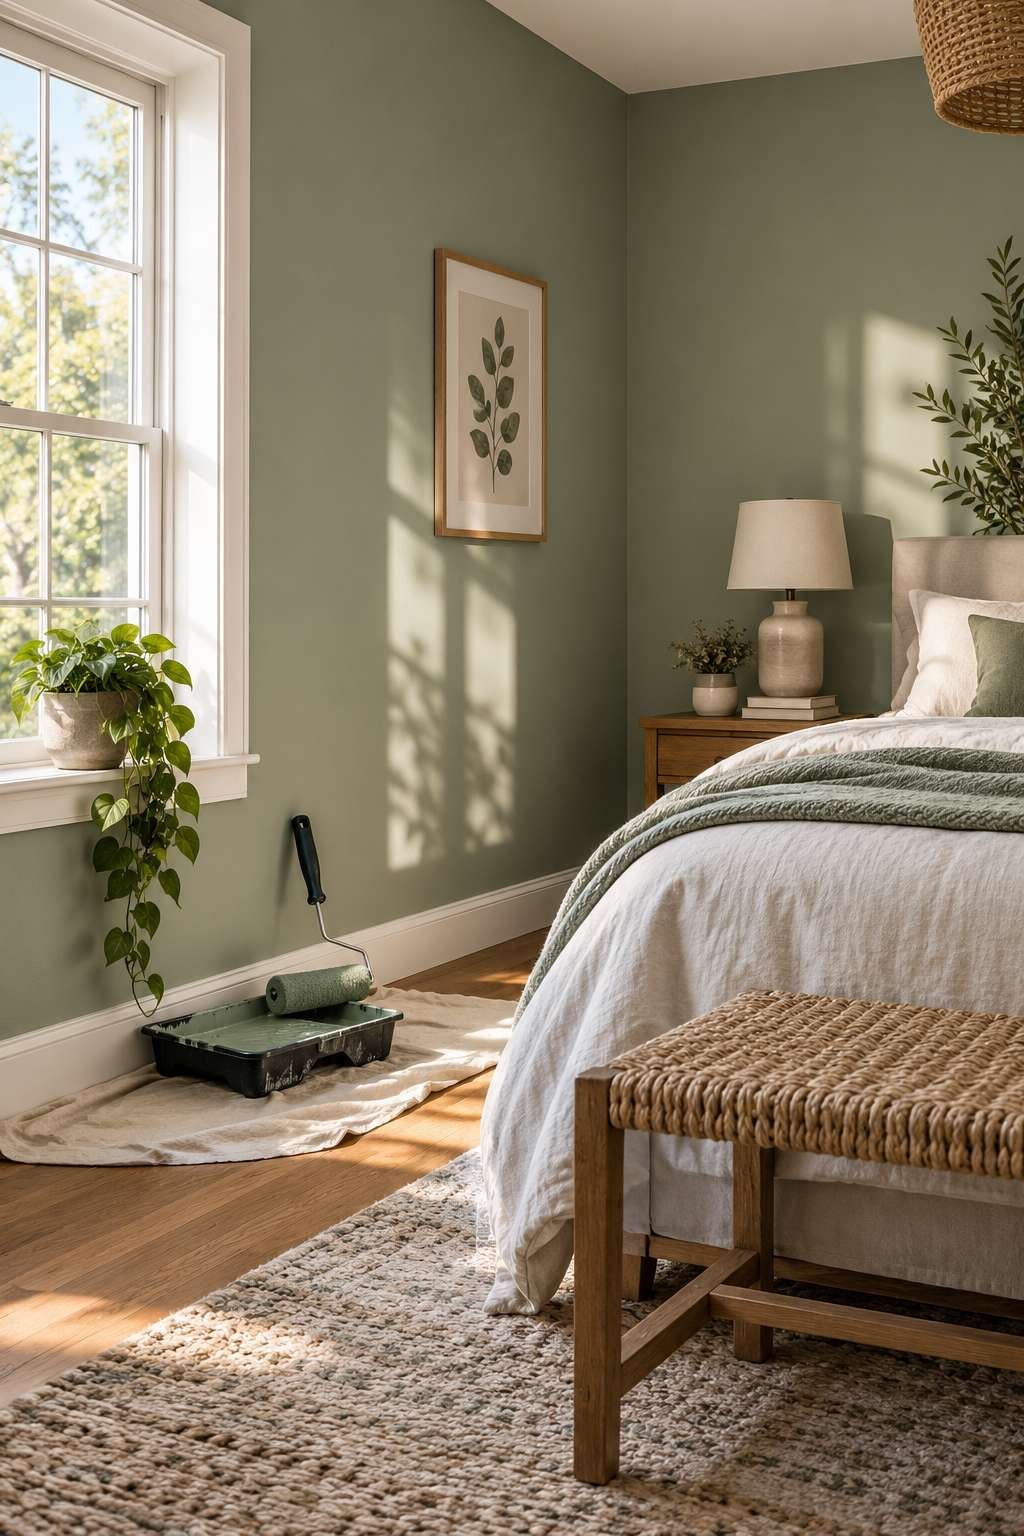
By the end of this guide, you’ll know exactly how to paint a bedroom from start to finish, with fewer mistakes and less wasted paint along the way.
1. Gather Your Tools and Supplies
Before opening a single can, lay out everything you’ll need: painter’s tape, drop cloths, a roller and tray, angled brushes, and a paint stirrer. Having supplies ready prevents mid-project trips to the store with wet paint drying on the wall.
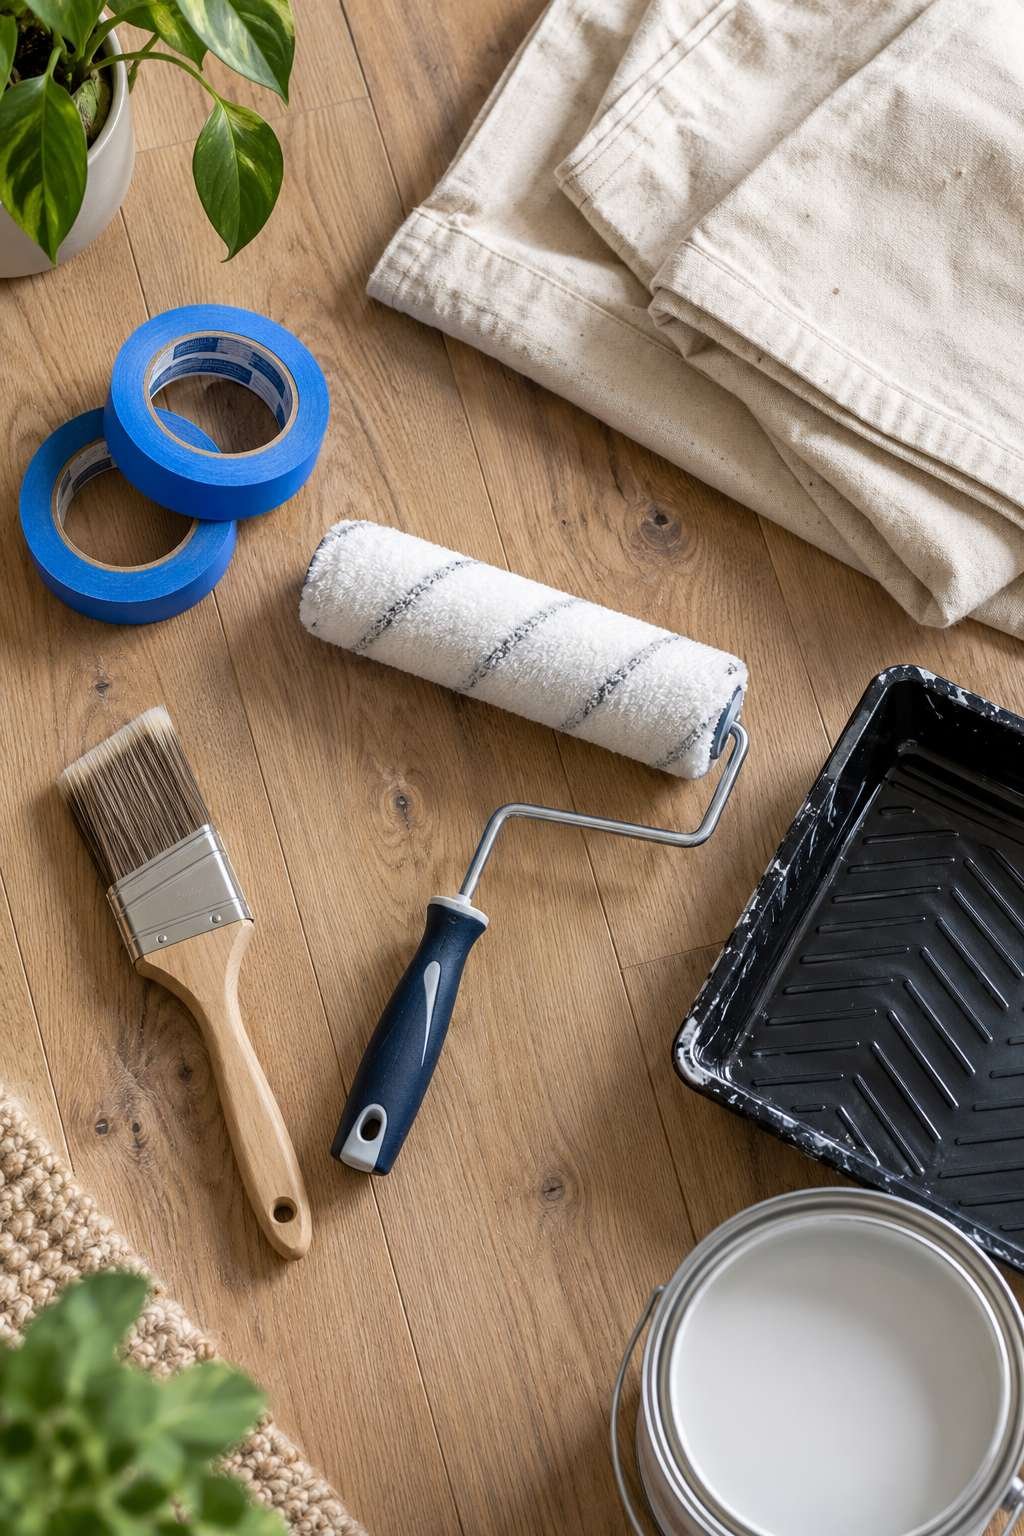
Estimating the right amount of paint upfront saves both money and time. Our detailed breakdown on how much paint for a bedroom projects walks through the exact math based on your room’s dimensions, while our guide on how many gallons of paint for a bedroom covers sizing for larger or multi-coat jobs.
- Painter’s tape for clean edges along trim and ceiling
- Canvas drop cloths to protect flooring and furniture
- A roller with an extension pole for ceiling-height walls
- Angled sash brush for cutting in corners
- Paint tray, stir sticks, and a five-gallon bucket for mixing
2. Choosing the Right Paint Finish for a Bedroom
Finish affects both appearance and durability, and bedrooms have different needs than high-traffic areas like kitchens. Eggshell and satin finishes are popular middle-ground choices, offering a soft sheen that hides minor wall imperfections.
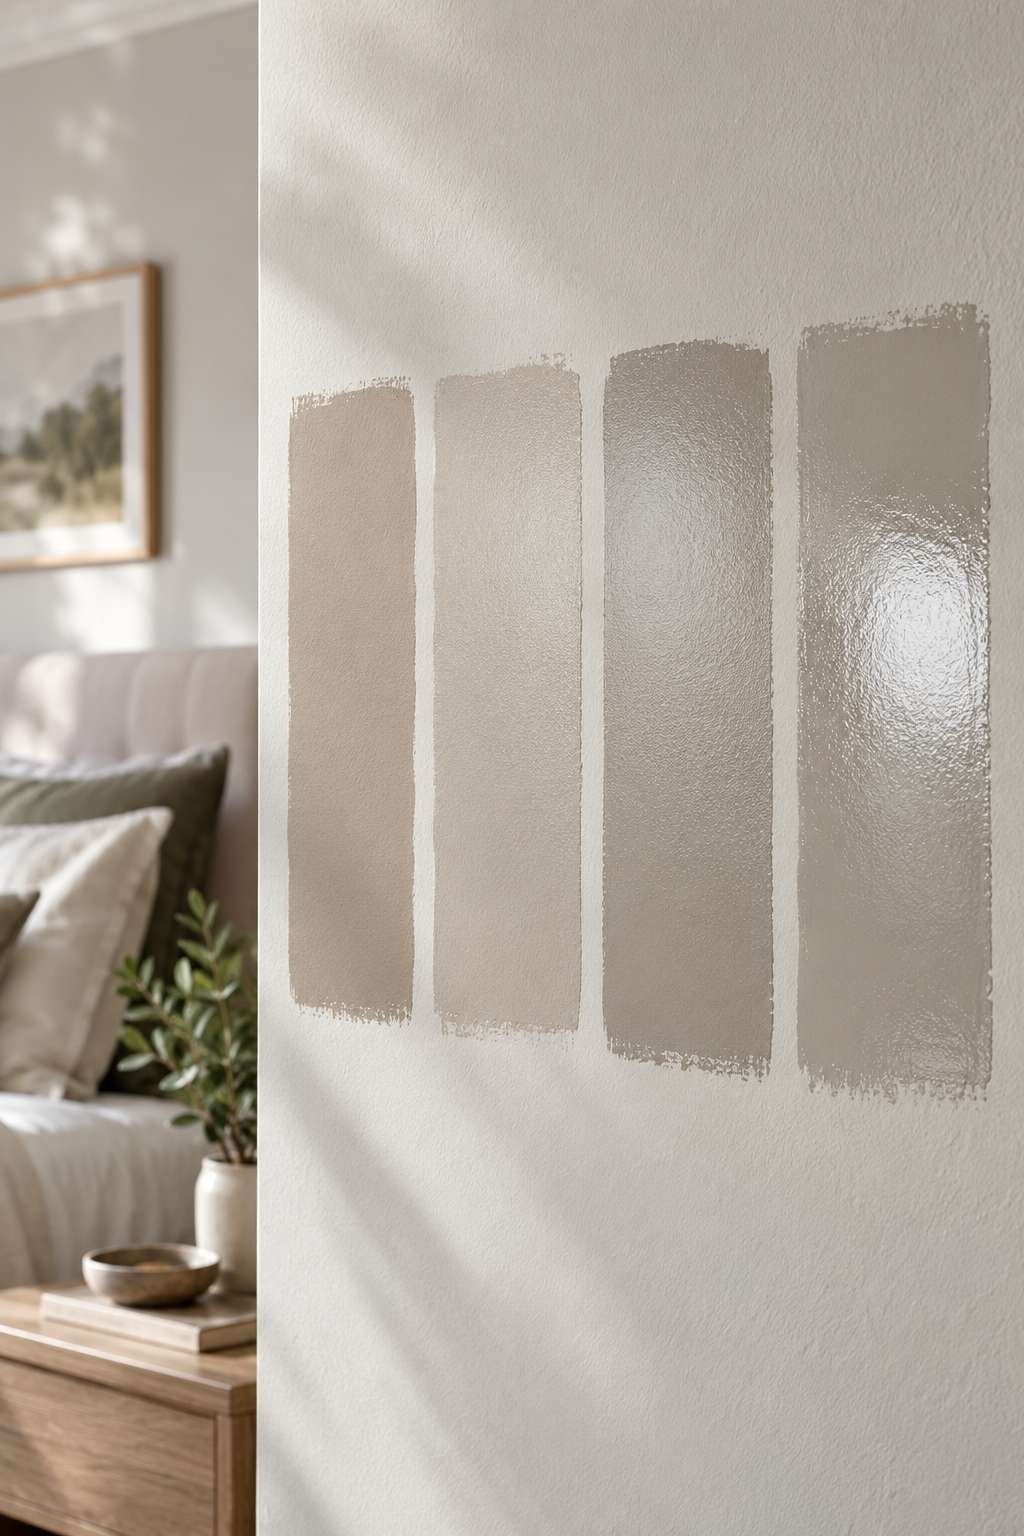
If you’re unsure which sheen fits your space best, our guide on what paint finish for bedroom walls breaks down the pros and cons of matte, eggshell, satin, and semi-gloss options in more depth. Flat finishes look elegant but scuff more easily, which matters in a room with furniture pushed against the walls.
- Matte or flat: elegant look, but shows scuffs more easily
- Eggshell: a common middle-ground choice for bedrooms
- Satin: slightly more washable, good for kids’ rooms
- Semi-gloss: best reserved for trim, not full walls
3. Picking the Right Color for Your Bedroom
Color sets the entire mood of the room, so it’s worth testing swatches on the actual wall before committing to a full gallon. Lighting changes dramatically throughout the day, and a color can look completely different at noon versus after sunset.
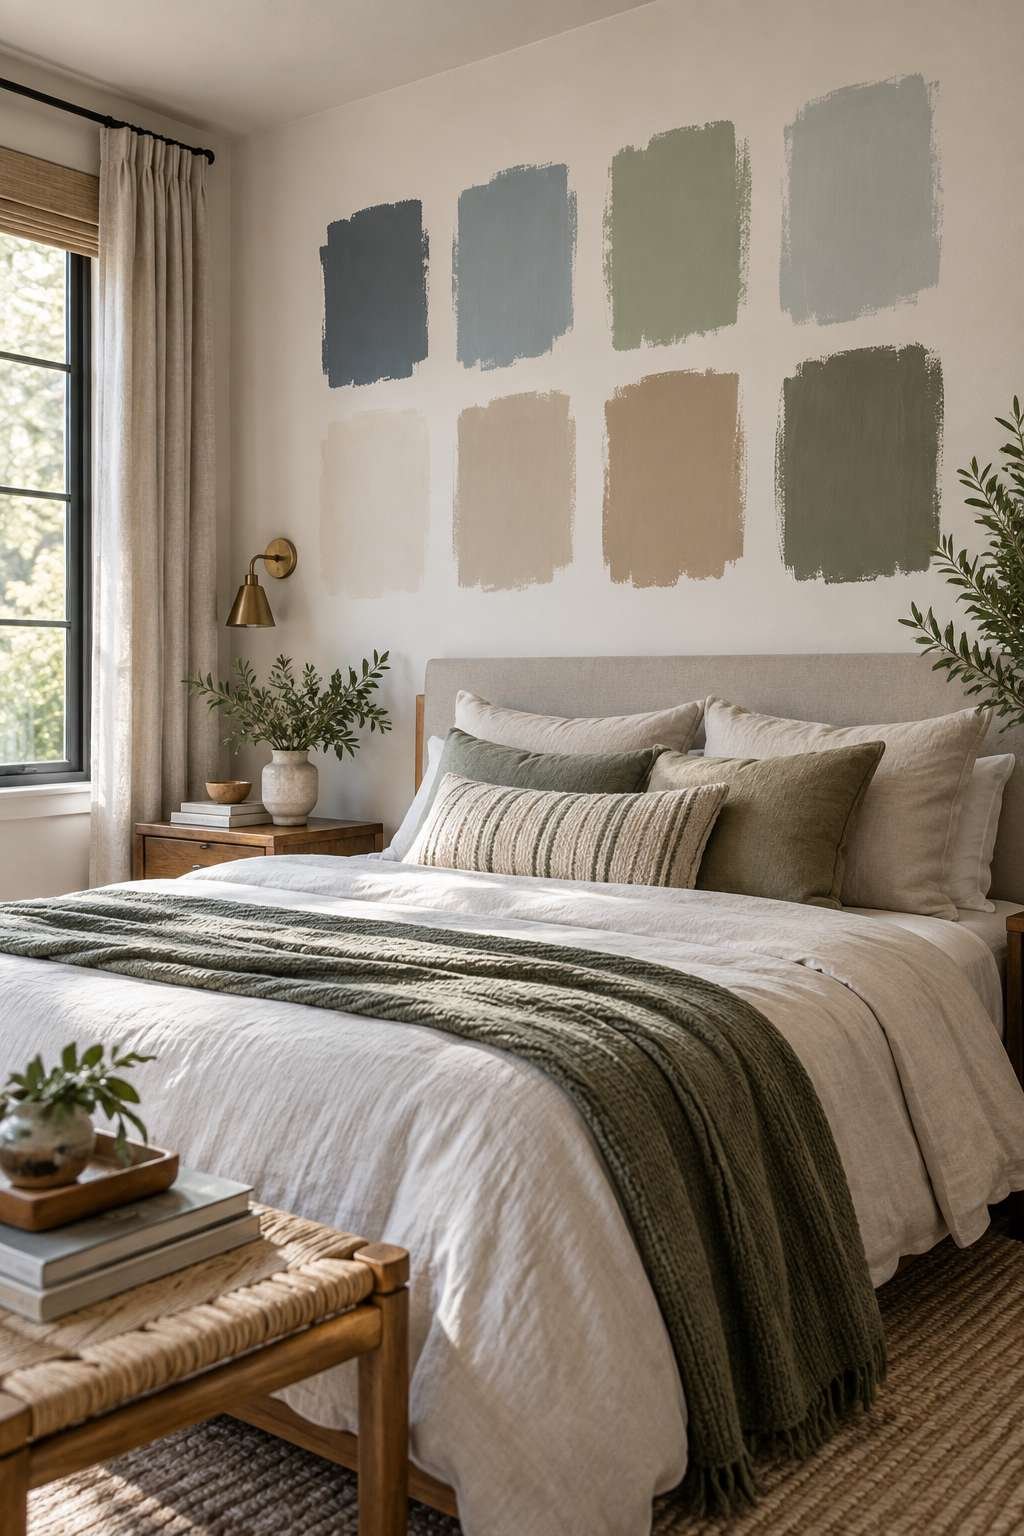
For inspiration and a deeper look at popular palettes, our guide on what color to paint bedroom walls covers trending shades along with tips for pairing colors with existing furniture and trim. Cooler tones tend to feel calming, while warmer tones can make a room feel cozier and more intimate.
- Test swatches directly on the wall, not just on paper
- Check color under both daytime and lamp lighting
- Cooler tones (blues, greens) tend to feel calming
- Warmer tones (terracotta, soft gold) feel cozy and intimate
4. Prepping the Room Before You Paint
Good prep work is what separates an amateur paint job from a professional-looking one. Move furniture to the center of the room or out entirely, and cover anything that stays with drop cloths or plastic sheeting.
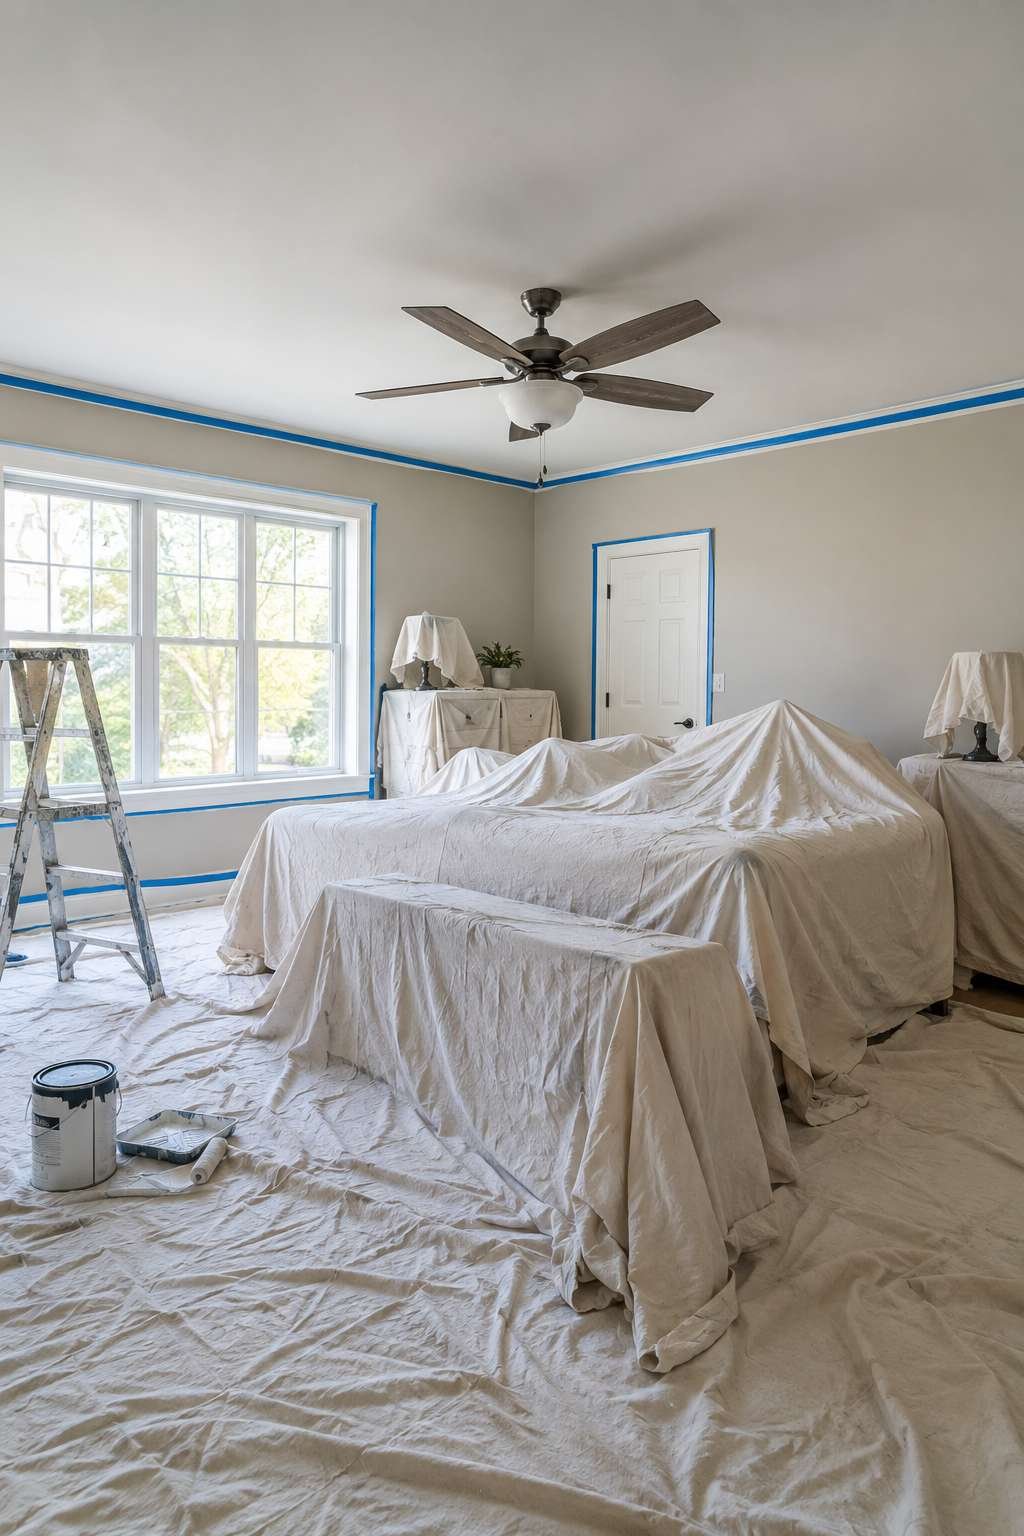
Fill any nail holes or minor dents with spackling paste, let it dry fully, then sand smooth before taping. Wipe down walls with a slightly damp cloth to remove dust, since paint adheres poorly to a dirty surface.
- Move or fully cover all furniture in the room
- Fill holes and dents with spackling paste, then sand smooth
- Wipe walls down to remove dust before taping
- Apply painter’s tape along trim, outlets, and the ceiling line
5. Priming the Walls (When You Need It)
Priming isn’t always required, but it makes a real difference in certain situations. If you’re covering a dark color with a lighter one, or painting bare drywall for the first time, primer helps the new color show true and even.
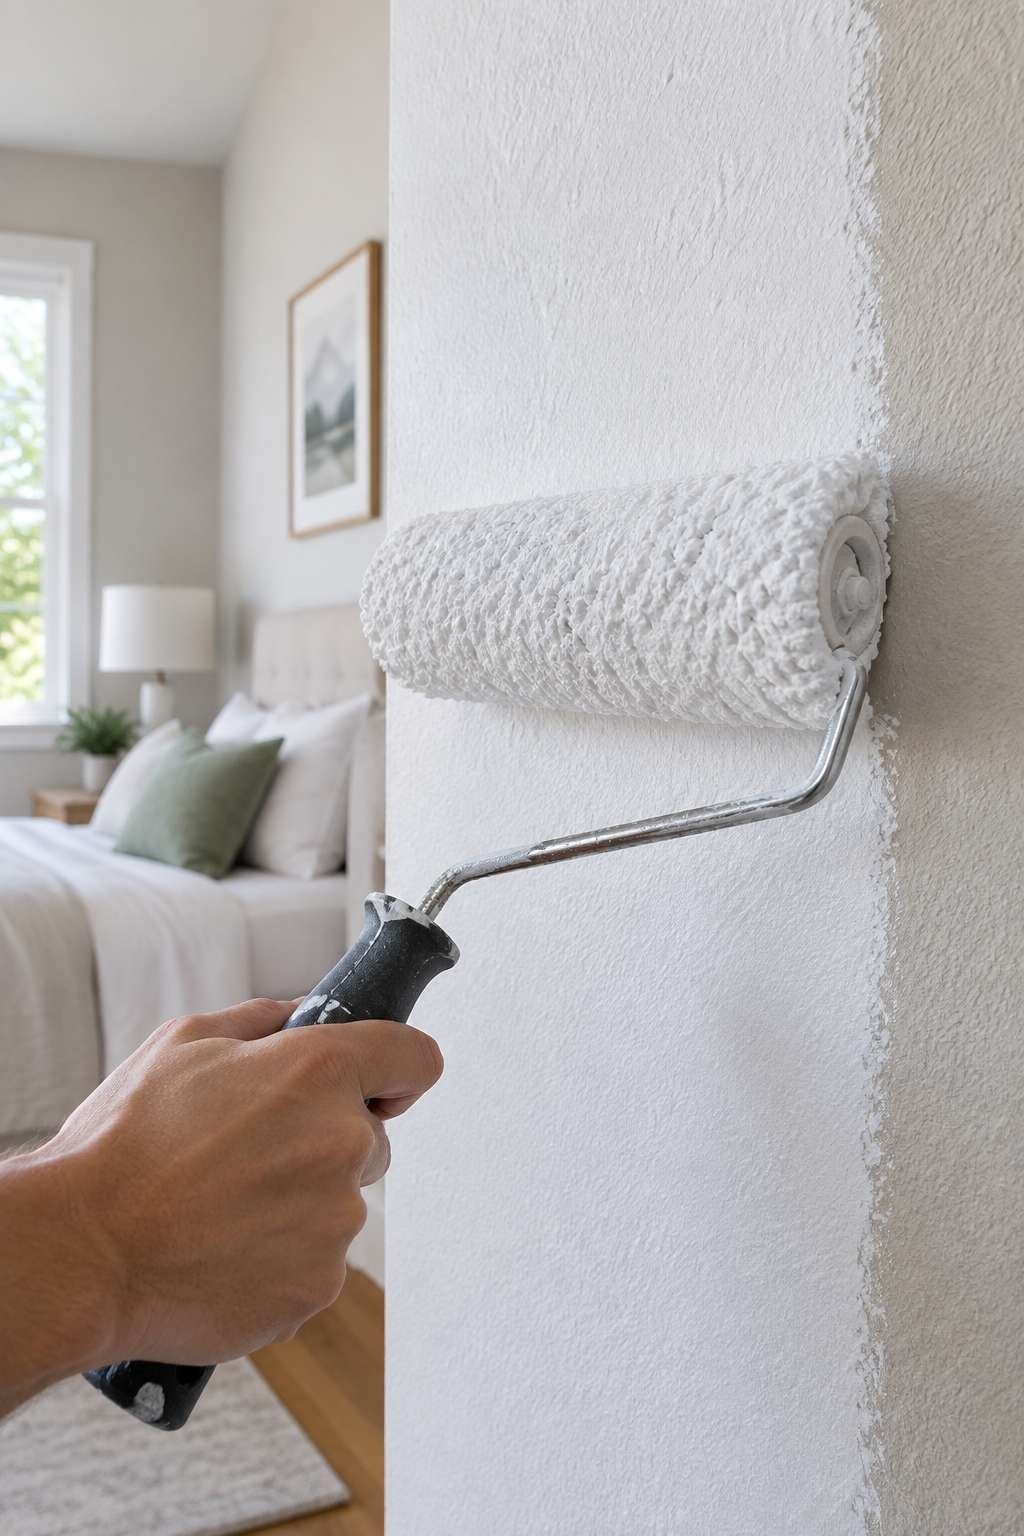
A tinted primer, mixed close to your final wall color, can also reduce the number of finish coats needed. Skip priming only when you’re applying a similar shade over an already well-sealed wall in good condition.
- Prime when covering a dark color with a lighter shade
- Prime new drywall or patched areas before painting
- Use tinted primer to reduce the number of top coats
- Let primer dry fully per the label before painting over it
6. Cutting In Around Edges and Trim
Cutting in means hand-painting a clean line along the ceiling, trim, and corners before rolling the larger open areas. Use an angled brush and steady, overlapping strokes about two to three inches wide along each edge.
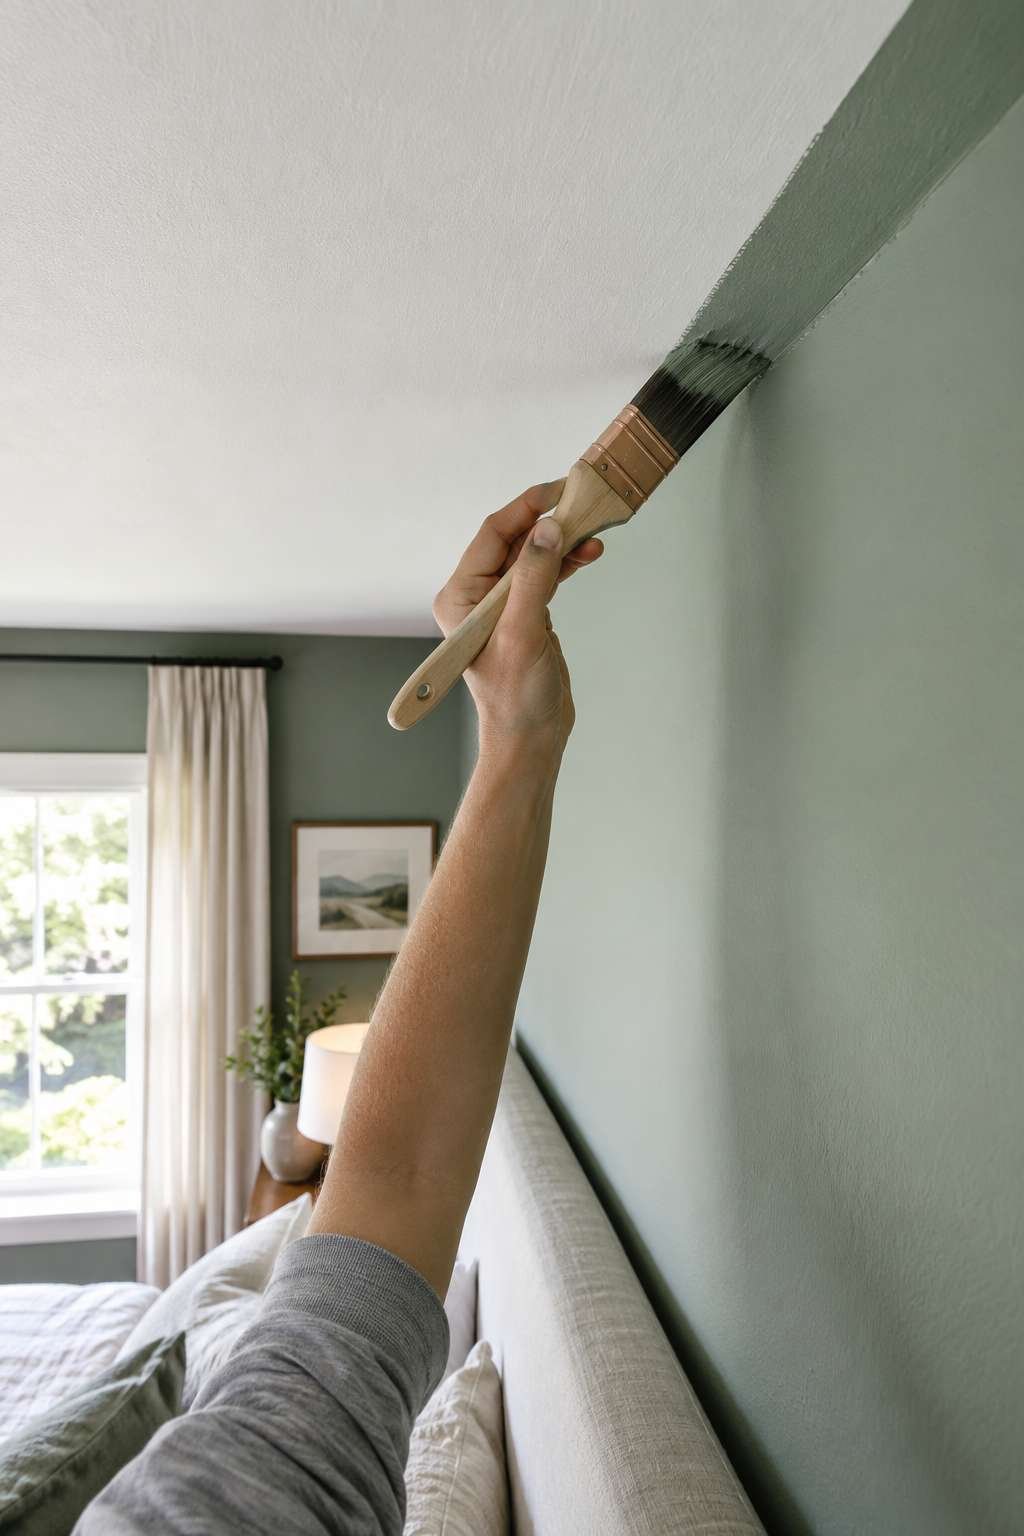
Work in small sections so the cut-in edge stays wet while rolling meets it, which helps avoid visible lap marks. Painter’s tape helps, but a steady hand with a quality brush usually gives the cleanest final line.
- Use an angled sash brush for precise, controlled lines
- Cut in a two-to-three inch band along every edge
- Work in sections so rolling meets the wet cut-in line
- Remove tape carefully at a 45-degree angle once dry
7. Rolling Techniques for Smooth, Even Walls
Load the roller evenly, then apply paint in a large “W” or “M” shape before filling it in with vertical strokes. This technique spreads paint more evenly than simply rolling top to bottom in straight lines.
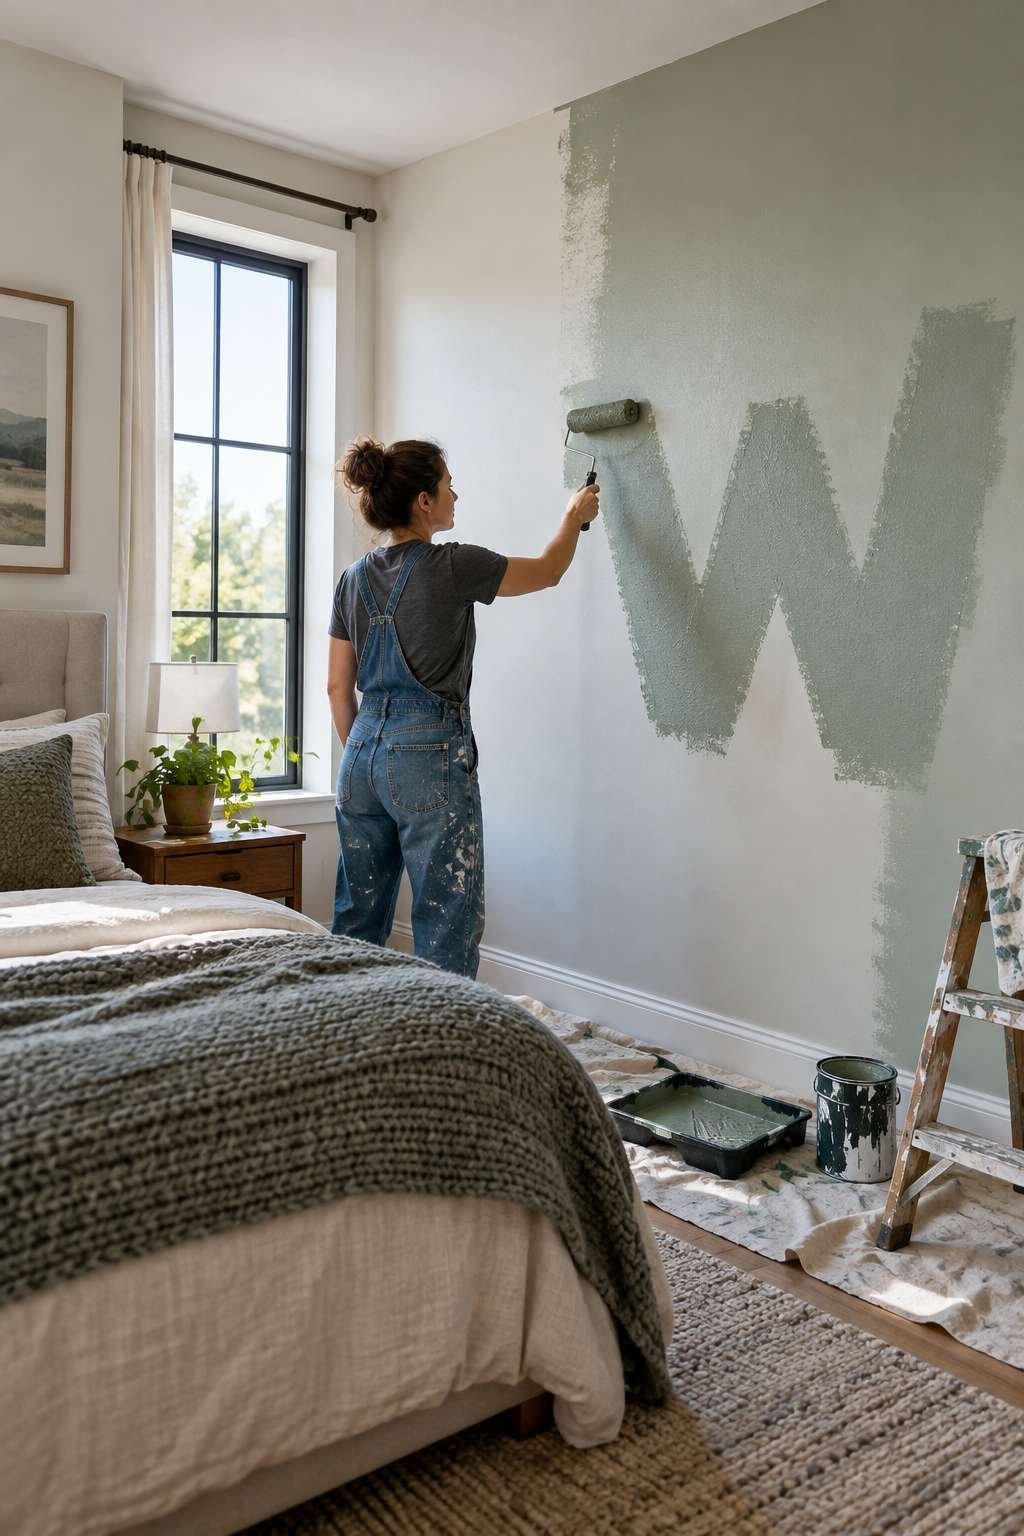
Maintain a wet edge as you move across the wall, overlapping each new section slightly into the previous one. Rolling too fast or with too little paint on the roller often causes streaking and uneven coverage.
- Apply paint in a W or M pattern, then fill in
- Keep a wet edge by overlapping each new section
- Reload the roller often rather than stretching one load too far
- Roll in one direction for the final smoothing pass
8. Painting Ceilings, Trim, and Accent Walls
Ceilings typically get their own flat white finish, painted before the walls to avoid drips landing on freshly finished surfaces below. Trim, by contrast, usually takes a semi-gloss for durability and easy cleaning.
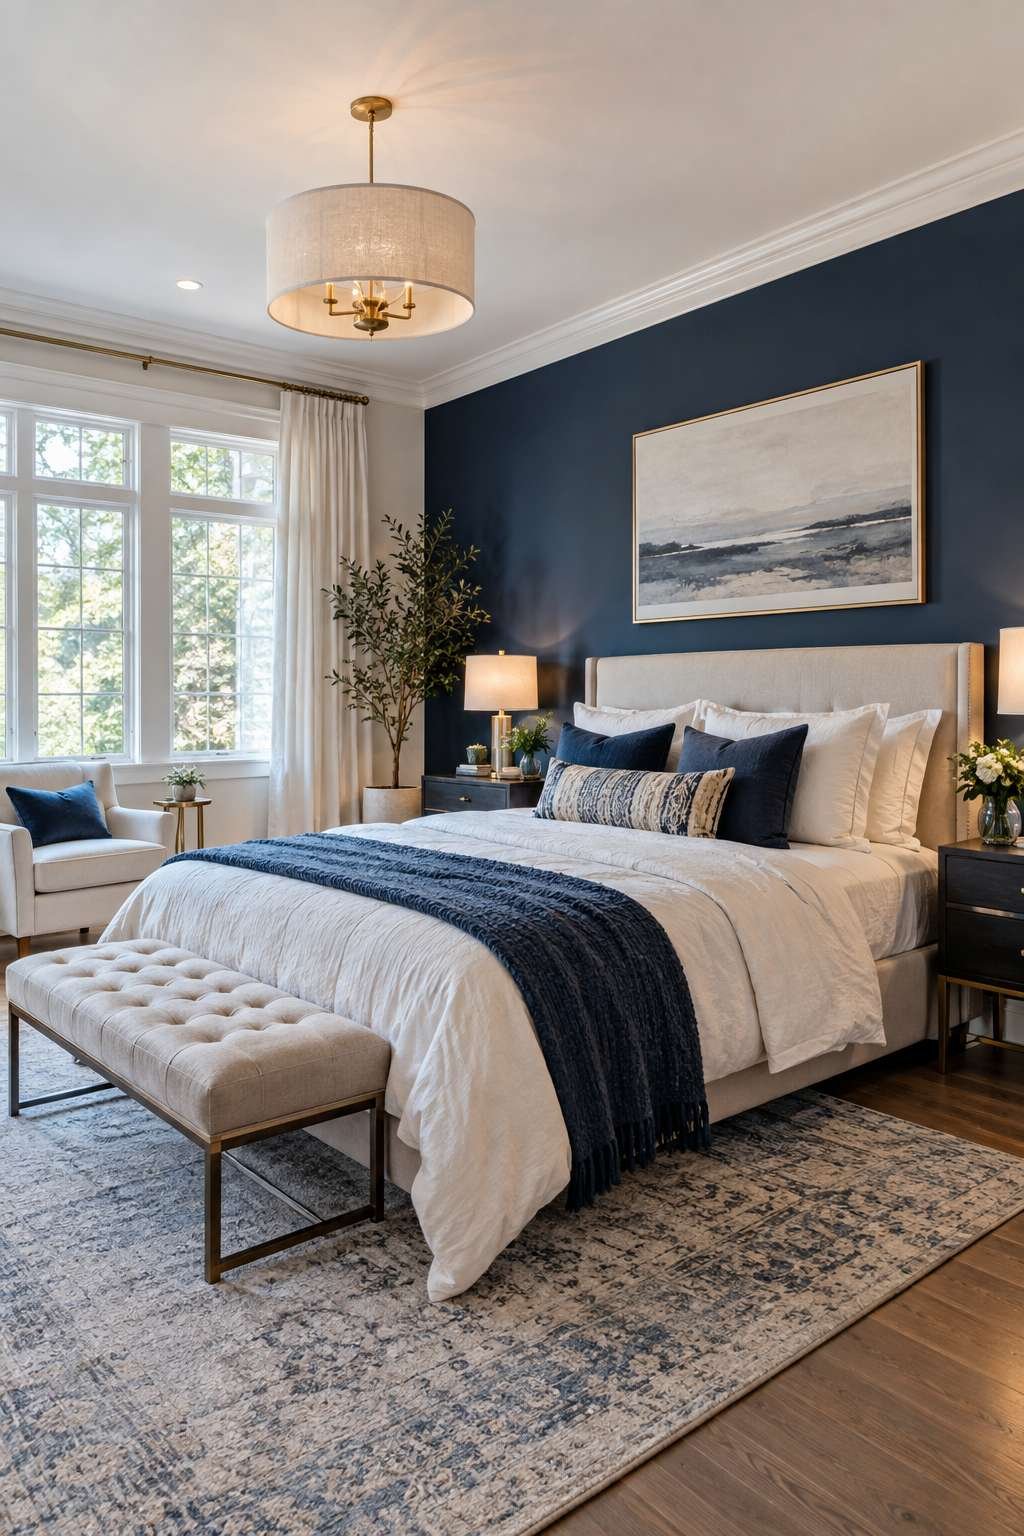
If you’re adding an accent wall, paint it after the surrounding walls are complete so the tape line between colors stays crisp. Let each surface dry fully before taping off the next to avoid peeling wet paint.
- Paint the ceiling first, before walls and trim
- Use semi-gloss or satin specifically for trim and doors
- Paint accent walls last, once surrounding walls are dry
- Allow full drying time between differently colored surfaces
9. Drying Time and Applying a Second Coat
Most latex paints feel dry to the touch within one to two hours, but they need closer to four hours before a second coat goes on safely. Rushing this step often pulls up the first coat instead of building on it.
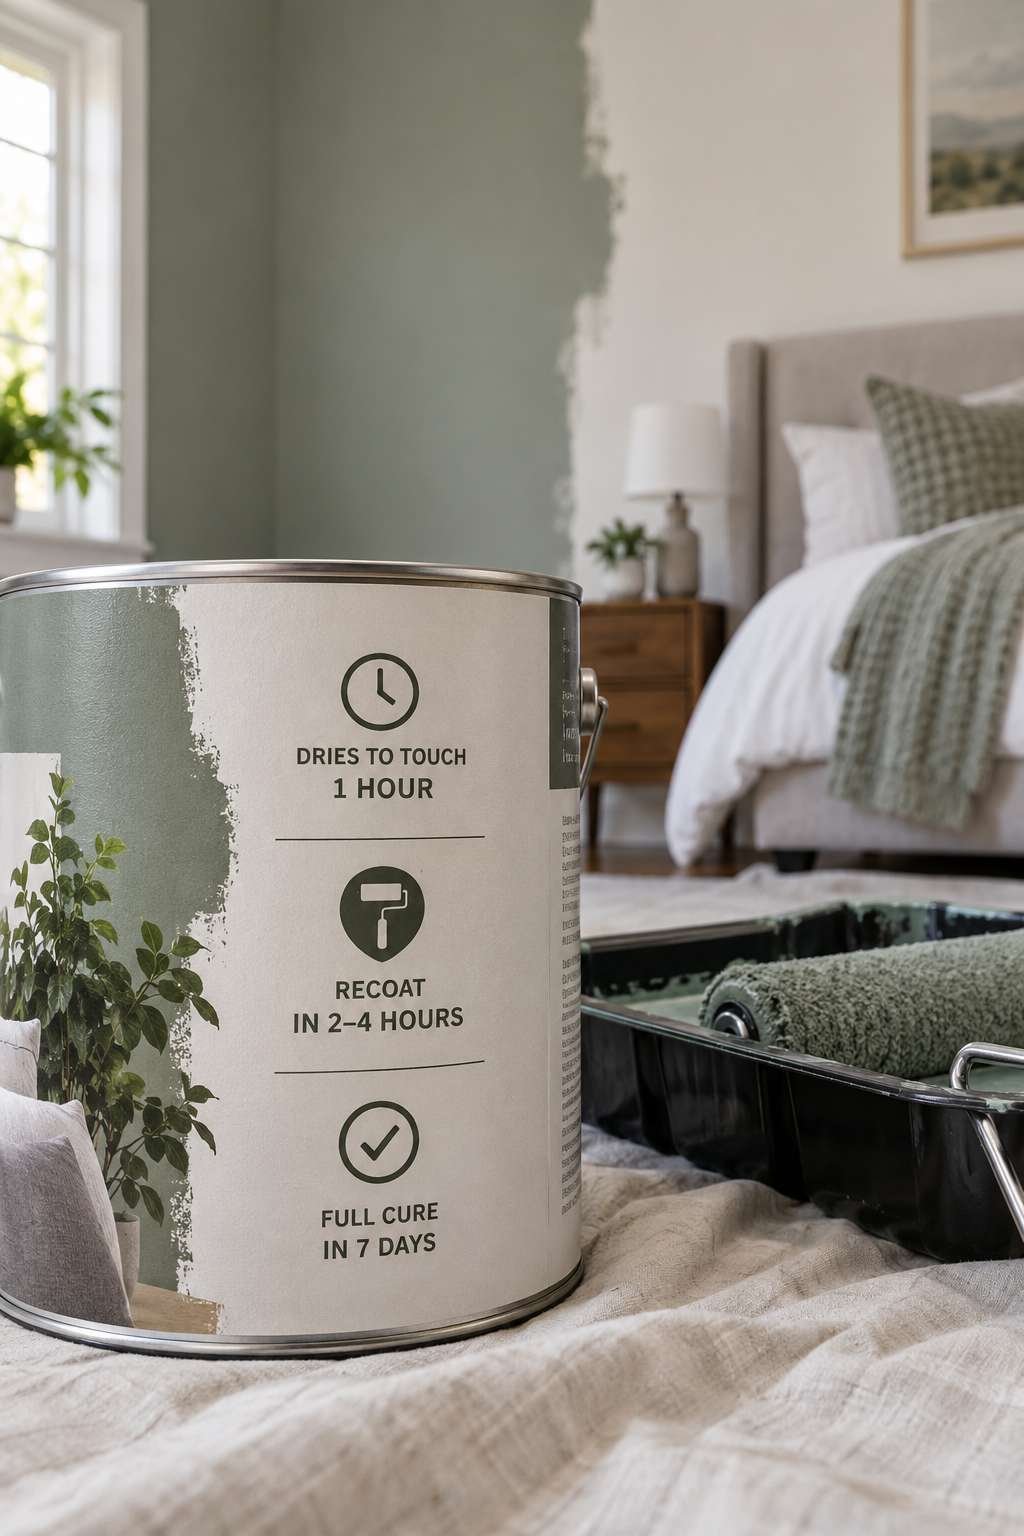
A second coat is almost always worth the extra time, since it evens out coverage and deepens the final color. Check the paint can’s label for the manufacturer’s specific recoat window, since dry times vary by brand and humidity.
- Wait at least four hours before applying a second coat
- Check humidity and temperature, since both affect drying time
- Always follow the specific recoat time listed on the can
- Inspect the first coat under bright light before recoating
10. Cleanup and Final Touches
Once the final coat is dry, carefully remove all painter’s tape at an angle to avoid pulling up fresh paint along the edges. Clean brushes and rollers promptly with water for latex paint, or the appropriate solvent for oil-based products.
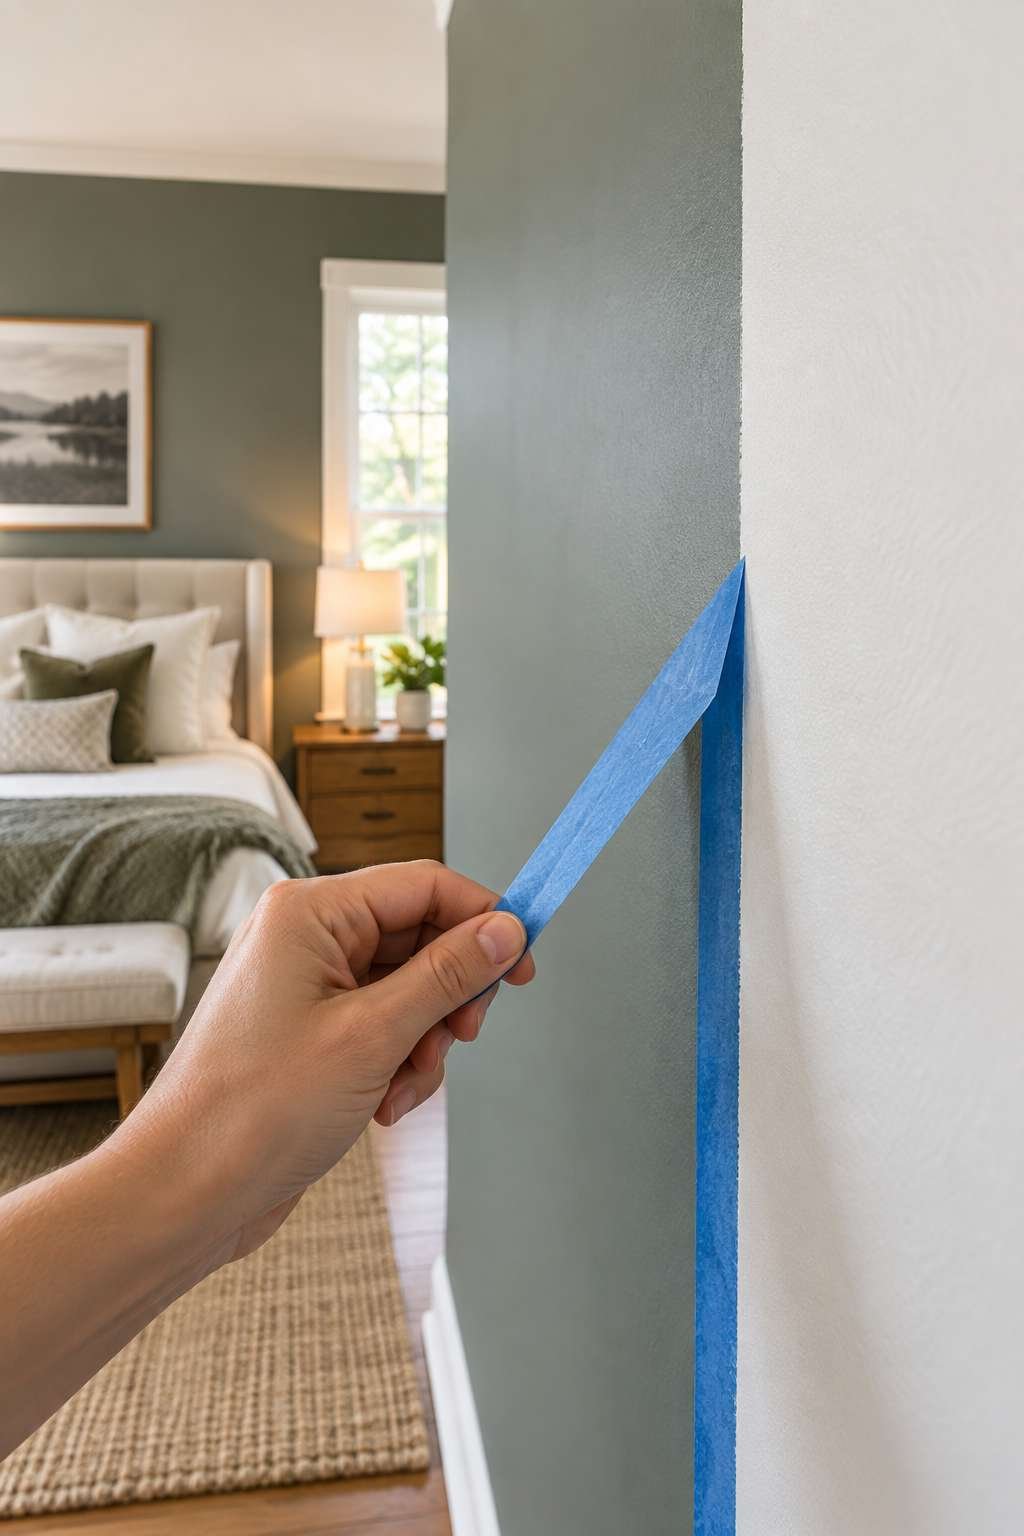
Step back and inspect the room under natural daylight, touching up any thin spots with a small brush before calling the job done. Reassemble furniture only once the walls feel fully cured, typically after a few days.
- Remove tape at a 45-degree angle while paint is still slightly fresh
- Clean tools immediately to extend their usable life
- Touch up thin spots under bright, natural light
- Wait a few days before pushing furniture back against walls
Frequently Asked Questions
How Much Paint Do I Need for a Bedroom?
Most standard bedrooms need one to two gallons of paint for two coats, depending on wall square footage and color change. A gallon typically covers 350-400 square feet per coat, so measure your walls first to avoid running short mid-project.
How Much Should It Cost to Paint a Bedroom?
A typical DIY bedroom paint job costs $100 to $300, covering paint, primer, and basic supplies for an average-size room. Hiring a professional painter usually raises that range significantly, often landing between $300 and $800 depending on room size and prep work needed.
How Long Does It Take to Paint a Bedroom?
Painting an average bedroom typically takes one full day, including prep, two coats, and drying time between them. A smaller room with minimal prep can sometimes be finished in a single afternoon, while larger rooms or extensive prep work may stretch the project over a weekend.
Now that you know how to paint a bedroom properly, the whole process should feel far less intimidating. Good prep, the right finish, and a little patience between coats make the biggest difference in the final result.
Take your time on the details, especially cutting in and drying time, since rushing those steps is where most mistakes happen. A freshly painted bedroom is one of the most satisfying upgrades you can tackle in a single weekend.

