


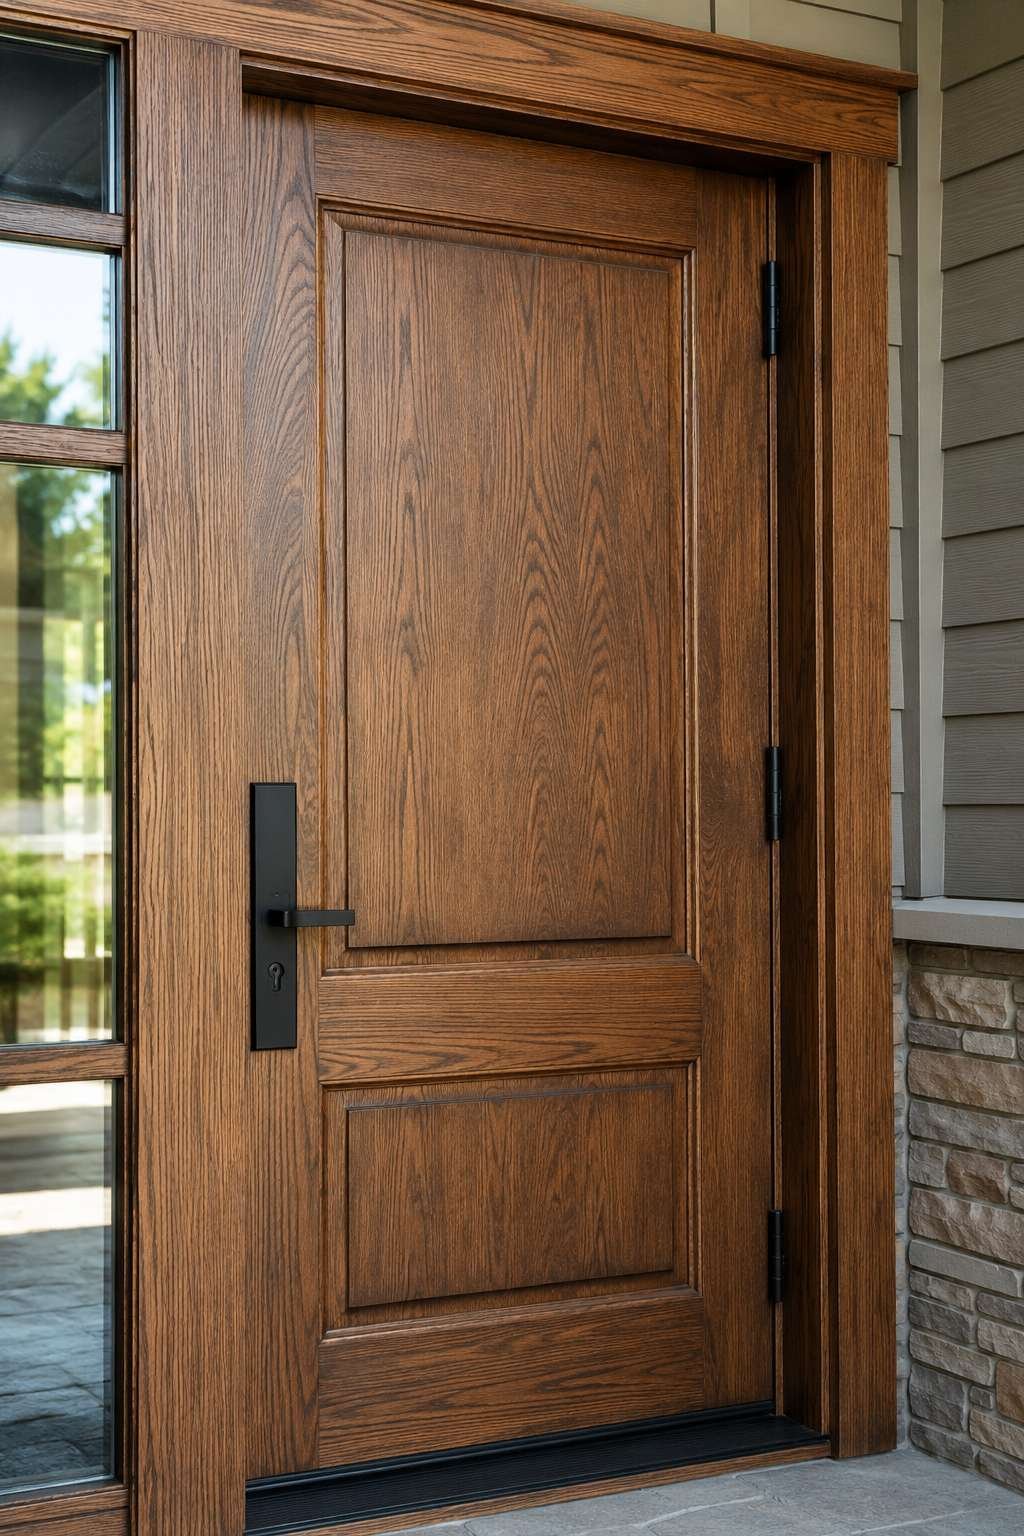
Not every door starts out with beautiful natural wood grain, but that doesn’t mean it has to stay looking flat and lifeless. Faux wood graining is a technique that transforms plain metal, fiberglass, or hollow-core doors into convincing replicas of expensive hardwood. With the right tools and a little patience, anyone can achieve a realistic wood finish without the cost of a full door replacement.
This process relies on layering paint, glaze, and specialized tools to mimic the way real wood grain naturally flows and varies. Different techniques suit different door materials, so understanding your starting surface matters just as much as the painting method itself. The following steps walk through everything needed to create a believable wood-grain finish from start to finish.
1. Clean and Prep the Door Surface
Proper preparation determines whether your finished faux wood effect looks convincing or peels within weeks. Start by cleaning the door thoroughly with a degreaser to remove dirt, oils, and residue. Any leftover grime prevents primer from bonding correctly, which leads to premature chipping and an uneven finish.
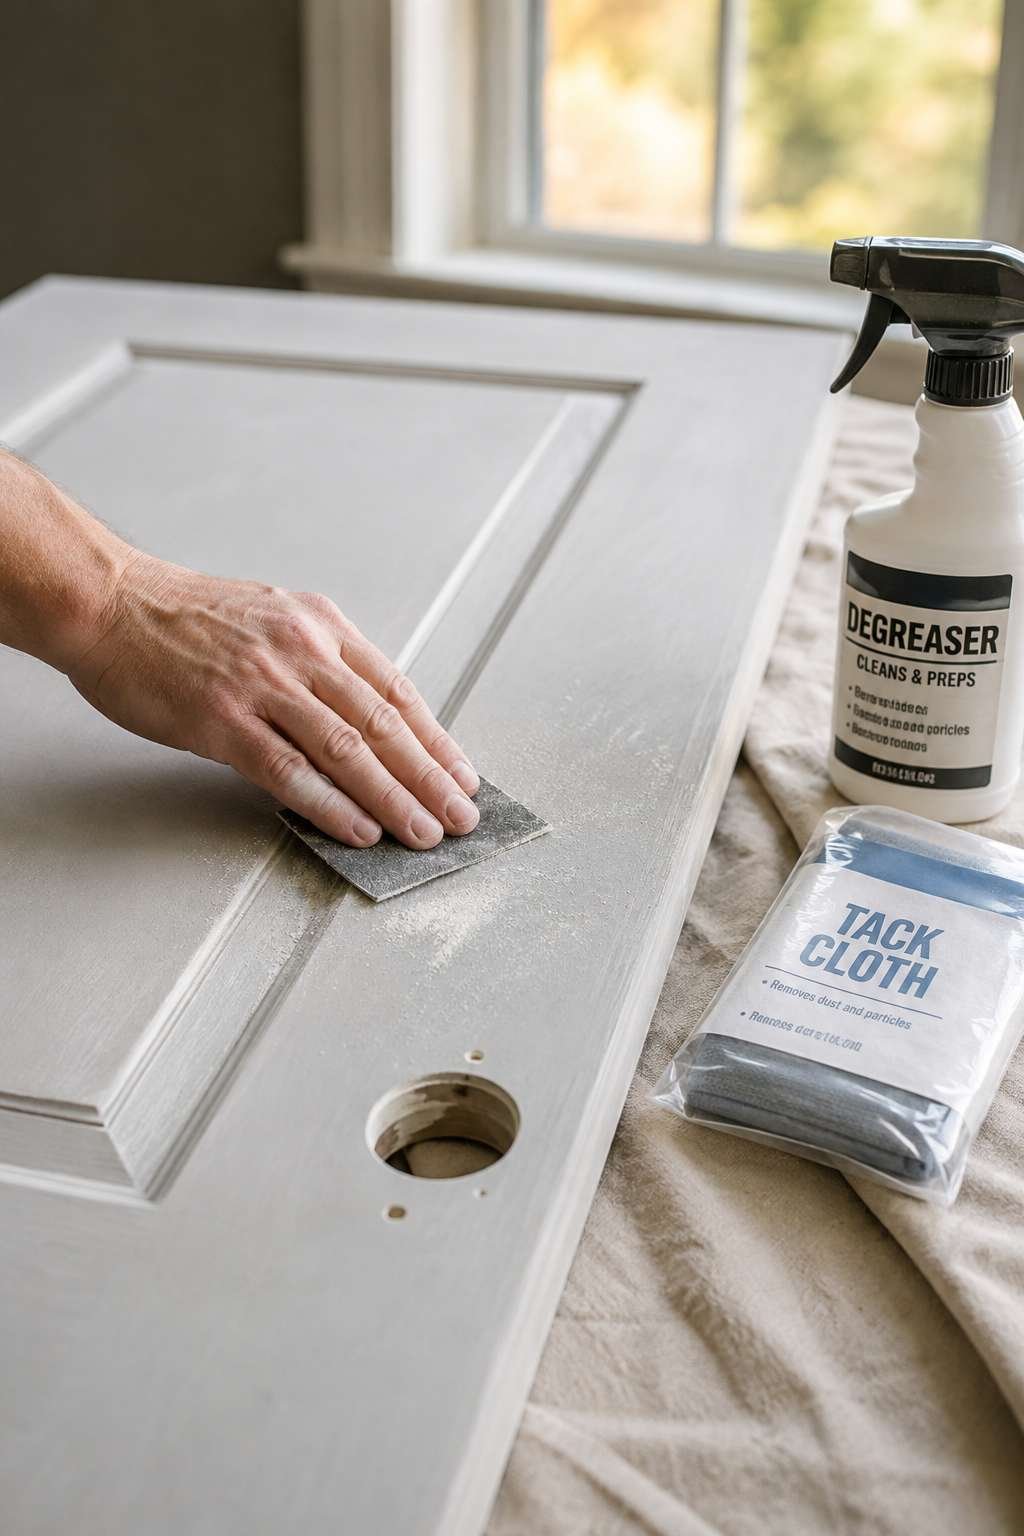
Once clean, lightly sand the surface with fine-grit sandpaper to create texture the primer can grip. For metal or fiberglass doors, this step is especially critical since these materials are naturally smooth and slick. Wipe away all dust with a tack cloth before moving forward to the priming stage.
- Clean the door with a degreasing solution first
- Sand lightly using 220-grit sandpaper
- Remove dust completely with a tack cloth
- Fill dents or holes with wood filler beforehand
2. Apply a Base Coat in a Wood Tone
The base coat sets the foundation color that will show through the final grain pattern. Choose a warm brown, honey, or amber tone depending on the wood species you’re mimicking, such as oak or mahogany. This base layer should be applied evenly using a high-quality foam roller to avoid visible brush strokes.
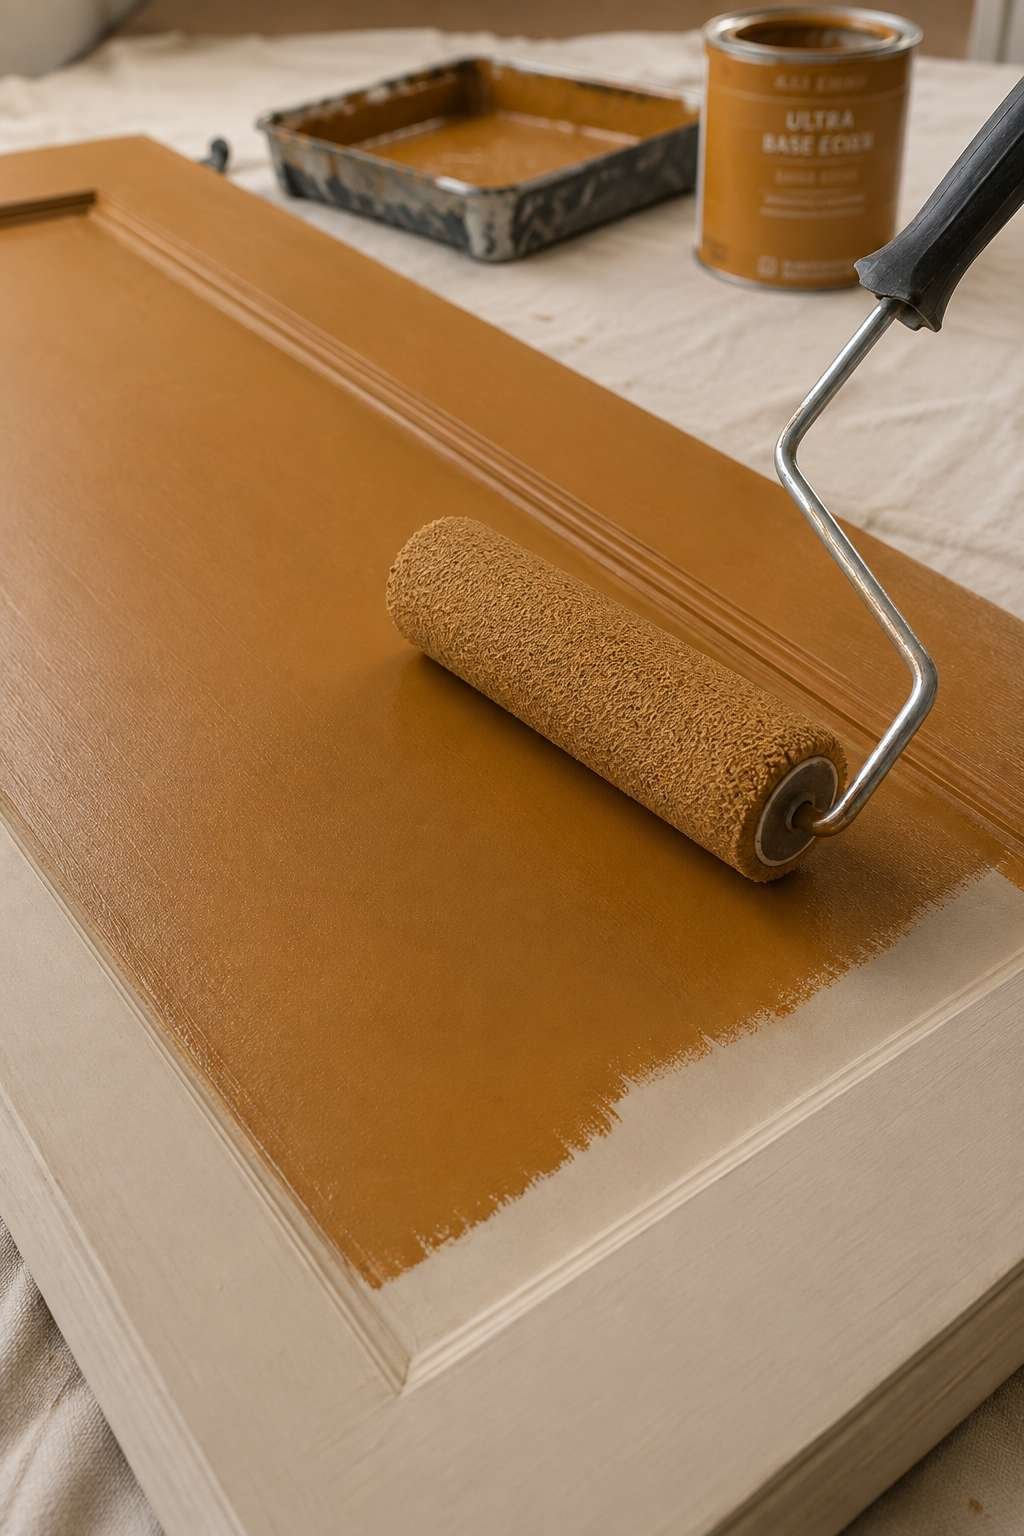
Allow the base coat to dry fully according to the paint manufacturer’s instructions, usually 24 hours for most exterior paints. Rushing this step causes the glaze applied later to mix improperly with wet paint underneath. A properly cured base creates the rich undertone that makes the final grain pattern look authentic. Our our how to make a barn door guide covers this in more detail.
- Select a warm base tone matching your target wood
- Apply paint evenly with a foam roller
- Allow full drying time before proceeding
- Use exterior-grade paint for outdoor doors
3. Mix and Apply a Glazing Medium
Glazing is the technique that actually creates the illusion of wood grain texture. Mix a translucent glaze with a slightly darker brown paint, creating a mixture that remains workable long enough to manipulate. This extended working time is essential, since creating realistic grain patterns takes several minutes per section.
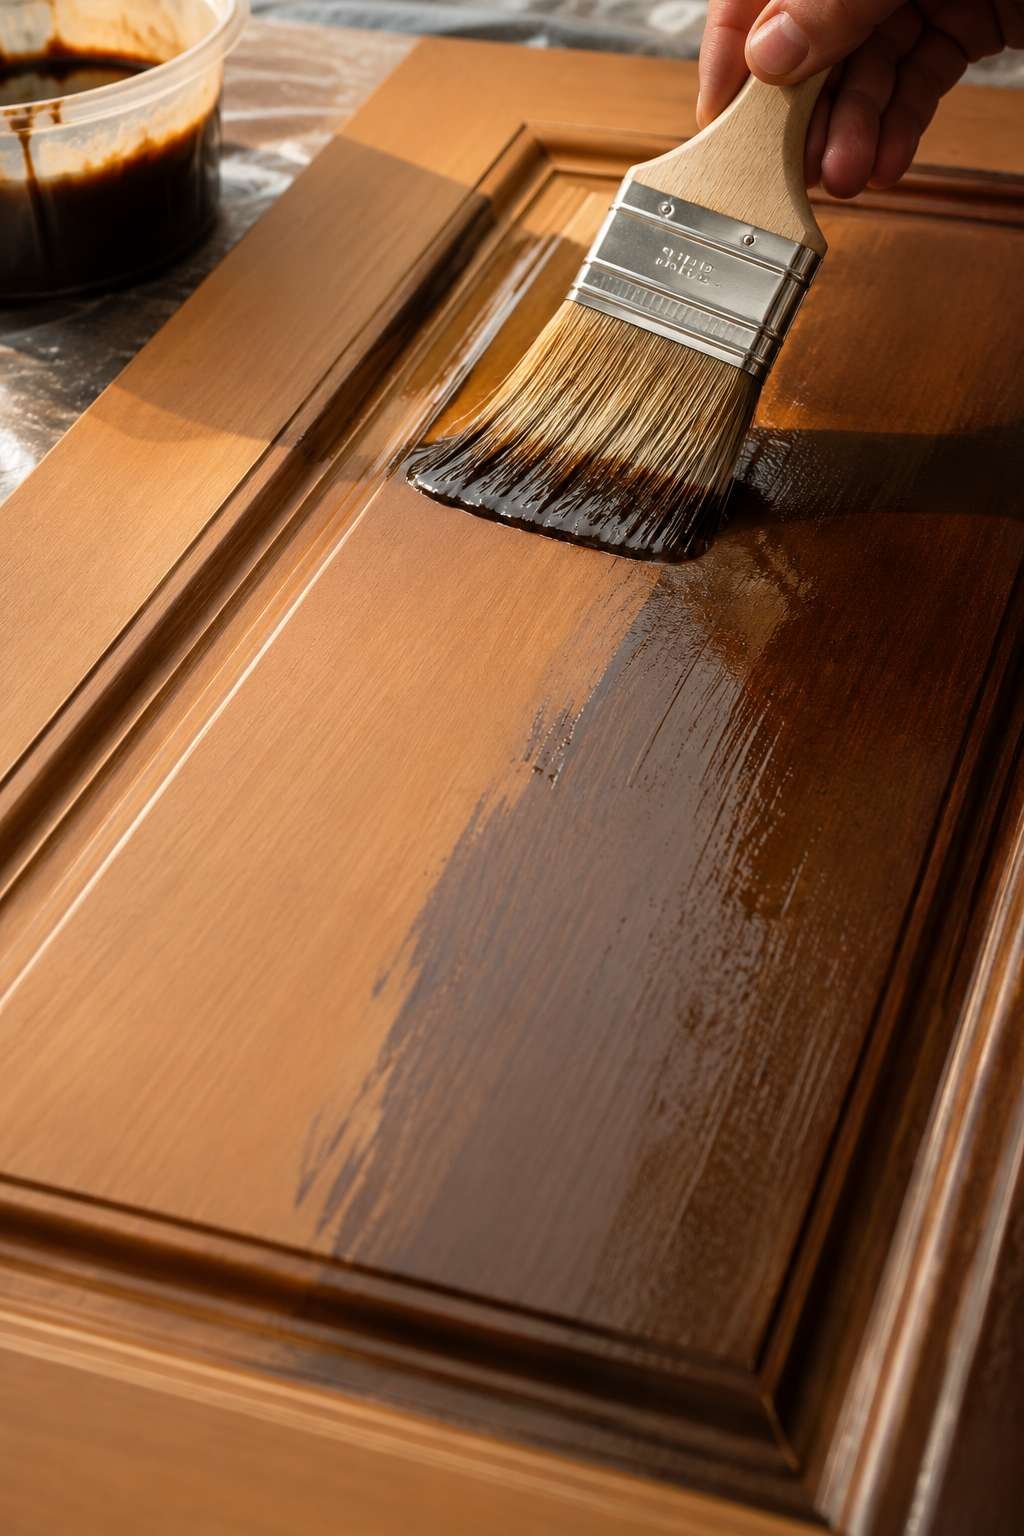
Apply the glaze in small, manageable sections rather than covering the entire door at once. Working in sections prevents the glaze from drying before you have a chance to create the grain pattern. A wide brush works well for spreading the glaze evenly before the graining tools come into play.
- Mix glaze with paint at a 4-to-1 ratio
- Work in small sections across the door
- Choose a glaze color darker than the base
- Test the mixture on scrap wood first
4. Create the Wood Grain Pattern
This step brings the entire effect to life using a specialized wood-graining tool or a simple comb. Drag the tool through the wet glaze in long, slightly wavy strokes, mimicking how natural grain flows unevenly. Rocking the tool gently as you pull creates the characteristic arched grain patterns found in real wood planks. Our guide on how to hide a door in living room walks through this step by step.
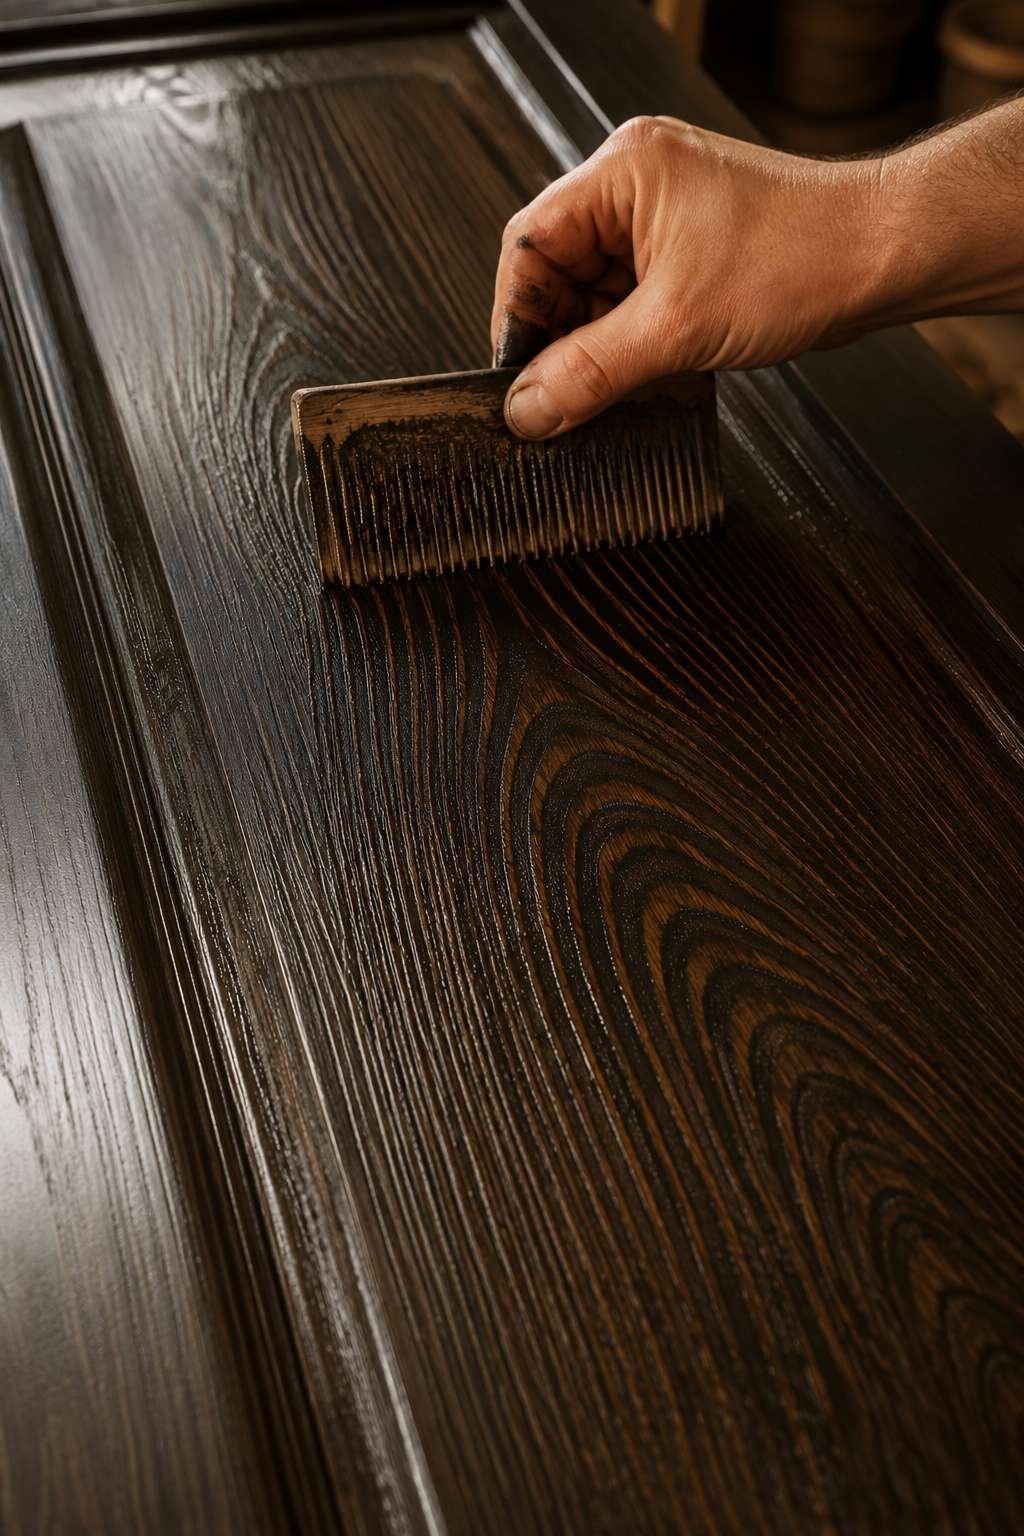
Vary your pressure and angle slightly between passes to avoid a repetitive, artificial-looking pattern. Real wood grain never repeats perfectly, so introducing subtle imperfections actually strengthens the illusion. Step back periodically to view the door from a distance, checking that the pattern reads naturally from typical viewing distances.
- Use a rubber graining tool for authentic texture
- Pull strokes in long, wavy motions
- Vary pressure to avoid repetitive patterns
- Check the effect from several feet away
5. Seal the Finish for Durability
Once the grain pattern dries completely, protecting it becomes the final priority. Apply two to three coats of a clear polyurethane or exterior sealant, allowing proper drying time between each layer. This protective topcoat shields the faux finish from scratches, fading, and moisture damage over years of use.
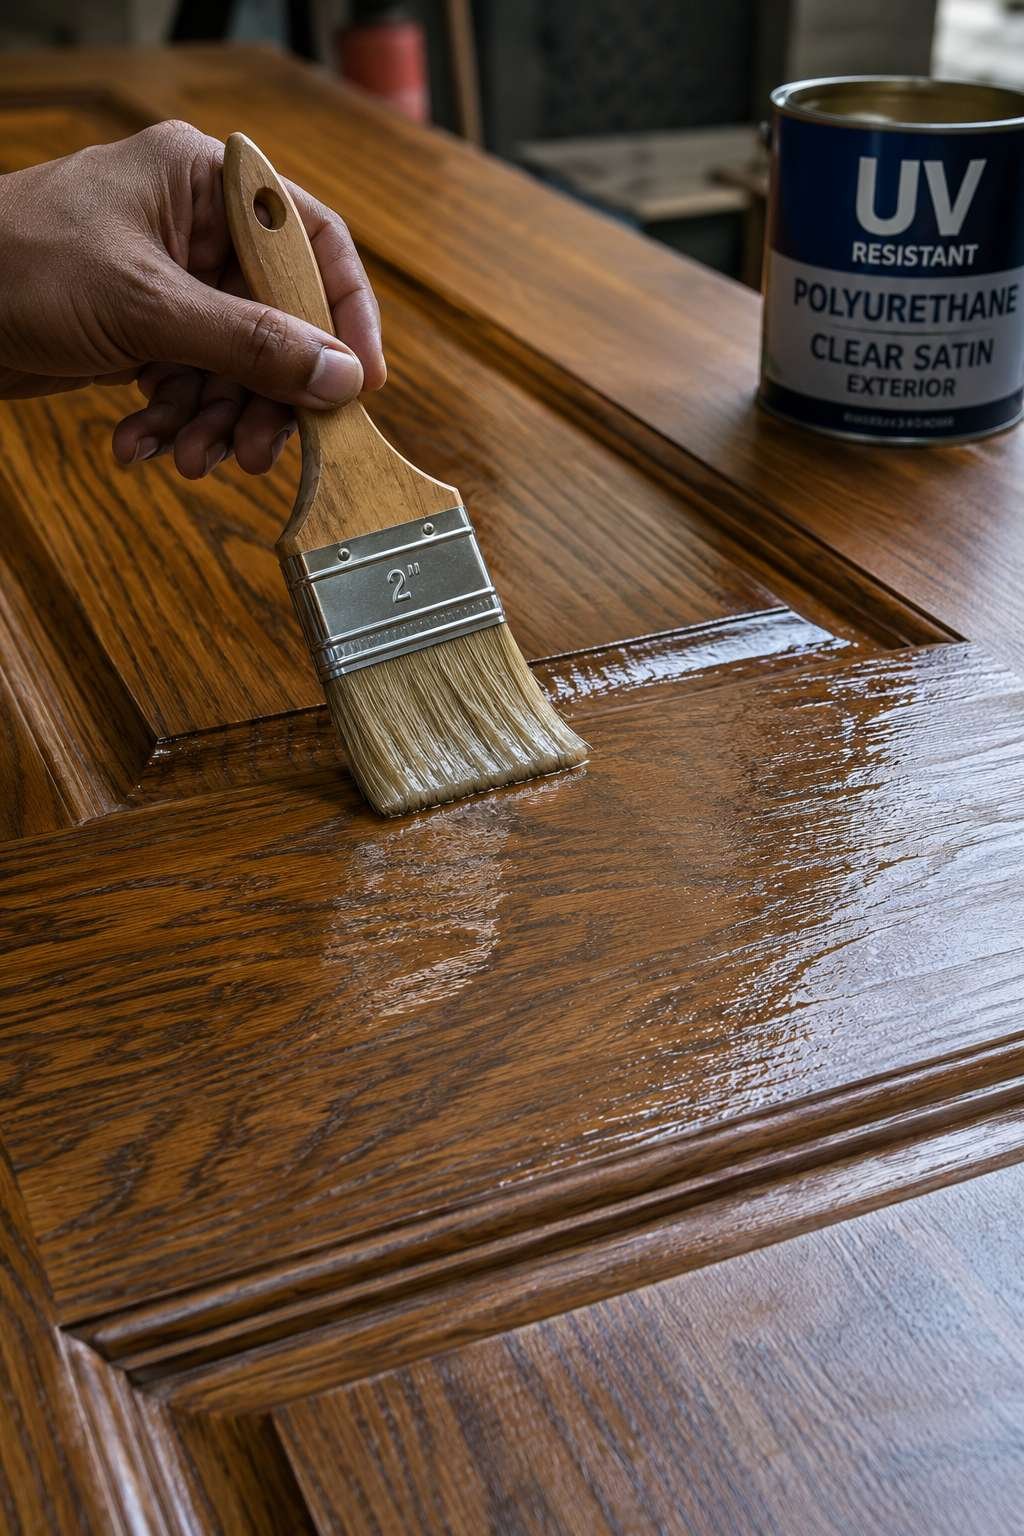
Choose a satin or semi-gloss sheen for the most realistic wood appearance, since high gloss can look artificial. For exterior doors facing direct sunlight, select a sealant with UV-resistant properties to prevent yellowing or fading. Reapplying a fresh topcoat every few years keeps the finish looking freshly done.
- Apply two to three coats of clear sealant
- Choose satin or semi-gloss for realism
- Select UV-resistant products for exterior doors
- Let each coat cure fully before the next
6. Add Final Touches and Hardware
Small details make the difference between a good faux finish and a truly convincing one. Update door hardware like hinges and handles to complement the new wood tone, since mismatched hardware breaks the illusion. Oil-rubbed bronze or matte black finishes typically pair well with most faux wood color schemes.
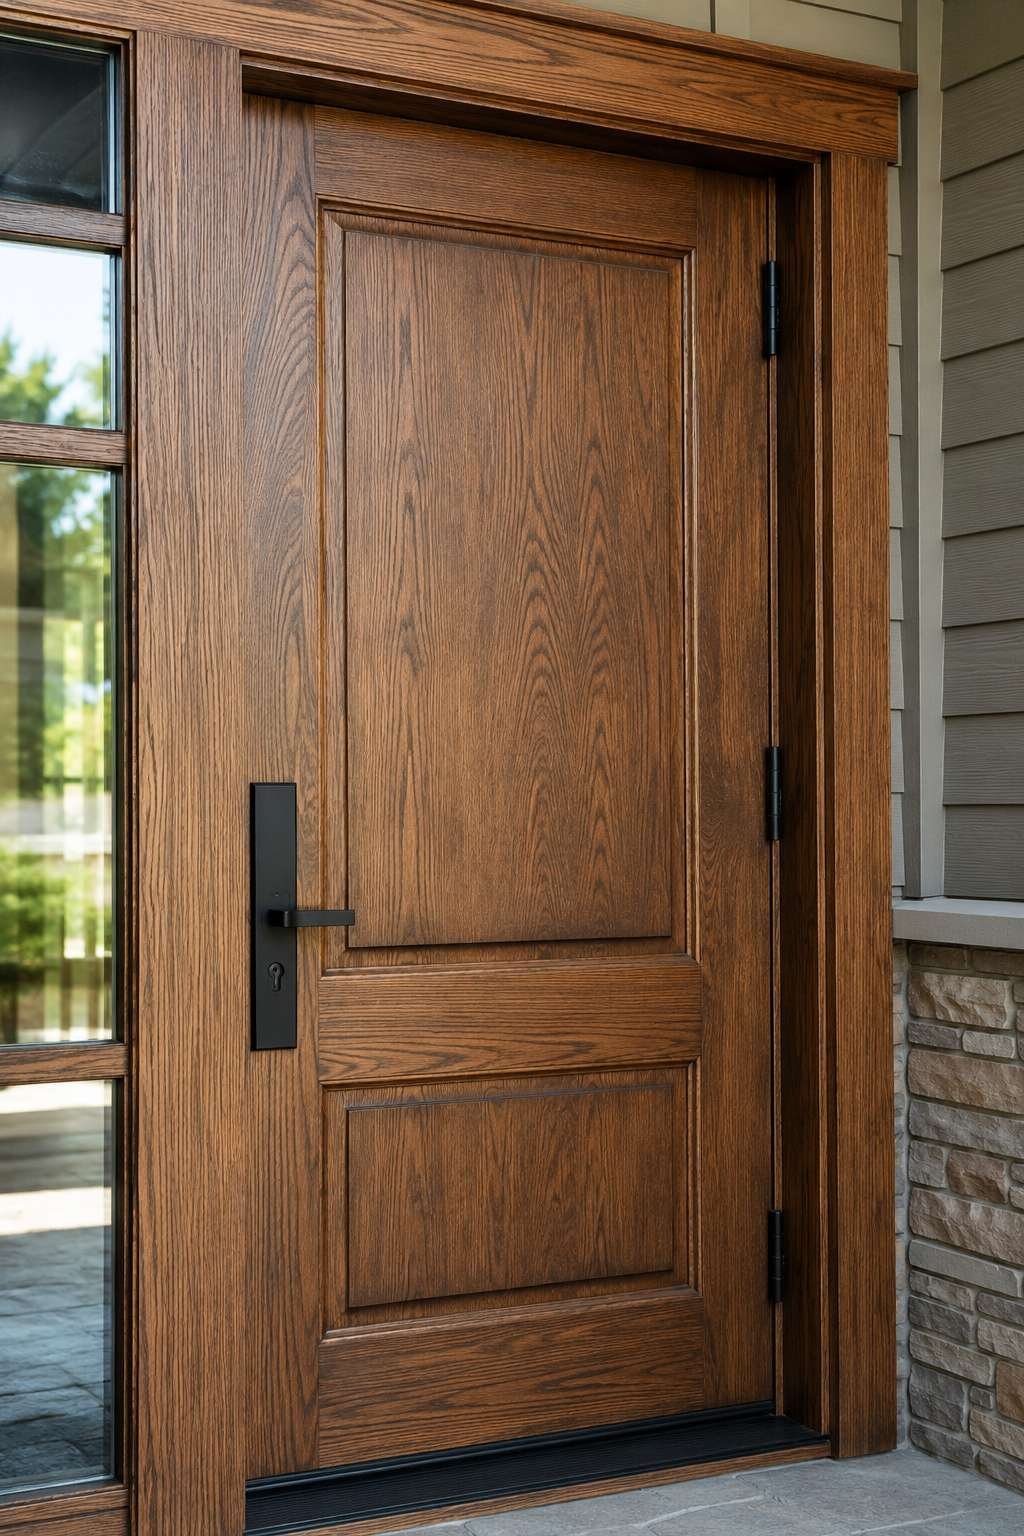
Consider adding a subtle wood-tone touch-up around edges or panel details where grain might look less defined. Stepping back for a final review under natural daylight reveals any spots needing extra attention. These finishing touches ensure the door reads as genuine wood from both close inspection and a distance.
- Update hardware to complement the wood tone
- Touch up edges and panel details as needed
- Review the finish under natural daylight
- Consider matching trim or surrounding molding too
Transforming a plain door into a convincing wood-grain finish is entirely achievable with patience and the right materials. Careful surface prep, a well-chosen base coat, and thoughtful glazing work together to create a truly believable result. Each layer builds toward a finish that rivals real hardwood at a fraction of the cost.
Take your time through each stage, since rushing any step compromises the overall effect. With practice, this faux wood technique can be applied to cabinets, trim, and furniture throughout your home. The result is a door that adds warmth and character without the price tag of solid wood.

