


A noisy, weak, or completely dead exhaust fan is more than just an annoyance — it lets moisture build up and encourages mold growth in a room that already deals with steam every day. Learning how to replace a bathroom exhaust fan is a manageable weekend project for most homeowners, even without prior electrical experience.
This guide walks through the entire process, from shutting off power safely to mounting the new unit and testing airflow, so you end up with a quieter, more effective fan by the end of the afternoon.
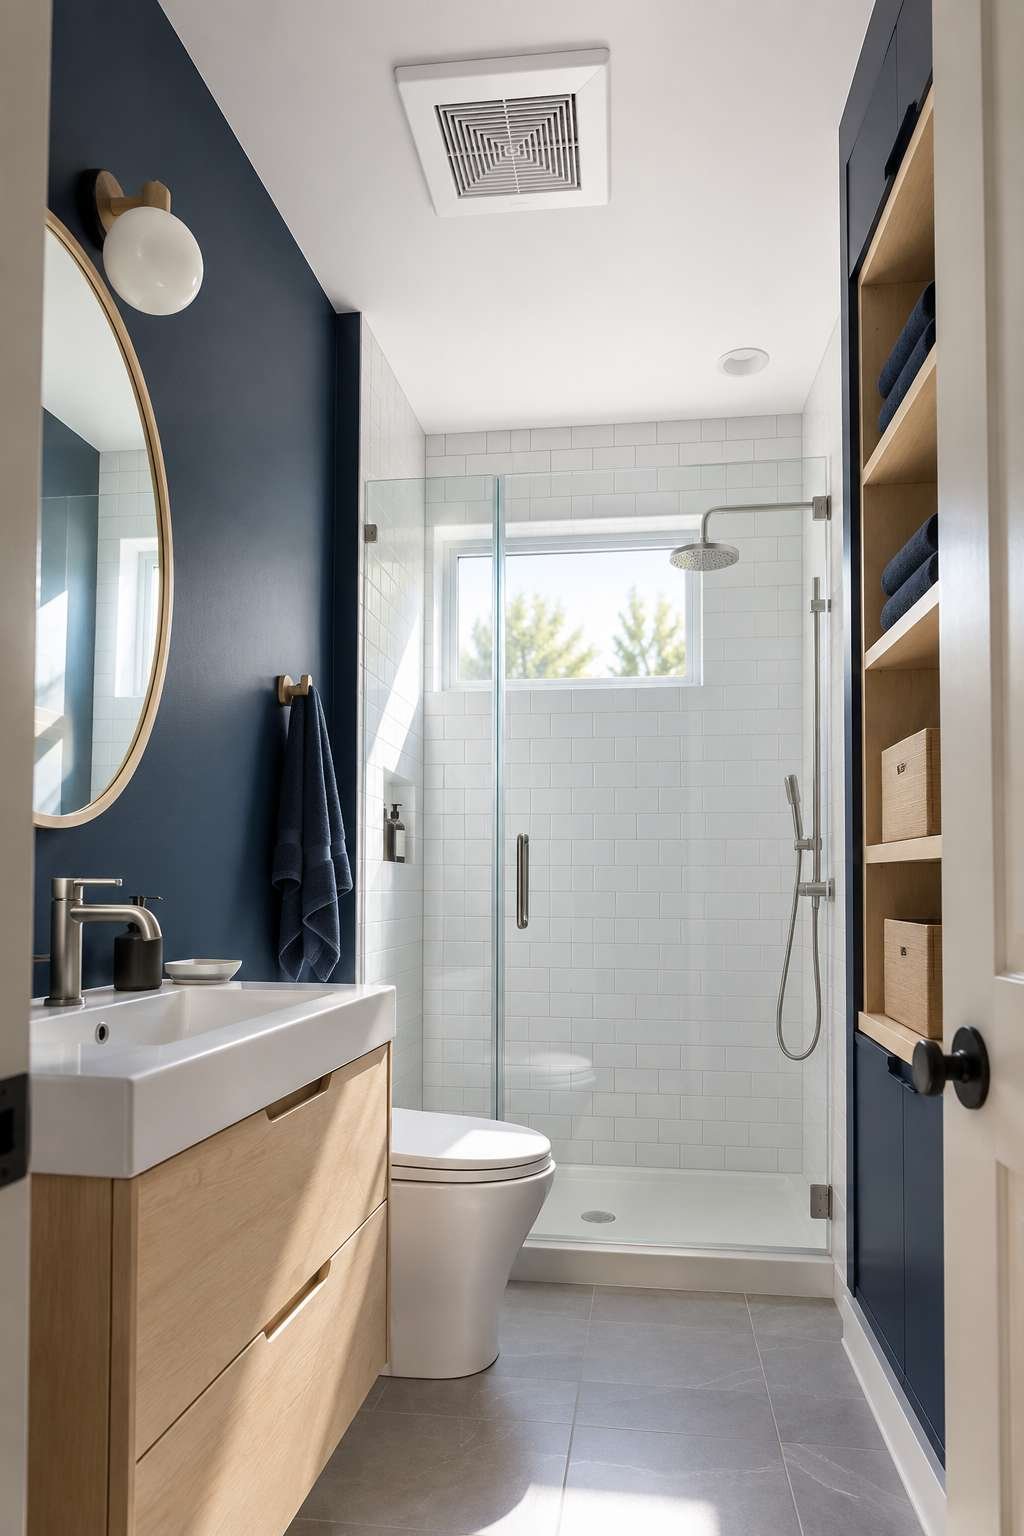
If your current fan still runs but sounds like it’s struggling, or barely moves air at all, replacement is almost always more effective than trying to repair an aging motor.
1. Signs It’s Time to Replace Your Exhaust Fan
Before diving into removal, it helps to confirm replacement is really the right call. A fan that’s become noticeably louder over the past year is often nearing the end of its motor’s lifespan, even if it still technically works.
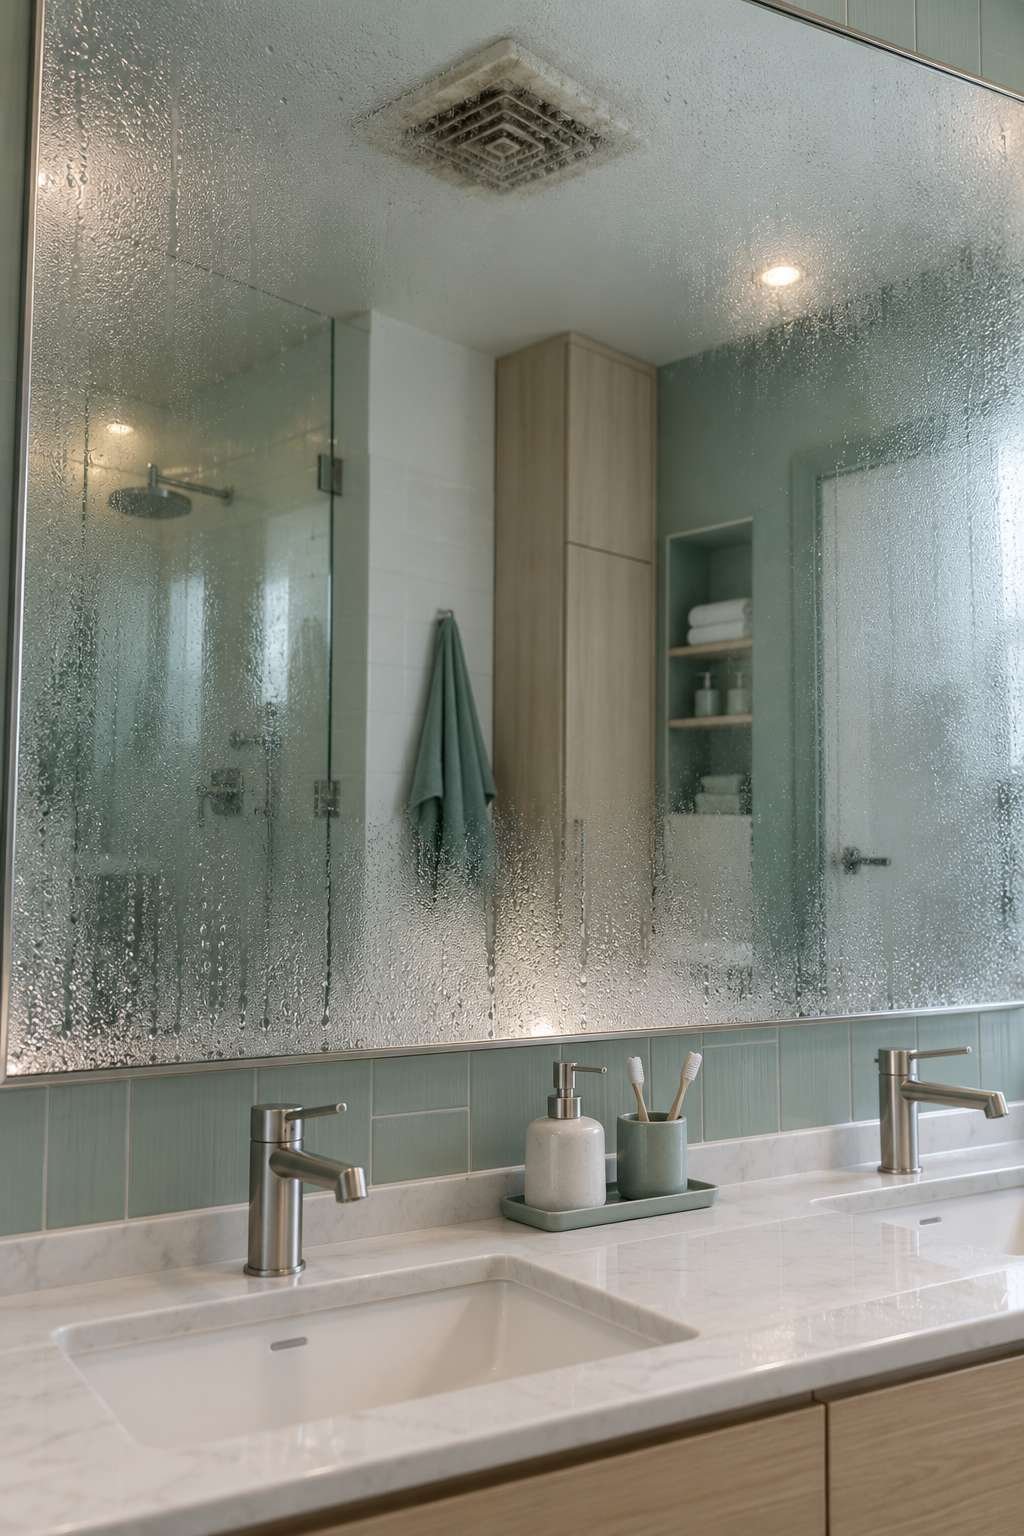
Persistent fogging on mirrors, lingering musty smells, or visible moisture on the ceiling near the fan are all signs the current unit isn’t moving enough air anymore, regardless of how it sounds. Most residential exhaust fans are rated for about 10 years of regular use.
If your bathroom still feels humid long after a shower, even with the fan running the whole time, that’s a strong signal the motor or blade assembly has weakened.
- Fan noise has become noticeably louder or rattling
- Mirrors stay fogged well after showering
- Musty smells linger despite regular ventilation
- Visible moisture or staining on the ceiling nearby
- The unit is 10+ years old and running less efficiently
- Airflow feels weak even directly under the fan
2. Choosing the Right Replacement Fan
Not all exhaust fans are sized the same, and picking the wrong one leaves you right back where you started. Fan capacity is measured in CFM (cubic feet per minute), and bathrooms generally need roughly 1 CFM per square foot of floor space, with a minimum of 50 CFM even for small rooms.
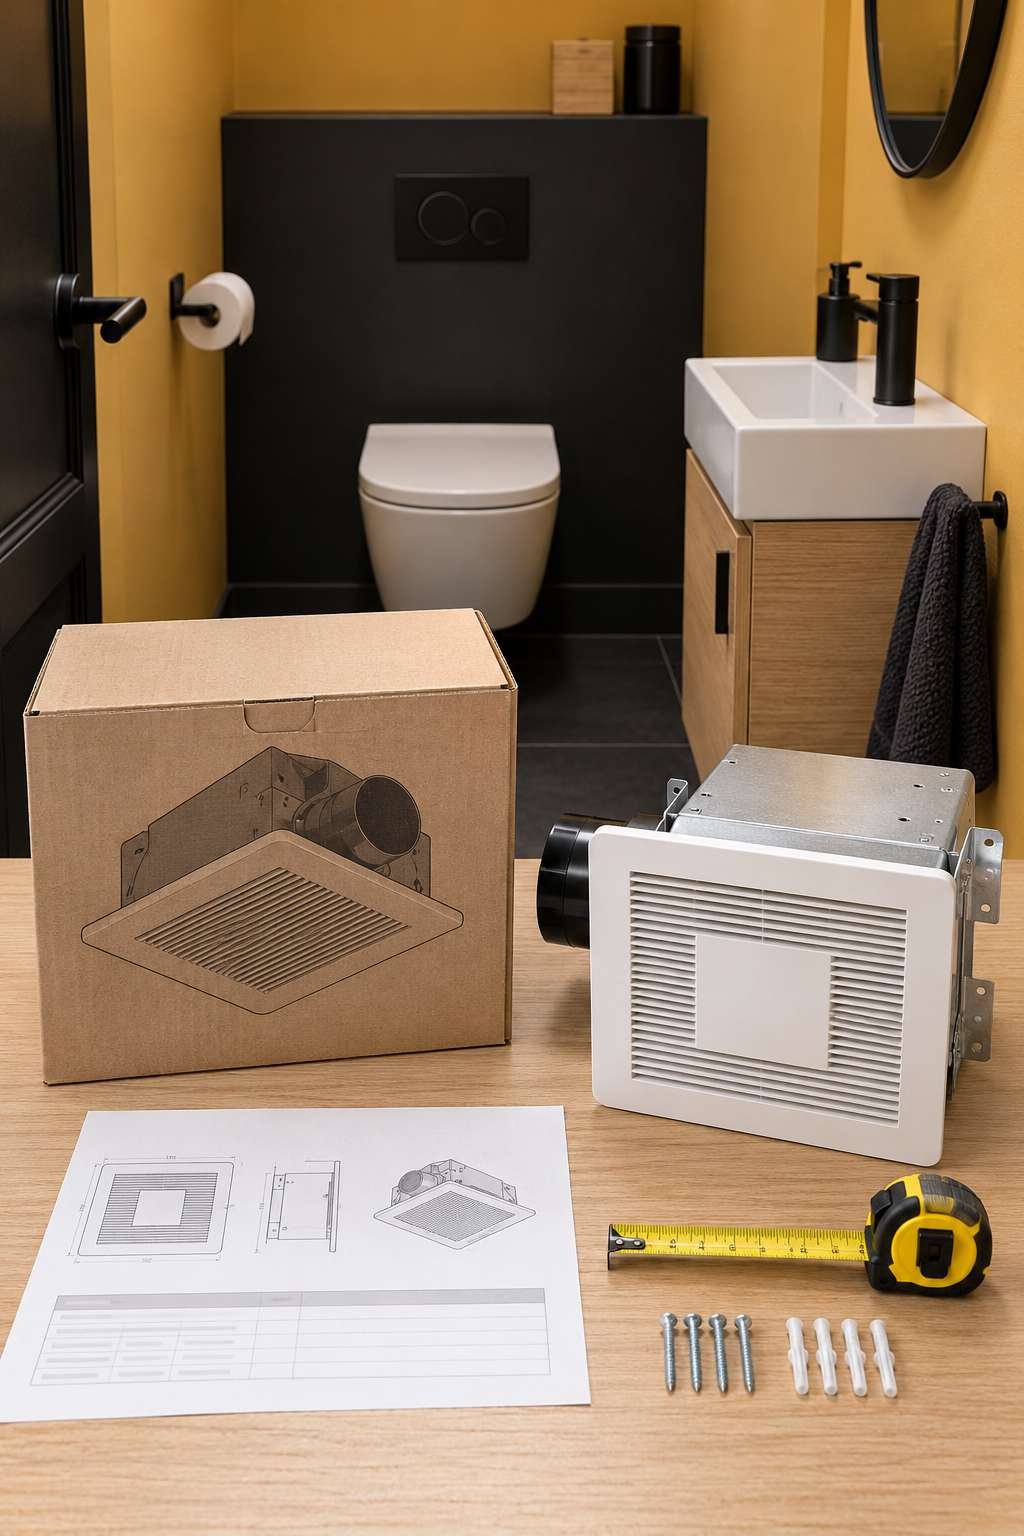
Beyond CFM, check the noise rating in sones — lower numbers mean quieter operation, with anything under 1.5 sones considered whisper-quiet by most standards. Also confirm the new unit’s housing dimensions match or exceed your existing ceiling opening to avoid extra cutting.
Some replacement fans include built-in lighting or a humidity sensor, which can be worth the small price increase if you’re already opening up the ceiling.
- Calculate CFM based on your bathroom’s square footage
- Look for a sone rating under 1.5 for quiet operation
- Check housing dimensions against your existing ceiling hole
- Consider a humidity-sensing model for automatic operation
- Combo fan-light units simplify wiring if you’re replacing both
- Confirm duct size compatibility with your existing ductwork
For a full walkthrough focused specifically on first-time installs rather than swaps, our companion post on how to install a bathroom exhaust fan covers duct routing in more depth.
3. Tools and Safety Precautions
Working with any ceiling-mounted electrical fixture means safety comes first, every time, no exceptions. Before touching any wiring, turn off the breaker that controls the bathroom circuit, not just the wall switch.
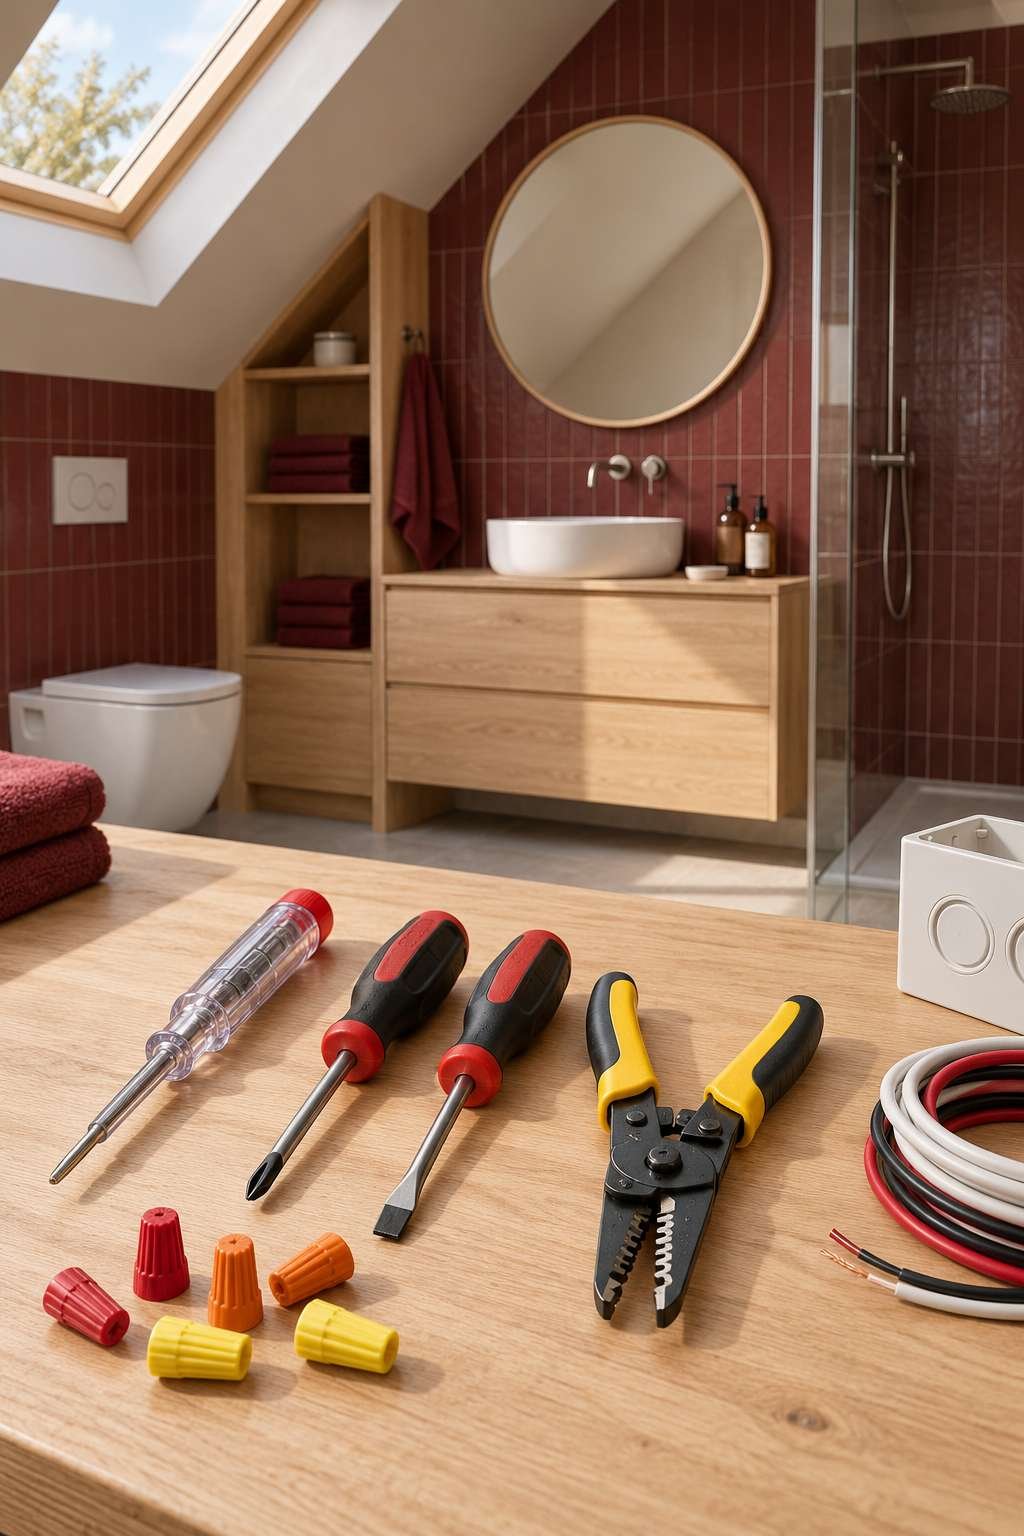
Use a non-contact voltage tester to confirm the wires are actually dead before handling them, since mislabeled panels are more common than people expect. Keep a sturdy step ladder nearby and have a helper if you’re working in a tight attic space above the fan.
Gather your tools ahead of time so you’re not climbing up and down the ladder repeatedly mid-project.
- Turn off the breaker, not just the wall switch
- Test wires with a non-contact voltage tester before touching them
- Screwdriver set (both Phillips and flathead)
- Wire strippers and wire nuts
- Drill with a hole saw if your opening needs resizing
- Dust mask, since attic insulation is often disturbed during this job
4. Removing the Old Fan Cover and Housing
Start from inside the bathroom by removing the visible grille cover, which usually pops off with gentle pressure from spring clips or a couple of small screws holding it in place.
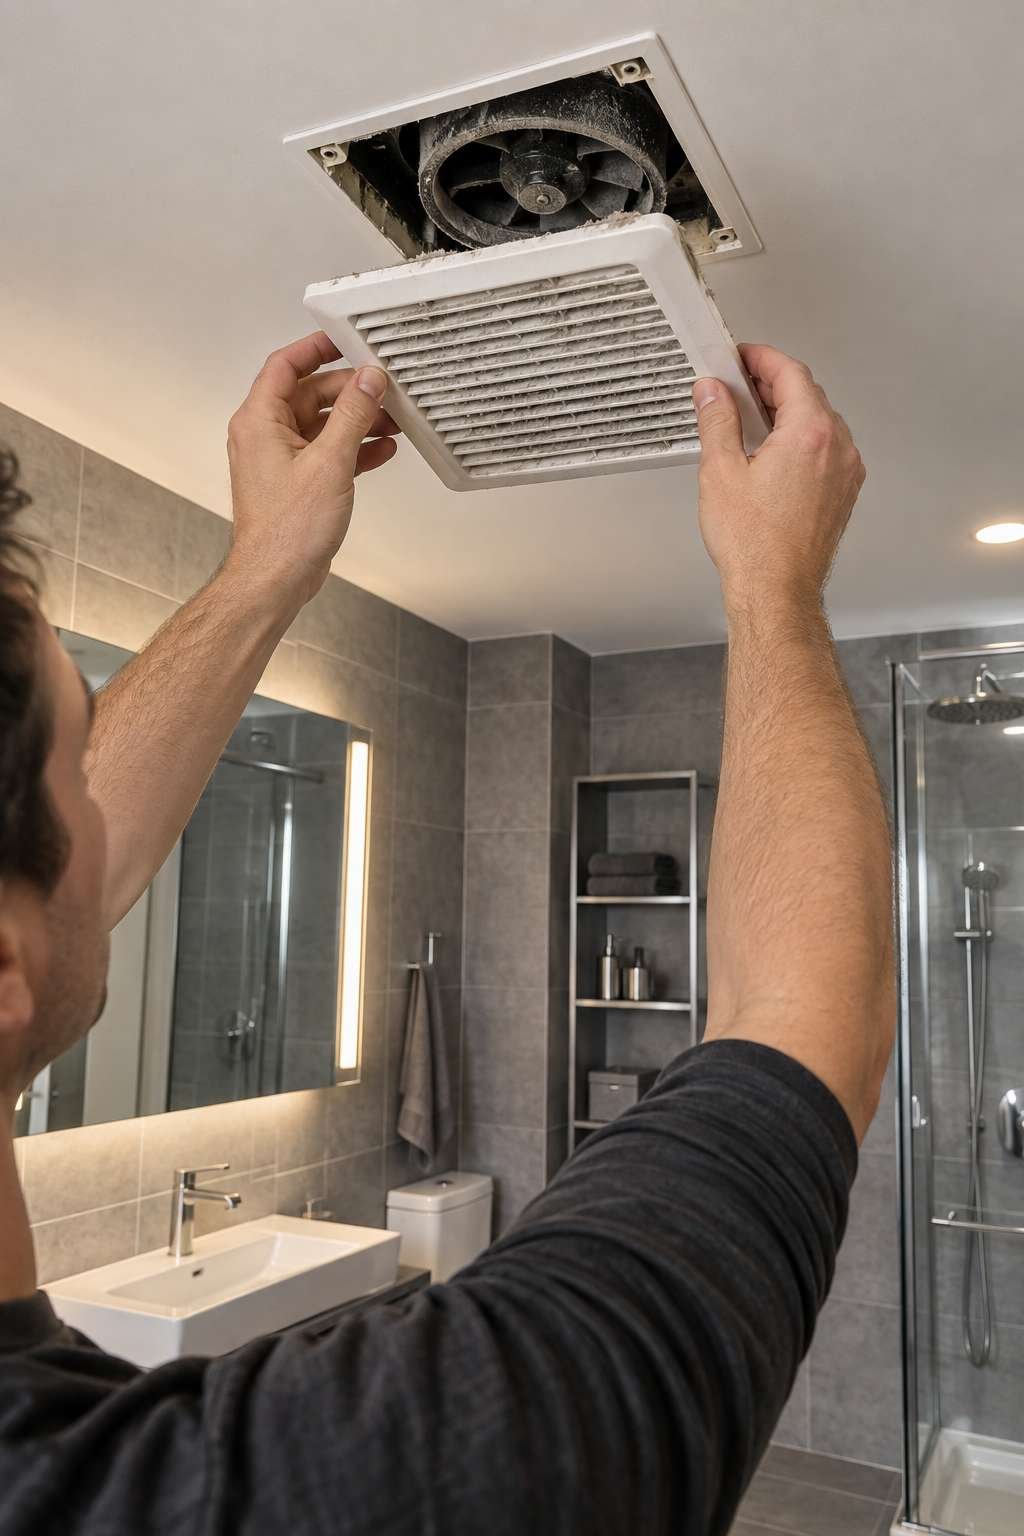
With the cover off, you’ll see the fan motor assembly, often held in with a couple of screws or clips connecting it to the housing above. Disconnect the motor unit from the housing first, setting it aside, before climbing up to access the housing itself from the attic or above-ceiling space.
Once you’re above the ceiling, disconnect the wiring at the wire nuts and the duct connection at the housing, then unscrew or unbolt the housing from the ceiling joists.
- Remove the grille cover from below first
- Disconnect the motor from the housing before going up top
- Access the housing from the attic or above-ceiling space
- Disconnect wiring at the wire nuts, not by cutting
- Detach the duct connection carefully to avoid tearing it
- Unscrew the housing from the joists once everything is disconnected
If your existing fan is proving difficult to detach entirely, our guide on how to remove bathroom exhaust fan housings covers a few extra tips for stubborn or older mounting brackets.
5. Preparing the Ceiling Opening
Before mounting the new housing, compare its footprint to the existing ceiling hole to see whether it fits as-is or needs slight adjustment. Many replacement fans are designed to fit standard openings, but it’s worth double-checking before you’re halfway through installation.
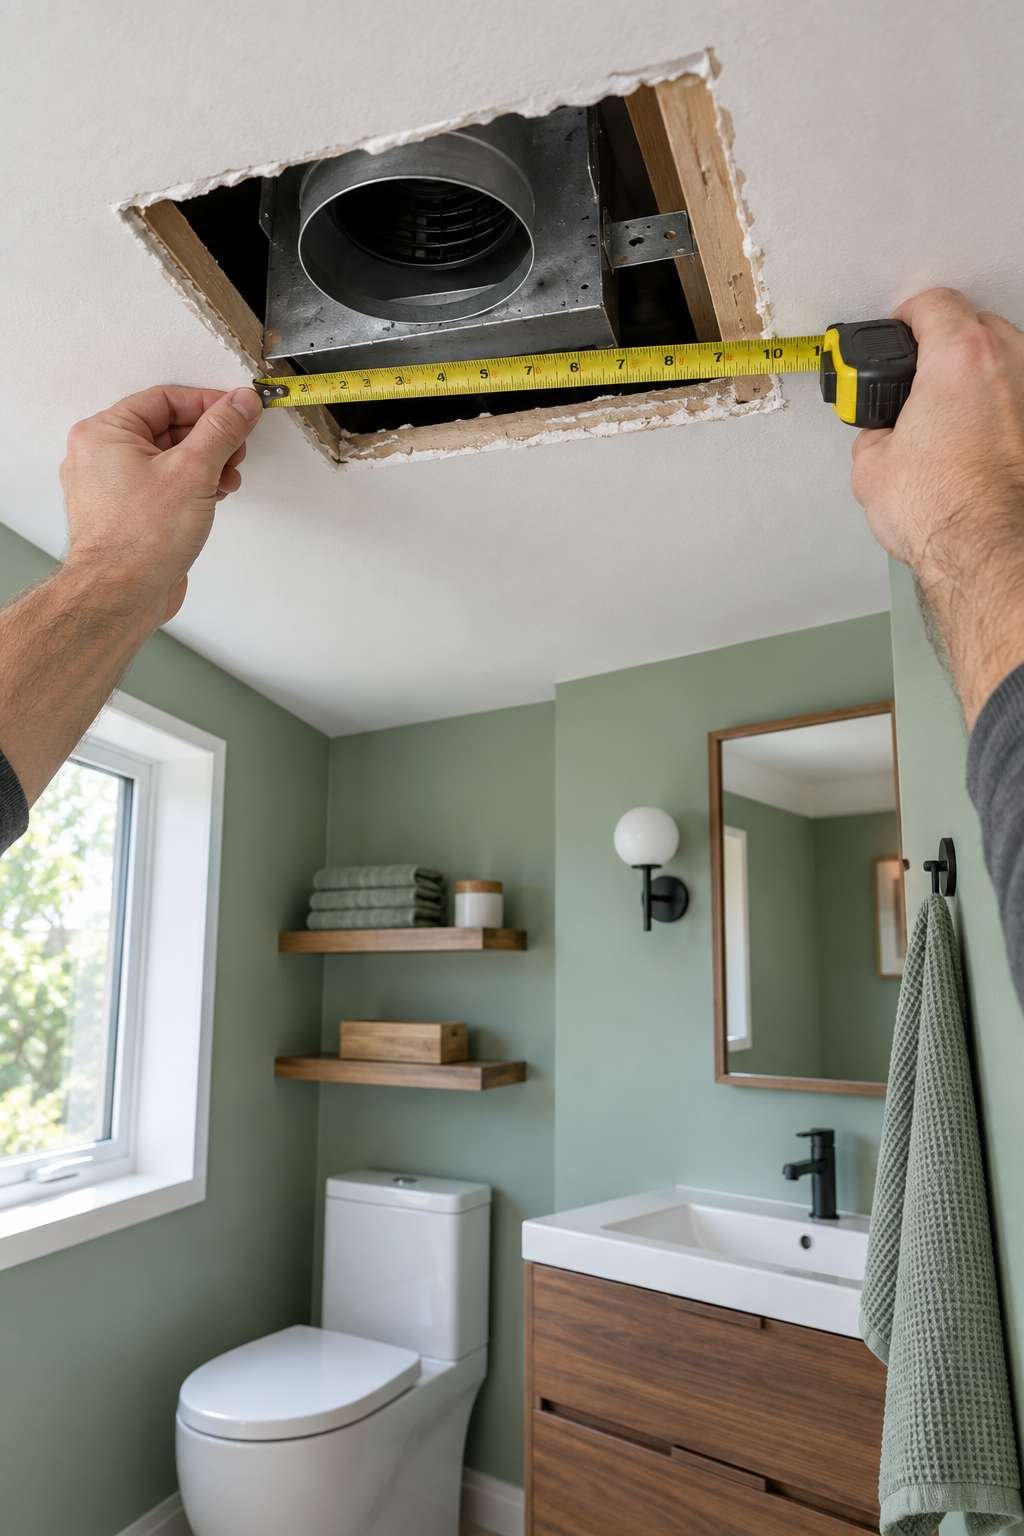
If the new unit is slightly larger, use a drywall saw to carefully enlarge the opening, following the housing’s included template if one is provided. If it’s smaller, you may need a trim ring or a small patch of drywall around the edges once everything is installed.
Vacuum out any accumulated dust or debris from the opening before setting the new housing in place.
- Compare the new housing footprint to the existing hole
- Use a drywall saw for careful, gradual enlargement if needed
- Follow the manufacturer’s cutting template when provided
- Plan for a trim ring if the new unit is smaller than the old opening
- Vacuum out dust and debris before mounting the new housing
- Check for nearby wiring or plumbing before cutting further
6. Mounting the New Fan Housing
With the opening ready, position the new housing so its duct connection port lines up with your existing ductwork, then secure it to the ceiling joists using the mounting brackets included with the unit.
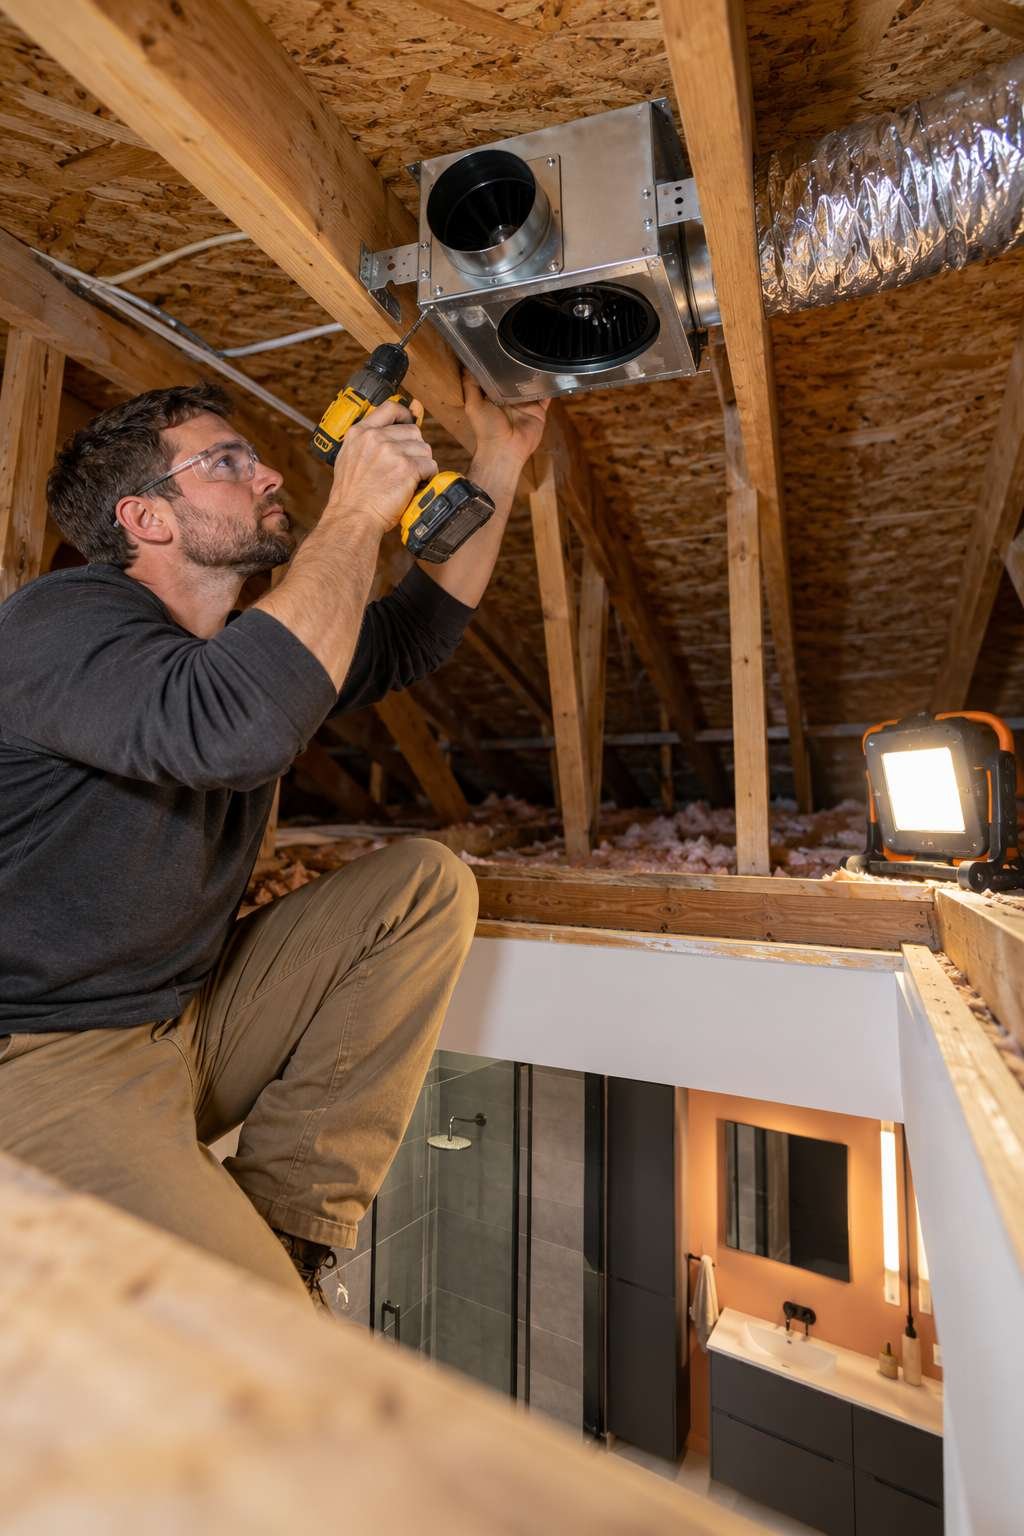
Most modern housings include adjustable bar hangers that extend to reach joists on either side of the opening, letting you center the unit precisely even if the joist spacing doesn’t perfectly match. Tighten all mounting screws firmly, checking that the housing sits level.
Double-check the housing is square with the ceiling opening before moving on, since a crooked housing makes the cover fit awkwardly later.
- Align the duct port with existing ductwork before securing
- Use adjustable bar hangers to reach ceiling joists evenly
- Tighten all mounting screws firmly and evenly
- Confirm the housing sits level and square to the opening
- Leave the duct connection accessible until it’s fully sealed
- Double-check joist attachment before adding any weight to it
7. Connecting the Ductwork
A properly sealed duct connection is one of the most overlooked steps, yet it’s essential for moving humid air all the way outside rather than into your attic space. Secure the flexible or rigid duct to the housing’s port using a metal clamp, not just tape alone.
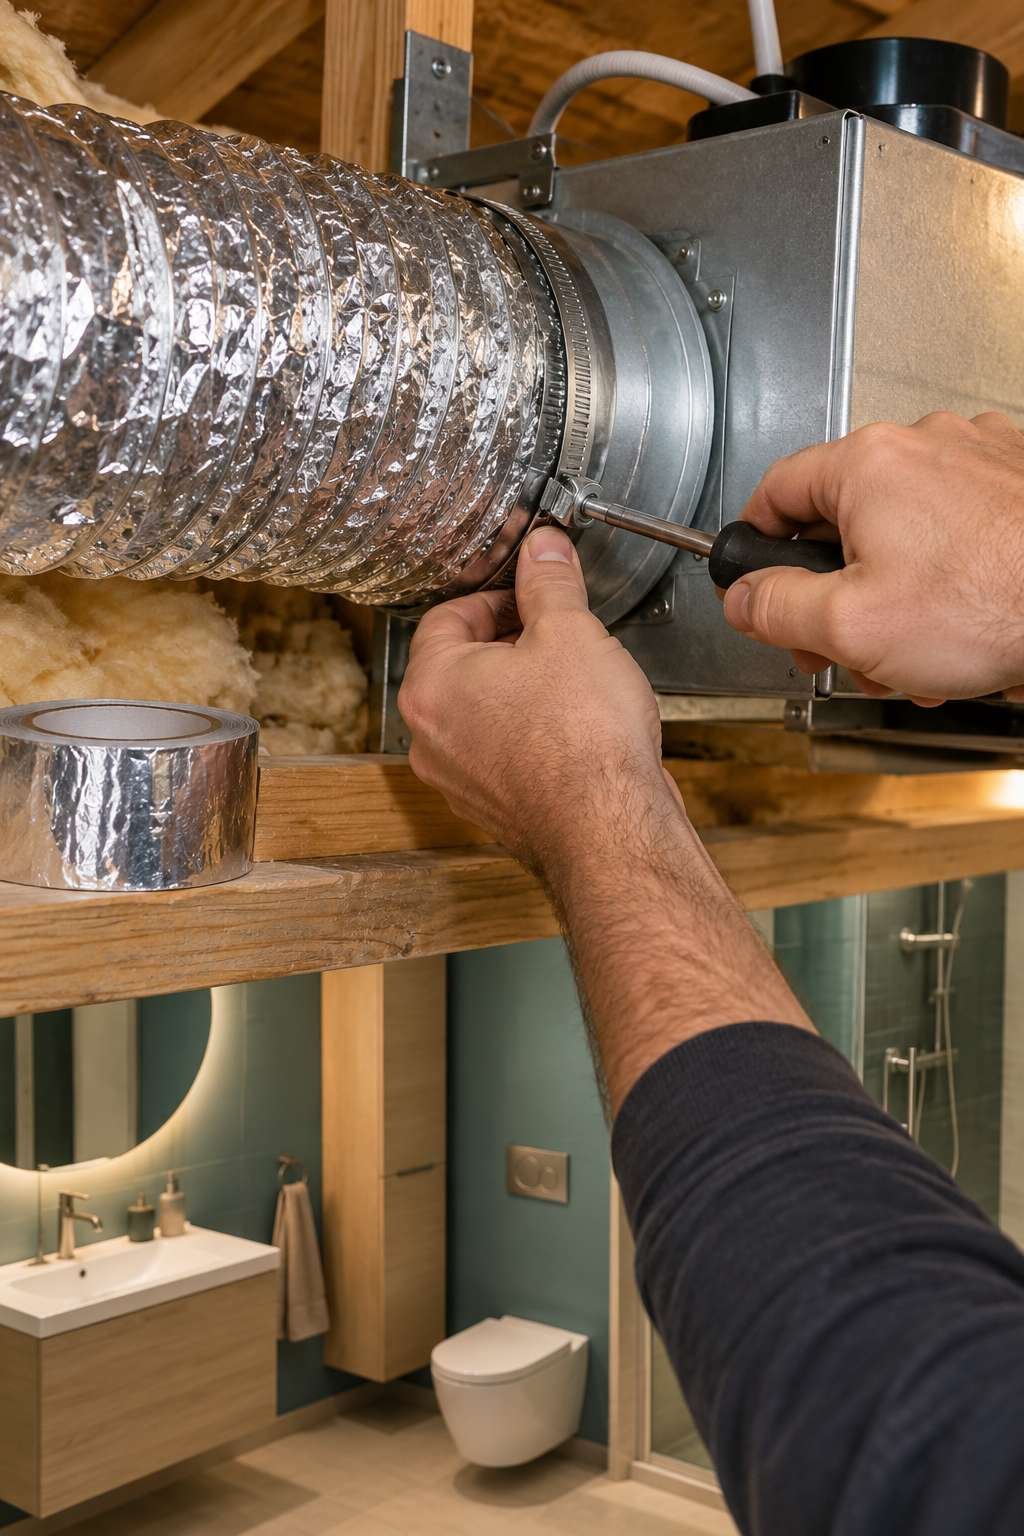
Once clamped, wrap the connection with foil duct tape for an extra layer of sealing, since gaps here let moist air escape into the attic and contribute to mold or wood rot over time. Support the duct run so it isn’t sagging or kinked between the fan and the exterior vent.
If your ductwork run is unusually long or has multiple bends, check that your chosen fan’s CFM rating still accounts for that added airflow resistance.
- Use a metal clamp to secure the duct to the housing port
- Seal the connection with foil duct tape, not standard tape
- Support the duct run to prevent sagging or kinks
- Check for gaps at every joint along the duct path
- Confirm the exterior vent cap is clear and functioning
- Account for duct length and bends when sizing CFM needs
8. Wiring the New Fan
With the housing and ductwork secure, connect the electrical wiring using the same wire-nut connections you disconnected earlier — typically black-to-black, white-to-white, and a bare or green ground wire to the housing’s ground screw.
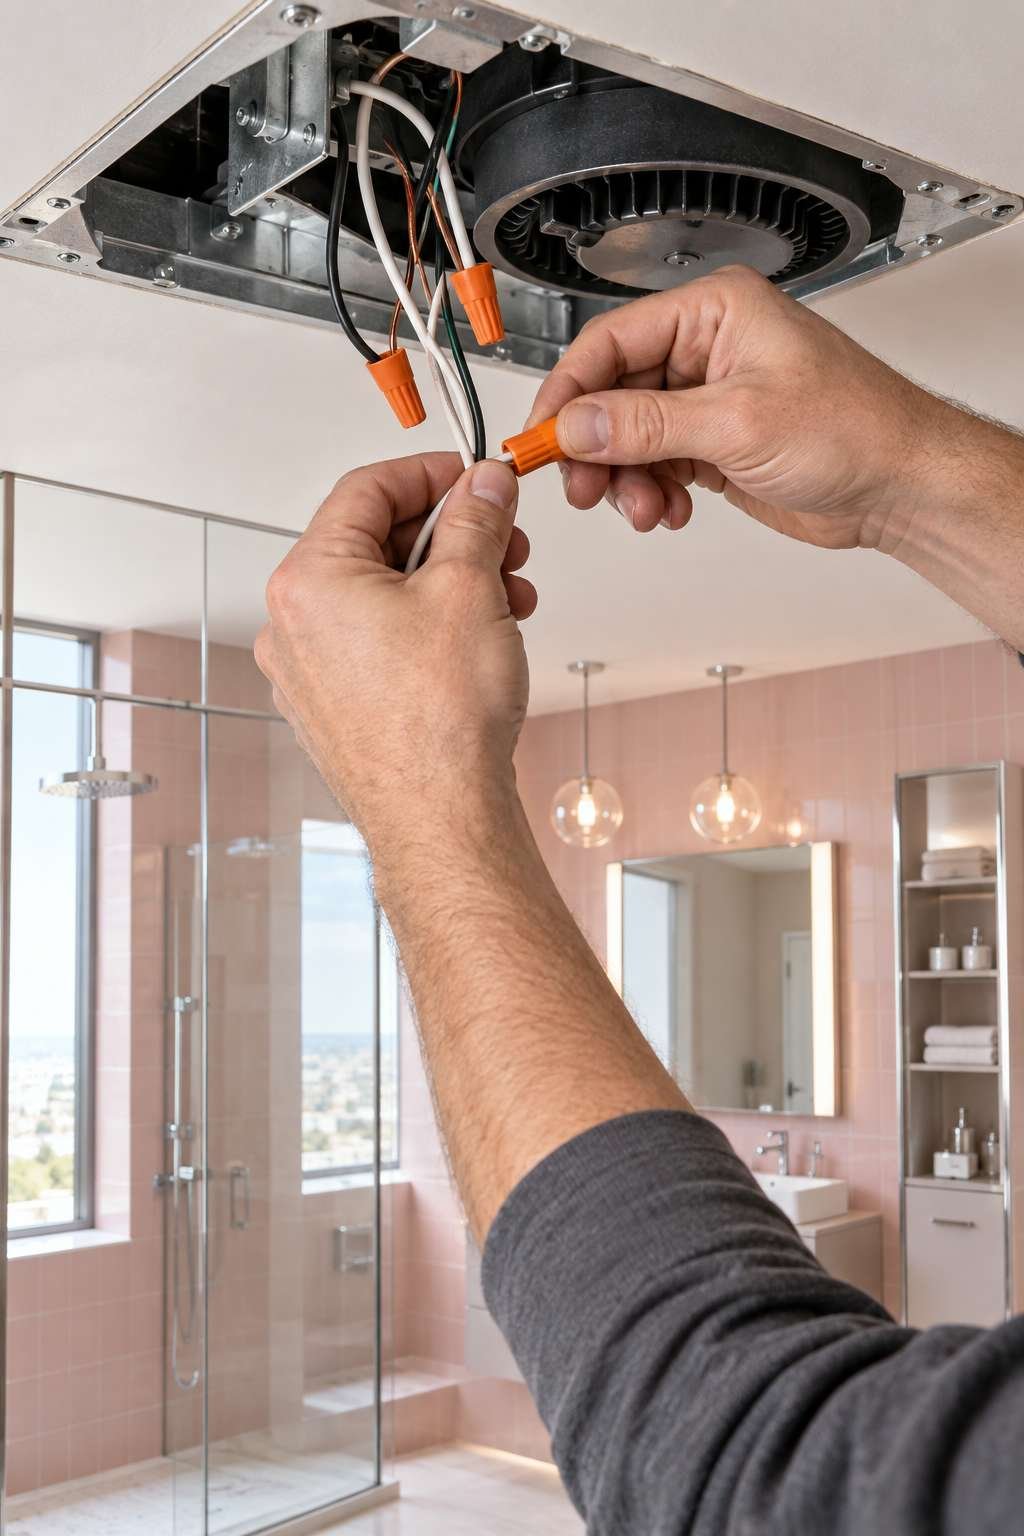
Tuck the connected wires neatly into the housing’s junction box area, making sure no bare wire is exposed and nothing is pinched against the metal housing. Attach the motor unit back onto the housing once wiring is complete and confirmed secure.
Before restoring power, double-check every connection is tight and properly capped with a wire nut.
- Match wire colors exactly as they were originally connected
- Connect the ground wire securely to the housing’s ground screw
- Tuck wires neatly to avoid pinching against metal edges
- Reattach the motor unit only after wiring is fully complete
- Double-check every wire nut is snug before restoring power
- Never leave bare wire exposed inside the junction box
9. Installing the Cover and Testing Airflow
Once wiring is complete, head back downstairs and snap or screw the new grille cover into place, matching however the original was mounted. Restore power at the breaker and test the switch to confirm the fan turns on.
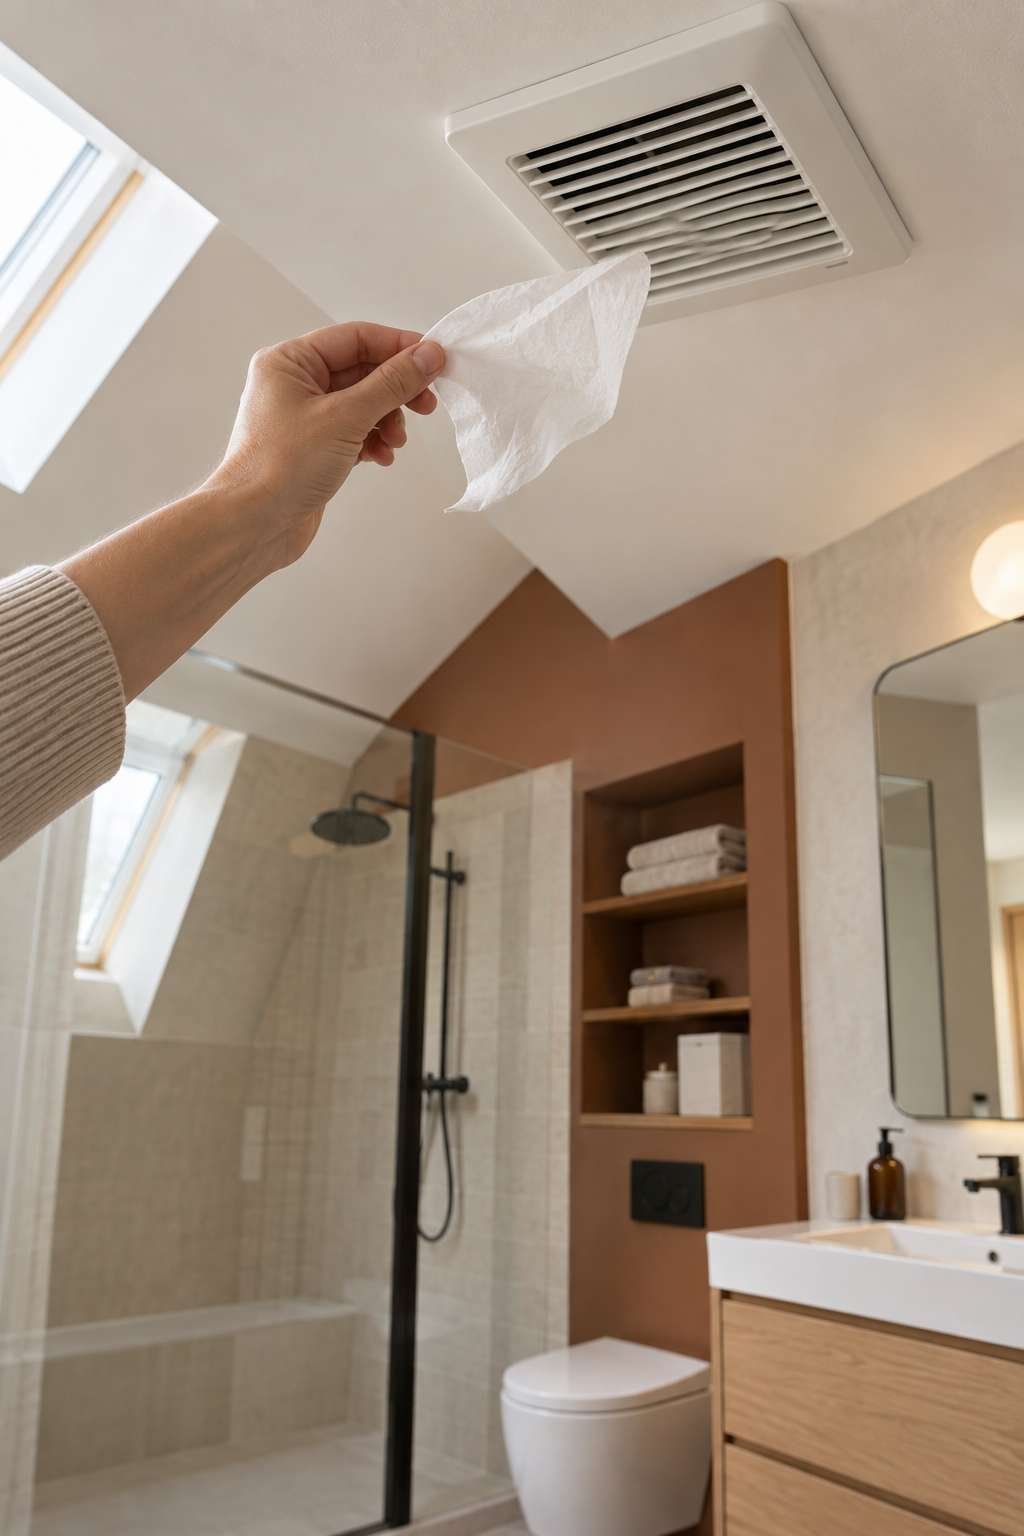
Hold a piece of tissue paper near the grille to visually confirm strong airflow is being pulled through, and listen for any rattling that might indicate a loose screw or unbalanced blade. Let it run for several minutes to check for unusual heat or smell, which could indicate a wiring issue.
If everything sounds smooth and the airflow feels strong, your installation is complete.
- Snap or screw the grille cover into its final position
- Restore power at the breaker before testing the switch
- Use a tissue test to visually confirm airflow strength
- Listen for rattling that could suggest a loose blade or screw
- Run the fan several minutes to check for unusual heat or smell
- Recheck the exterior vent cap flap opens properly during operation
10. Ongoing Maintenance to Extend Fan Life
A newly installed fan will last significantly longer with a little routine upkeep. Dust and lint naturally accumulate on the blades and grille over time, restricting airflow gradually until it becomes noticeable.
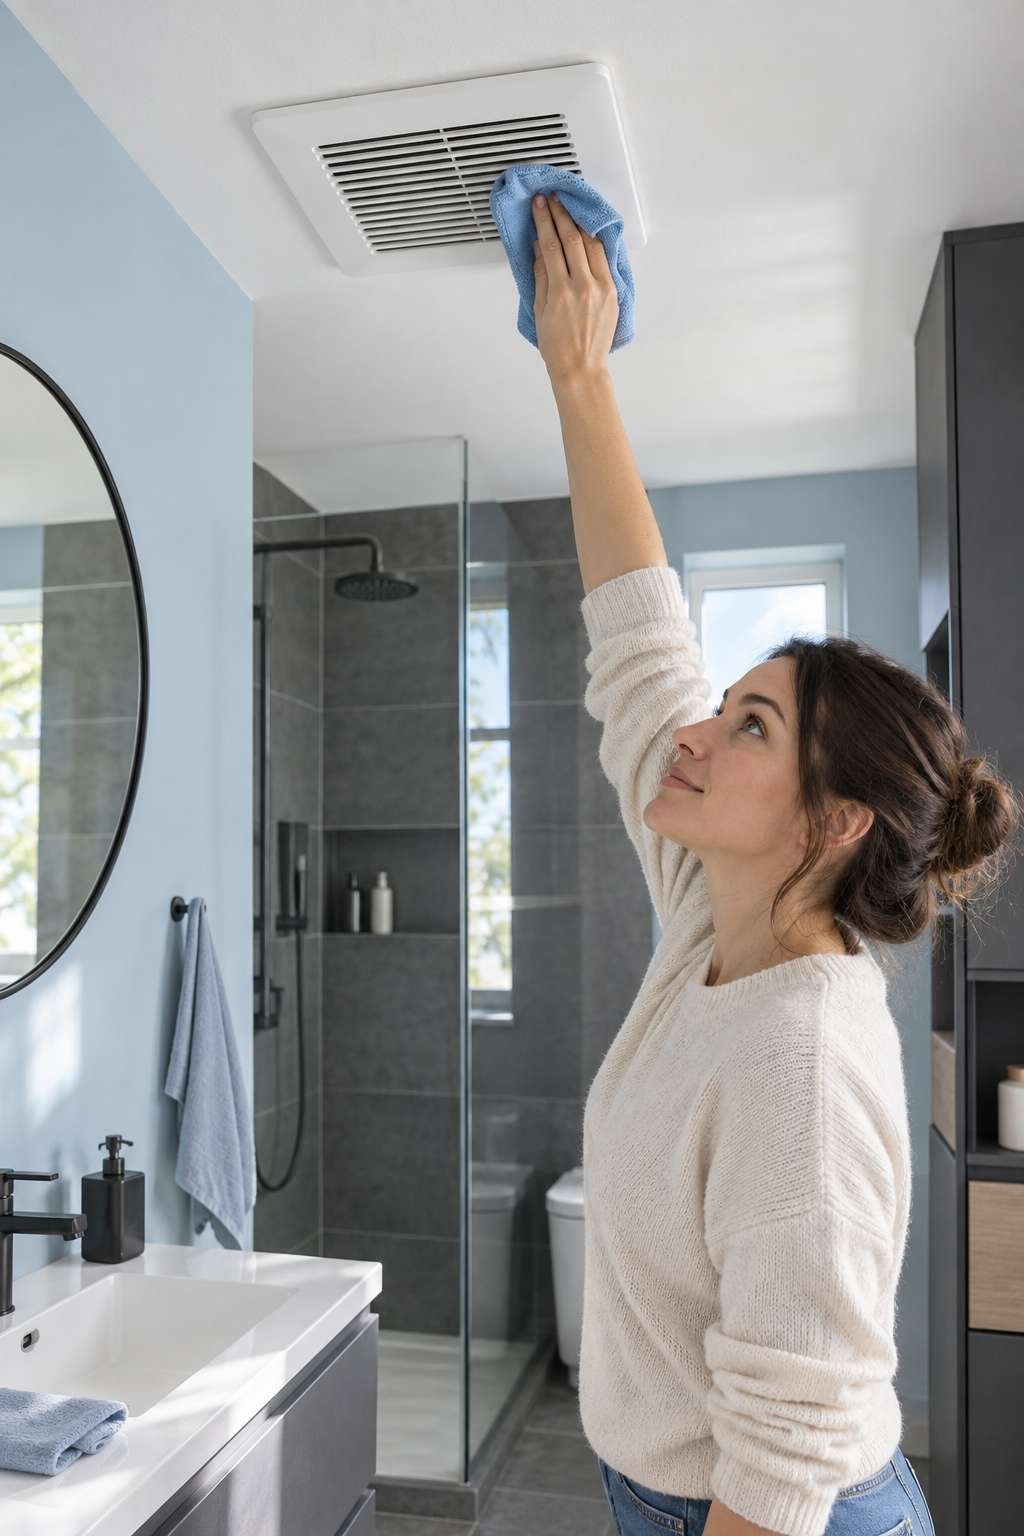
Remove and rinse the grille cover every few months, and use a vacuum attachment to clear dust from the fan blades themselves without needing to fully disassemble anything. Running the fan for at least 20 minutes after every shower helps prevent moisture buildup that shortens motor life.
Keeping the exterior vent cap clear of debris, leaves, or nesting insects also ensures the fan isn’t working harder than it needs to.
- Clean the grille cover every few months with mild soap
- Vacuum dust from the fan blades periodically
- Run the fan at least 20 minutes after every shower
- Check the exterior vent cap for blockages seasonally
- Listen for early noise changes as a sign of wear
- Schedule a full replacement proactively around the 10-year mark
For a deeper cleaning routine beyond the quick wipe-down covered here, see our dedicated guide on how to clean bathroom exhaust fan units for a full deep-clean process.
Frequently Asked Questions
How do you vent a bathroom exhaust fan properly?
The duct should run the shortest practical path to an exterior vent cap — on the roof or an outside wall — never into the attic space itself, since venting indoors just relocates the moisture problem rather than solving it. Insulated ducting is recommended in cold climates to prevent condensation inside the duct.
How do you repair a bathroom exhaust fan instead of replacing it?
Common repairs include cleaning a dusty motor and blades, lubricating the motor bearings with a few drops of light oil, or replacing a worn capacitor if the motor hums but doesn’t spin. If the motor itself has failed completely, replacement is usually more cost-effective than sourcing a matching part.
How does a bathroom fan actually exhaust air outside?
The fan motor spins a blade that pulls humid air through the grille and pushes it through connected ductwork to an exterior vent cap, where a flap opens to release the air and closes afterward to block outside air and pests from entering. Proper duct sealing is what keeps this system efficient.
How do you fix an exhaust fan in a bathroom that’s stopped working?
Start by checking the breaker and wall switch, then confirm power is reaching the fan with a voltage tester before assuming the motor has failed. If power is present but the fan won’t spin, a seized motor or blown capacitor is the likely cause, and replacement of the unit is usually simpler than sourcing individual parts.
Replacing a bathroom exhaust fan is one of those projects that feels intimidating right up until you’re holding the old housing in your hands, at which point it becomes clear just how straightforward the process really is. Taking your time with the electrical and duct connections pays off with years of quiet, reliable ventilation.
Once it’s installed, a little routine maintenance keeps it running efficiently for the long haul, and you’ll notice the difference in air quality almost immediately. If you’re starting from a bathroom with no fan at all, our guide on how to add exhaust fan to bathroom spaces covers the additional wiring and venting considerations for a first-time install.

