


A slow-draining sink is annoying, but a fully clogged one can bring your morning routine to a halt. Learning how to unclog bathroom sink basins doesn’t require a plumber or expensive tools — most clogs are caused by hair, soap scum, and toothpaste residue that build up close to the drain opening. With a few household items and about thirty minutes, you can usually clear the blockage yourself.
This guide walks through every method, starting with the gentlest options and working up to more hands-on fixes, so you always try the easiest fix first before reaching for a wrench.
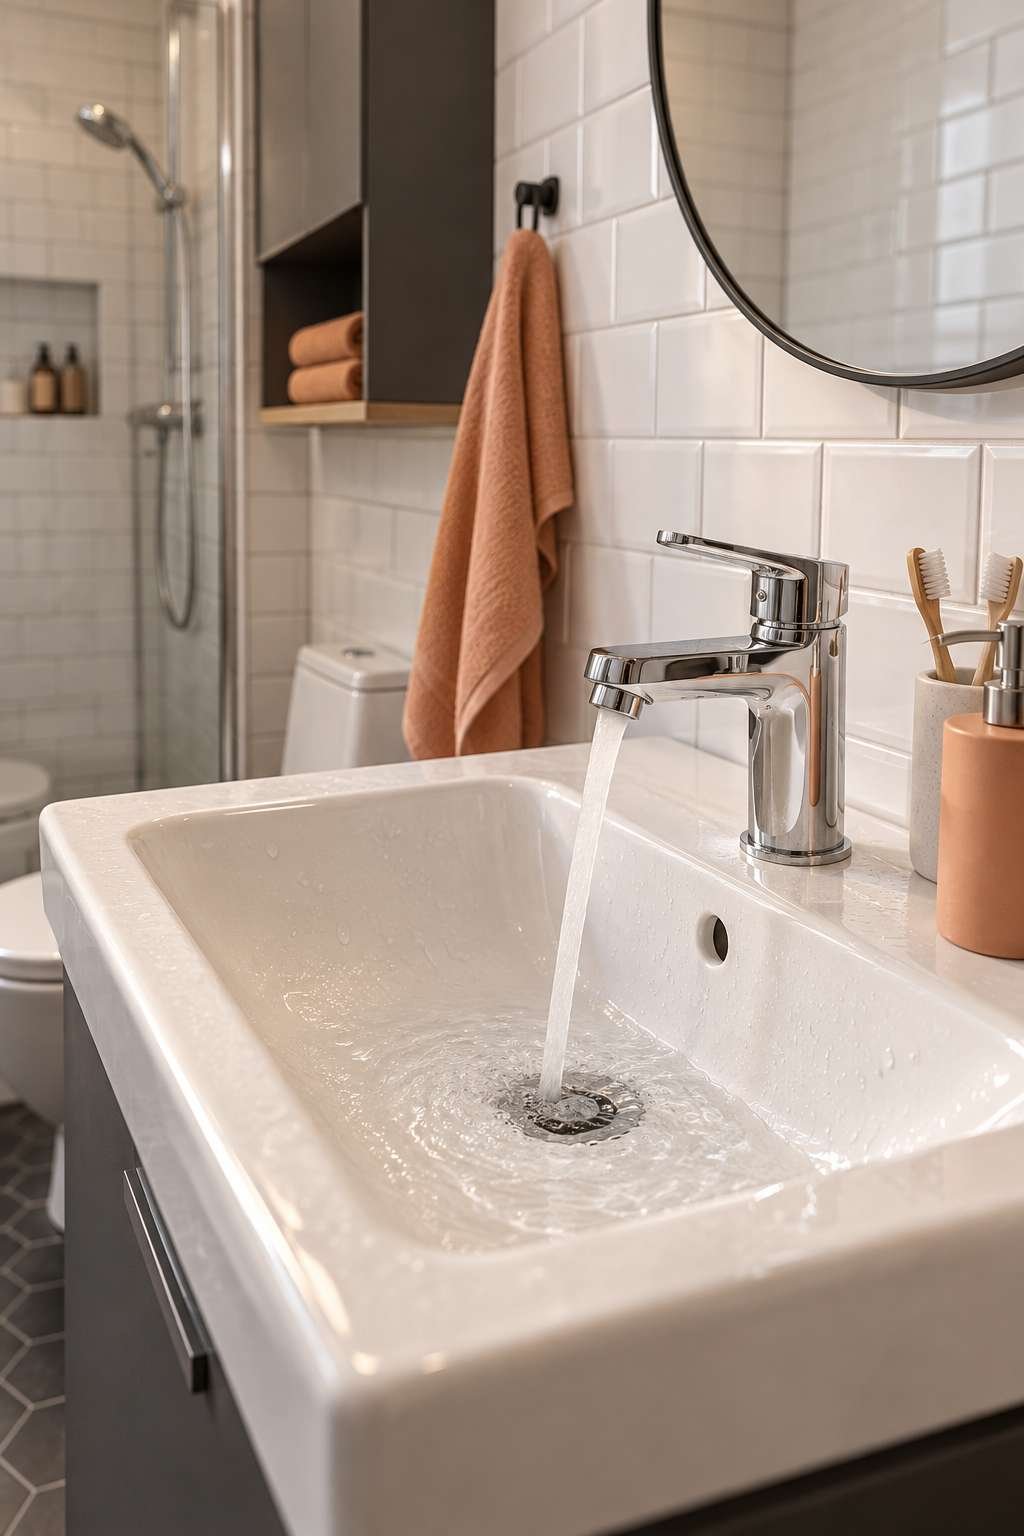
Whether you’re dealing with standing water or a drain that’s just draining slower than usual, one of these steps will almost certainly solve the problem.
1. Understanding Why Bathroom Sinks Clog
Bathroom sinks clog differently than kitchen sinks because the culprits are different. Instead of grease and food scraps, you’re usually dealing with hair and soap scum that tangle together just below the stopper. Toothpaste, shaving cream, and mineral deposits from hard water add to the buildup over time.
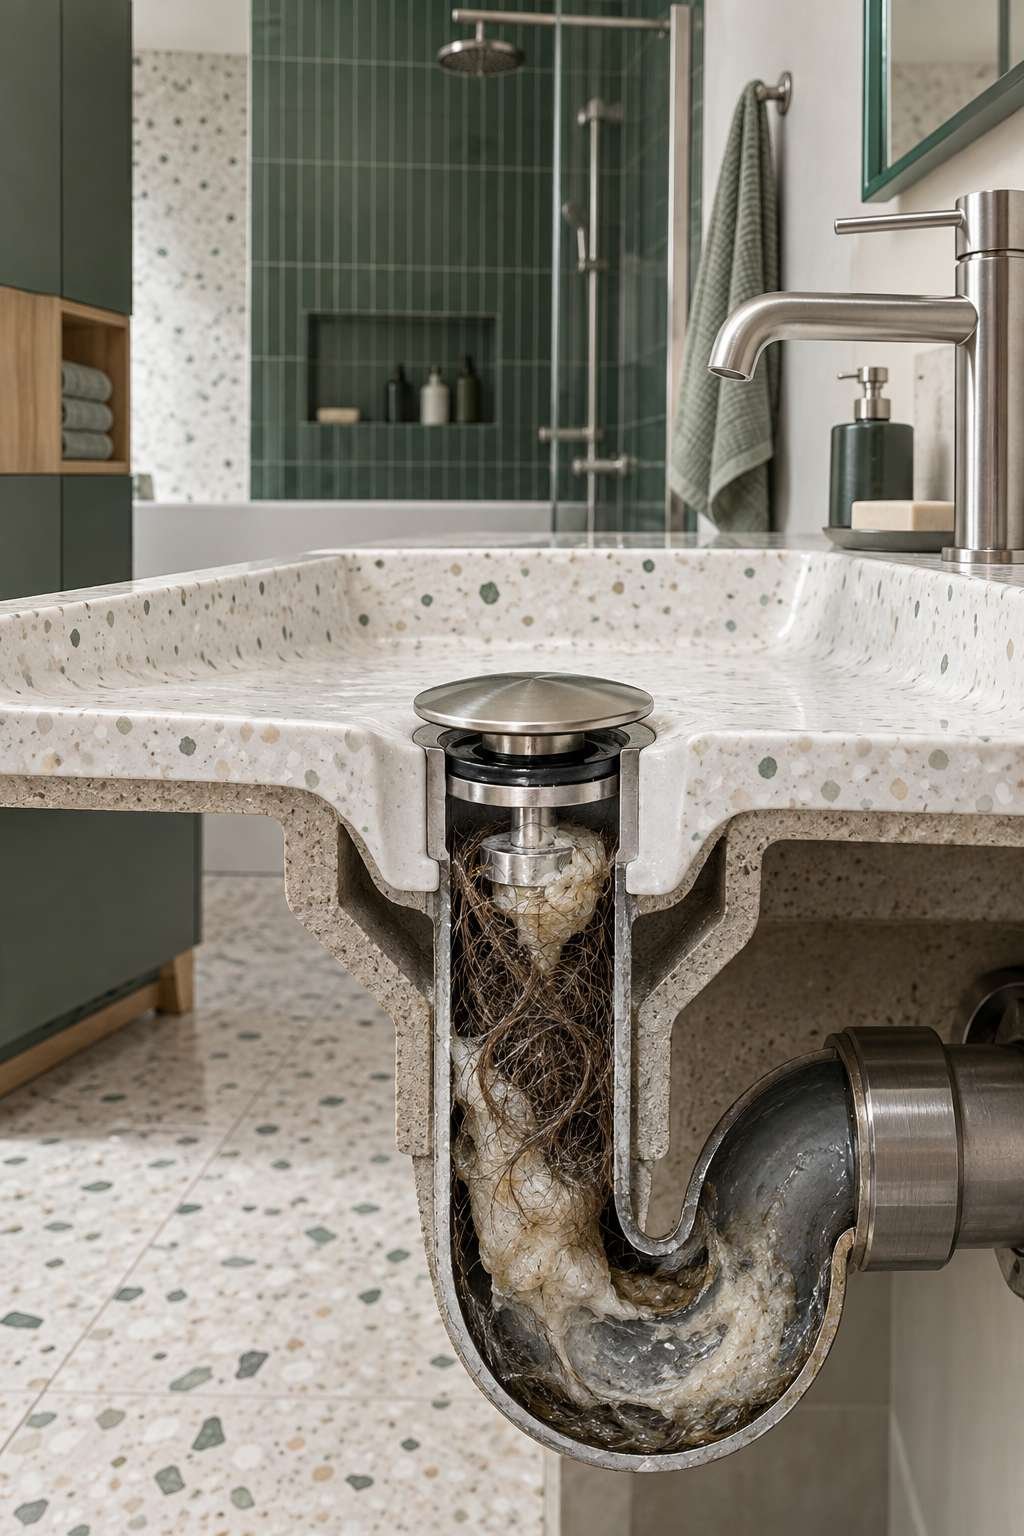
Most clogs form in the first few inches of pipe, right around the stopper mechanism. This is good news, because it means the easiest access point is also where the blockage usually sits. Knowing this helps you decide which tool to reach for first.
Occasionally a clog sits deeper, in the P-trap or the branch line beyond it. If surface-level fixes don’t work, that’s your sign to go further down the pipe.
- Hair and soap scum are the most common cause
- Toothpaste and shaving residue contribute over time
- Hard water minerals can narrow the pipe diameter
- Most clogs sit near the stopper, not deep in the pipe
- A slow drain today often becomes a full clog next week
- Small kids’ toys or jewelry can also cause sudden blockages
2. Gather Your Tools and Materials
Before you start, collect everything so you’re not searching for a wrench with your hands already wet. Most of what you need is likely already under your sink or in your kitchen cabinet.
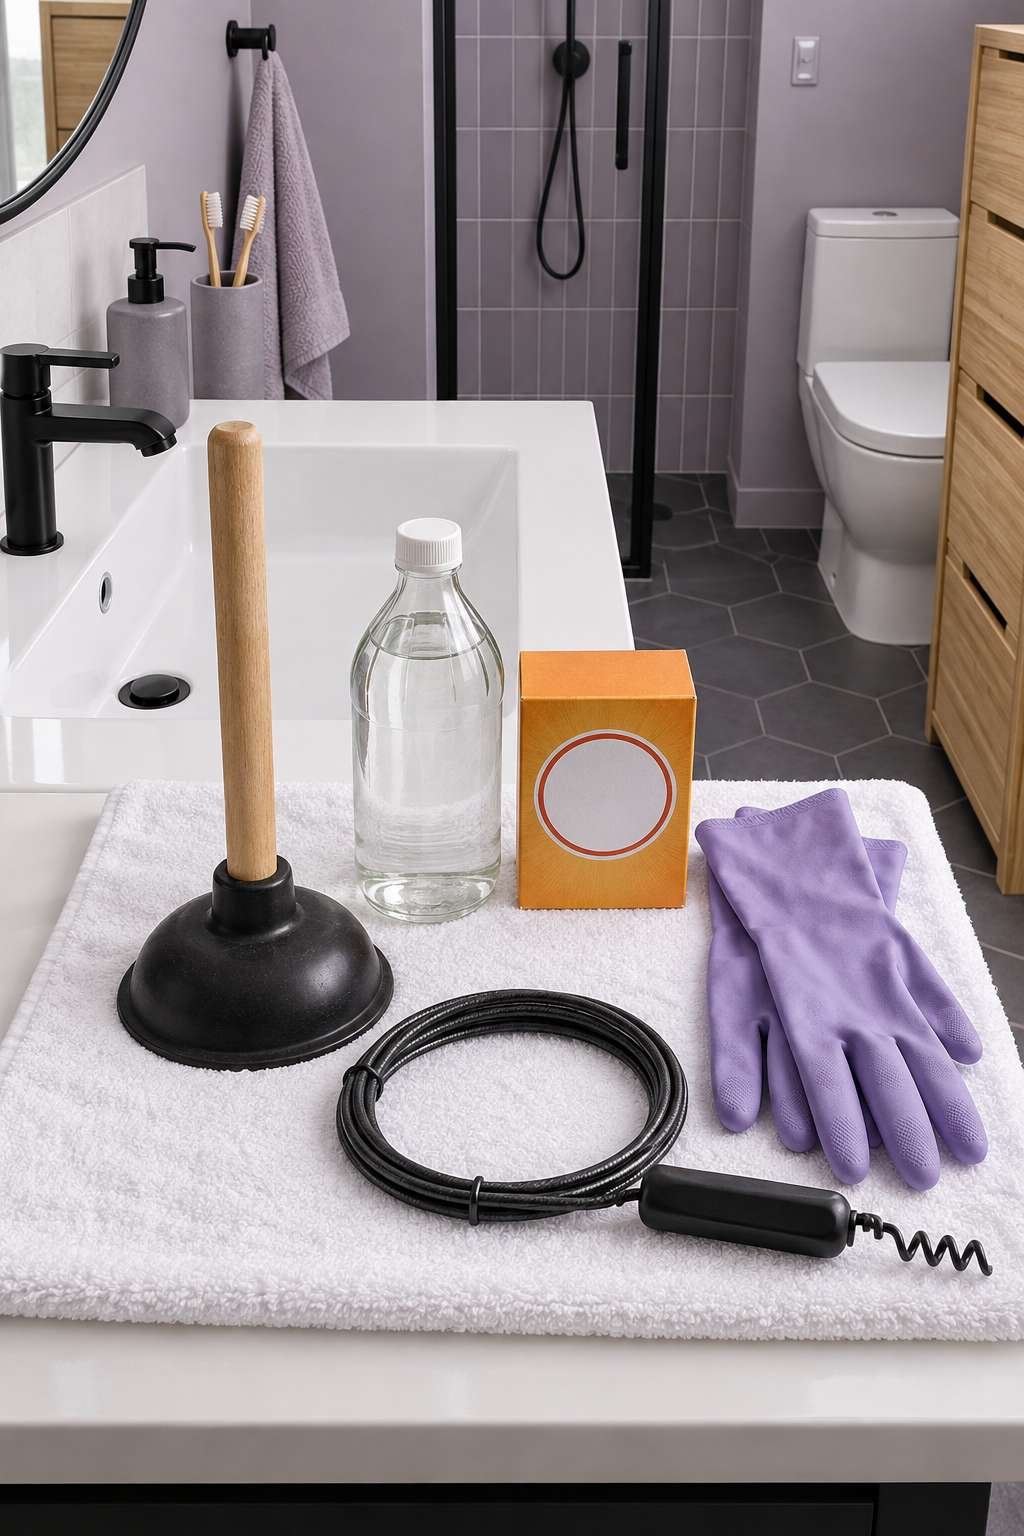
You don’t need to buy specialty products for a first attempt. A plunger, some baking soda, and a pair of gloves will handle the majority of clogs. Save the drain snake and bucket for if the simple approach doesn’t work.
- Rubber gloves and an old towel
- A sink plunger (a cup plunger works better than a flange plunger here)
- Baking soda and white vinegar
- A flashlight for checking under the sink
- A bucket to catch water from the P-trap
- A wire hanger or plastic drain snake (“zip-it” tool)
3. Start With Boiling Water and Dish Soap
This is the simplest first step, and it solves more clogs than people expect. Boiling water can break down soap scum and grease that’s clinging to the pipe walls, especially when combined with dish soap to help everything slide through.
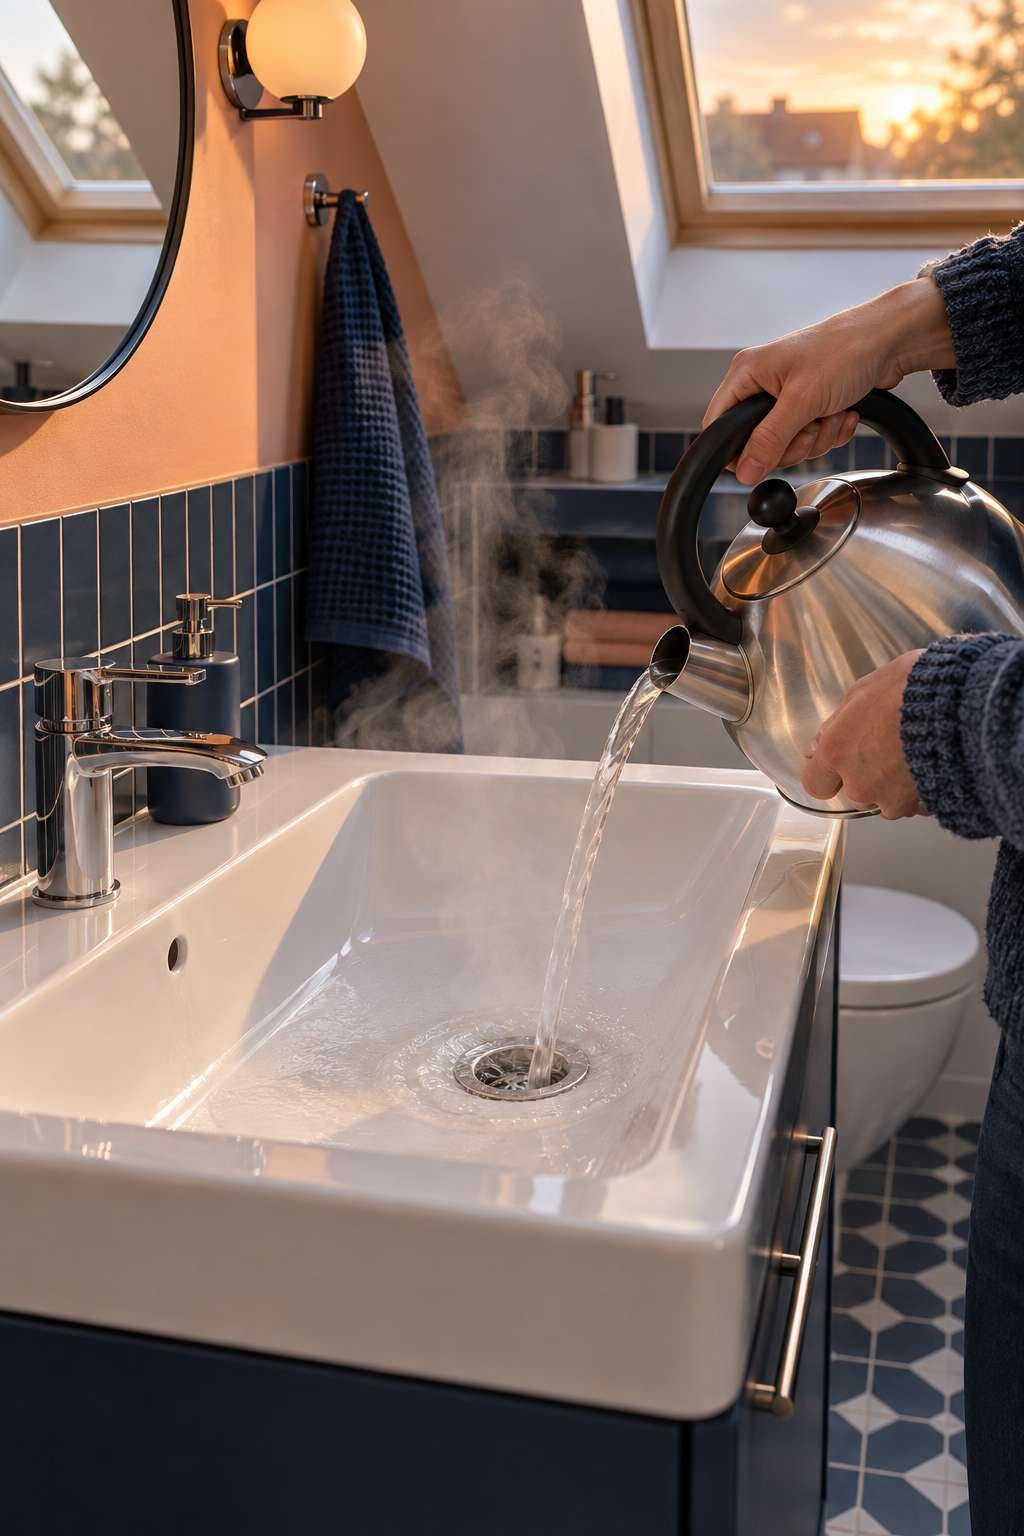
Add a squirt of dish soap directly into the drain, then slowly pour a full kettle of boiling water down in two or three stages, waiting about 30 seconds between pours. If your sink has a porcelain basin, let the water cool slightly first to avoid cracking it from thermal shock.
Watch how the water drains after each pour. If it starts moving faster, you’re breaking up the clog and should continue with another round.
- Use dish soap that cuts grease, not just hand soap
- Pour in stages rather than all at once
- Avoid boiling water on PVC if you notice slow draining that could trap heat
- Let porcelain sinks cool slightly before pouring
- Repeat two to three times before moving to another method
- Skip this step entirely if you’ve already used a chemical drain cleaner
4. Try a Plunger for Stubborn Clogs
If hot water alone doesn’t clear things, a plunger creates the pressure needed to dislodge a stuck mass of hair and debris. The key to plunging a sink successfully is sealing the overflow hole first, since bathroom sinks almost always have one just below the rim.
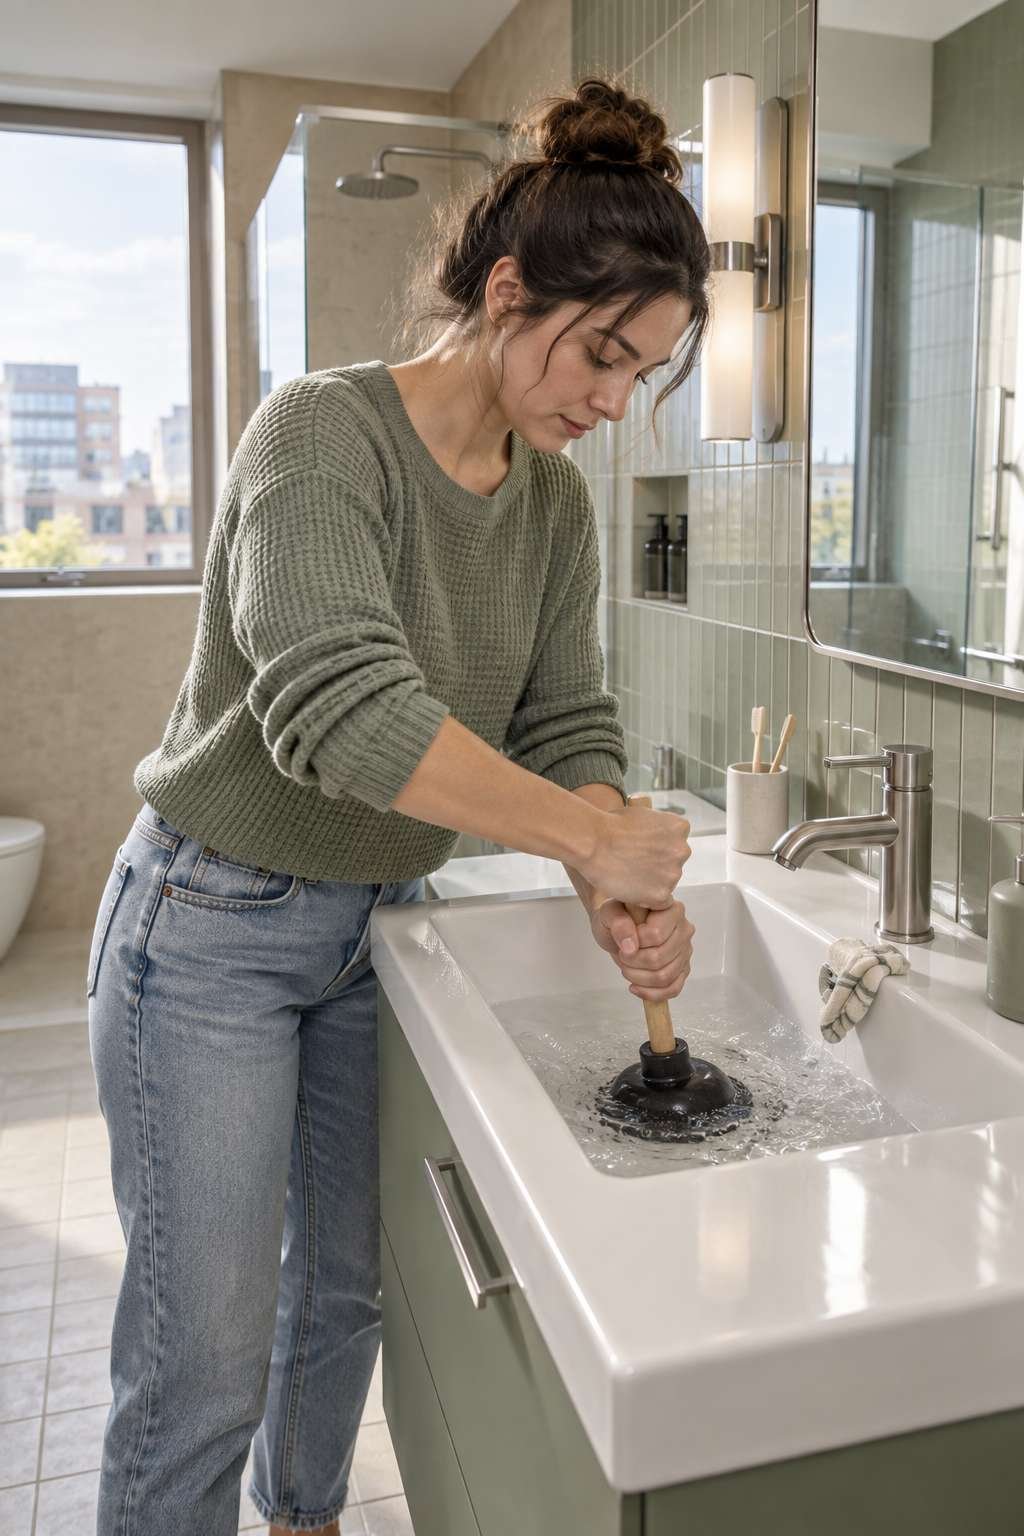
Cover the overflow hole with a wet rag, held firmly in place by hand or tape. Add enough water to the basin to cover the plunger’s cup, then plunge in quick, firm strokes for about 15-20 seconds.
Pull the plunger away sharply on the last stroke rather than lifting slowly — that final suction pull is often what frees the clog.
- Always cover the overflow hole before plunging
- Use a small cup plunger, not a toilet flange plunger
- Add just enough water to submerge the plunger cup
- Plunge in short, sharp strokes rather than slow pushes
- Check drainage speed after each round of plunging
- Repeat up to three times before switching methods
5. Remove and Clean the Sink Stopper
Many bathroom clogs are sitting right at the stopper itself, tangled in the mechanism that opens and closes the drain. Most pop-up stoppers lift out after you loosen a small pivot nut underneath the sink, which connects to the stopper via a metal rod.
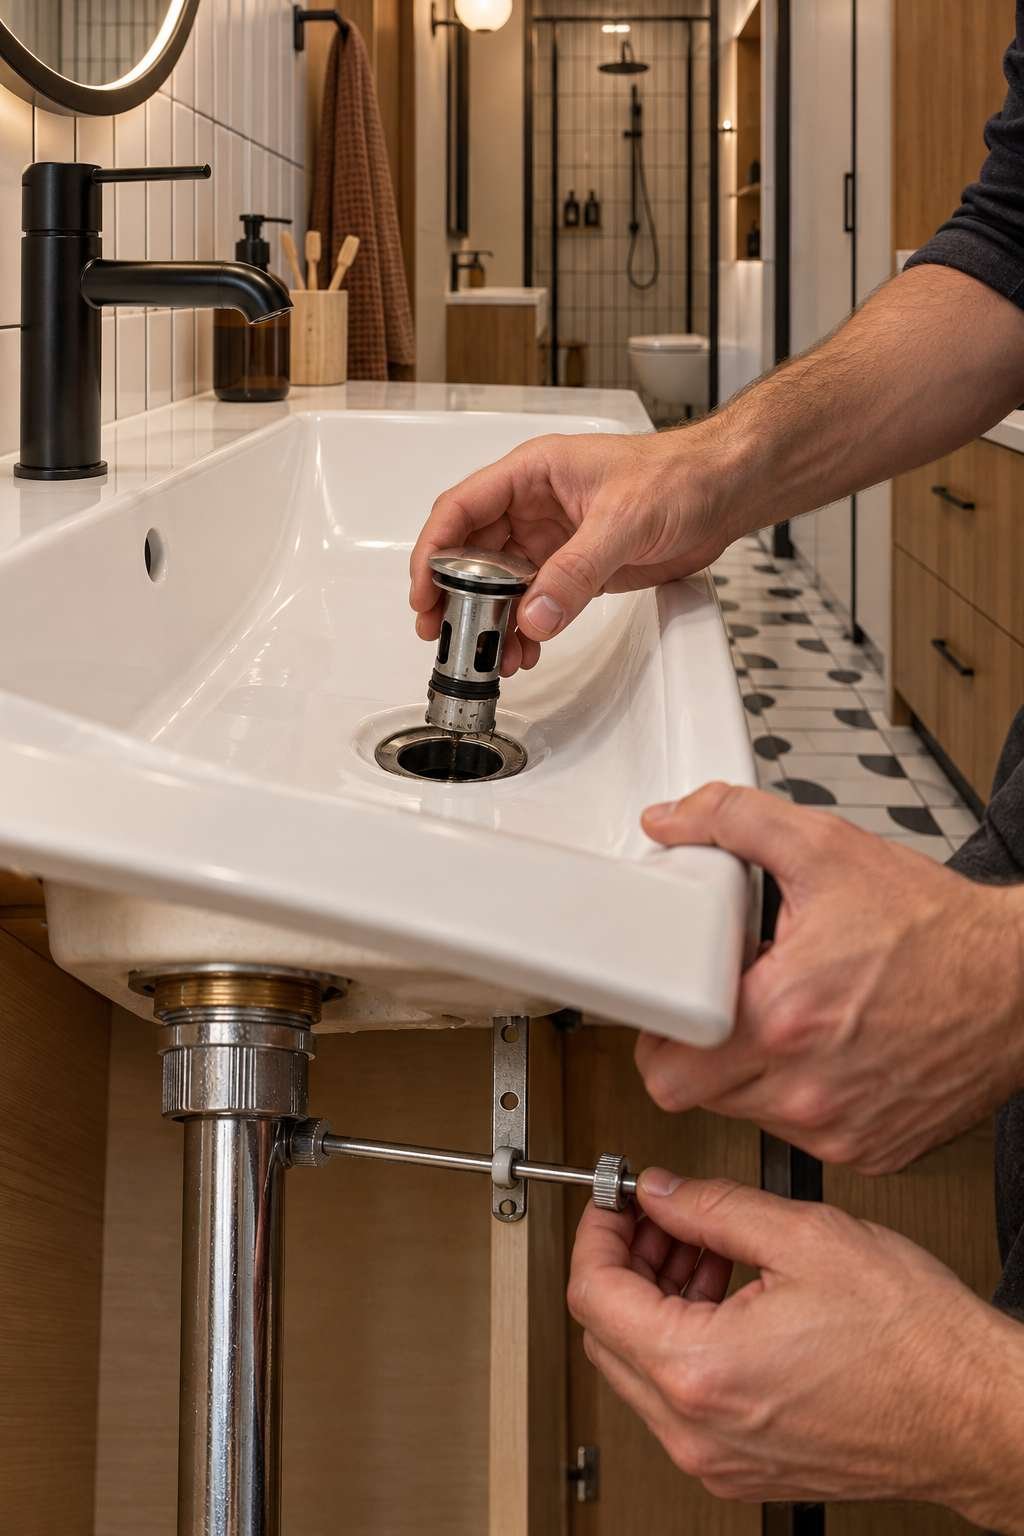
Reach under the sink and locate the pivot rod, usually a horizontal metal piece extending from the drain pipe. Unscrew the nut, slide the rod out, then lift the stopper straight up and out of the drain opening.
Once it’s out, you’ll likely find a thick clump of hair and grime wrapped around the base — this alone is often the entire clog.
- Locate the pivot rod underneath the sink before removing anything
- Keep a small container nearby for the pivot nut and screws
- Clean the stopper thoroughly with an old toothbrush
- Check the rubber gasket for wear while it’s out
- Reinsert the stopper in the same orientation it came out
- Test the stopper’s open-close action before reassembling fully
If this step feels unfamiliar, our guide on how to remove bathroom sink plug walks through the stopper mechanism in more detail with photos for each stopper type.
6. Use a Drain Snake or Zip-It Tool
When the clog sits a little further down, a plastic zip-it tool or a hand-crank drain snake can reach and pull out debris that plunging can’t dislodge. These flexible tools are designed to hook onto hair clumps and drag them back out rather than pushing them deeper.
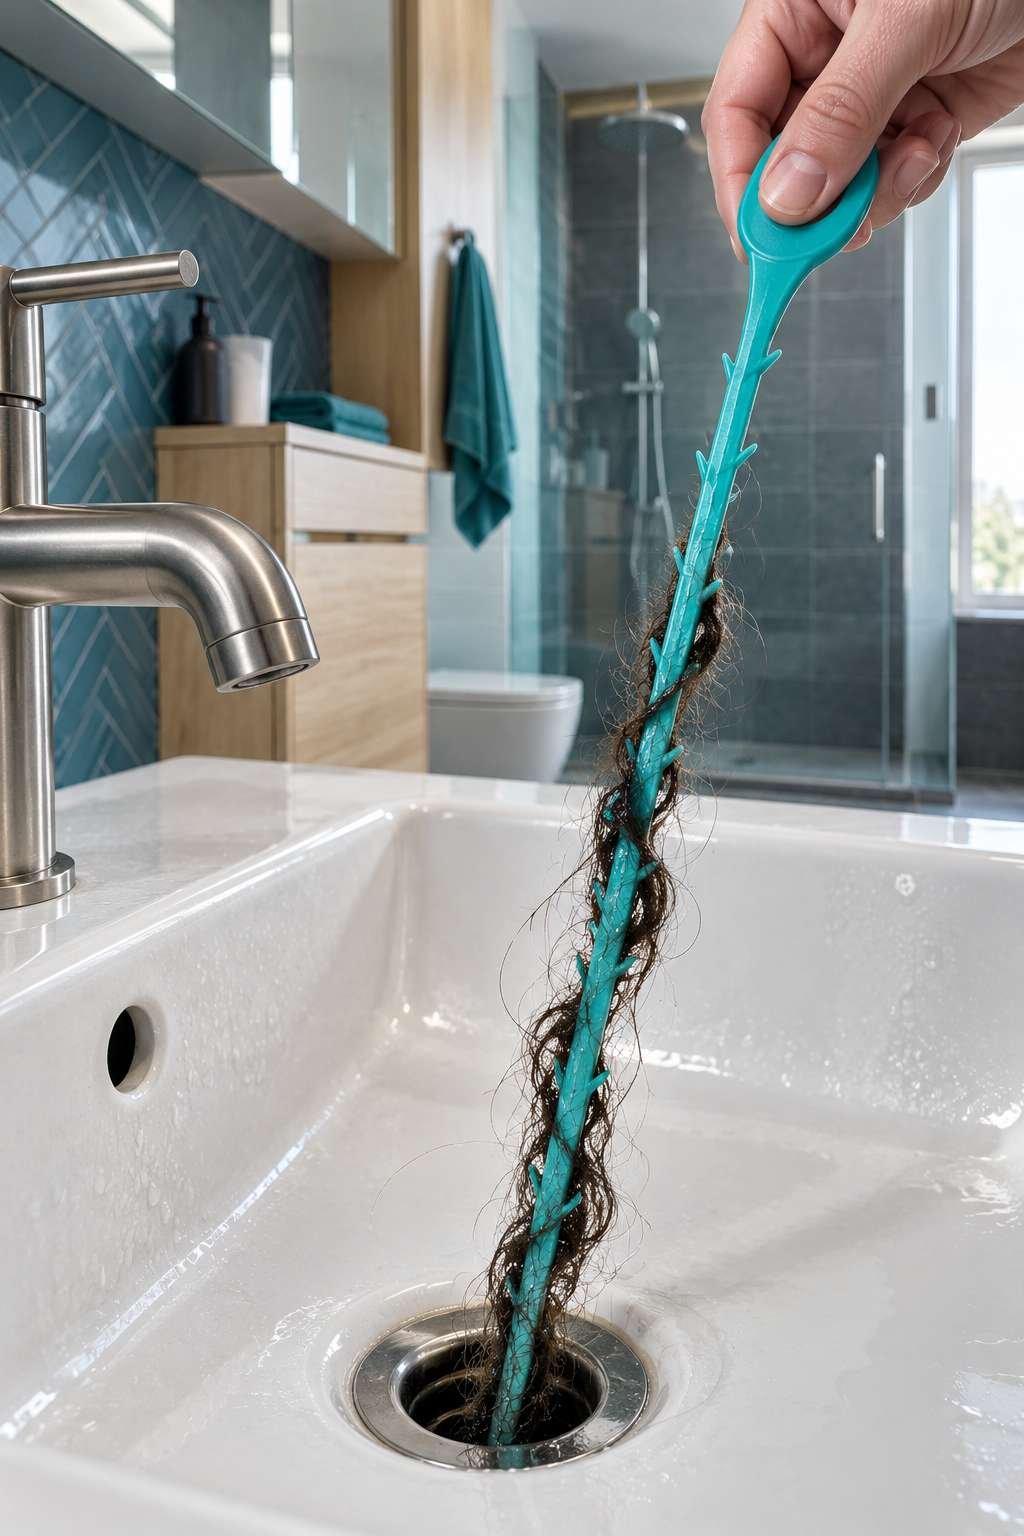
Insert the tool slowly into the drain opening, past the stopper if you’ve removed it, and continue feeding it in until you feel resistance. Twist gently as you go, then pull back out slowly to bring debris with it.
Repeat a few times from different angles, since a single pass rarely catches everything on the first try. If your sink is only draining sluggishly rather than fully blocked, our guide on how to clear a slow draining bathroom sink covers a few gentler techniques worth trying before you reach for a snake at all.
- Plastic zip-it tools work well for shallow, hair-based clogs
- A hand-crank snake reaches further for deeper blockages
- Turn the snake clockwise while pushing to help it navigate bends
- Pull out slowly to avoid dropping debris back into the pipe
- Rinse the tool between passes to check what it’s collecting
- Follow with hot water to flush loosened debris the rest of the way
7. Clean Out the P-Trap
The P-trap is the curved section of pipe under the sink that holds standing water to block sewer gas. It’s also a common spot for clogs to settle, especially anything too heavy to stay suspended in the water flow.
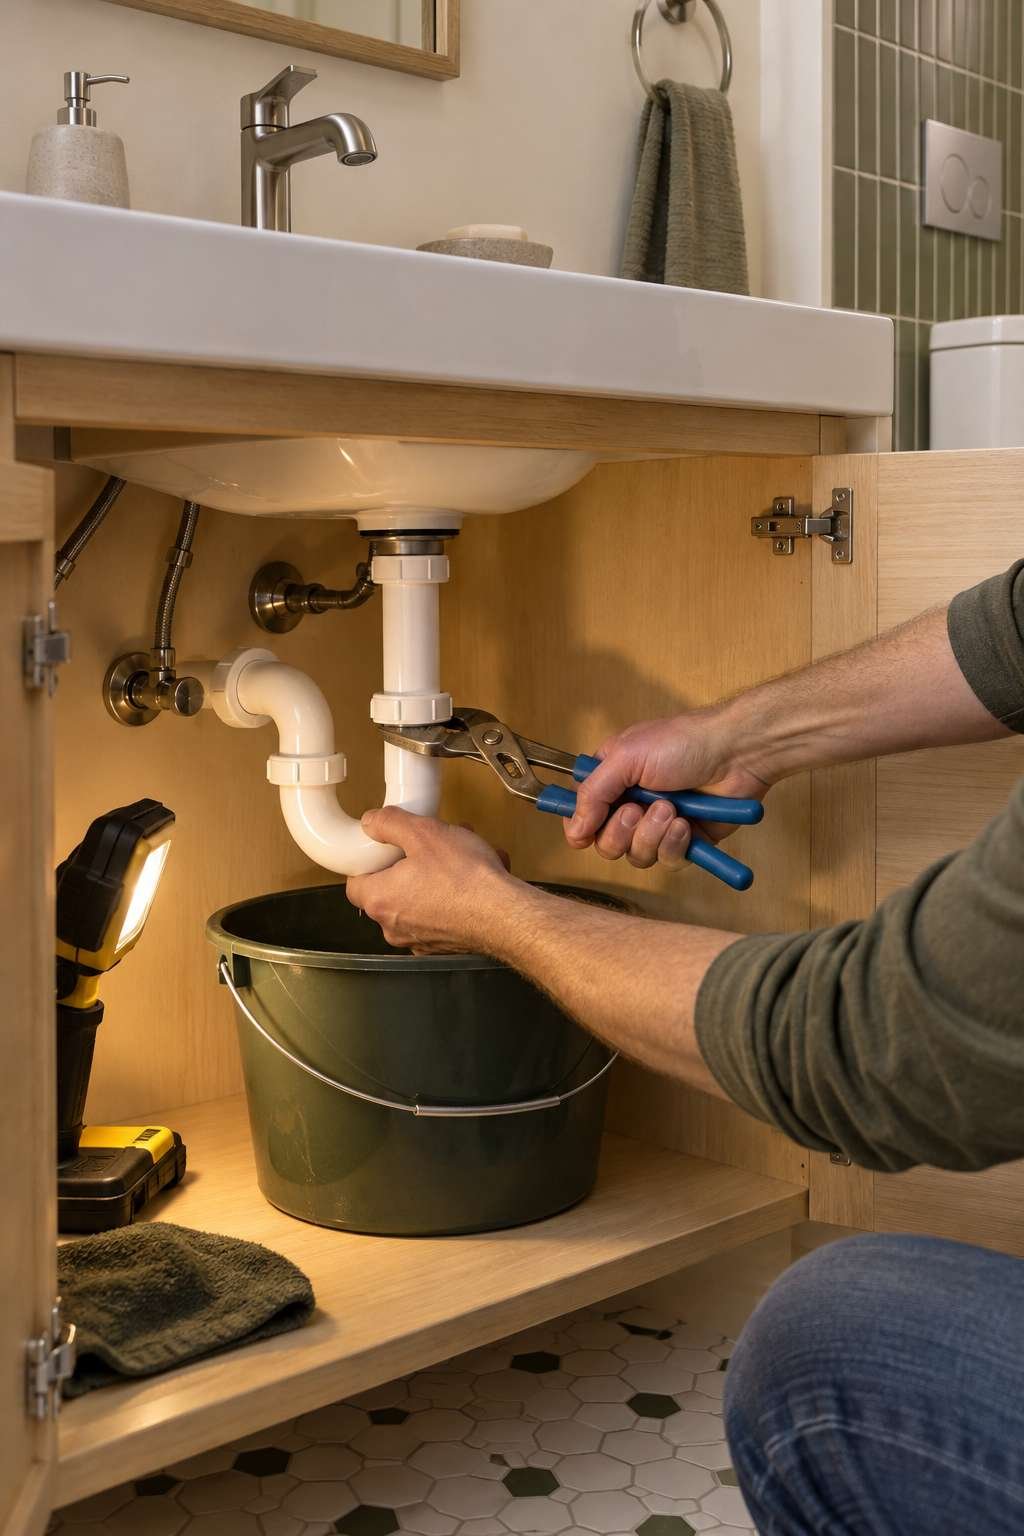
Place a bucket underneath the trap before you start, since it will still hold water even when the sink above it is empty. Loosen the two slip nuts on either end of the trap by hand or with pliers, then carefully lower the trap into the bucket.
Empty the trap into the bucket, clean it out with a bottle brush, and check the two pipe openings it connects to for any visible blockage before reattaching everything.
- Always place a bucket under the trap before loosening nuts
- Use channel-lock pliers if the nuts won’t turn by hand
- Inspect the rubber washers for cracks while it’s disconnected
- Clean both pipe stubs the trap connects to, not just the trap itself
- Hand-tighten nuts first, then snug with pliers — don’t overtighten
- Run water briefly after reassembly to check for leaks before walking away
Occasionally a clog sits beyond the trap, in a branch line you can’t reach without pulling the basin for full access. If it comes to that, our guide on how to remove a bathroom sink walks through disconnecting the whole unit safely.
8. Try a Baking Soda and Vinegar Solution
For a milder, chemical-free option, baking soda and vinegar create a fizzing reaction that can help loosen residue clinging to the pipe walls, particularly useful as regular maintenance rather than a single dramatic fix.
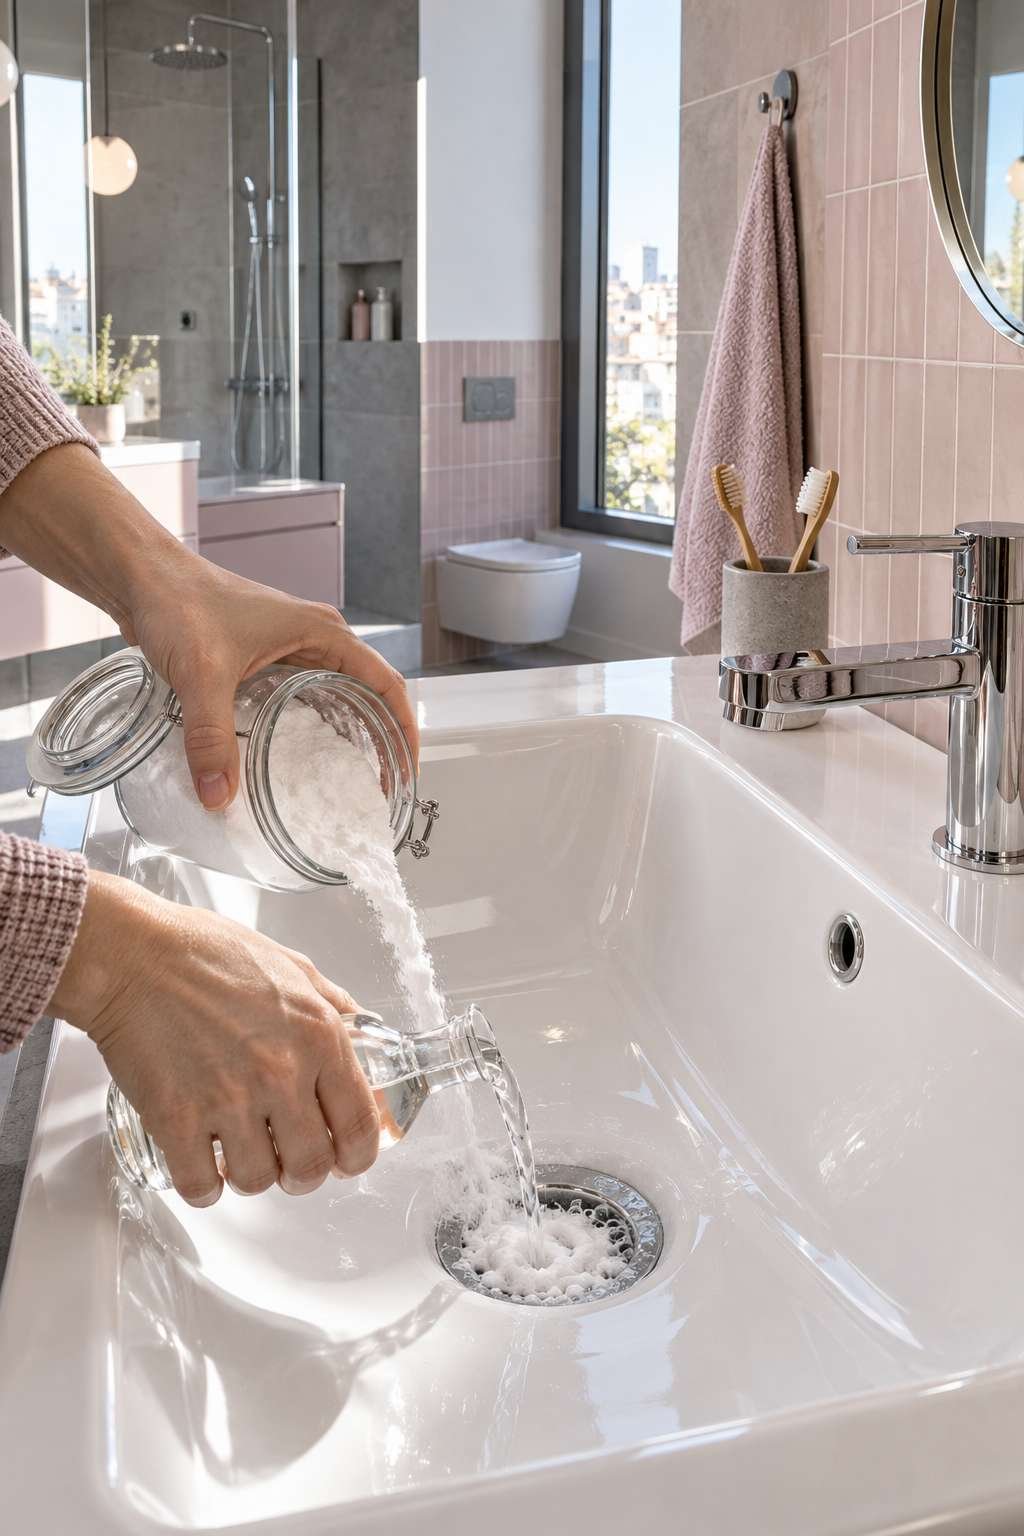
Pour about half a cup of baking soda down the drain, followed by half a cup of white vinegar. Cover the drain opening if possible and let the mixture fizz and sit for 15-20 minutes before flushing with hot water.
This method works best on mild slow-draining sinks rather than sinks that are fully blocked and holding standing water.
- Use roughly equal parts baking soda and vinegar
- Cover the drain while it fizzes for maximum contact time
- Let it sit a full 15-20 minutes, not just a couple
- Flush with hot (not boiling) water afterward
- Repeat weekly as ongoing maintenance, not just for active clogs
- Combine with the plunger method for stronger stuck clogs
9. When to Use a Chemical Drain Cleaner (and When Not To)
Store-bought chemical cleaners can clear a clog quickly, but they come with real trade-offs. They can damage older pipes, especially if you have galvanized steel plumbing, and they make it harder and messier to snake or plunge afterward if the chemical fix doesn’t fully work.
If you do use one, choose a gel formula designed for slow drains rather than a fully blocked sink, and never mix it with another chemical cleaner or with vinegar, since the combination can produce harmful fumes.
Reserve chemical cleaners as a last resort after mechanical methods, and always ventilate the bathroom well while using them.
- Avoid chemical cleaners on older galvanized or delicate pipes
- Never combine different chemical products in the same use
- Ventilate the bathroom and avoid direct fume inhalation
- Follow the product’s exact recommended contact time
- Rinse thoroughly with water afterward, not just once
- Consider it a backup option, not your first attempt
10. Preventing Future Clogs
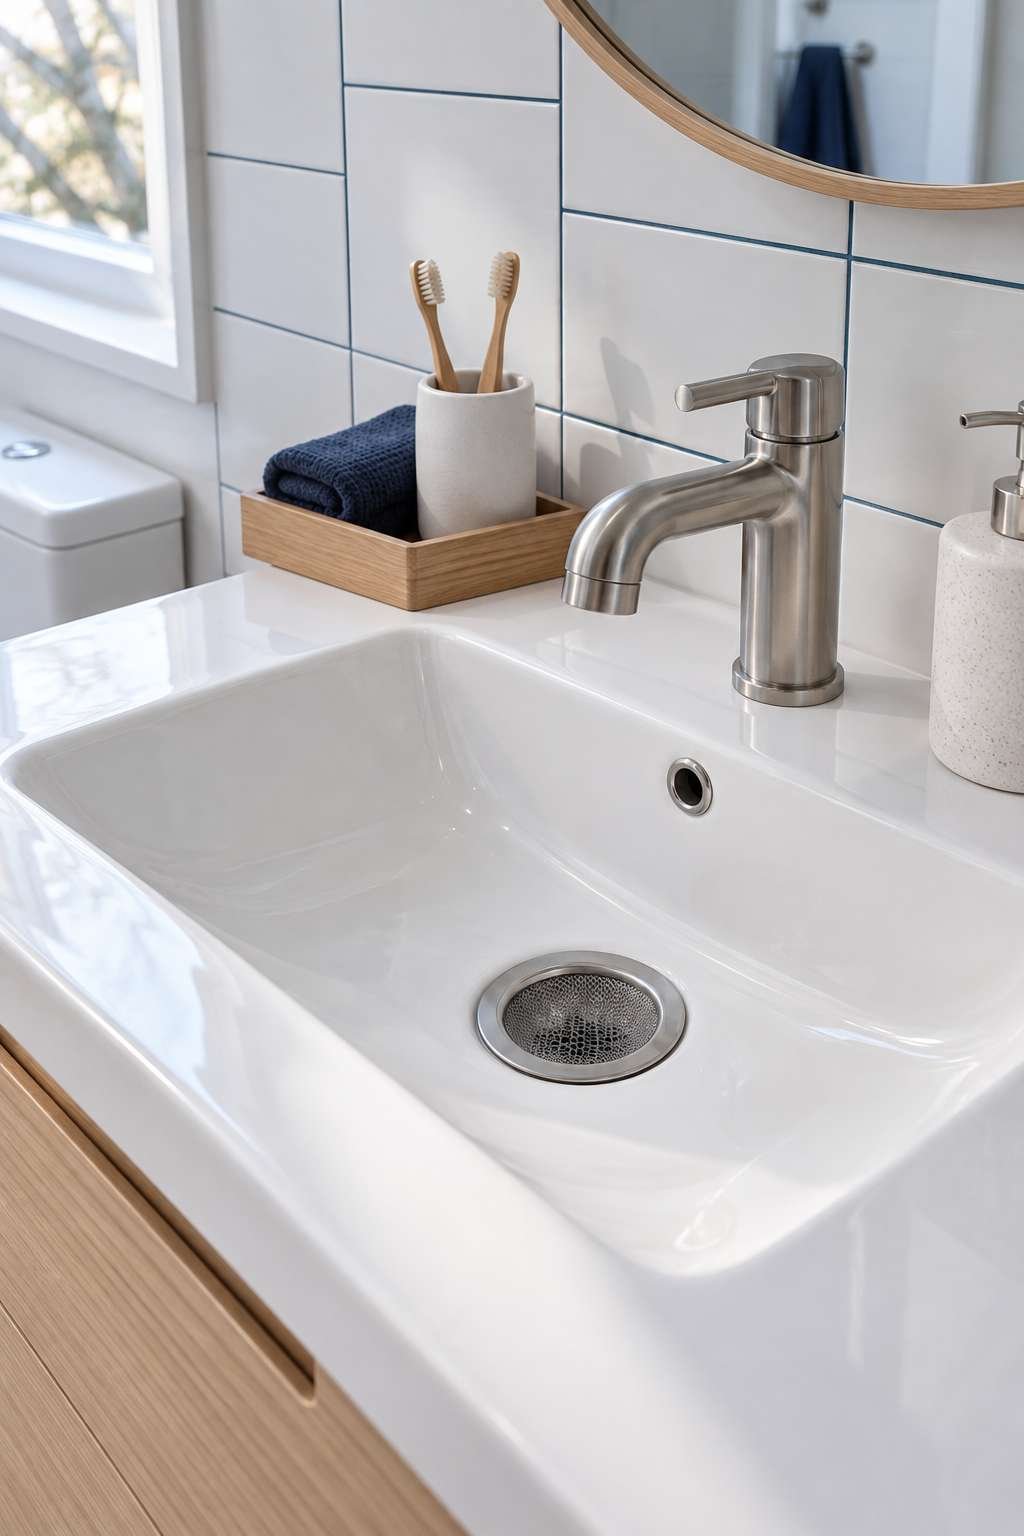
Once your sink is draining freely again, a few small habits keep it that way. A drain guard or hair catcher placed over the opening stops most debris before it ever reaches the pipe, and it’s the single easiest change you can make.
Rinse the sink with hot water weekly, and run the baking soda and vinegar treatment from Section 8 once a month as light maintenance rather than waiting for a full clog to form again.
Being mindful of what goes down the drain — avoiding excess toothpaste spit-out, cotton swabs, and dental floss — prevents most of the buildup that leads back to this same problem.
- Install a mesh drain guard to catch hair before it enters the pipe
- Wipe excess toothpaste and shaving cream into the trash, not the sink
- Run hot water for 10-15 seconds after each use
- Do monthly baking soda and vinegar maintenance flushes
- Avoid rinsing cotton swabs or floss down the drain
- Check and clean the stopper every couple of months
Frequently Asked Questions
How do you plumb a bathroom sink?
Plumbing a bathroom sink involves connecting the supply lines for hot and cold water, attaching the drain assembly to the P-trap, and securing everything with slip nuts and plumber’s tape to prevent leaks. It’s a project best tackled with the manufacturer’s diagram in hand.
How do you take out a bathroom sink?
Shut off the water supply valves, disconnect the supply lines and drain trap, then remove the mounting hardware or clips holding the sink to the counter or wall. Lift the basin out carefully once it’s fully disconnected from plumbing and mounting points.
What’s the fastest way to clear a clogged bathroom sink?
Boiling water with dish soap is usually the fastest fix for a mild clog, while plunging with the overflow hole covered works best for a more stubborn blockage. Combining both methods clears most clogs within 20-30 minutes.
How do you measure a bathroom sink?
Measure the basin’s outer width and depth, the distance between faucet holes (center to center), and the cutout size in the counter if you’re replacing an undermount or drop-in sink. Always measure twice before ordering a replacement.
How do you snake a bathroom sink?
Feed a plastic zip-it tool or hand-crank drain snake into the drain opening past the stopper, twisting gently while pushing until you feel resistance. Pull back slowly to draw out trapped hair and debris rather than pushing it further down.
How do you disconnect a bathroom sink?
Turn off the water shutoff valves under the sink, then loosen the supply line nuts and the P-trap slip nuts with pliers, keeping a bucket underneath to catch residual water. This fully separates the sink from both the water supply and drain.
How can you organize under a bathroom sink?
Stackable bins, a tension rod for hanging spray bottles, and a lazy Susan for smaller items make the most of the awkward space around the P-trap. Grouping items by category keeps frequently used products within easy reach.
Clearing a clogged bathroom sink is almost always a job you can handle yourself, starting with the gentlest method and working your way toward a full trap cleaning only if needed. Keep a plunger and a drain guard on hand, and most future clogs will be a five-minute fix instead of a frustrating afternoon.
With a little regular maintenance, your sink should drain smoothly for months at a time — and you’ll know exactly what to do the next time it slows down. For a broader troubleshooting checklist covering less common causes, take a look at our companion piece, how to fix a clogged bathroom sink.

