


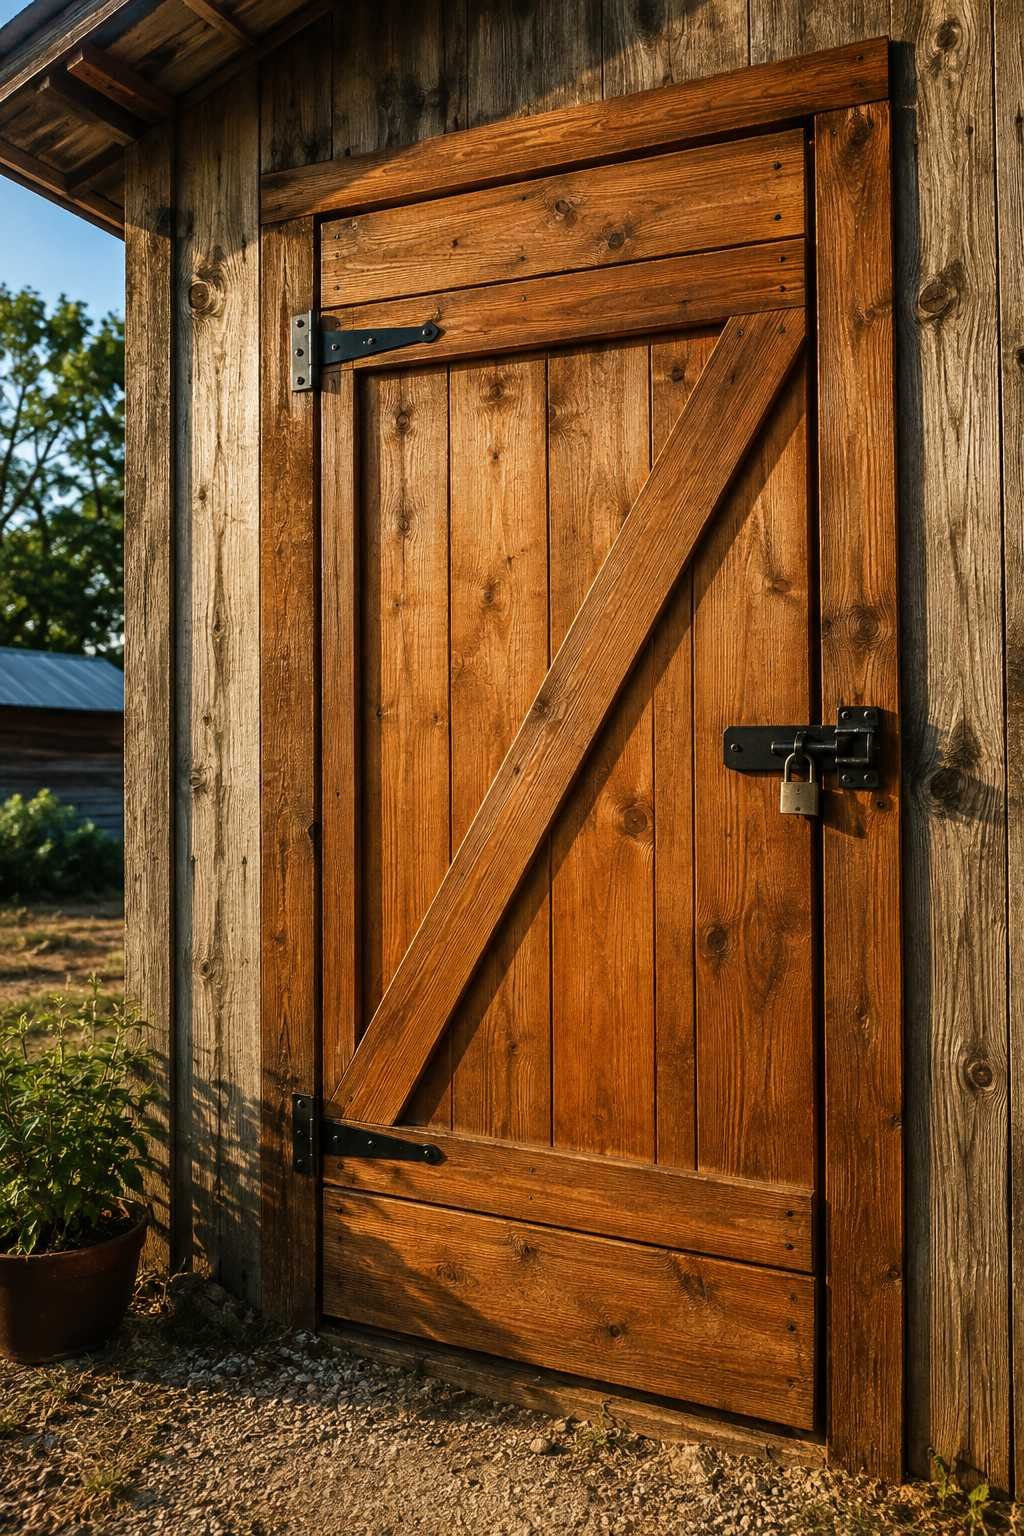
Building your own shed door is one of the most rewarding weekend projects for any homeowner. A well-built door doesn’t just seal off your storage space; it becomes a functional design element that ties the entire structure together. Understanding proper framing, hardware, and weatherproofing techniques ensures your door lasts for decades rather than warping within a single season.
Whether your shed follows a rustic farmhouse aesthetic or a clean modern look, the construction principles behind a sturdy door remain largely the same. This guide breaks down every stage of the process, from measuring the opening to installing the final hinges and latch . With the right materials and a methodical approach, even a first-time builder can create a door that looks professionally finished. Our guide on how to make a door look like wood walks through this step by step.
1. Measure the Doorway Opening Accurately
Every successful shed door starts with precise measurements. Measure the width and height of the opening in three separate spots, since older or hand-built sheds often have slight variations in framing. Always record the smallest measurement, since it’s easier to trim material down than to add width back on later.
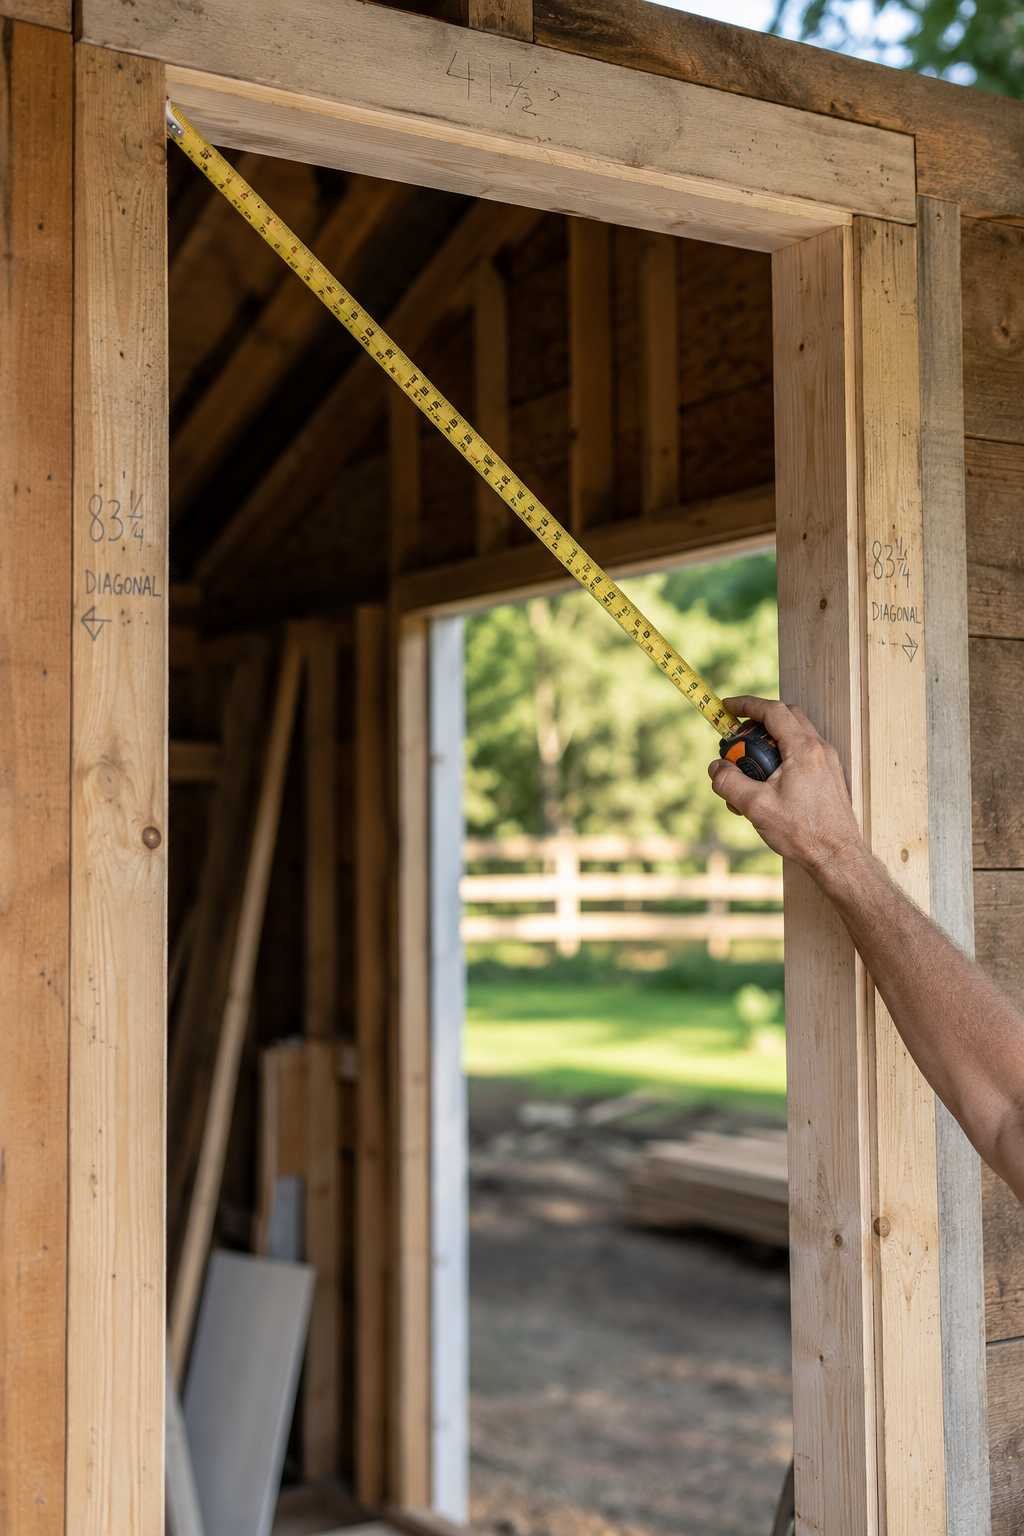
Beyond the basic dimensions, check that the opening is square using a diagonal measurement across both corners. If the two diagonal lines don’t match, the frame is slightly out of square, which affects how the door will hang. Taking the extra time here prevents frustrating fitting issues once the door panel is built. Our guide on how to hide a door in living room walks through this step by step.
- Measure width and height in three locations each
- Check diagonal measurements to confirm square framing
- Record the smallest dimension for accurate sizing
- Account for hinge clearance on one side of the frame
2. Choose the Right Wood and Materials
Selecting durable materials determines how well your door withstands weather exposure over time. Pressure-treated pine and cedar are the most popular choices because both resist rot and insect damage naturally. Cedar carries a higher price tag but offers a richer, more attractive grain that suits rustic or farmhouse-style sheds particularly well.
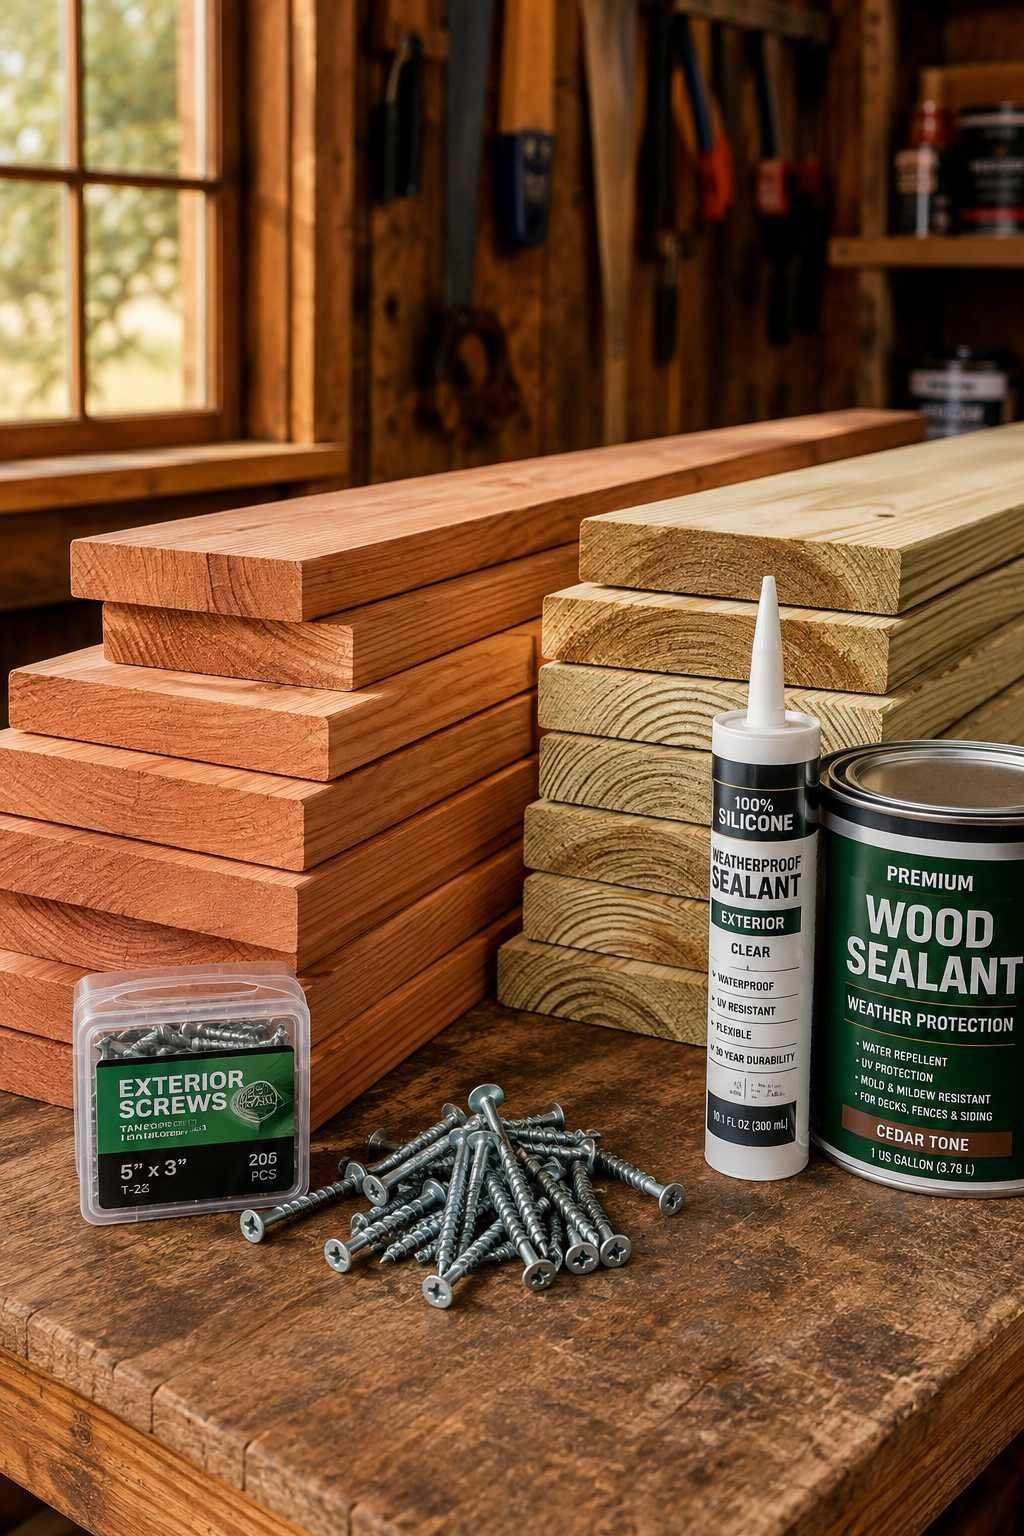
Beyond the boards themselves, plan for exterior-grade screws , galvanized hardware, and a weather-resistant sealant or paint. Skimping on hardware is one of the most common mistakes builders make, since standard interior screws rust quickly outdoors. Investing slightly more upfront in quality materials saves significant repair costs down the road. Our how to make a barn door guide covers this in more detail.
- Choose cedar or pressure-treated pine for durability
- Use galvanized or stainless steel screws throughout
- Select boards that are straight and knot-free
- Buy enough material for battens and bracing
3. Build the Board-and-Batten Frame
The classic board-and-batten style remains the most popular design for shed doors because it’s sturdy and straightforward to build. Lay your vertical boards side by side on a flat surface, ensuring tight, even seams between each piece. This vertical board layout also sheds rainwater more effectively than horizontal designs.
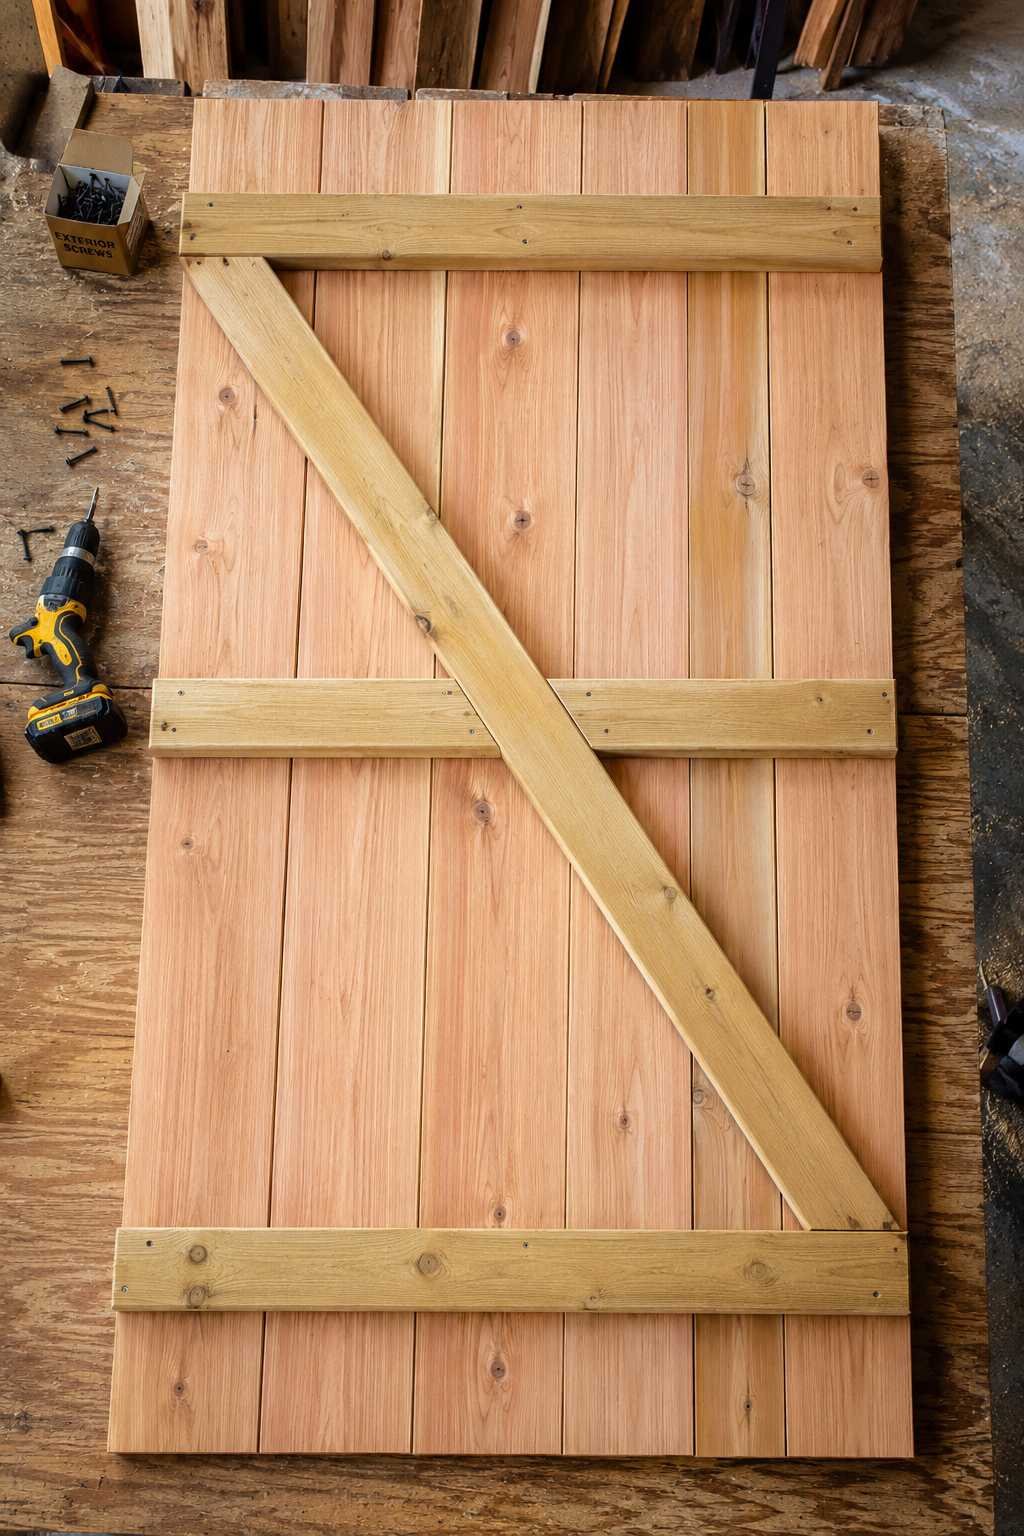
Once the boards are aligned, attach horizontal batten braces across the top, middle, and bottom of the panel. These braces hold everything together and prevent the individual boards from warping independently. A diagonal Z-brace running between the horizontal battens adds critical structural support and stops the door from sagging.
- Lay boards tightly together on a flat surface
- Attach top, middle, and bottom battens securely
- Add a diagonal Z-brace for extra strength
- Use exterior wood glue along with screws
4. Cut and Trim the Door to Fit
After assembling the panel, place it against the doorway opening to check the fit before final trimming. Mark any areas that need adjustment with a pencil, then use a circular saw to trim the edges cleanly. Aim for a small gap of about one-eighth inch around the perimeter to allow for natural wood expansion.
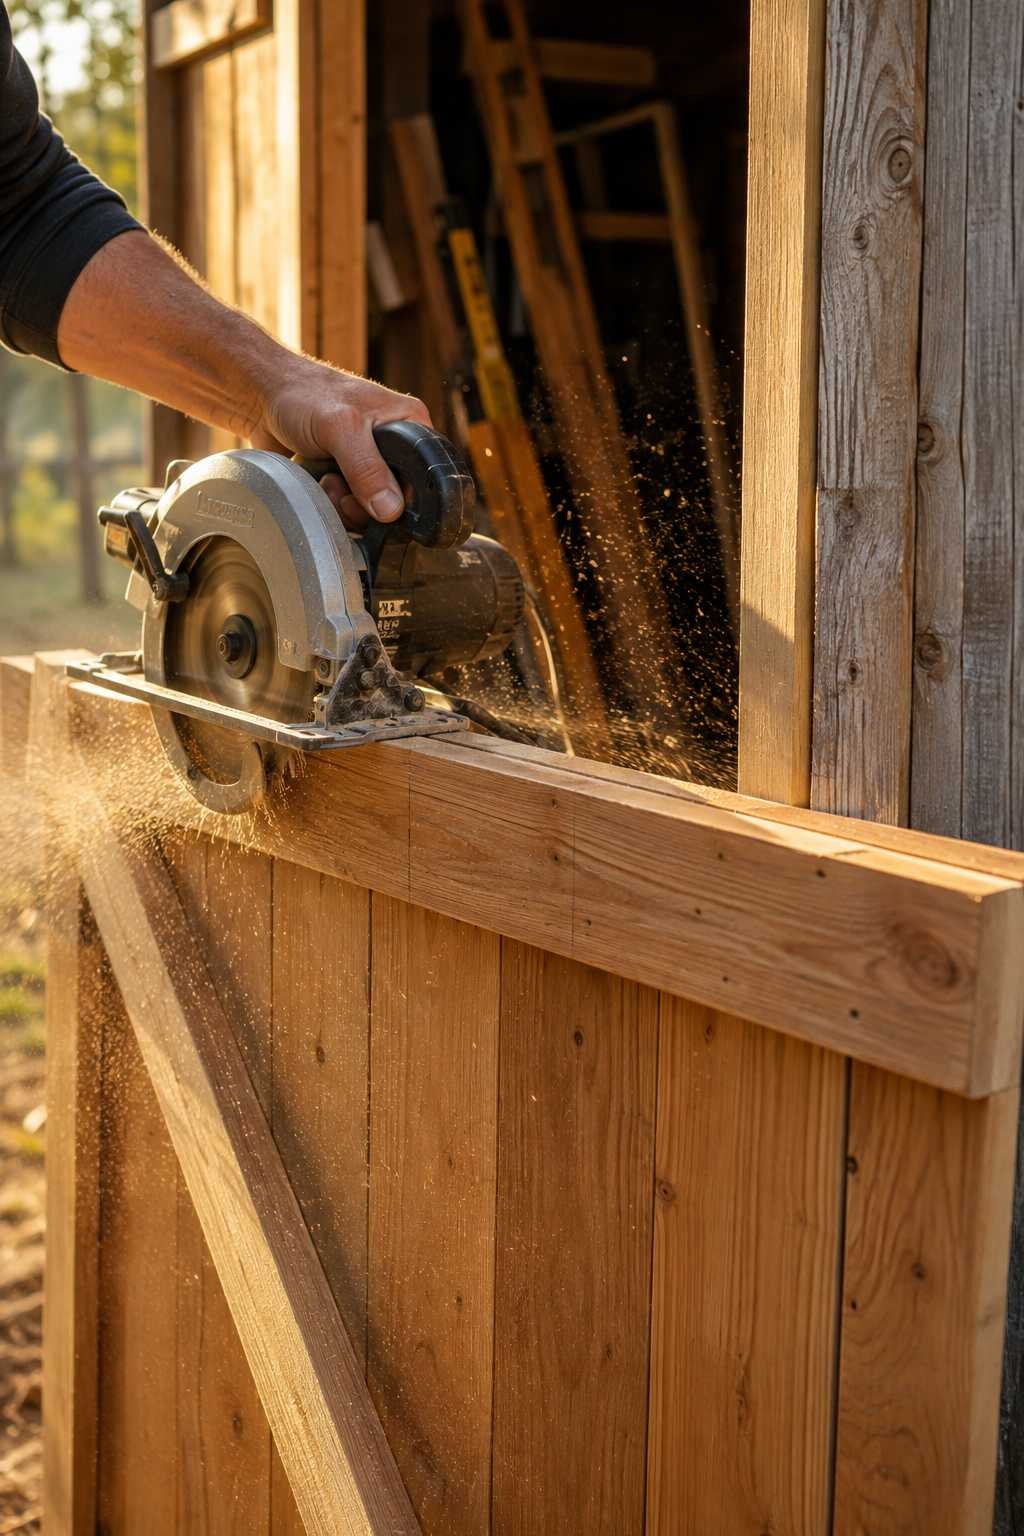
This step requires patience, since cutting too much material creates gaps that let in drafts and moisture. Work gradually, trimming small amounts and checking the fit repeatedly rather than removing too much at once. A properly trimmed door swings smoothly without dragging against the frame or sticking in humid weather.
- Test-fit the panel before final trimming
- Leave a one-eighth inch gap around edges
- Trim gradually using a sharp circular saw
- Sand rough edges for a smooth finish
5. Install Heavy-Duty Hinges
Strap hinges are the standard choice for shed doors because they distribute weight across a wider surface area than standard butt hinges. This matters significantly for board-and-batten doors, which tend to be heavier than typical interior doors. Position hinges roughly six inches from the top and bottom edges for balanced support.
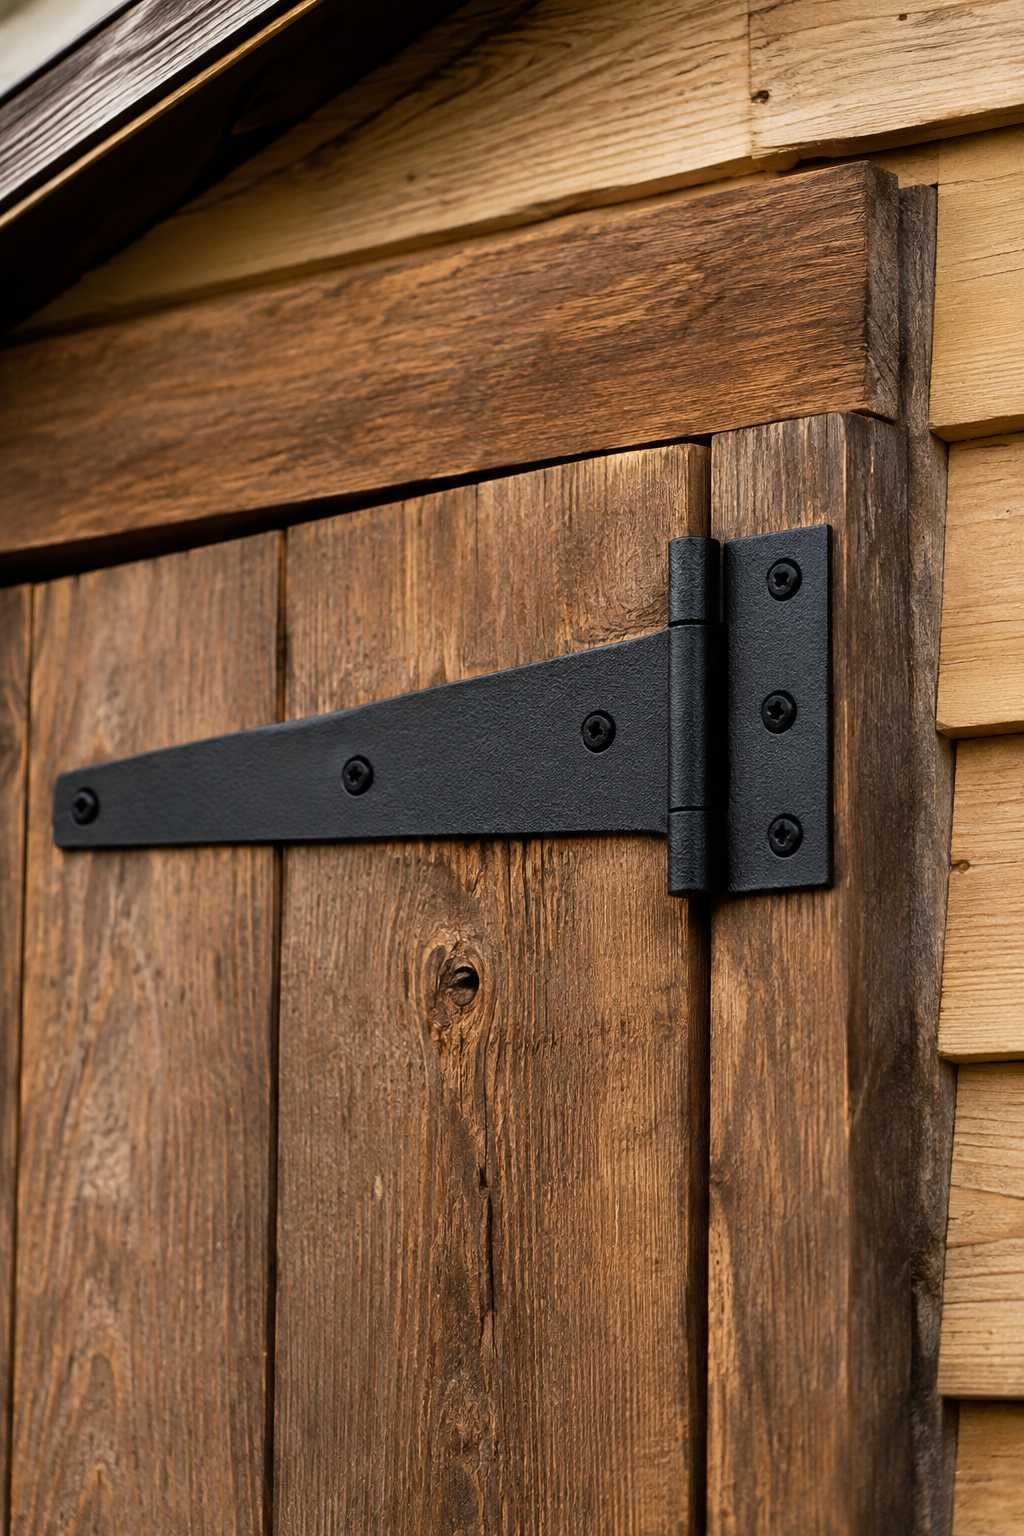
Pre-drill every screw hole before installation to prevent the wood from splitting under pressure. Use the longest screws the hinge allows, ideally reaching into solid framing material behind the door jamb. A door hung with undersized or too-short screws will eventually sag and require reinstallation within a year or two.
- Choose strap hinges rated for exterior use
- Position hinges six inches from top and bottom
- Pre-drill holes to avoid splitting the wood
- Use screws long enough to reach solid framing
6. Add a Secure Latch and Hardware
A reliable latch system keeps your shed secure and protects stored tools and equipment. Barrel bolts, hasps, and slide latches are all popular options depending on your desired security level. For sheds storing valuable equipment, pairing a hasp with a weatherproof padlock adds meaningful peace of mind.
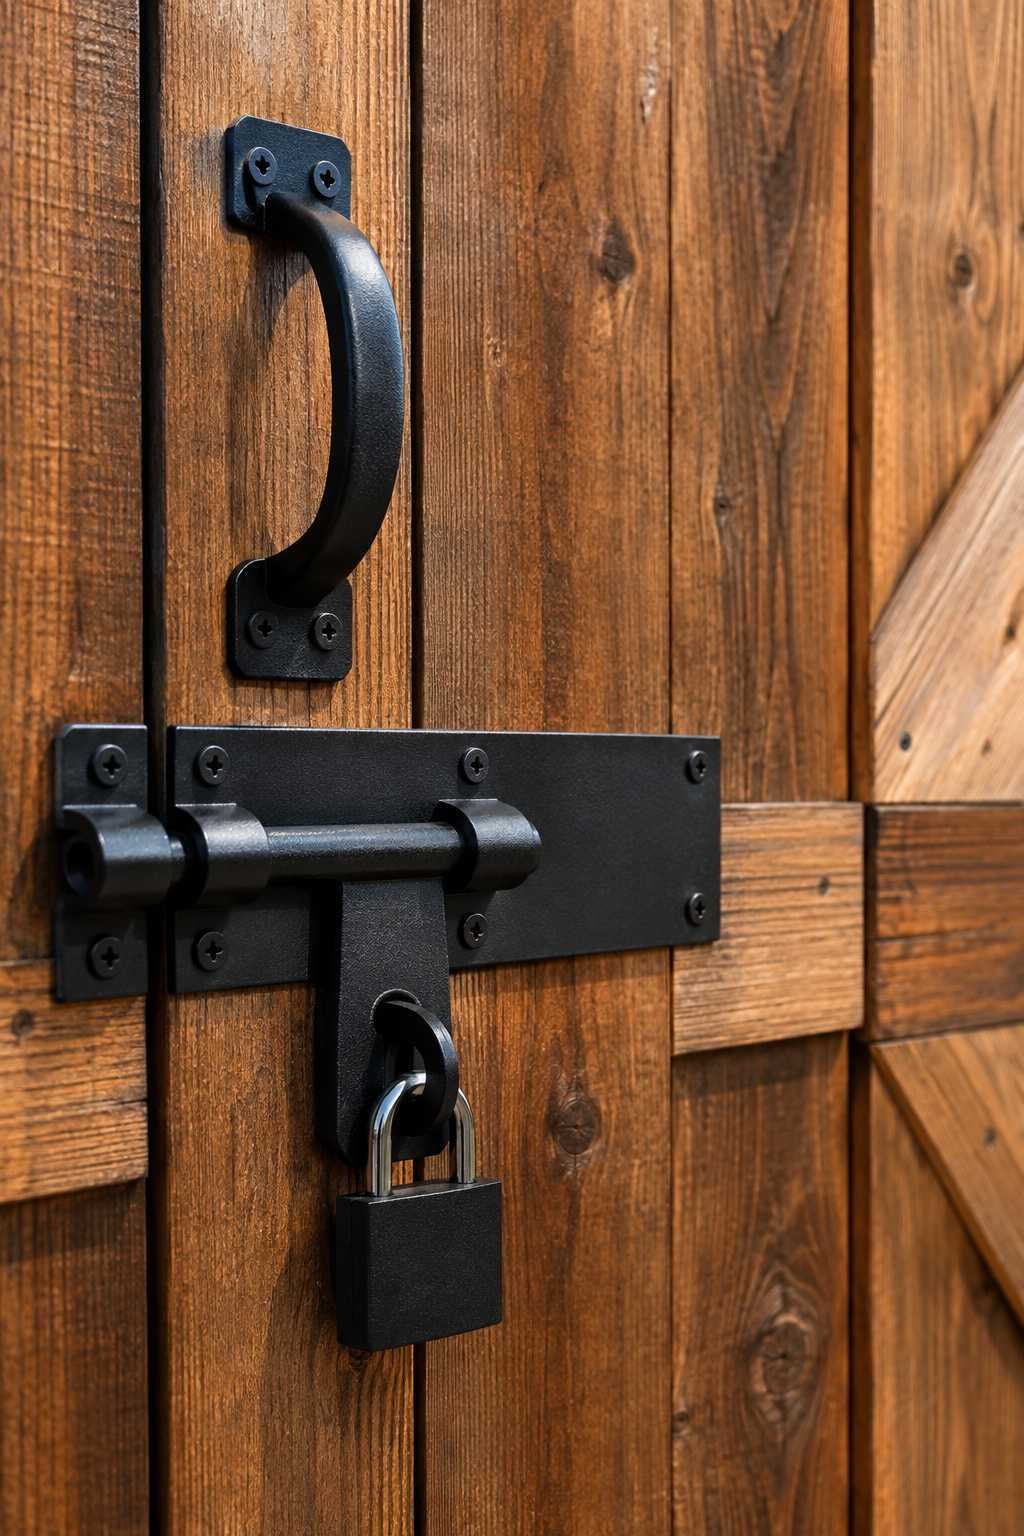
Position the latch at a comfortable height, typically around waist level, for easy everyday access. Consider adding a simple handle or pull on the exterior side to make opening the door effortless, especially when hands are full. Matching hardware finishes throughout creates a more cohesive, finished appearance.
- Install a hasp and padlock for added security
- Mount the latch at comfortable waist height
- Add a matching exterior handle for convenience
- Choose rust-resistant hardware finishes throughout
7. Seal and Finish the Door Properly
The final step protects all your hard work from sun and moisture damage. Apply an exterior-grade primer followed by two coats of quality paint, or use a penetrating oil finish if you prefer showing off the natural wood grain. Either option should be rated specifically for outdoor use to withstand seasonal weather changes.
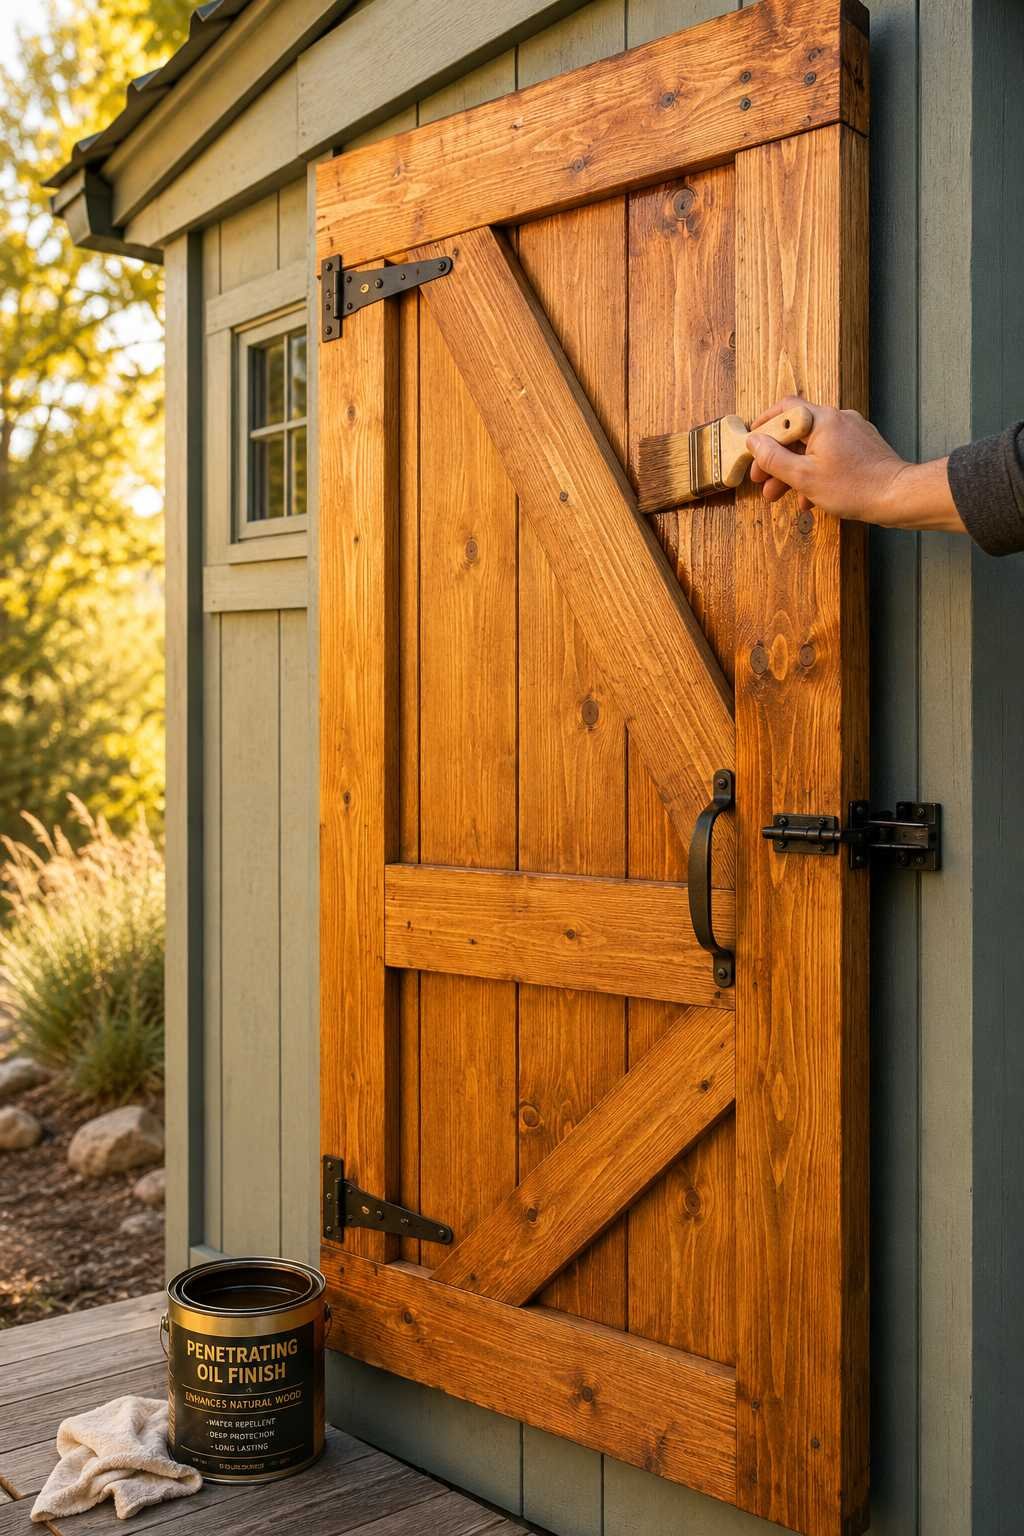
Don’t forget to seal the top and bottom edges of the door, since end grain absorbs moisture faster than flat surfaces. Reapplying finish every one to two years keeps the wood protected and maintains its appearance over time. A well-sealed door resists warping, cracking, and premature wear far better than an unfinished one.
- Apply exterior primer before painting
- Seal all exposed end grain thoroughly
- Consider a penetrating oil finish for natural wood
- Reapply finish every one to two years
Building your own shed door is a manageable project that pays off in both function and curb appeal. Taking careful measurements, choosing durable materials, and reinforcing the panel with proper bracing ensures the door performs well for years to come. Each step builds on the last, so working methodically produces the best results.
Once your door is hung and finished, step back and enjoy a project built with your own hands. Small upgrades like matching hardware or a fresh coat of paint can elevate the entire shed’s appearance. With the right approach, this simple DIY task becomes a lasting upgrade to your outdoor space.

