


Whether you’re cleaning out a clog, replacing a worn part, or updating your sink’s finish, knowing how to remove bathroom sink stopper hardware is one of the most useful basic plumbing skills to have. It sounds intimidating the first time, but most stoppers come out with nothing more than your hands and maybe a pair of pliers.
The exact steps depend on which type of stopper you have, since bathroom sinks use a few different mechanisms. This guide covers each type so you can identify yours and follow the right removal method the first time.
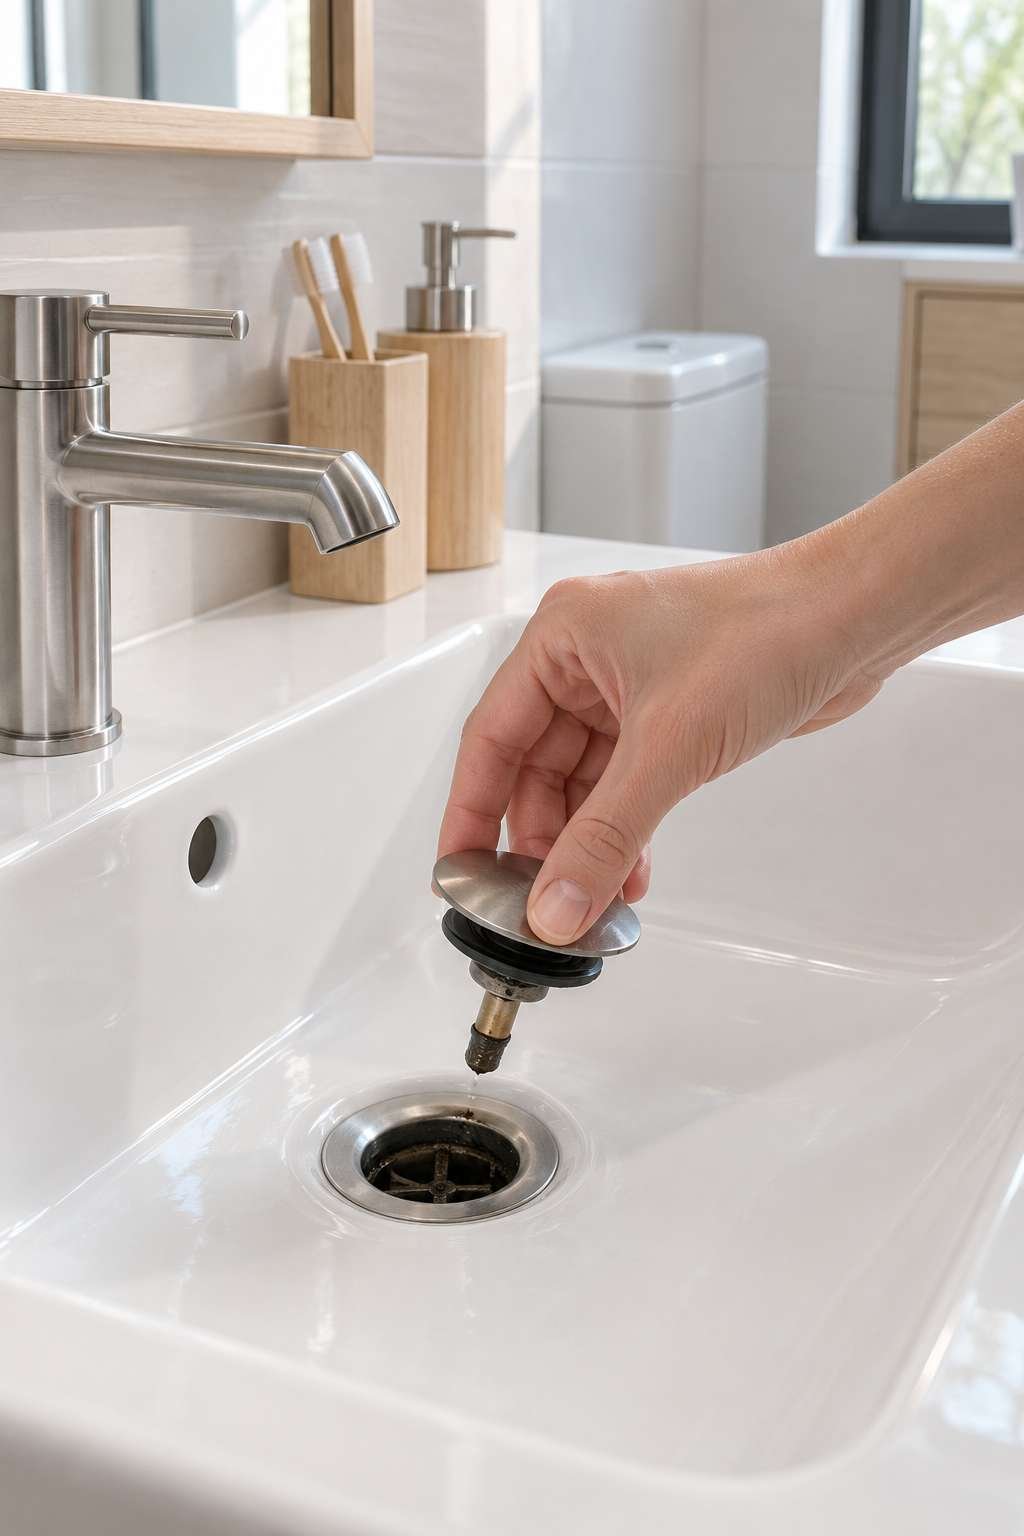
By the end, you’ll also know how to clean and reinstall the stopper properly, so your sink drains and seals just as well as before.
1. Why You Might Need to Remove a Bathroom Sink Stopper
Stopper removal comes up more often than people expect, and it’s rarely a sign something is broken. The most common reason is a clog trapped right at the stopper, since hair and soap scum naturally collect around its base.
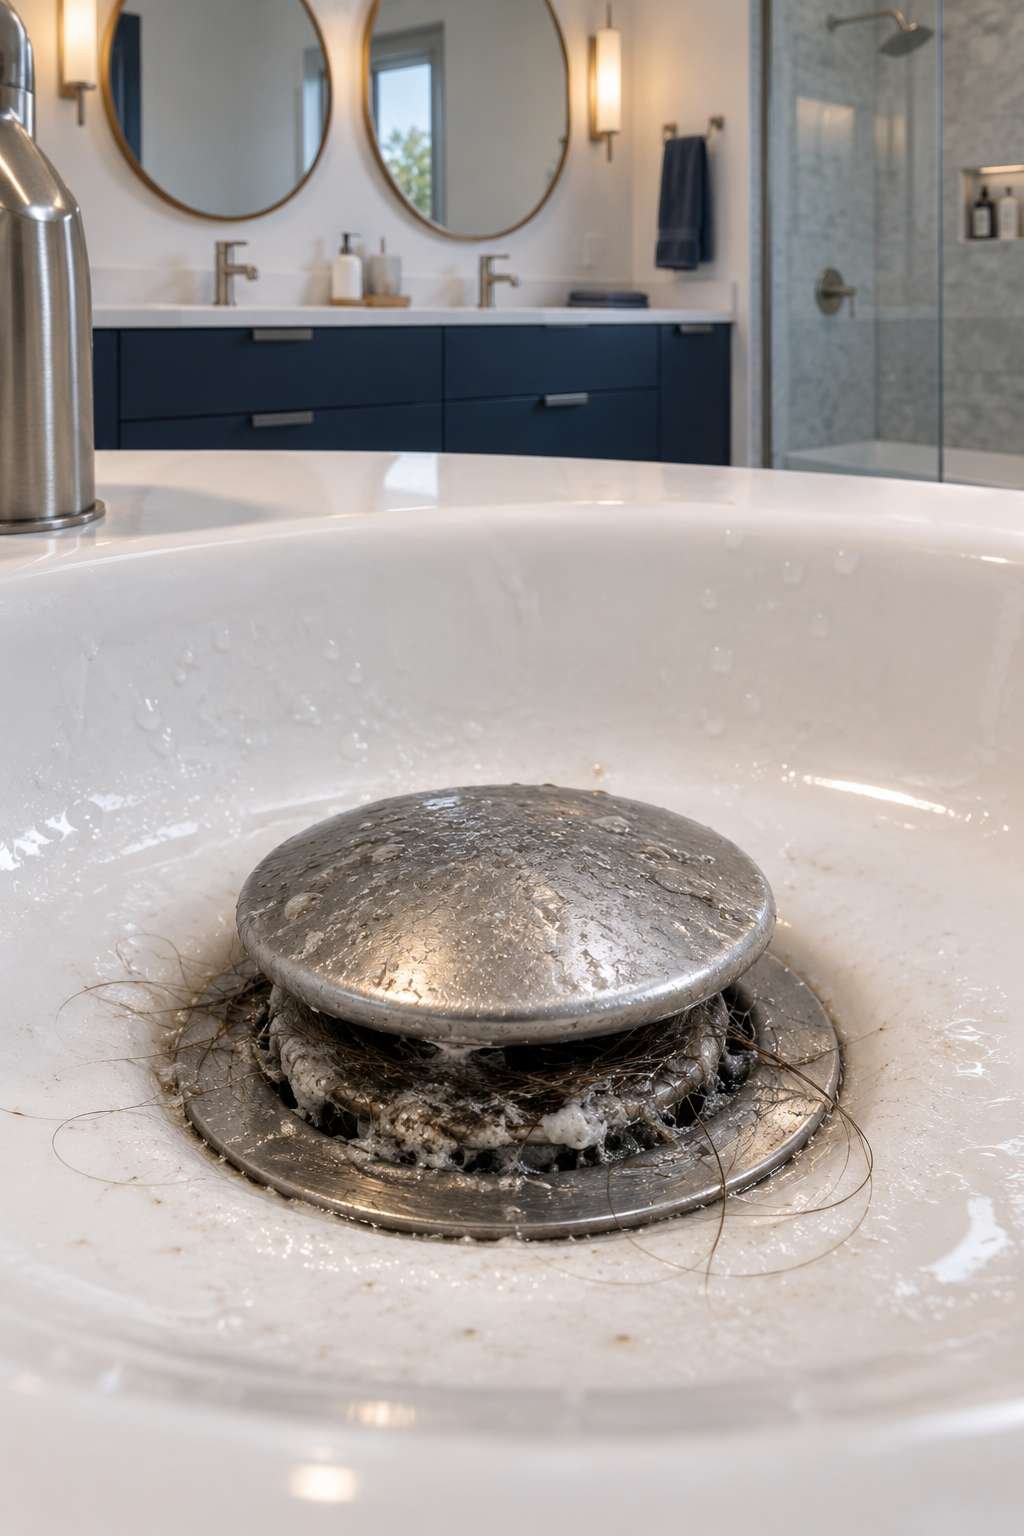
Beyond clogs, you might be removing the stopper to replace a cracked or discolored one, adjust how tightly the sink seals when closed, or simply give the whole assembly a deep clean it hasn’t had in years.
Whatever the reason, removing it is a reversible, low-risk task — there’s no need to call a plumber for something you can typically finish in ten minutes.
- Clearing hair and debris trapped near the stopper base
- Replacing a cracked, stained, or poorly sealing stopper
- Adjusting how high or tightly the stopper closes
- Deep cleaning parts that never get touched otherwise
- Preparing the drain for a full sink or faucet replacement
- Inspecting the rubber seal for wear or damage
2. Identifying Your Stopper Type
Before pulling anything, take a moment to figure out which stopper mechanism your sink actually uses, since the removal method is different for each one. The pivot rod style is by far the most common in bathroom sinks.
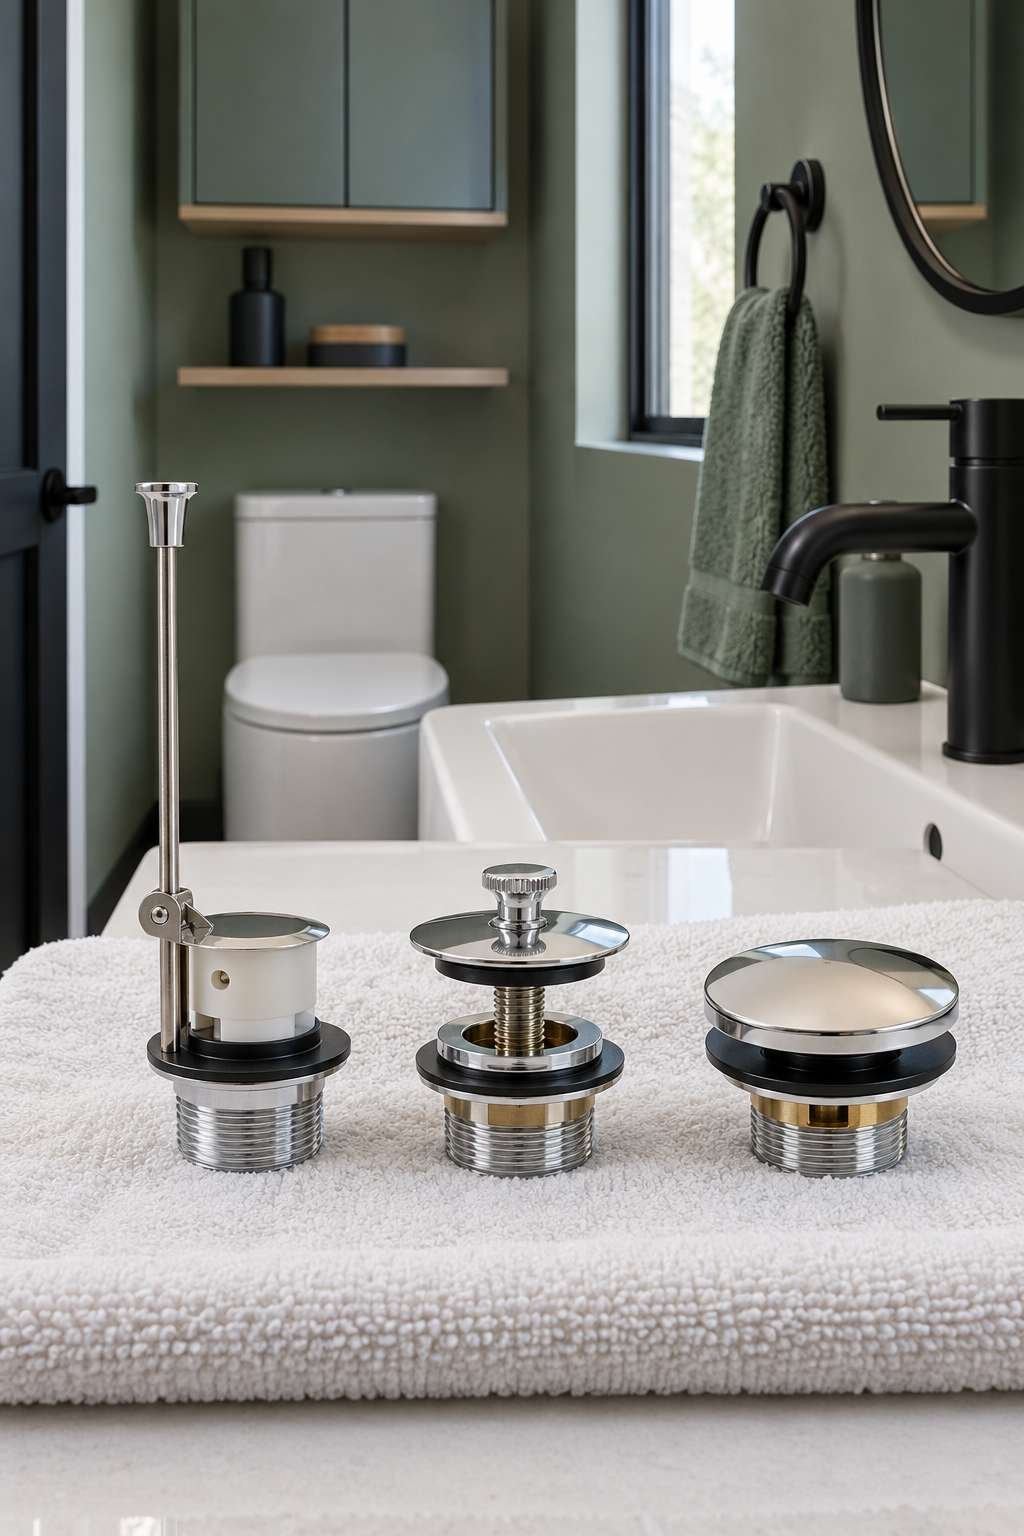
Look underneath the sink for a horizontal metal rod extending from the drain pipe — if you see one, you likely have a pivot rod stopper. If instead the stopper twists to open and close, you probably have a lift-and-turn model, and if there’s a small button on top you press with your toe, it’s a toe-touch style.
Knowing the type before you start prevents unnecessary force on the wrong part, which is one of the easiest ways to accidentally crack a stopper.
- Pivot rod stoppers connect to a horizontal rod under the sink
- Lift-and-turn stoppers twist counterclockwise to unlock
- Toe-touch or flip-it stoppers press down to open and close
- Push-and-pull stoppers lift straight up with a light tug
- Check under the sink first before trying anything from above
- Older sinks sometimes use a simple rubber flip stopper with no rod
3. Tools You’ll Need
Most stopper removals require little more than your hands, but having a few tools ready helps with stubborn or older hardware. A flashlight is genuinely one of the most useful items here, since the space under a sink is often dim.
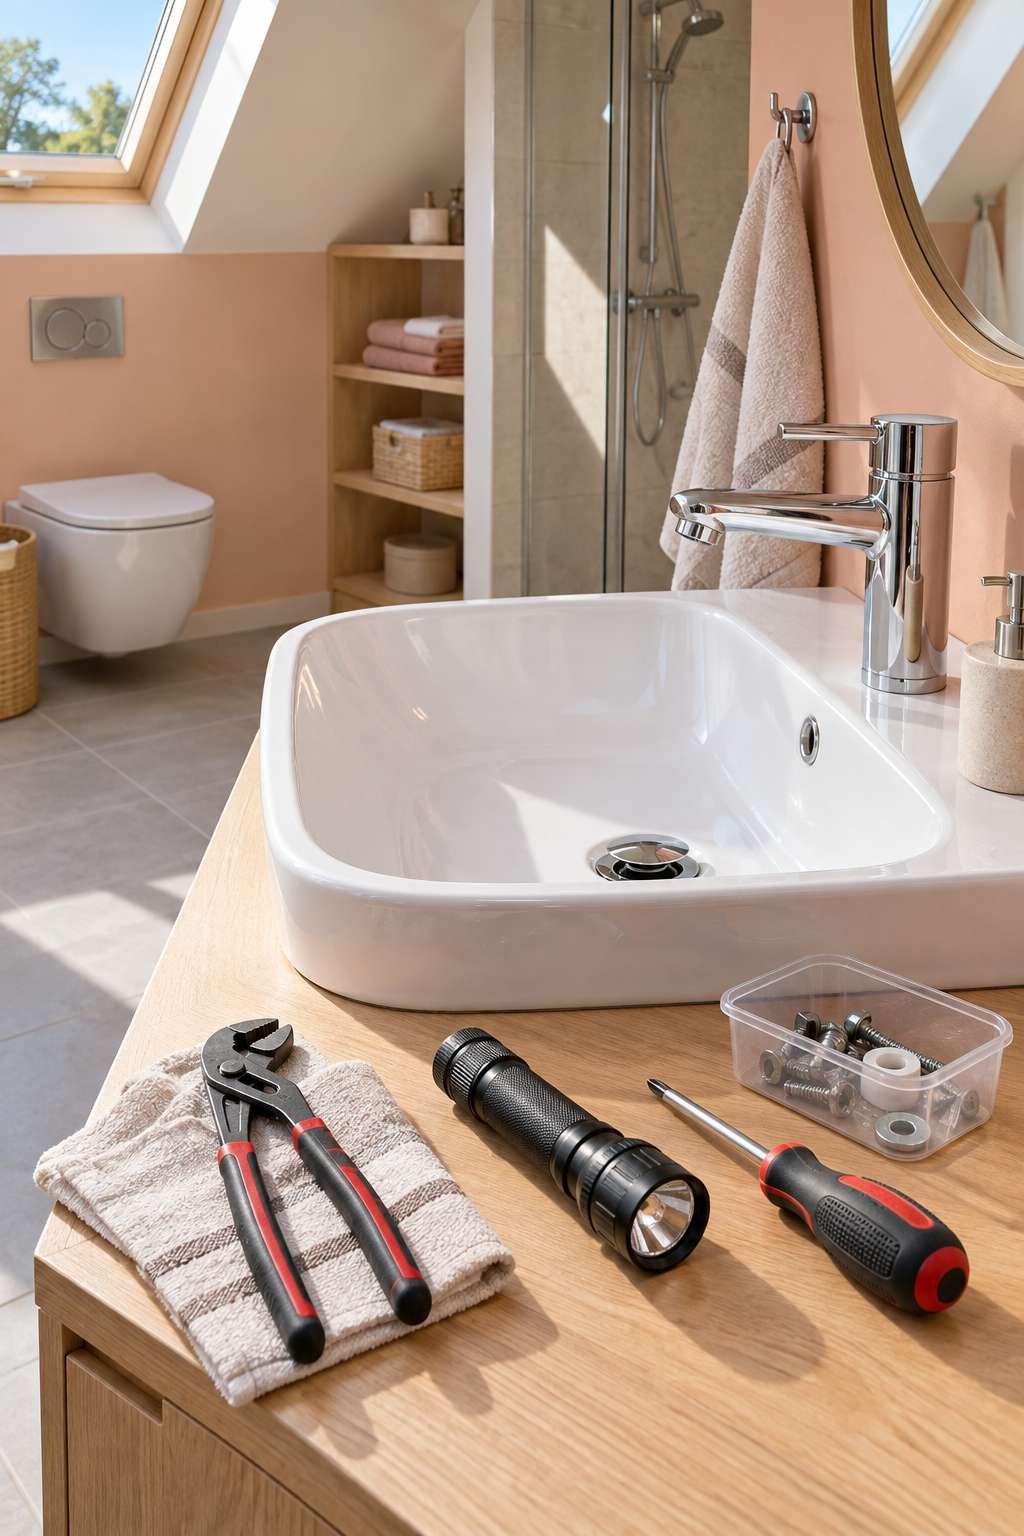
Keep a small container nearby for any nuts or screws you remove, so nothing gets lost or accidentally knocked down the drain while you’re working.
- Flashlight for visibility under the sink
- Adjustable pliers or channel-locks
- A small container for loose hardware
- Old rag or towel for wiping grime
- Penetrating oil for corroded metal parts
- Rubber gloves to keep hands clean
4. Removing a Pivot Rod (Push-and-Pull) Stopper
This is the most common bathroom sink stopper, and it’s connected to a metal rod running underneath the sink into the drain pipe. Removing it starts by locating and loosening the pivot nut, the small nut where the rod meets the drain assembly.
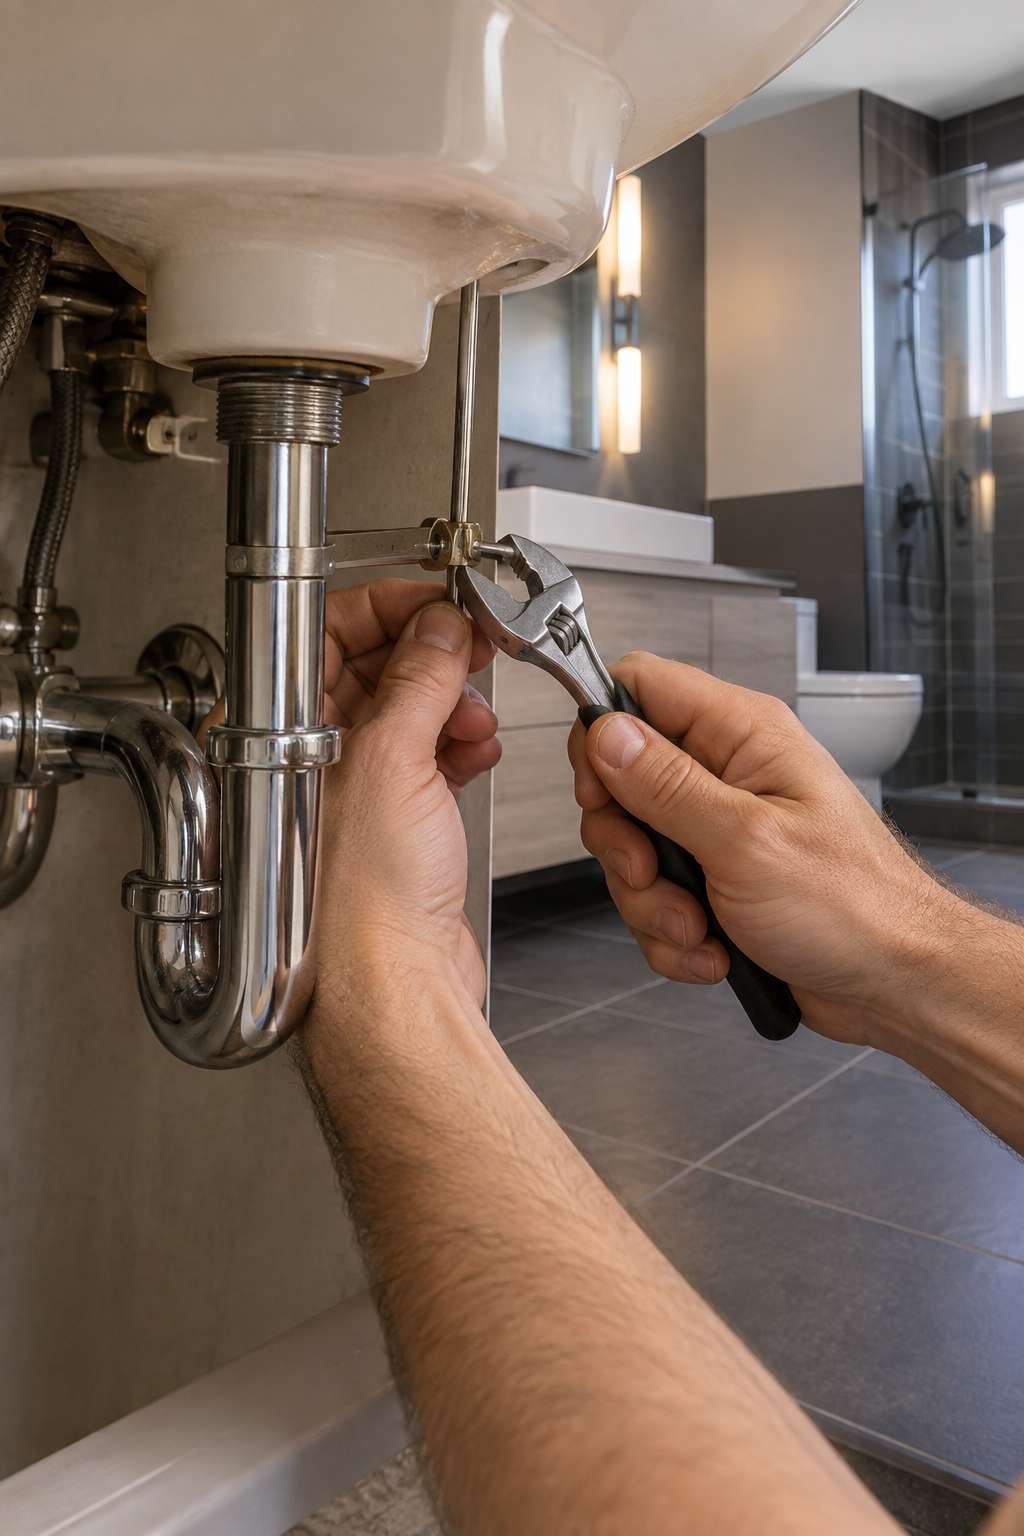
Reach under the sink, unscrew the pivot nut counterclockwise by hand or with pliers, and slide the rod backward out of the drain pipe. Once the rod is free, the stopper should lift straight up and out of the drain opening from above.
If the stopper doesn’t lift right away, gently wiggle it side to side while pulling upward, since it’s often just caught at a slight angle inside the drain.
- Locate the pivot nut on the horizontal rod under the sink
- Loosen the nut counterclockwise until the rod slides free
- Pull the rod backward out of the drain assembly
- Lift the stopper straight up from above the sink
- Wiggle gently if it feels stuck at an angle
- Keep the nut and rod together so reassembly is easy
For sinks where the rod has corroded in place, our companion post on how to remove sink stopper from bathroom sink hardware covers a few extra tricks for freeing a stuck pivot nut.
5. Removing a Lift-and-Turn Stopper
Lift-and-turn stoppers work differently — instead of a rod underneath, the stopper itself unscrews from the top of the drain opening. Look for a small set screw on the side of the knob, which needs to be loosened first if one is present.
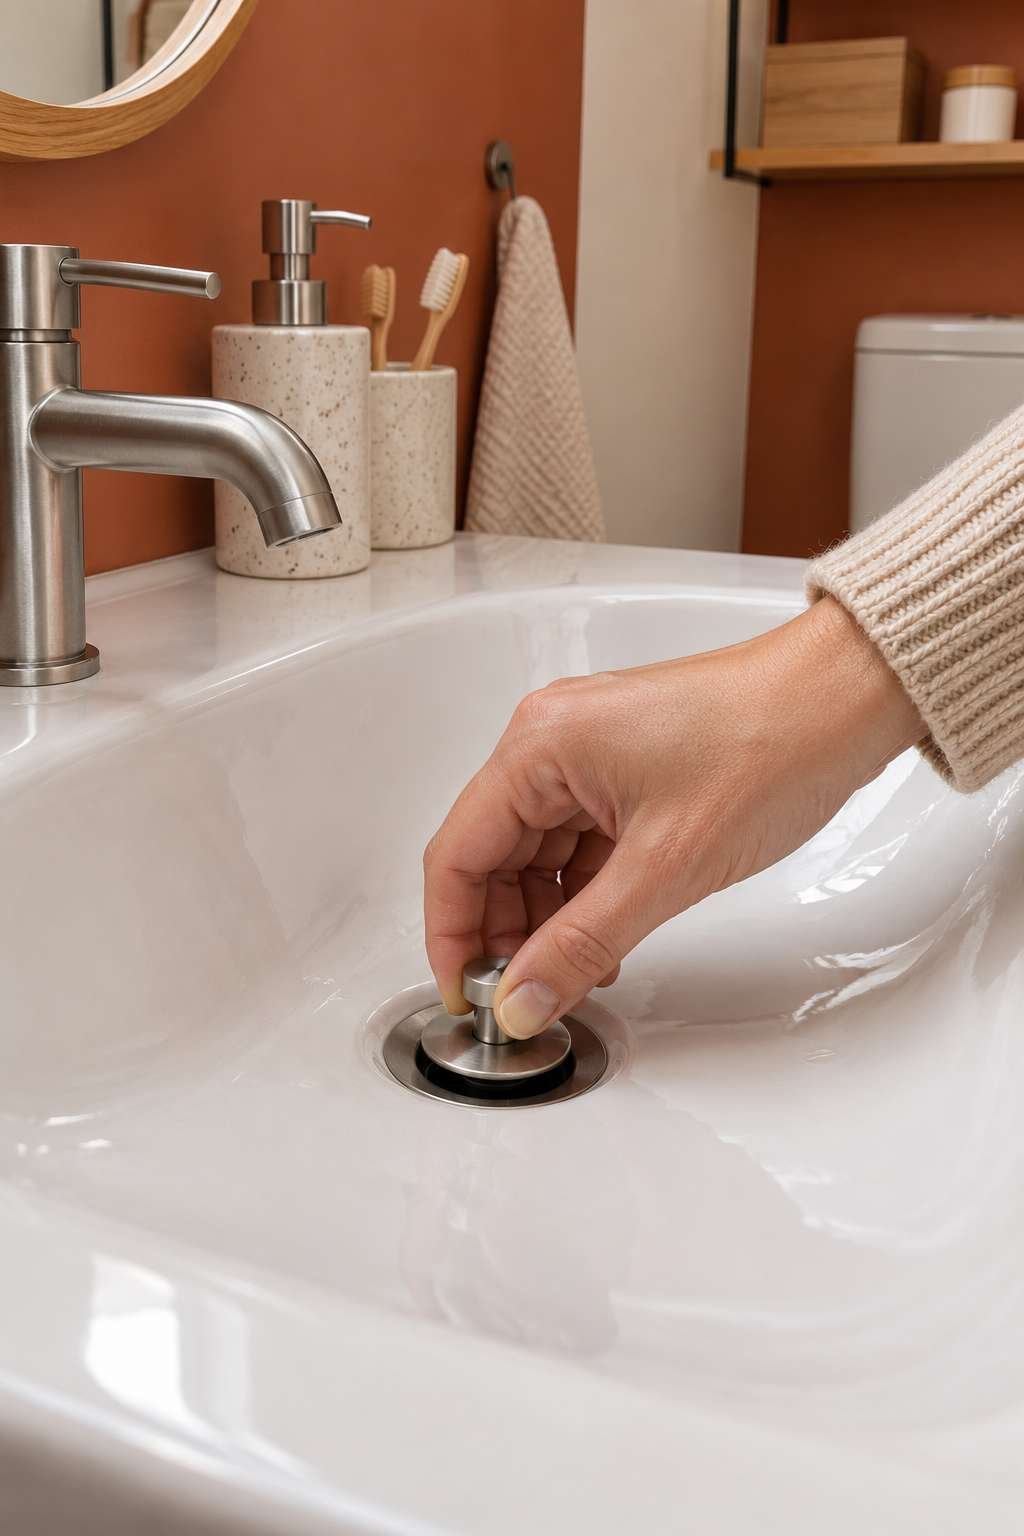
If there’s a visible set screw, loosen it with a small flathead screwdriver, but don’t remove it fully. Then twist the stopper knob counterclockwise while pulling gently upward until it releases from the drain threading.
Some models have no set screw at all and simply unscrew directly, so try twisting first before assuming you need a screwdriver.
- Check for a small set screw on the side of the knob first
- Loosen, but don’t fully remove, any visible set screw
- Twist the knob counterclockwise while pulling upward
- Some models unscrew directly with no set screw involved
- Avoid excessive force — threads can strip if forced
- Note the twist direction so you can reverse it later
If you’re having trouble locating where yours releases from, the walkthrough in how to get stopper out of bathroom sink models covers the lift-and-turn variation with more detail on the set screw location.
6. Removing a Toe-Touch or Flip-It Stopper
Toe-touch stoppers use a spring-loaded mechanism you press down on to open and close the drain, and they typically twist off similarly to a lift-and-turn model. The main difference is a small internal cap that separates from the base assembly.
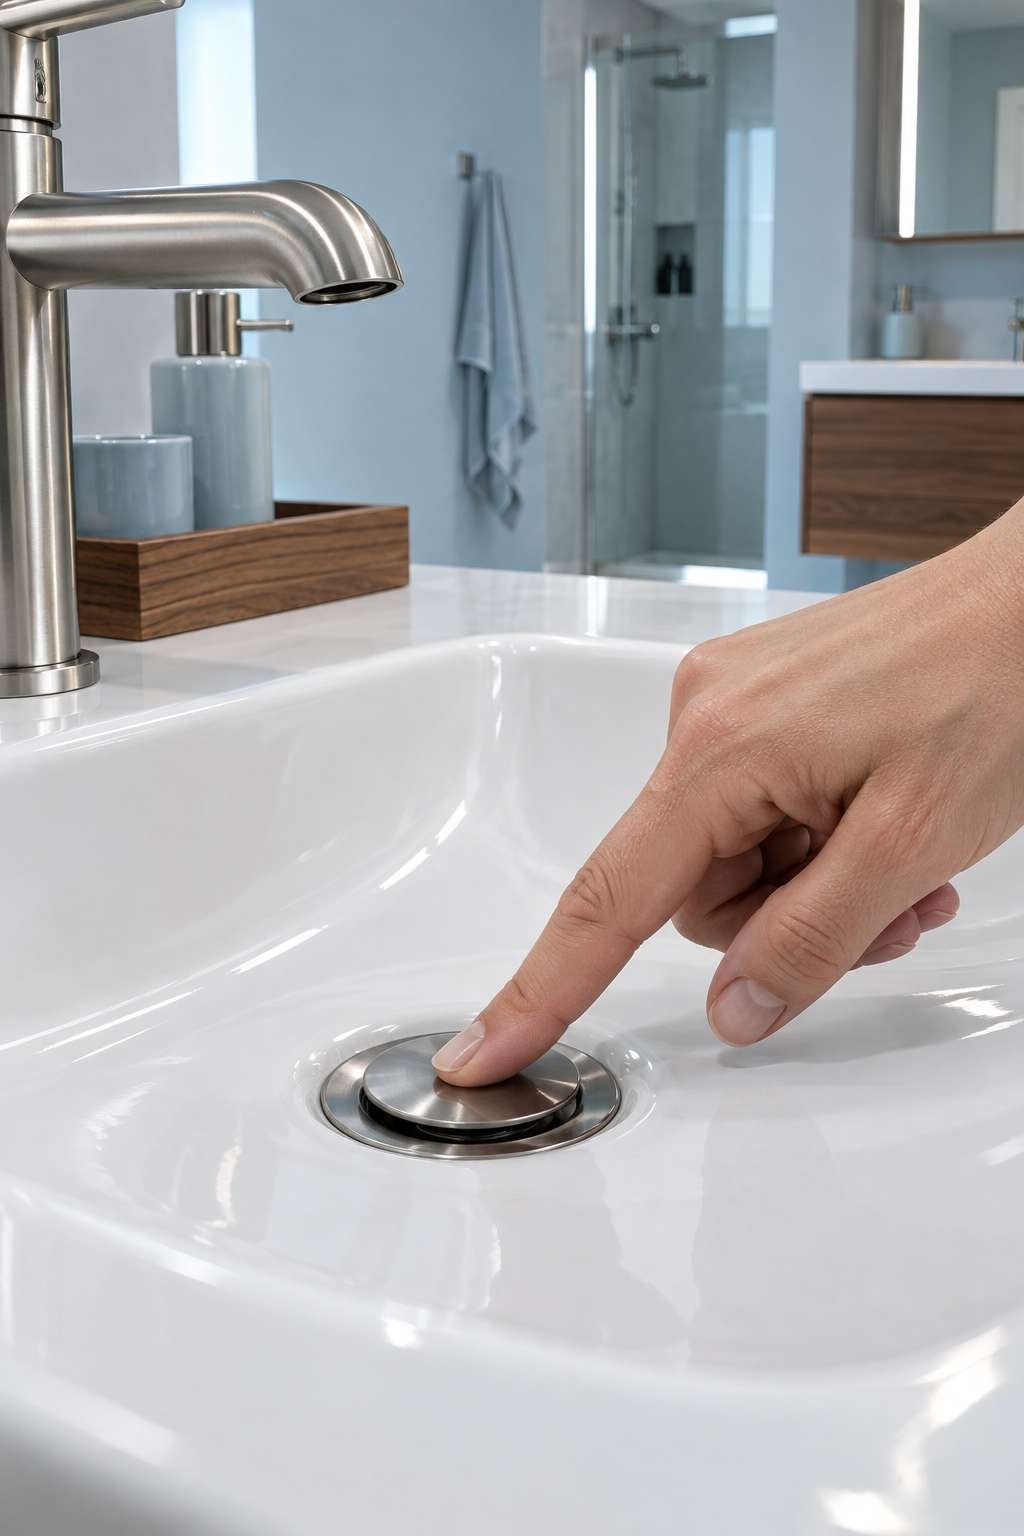
Press down on the stopper to release the spring, then twist the visible cap counterclockwise to separate it from the base piece still threaded into the drain. The base piece usually stays in place and doesn’t need to be removed for basic cleaning.
If you do need to remove the base as well, it typically unscrews the same direction once the cap is off.
- Press down first to release the spring-loaded mechanism
- Twist the visible cap counterclockwise to separate it
- The threaded base can often stay in place for cleaning
- Unscrew the base only if you need full access below
- Clean the spring mechanism carefully — it’s easy to lose small parts
- Reassemble the cap before testing the toe-touch action
7. Removing a Stuck or Corroded Stopper
Older stoppers, especially metal ones in homes with hard water, can seize up from mineral buildup or rust. A few drops of penetrating oil around the connection points, left to sit for 10-15 minutes, often loosens things enough to proceed.
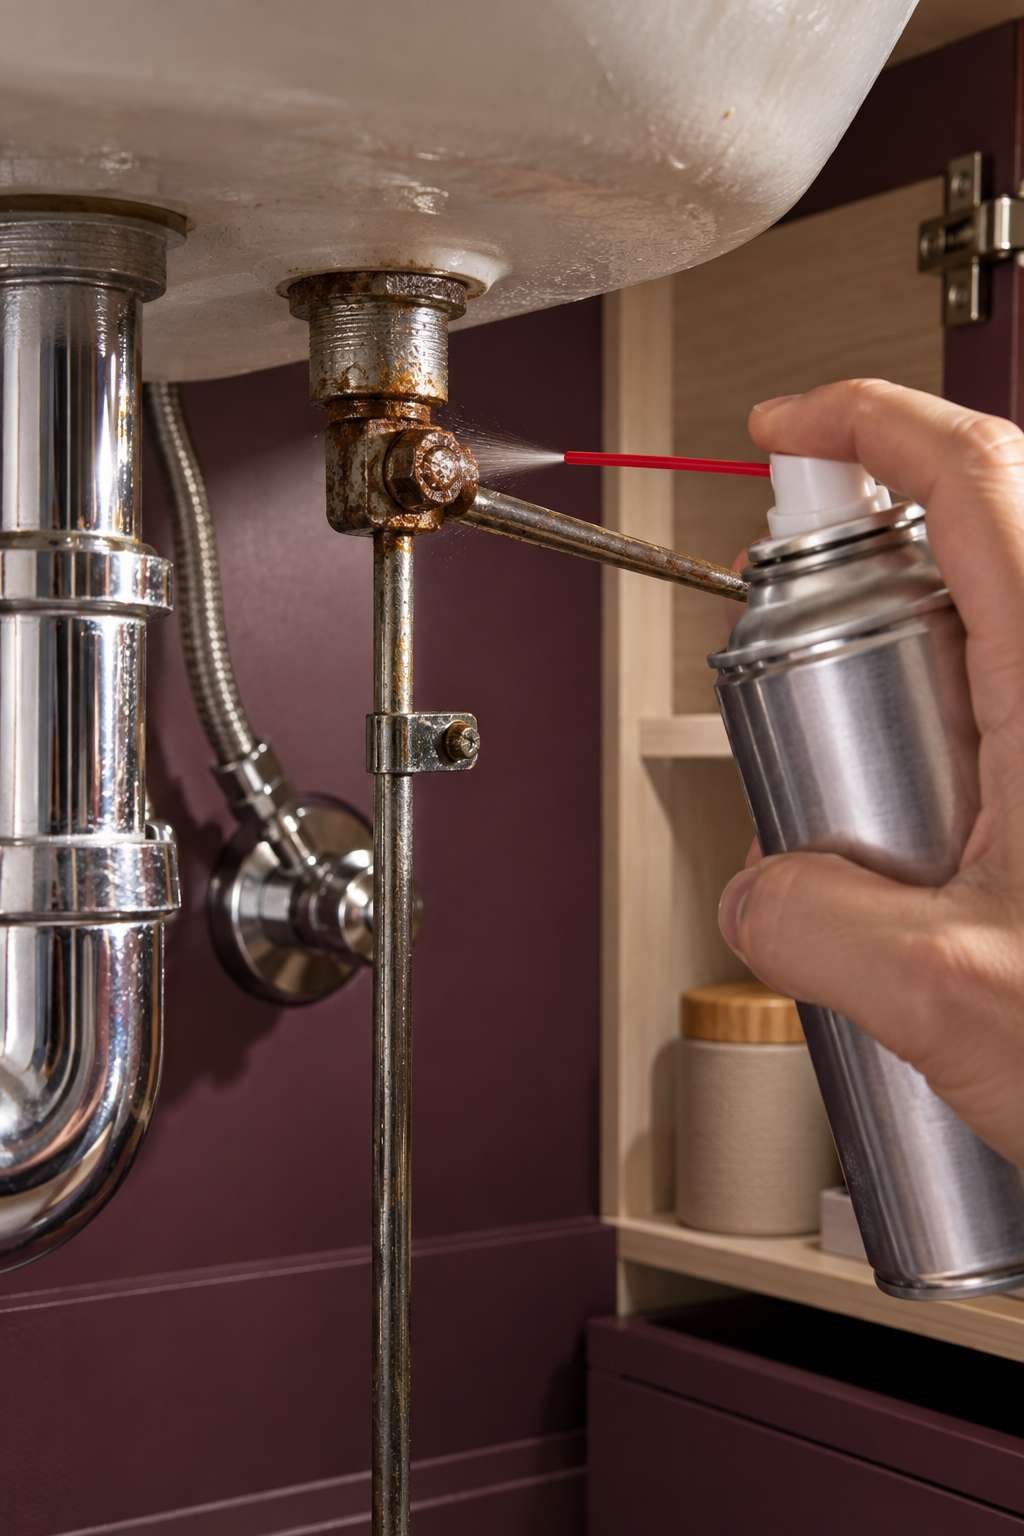
If a pivot nut won’t budge by hand, use pliers for extra leverage, but apply steady, even pressure rather than sudden force, which can snap an already corroded rod.
For stoppers that still won’t release after these steps, gently working a flathead screwdriver at the base to break the seal, combined with a little more penetrating oil, is usually the next step before considering a full replacement.
- Apply penetrating oil and let it sit 10-15 minutes
- Use pliers with steady pressure, not sudden force
- Try a flathead screwdriver to gently break a stuck seal
- Reapply oil and wait longer if the first attempt fails
- Consider a full stopper replacement if corrosion is severe
- Wear gloves — corroded metal edges can be sharp
If your stopper is still holding firm after trying these steps, the detailed troubleshooting in how to remove stopper from bathroom sink fixtures with heavy corrosion walks through a few additional methods worth trying.
8. Cleaning the Stopper and Drain Opening
With the stopper out, you’ll usually find a buildup of hair, soap scum, and grime that was quietly restricting drainage. This is the perfect opportunity to give both the stopper itself and the drain opening a thorough cleaning.
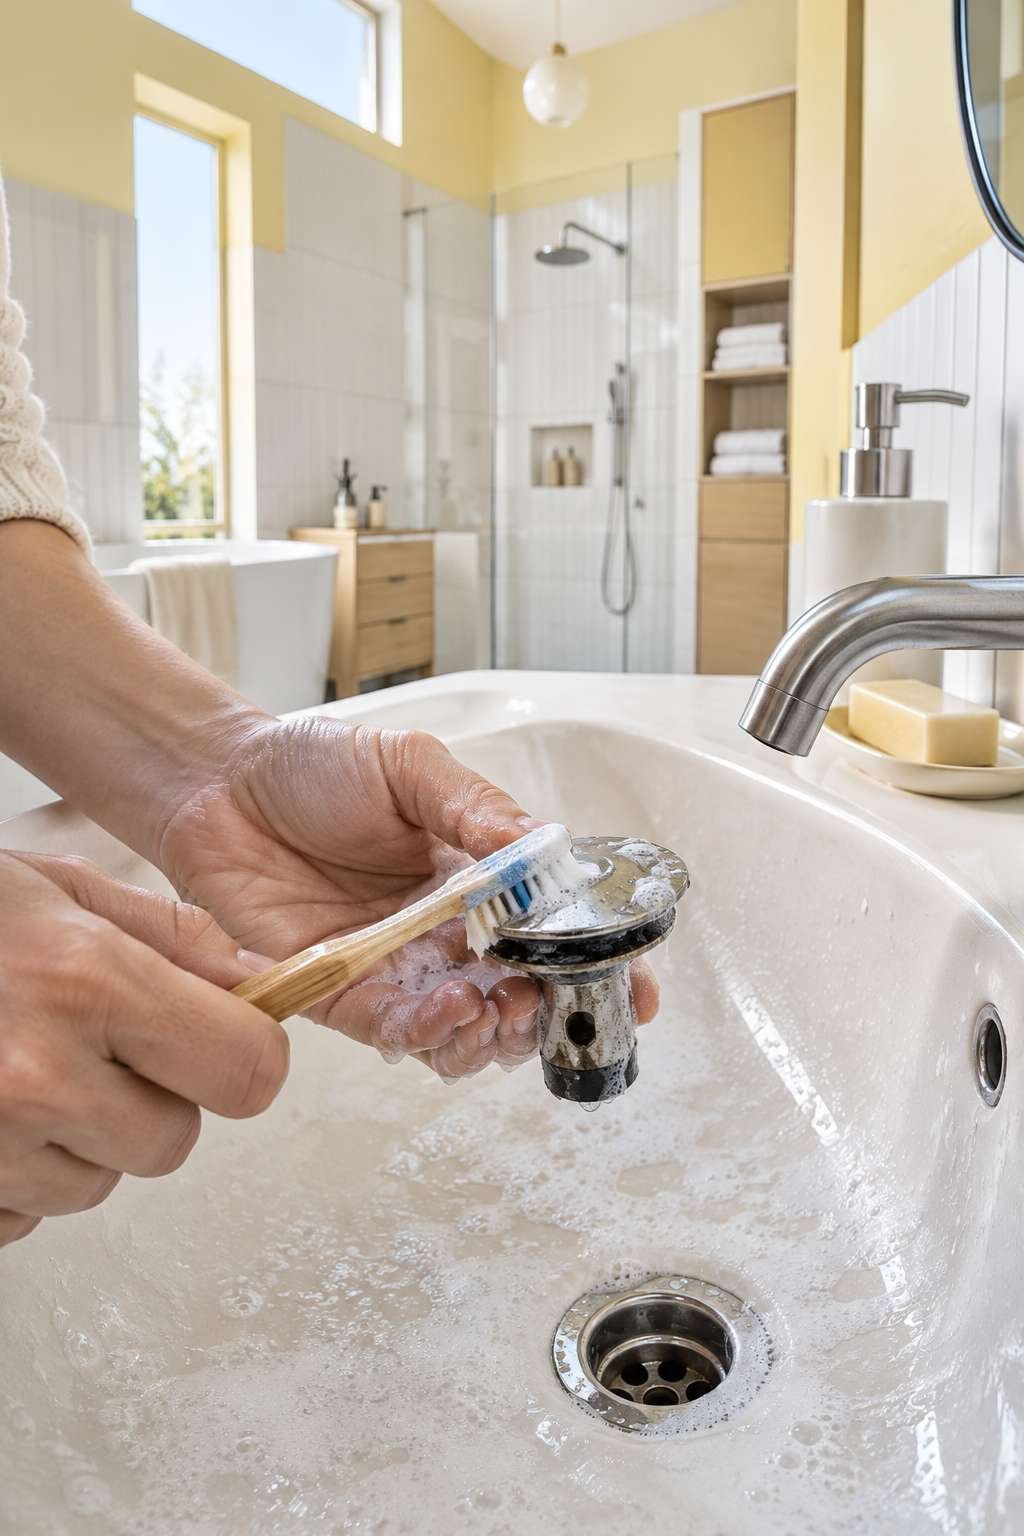
Use an old toothbrush and a mild cleaner to scrub away residue from every groove and crevice of the stopper, paying close attention to the base where hair tends to wrap tightly. Wipe down the visible drain opening as well before reinstalling anything.
A quick rinse under running water helps confirm you’ve removed all the loosened debris rather than pushing it back down the drain.
- Scrub the stopper base with an old toothbrush
- Pay extra attention to grooves where hair collects
- Wipe down the visible drain opening while it’s exposed
- Rinse thoroughly under running water before reinstalling
- Check the rubber gasket or seal for cracks or wear
- Replace the gasket now if it looks worn, before reassembly
9. Reinstalling the Stopper Correctly
Reinstalling is essentially the removal process in reverse, but a few small details make the difference between a stopper that seals properly and one that leaks or sticks. Make sure the stopper is oriented correctly before sliding any rod back through.
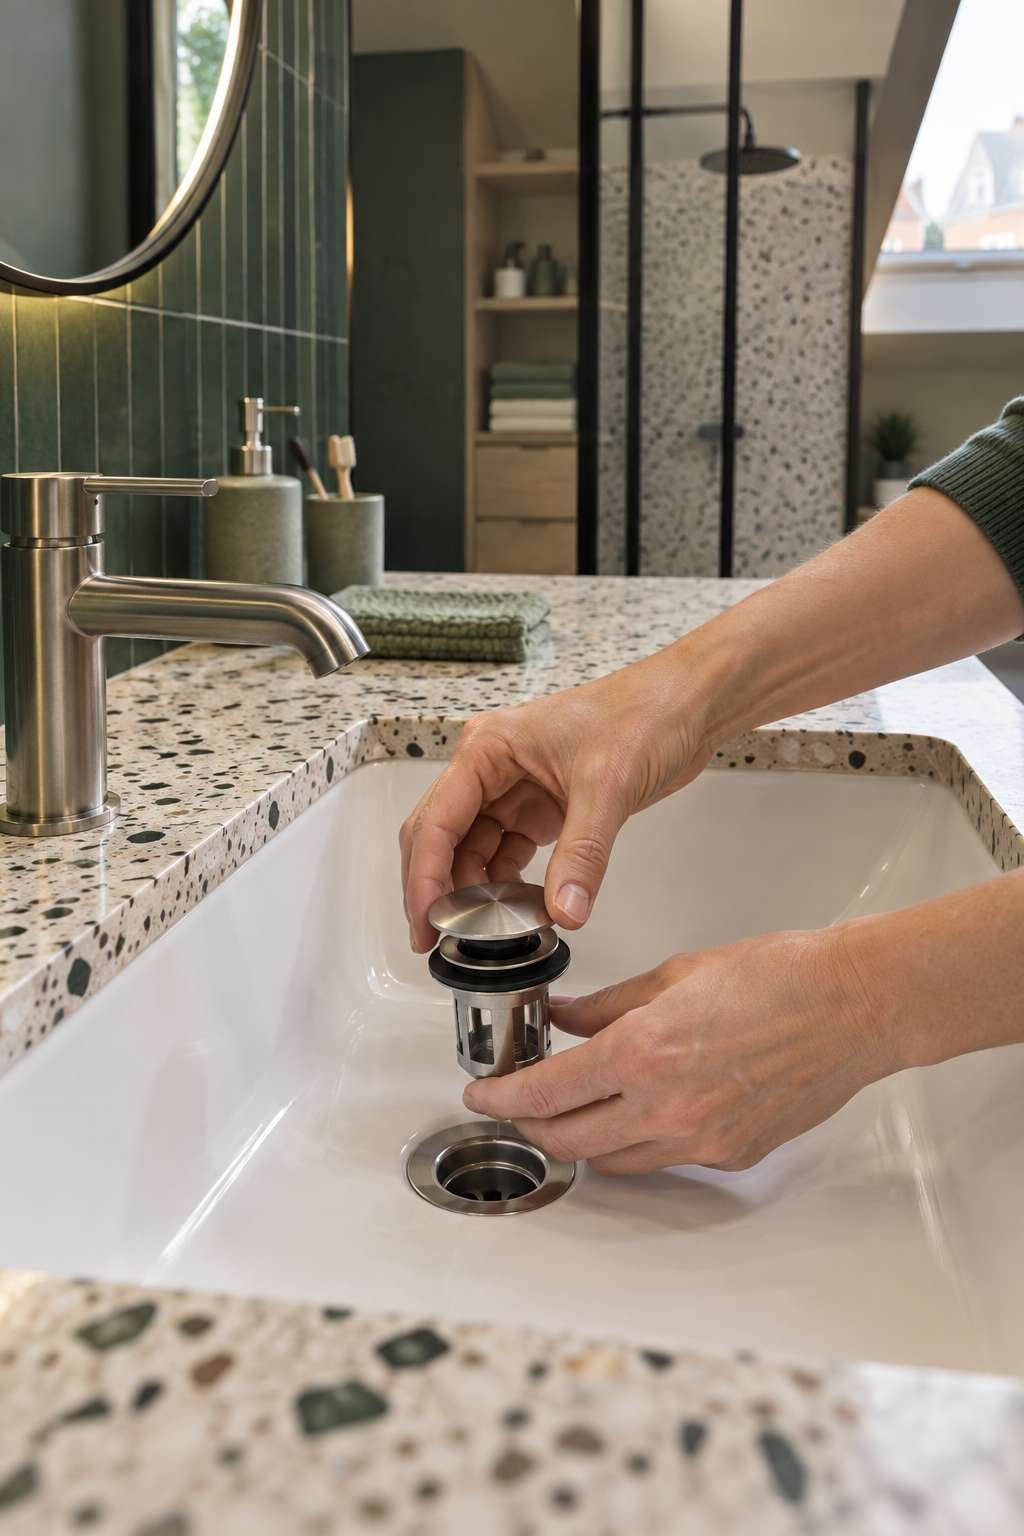
For pivot rod styles, angle the stopper slightly as you lower it back into the drain opening, matching how it originally came out, then slide the rod back through and hand-tighten the pivot nut. For lift-and-turn or toe-touch styles, thread the stopper back in clockwise until snug, not overtightened.
Test the open-close action a few times before running water, checking that it seals fully in the closed position without gaps.
- Angle pivot rod stoppers slightly when reinserting
- Hand-tighten nuts first, then snug lightly with pliers
- Thread twist-style stoppers clockwise until snug, not tight
- Test the open-close action before running water
- Check for a full seal with no visible gaps when closed
- Run water briefly afterward to confirm no leaks underneath
10. Troubleshooting Common Issues After Reinstalling
Occasionally a stopper doesn’t sit quite right after reinstalling, even when everything was cleaned and reassembled carefully. A stopper that sits too high or won’t seal is almost always a pivot rod adjustment issue rather than a broken part.
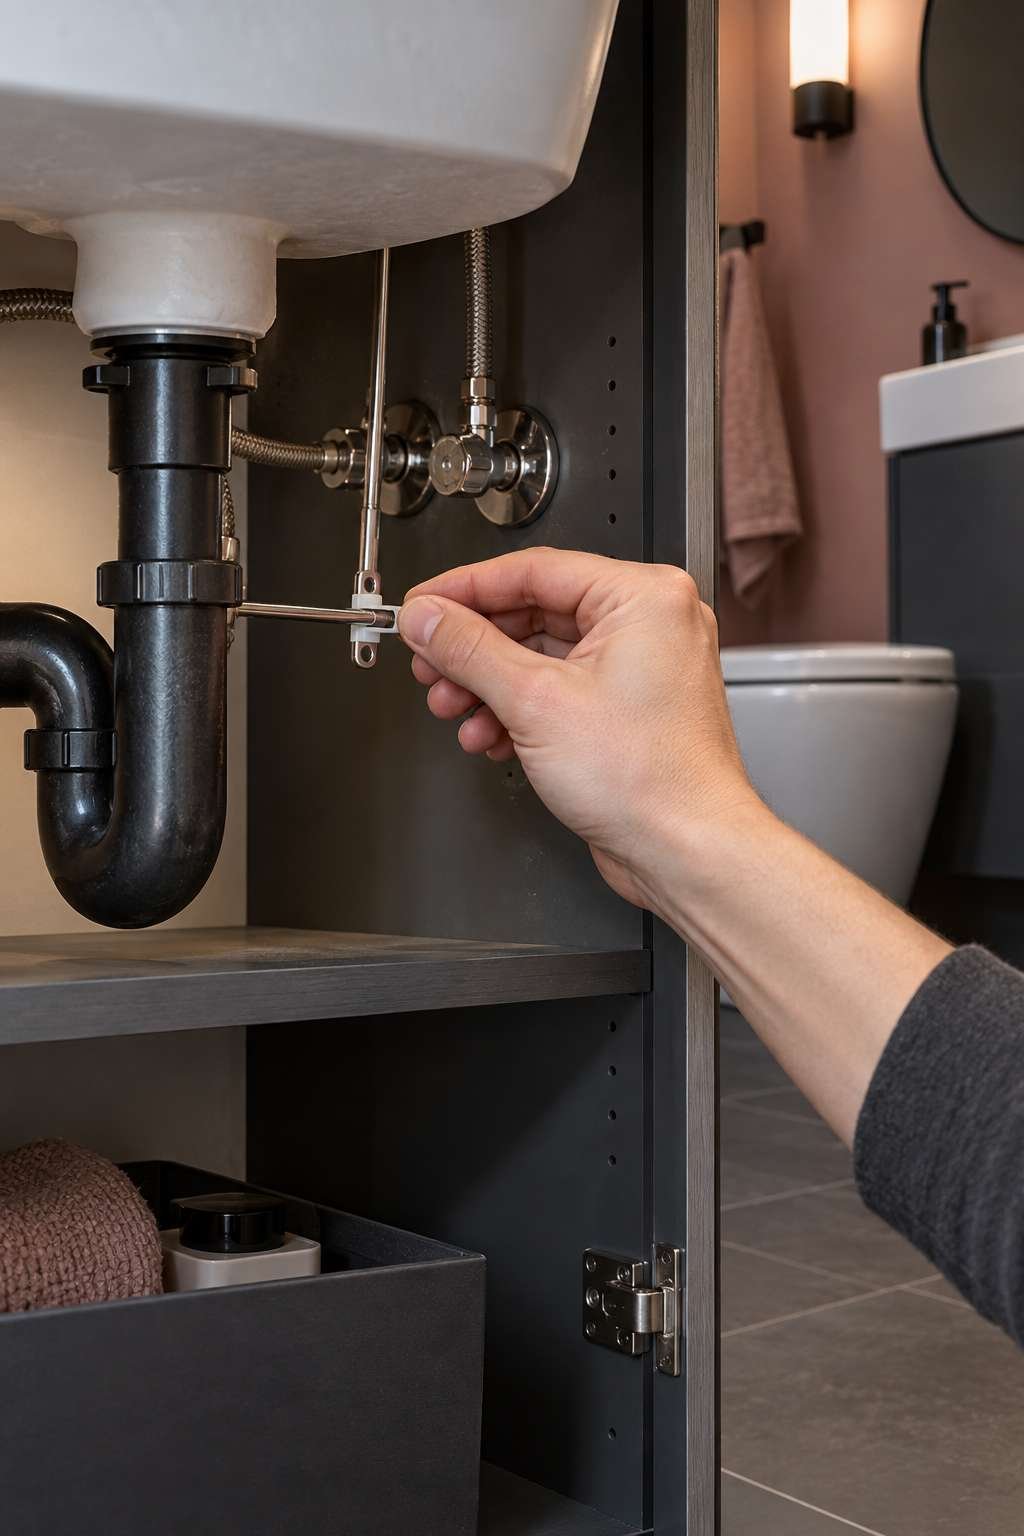
Most pivot rods have a small clip with multiple holes, letting you adjust how far the rod extends and change how high or low the stopper sits when closed. Moving the clip to a different hole is often all it takes to fix an uneven seal.
If water still drains slowly with the stopper closed, double-check that the rubber seal is seated flat and that no hair got trapped underneath during reassembly.
- Adjust the pivot rod clip if the stopper sits too high or low
- Recheck that the rubber seal is seated flat and even
- Look for trapped hair or debris under the reinstalled stopper
- Make sure the pivot nut is snug but not overtightened
- Retest the open-close action after any adjustment
- Consider a full replacement if a part still won’t seal correctly
Frequently Asked Questions
How do you repair a bathroom sink stopper?
Most repairs involve replacing a worn rubber gasket, cleaning corrosion from the pivot rod, or adjusting the connecting clip so the stopper seals fully when closed. If the stopper itself is cracked rather than just dirty or misaligned, replacing it outright is usually simpler than trying to repair it.
How do you change a bathroom sink stopper?
Remove the old stopper using the method matching its type, take it (or a photo of it) to a hardware store to find a matching replacement, then install the new one following the same steps in reverse. Universal replacement kits are widely available and fit most standard bathroom sink drains.
Once you’ve removed a bathroom sink stopper the first time, the whole process feels far less mysterious the next time it comes up. Whether you’re chasing a clog, swapping in a new stopper, or just giving everything a deep clean, the same basic steps apply across nearly every stopper type.
Keep the tools mentioned here handy under your sink, and you’ll be able to handle this small maintenance task in minutes rather than reaching for the phone. For a broader look at stubborn removals and full replacement options, see how to pull out a bathroom sink stopper and how to fix bathroom sink stopper hardware that’s beyond a simple clean.

