


Barn doors bring rustic charm and space-saving function to any home. Unlike traditional swinging doors, they slide along a wall-mounted track and take up zero floor space when open. A well-crafted barn door serves as a stunning focal point in bedrooms, bathrooms, pantries, and living rooms.
Building your own barn door is a rewarding weekend project. It does not require advanced carpentry skills or expensive tools. With basic lumber, hardware, and a clear plan, you can create a custom barn door that fits your space perfectly and costs a fraction of store-bought alternatives. These step-by-step guidelines will walk you through the entire process. Our barn door ideas has more inspiration along these same lines.
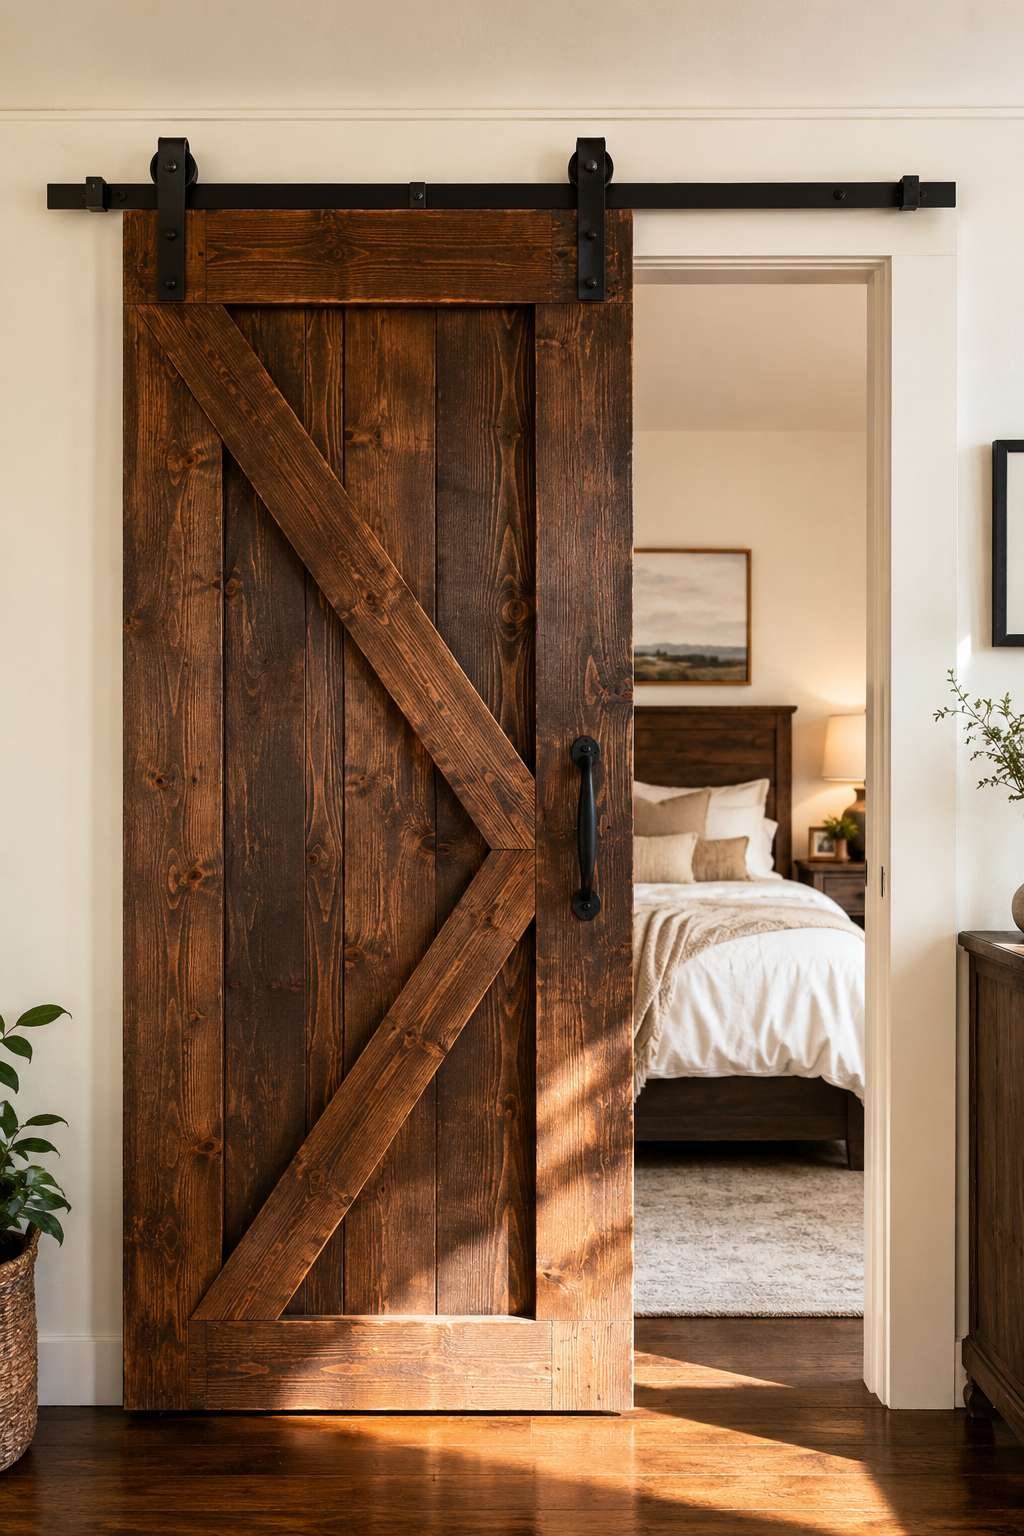
1. Measure Your Doorway Accurately
Proper measurements are the foundation of a successful barn door. Measure the width and height of the doorway opening you want to cover. The door should be at least two inches wider on each side and one inch taller than the opening to ensure full coverage when closed.
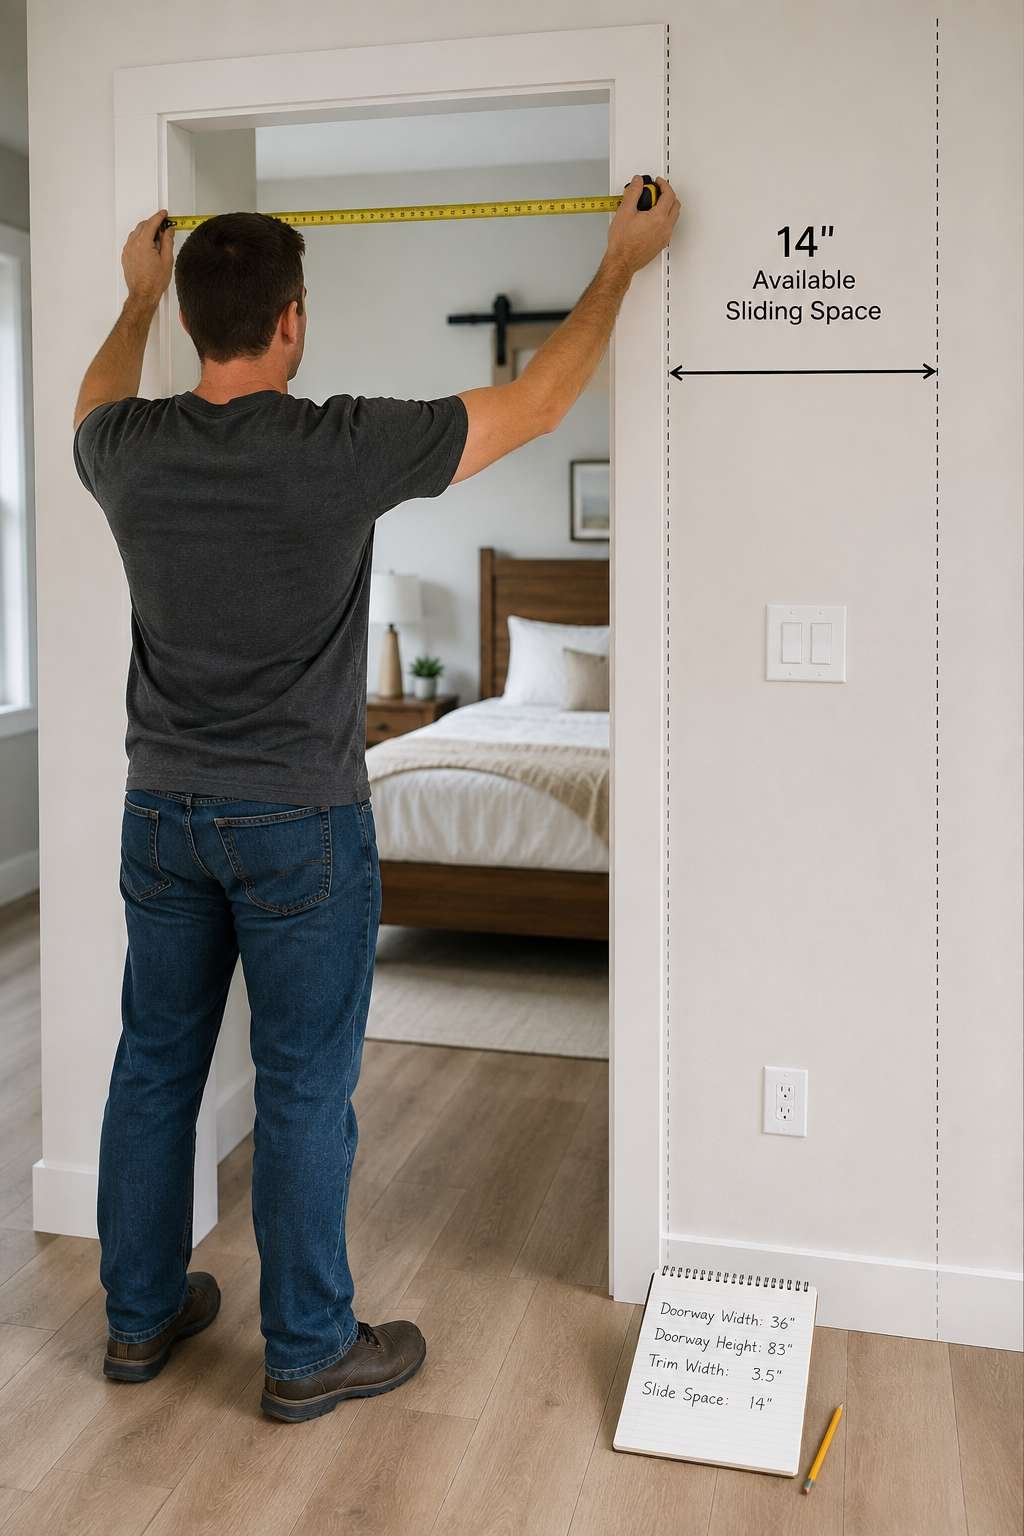
Also measure the wall space beside the doorway . The door needs enough room to slide completely open without hitting a light switch, outlet, or adjacent wall. A standard barn door requires clear wall space equal to the full width of the door on the sliding side. See our these sliding door ideas for more direction in this style.
- Measure doorway width and add at least four inches total
- Measure doorway height and add one to two inches
- Check for sufficient clear wall space beside the opening
- Note the location of light switches, outlets, and trim
- Write down all measurements before purchasing materials
2. Choose Your Lumber and Style
The look of your barn door depends entirely on your lumber choice and design pattern. For a classic rustic barn door, use standard pine or cedar boards. Pine is affordable and easy to work with. Cedar offers a richer grain and natural weather resistance that works well in bathrooms.
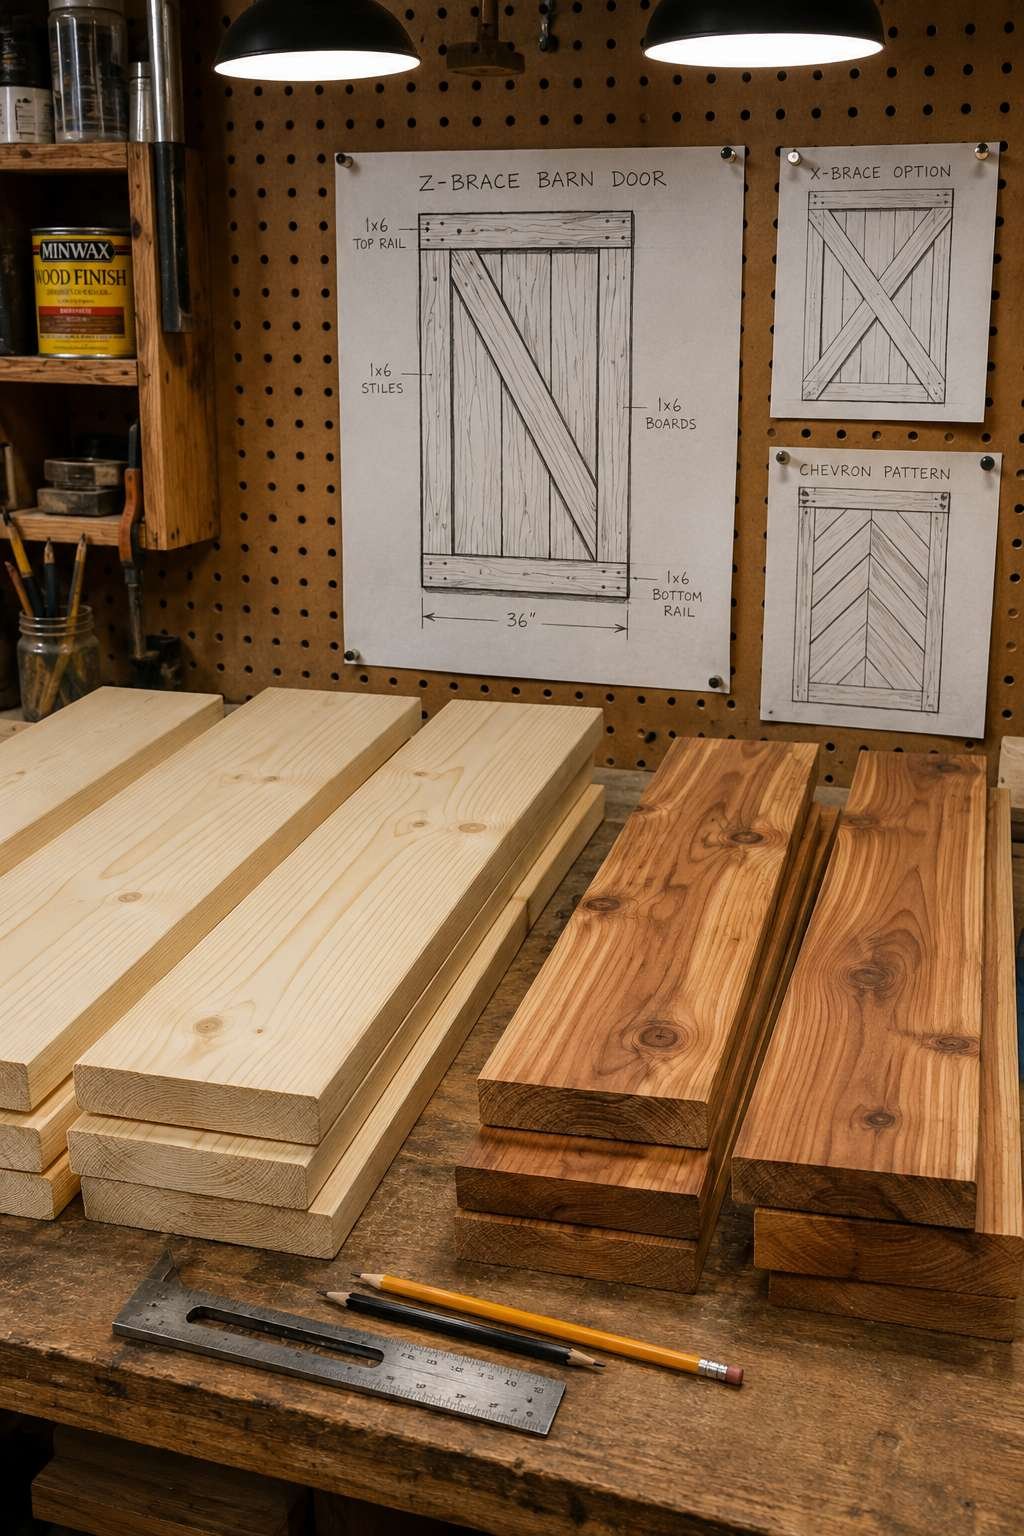
The most popular barn door style is the Z-brace design. Vertical planks form the door face while diagonal and horizontal braces on the back provide structural support. Other styles include the X-brace, horizontal plank, and chevron pattern. Choose a design that complements your home’s existing aesthetic.
- Use one-by-six or one-by-eight inch boards for the door face
- Select pine for a budget-friendly and easy-to-stain option
- Choose cedar for bathrooms or humid environments
- Plan a Z-brace, X-brace, or horizontal plank pattern
- Purchase boards that are straight and free of major warping
3. Cut and Assemble the Door Panel
Lay your boards side by side on a flat work surface. Arrange them until the grain pattern and color tones look balanced. Cut all vertical planks to the same height using a circular saw or miter saw. Sand every piece with 120-grit sandpaper to remove rough edges.
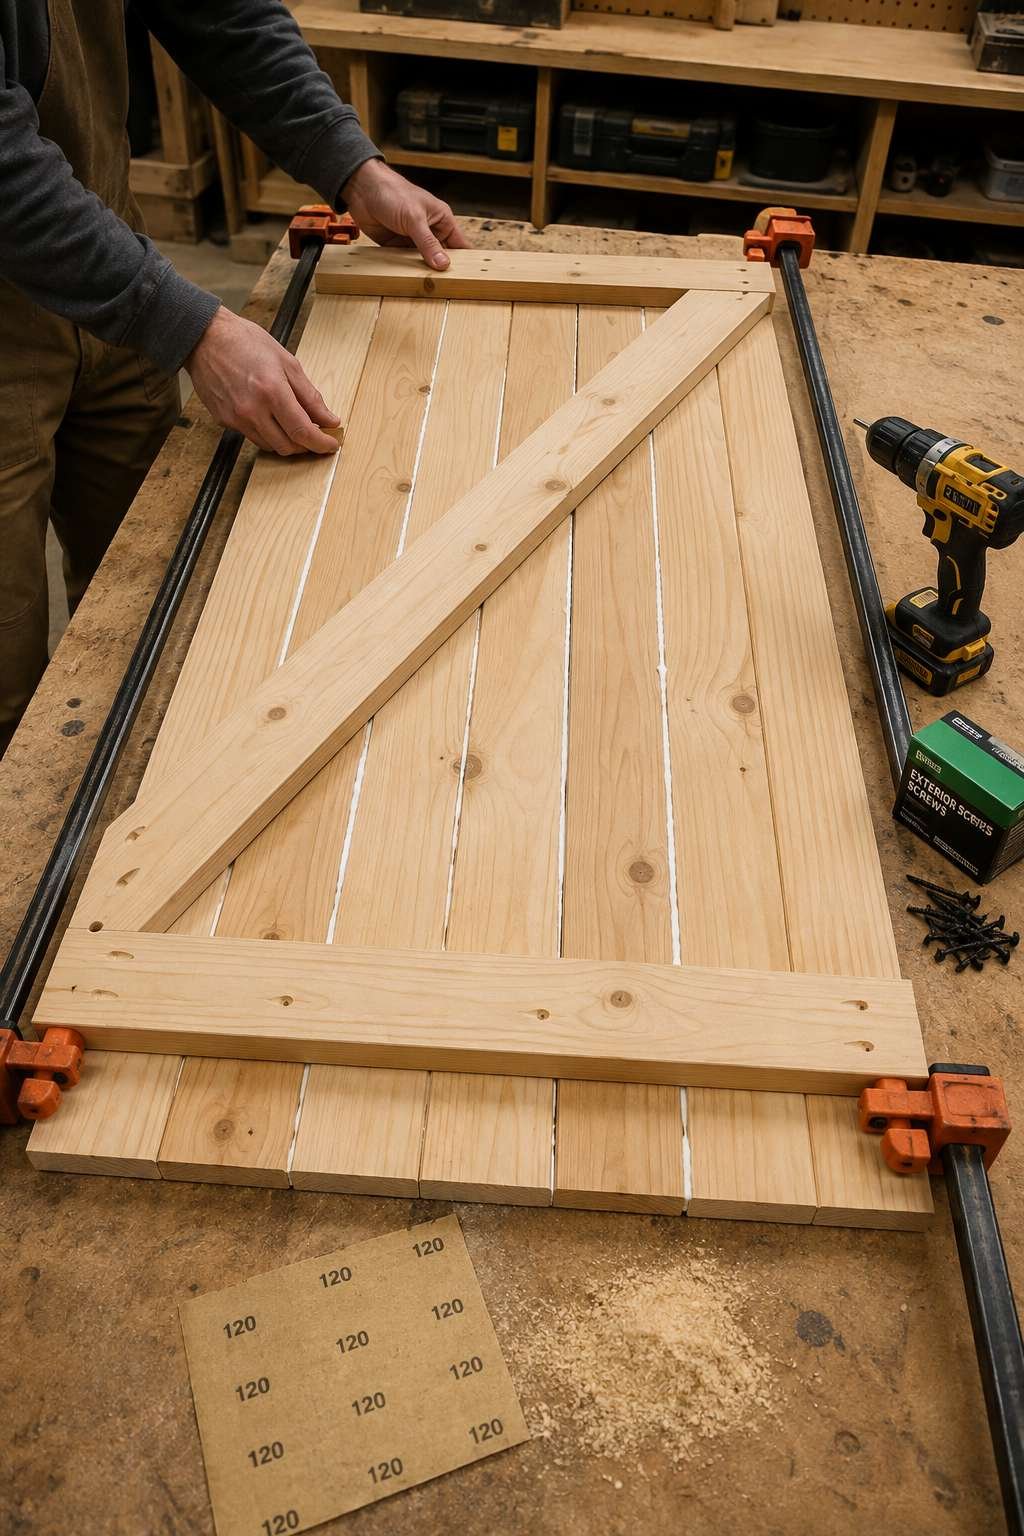
Apply wood glue along the edges of each board and clamp them tightly together. Once the glue dries, flip the panel over and attach the horizontal and diagonal brace boards using wood screws. Pre-drill screw holes to prevent the wood from splitting. The braces hold the planks together and prevent warping over time.
- Cut all vertical boards to identical height for a flush edge
- Sand all surfaces and edges before assembly
- Glue board edges and clamp for a tight bond overnight
- Attach Z-brace or X-brace boards on the back with wood screws
- Pre-drill every screw hole to avoid splitting the lumber
4. Sand Stain and Seal the Door
Once assembled, sand the entire door surface with 150-grit followed by 220-grit sandpaper for a smooth finish. Wipe away all dust with a tack cloth before applying stain or paint. The sanding quality directly affects how evenly the finish absorbs.
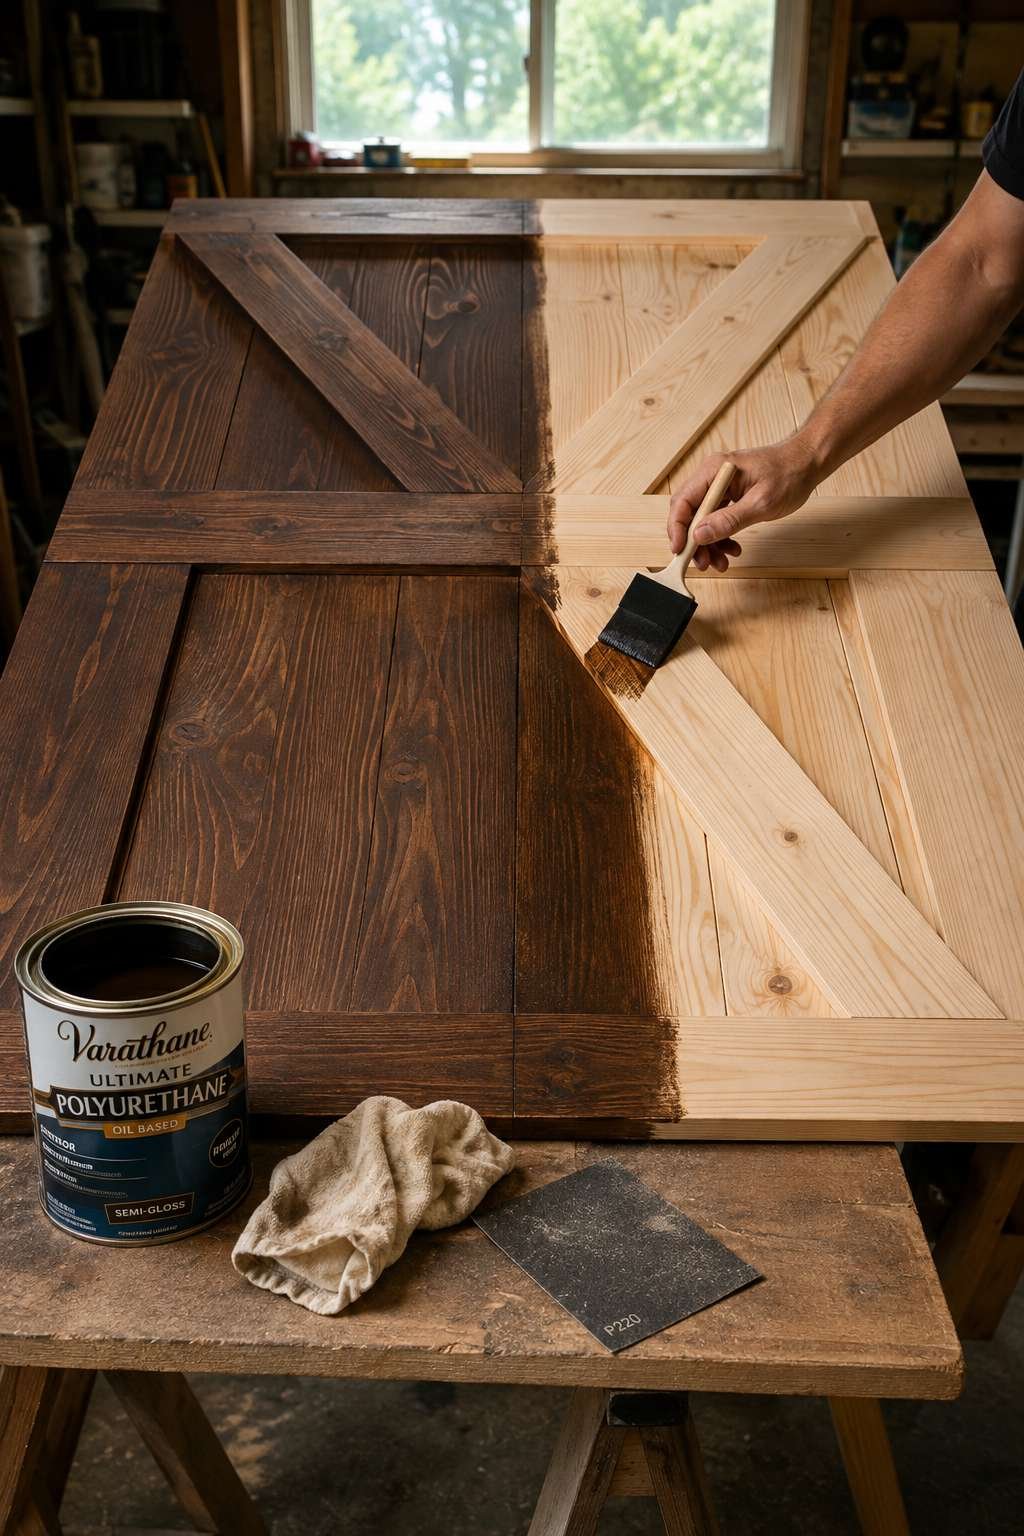
Choose a stain color that matches your décor. Dark walnut creates a bold rustic statement. Weathered grey offers modern farmhouse appeal. Classic honey oak feels warm and traditional. Apply two coats of stain with a foam brush, allowing full drying between coats. Finish with a clear polyurethane sealer for durability and moisture protection.
- Sand progressively from 150-grit to 220-grit for a smooth surface
- Remove all dust with a tack cloth before finishing
- Apply stain with a foam brush in the direction of the grain
- Allow each coat to dry fully before applying the next
- Seal with polyurethane for long-lasting protection
5. Install the Sliding Track Hardware
The track hardware is what makes a barn door function. Purchase a sliding barn door hardware kit rated to support your door’s weight. Most kits include a top rail, rollers, spacers, door guides, and mounting bolts. A standard interior barn door weighs between 50 and 80 pounds. Our sliding door vs french door comparison covers that decision in more depth.
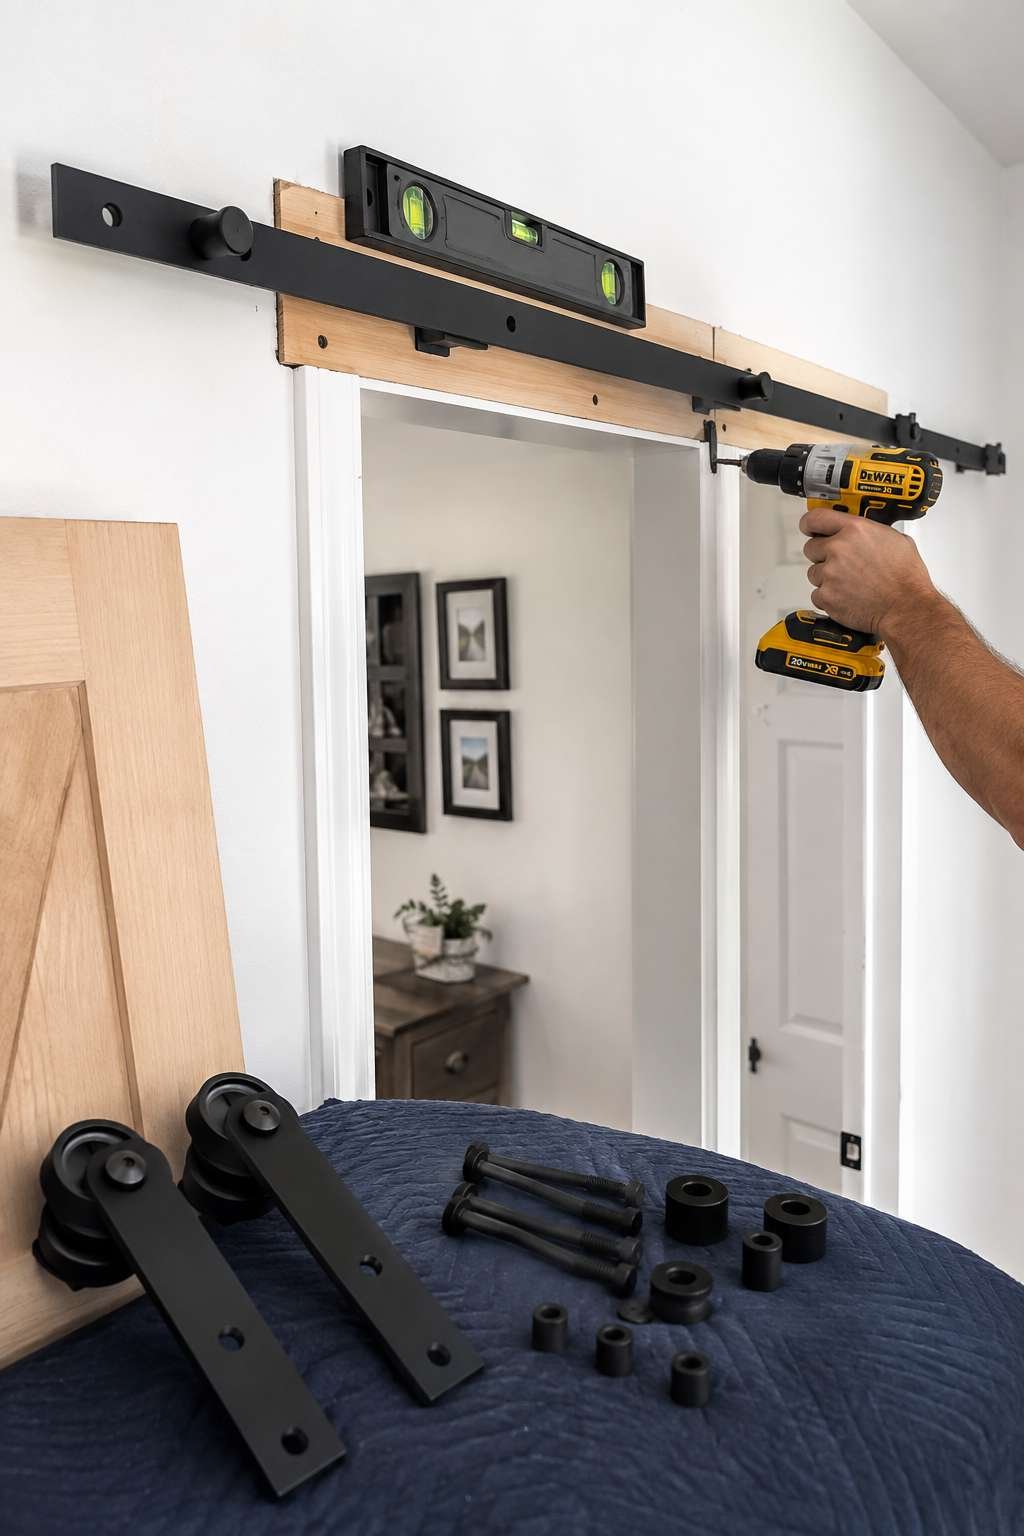
Mount the track rail to the wall using a header board or directly into wall studs. The rail must be level for smooth operation. Attach the roller hangers to the top of the door and hang it on the track. Install a bottom floor guide to prevent the door from swinging outward.
- Choose a hardware kit rated for your door’s total weight
- Mount the rail into wall studs or use a reinforced header board
- Use a level to ensure the track is perfectly horizontal
- Attach roller hangers to the top edge of the door panel
- Install a bottom floor guide to keep the door aligned
6. Add Finishing Touches and Hardware
The final details complete the look. Add a barn door handle or pull that matches your hardware finish. Black iron handles suit rustic styles. Brushed brass or stainless steel works for modern spaces. Mount the handle at a comfortable height on the door’s leading edge.
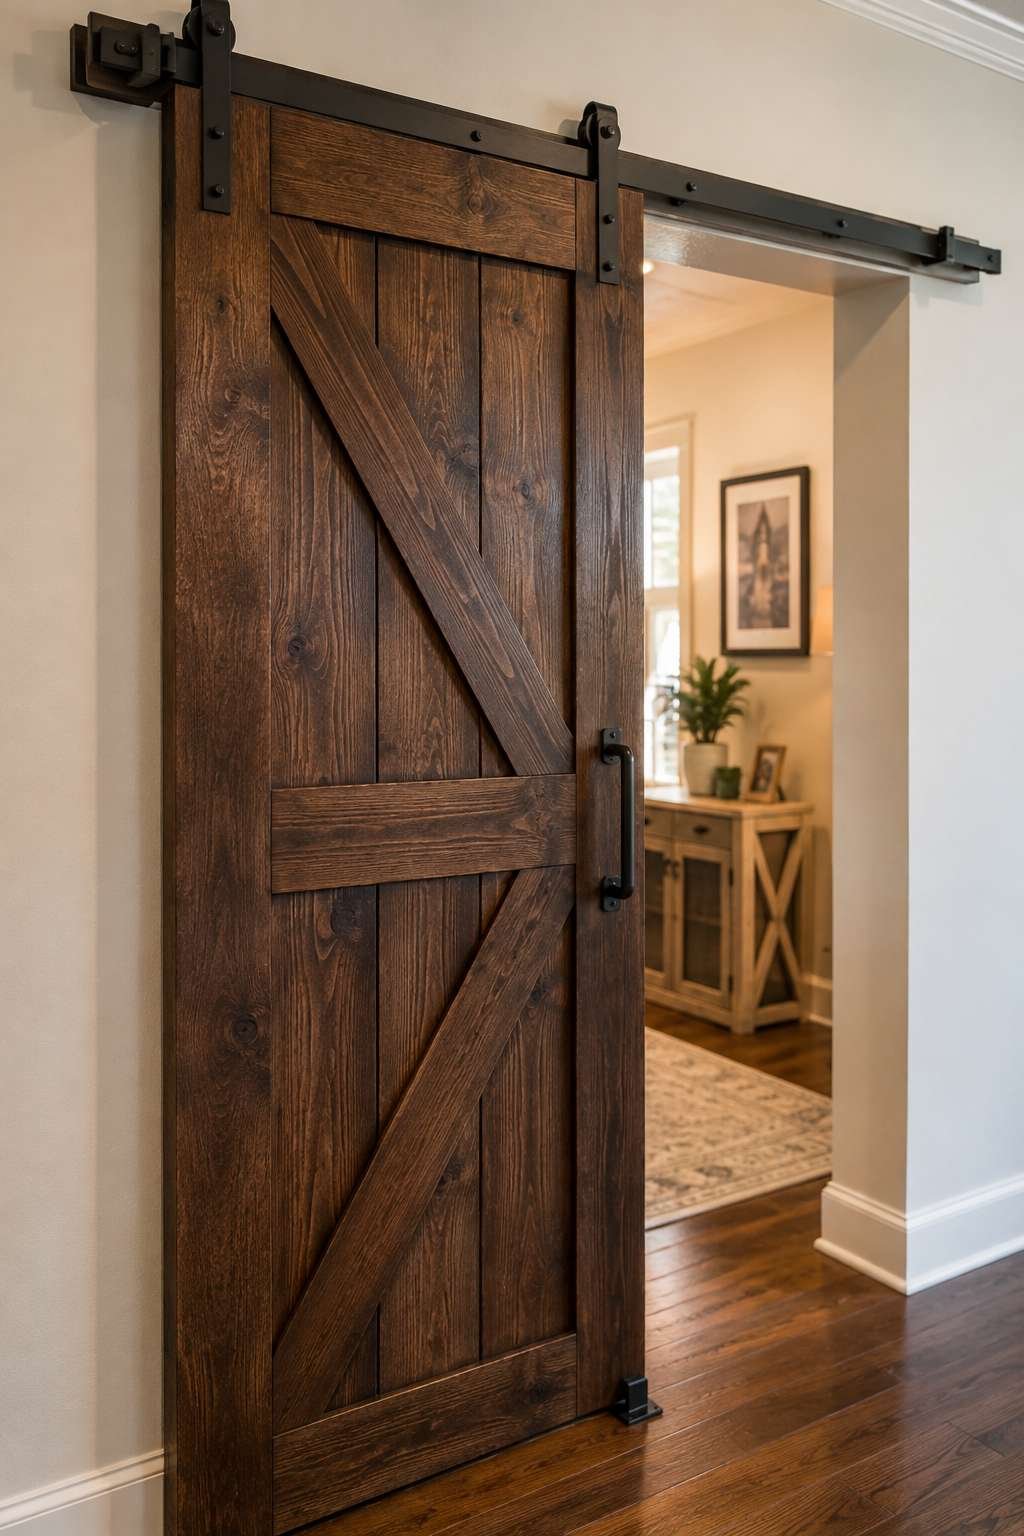
Consider adding a soft-close mechanism to the track for smooth and quiet operation. Install door stops at both ends of the rail to prevent the door from sliding off the track. Step back and make any final adjustments to ensure the door slides freely and hangs perfectly straight.
- Install a handle or pull at a comfortable grip height
- Choose a finish that matches the track hardware for cohesion
- Add soft-close stops for quiet and controlled sliding
- Install rail end caps to prevent the door from overrunning
- Test the door several times and adjust rollers if needed
Conclusion
Building a barn door is one of the most satisfying DIY projects you can take on. From measuring and cutting to staining and mounting, every step brings you closer to a custom piece that transforms your space. The materials are affordable and the process is straightforward.
Start with a simple Z-brace design for your first build. Once you see how a handmade barn door elevates a room, you will want to build one for every doorway in your home.

