


Wood kitchen cabinets take a daily beating from steam, splatters, and fingerprints, yet they’re often the last thing anyone thinks to clean until the grime is impossible to ignore. Learning how to clean wood kitchen cabinets the right way protects the finish, keeps the grain looking rich, and saves you from an expensive refinishing job down the line. With a few household tools and the right technique, you can restore that warm, cared-for look in an afternoon.
This guide walks through every stage of the process, from picking supplies to protecting the wood once it’s spotless. Whether your cabinets are stained, natural, or lightly sealed, these steps are gentle enough for daily upkeep and strong enough for years of built-up grease.
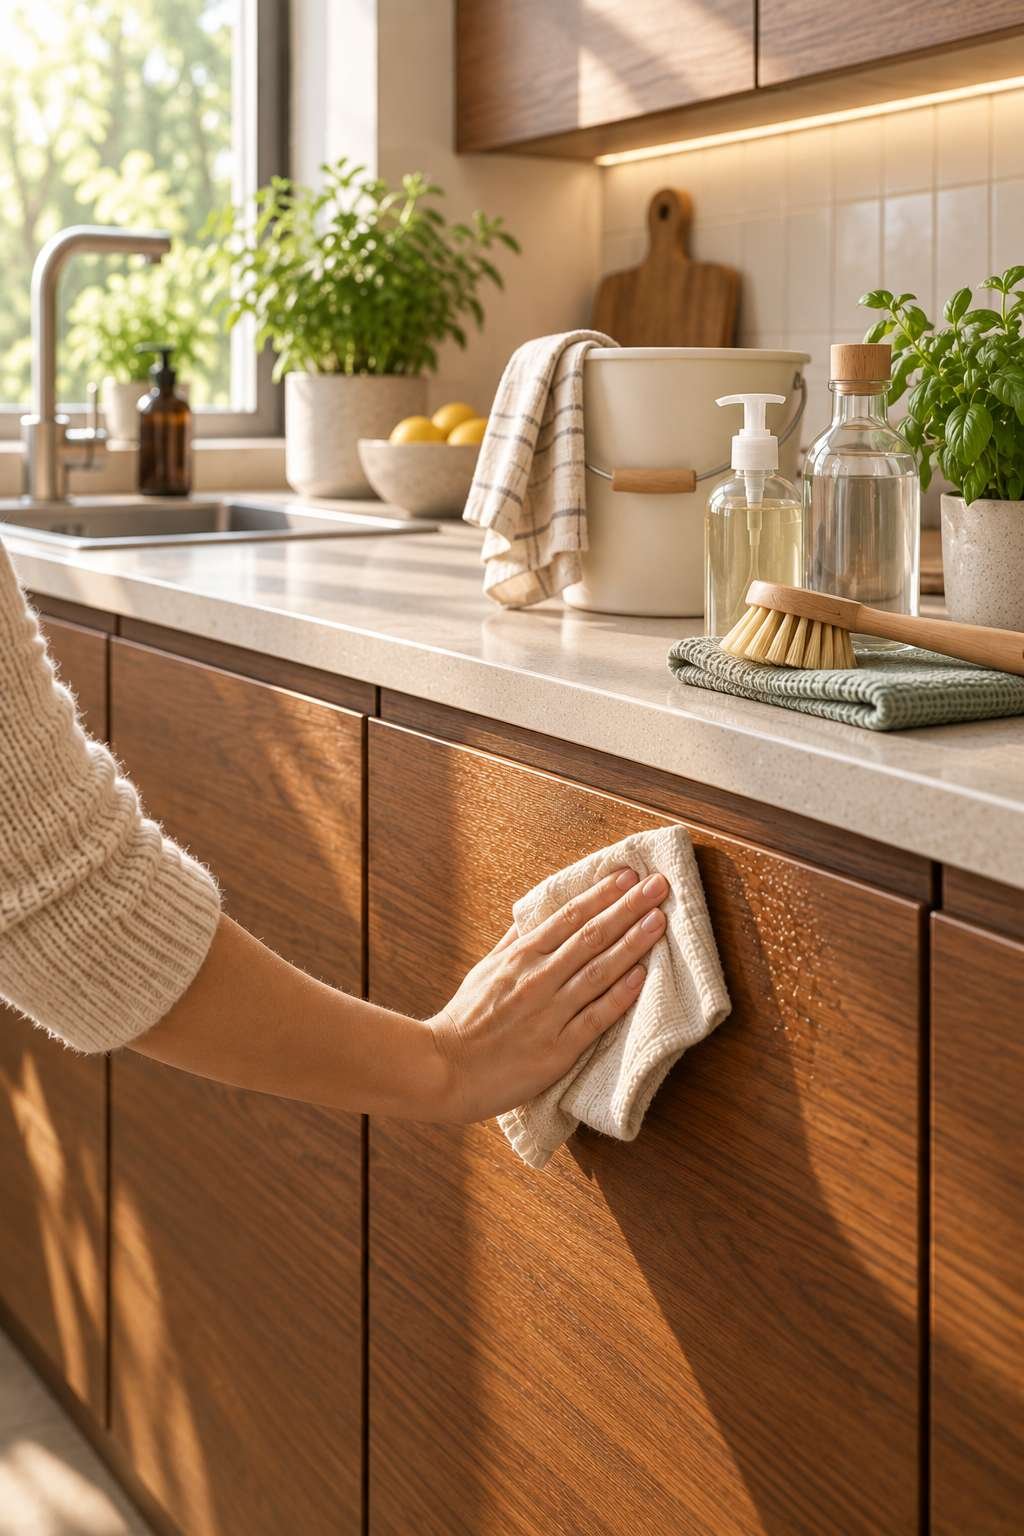
1. Gather Your Cleaning Supplies
Before you touch a single cabinet door, lay out everything you’ll need so you’re not hunting for a rag with soapy hands. The right supplies make the difference between a streaky, damaged finish and a smooth, even clean.
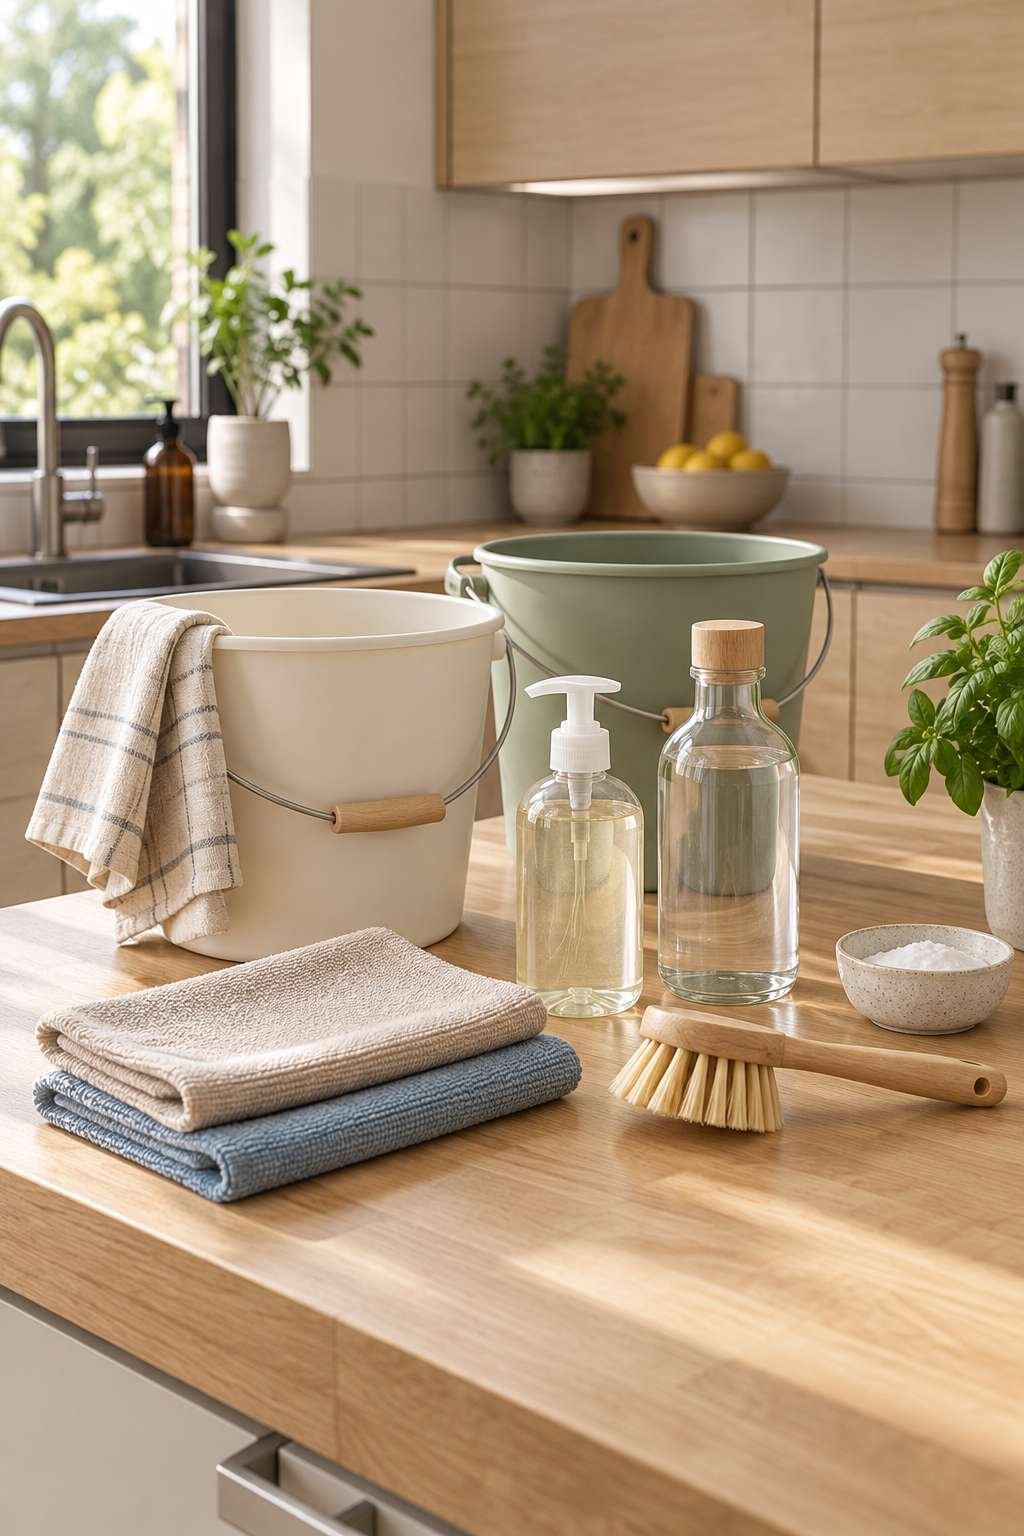
Wood responds best to soft materials and pH-neutral cleaners rather than harsh scouring tools. Microfiber cloths lift dust and grease without scratching, while a soft-bristle brush reaches into carved details or grooves. Keep a separate bucket for rinse water so you’re never reapplying dirty suds to the wood.
- Two or three microfiber cloths
- A soft-bristle brush or old toothbrush
- A mild dish soap or wood-safe cleaner
- Two buckets (one for cleaning solution, one for rinsing)
- Distilled white vinegar for cutting grease
- A dry towel for immediate drying
2. Identify Your Cabinet’s Finish
Not all wood cabinets are finished the same way, and using the wrong cleaner on the wrong finish can dull or damage the surface permanently. Take a moment to figure out whether your cabinets are sealed, painted, or raw wood before choosing a product.
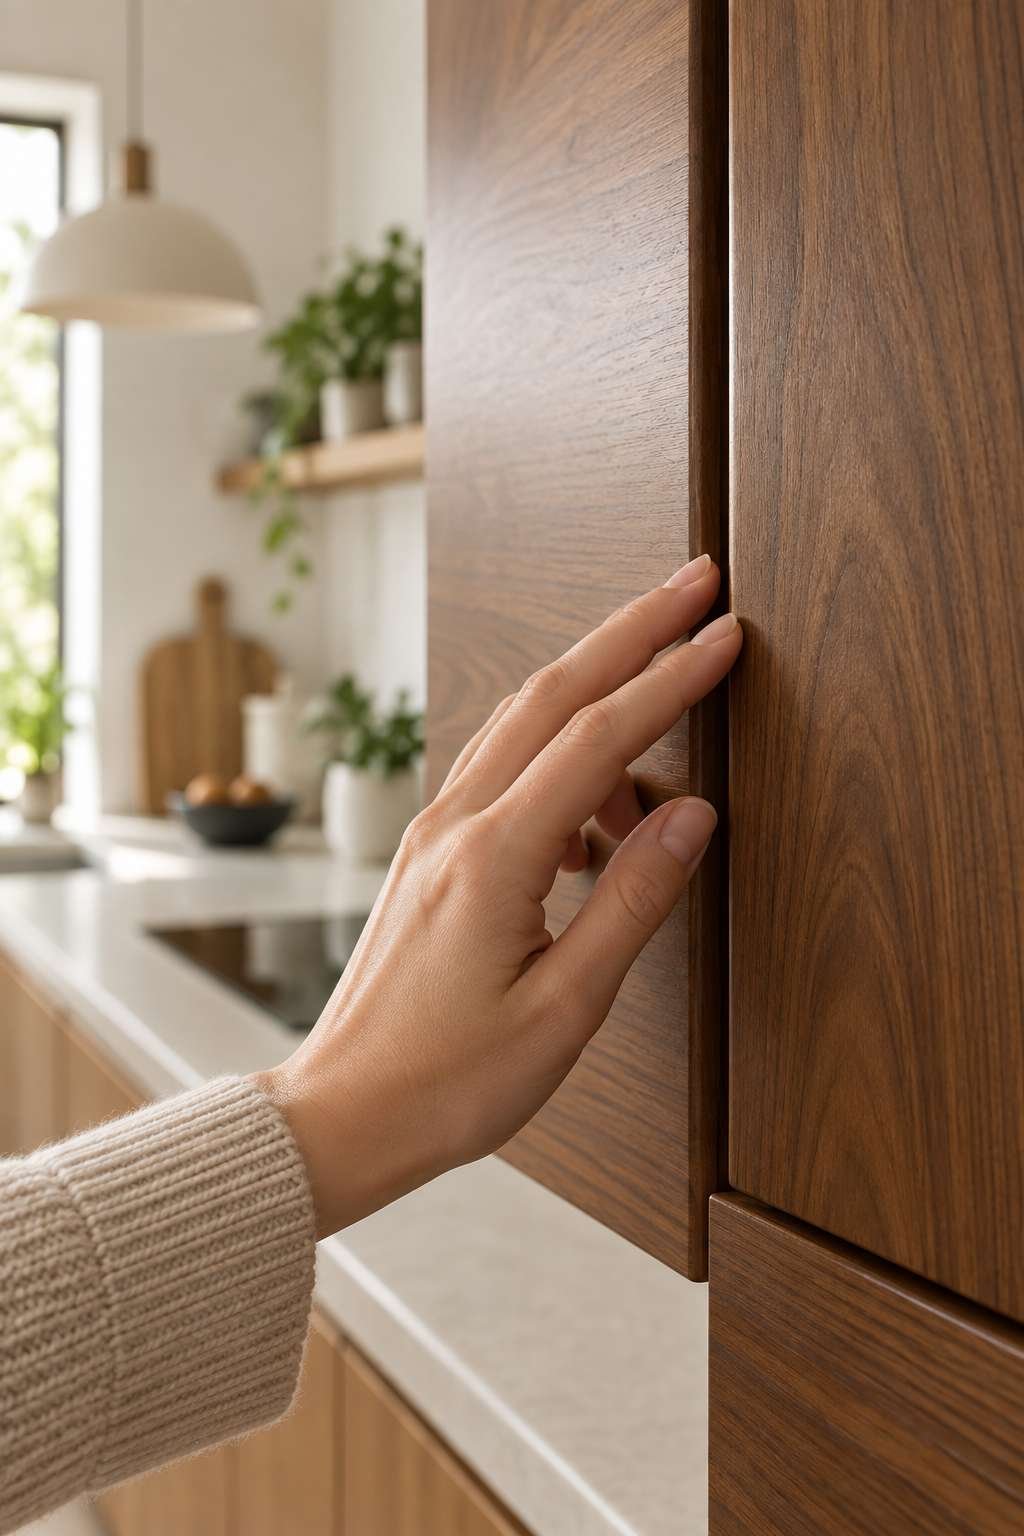
Sealed and stained wood can handle a slightly damp cloth and mild soap, while unsealed or raw wood should only ever be wiped with a barely damp cloth to avoid warping. If your cabinets are painted rather than stained, the cleaning approach shifts slightly, and it’s worth checking a guide focused specifically on How to Clean Painted Kitchen Cabinets so you don’t accidentally strip or dull the paint layer.
- Run a finger across the surface to check for a smooth, sealed sheen
- Look for a paint layer versus visible wood grain
- Test an inconspicuous spot with water before full cleaning
- Note any existing scratches or bare patches
- Check manufacturer documentation if you have it
3. Dust and Wipe Down Surfaces First
Skipping the dry-dusting step is one of the most common mistakes people make, because wiping wet cloths over dust and crumbs just turns them into a gritty paste that can scratch the finish. Always start dry.

Use a dry microfiber cloth to sweep across cabinet tops, along door panels, and into corners where dust settles unnoticed. Pay special attention to the top of upper cabinets, since grease-laden dust tends to accumulate there and can drip down the fronts if left too long.
- Dust from top to bottom so debris falls downward
- Use a vacuum brush attachment for carved or grooved doors
- Wipe along the grain, not against it
- Check under-cabinet lighting fixtures for buildup
- Shake out cloths frequently to avoid redistributing dust
4. Make a Gentle Cleaning Solution
A homemade solution is often gentler and more effective than harsh commercial sprays, which can leave a dulling film on wood over time. The goal is something that cuts grease without stripping the finish.
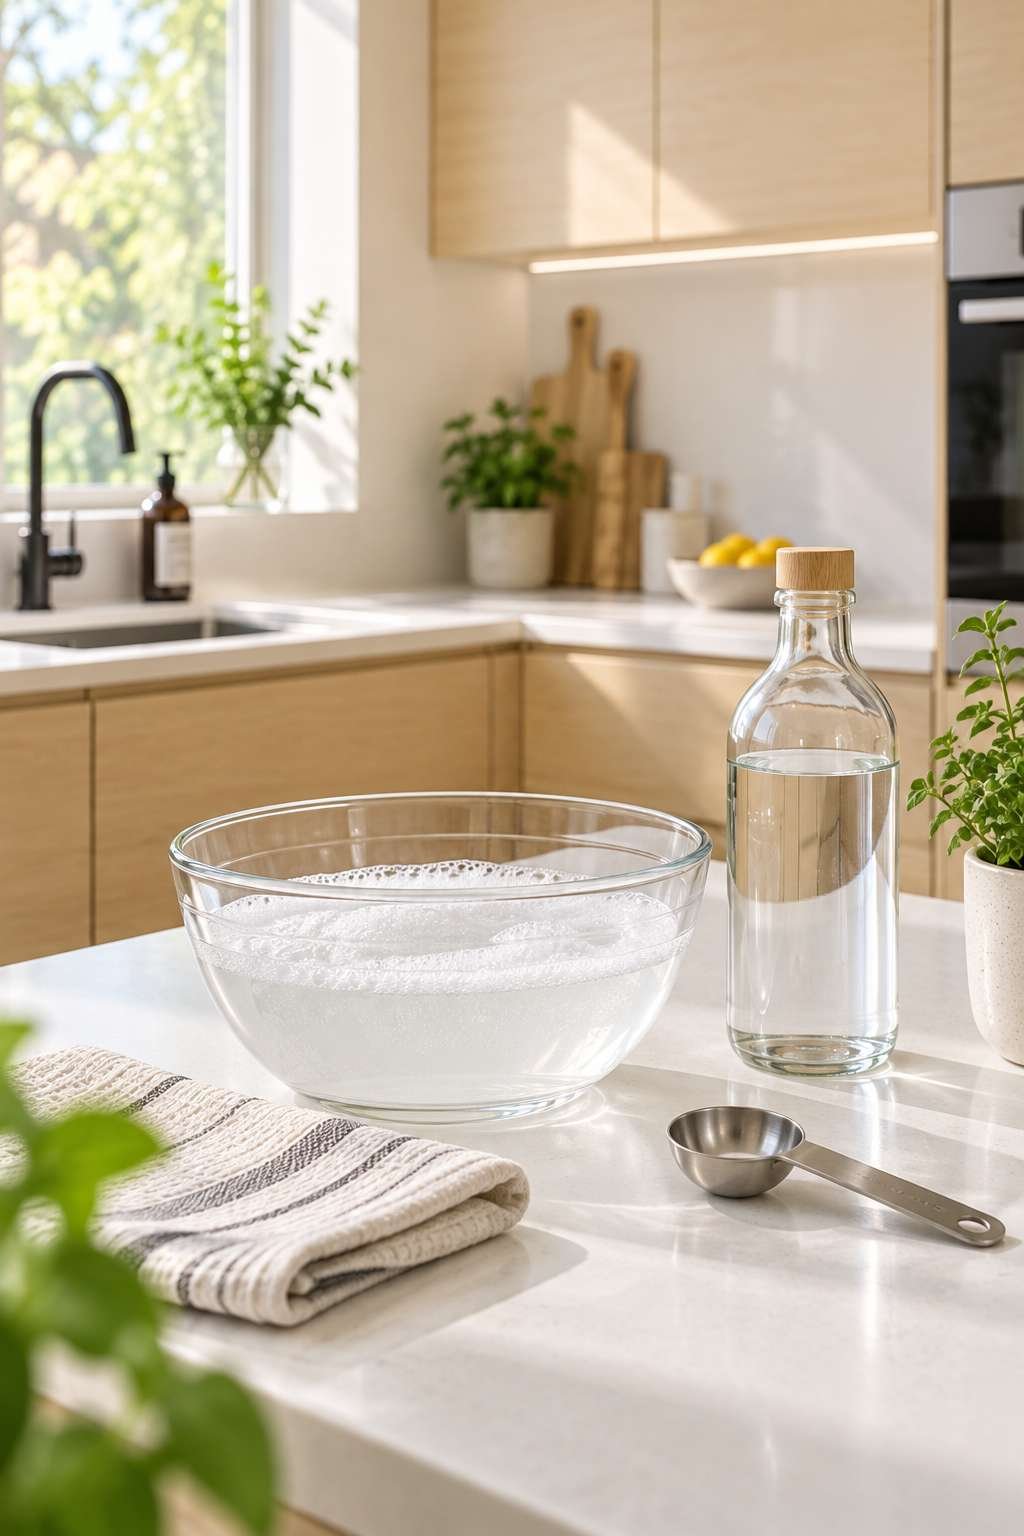
Combine warm water with a few drops of mild dish soap in one bucket, and keep a second bucket of plain warm water for rinsing. For tougher grease, a mixture of equal parts warm water and white vinegar works well, though it should always be tested on a hidden spot first since vinegar’s acidity can affect some finishes.
- 2 cups warm water + 1 teaspoon mild dish soap
- Alternative: 1 cup water + 1 cup white vinegar for grease
- Never use undiluted vinegar directly on wood
- Avoid ammonia-based or abrasive cleaners
- Mix only what you’ll use in one session
5. Clean the Cabinet Doors and Fronts
The doors and fronts take the most visible wear, so this is where careful technique pays off most. Dip your cloth, wring it out well, and work in small, even sections.
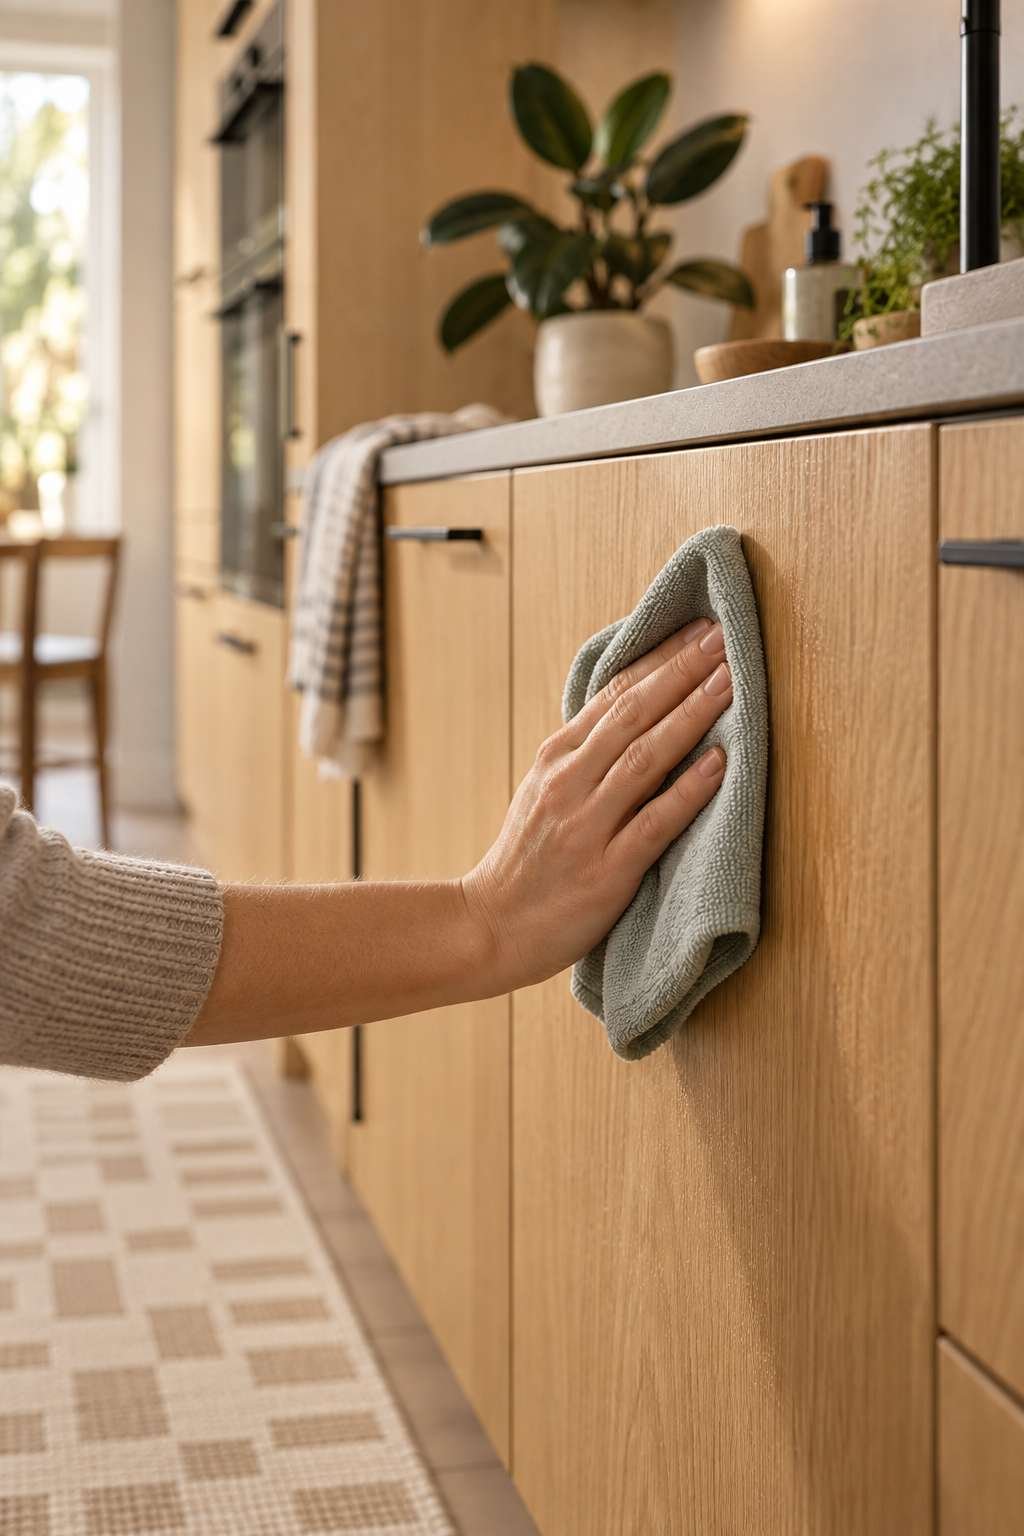
Wipe with the grain of the wood, applying light pressure rather than scrubbing, and rinse your cloth often so you’re not smearing grime back onto clean areas. If your cabinets happen to be white rather than a natural wood tone, small marks show up far more easily, so it’s worth pairing this step with a dedicated resource on How to Clean White Kitchen Cabinets for extra tips on avoiding streaks.
- Work one door or drawer front at a time
- Wring the cloth until it’s only slightly damp
- Rinse and re-wet the cloth every few panels
- Dry each section immediately after cleaning
- Avoid pooling water in decorative grooves
6. Tackle Stubborn Grease Buildup
Grease near the stove and above the range hood tends to bake on over time, forming a tacky film that plain water won’t touch. This calls for a slightly stronger approach without reaching for anything abrasive.
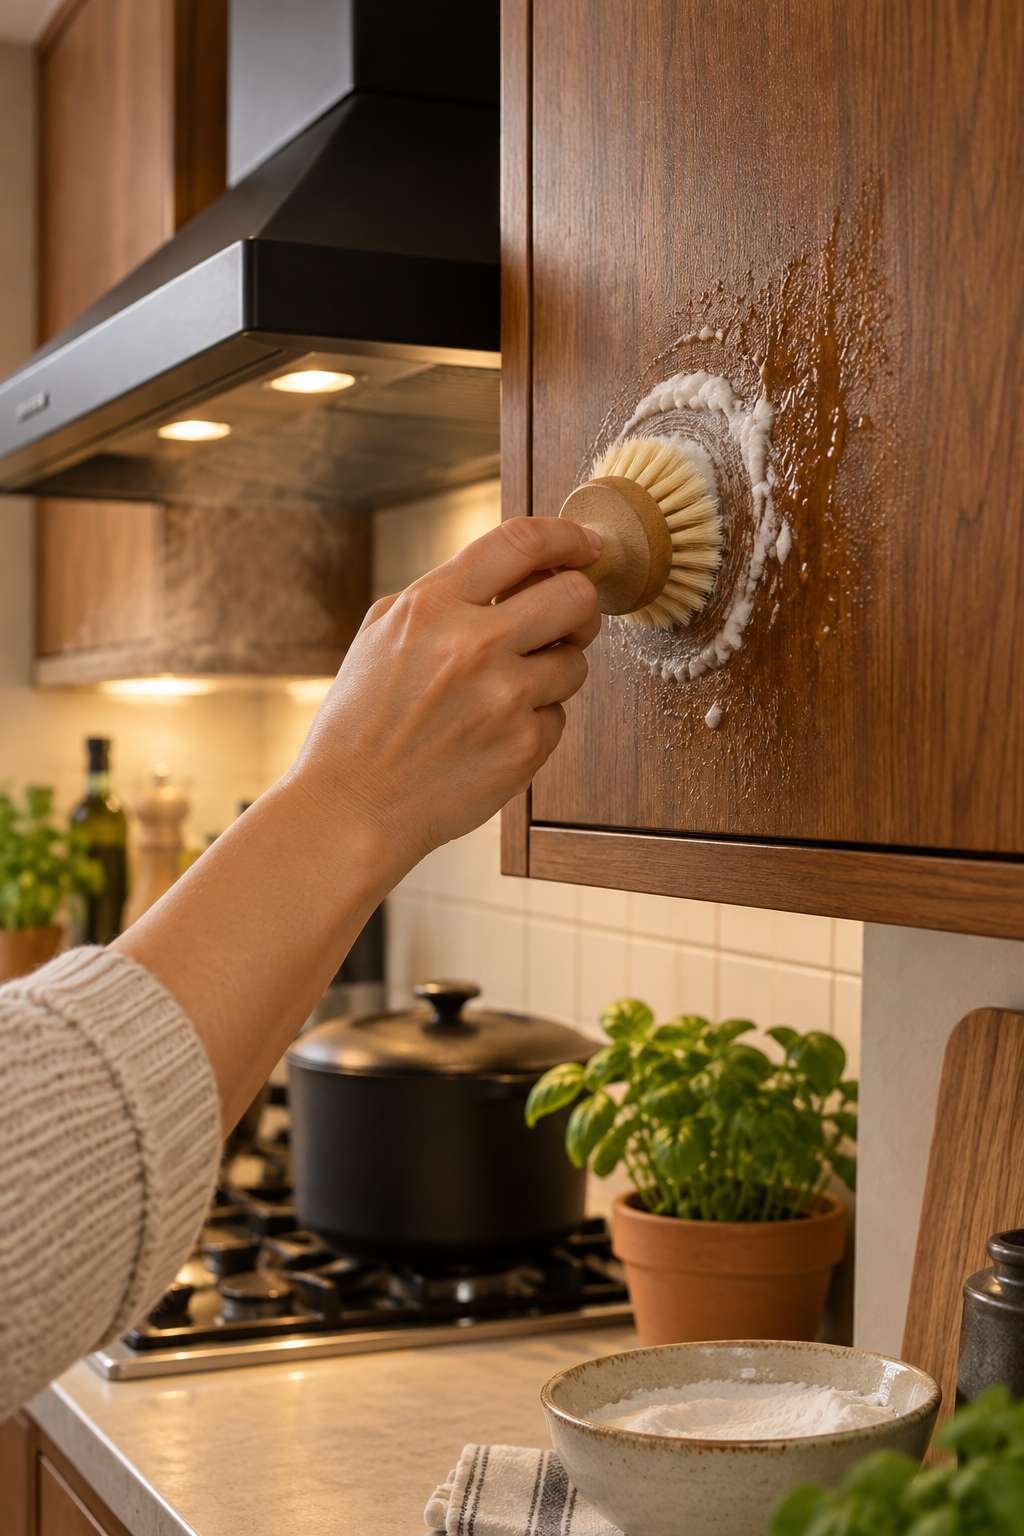
Apply your vinegar-water solution or a small amount of baking soda paste directly to greasy spots, let it sit for a minute or two, then gently wipe in circular motions before rinsing thoroughly. Always follow with a clean, damp cloth to remove any residue, since leftover soap or baking soda can leave a hazy film once it dries.
- Focus extra time on cabinets near the stove
- Let grease-cutting solution sit briefly before wiping
- Use a soft brush for textured or grooved areas
- Rinse twice to remove all cleaning residue
- Never use steel wool or abrasive pads
7. Clean the Cabinet Hardware
Handles, knobs, and hinges collect just as much grime as the wood itself, often more, since they’re touched constantly with wet or greasy hands. Cleaning them separately keeps the wood safe from harsher metal cleaners.
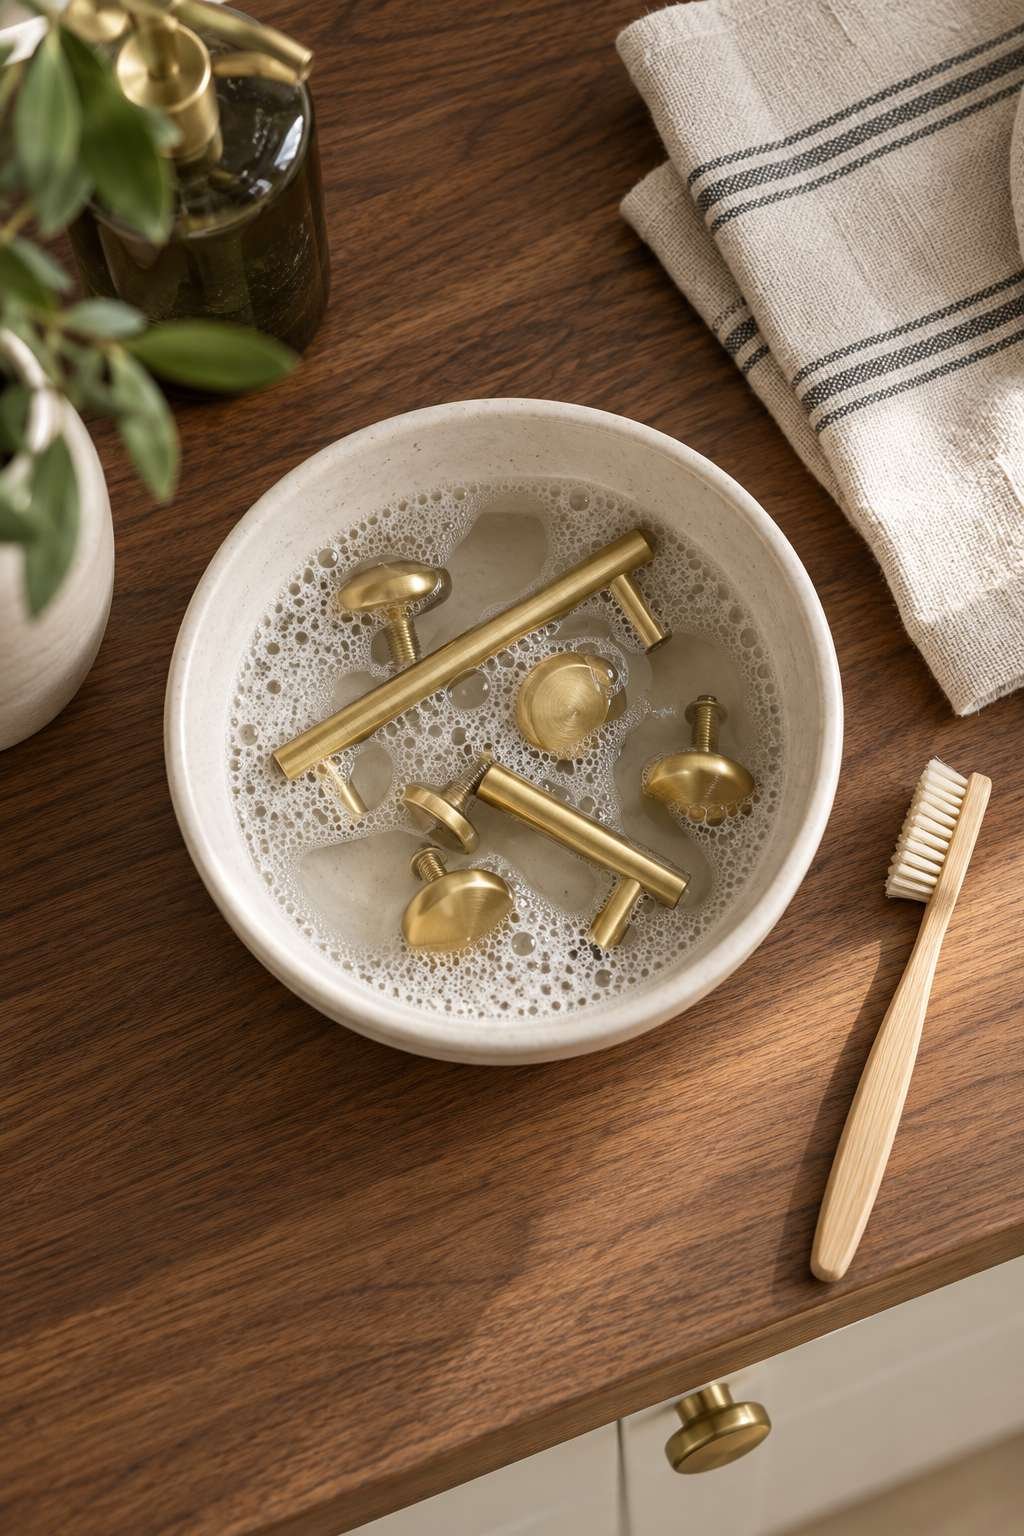
Remove hardware when possible and soak it in warm soapy water for a few minutes, scrubbing with an old toothbrush to reach into decorative details. If hardware is fixed in place, wrap it with a soapy cloth instead of spraying cleaner directly, since overspray can drip down and streak the wood below.
- Soak removable hardware for 5-10 minutes
- Use a toothbrush for grooves and crevices
- Dry hardware fully before reattaching to prevent rust
- Avoid spraying cleaner directly onto fixed hardware
- Polish metal finishes with a dry cloth afterward
8. Address Sticky Residue Near Handles
The area around handles and knobs is usually the stickiest part of any kitchen cabinet, thanks to a constant mix of oils, food residue, and handprints. This spot often needs a bit more patience than the rest of the door.
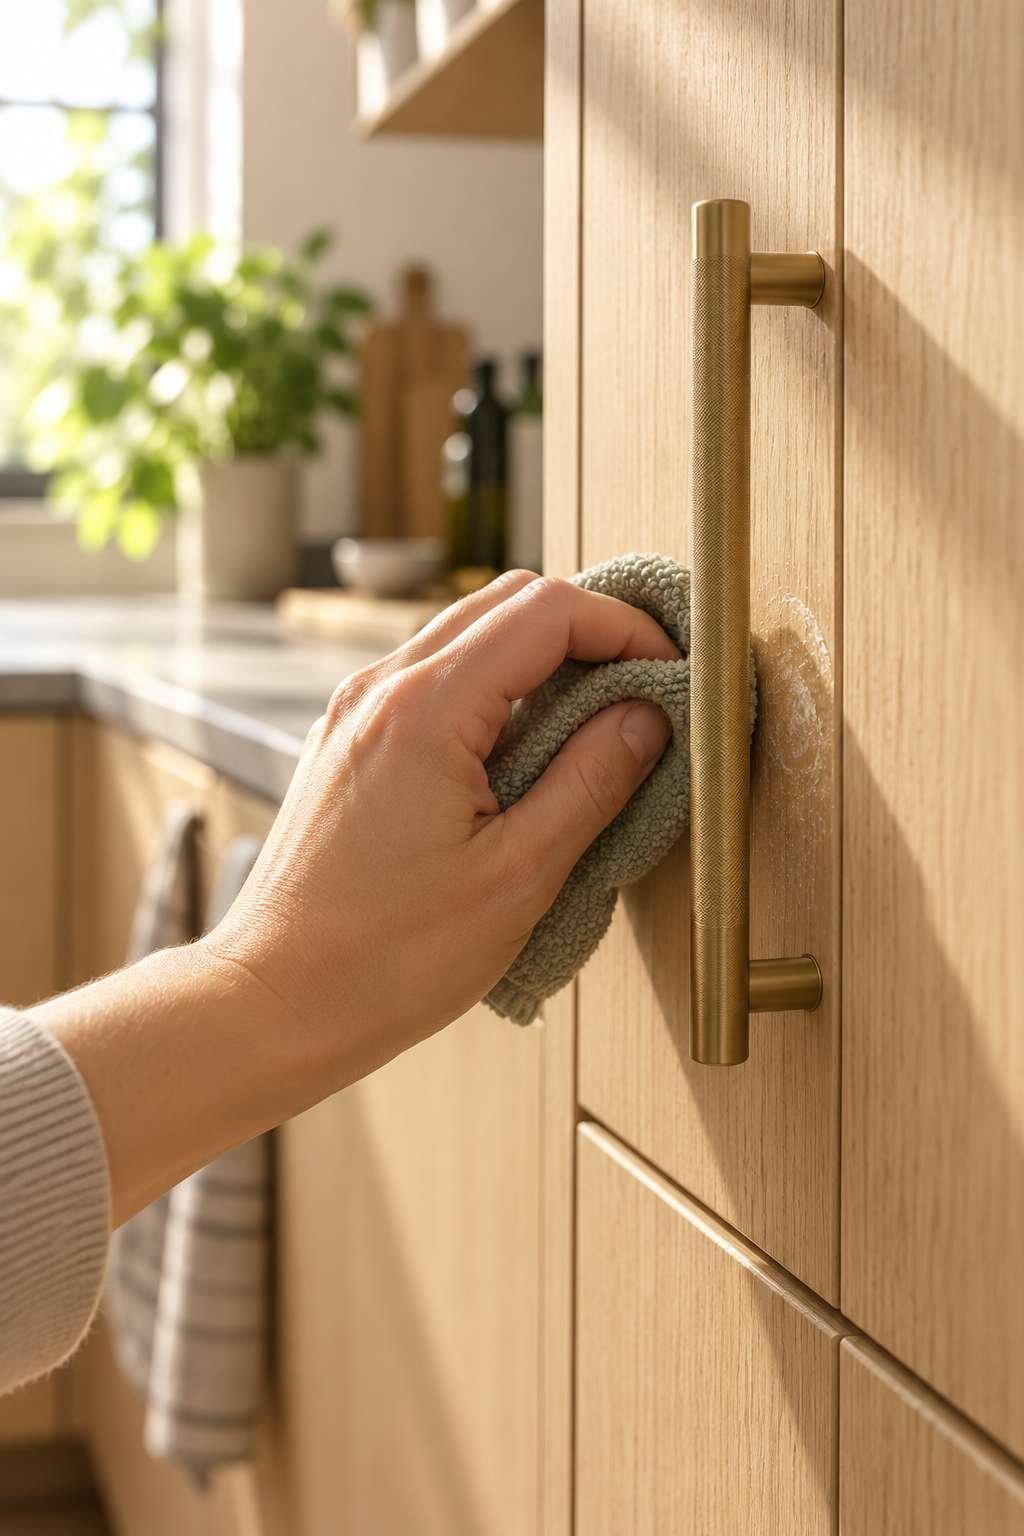
For how to clean sticky kitchen cabinets, warm soapy water combined with gentle circular scrubbing usually breaks down the residue within a minute or two. If the stickiness persists, a small amount of baking soda paste applied with a soft cloth can lift it without scratching, followed immediately by a clean rinse and dry pass.
- Focus on the 6 inches surrounding each handle
- Use small circular motions rather than long wipes
- Reapply solution if residue doesn’t lift on the first pass
- Dry the area fully to prevent new residue from sticking
- Clean this zone more frequently than the rest of the door
9. Clean and Organize the Interior
Cabinet interiors get overlooked far more often than the exterior, but crumbs, spills, and dust build up on shelves just the same. A seasonal deep clean here keeps pests away and makes everyday cooking easier.

When tackling how to clean inside kitchen cabinets, start by removing everything and vacuuming or dusting the shelves before wiping them down with a barely damp cloth. While items are out, it’s a good moment to check any wooden utensils stored inside, since a quick refresher on How to Clean Wooden Kitchen Utensils can help you avoid putting grimy tools back into a freshly cleaned space.
- Empty one shelf at a time to stay organized
- Vacuum crumbs before wiping with a damp cloth
- Let shelves dry completely before restocking
- Line shelves with washable liners for easier future cleaning
- Check for any signs of moisture damage or pests
10. Dry, Polish, and Protect the Wood
The final step is often skipped, but it’s what actually protects your work and keeps moisture from seeping into the wood grain. Never let cabinets air-dry on their own.
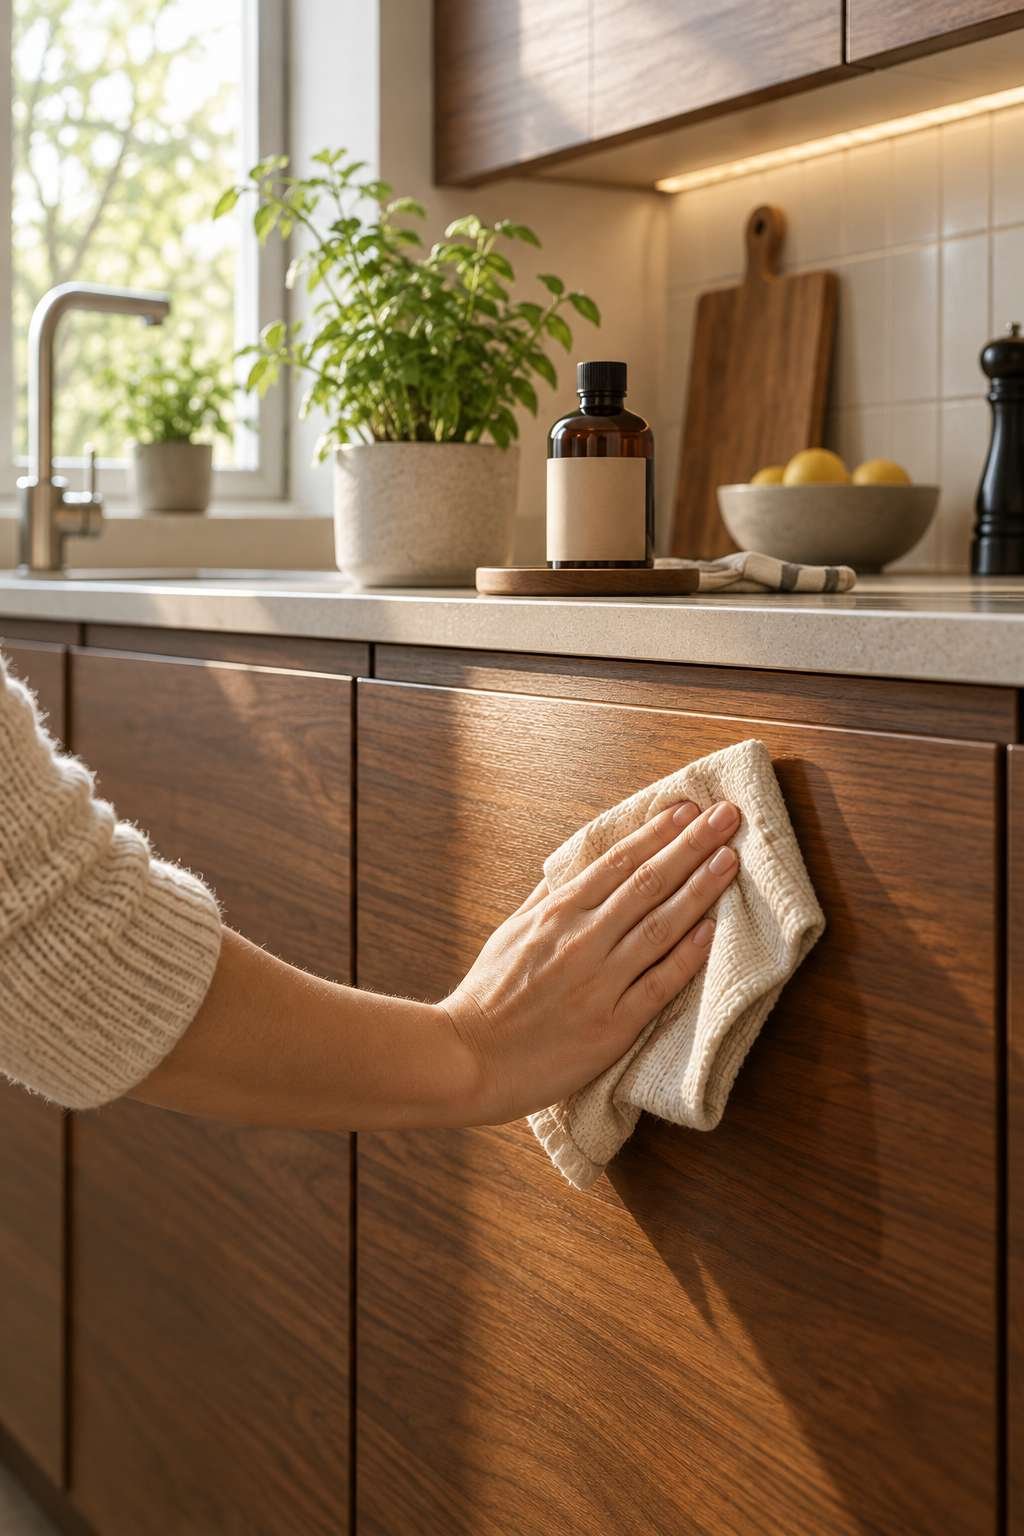
Go over every surface with a dry towel immediately after cleaning, then follow up with a small amount of wood-safe polish or conditioner if your finish allows it. This final layer helps repel future grease and makes the next cleaning session noticeably easier, since dust and splatters won’t cling as stubbornly to a well-conditioned surface.
- Dry every panel by hand, don’t air-dry
- Apply wood conditioner sparingly, once every few months
- Buff with a clean cloth for a natural sheen
- Avoid silicone-based polishes, which can build up over time
- Schedule a full clean every 4-6 weeks for best results
Frequently Asked Questions
How do I clean sticky kitchen cabinets?
Mix warm water with a few drops of mild dish soap and gently scrub the sticky area in small circular motions. For stubborn residue, a light baking soda paste helps lift it without scratching the wood. Always dry the area fully afterward to keep new grime from sticking to leftover moisture.
How do I clean inside kitchen cabinets?
Empty the shelves completely, then vacuum or dust away crumbs before wiping surfaces with a barely damp cloth and mild soap solution. Let everything dry fully before placing items back inside. Doing this every few months prevents buildup and keeps stored items, including wooden utensils, from picking up grime.
Conclusion
Keeping your wood kitchen cabinets clean doesn’t require anything fancy, just consistency, the right tools, and a gentle touch that respects the finish. From dusting and grease removal to caring for hardware and interiors, each step builds toward cabinets that look cared for and last for years. Set a simple routine, and your kitchen will keep that warm, well-maintained glow long after the first deep clean.
Affiliate Product Opportunities
- Microfiber cloths — used for dusting and wiping cabinet surfaces without scratching
- Soft-bristle brush — reaches into carved details, grooves, and hardware crevices
- Mild dish soap — base ingredient for the gentle cleaning solution
- Distilled white vinegar — cuts through stubborn grease buildup
- Baking soda — forms a paste for lifting sticky residue and grease
- Wood conditioner — protects and polishes the finish after cleaning
- Washable shelf liners — makes future interior cleanups easier
Publishing Metadata
Meta Title: How to Clean Wood Kitchen Cabinets: Tips & Tools
Meta Description: Learn how to clean wood kitchen cabinets step by step, from grease and sticky spots to interiors. Simple tools, gentle methods — start your refresh today.
URL Slug: how-to-clean-wood-kitchen-cabinets

