


A kitchen remodel touches almost every system in your home — plumbing, electrical, structural, and finish work — all layered on top of dozens of design decisions you have to make before a single wall comes down. It’s easy to feel like you’re guessing at what comes next, and getting the order wrong is exactly what turns a six-week project into a six-month one.
This checklist breaks the entire process into the same eight phases a general contractor would use: planning and budgeting, design and layout, permits and contractor selection, demolition, plumbing/electrical/HVAC rough-in, cabinet and countertop installation, appliances, and final finishing. Whether you’re managing a full gut renovation or a lighter cosmetic refresh, working through these phases in sequence keeps you from having to redo work, reorder materials, or reopen a wall you already closed up.
Use it as a working document. Check items off as you complete them, come back to it whenever a contractor asks “what’s next,” and print the simplified version below to keep on the fridge or in your project binder. It’s built for first-time remodelers and seasoned DIYers alike — anyone who wants a clear, sequenced plan instead of a scattered list of ideas.
Phase 1: Planning & Budgeting
Write down what’s actually broken about your current kitchen — storage, flow, outdated finishes — before you look at a single photo of someone else’s kitchen.
Renovation costs almost always run over; building the buffer in now means a plumbing surprise won’t stall the whole project.
Costs vary widely by region and scope, so a few local quotes early on will keep your budget grounded in reality.
This single decision determines your permit needs, timeline, and nearly every choice that follows.
Collect real images of layouts and materials you like so your contractor and designer can work from a shared vision instead of your memory.
Map out rough start and end dates, and build extra time around ordering cabinets and countertops, which often have the longest lead times. If you’re also weighing floating shelves vs cabinets, that’s worth deciding early too.
Phase 2: Design & Layout Decisions
Look at how your sink, stove, and refrigerator relate to each other, and note whether the current layout makes cooking easier or harder.
Moving plumbing or knocking down walls adds cost and time, so confirm early whether it’s worth it for your goals.
Galley, L-shape, U-shape, and island layouts each work differently for storage and traffic flow, so pick the one that fits your space and how you actually cook. Our guide on how to decorate a kitchen shelf walks through this step by step.
This is the single biggest visual decision in the kitchen and one of the most likely to affect your overall budget.
Quartz, granite, butcher block, and laminate all differ in cost, durability, and maintenance, so weigh how you actually use your counters.
Decide this alongside your countertop and cabinet colors so all three finishes read as one cohesive palette.
Ambient, task, and accent lighting each serve a different purpose, and skipping one usually shows up as a dim or flat-feeling kitchen later.
Phase 3: Permits & Contractor Selection
Most kitchens need permits for electrical, plumbing, or structural work; skipping this step can delay your project or complicate a future home sale.
Comparing multiple bids helps you spot outliers and understand what’s actually included in the scope of each estimate.
Confirm this directly with the issuing agency rather than taking a business card at face value.
Ask to see a completed kitchen similar in scope to yours, and follow up with at least one past client.
Spell out the scope of work, materials, timeline, and payment milestones before any work begins.
Many of these items have multi-week lead times, so ordering early keeps your schedule from stalling later.
Phase 4: Demolition & Prep
A folding table with a microwave, mini fridge, and electric kettle can make weeks without a kitchen far more livable.
Lay down drop cloths and seal off doorways with plastic sheeting to keep dust from spreading through the rest of the house.
Confirm every line is safely disconnected before demo begins, and label shutoffs clearly for your crew.
Save any fixtures or hardware you plan to reuse or donate before the dumpster fills up.
Water damage and rot are common finds once old flooring and cabinets come out, and they’re far easier to fix now than after new floors go in.
Phase 5: Plumbing, Electrical & HVAC Rough-In
This is the point to relocate a sink or add a second dishwasher line if your new layout calls for it.
Modern kitchens draw far more power than older ones, especially with induction ranges or multiple built-in appliances. It’s a similar trade-off to deciding on gas stove vs induction cooktop elsewhere in the space.
Refrigerators, ranges, and microwaves typically need their own circuits to run safely and avoid tripped breakers.
Any outlet near water needs ground-fault protection, and inspectors will check for this before signing off.
Run this wiring now, before drywall and cabinets go up, since it’s far harder to add later.
Make sure your hood vents to the outside rather than simply recirculating air, and size the ductwork to match your hood’s CFM rating.
Phase 6: Cabinets, Countertops & Flooring Installation
Flooring generally goes down before cabinets so the finished floor sits flush under toe kicks and appliances.
Precise leveling here prevents doors and drawers from sticking or looking crooked for years afterward.
Handles and pulls are a small detail that makes a big difference in how finished the kitchen feels once cabinets are hung.
Most fabricators template on-site after cabinets are set, then return to install once the material is cut.
Confirm the sink is properly sealed and supported before connecting it to your rough-in plumbing.
Tile goes in after countertops so the bottom row can be cut to fit the exact counter line.
Phase 7: Appliances & Fixtures
Confirm gas or electrical connections are complete and tested before the unit goes into daily use.
Test the water line connection for leaks before pushing the refrigerator into its final position.
Check that it’s level and the water supply and drain lines are properly connected before running a full cycle.
Confirm it’s securely mounted and the ducting connects cleanly to the vent installed during rough-in.
Run water at the sink, dishwasher, and any other connections to check for leaks before finishing walls or floors around them.
Phase 8: Finishing Touches & Final Walkthrough
Save wall paint for after major installation work is done, since cabinets and appliances are easy to scuff a fresh coat.
This is one of the last cosmetic steps and instantly makes the space feel finished.
Seal around countertops, backsplash edges, and the sink to prevent water damage down the line.
Construction dust settles everywhere, including inside cabinets and drawers, so a full clean before move-in is worth the time.
Create a punch list of any small fixes or touch-ups and confirm a timeline for completing them.
Run every appliance through a full cycle and check that all outlets, switches, and fixtures work as expected.
Pro Tips
- Order long-lead-time items the day you sign your contract — custom cabinets and specialty tile can take 6 to 10 weeks, and ordering early keeps the rest of your schedule on track.
- Mock up your new layout with painter’s tape on the floor — walking through the taped-out footprint for a few days reveals flow problems no floor plan drawing will show you.
- Upgrade electrical capacity even if it’s not strictly required — future appliances and added outlets are far cheaper to plan for now than to retrofit later.
- Size your range hood slightly above the code minimum — a little extra ventilation capacity handles high-heat cooking better and reduces lingering odors.
- Test paint and finish samples in your kitchen’s actual lighting — colors shift dramatically between showroom lighting and your kitchen’s natural and overhead light.
- Build in extra budget for hidden issues in older homes — outdated wiring, old plumbing, and water damage behind cabinets are common surprises once demo starts.
- Keep a project binder with every receipt, contract, and product spec — you’ll need it for warranty claims, insurance, and any future resale disclosures.
- Confirm lead times with your contractor before finalizing your schedule — a “6-week” remodel can quietly become 10 weeks if a cabinet order slips.
- Choose durable finishes over trendy ones for high-traffic surfaces — countertops and flooring take the most daily wear, so save trend-chasing for lower-commitment details like hardware.
- Add a few extra outlets during rough-in — counter appliances multiply fast, and it’s far cheaper to add outlets now than after walls are closed.
Common Mistakes
- ✕Skipping the work triangle entirely — a kitchen can look beautiful and still be exhausting to cook in if the sink, stove, and fridge are poorly placed.
- ✕Underestimating the total budget — build in a real contingency from the start instead of hoping nothing goes wrong.
- ✕Not verifying contractor licensing and insurance — confirm both directly with the issuing agency before signing anything.
- ✕Choosing appliances after finalizing cabinets — appliance dimensions should drive cabinet openings, not the other way around.
- ✕Ignoring proper ventilation — a hood that’s undersized or vents into the attic instead of outside leads to lingering odors and moisture problems.
- ✕Overlooking lighting layers — relying on a single overhead fixture leaves task areas like counters and the sink poorly lit.
- ✕Not measuring appliance clearances — confirm door swing, walkway width, and ventilation clearance before finalizing your layout.
- ✕Attempting plumbing or electrical work without permits — unpermitted work can complicate insurance claims and future home sales.
- ✕Rushing finish selections under time pressure — slow down on countertop, cabinet, and tile choices, since they’re the hardest and most expensive decisions to reverse.
Supplies & Tools You’ll Need
Get the Free Printable
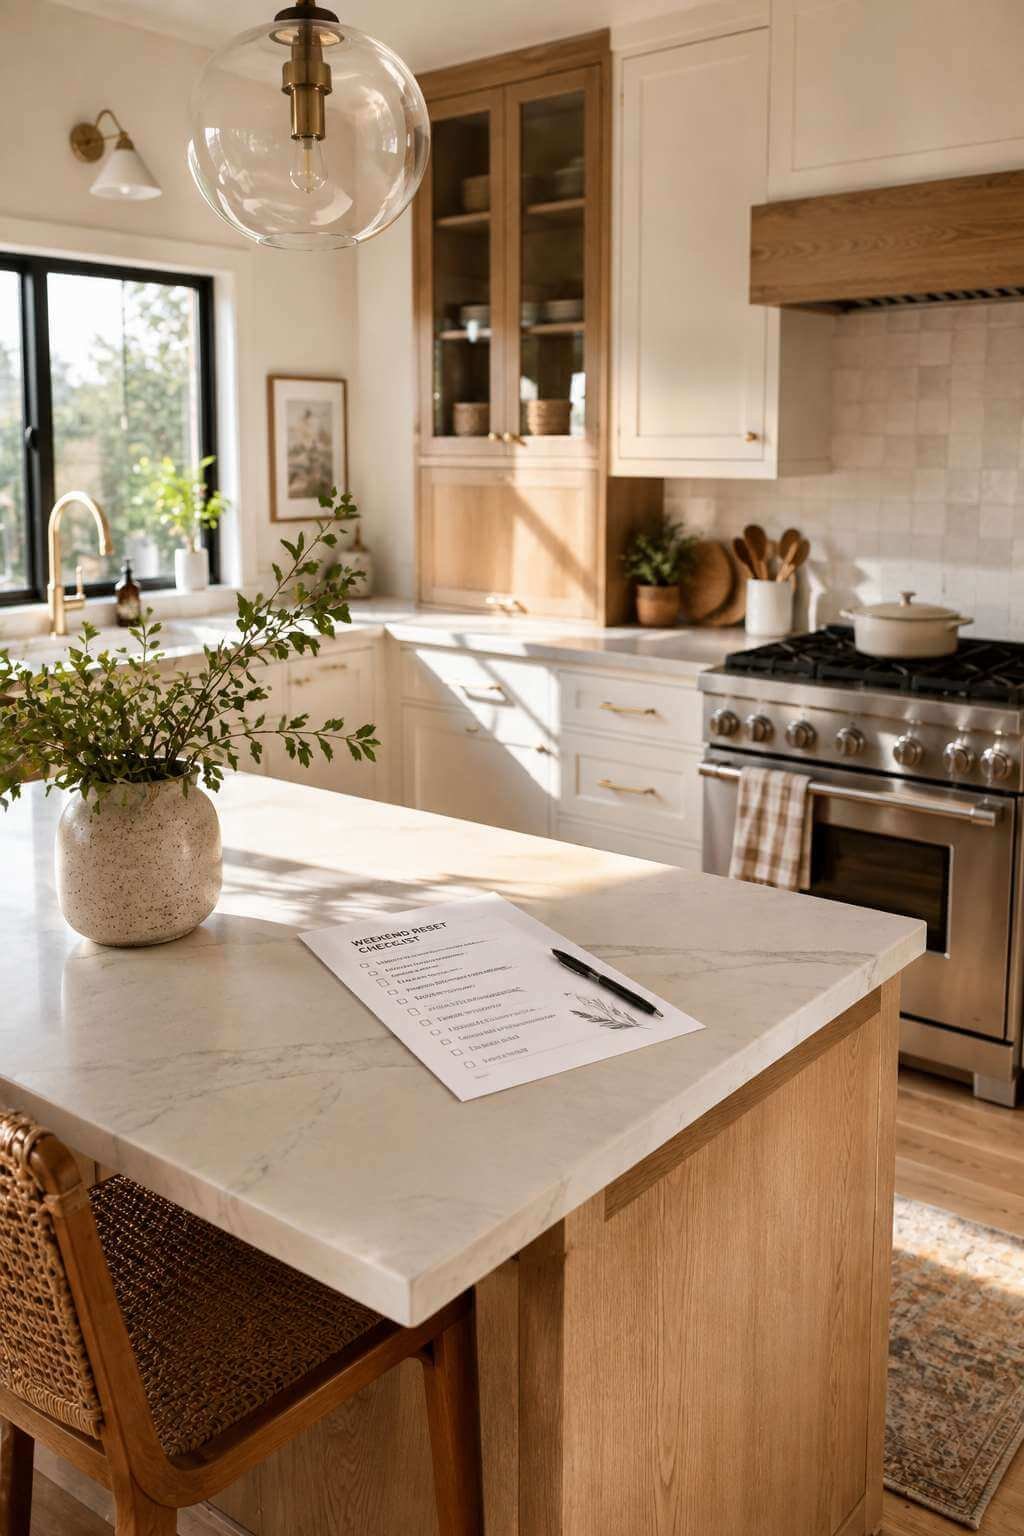
Print the simplified version of this checklist to keep on hand throughout your remodel — just the checkboxes, organized by the same eight phases, with no explanations to wade through.
Stick it on the fridge or drop it in your project binder so you always know exactly what’s next.
Download the Free Printable Kitchen Remodel ChecklistFrequently Asked Questions
How long does a kitchen remodel take?
Most full kitchen remodels take 6 to 12 weeks from demo to move-in, though custom cabinetry or structural changes can extend that timeline further.
How much does a kitchen remodel cost?
Costs typically range from $15,000 for a cosmetic refresh to $60,000 or more for a full renovation with custom cabinetry and high-end finishes, depending heavily on your region and material choices.
Do I need a permit to remodel my kitchen?
Most kitchens require permits for electrical, plumbing, or structural changes. A purely cosmetic update — paint, hardware, appliances in the same spots — usually doesn’t.
Should I move out during a kitchen remodel?
Most homeowners stay in the house and set up a temporary kitchen elsewhere, though a full gut renovation with major structural work may be more comfortable from outside the home.
What order should a kitchen remodel go in?
Planning and design come first, followed by permits and contractor selection, demolition, rough-in plumbing and electrical, installation of cabinets and countertops, appliances, and finally finishing touches.
Can I remodel a kitchen myself?
Cosmetic updates like painting cabinets or swapping hardware are very DIY-friendly, but plumbing, electrical, and structural work generally require a licensed professional and permits.
How do I stay on budget during a kitchen remodel?
Set a contingency fund of 15–20% upfront, get multiple contractor quotes, and finalize your material selections before demo starts to avoid costly mid-project changes.
What’s the biggest kitchen remodel mistake homeowners make?
Choosing appliances after cabinets are already ordered, which often leads to sizing mismatches and expensive rework.
How far in advance should I order cabinets?
Order cabinets as soon as your contract is signed and your layout is finalized. Custom cabinetry can take 6 to 10 weeks or longer to arrive.
Do I need to hire an interior designer for a kitchen remodel?
It’s not required, but a designer can help finalize layout, finishes, and lighting decisions faster, which is often worth it for larger or more complex renovations.
A kitchen remodel is a marathon of small decisions, not one big one — and the projects that go smoothly are almost always the ones that follow a clear sequence instead of jumping between phases.
Work through this checklist one section at a time, lean on your contractor for anything structural, and don’t be afraid to slow down on the choices that are hardest to undo. Print the checklist above, keep it close through every phase, and you’ll end up with a kitchen that’s not just beautiful, but genuinely functional for years to come.

