


Learning how to lay bathroom tile properly is one of the most valuable skills for tackling a renovation on your own budget, saving significant money compared to hiring out the entire job. With the right tools, a bit of patience, and careful planning, most homeowners can achieve a professional-looking finish on their first attempt.
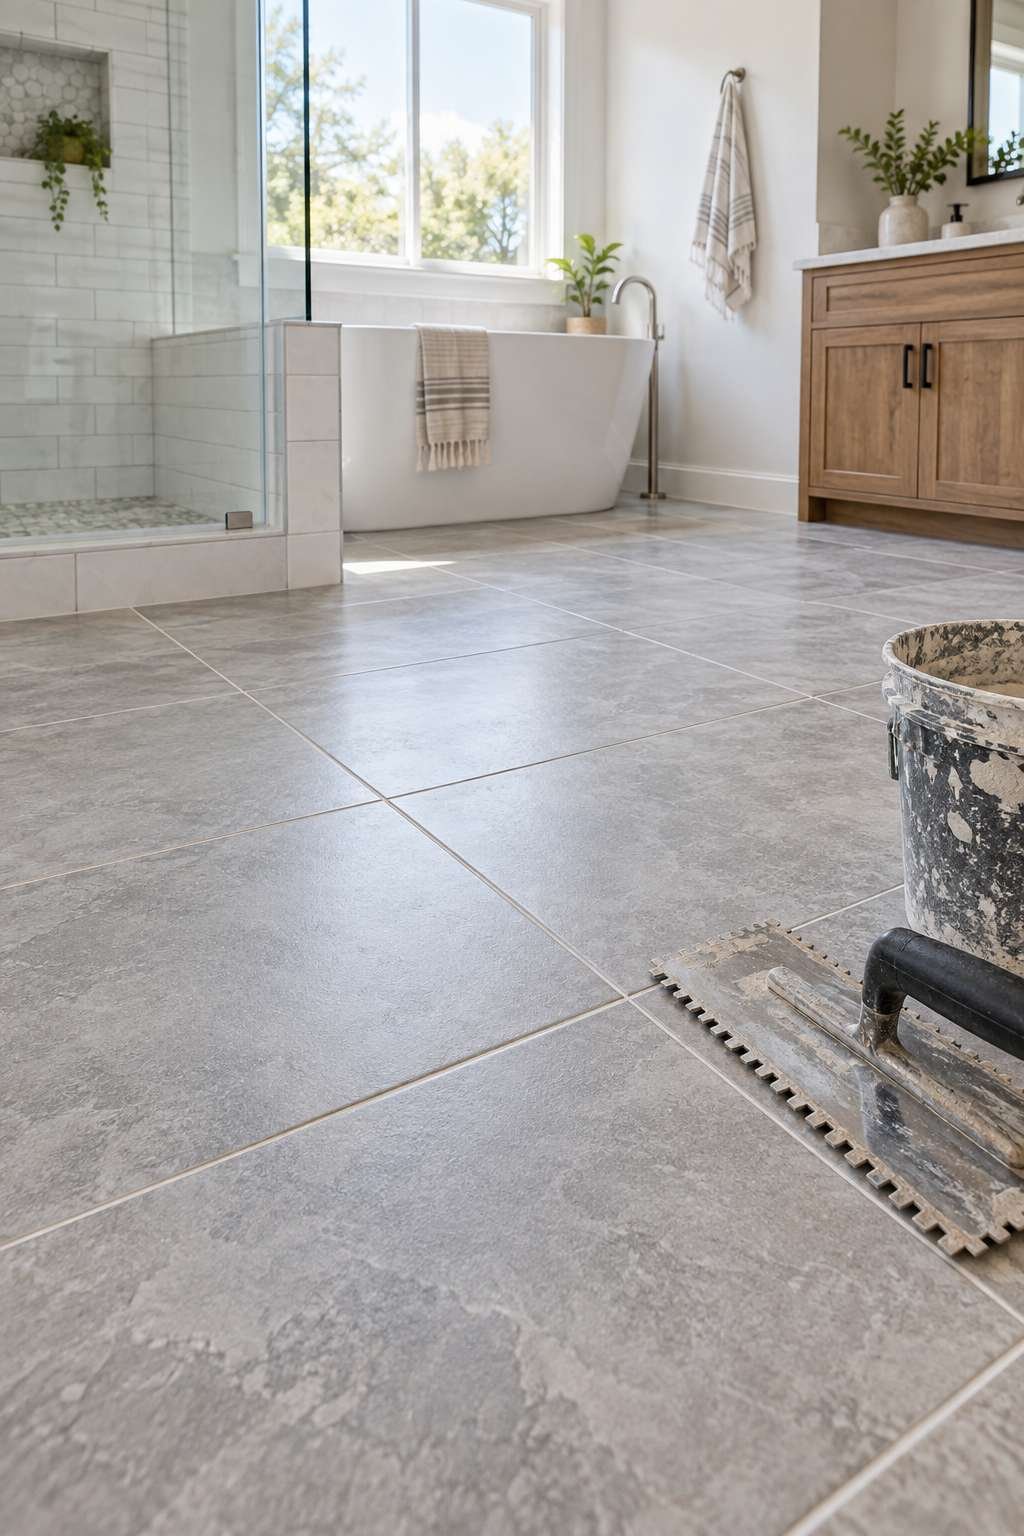
This guide walks through the full process of how to lay tile in bathroom spaces, from initial planning through grouting and sealing, along with the tricks that make each step go more smoothly. If a full tile installation isn’t in the budget right now, how to paint tile in bathroom spaces is worth considering as a lower-cost, shorter-term refresh instead.
1. Tools and Materials You’ll Need
Before starting, gather everything so you’re not stopping mid-project to search for a missing tool. At minimum, you’ll need a tile cutter or wet saw, notched trowel, tile spacers, a level, and a rubber mallet for setting tiles firmly in place. Thin-set mortar, grout, and sealant round out the material list, along with a mixing bucket and drill attachment for combining mortar to the right consistency.
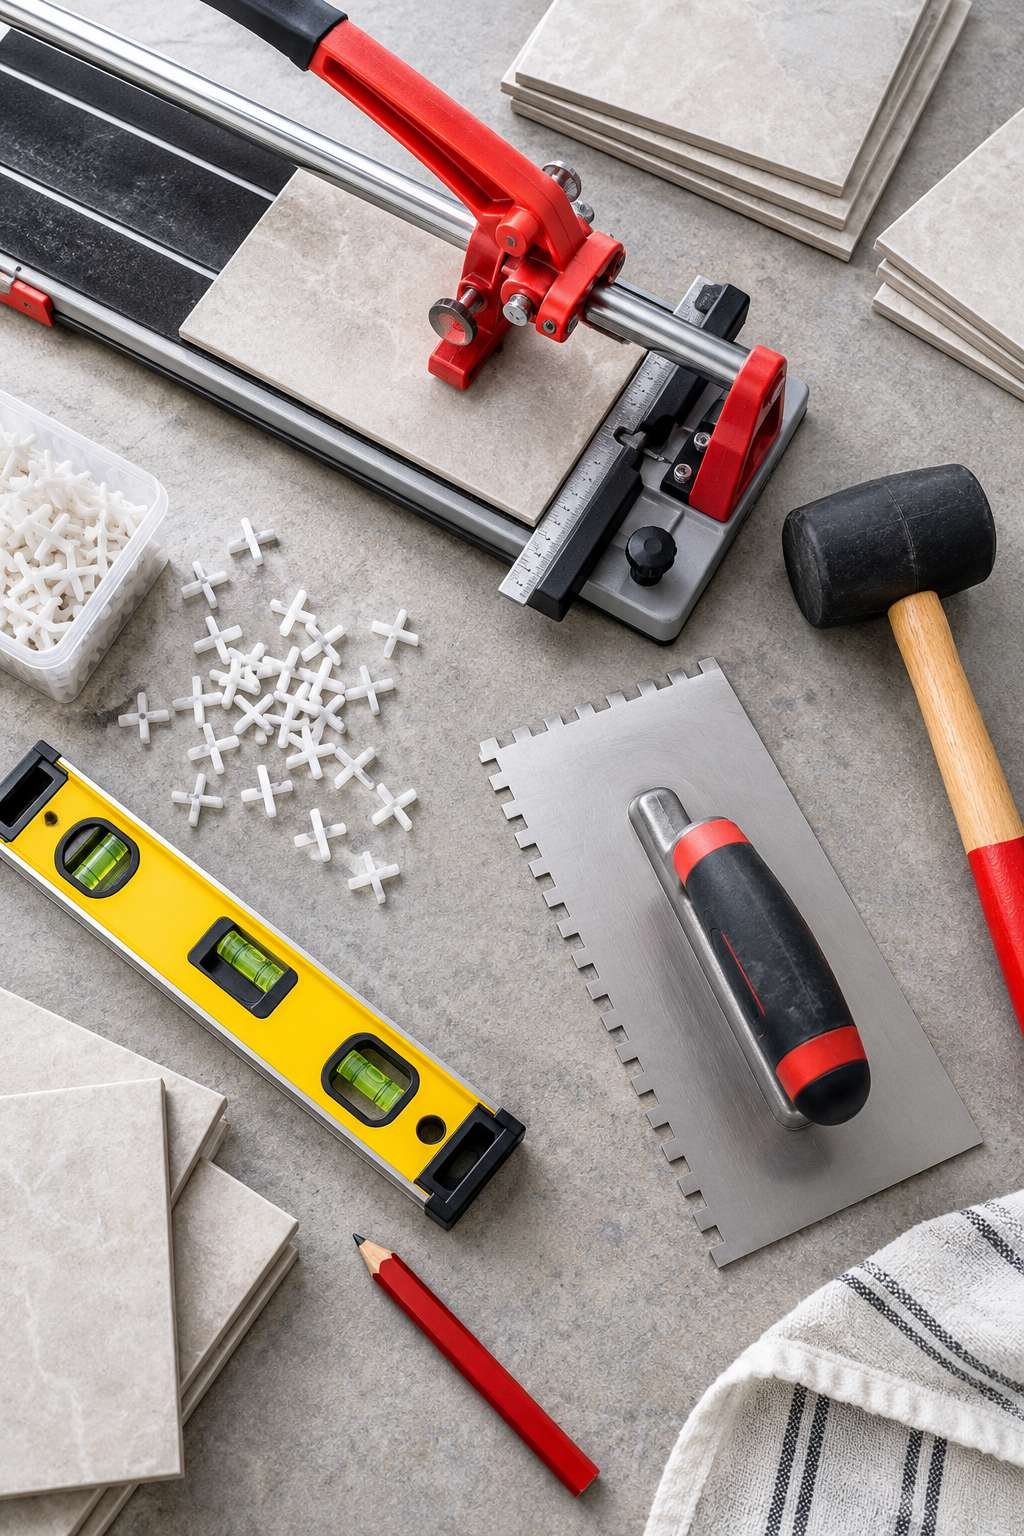
Having a few extra tiles beyond your calculated total is worth the small added cost, since cuts and occasional breakage are a normal part of the process.
- Tile cutter or wet saw for precise cuts
- Notched trowel for spreading mortar evenly
- Tile spacers for consistent grout lines
- Level and rubber mallet for setting tiles
- Thin-set mortar, grout, and sealant
- Mixing bucket and drill attachment
2. Planning Your Tile Layout
Before mixing any mortar, spend time planning the layout on paper or directly on the floor with loose tiles. Measure the room carefully and find the center point, since starting from the middle and working outward typically produces the most balanced, symmetrical result along the walls.
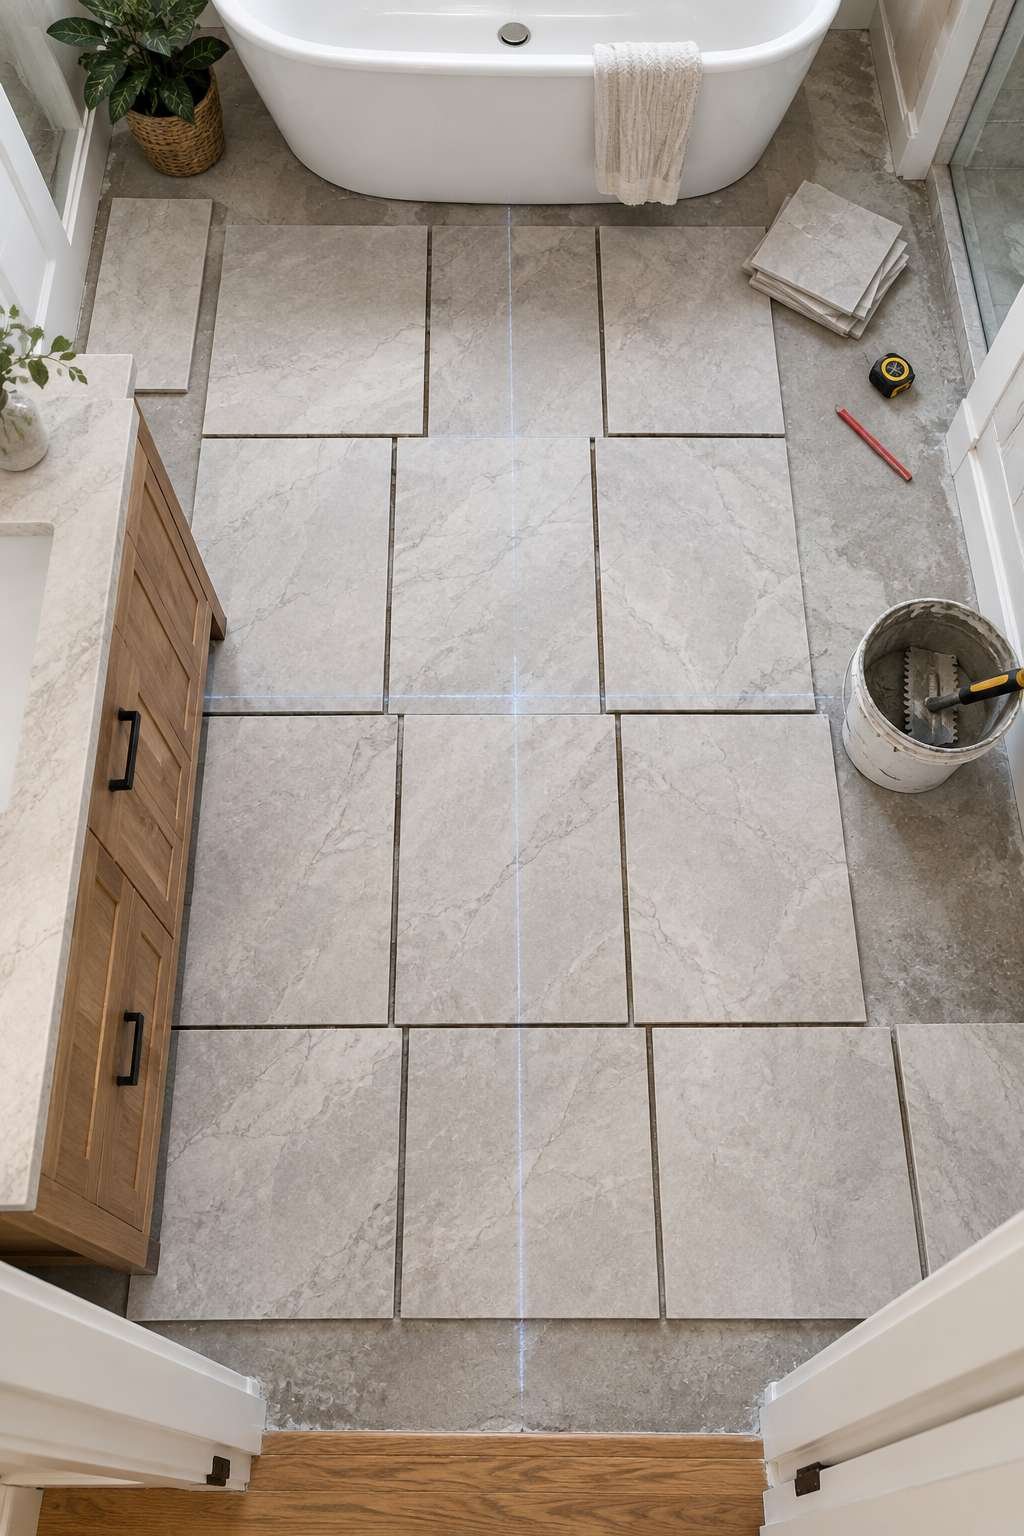
Dry-laying a few rows beforehand helps you spot layout issues, like a narrow sliver of tile at one edge, before you’ve committed any mortar to the surface.
- Measure the room and find its center point
- Dry-lay tiles before mixing any mortar
- Plan for symmetrical cuts along opposite walls
- Account for fixtures like toilets and vanities
- Mark reference lines with a chalk line
- Adjust layout early rather than after installation begins
3. Preparing the Subfloor or Wall Surface
A successful tile installation depends heavily on the surface underneath it. The subfloor or wall must be clean, dry, and structurally sound, free of any old adhesive, debris, or uneven patches that could cause tiles to sit unevenly. For floors, check for any flex or movement, since excessive give beneath tile often leads to cracked grout lines down the road.
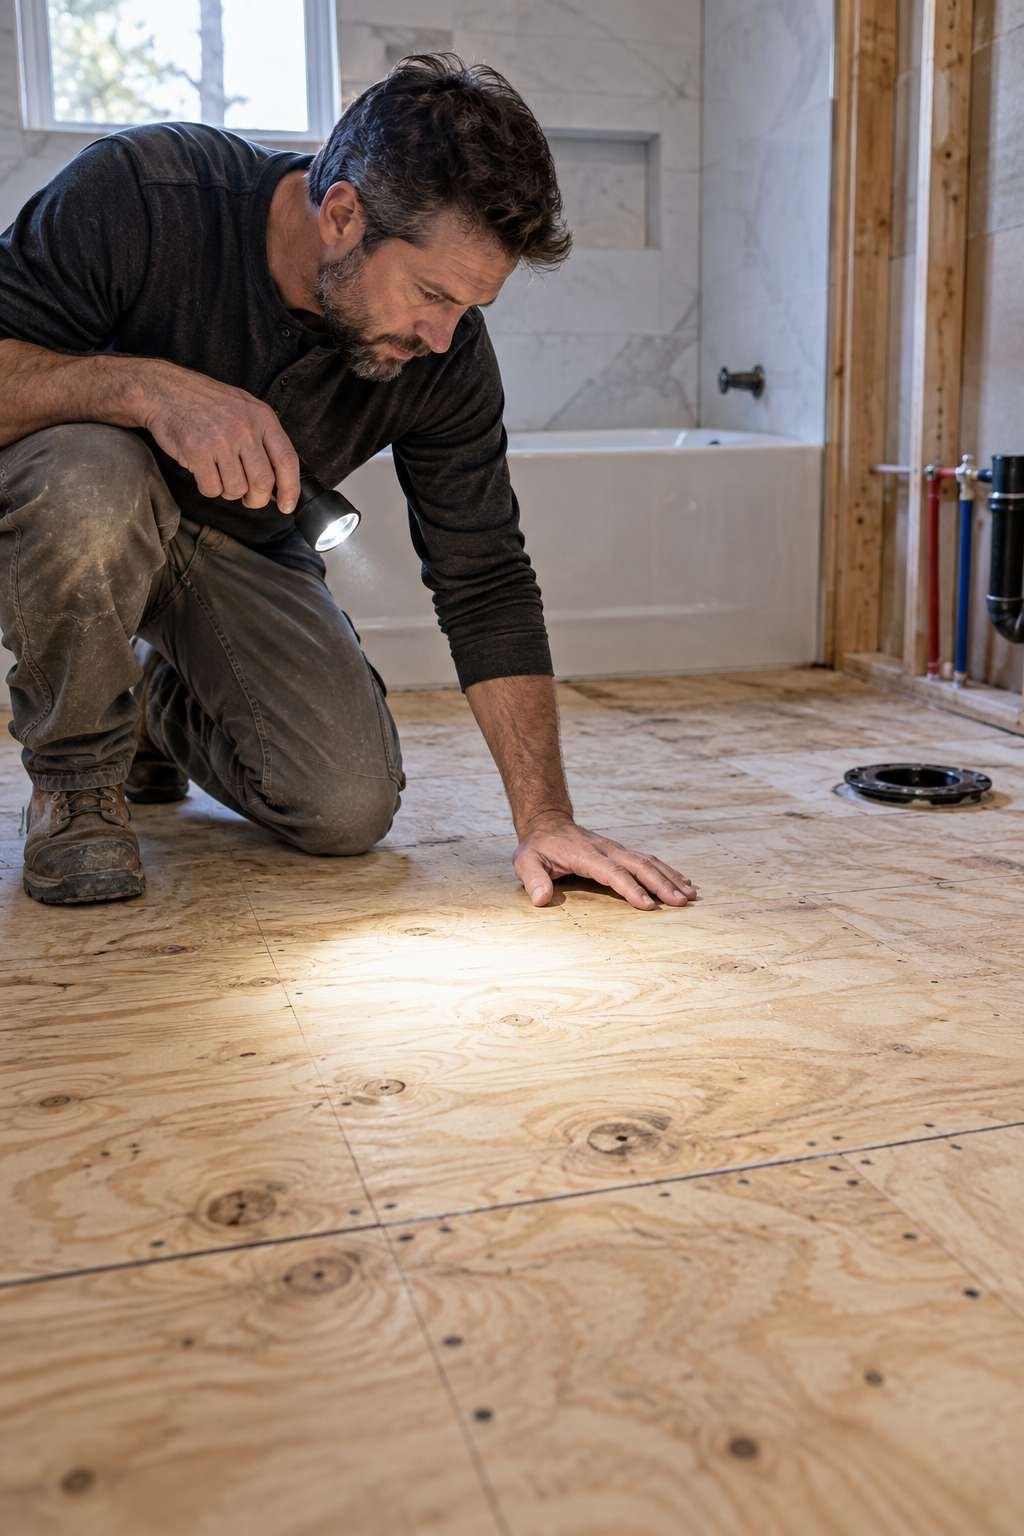
If you’re covering old tile, sanding or roughening the surface slightly helps new mortar adhere properly rather than sliding on a slick, glossy finish.
- Clean the surface of debris and old adhesive
- Confirm the subfloor is structurally sound
- Check for flex or movement before installing
- Rough up glossy surfaces for better adhesion
- Repair any low spots or cracks beforehand
- Allow surfaces to fully dry before starting
4. Mixing and Applying Thin-Set Mortar
Mix thin-set mortar according to the manufacturer’s instructions, aiming for a consistency similar to peanut butter that holds its shape without being too runny or too stiff. Apply it to a small section at a time using your notched trowel, combing it into consistent ridges that help tiles bond evenly once pressed into place.
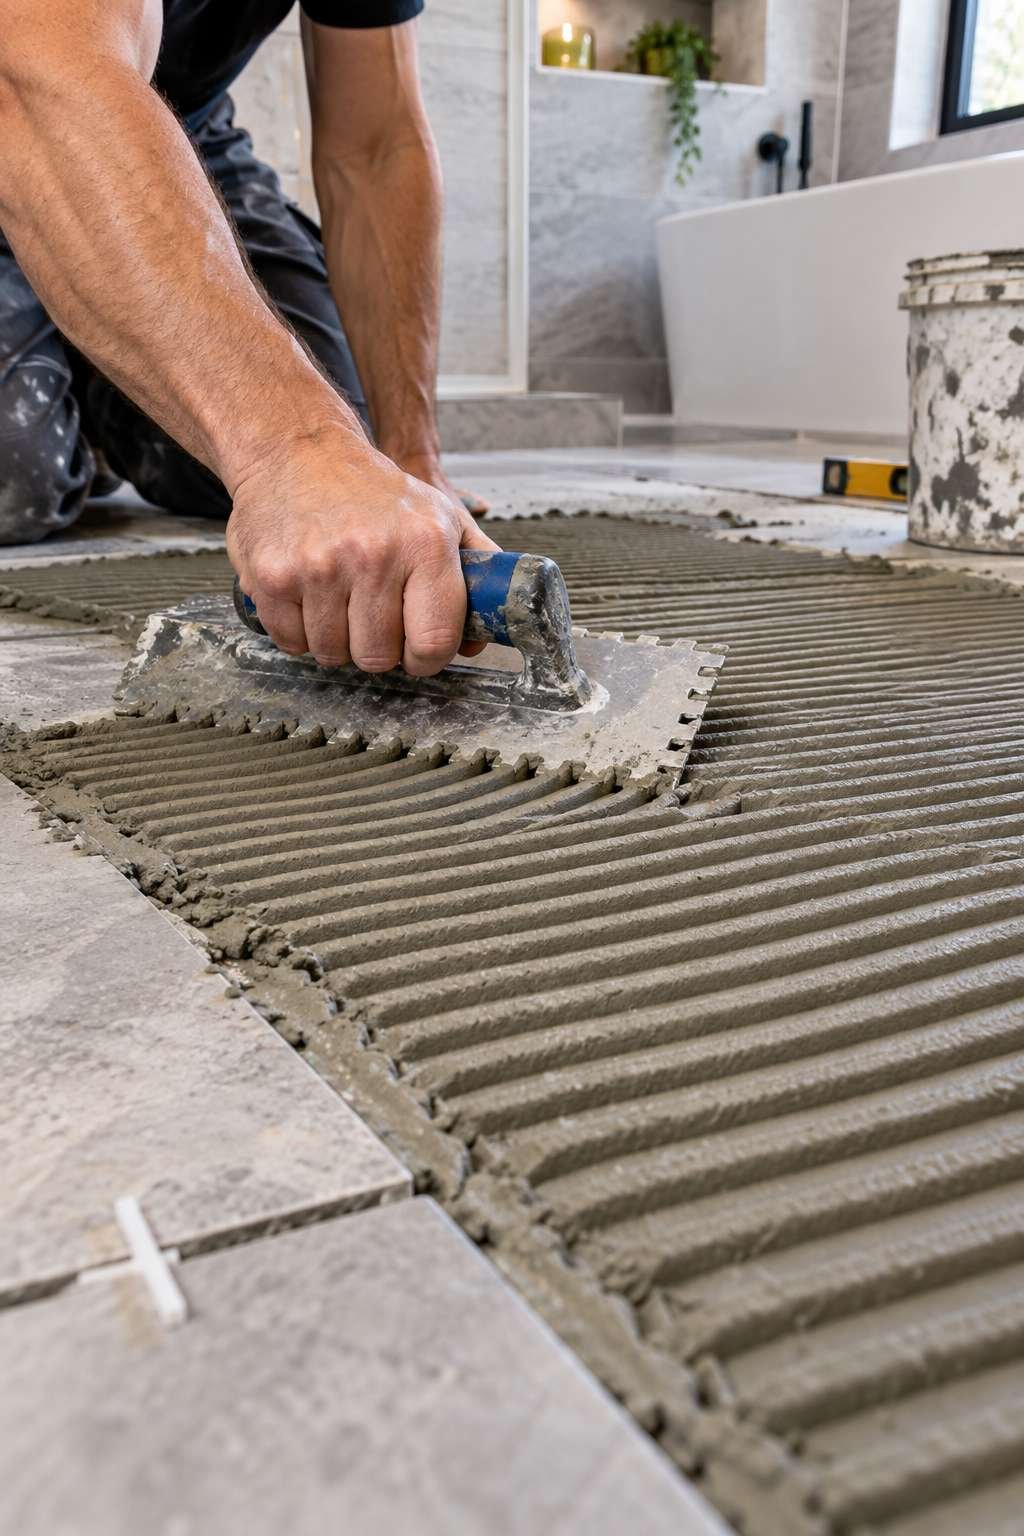
Working in small sections prevents the mortar from skinning over and losing its adhesive properties before you’ve had a chance to set tile into it.
- Mix mortar to a peanut-butter-like consistency
- Apply to small sections at a time
- Comb mortar into even ridges with a notched trowel
- Avoid mixing more than you can use in 20-30 minutes
- Check manufacturer instructions for specific mix ratios
- Keep mortar consistency even throughout application
5. Setting the First Row of Tile
Your first row sets the tone for the entire installation, so take extra care getting it perfectly aligned. Press each tile firmly into the mortar with a slight twisting motion, then tap gently with a rubber mallet to seat it evenly and remove any trapped air pockets. Use spacers between each tile to maintain consistent gaps for grout lines.
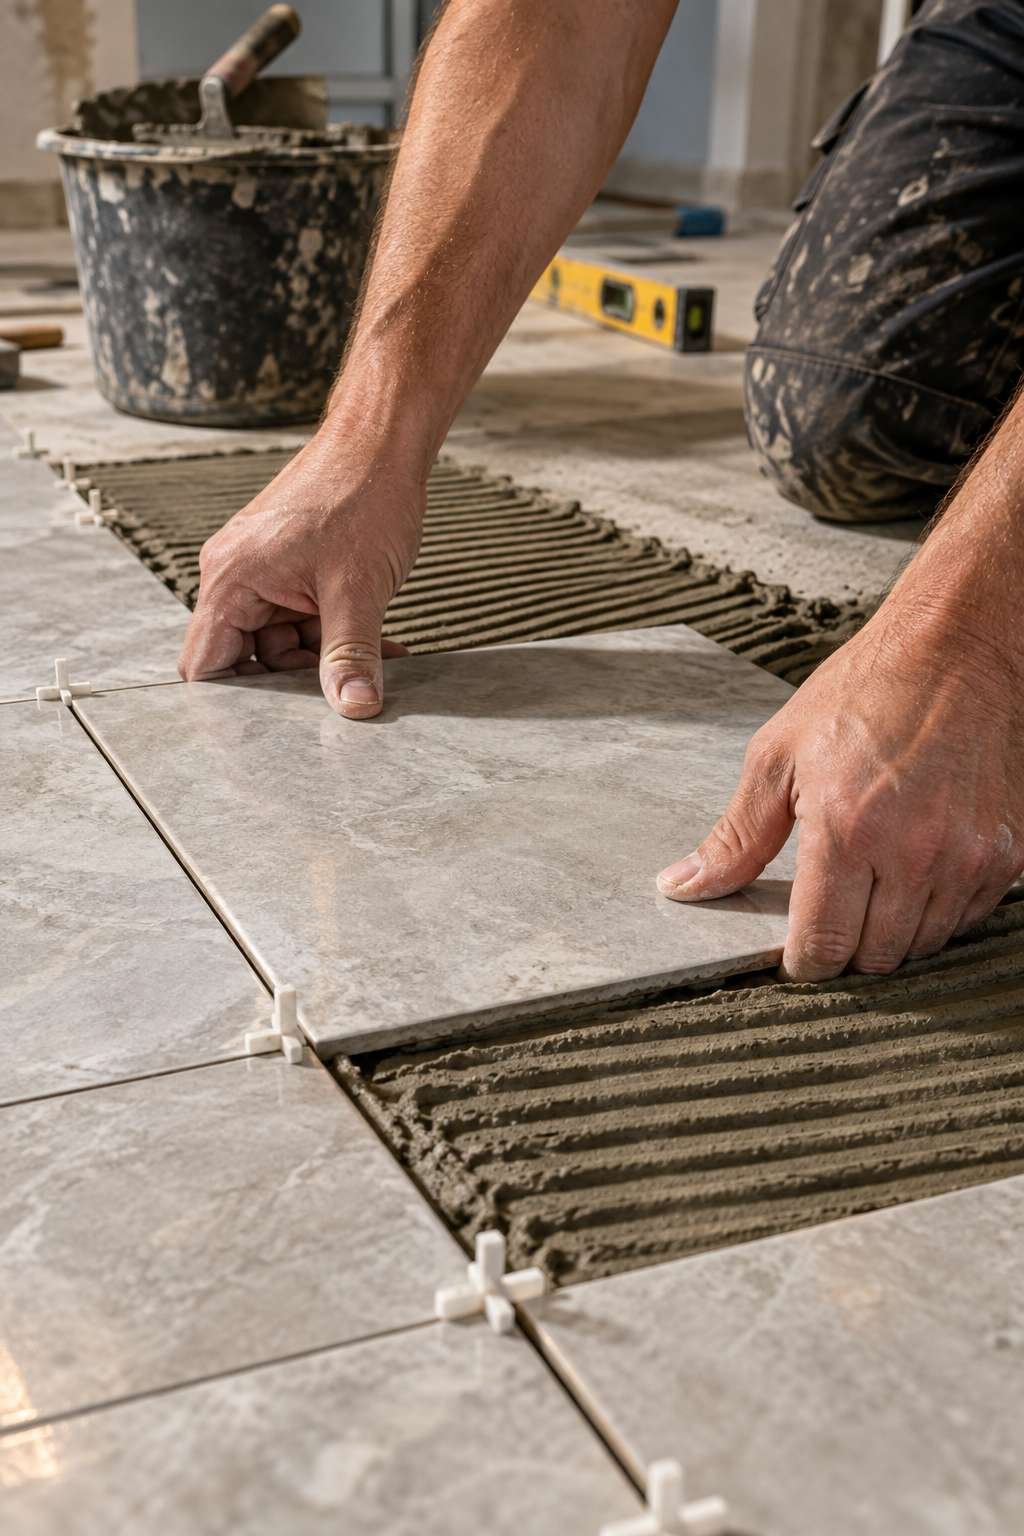
Check alignment frequently with a level as you go, since small errors compound quickly if left uncorrected across an entire row.
- Press tiles with a slight twisting motion
- Tap gently with a rubber mallet to seat evenly
- Use spacers for consistent grout line width
- Check level frequently as you progress
- Correct misalignment immediately rather than later
- Work in small sections to maintain control
6. Cutting Tiles for Edges and Fixtures
Every bathroom installation involves cutting tile to fit around edges, corners, and fixtures like toilets or pipes. A wet saw handles straight cuts cleanly, while a tile nipper or hole saw works better for smaller, irregular cutouts around pipes and fixtures. Always measure twice before cutting, since tile is far easier to trim down than to stretch back to size.
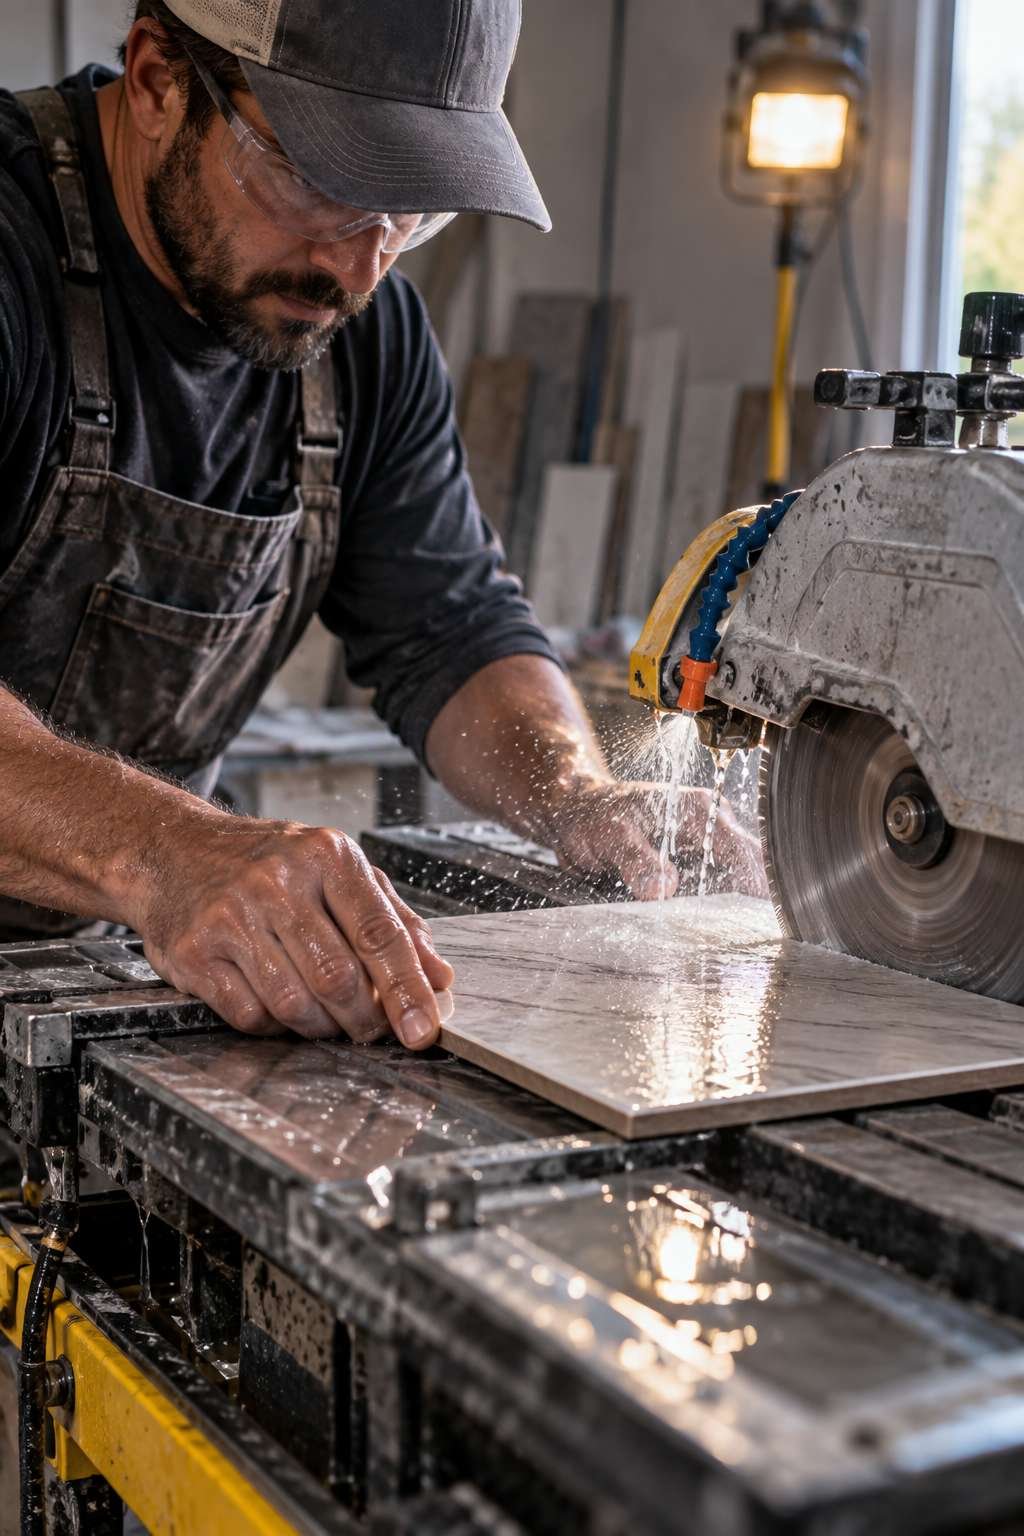
Dry-fitting cut pieces before applying mortar confirms they’ll sit correctly, saving you from redoing a cut after it’s already set in place.
- Use a wet saw for straight edge cuts
- Use a tile nipper or hole saw for irregular cutouts
- Measure twice before making any cut
- Dry-fit cut pieces before setting them in mortar
- Mark cut lines clearly before cutting
- Wear eye protection when cutting tile
7. Spacing and Leveling Tiles Correctly
Consistent spacing and level installation separate a professional-looking job from one that looks noticeably uneven. Tile spacers, typically ranging from 1/16 to 1/4 inch depending on tile size and style, keep grout lines uniform throughout the entire room. A tile leveling system, using small clips and wedges, helps prevent lippage where adjacent tile edges sit at slightly different heights.
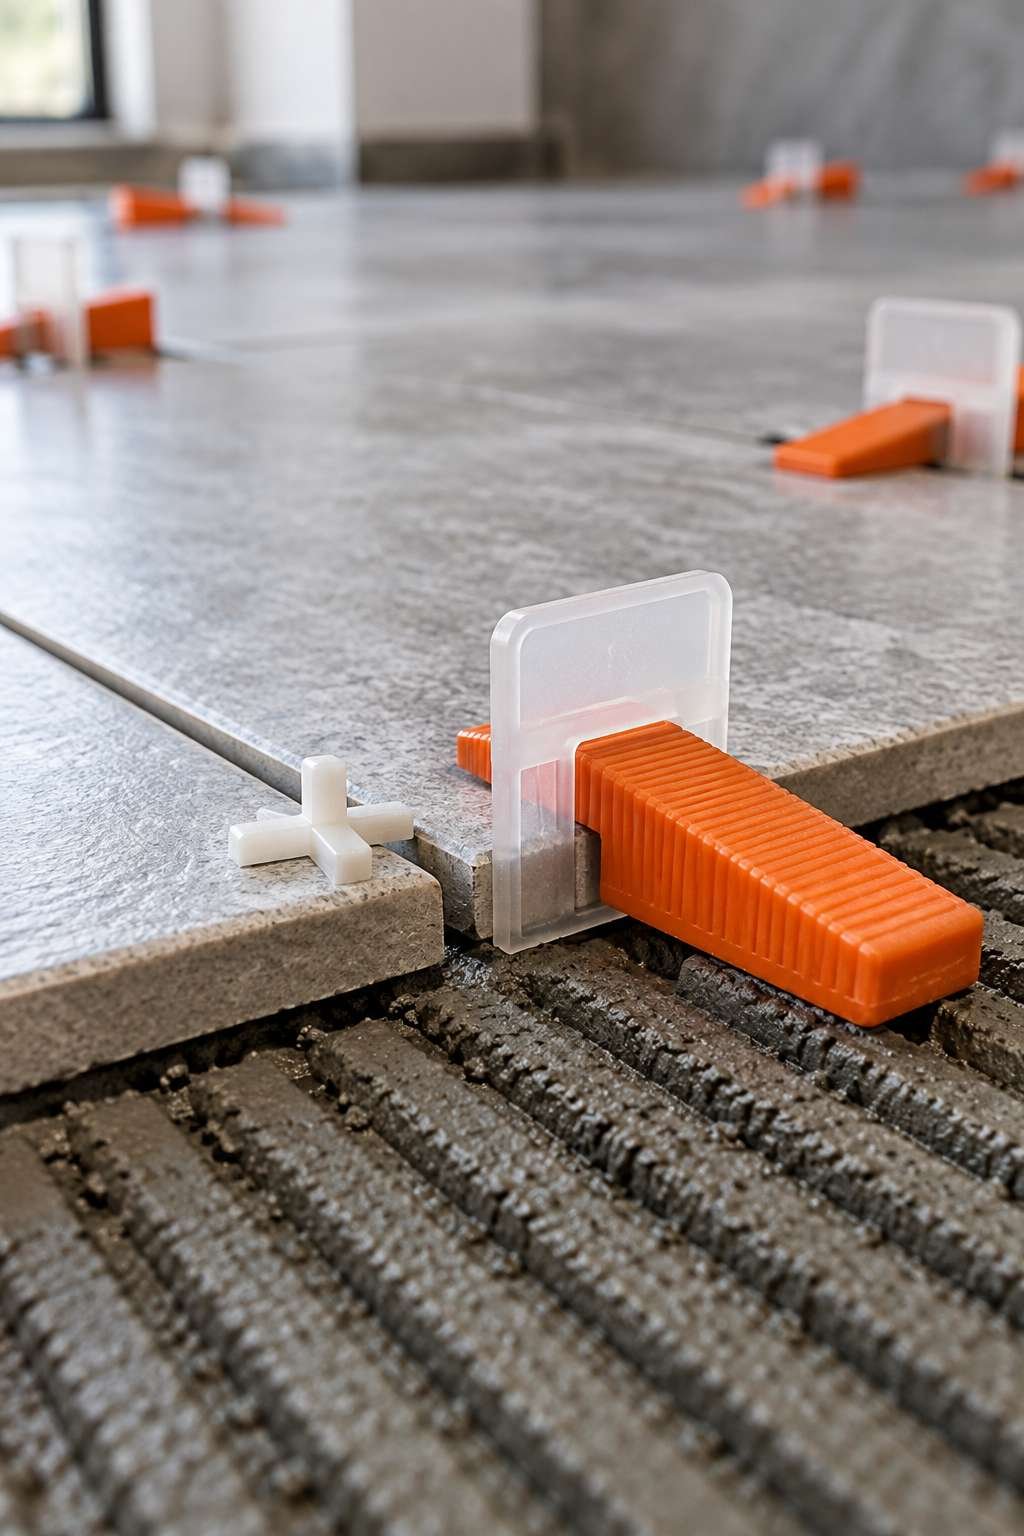
Check your work with a level every few tiles rather than waiting until an entire section is set, since catching an issue early is far easier to correct.
- Choose spacer size based on tile style and size
- Use a leveling system to prevent lippage
- Check level every few tiles, not just at the end
- Adjust immediately if tiles sit unevenly
- Keep grout lines consistent throughout the room
- Remove leveling clips before mortar fully cures
8. Letting Tile Cure Before Grouting
Patience matters here: rushing to grout before the mortar has properly cured can shift tiles out of position or weaken the bond entirely. Most thin-set mortar needs 24 to 48 hours to cure sufficiently before grouting, though specific timing depends on humidity, temperature, and the product used. Avoid walking on floor tile or using the shower until curing is complete.
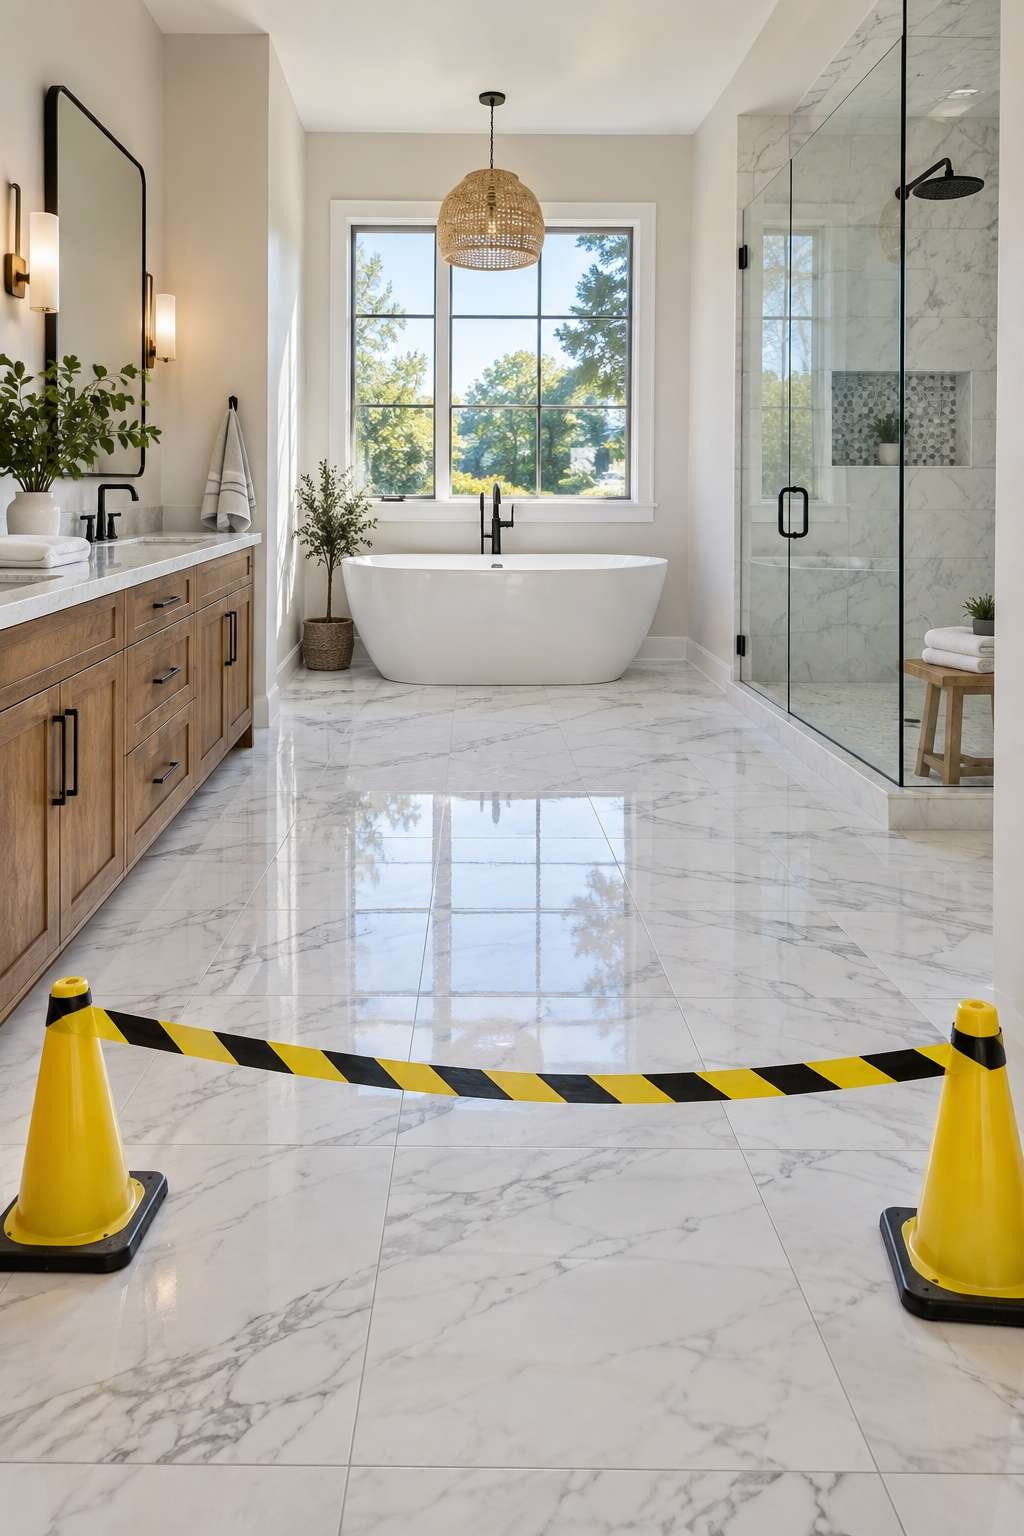
Check the manufacturer’s specific guidance for cure time, since some fast-setting formulas allow grouting sooner than traditional thin-set mortar.
- Most mortar needs 24-48 hours to cure
- Avoid foot traffic or water exposure during curing
- Check manufacturer guidance for specific timing
- Fast-setting formulas may cure more quickly
- Confirm tiles are fully set before grouting
- Rushing this step risks shifting or weakening tiles
9. Grouting and Sealing the Finished Tile
Once mortar has cured, apply grout with a rubber float, pressing it diagonally across tile joints to fully fill each gap. Wipe away excess grout with a damp sponge before it hardens, working in small sections to avoid it setting on the tile surface itself. After grout cures fully, typically another 24 to 72 hours, apply a sealant to protect against staining and moisture penetration.
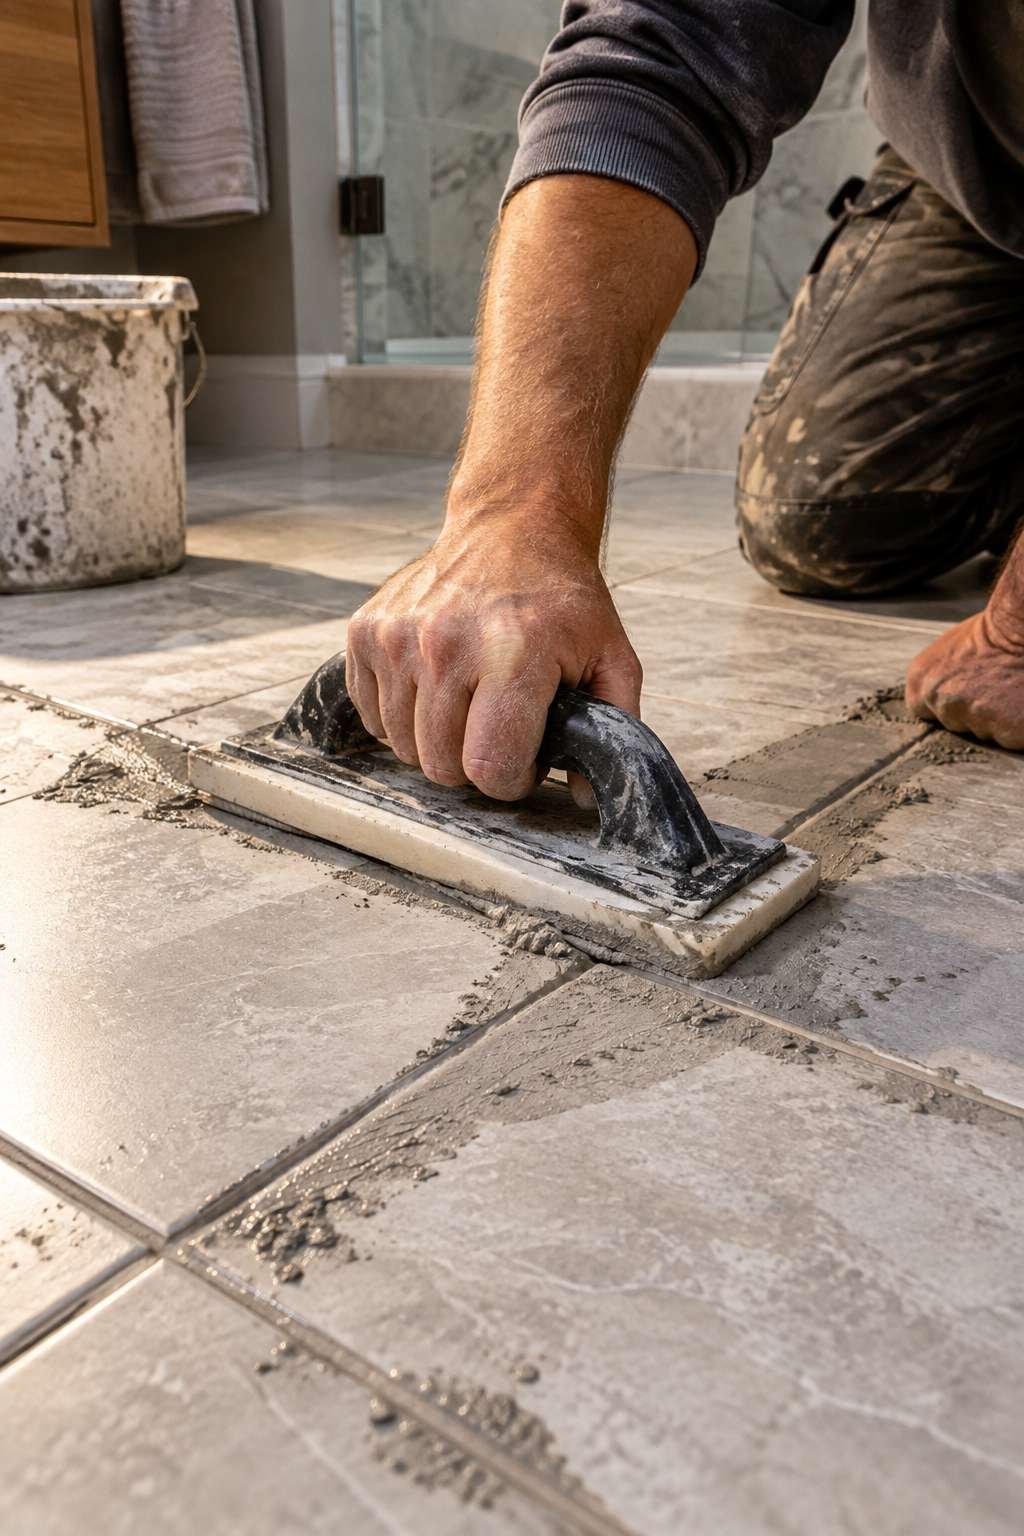
Sealing is especially important in bathrooms, where constant moisture exposure makes unsealed grout prone to discoloration and mold over time.
- Apply grout diagonally with a rubber float
- Wipe excess with a damp sponge before it hardens
- Allow grout to cure fully before sealing
- Apply sealant to protect against moisture and staining
- Reseal grout periodically for ongoing protection
- Avoid heavy water exposure until sealant cures
10. Common Mistakes to Avoid
A few recurring mistakes trip up even careful DIYers on their first tiling project. Skipping the dry-layout step often leads to awkward, narrow tile slivers at walls that could have been avoided with better planning. Mixing mortar too thin, rushing the cure time, or spacing tiles inconsistently are other common issues that affect the finished look.
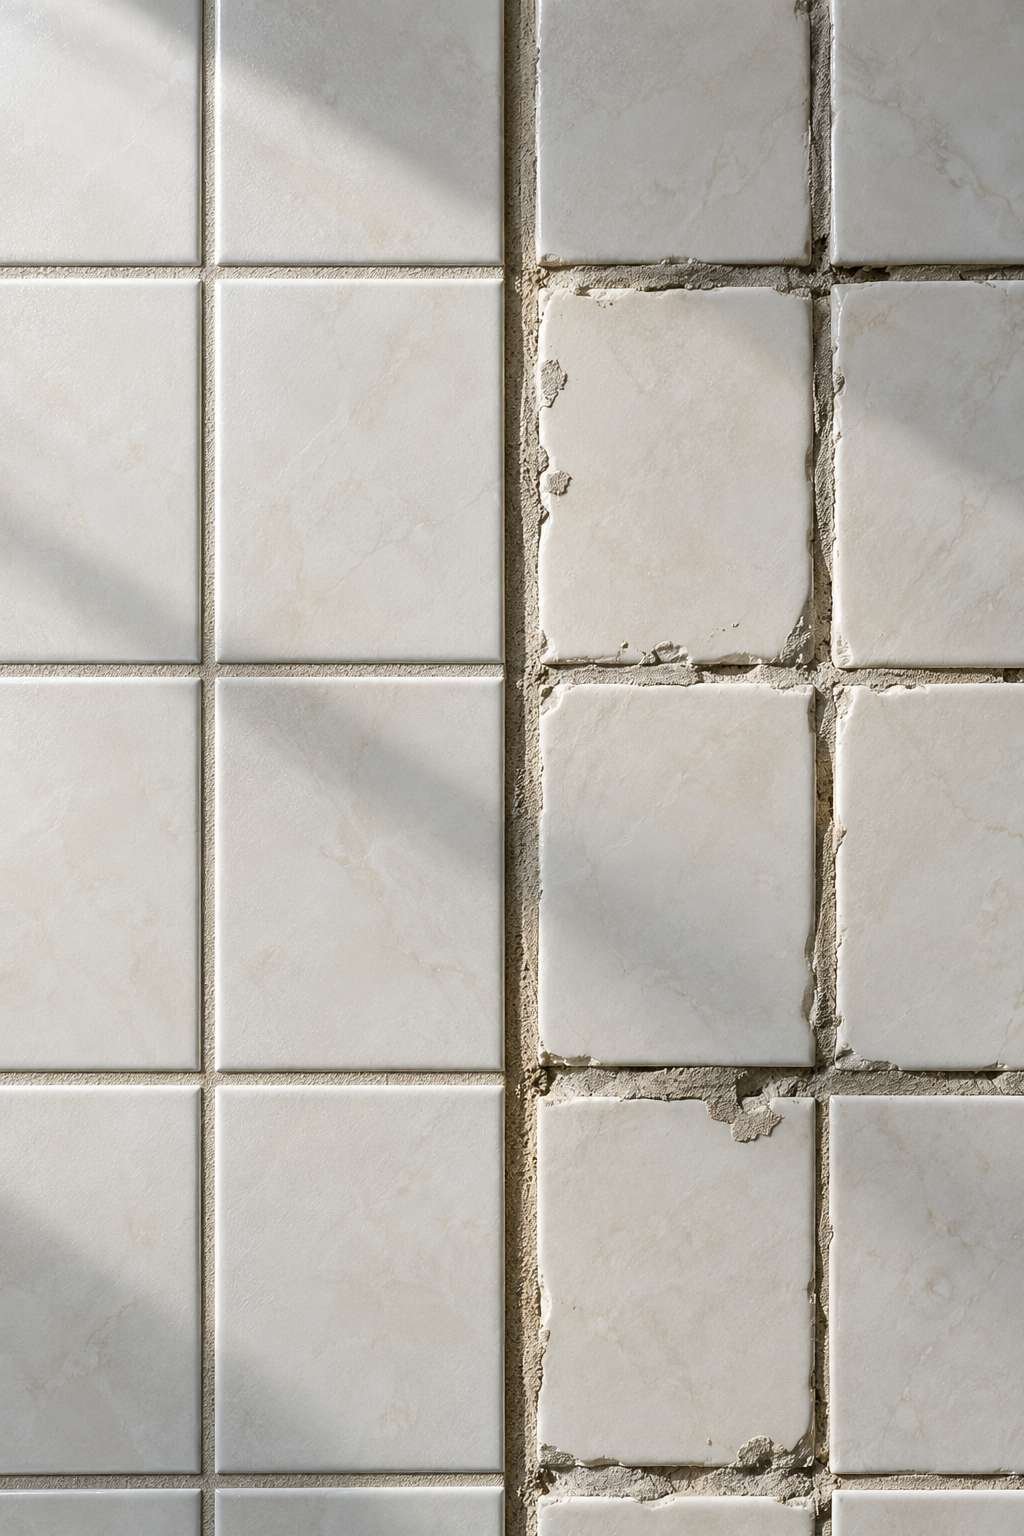
Taking your time at each stage, rather than rushing to finish in a single day, produces far better results and fewer costly do-overs.
- Skipping dry-layout planning before starting
- Mixing mortar too thin or too thick
- Rushing cure time before grouting
- Inconsistent tile spacing throughout the room
- Forgetting to seal grout after installation
- Rushing the entire project in a single day
Laying bathroom tile is a manageable project for most homeowners willing to plan carefully and work patiently through each stage. The difference between an amateur-looking job and a professional finish usually comes down to preparation and attention to detail rather than any special skill.
If you’re planning a full installation from scratch, our guide on how to tile a bathroom covers the broader project scope, while how to put tile in bathroom spaces around tricky fixtures offers additional tips for those specific challenges. Once your tile is set, how to regrout bathroom tile is worth bookmarking for maintenance a few years down the road.

