


A properly installed exhaust fan does more than clear steam off the mirror — it protects your walls, ceiling, and grout from long-term moisture damage. Learning how to install a bathroom fan is a very doable project for a confident DIYer, even if you’ve never worked with ceiling-mounted electrical fixtures before.
This guide covers the full process for installing a fan in a bathroom that doesn’t already have one, from checking code requirements to running the ductwork and wiring everything safely.
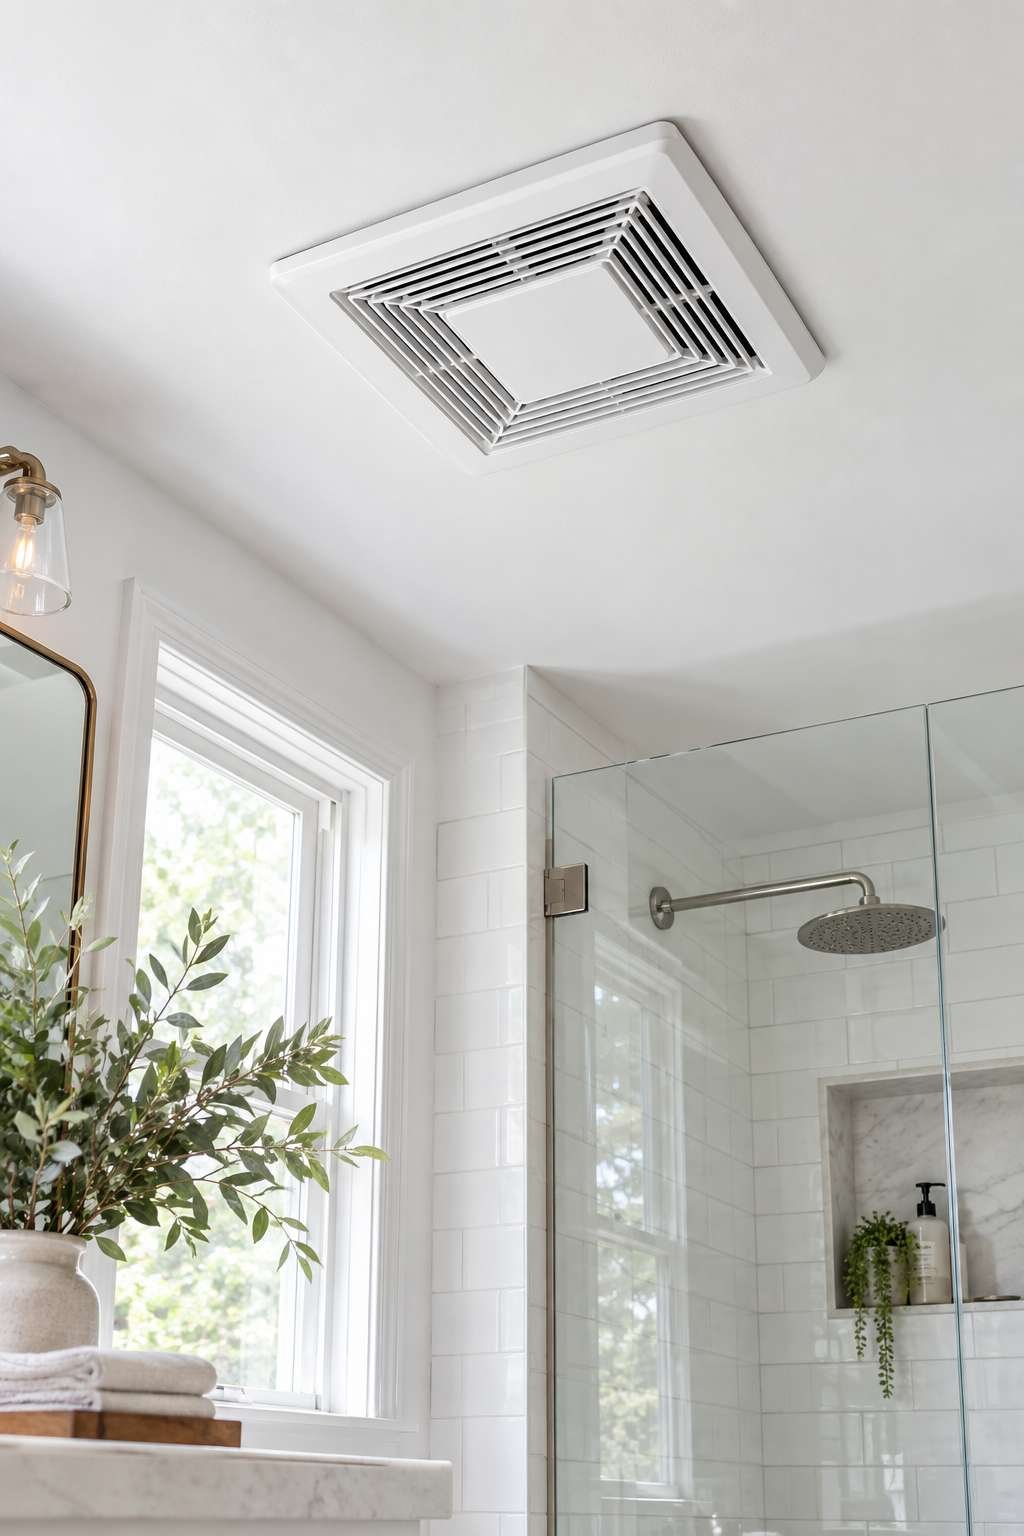
If you’re swapping out an existing fan rather than adding one from scratch, the wiring and ductwork steps here still apply, though you’ll have less cutting and routing to do.
1. What Bathroom Fan Installation Involves
Installing a bathroom fan touches three separate systems: the ceiling opening itself, the ductwork that carries air outside, and the electrical wiring that powers it. Understanding this three-part scope upfront helps you plan the project realistically before starting.
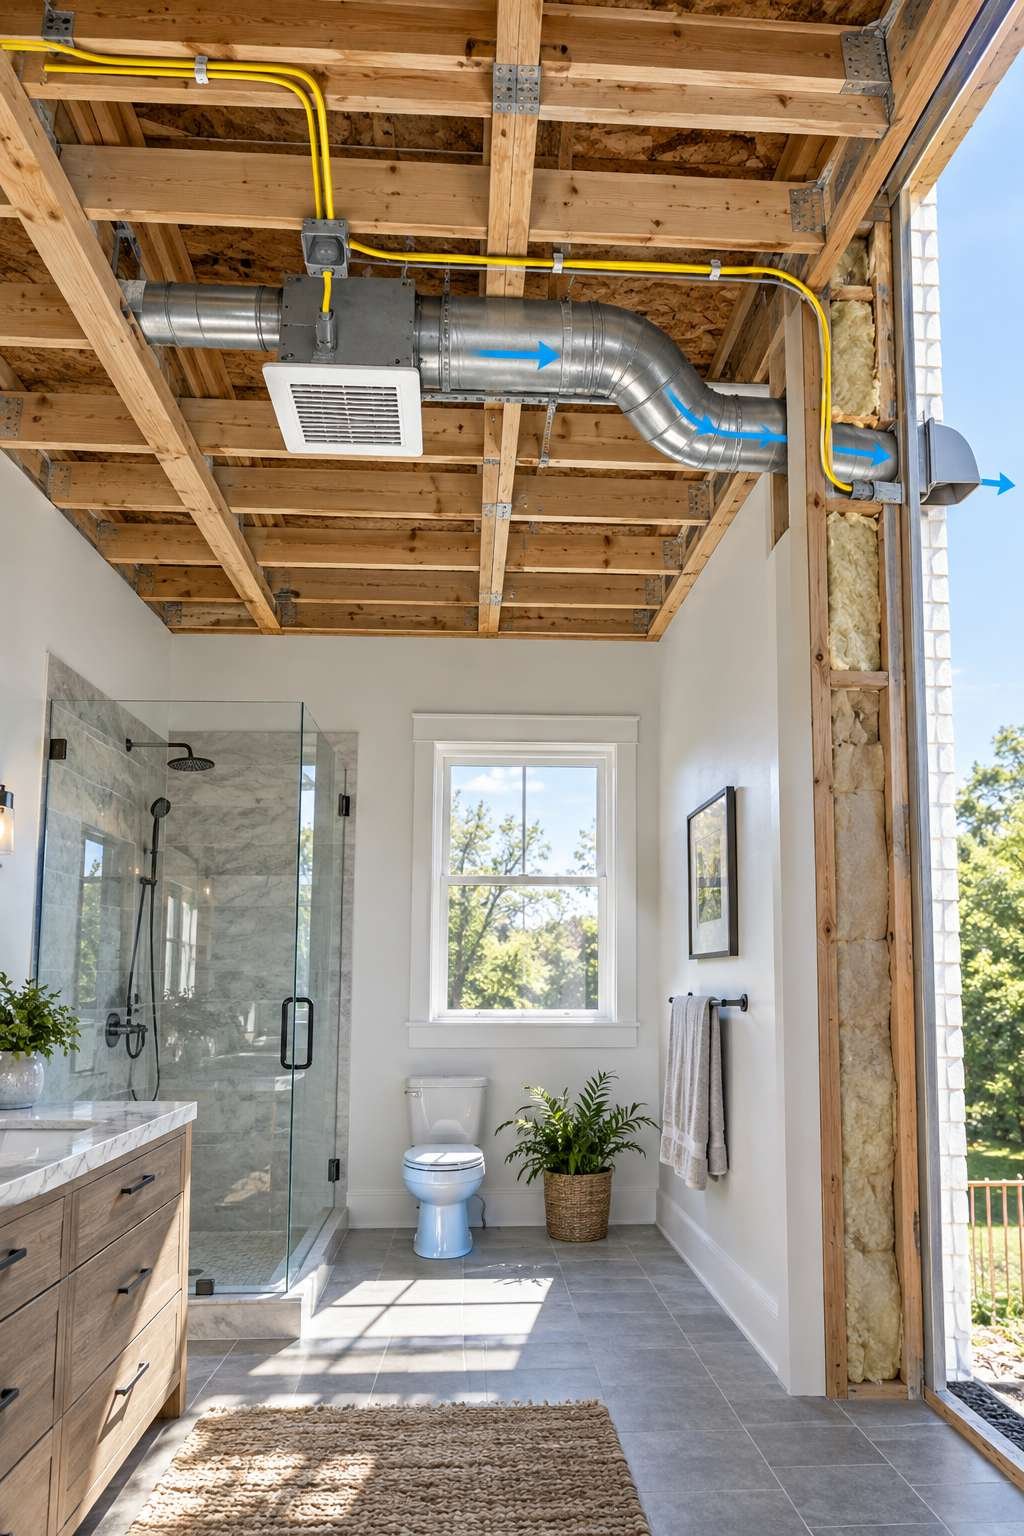
Most installations take a full afternoon for someone doing it the first time, longer if you’re routing new duct through an attic space with limited access. Having a helper for the attic portion makes the process noticeably faster and safer.
Knowing which parts of the job you’re comfortable doing yourself, and where you might want an electrician’s help, is worth deciding before you start cutting into the ceiling.
- Cutting and framing a new ceiling opening
- Running ductwork to an exterior vent point
- Wiring the fan into an existing or new circuit
- Mounting the housing securely to ceiling joists
- Sealing all duct connections against air leaks
- Testing airflow and switch operation before finishing up
2. Checking Local Codes and Permit Requirements
Before buying a fan or cutting anything, check what your local building code requires for bathroom ventilation, since requirements vary by location and by whether the bathroom has an operable window.

Many areas require a licensed electrician for new circuit work, even if you’re comfortable doing the mechanical installation yourself, and some require a permit for adding a new vent penetration through the roof or exterior wall.
Calling your local building department for a quick question is often faster than guessing, and it can save you from having to redo work that doesn’t meet code later.
- Confirm whether your bathroom requires mechanical ventilation by code
- Check if a permit is needed for new duct or wiring work
- Verify whether a licensed electrician is required in your area
- Ask about minimum CFM requirements for your bathroom’s size
- Check exterior vent placement rules relative to windows and doors
- Keep any permit documentation for future home sale disclosures
3. Choosing the Right Fan for Your Bathroom
Fan capacity is measured in CFM (cubic feet per minute), and most bathrooms need roughly 1 CFM per square foot of floor space, with a practical minimum of 50 CFM even for small half-baths.
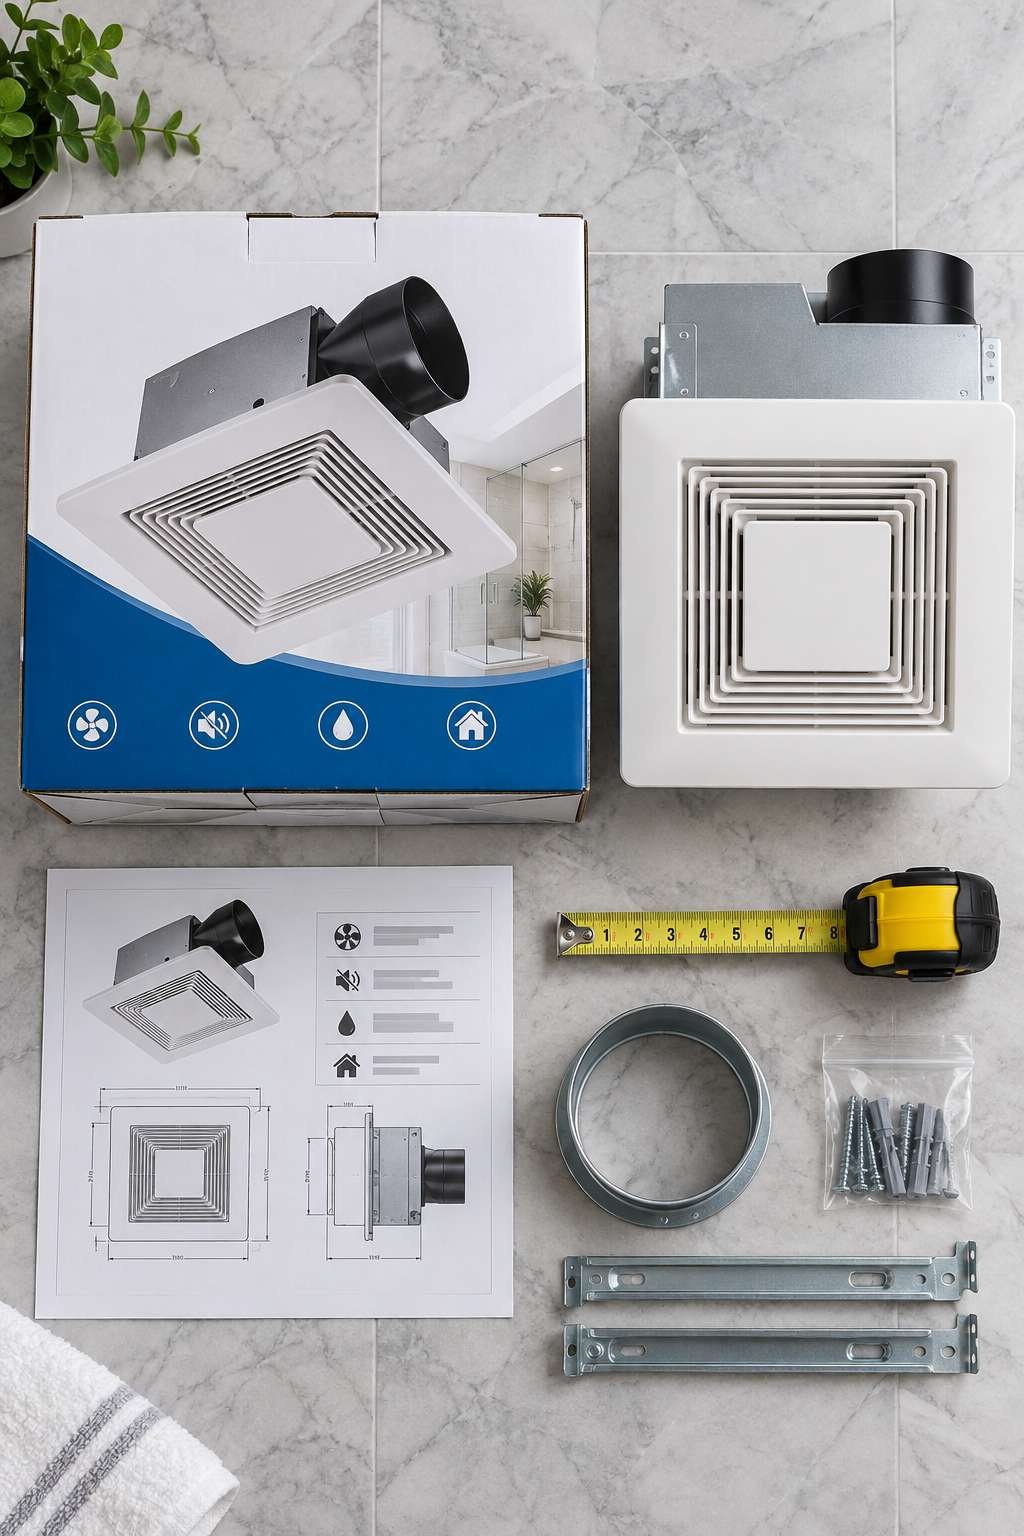
Beyond CFM, check the noise rating in sones — lower numbers mean quieter operation, with anything under 1.5 sones considered whisper-quiet by most standards. Also decide whether you want a simple ventilation-only unit or a combo model with built-in lighting or a humidity sensor.
Confirm the fan’s housing dimensions will fit your planned ceiling opening and that your attic space has enough clearance for the housing depth.
- Calculate CFM based on your bathroom’s square footage
- Choose a sone rating under 1.5 for quiet operation
- Decide between a ventilation-only unit or a combo fan-light
- Consider a humidity-sensing model for automatic operation
- Check attic clearance against the housing’s depth
- Confirm duct size compatibility before purchasing
4. Tools and Materials You’ll Need
Having everything on hand before you start prevents repeated trips up and down the ladder mid-project. A stud finder is worth having even for a ceiling job, since it helps you locate joists quickly for mounting.
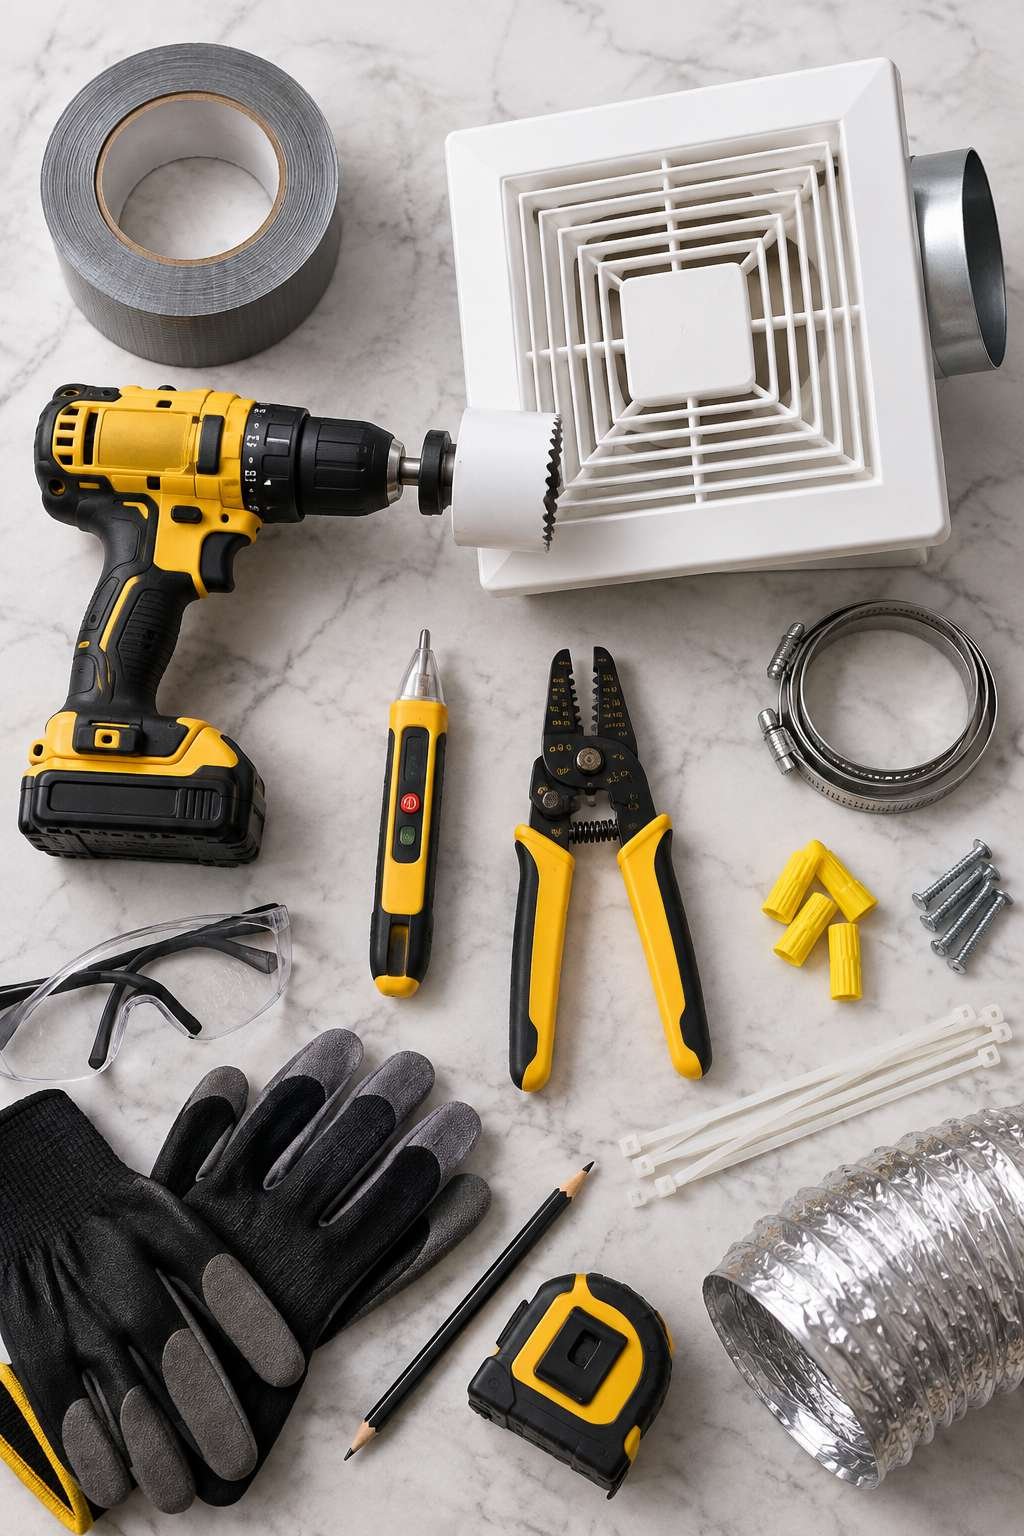
Beyond the basics, a few electrical-specific tools make the wiring portion much safer and faster to complete correctly the first time.
- Drill with a hole saw attachment
- Drywall saw for trimming the opening
- Non-contact voltage tester
- Wire strippers and wire nuts
- Metal duct clamps and foil duct tape
- Step ladder and a work light for attic visibility
5. Turning Off Power and Prepping the Work Area
Safety comes first on every step involving electrical work. Locate the correct breaker for the bathroom circuit and switch it off, then confirm with a non-contact voltage tester rather than trusting the panel labels alone.
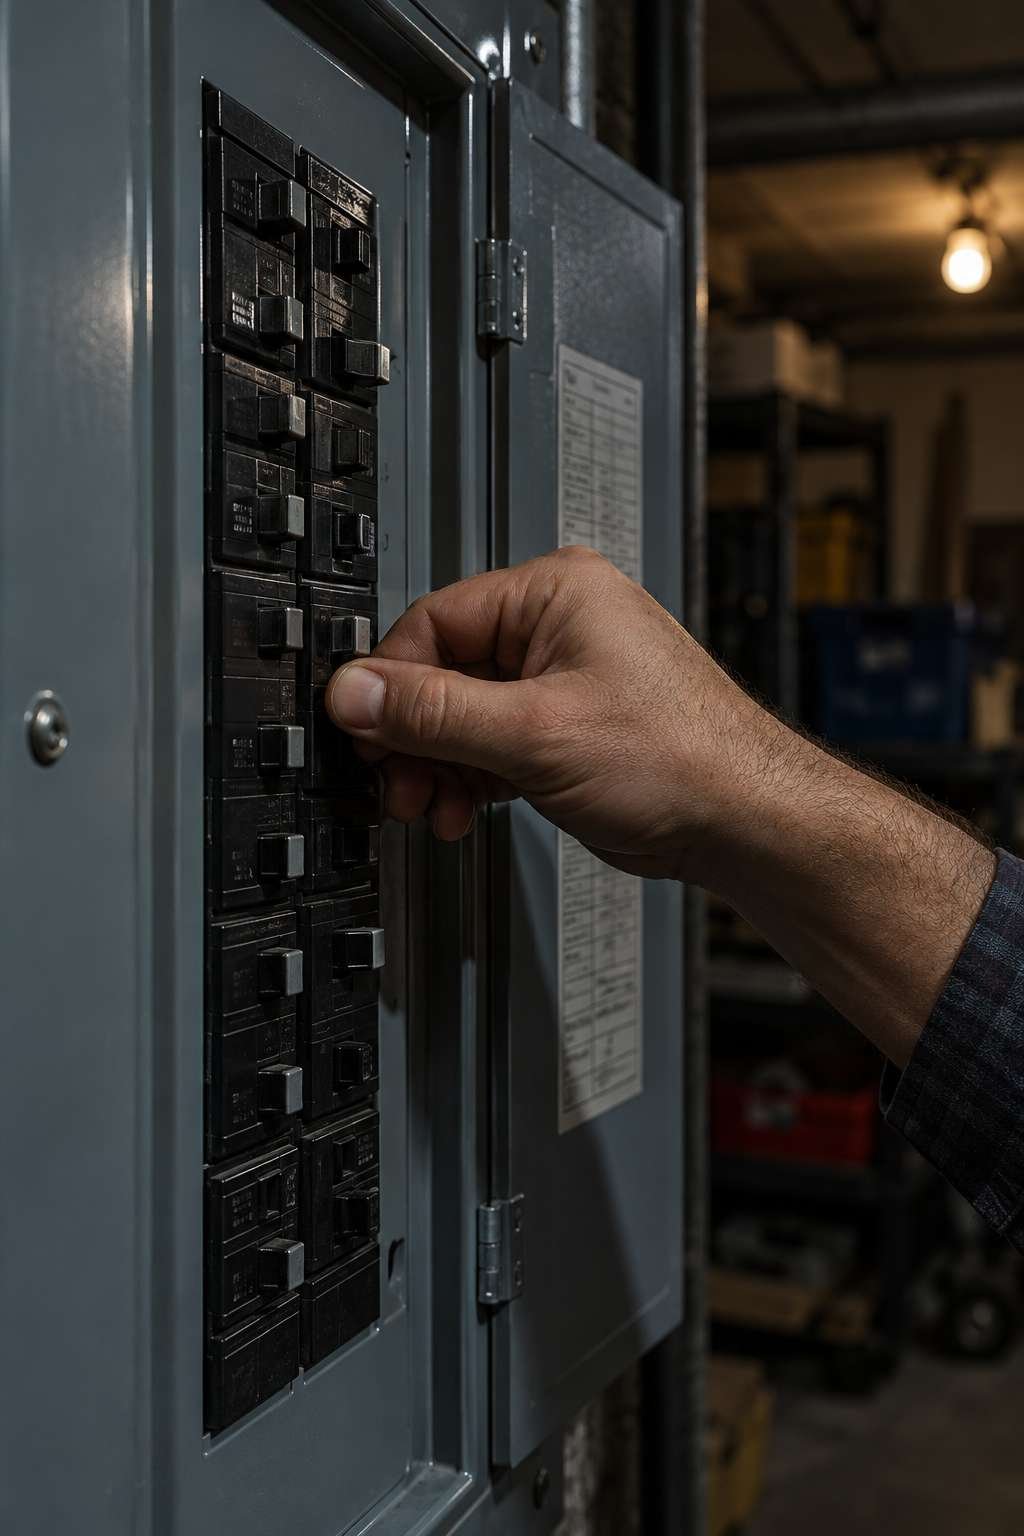
Lay down a drop cloth below your work area to catch dust and debris, since cutting into drywall and disturbing attic insulation both create a fair amount of mess. Clear the bathroom counter and floor of anything you don’t want covered in dust.
Take a moment to plan your route between the ceiling opening and the exterior vent point before cutting anything, so you’re not improvising duct routing partway through.
- Switch off the correct breaker, not just a wall switch
- Confirm power is off with a voltage tester before touching wires
- Lay drop cloths to catch dust and debris
- Clear the immediate work area of anything you want to protect
- Plan your duct route before cutting the ceiling opening
- Keep a flashlight handy for the attic portion of the job
6. Cutting the Ceiling Opening
With your fan’s mounting template in hand, mark the opening location on the ceiling, checking from above with a stud finder or a small inspection hole to confirm you’re clear of joists and existing wiring.
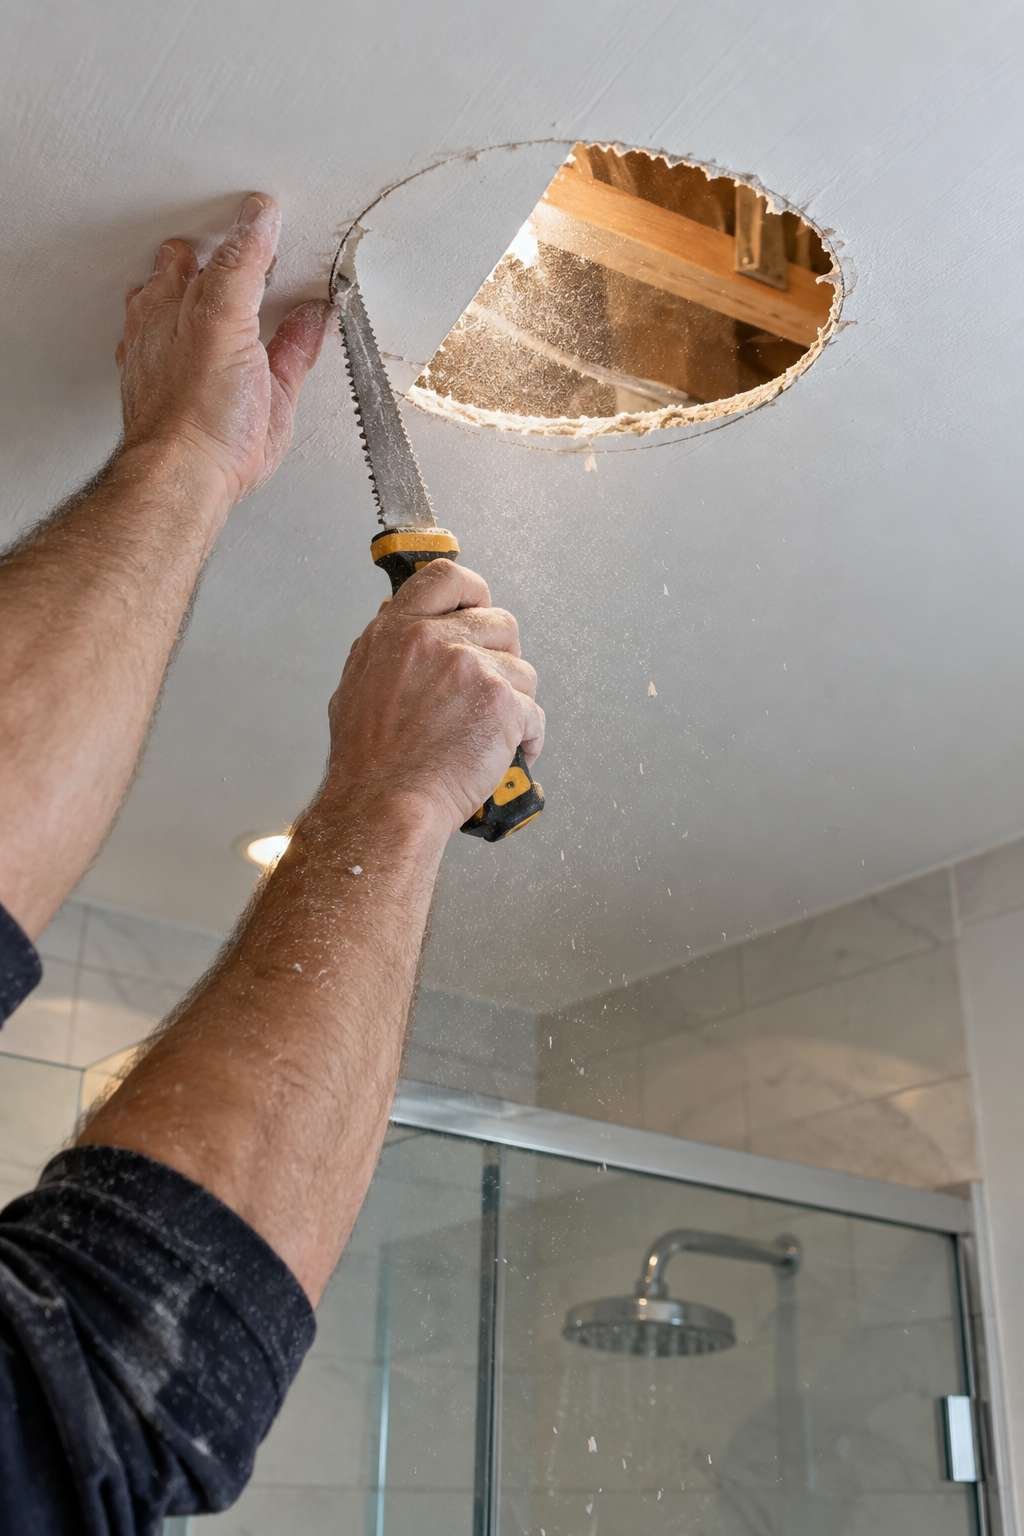
Use a drywall saw to cut along the marked outline carefully, checking periodically that you’re not cutting into anything unexpected. Once the opening is cut, remove any insulation immediately around the hole to give yourself room to work from above.
Vacuum out drywall dust from the opening before moving up to the attic to continue the installation.
- Mark the opening using the fan’s included template
- Verify you’re clear of joists and wiring before cutting
- Cut carefully and check periodically as you go
- Clear insulation immediately around the new opening
- Vacuum dust from the opening before proceeding
- Keep the cut piece of drywall in case you need to patch elsewhere
7. Mounting the Fan Housing and Connecting Ductwork
From the attic side, position the fan housing so it lines up with the ceiling opening below, then secure it to the ceiling joists using the adjustable bar hangers included with most fan kits.
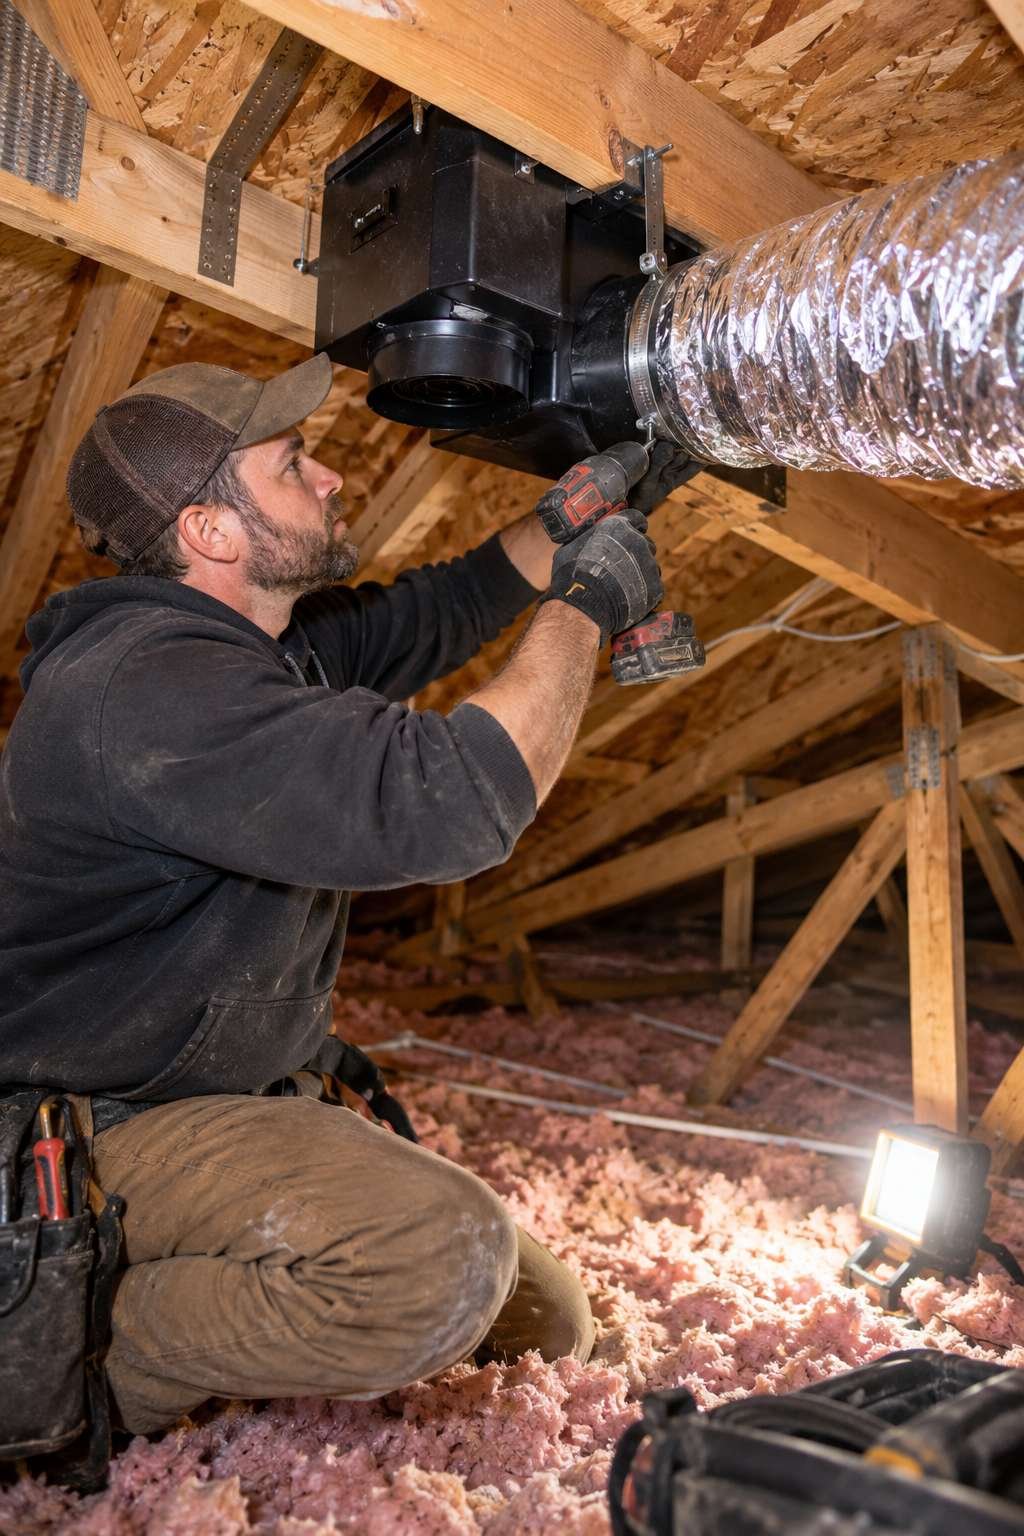
Once mounted, connect the ductwork to the housing’s port using a metal clamp, then wrap the connection with foil duct tape for a secure seal. Route the duct to your planned exterior vent point, supporting it along the way to prevent sagging or kinks.
Double-check every duct joint along the route is sealed, since gaps here let humid air leak into the attic rather than venting fully outside.
- Align the housing with the ceiling opening before securing it
- Use adjustable bar hangers to reach joists evenly
- Secure the duct to the housing port with a metal clamp
- Seal every connection with foil duct tape, not standard tape
- Support the duct run to prevent sagging or kinks
- Confirm the exterior vent cap opens and closes properly
8. Wiring the Fan
With the housing and ductwork in place, run wiring from your power source to the fan, following your local code for cable type and connection method. Connect wires using wire nuts, matching black-to-black, white-to-white, and ground-to-ground.
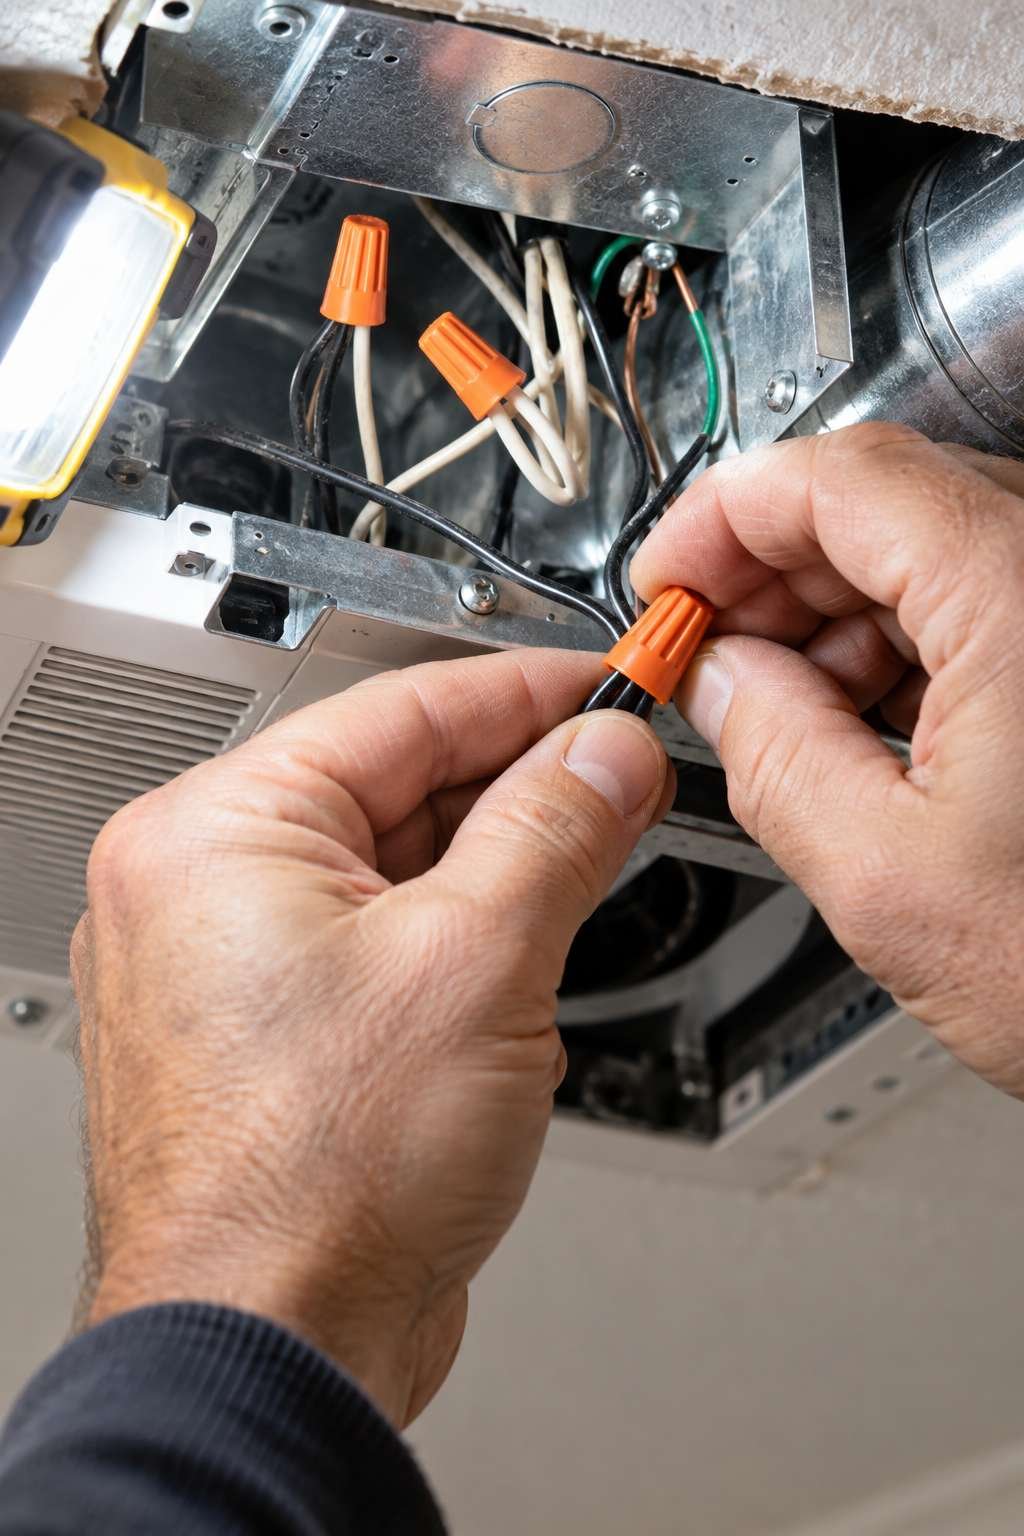
Tuck all connections neatly into the housing’s junction box, making sure nothing is pinched against the metal housing and no bare wire is exposed. If you’re adding a new switch rather than tying into an existing one, run cable back to the switch location as well.
Double-check every connection is secure before restoring power at the breaker.
- Match wire colors exactly for a correct connection
- Connect the ground wire securely to the housing’s ground screw
- Tuck wiring neatly to avoid pinching against metal edges
- Run new switch cable if you’re not using an existing switch
- Double-check every wire nut is snug before restoring power
- Never leave bare wire exposed inside the junction box
If your project is specifically about adding proper exhaust ventilation rather than a full fan-light combo, our companion post on how to install bathroom exhaust ventilation covers duct sizing and venting in additional depth.
9. Installing the Cover and Testing
Head back down to the bathroom and snap or screw the grille cover into place over the housing. Restore power at the breaker and flip the switch to confirm the fan runs.
Hold a piece of tissue paper near the grille to visually confirm airflow is being pulled through, and listen closely for any rattling that might suggest a loose screw or unbalanced blade. Let it run for several minutes to check for unusual heat or smell.

Check the exterior vent cap as well to confirm the flap is opening while the fan runs, which tells you the whole system is venting properly from end to end.
- Snap or screw the grille cover into its final position
- Restore power at the breaker before testing the switch
- Use a tissue test to confirm airflow strength
- Listen for rattling that could suggest a loose part
- Run the fan several minutes to check for heat or smell
- Confirm the exterior vent cap opens while the fan runs
10. Common Mistakes to Avoid
A few recurring mistakes account for most bathroom fan installations that underperform or fail early. Venting the duct into the attic space instead of outside is one of the most damaging, since it just relocates moisture into an area more prone to mold and wood rot.
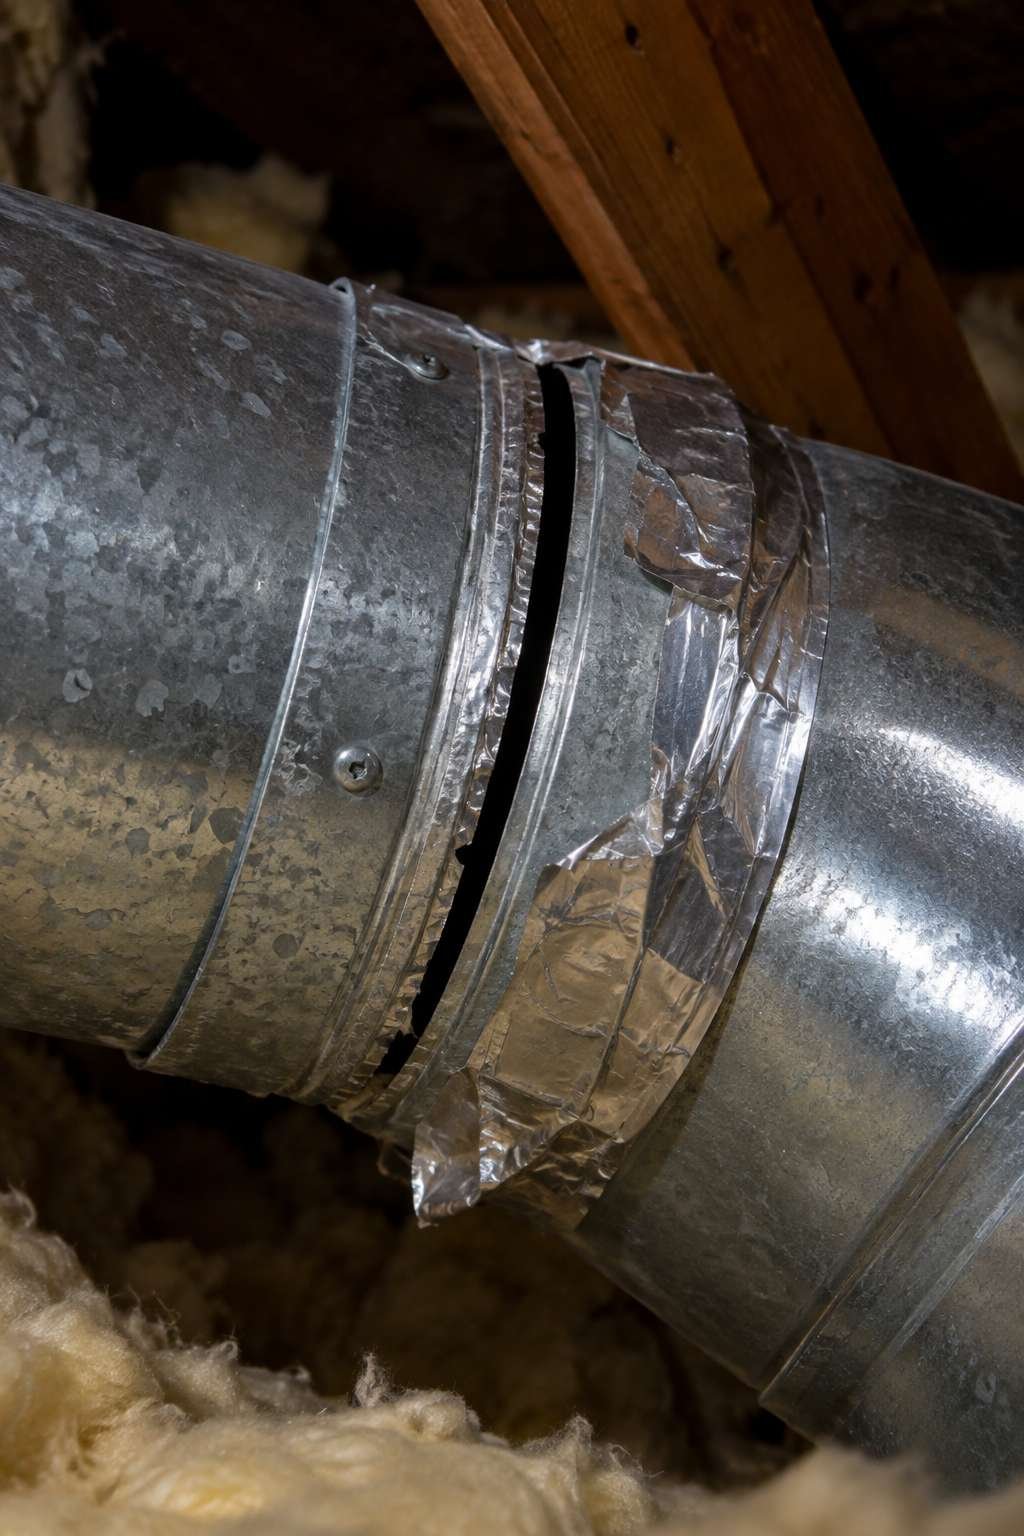
Undersizing the fan for the bathroom’s square footage is another common issue, leaving you with persistent fogging and lingering odors even after installation. Skipping duct insulation in cold climates can also cause condensation to form inside the duct, dripping back into the housing over time.
Taking a little extra care on sizing and venting at the start saves you from redoing the whole project later.
- Never vent ductwork into an attic space instead of outside
- Size the fan correctly for your bathroom’s square footage
- Insulate ductwork in cold climates to prevent condensation
- Seal every duct joint fully, not just the main connections
- Avoid skipping the permit step if your area requires one
- Don’t rush the wiring step — loose connections cause failures later
Frequently Asked Questions
How do you install bathroom exhaust ventilation correctly?
Proper exhaust ventilation means running sealed ductwork the shortest practical path from the fan housing to an exterior vent cap, never terminating in the attic space itself. Insulated ducting is recommended in colder climates to prevent condensation from forming and dripping back into the fan housing.
Installing a bathroom fan is one of those projects that looks more intimidating on paper than it actually is once you break it into its three core parts: the opening, the ductwork, and the wiring. Taking your time on each stage, especially the duct sealing and wiring connections, pays off with years of quiet, effective ventilation.
If your project involves swapping in a decorative fan-light combo rather than a simple exhaust unit, our related guide on how to install a bathroom ceiling fan covers the additional considerations for combo units, while how to install bathroom ventilation fan units without a light attachment focuses purely on airflow and duct sizing.

