


Color drenching has become one of the most talked-about design trends, and bathrooms are the perfect small space to try it. This technique involves saturating walls, trim, ceiling, and even fixtures in a single, unified color for a dramatic, immersive effect. Rather than fighting for attention, every surface works together to create a cohesive, enveloping atmosphere.
Unlike a single accent wall, color drenching removes visual breaks entirely, making even a tiny powder room feel intentional and bold. This approach works across countless styles, from moody jewel tones to soft, monochromatic pastels. This guide walks through exactly how to plan, execute, and style a fully color-drenched bathroom with confidence. See our tiny bathroom ideas for more direction in this style.
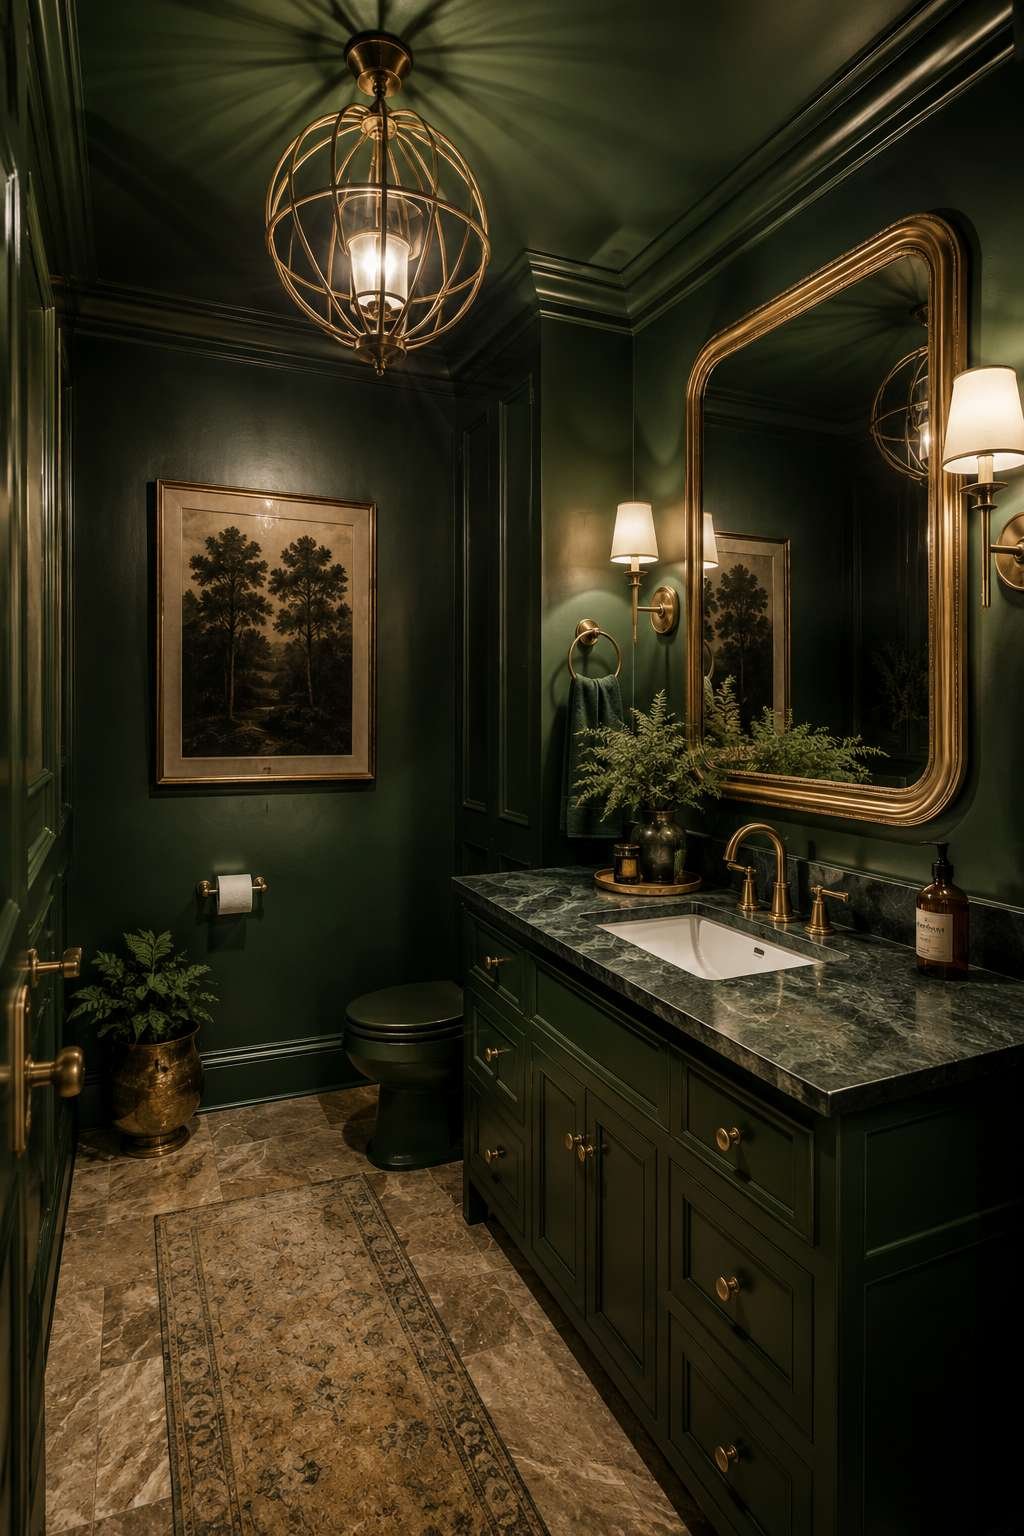
1. Choose the Right Color for Your Space
Selecting the right shade is the most critical decision in the entire color drenching process. Deep, saturated colors like forest green, navy, or terracotta work beautifully in bathrooms with strong natural light. Smaller or dimly lit bathrooms often benefit from softer, mid-tone colors that won’t feel overwhelming or cave-like.
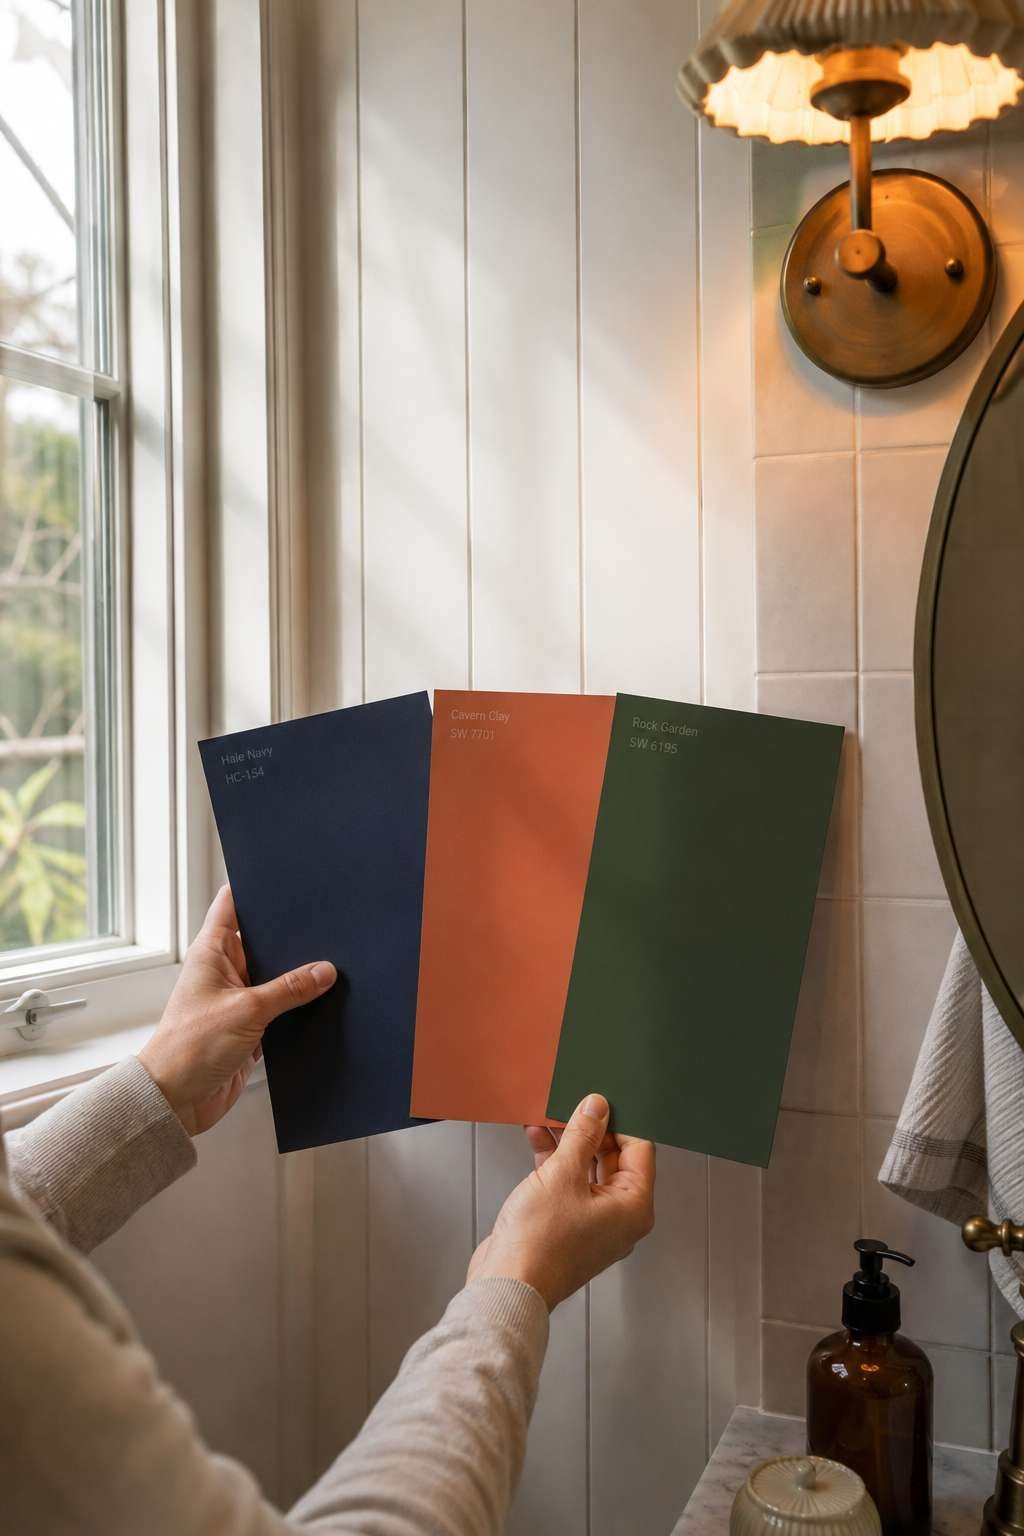
Consider how the color will feel in both natural and artificial lighting, since bathroom lighting often shifts throughout the day. Test large sample swatches directly on the walls, viewing them at different times of day before committing. This careful selection process ensures the final result feels intentional rather than accidental.
- Test swatches at different times of day
- Choose deeper tones for well-lit bathrooms
- Opt for mid-tone colors in smaller spaces
- Consider how color affects perceived room size
2. Cover Every Surface Consistently
The defining feature of color drenching is complete surface coverage, leaving no breaks in the color story. This means painting the walls, trim, ceiling, and door all in the exact same shade or sheen-matched variation. Skipping any surface, like leaving trim white, disrupts the immersive effect the technique is known for.
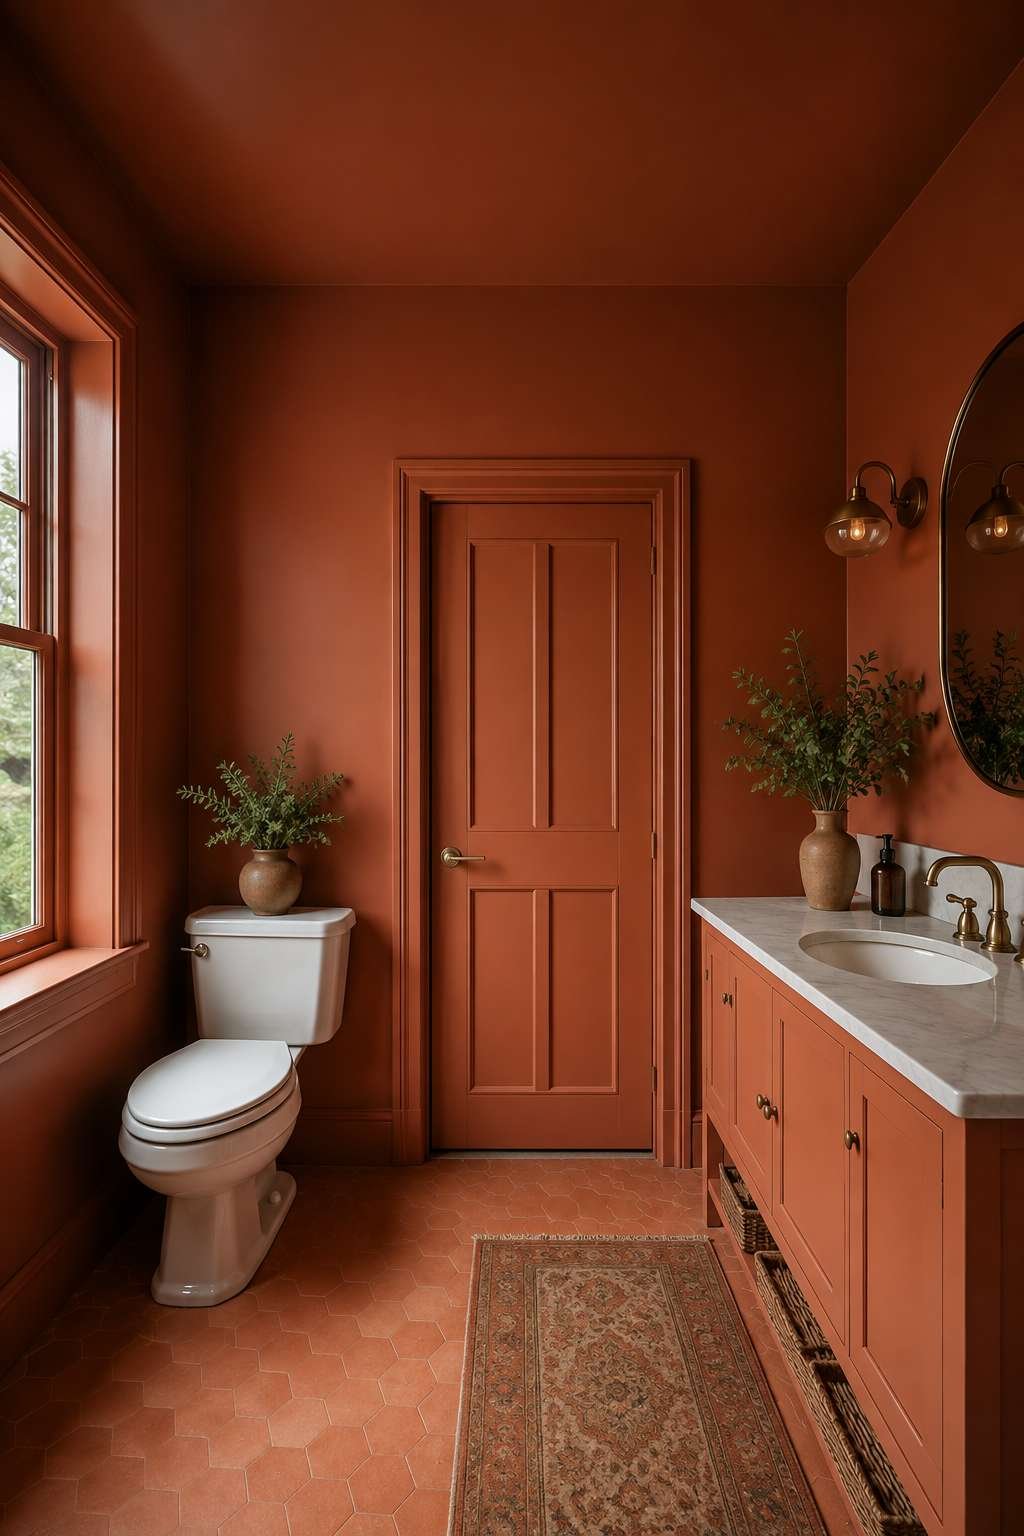
Plan your painting order carefully, starting with the ceiling, then moving to walls and finally trim and doors. Using the same color throughout, rather than similar-but-different shades, is essential for achieving a truly seamless look. This consistency is what separates color drenching from a simple bold paint job.
- Paint the ceiling, walls, trim, and doors identically
- Start painting from the ceiling downward
- Avoid mixing similar but mismatched shades
- Include door frames for full immersion
3. Select the Right Paint Sheen
Choosing appropriate sheens for different surfaces maintains a cohesive look while accounting for practical bathroom needs. Walls typically look best in a matte or eggshell finish, offering a soft, sophisticated appearance. Trim and doors benefit from a slightly higher sheen, like satin, for durability and subtle contrast.
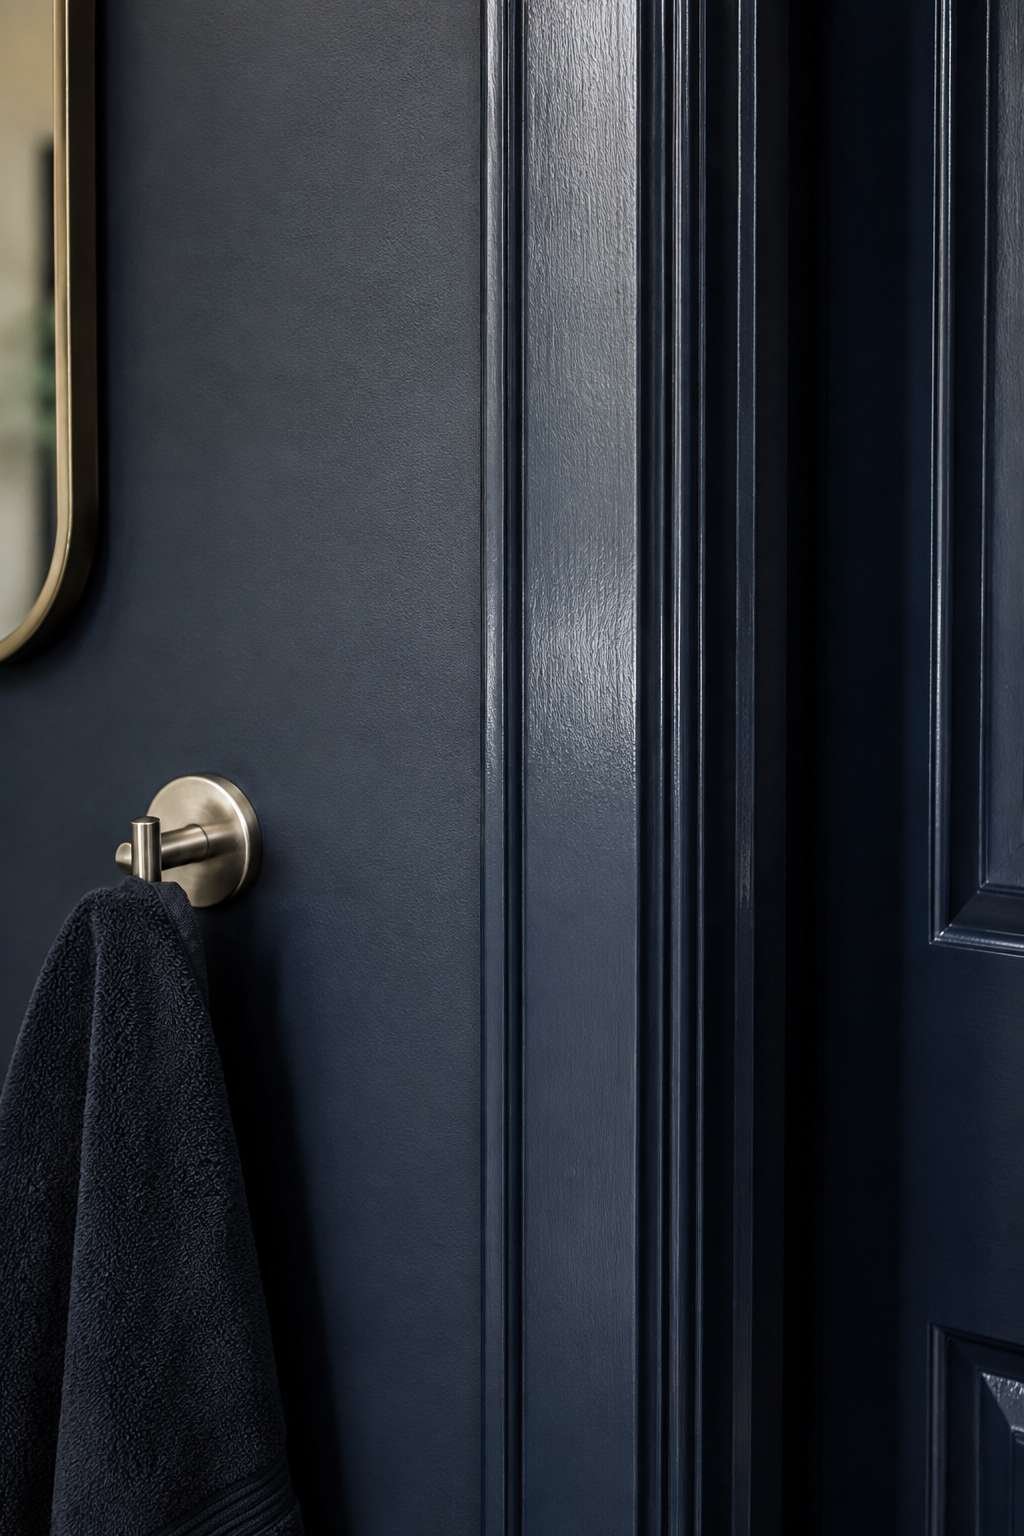
Bathrooms require moisture-resistant paint regardless of sheen choice, since humidity levels are consistently higher than other rooms. Look specifically for paints labeled “bathroom” or “kitchen and bath” formulations, which resist mildew and peeling. This small detail ensures your color-drenched bathroom looks fresh for years rather than months.
- Choose matte or eggshell for wall surfaces
- Use satin sheen for trim and doors
- Select moisture-resistant, bathroom-rated paint
- Avoid flat finishes in high-humidity areas
4. Extend the Color to Fixtures and Cabinetry
For the most immersive color-drenched effect , extend the chosen shade beyond just walls and trim. Painting a vanity, built-in shelving, or even tile grout in the same color intensifies the enveloping atmosphere. This extra step transforms a color-drenched wall into a truly fully saturated room. Our vanity mirror ideas has more inspiration along these same lines.
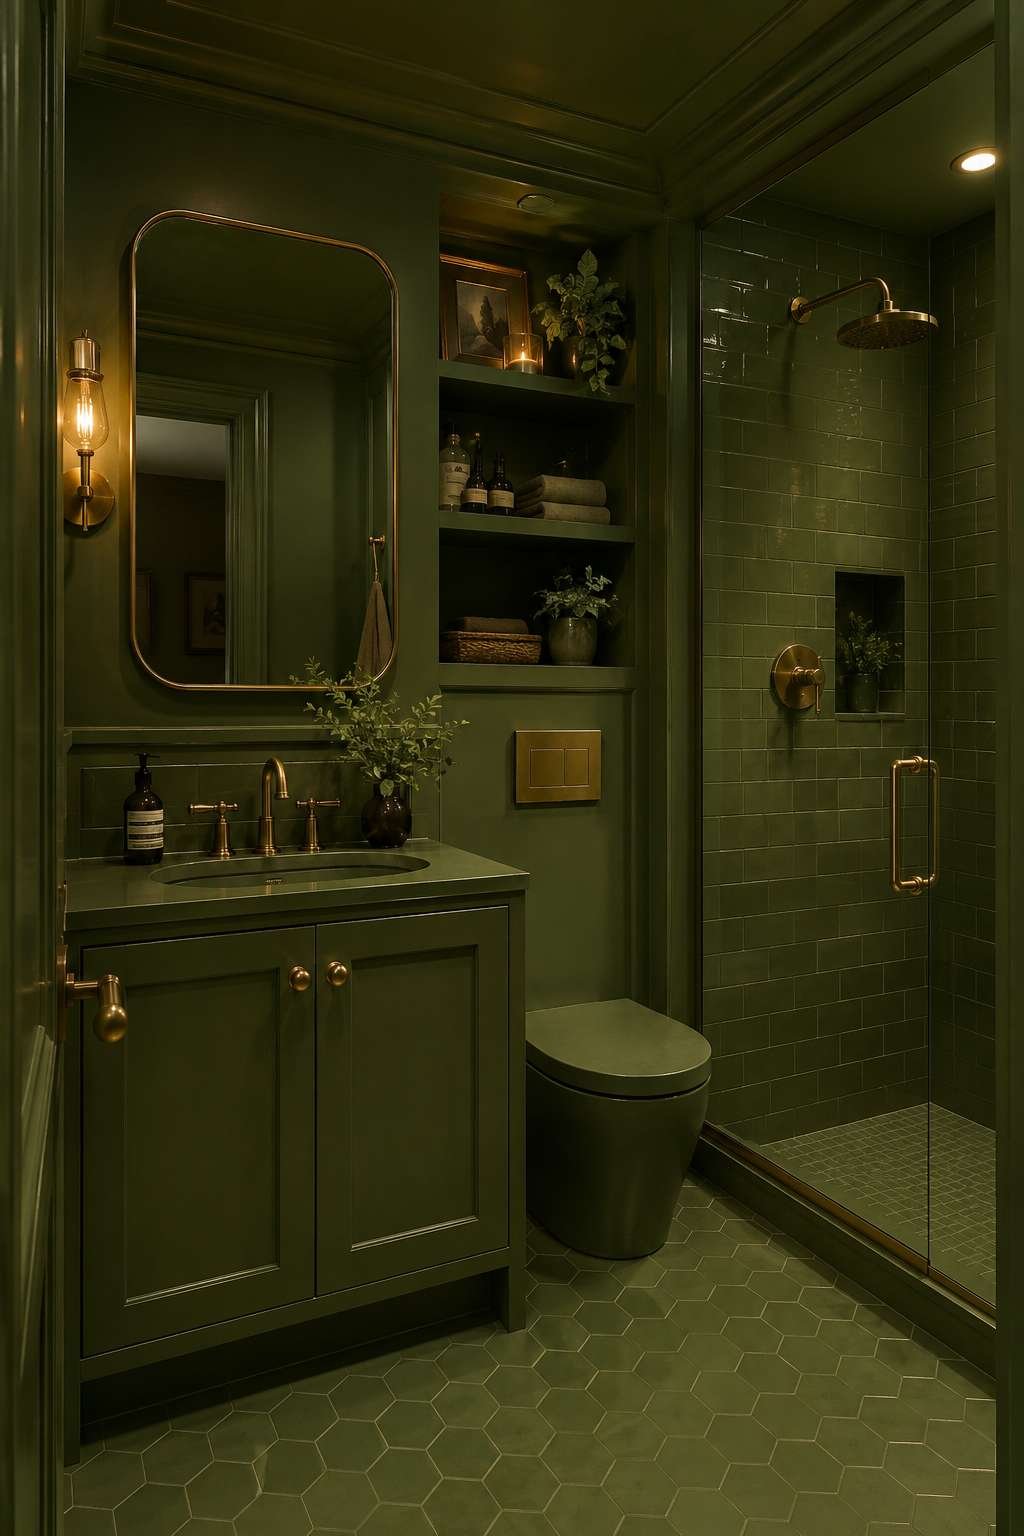
Consider painted tile as an option for older bathrooms with dated but structurally sound surfaces. Specialty tile paint allows you to unify a shower surround or floor without the cost of full retiling. This technique works particularly well when budget constraints limit a complete bathroom renovation.
- Paint the vanity to match surrounding walls. Our vanity size charts breaks down the exact measurements to plan around.
- Consider specialty tile paint for cohesive flooring
- Match grout color to walls when possible
- Extend color to built-in shelving or niches
5. Balance the Look With Texture and Materials
A monochromatic color scheme risks feeling flat without deliberate texture. Incorporate materials like natural stone, woven textiles, or brushed metal fixtures to add dimension within the single-color palette. These textural contrasts keep the eye engaged despite the absence of competing colors.
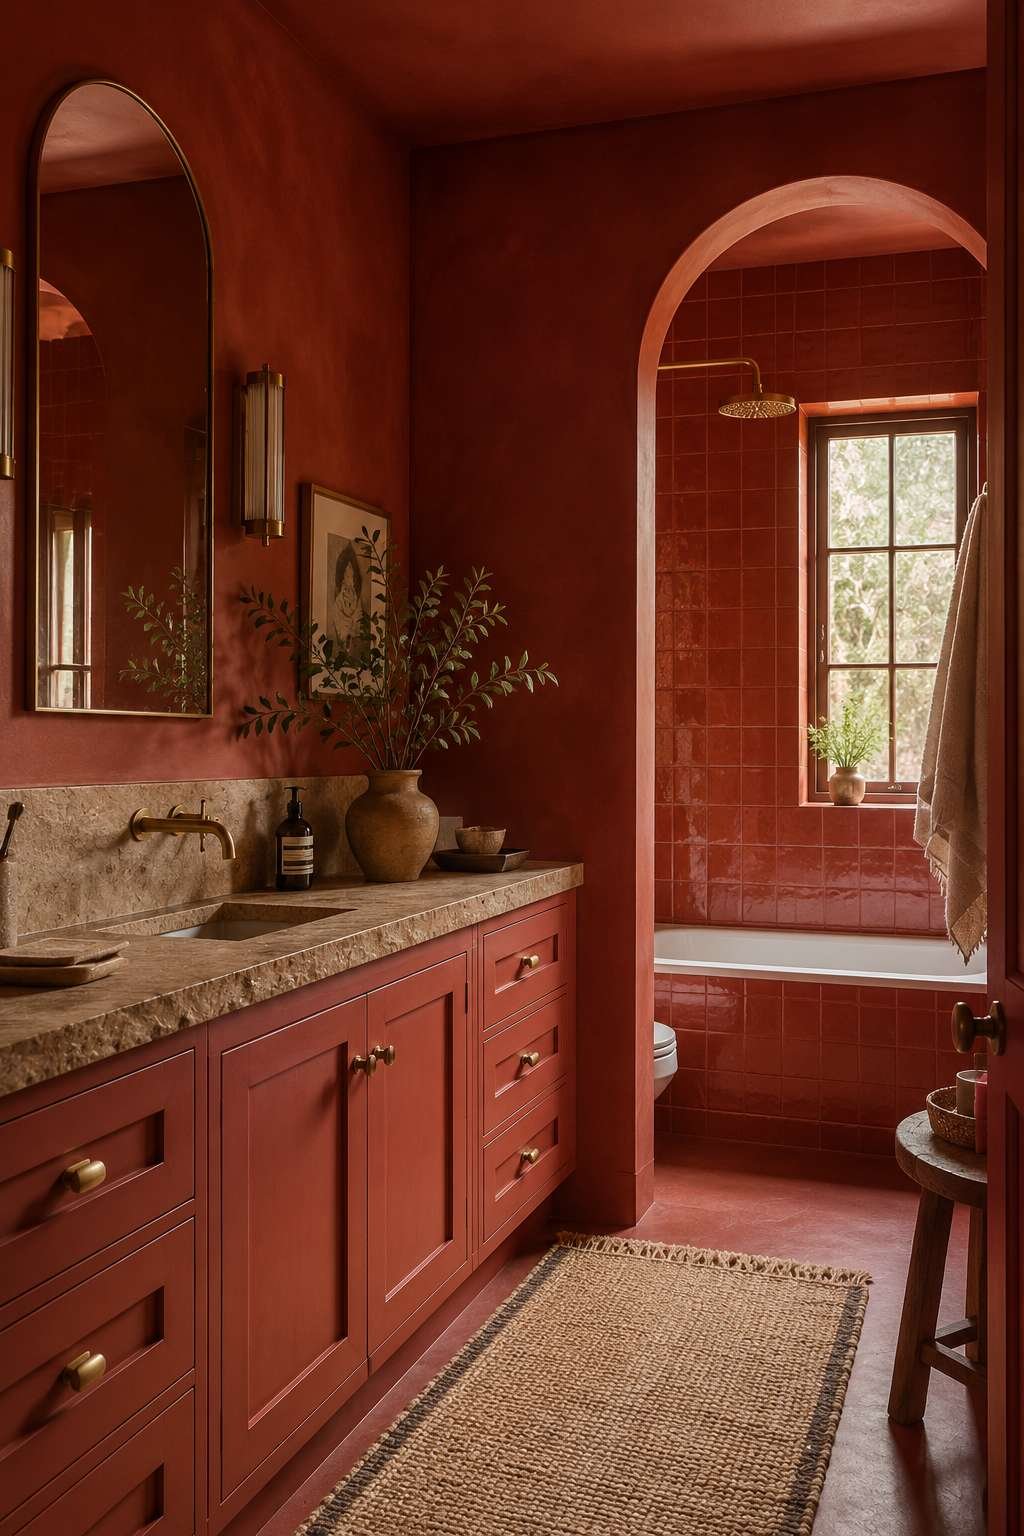
Choose hardware finishes that either blend seamlessly into the color scheme or provide intentional contrast, such as brushed brass against deep green. Layering in a natural fiber bath mat or linen shower curtain also introduces subtle variation. This balance prevents the space from feeling overly saturated or one-dimensional.
- Add natural stone or wood accents for texture
- Choose hardware that contrasts or blends intentionally
- Layer in woven or linen textiles for softness
- Use brushed metal fixtures to add dimension
6. Incorporate Lighting Strategically
Proper lighting design becomes even more important in a fully color-drenched bathroom. Deep, saturated colors absorb more light than neutral tones, so plan for additional light sources to prevent the space from feeling dark. Layer ambient, task, and accent lighting for a balanced, functional result.
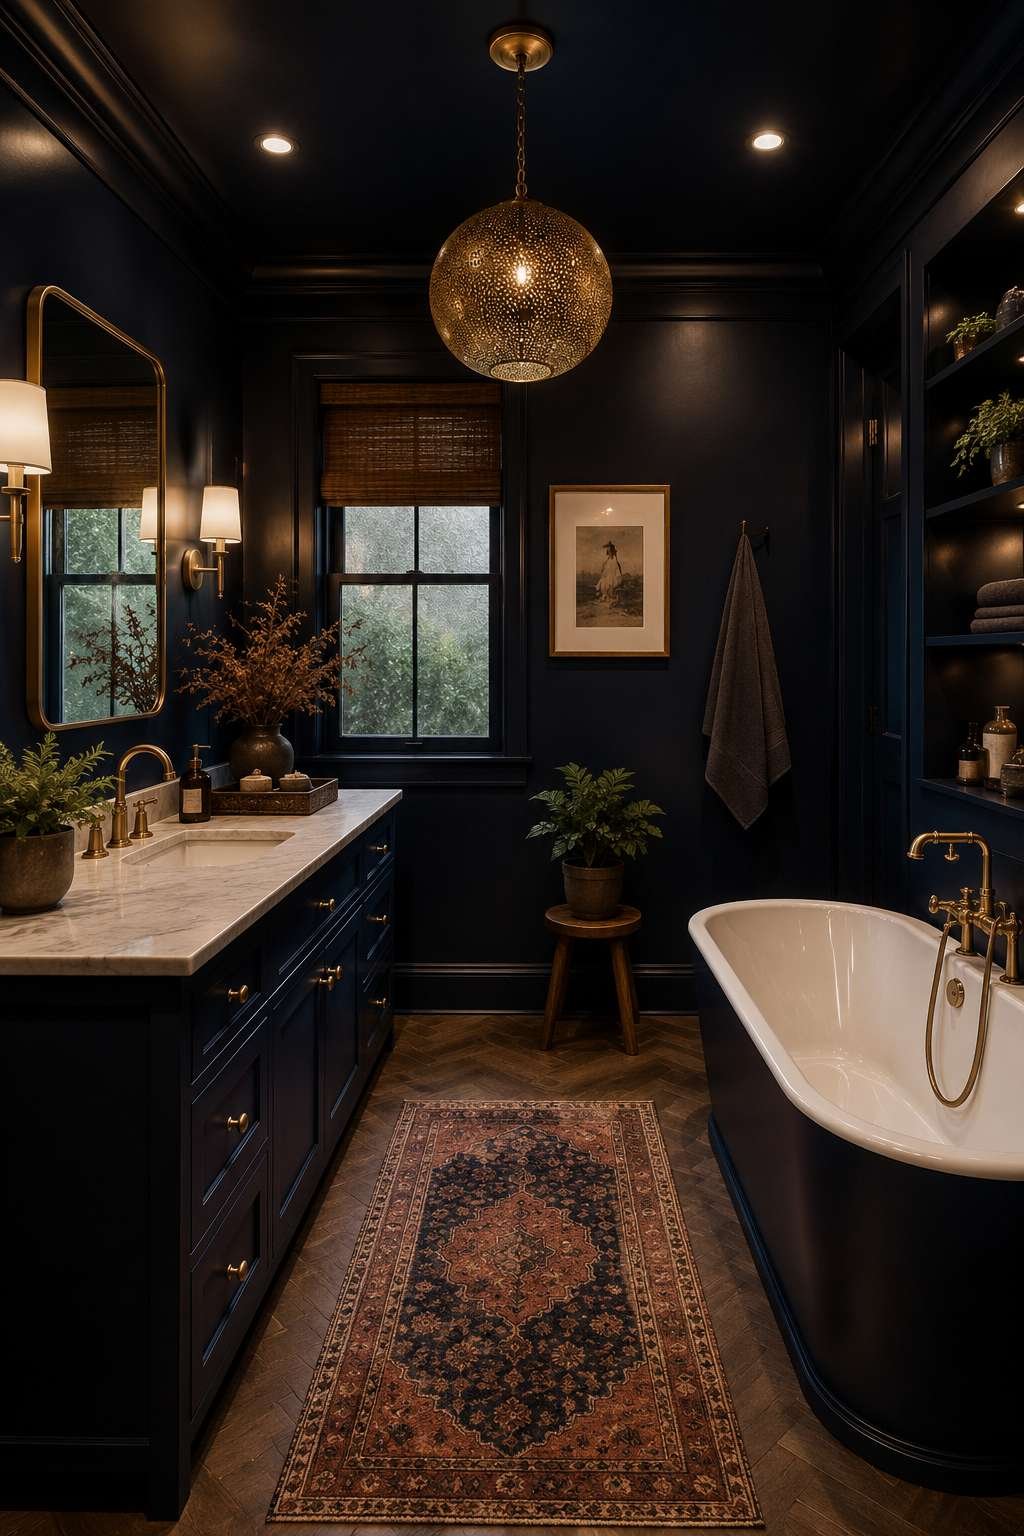
Consider adding a statement light fixture that complements rather than competes with the wall color. Warm-toned bulbs generally suit deep, moody colors better than cool white light, which can feel harsh against saturated walls. Thoughtful lighting ensures the color-drenched effect feels inviting rather than cavernous.
- Layer ambient, task, and accent lighting
- Choose warm-toned bulbs for moody colors
- Add a statement fixture as a focal point
- Increase overall light sources in darker color schemes
7. Style With Minimal, Intentional Accents
Once the color drenching is complete, resist the urge to overdecorate the space. A few carefully chosen accents, like a single piece of art or a small plant, complement the bold backdrop without competing for attention. Minimal styling allows the color itself to remain the room’s clear focal point.
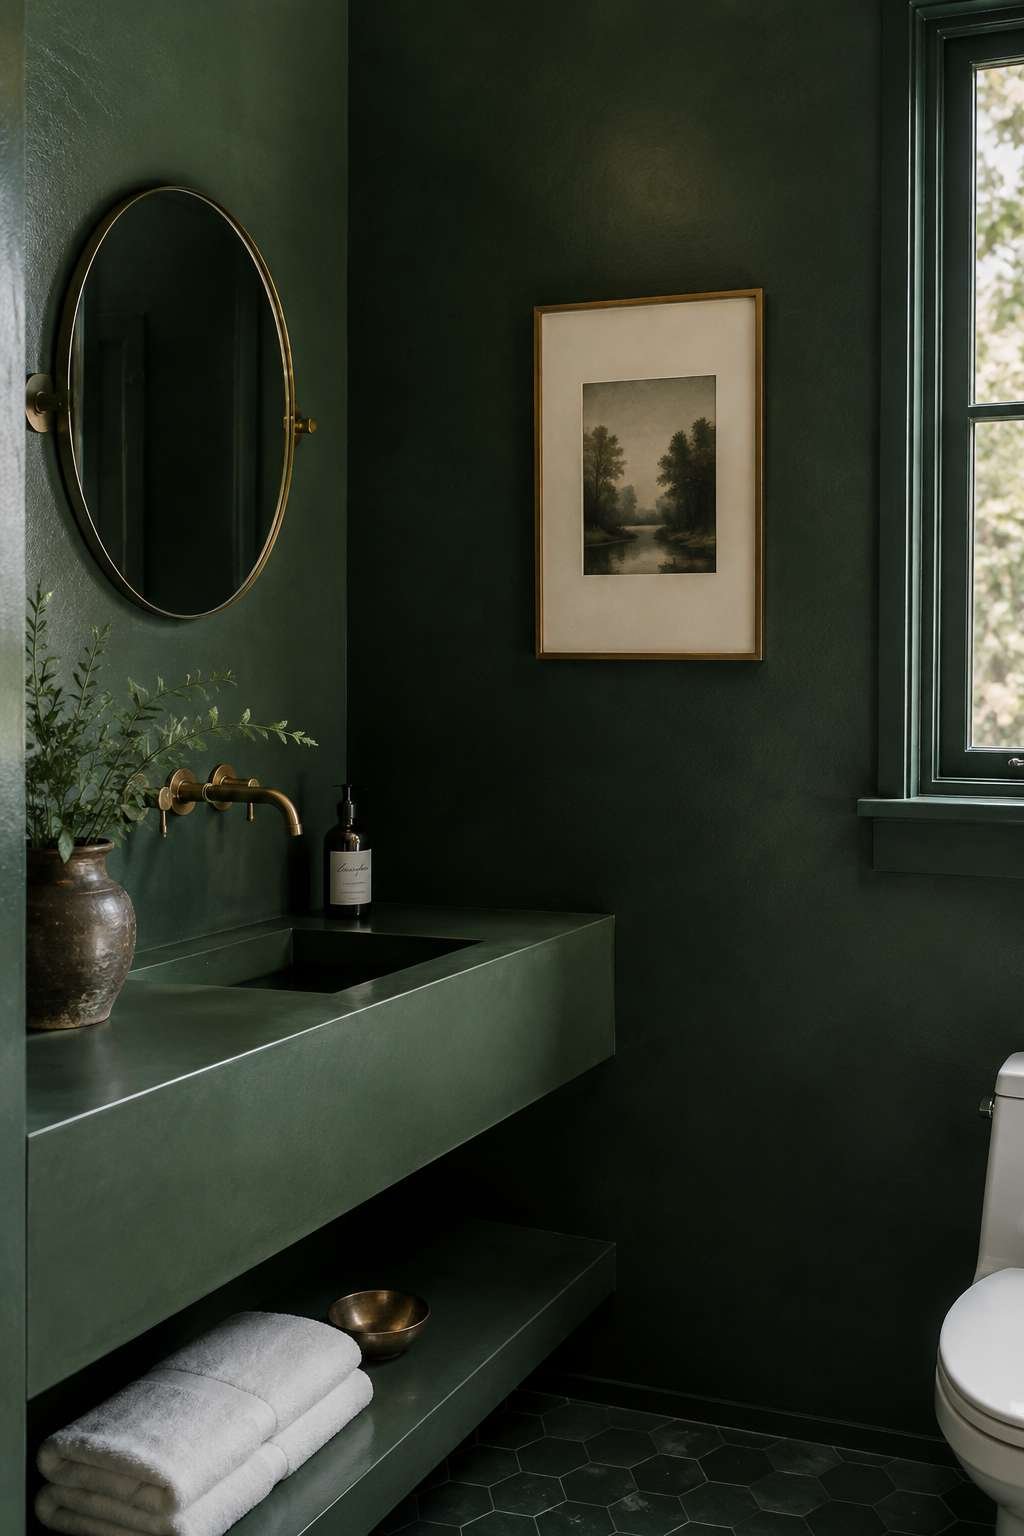
Choose accessories in neutral or metallic tones that won’t clash with the saturated color scheme. A simple white towel, a brass mirror, or a ceramic soap dish all work well against nearly any drenched color. This restrained approach keeps the finished bathroom feeling sophisticated rather than overwhelming.
- Limit accessories to neutral or metallic tones
- Choose one statement piece rather than several
- Keep towels and textiles simple and understated
- Let the wall color remain the focal point
Color drenching a bathroom is a bold but achievable way to create a truly memorable, immersive space. Choosing the right shade, covering every surface consistently, and balancing the look with texture all contribute to a successful result. This technique proves that even the smallest bathroom can make a striking design statement.
Approach the project with patience, testing swatches thoroughly before committing to a full room. With careful planning and consistent execution, a color-drenched bathroom becomes one of the most distinctive and personal spaces in your entire home.

