


A steamy mirror after every shower is more than an inconvenience — it’s a sign your bathroom is trapping moisture it shouldn’t. Learning how to add a bathroom fan is one of the most practical upgrades a homeowner can tackle, and it protects your walls, paint, and air quality for years to come. Trapped humidity encourages mold growth and slowly damages drywall, grout, and even wood trim.
The good news is that installing an exhaust fan is a manageable weekend project for anyone comfortable with basic tools. You don’t need to be a licensed electrician to get a clean, code-compliant result, though a little patience with wiring and ductwork goes a long way. This guide walks through every stage, from sizing the right unit to sealing the final vent cap, so you can approach the project with confidence.

Whether you’re renovating an older home or simply adding ventilation that was never installed, the process below breaks the job into manageable, sequential steps.
1. Why Your Bathroom Needs an Exhaust Fan
Every time you shower or run hot water, your bathroom fills with airborne moisture that has nowhere to go without proper ventilation. Over time, that trapped humidity seeps into painted surfaces, ceiling drywall, and even the subfloor around tubs and showers. A functioning fan pulls that moist air outside before it can settle and cause lasting damage.
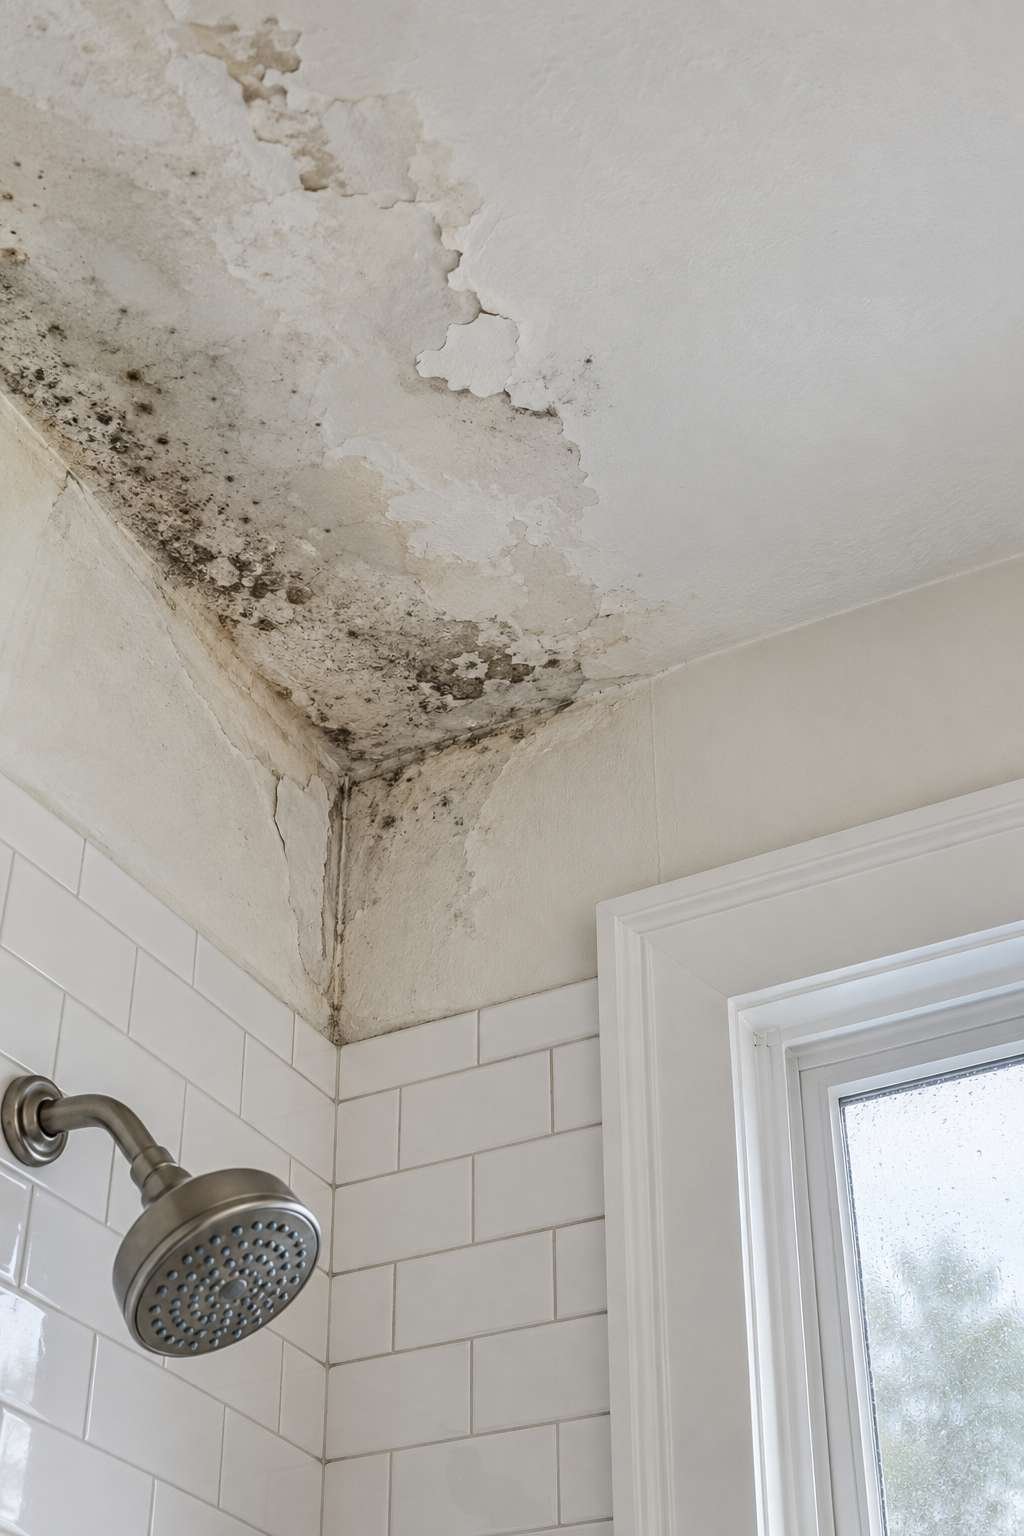
Beyond moisture control, a good fan also clears out lingering odors and airborne particles that build up in a small, enclosed space. Building codes in most regions now require mechanical ventilation in any bathroom without an operable window, which makes this upgrade both practical and often necessary for resale value.
- Prevents mold and mildew from forming on ceilings and grout lines
- Protects painted drywall from peeling and bubbling
- Reduces lingering odors after use
- Helps meet local building code requirements
- Extends the life of bathroom fixtures and cabinetry
- Improves overall indoor air quality
2. Checking Your Bathroom’s Ventilation Requirements
Before buying anything, figure out how much airflow your specific bathroom actually needs. Fans are rated in CFM (cubic feet per minute), and the right rating depends on your bathroom’s square footage. A fan that’s too small won’t clear moisture fast enough, while an oversized one wastes energy and adds unnecessary noise.
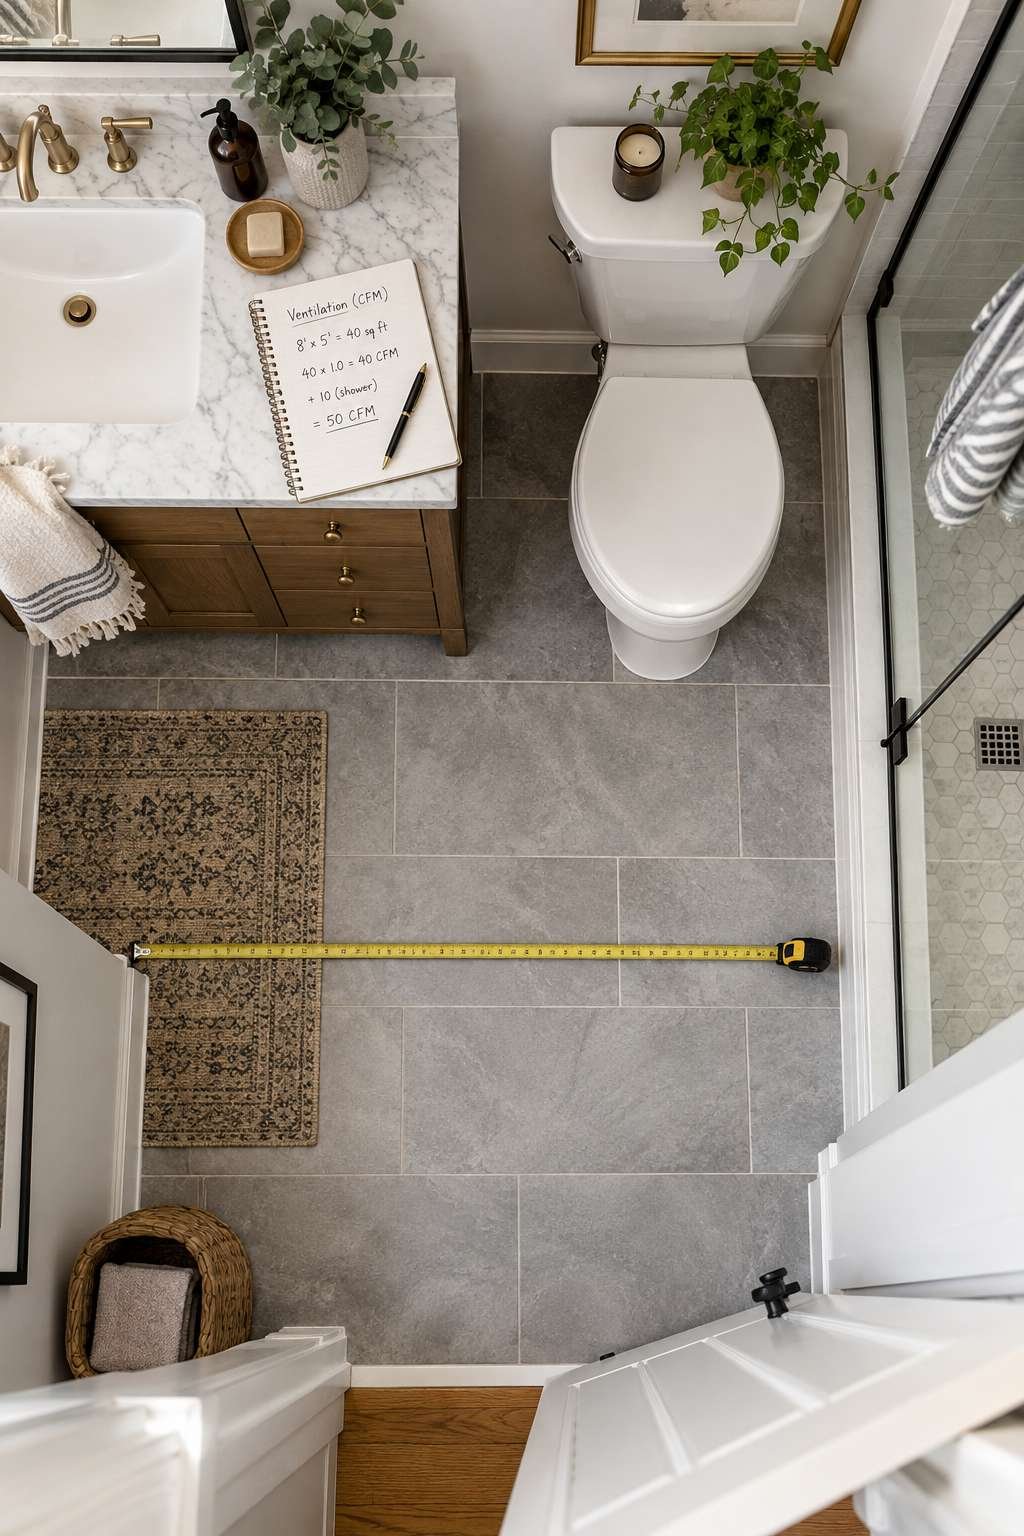
A simple rule many contractors use is one CFM per square foot of floor space for bathrooms under 100 square feet. If your bathroom has a separate toilet enclosure, a jetted tub, or a multi-head shower, you’ll want to add extra CFM for each of those fixtures. Checking your local building code is also worth the time, since some municipalities set minimum requirements.
- Measure your bathroom’s total square footage first
- Add extra CFM for enclosed toilet rooms or large tubs
- Check local code minimums before purchasing
- Consider ceiling height, since taller rooms need more airflow
- Account for humidity levels if you live in a wet climate
- Look up manufacturer sizing charts for exact recommendations
3. Choosing the Right Bathroom Fan
With your CFM requirement in hand, it’s time to compare actual fan models. Modern fans vary widely in noise level, measured in sones, so pay attention to that spec if a quiet bathroom matters to you. Many premium models now run under 1.0 sone, which is noticeably quieter than older builder-grade units.
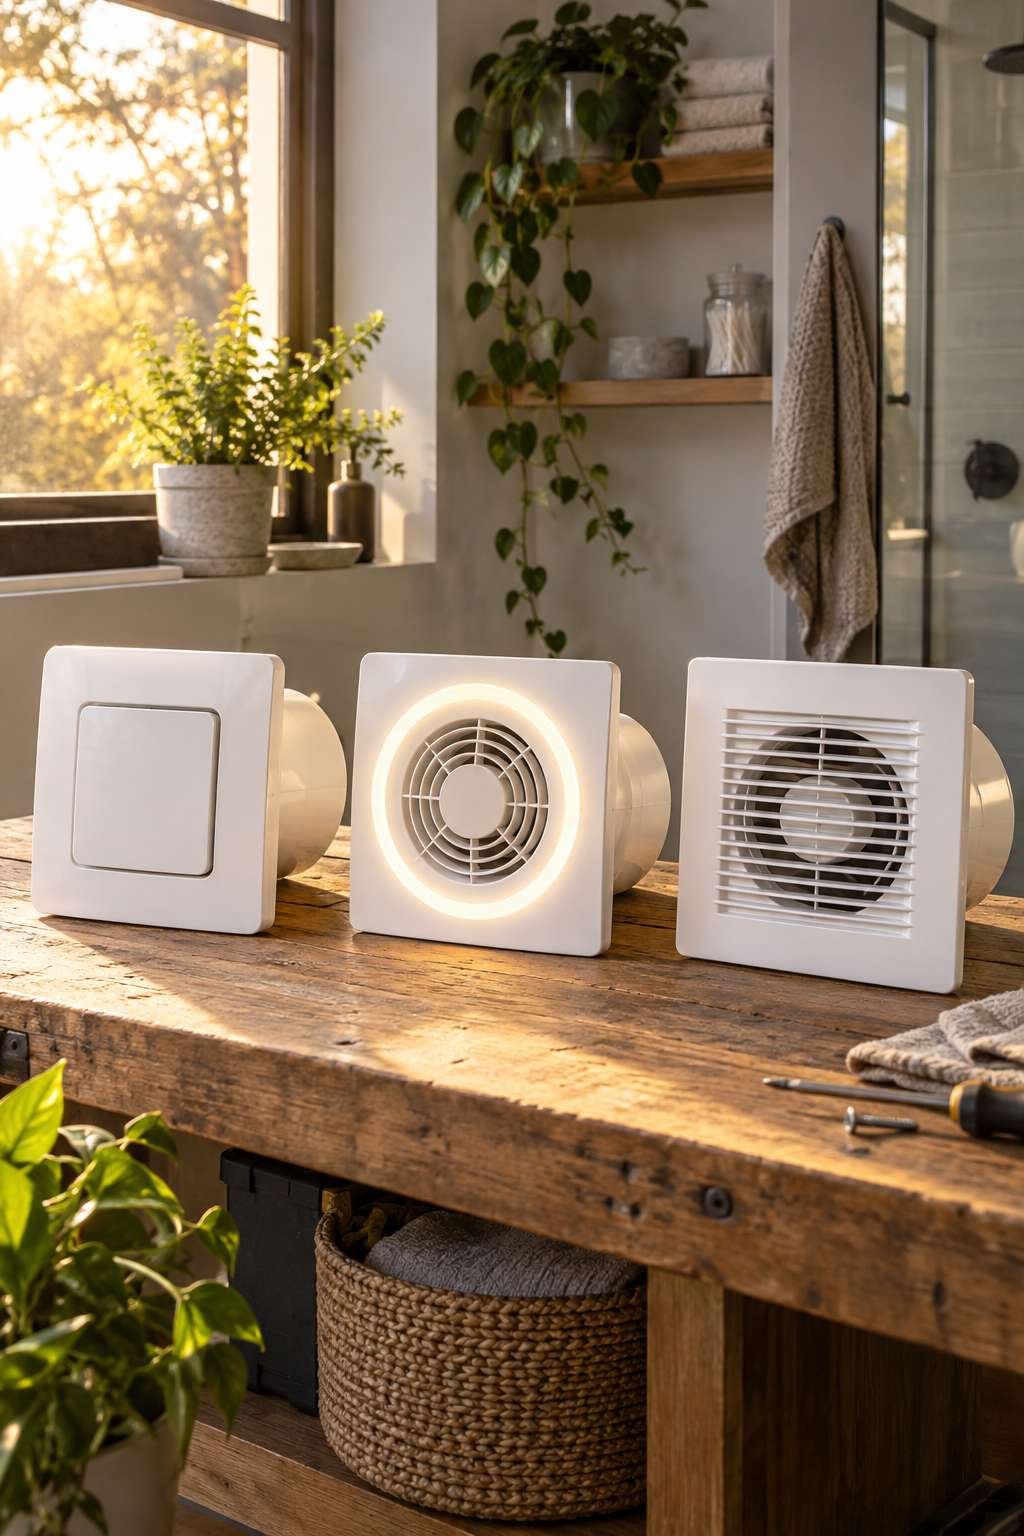
Some fans also come bundled with a built-in LED light or a humidity sensor that automatically triggers the fan when moisture levels rise. These combo units add convenience but typically cost more and may require additional wiring. Think about how this upgrade fits into your broader plans, since how much to add a bathroom feature like this can shift depending on whether you choose a basic model or a smart, sensor-equipped one.
- Match the CFM rating to your bathroom’s calculated needs
- Choose a sone rating of 1.5 or lower for quieter operation
- Decide if you want a humidity-sensing auto-on feature
- Consider combo units with built-in lighting or heaters
- Check the fan’s duct size compatibility before buying
- Look for ENERGY STAR certification to save on utility costs
4. Tools and Materials You’ll Need
Gathering everything ahead of time keeps the project moving without frustrating mid-job trips to the hardware store. Most of these tools are common enough that you may already own several, but a few specialty items, like a hole saw or duct tape rated for HVAC use, are worth picking up specifically for this job.
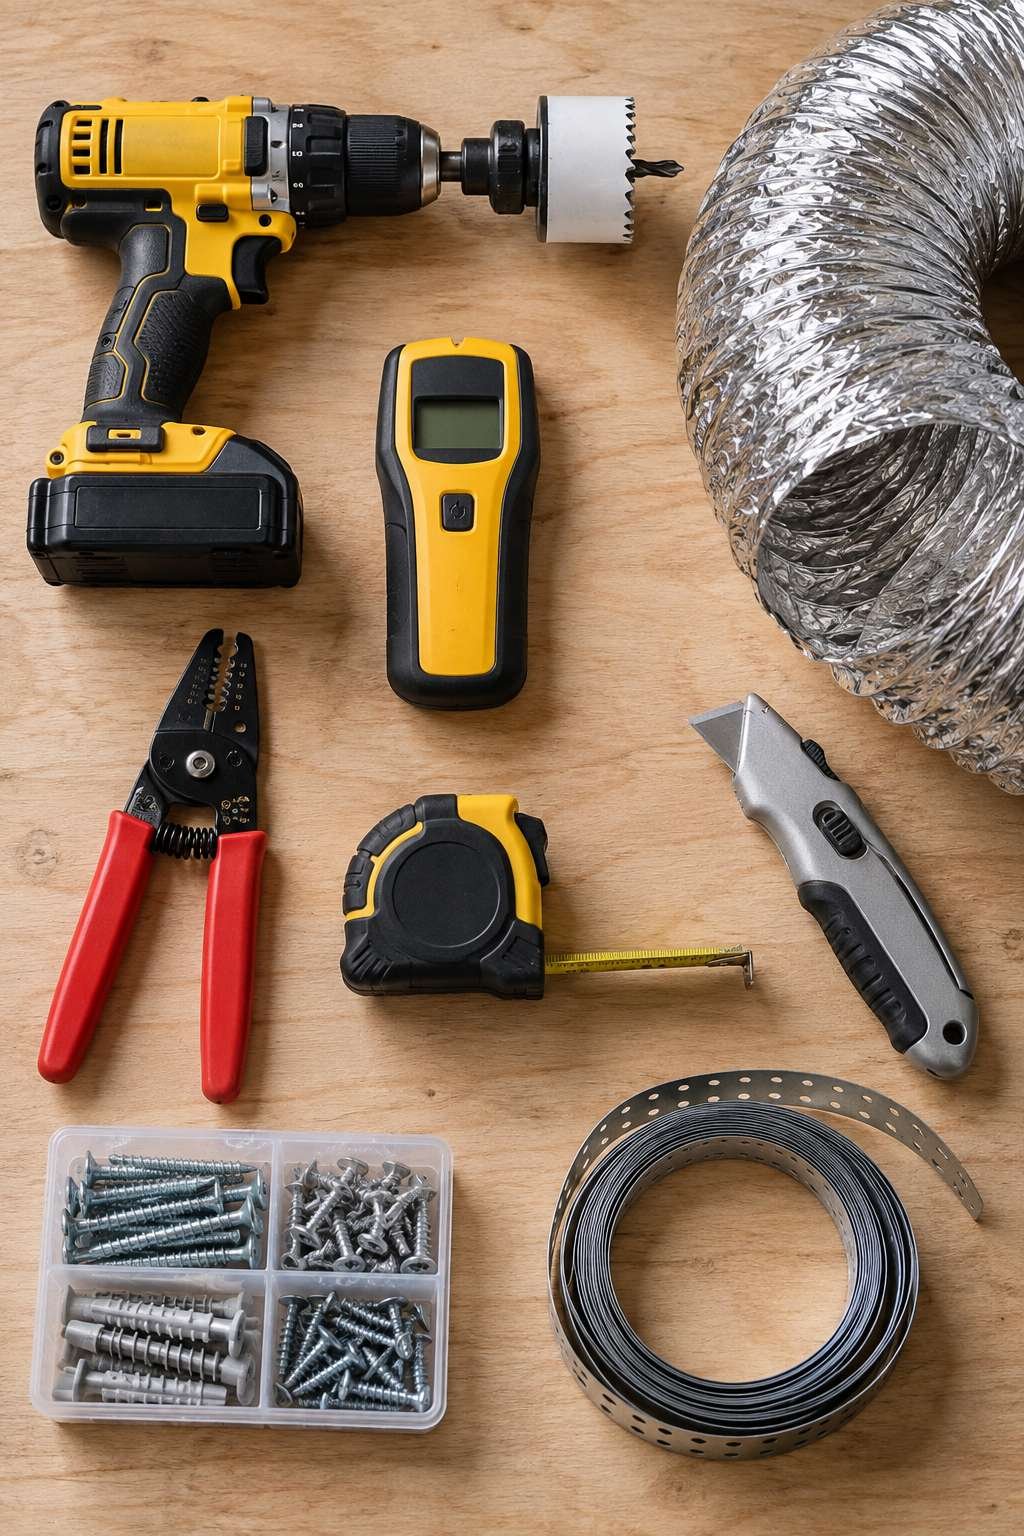
Having the right safety gear matters just as much as the tools themselves, since you’ll be working near electrical wiring and possibly in a tight attic space. Take time to double-check your materials list against the fan’s included manual, since kits vary slightly between manufacturers.
- Cordless drill with a hole saw attachment
- Stud finder to locate ceiling joists
- Insulated wire strippers and electrical tape
- Flexible or rigid ductwork matching your fan’s outlet size
- Roof or wall vent cap with a backdraft damper
- Safety glasses, dust mask, and work gloves
5. Turning Off Power and Prepping the Work Area
Safety comes first on any electrical project, so start by shutting off power to the bathroom circuit at your breaker panel. Use a non-contact voltage tester at the existing light fixture or switch to confirm the power is genuinely off before touching any wires.
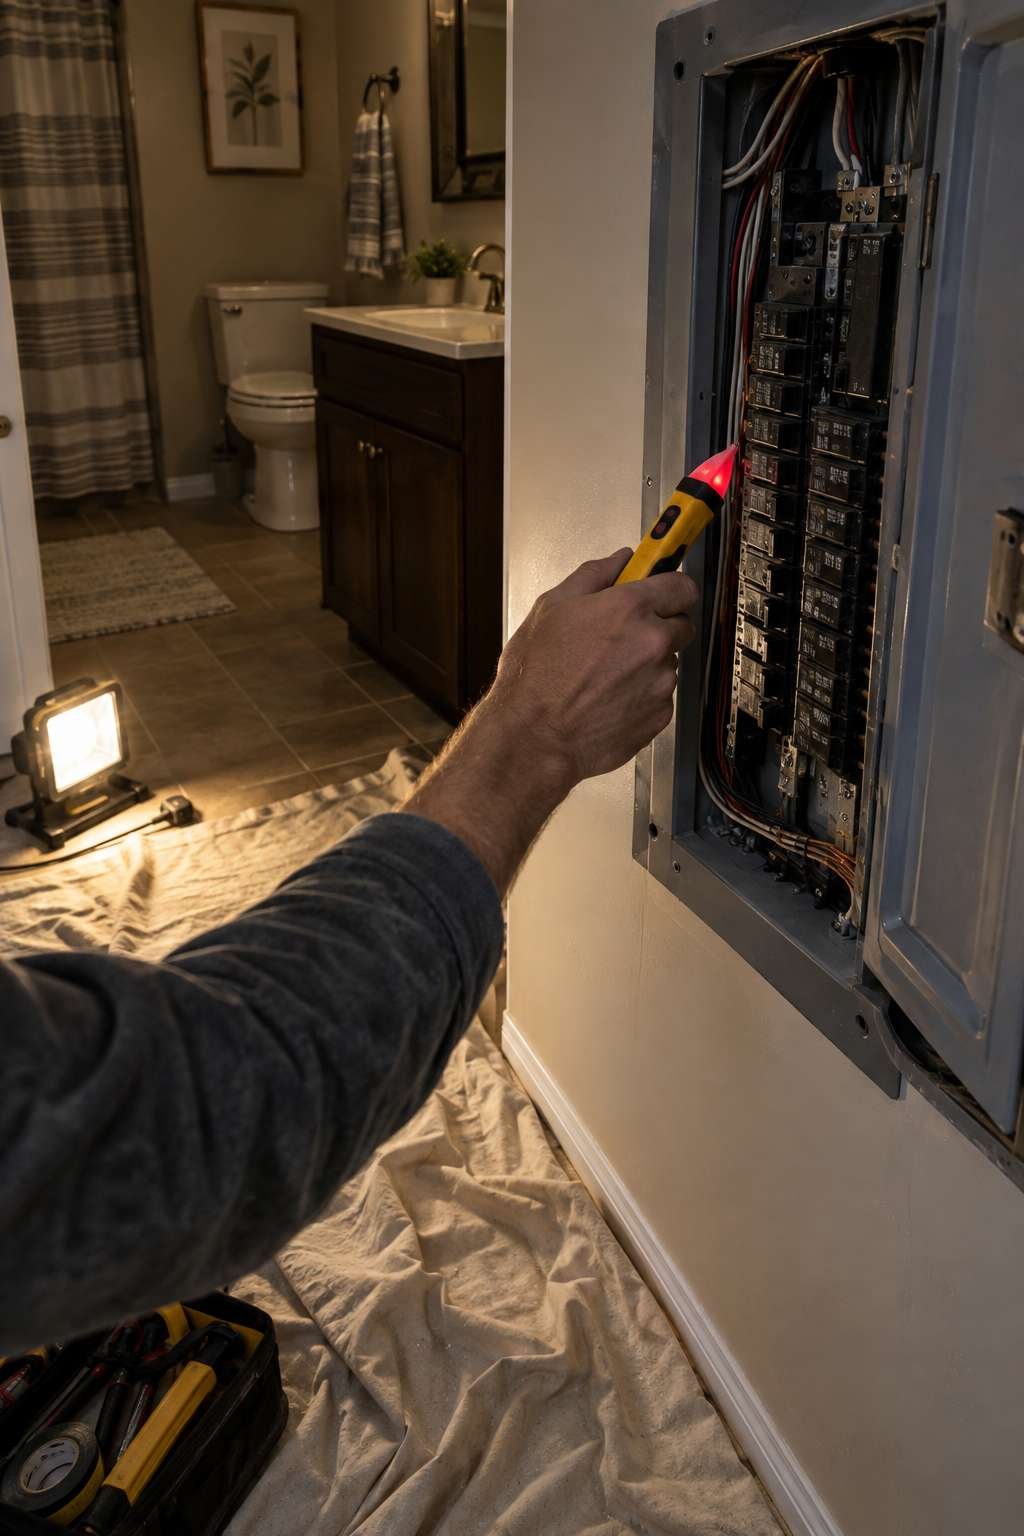
Once power is confirmed off, lay down a drop cloth to catch insulation and drywall dust that will fall during the cutting process. If you’re working from above in an attic, set down plywood boards across the joists so you have a stable place to kneel and move around safely.
- Flip the correct breaker and label it clearly
- Test with a voltage tester before touching any wires
- Clear the bathroom floor and cover fixtures with a drop cloth
- Set up adequate lighting in the attic or crawl space
- Keep a shop vacuum nearby for insulation cleanup
- Have a helper on standby for passing tools and materials
6. Cutting the Ceiling Opening
Use your stud finder to locate the ceiling joists and pick a spot between them that’s close to an exterior wall or roof line for shorter duct runs. Trace the fan housing’s template onto the ceiling, then drill a small pilot hole to confirm there’s clear space above before cutting further.
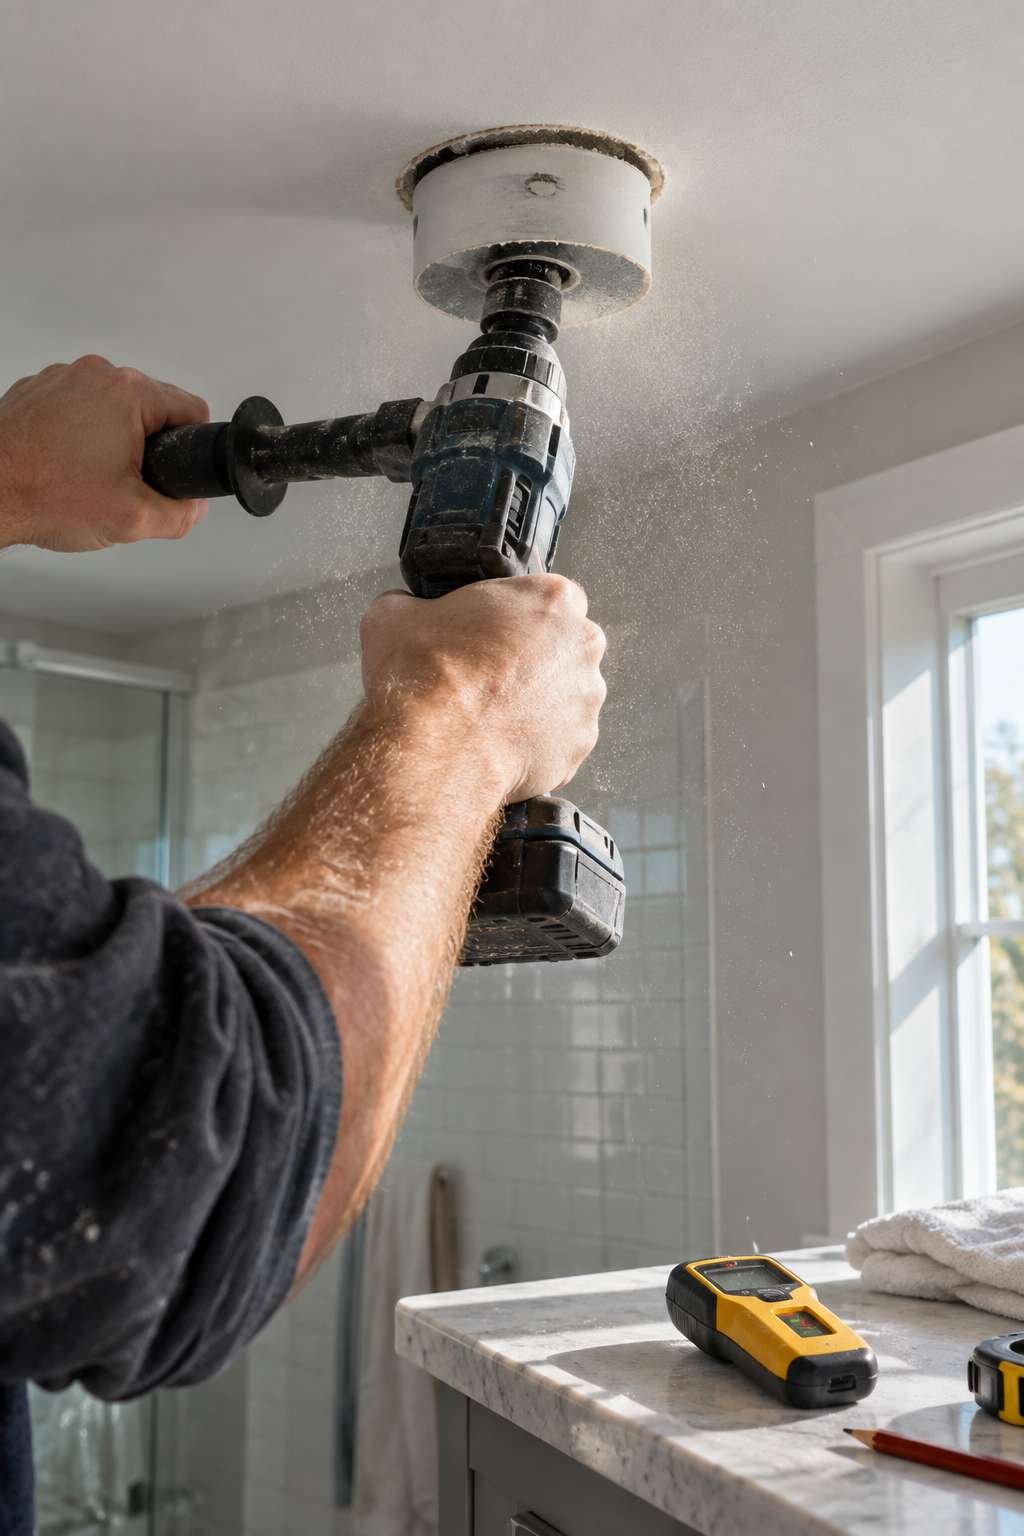
With the hole saw or drywall saw, carefully cut along your traced outline, supporting the cutout piece so it doesn’t fall and crack. Keep the opening as clean and precise as possible, since a snug fit around the housing makes for an easier, more secure installation later.
- Trace the exact housing template before cutting
- Drill a pilot hole to check for obstructions above
- Cut slowly to avoid splintering the drywall edges
- Save the cutout piece in case you need to patch nearby
- Vacuum debris from the opening before proceeding
- Double-check joist spacing matches your fan’s mounting brackets
7. Installing the Fan Housing
Slide the fan housing up into the ceiling opening and secure it to the adjacent joists using the mounting brackets or screws provided in the kit. Most housings include adjustable rails that let you center the unit precisely within the cutout, so take a moment to get that alignment right before tightening everything down.
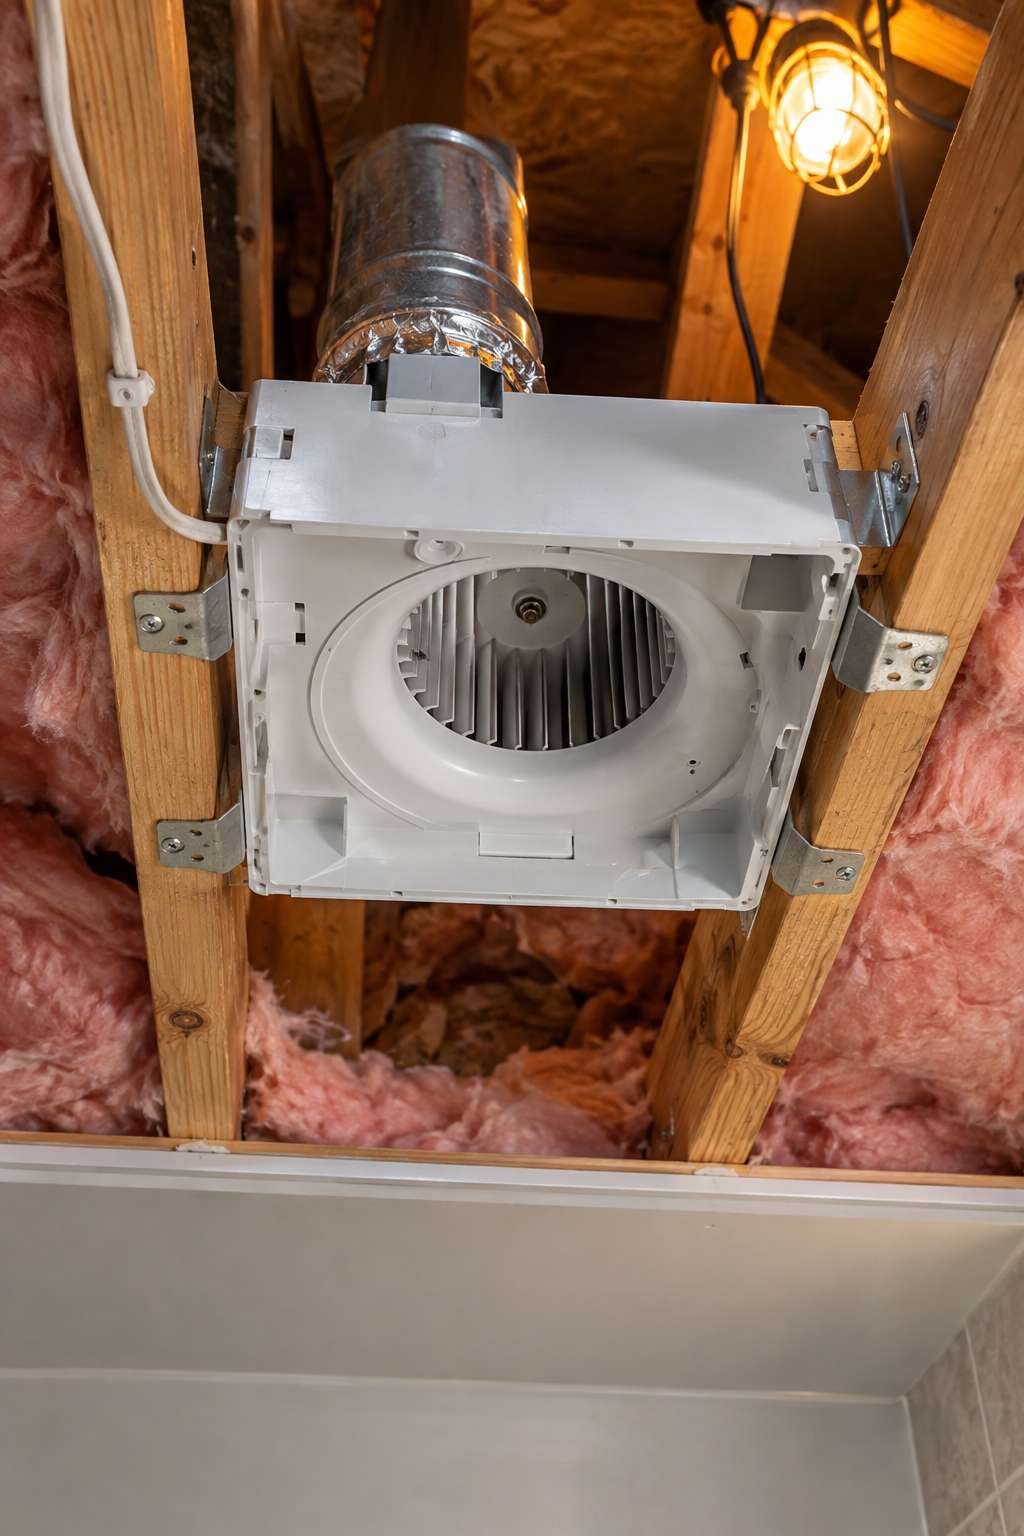
Once mounted, confirm the housing sits flush with the ceiling surface so the trim ring and grille will lie flat once installed. A wobbly or uneven housing creates gaps that let conditioned air leak into the attic, so it’s worth double-checking this step before moving forward.
- Position the housing centered within the ceiling opening
- Secure mounting brackets firmly to the joists
- Confirm the housing sits flush with the ceiling plane
- Check for any gaps around the housing edges
- Tighten all screws evenly to avoid warping the frame
- Leave the motor and blower assembly out until wiring is complete
8. Running the Ductwork to the Exterior
Connect flexible or rigid ducting from the fan housing’s outlet to an exterior vent cap, choosing the shortest, straightest path possible to maximize airflow efficiency. Every unnecessary bend in the duct run reduces performance, so plan your route through the attic before securing anything permanently.
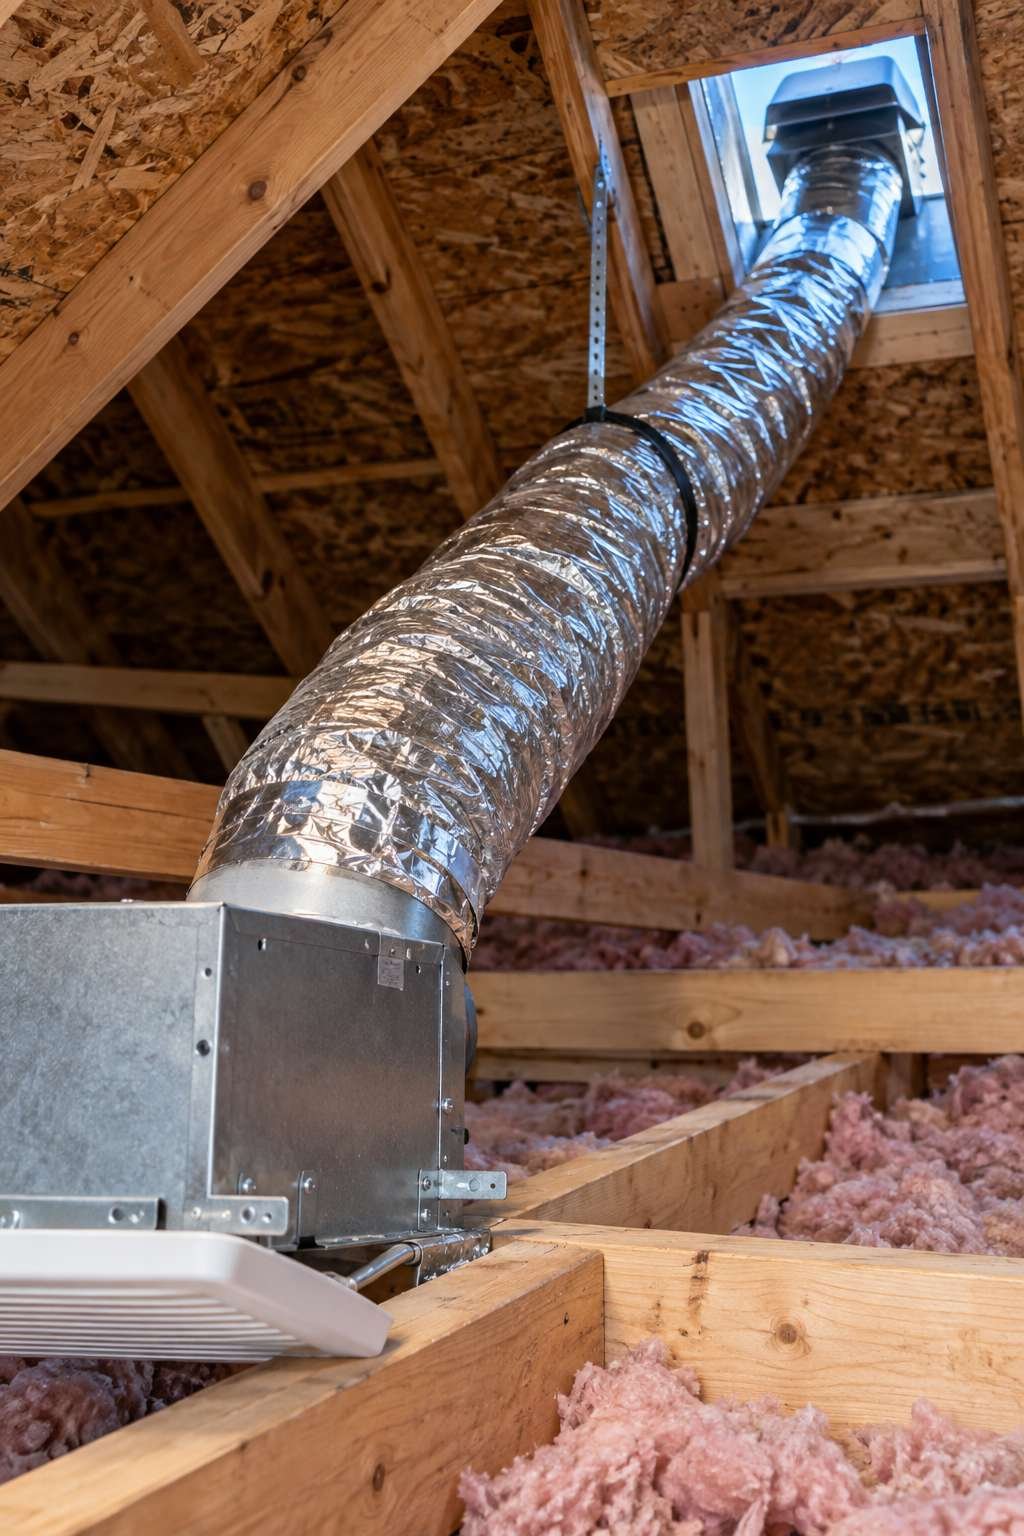
Seal every connection point with foil-backed HVAC tape rather than standard duct tape, since it holds up far better to temperature swings over time. At the exterior wall or roof, install a vent cap with a backdraft damper to keep outside air and pests from entering when the fan isn’t running.
- Choose the shortest, straightest duct path available
- Secure duct connections with foil-backed HVAC tape
- Avoid sharp bends that restrict airflow
- Install an exterior vent cap with a backdraft damper
- Support long duct runs with hangers to prevent sagging
- Insulate ductwork running through unconditioned attic space
9. Wiring the Fan to a Switch
With the housing and ducting in place, it’s time to connect the electrical wiring according to the manufacturer’s diagram, matching black to black, white to white, and ground to ground. If you’re replacing an old fan, you can often reuse the existing switch and cable, which simplifies this stage considerably.
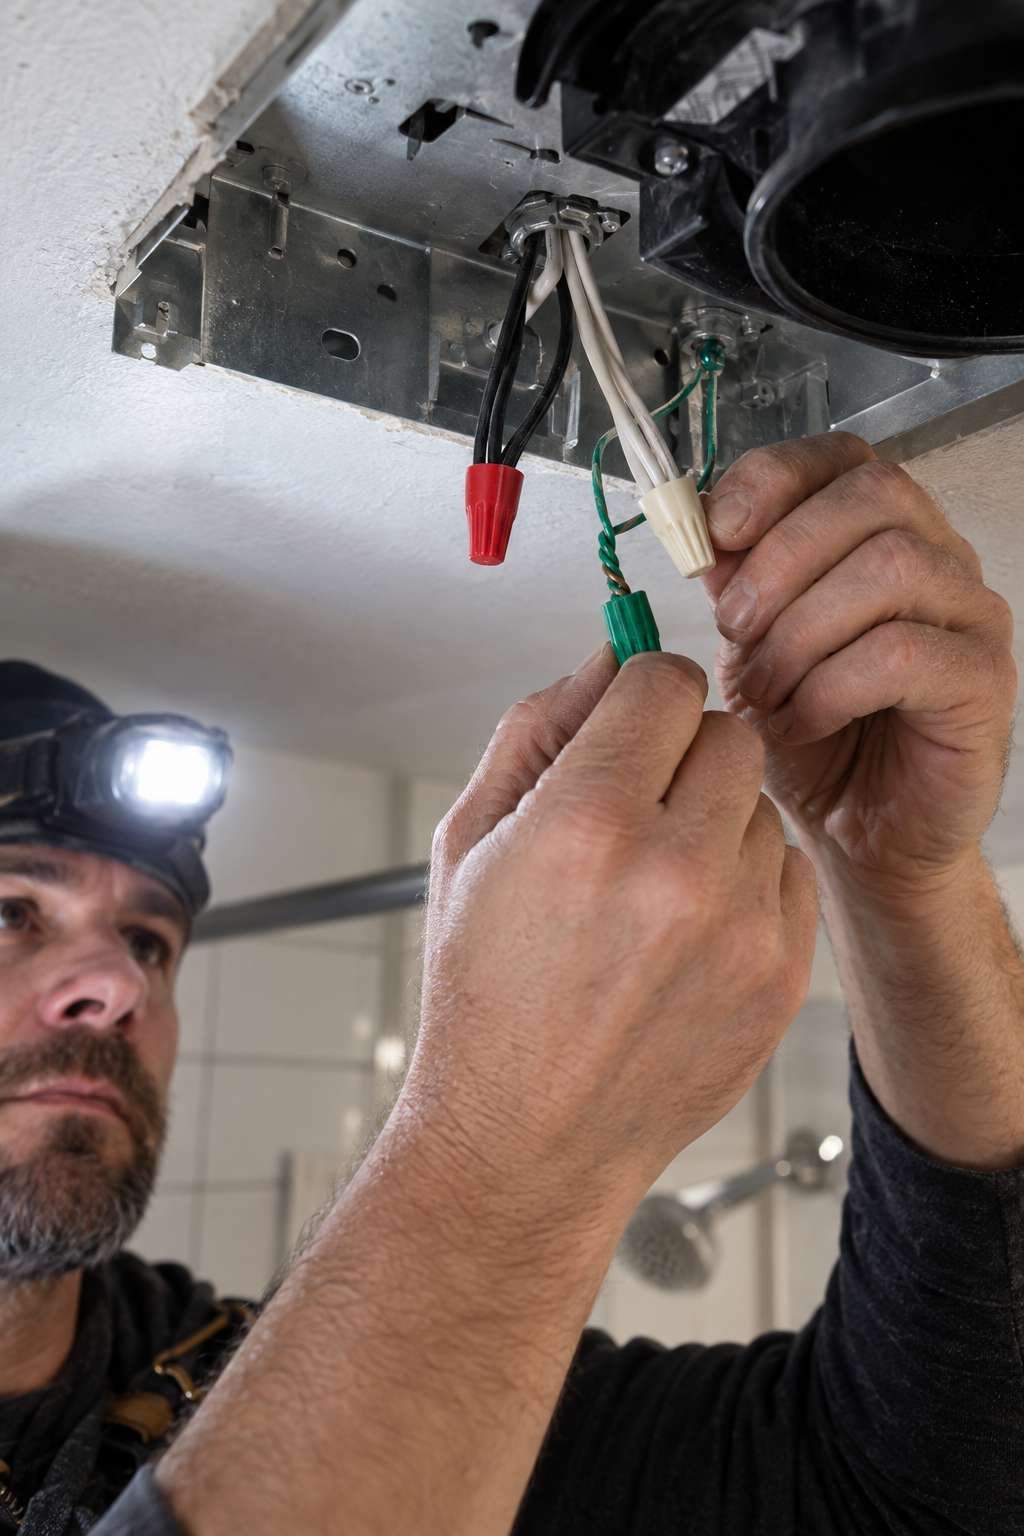
For new installations without existing wiring, you may need to run a new circuit from the panel, and this is a good moment to weigh how expensive to add a bathroom feature like a dedicated fan switch actually is against hiring an electrician for that portion. Once wires are connected, tuck them neatly into the housing’s junction box and secure the cover before moving to the motor assembly.
- Match wire colors exactly per the manufacturer’s diagram
- Use wire nuts and electrical tape for secure connections
- Reuse existing switch wiring when replacing an old fan
- Run new cable if the bathroom has no existing fan circuit
- Consider a timer or humidity-sensor switch upgrade
- Close the junction box cover before restoring power
10. Testing, Sealing, and Finishing Touches
Before buttoning everything up, restore power at the breaker and test the fan to confirm it runs smoothly and the switch operates correctly. Listen for any rattling or vibration, which usually points to a loose mounting bracket or an unbalanced blower wheel that needs adjustment.
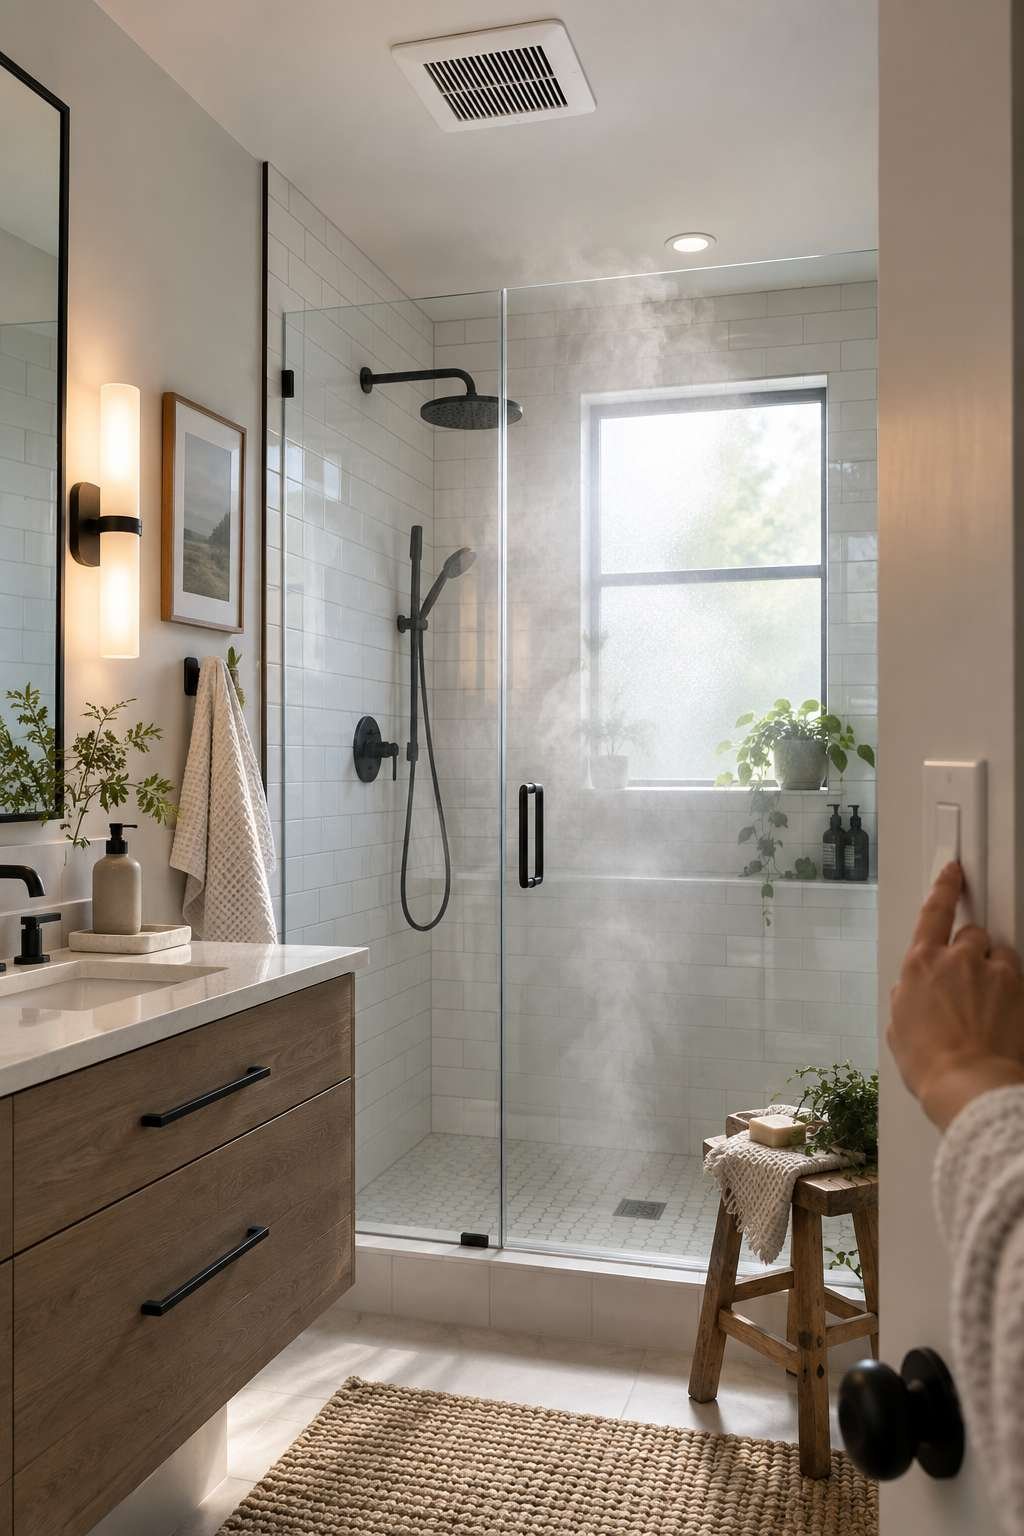
Once you’re satisfied with performance, snap on the grille cover and seal any remaining gaps around the ceiling opening with paintable caulk. Step outside and check that the exterior vent cap opens properly when the fan runs, confirming the entire system is venting moist air where it belongs.
- Restore power and test fan operation at the switch
- Listen for unusual noise indicating loose parts
- Attach the grille cover securely to the housing
- Caulk any gaps around the ceiling opening
- Verify the exterior vent cap opens during operation
- Run the fan for several minutes to confirm steady airflow
Conclusion
Adding proper ventilation transforms a stuffy, moisture-prone bathroom into a healthier, more comfortable space, and the process is entirely achievable with careful planning and the right tools. From sizing the correct CFM rating to sealing the final duct connection, each step builds toward a system that protects your home for years to come.
Take your time with the wiring and ductwork stages especially, since those details determine how well the fan performs long term. With the housing mounted, the ducting sealed, and the switch tested, you’ll have a quieter, fresher bathroom ready to handle daily steam with ease.

