


If you’ve ever wondered how do you install a kitchen faucet without calling a plumber, the answer is simpler than most homeowners expect. A well-planned kitchen relies on fixtures that work as hard as they look good, and your faucet sits right at the center of that daily routine. With the right tools, a little patience, and a clear sequence of steps, most people can complete this upgrade in an afternoon.
Thoughtful interior design isn’t only about cabinets and countertops — it’s also about the small, functional details that make a space feel finished. Whether you’re following instructions on how to install a kitchen faucet for the first time or replacing a worn-out unit, this guide breaks the process into manageable stages. By the end, you’ll understand exactly how to install faucet in kitchen setups of nearly any style, from single-handle pulldowns to classic two-handle bridge designs.
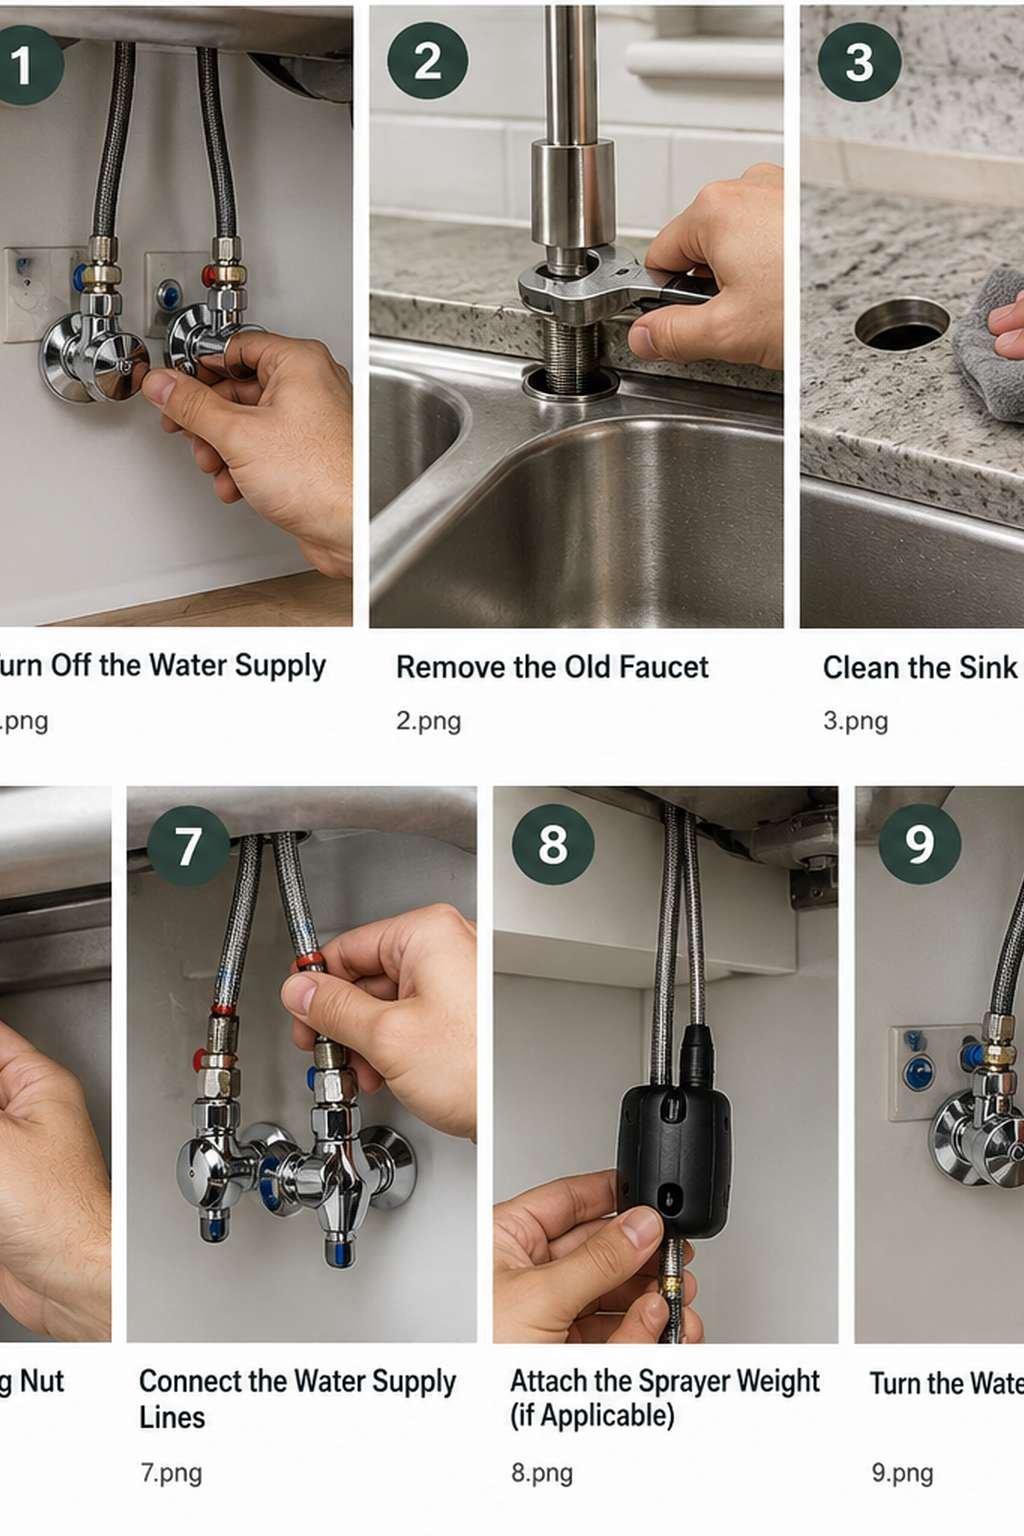
1. Gathering the Right Tools and Materials
Before you touch a single bolt, lay out everything you’ll need within arm’s reach. A basin wrench is the single most useful tool for this job, since it reaches the cramped space behind a sink where regular wrenches can’t turn. Plumber’s tape, a bucket, and an old towel round out the essentials for containing any residual water.
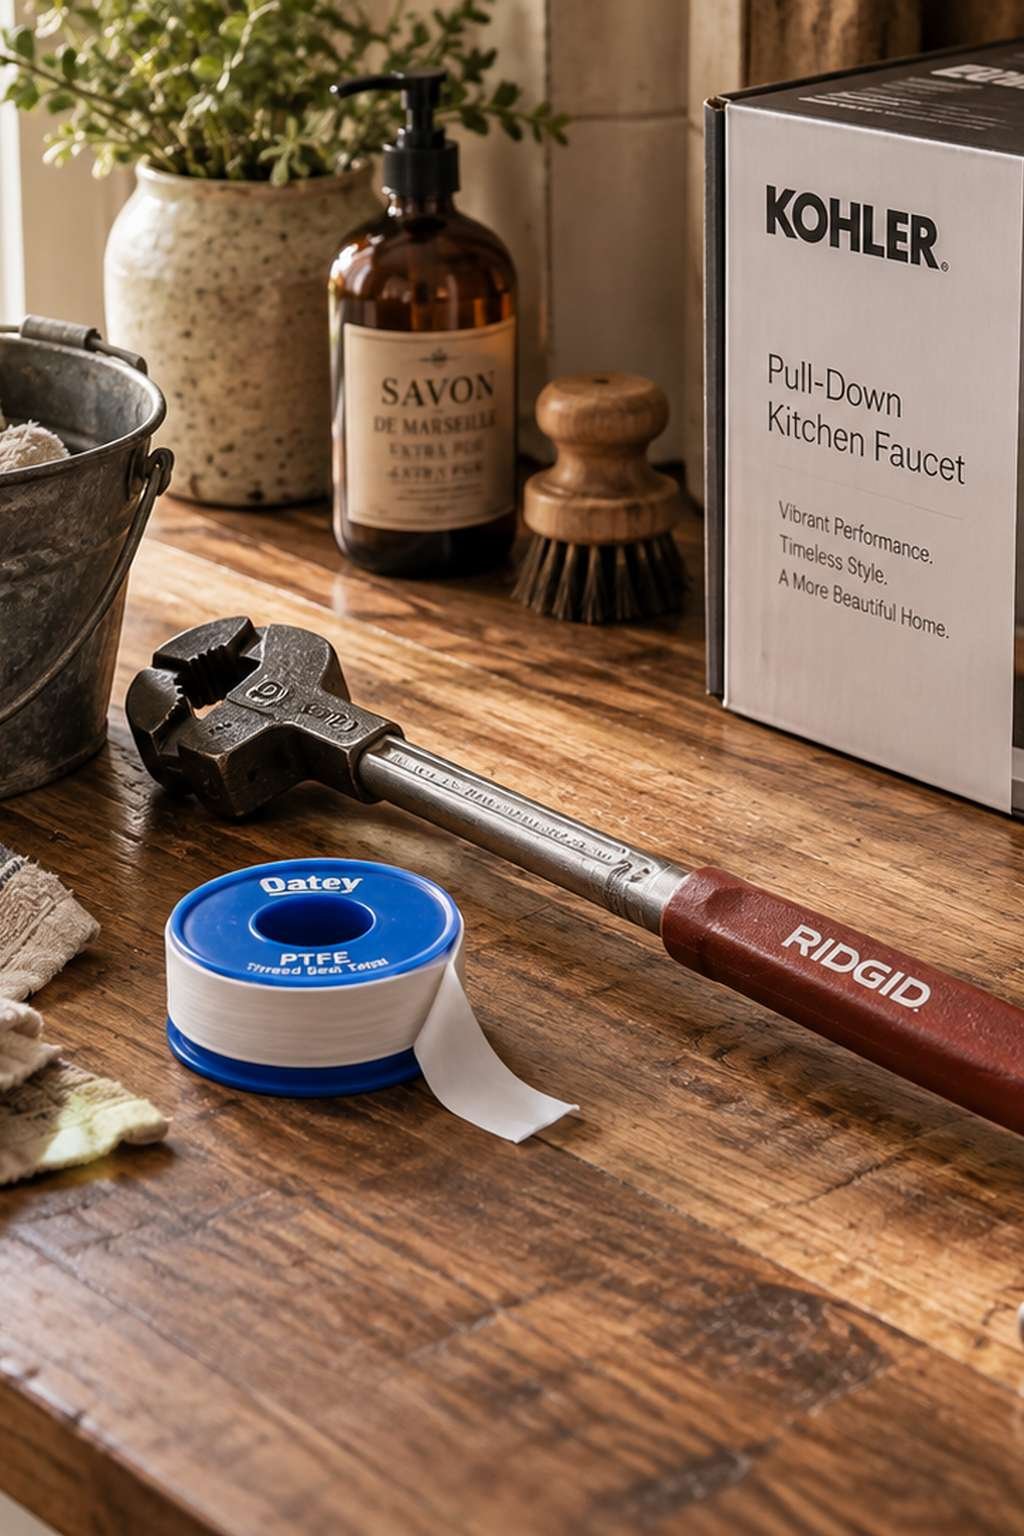
Having the correct new faucet kit matters just as much as the tools. Manufacturers vary slightly in hole spacing and gasket design, so double-check your sink’s configuration against the box before you begin. Skipping this step is the most common reason a beginner project stalls halfway through.
- Basin wrench or adjustable wrench
- Plumber’s tape (PTFE tape)
- Bucket and old towels
- Flashlight or headlamp
- New supply lines if the old ones are corroded
- Silicone sealant for the base plate
2. Choosing the Right Kitchen Faucet for Your Sink
Not every faucet fits every sink, so match the mounting hole count on your countertop to the faucet’s base plate requirements first. Single-hole faucets suit modern, minimalist kitchens, while three-hole setups accommodate separate handles or a soap dispenser. Pulldown sprayers add convenience for washing large pots, but they do require slightly more under-sink clearance.

Finish matters for both style and maintenance. Brushed nickel and matte black finishes hide water spots better than polished chrome, which is worth considering in busy households. Take a moment to picture the faucet alongside your existing hardware so the whole kitchen reads as one cohesive design.
- Count your existing mounting holes
- Consider pulldown vs. fixed-spout styles
- Match finish to cabinet and hardware tones
- Check the flow rate (GPM) for water efficiency
- Confirm the deck plate is included if needed
- Read reviews specific to your sink material
3. Turning Off the Water Supply Safely
Every installation begins the same way: shutting off the water. Locate the shutoff valves beneath the sink and turn them clockwise until they stop. If your under-sink valves are old or missing, you may need to shut off the main water supply to the house instead.
Once the valves are closed, open the faucet handle to release any pressure still sitting in the lines. A short burst of water is normal and simply confirms the supply has been cut. If you want a full walkthrough on removing the old supply lines entirely, our guide on how to disconnect a kitchen faucet covers that process step by step.
- Turn both hot and cold valves clockwise
- Open the faucet to relieve pressure
- Place a bucket under the connections
- Check for drips before proceeding
- Note the valve type for future reference
- Photograph the setup before disassembly
4. Removing the Old Kitchen Faucet
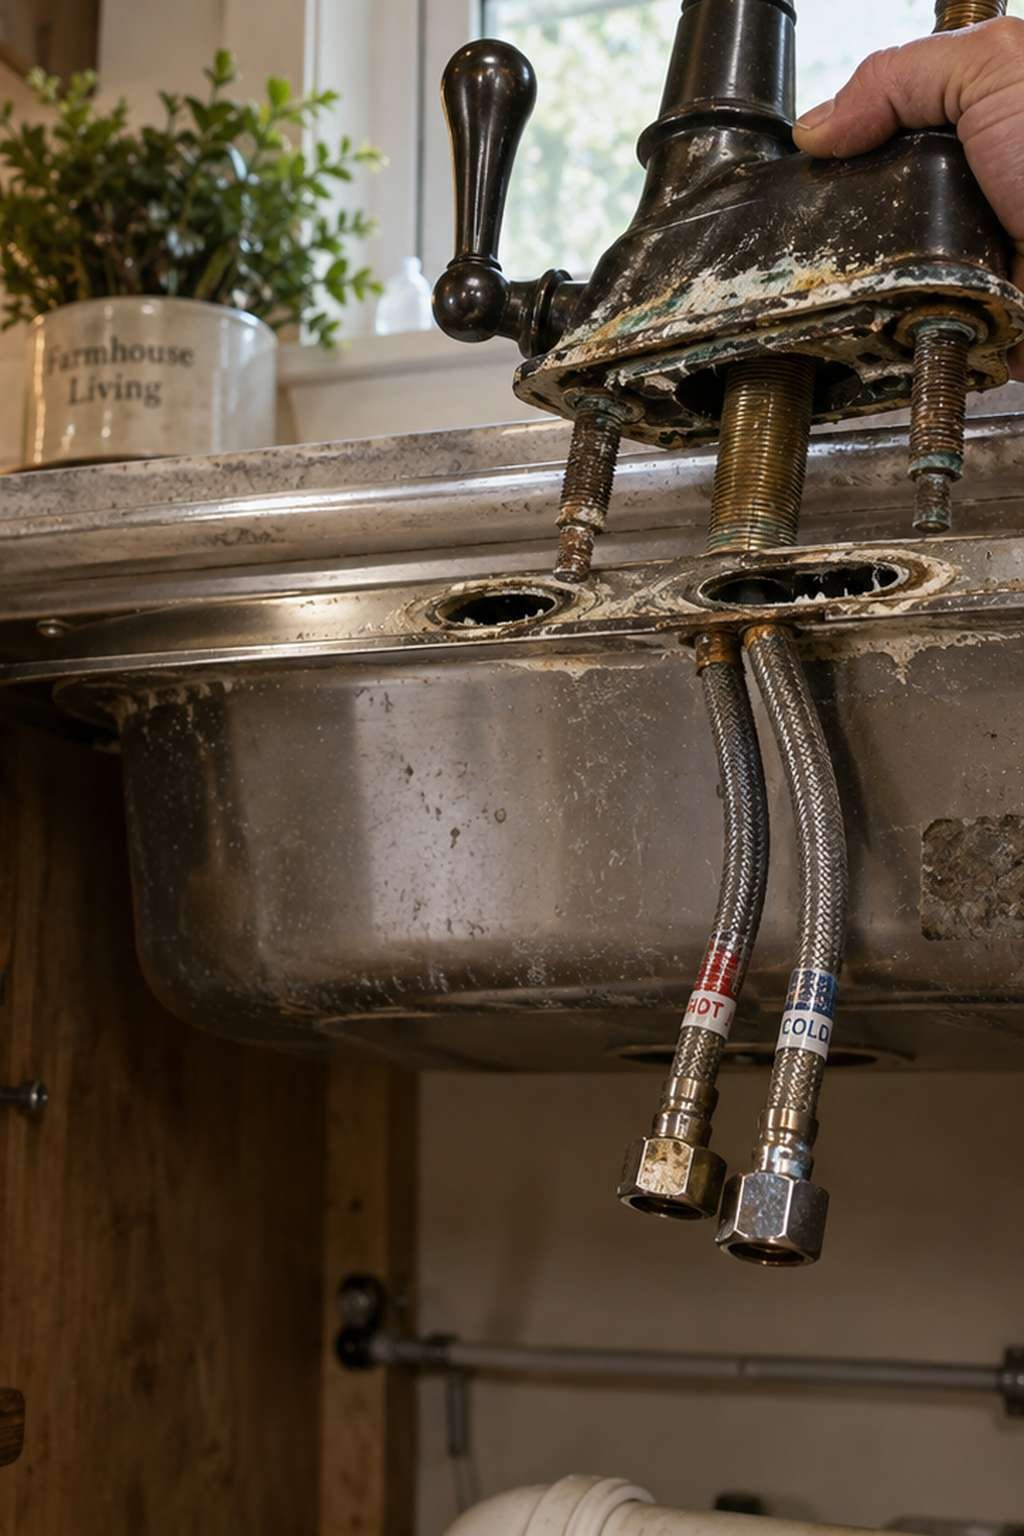
With water off, disconnect the supply lines using your basin wrench, turning counterclockwise. Expect a small amount of residual water to drip out, which is exactly why the bucket and towels earned a spot on your tool list earlier.
Next, loosen the mounting nuts securing the faucet body to the sink deck. These nuts can be stubborn after years of mineral buildup, so patience and a bit of penetrating oil go a long way. For a more detailed breakdown of this exact stage, see our companion post, How to Remove Kitchen Faucet, which walks through tricky mounting situations in depth.
- Disconnect supply lines with a basin wrench
- Loosen mounting nuts counterclockwise
- Use penetrating oil on stuck hardware
- Lift the old faucet straight up and out
- Wipe away old plumber’s putty residue
- Inspect the sink deck for damage
5. Preparing the Sink Deck for a New Faucet
A clean surface is essential for a leak-free seal. Scrub away old caulk, mineral deposits, and putty residue with a plastic scraper so you don’t scratch the sink material. Stainless steel and composite sinks each respond differently to cleaning agents, so choose a gentle, non-abrasive option.
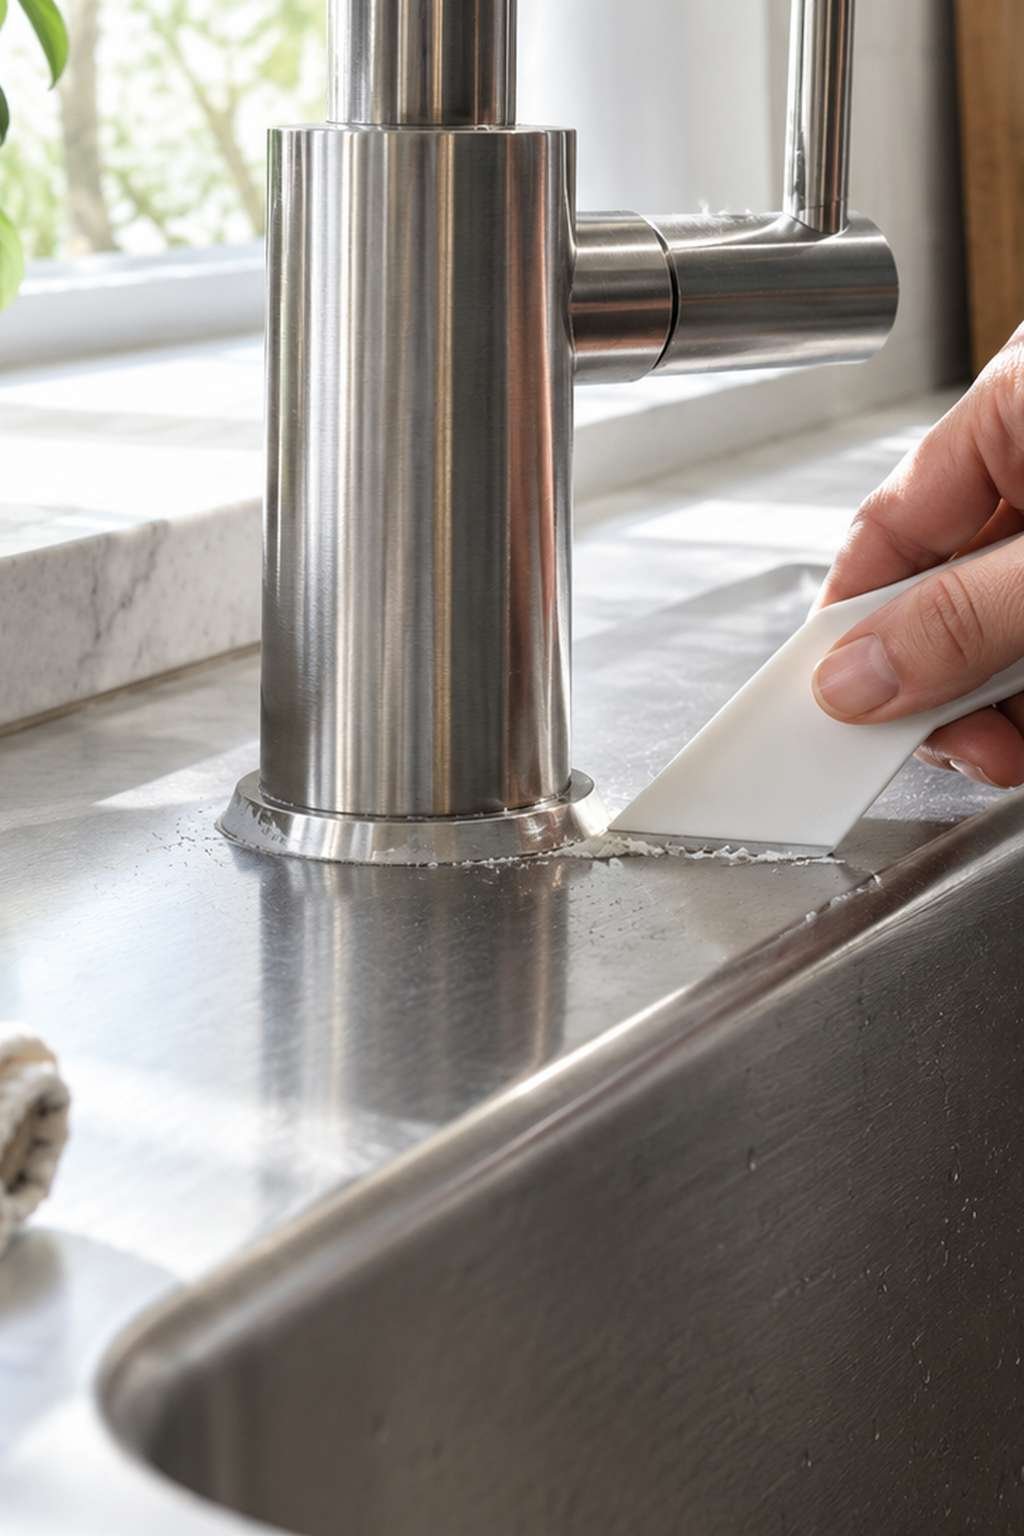
Once dry, inspect the deck plate area for any cracks or wear that might affect the new gasket’s seal. Taking five extra minutes here prevents callbacks and future leaks, which is far easier than fixing a drip after everything is reassembled.
- Scrape away old putty and caulk
- Clean with a non-abrasive cleaner
- Dry the deck thoroughly before installing
- Inspect for cracks near mounting holes
- Confirm the gasket sits flush
- Test-fit the new faucet before sealing
6. Installing the New Faucet Body
Now comes the step most people associate with how to install kitchen faucet hardware: setting the new unit in place. Feed the supply lines and any sprayer hose down through the mounting holes, then seat the base plate and rubber gasket evenly against the sink deck.
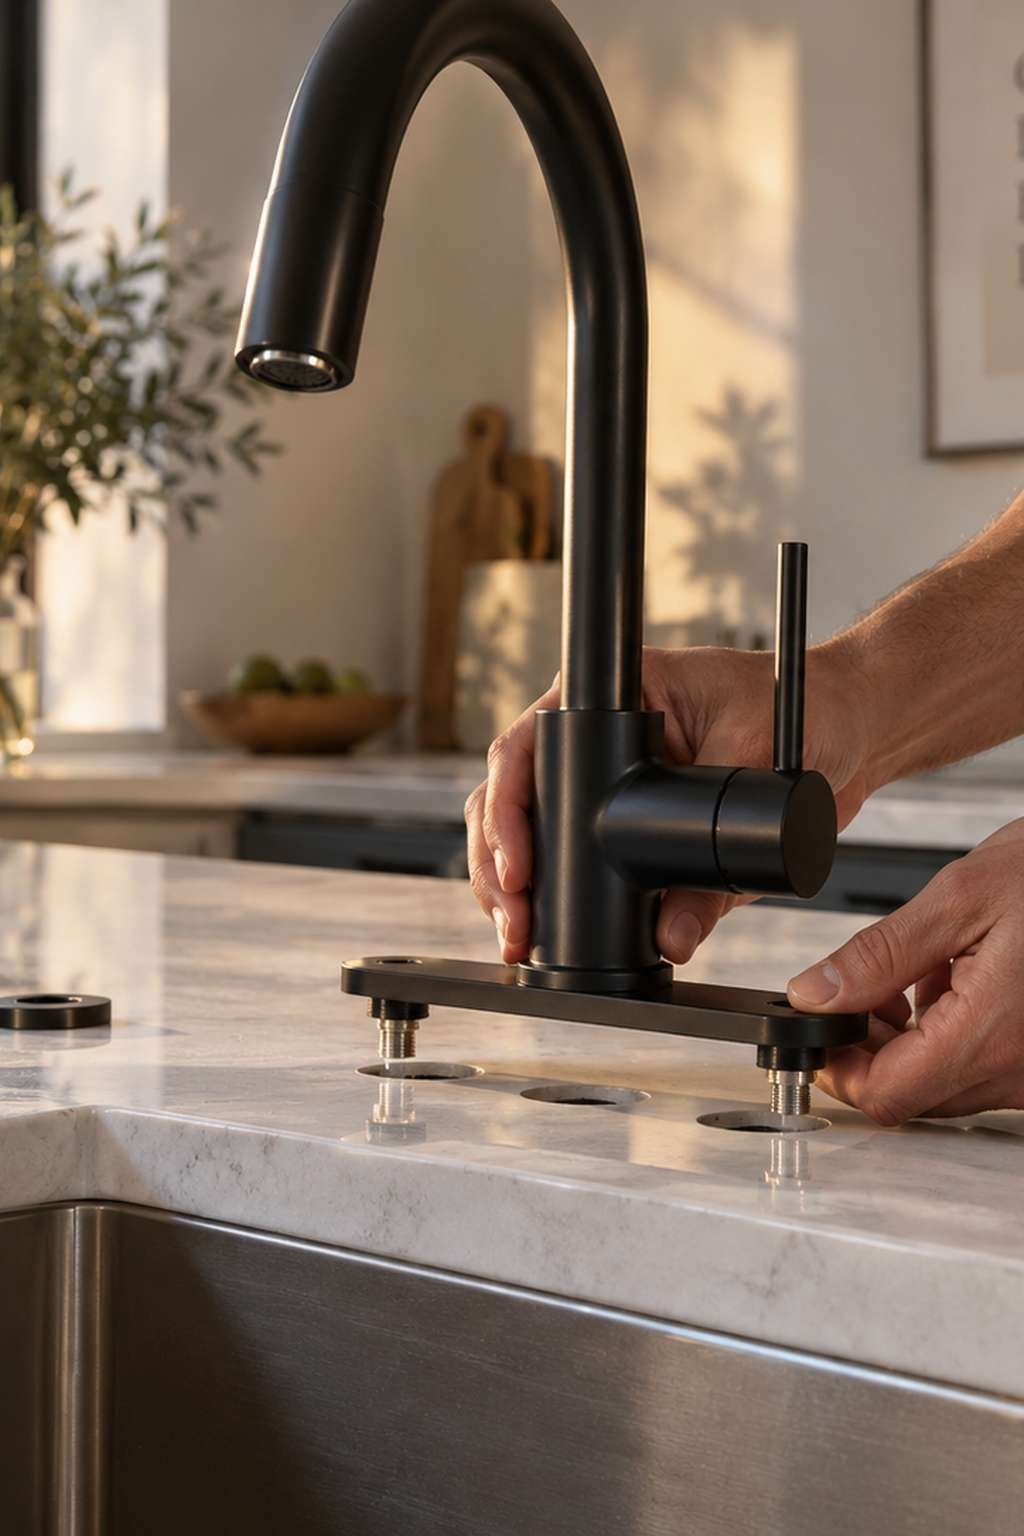
Hand-tighten the mounting nuts from below before fully securing them, which lets you adjust the faucet’s angle one last time. If you’d like an even more granular walkthrough with photos for tricky sink layouts, our related article How to Put in a Kitchen Faucet expands on this exact stage.
- Feed lines through the mounting holes carefully
- Seat the gasket evenly against the deck
- Hand-tighten nuts before full tightening
- Adjust faucet angle before final tightening
- Apply plumber’s tape to threaded connections
- Avoid overtightening plastic components
7. Connecting the Supply Lines and Sprayer Hose
With the faucet body seated, reconnect the hot and cold supply lines to their matching valves, threading by hand first to avoid cross-threading. A quarter turn past hand-tight with a wrench is usually sufficient for a secure, leak-free connection.
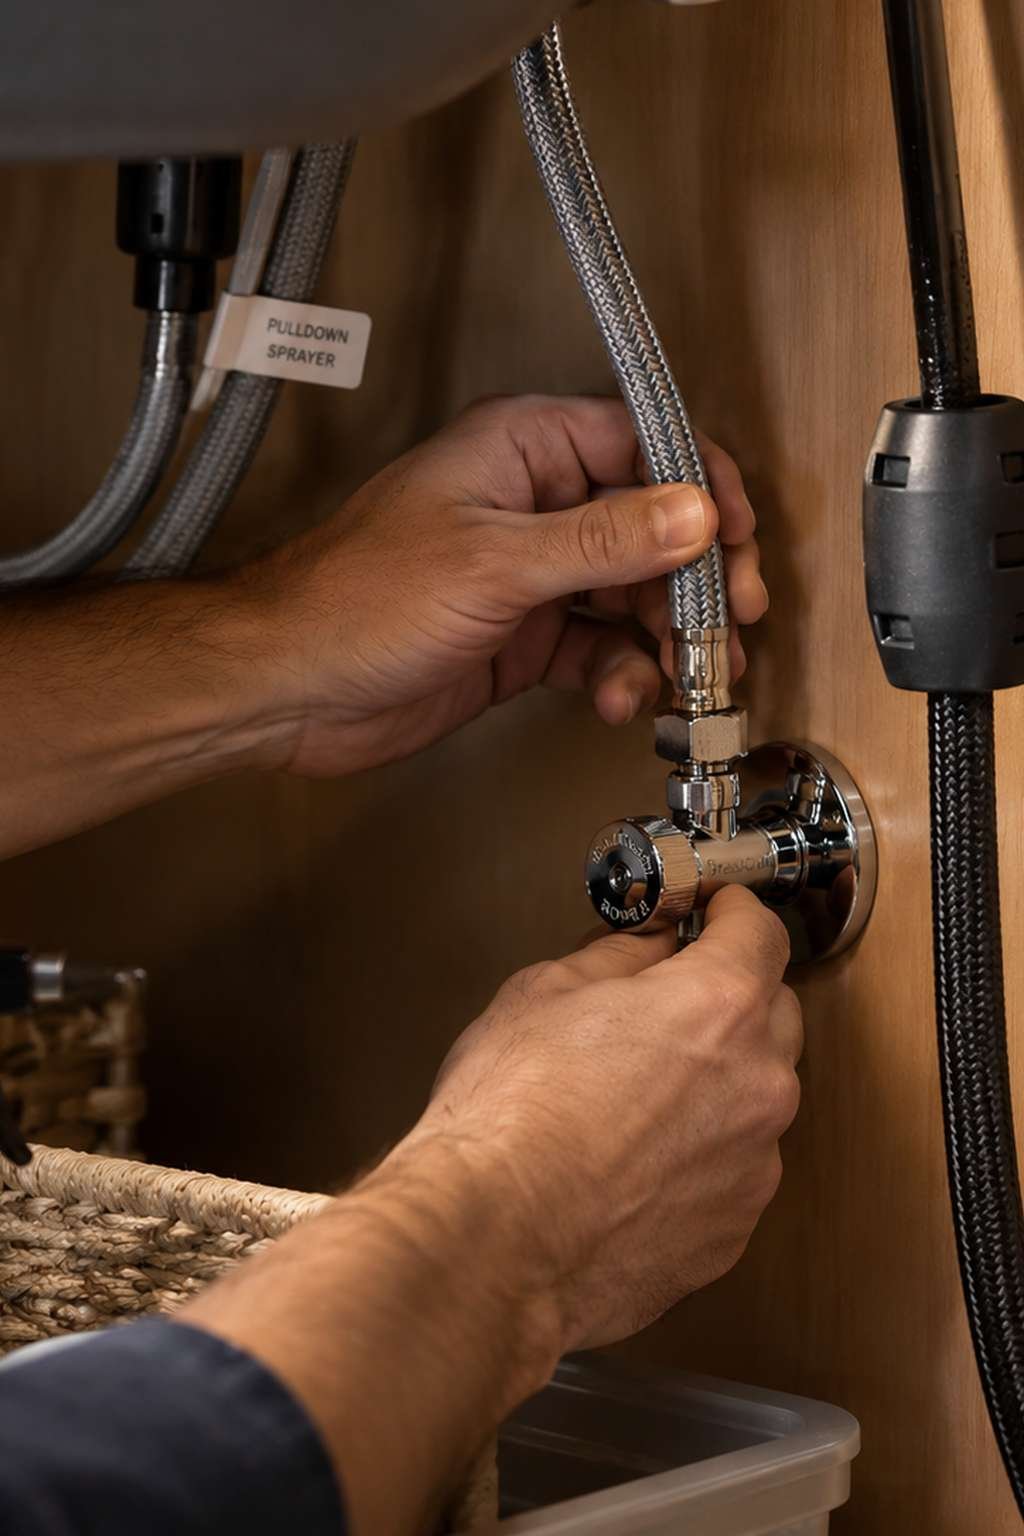
If your new faucet includes a pulldown sprayer, attach the weight clip to the hose so it retracts smoothly after use. This small part is easy to overlook, yet it directly affects how the faucet feels during everyday use.
- Thread supply lines by hand first
- Tighten just a quarter turn past hand-tight
- Attach the sprayer hose weight clip
- Route hoses to avoid kinks
- Double-check hot and cold aren’t reversed
- Use plumber’s tape on all threaded joints
8. Securing the Faucet from Below
Once everything is connected, fully tighten the mounting nuts underneath the sink using your basin wrench. Work in small increments and alternate sides if there are multiple nuts, keeping the faucet centered as you go.
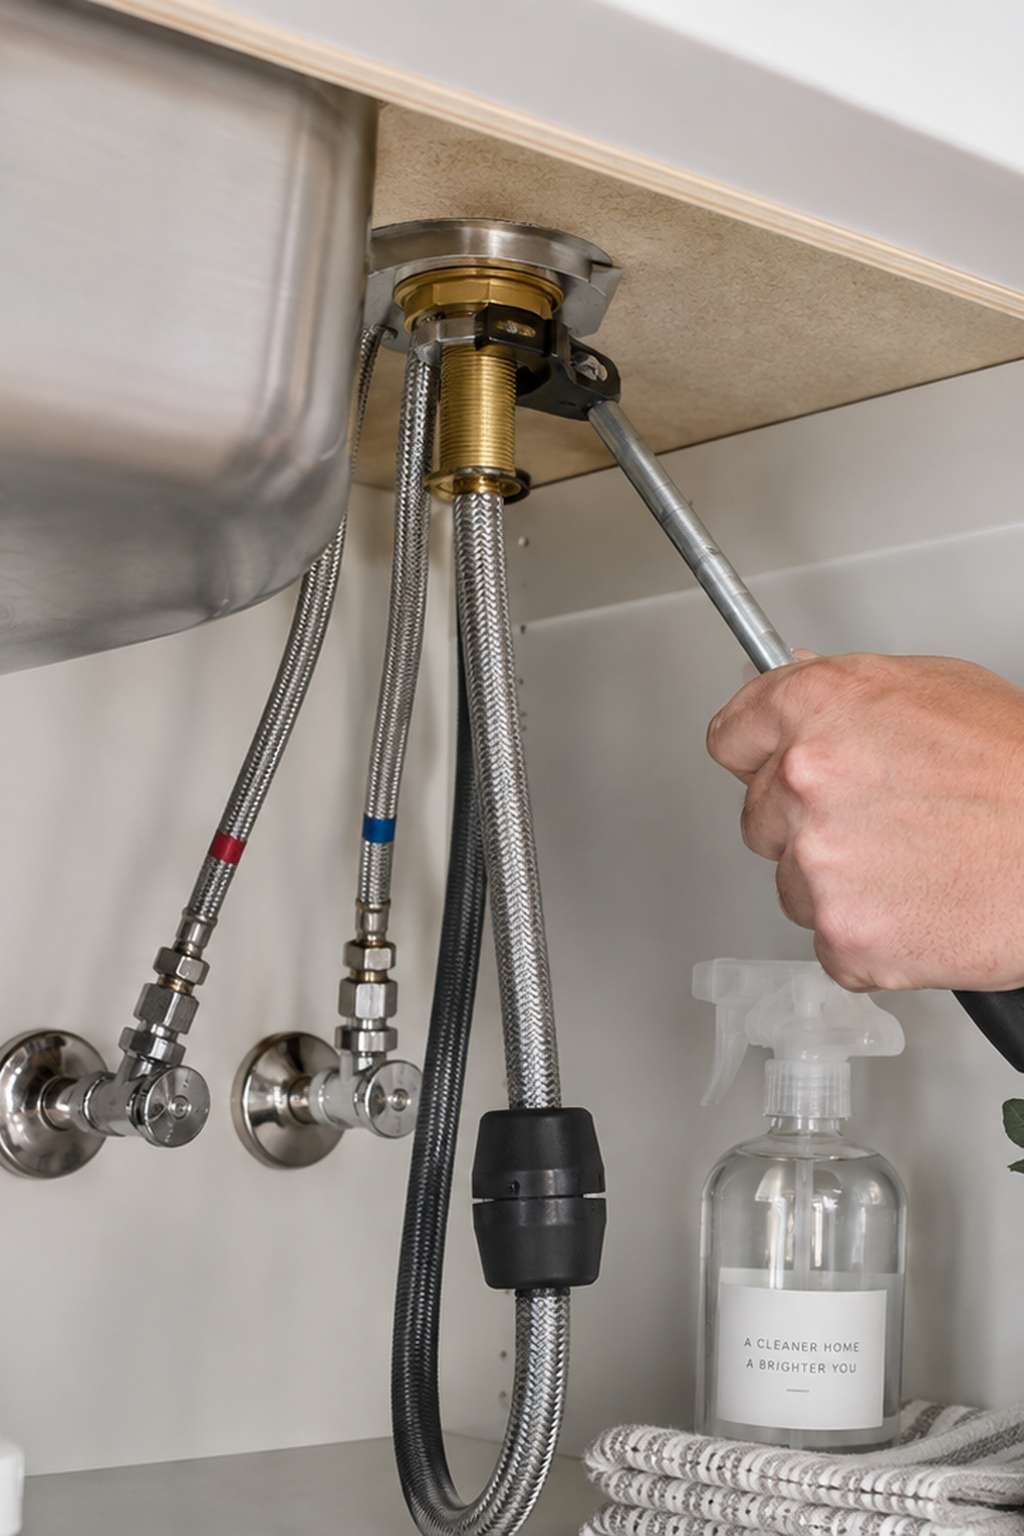
If you run into an old, corroded nut that won’t budge, our dedicated post on how to unscrew a kitchen faucet offers additional leverage techniques and safe cutting options. Rushing this stage risks an uneven seal, so take your time here.
- Tighten nuts evenly in small increments
- Keep the faucet centered while tightening
- Avoid overtightening, which can crack plastic
- Recheck all supply line connections
- Wipe away excess plumber’s tape
- Confirm the faucet doesn’t wobble
9. Testing for Leaks and Proper Function
Slowly turn both shutoff valves back on and watch every connection point closely for the first few minutes. A slow drip at the supply line usually means the connection needs another quarter turn, not a full teardown.
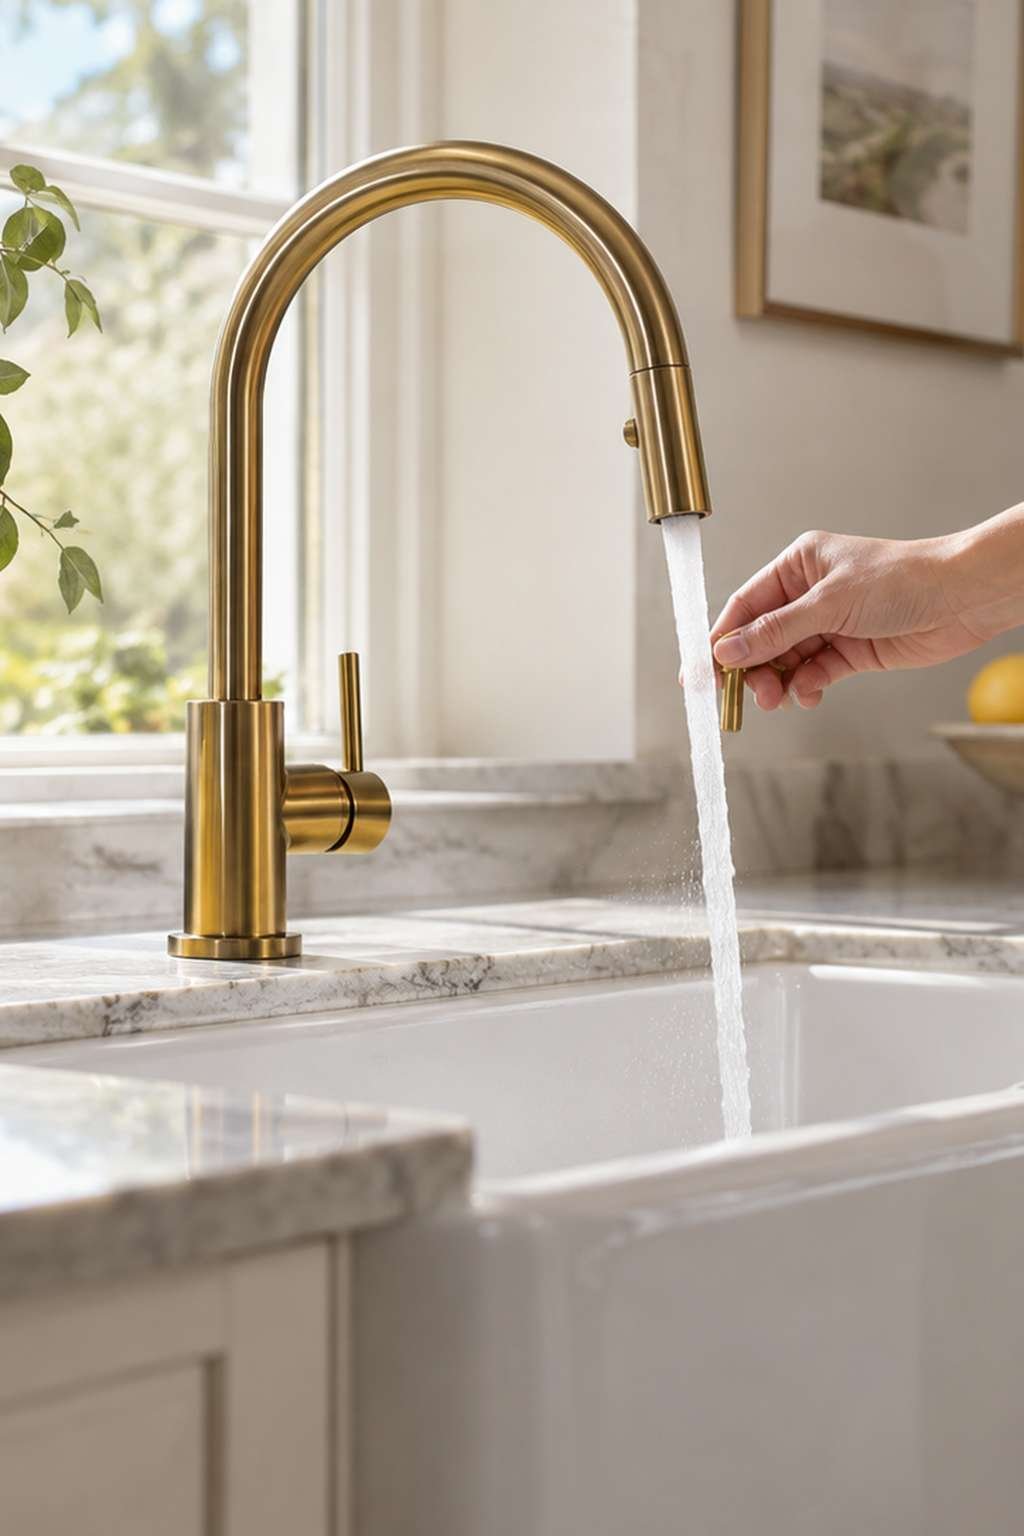
Run the faucet through hot, cold, and spray functions to confirm smooth operation. Checking now, while tools are still out, saves you a second trip under the sink later if something needs a small adjustment.
- Turn valves on slowly, not all at once
- Watch connections for the first five minutes
- Run hot and cold water separately
- Test the sprayer or pulldown function
- Check under the sink for hidden drips
- Recheck tightness after 24 hours of use
10. Maintaining Your Kitchen Faucet Long-Term
A properly installed faucet still needs occasional care to keep performing well. Hard water leaves mineral deposits on the spout and aerator over time, which gradually reduces water pressure and shine.
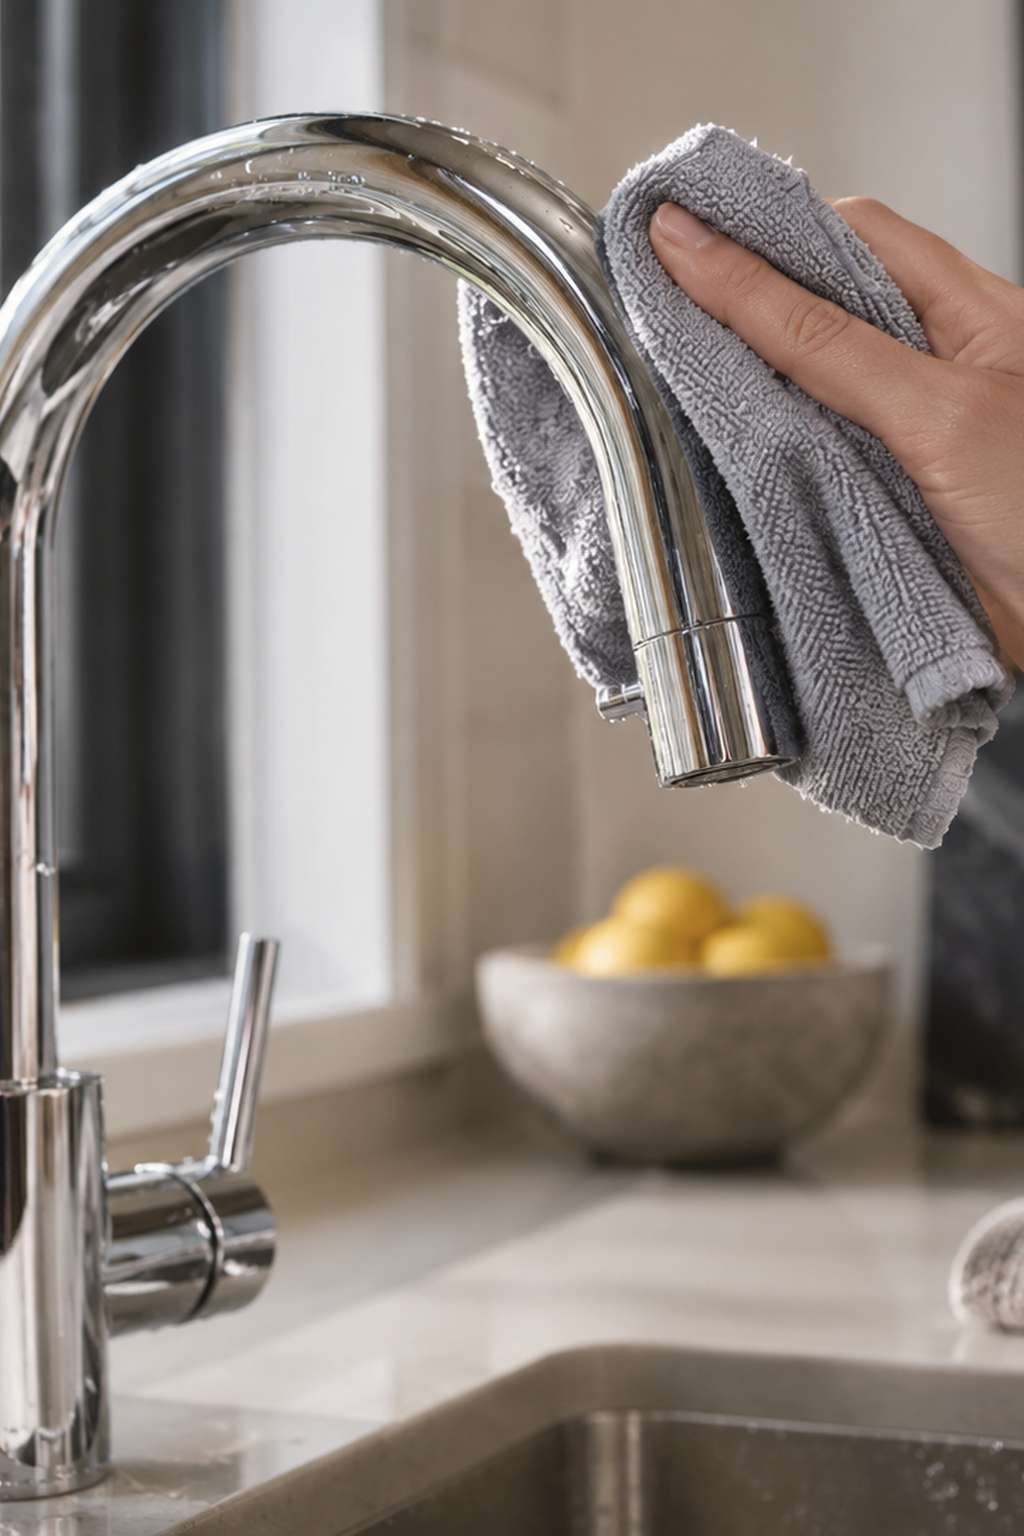
Wipe the faucet down regularly with a soft cloth and avoid abrasive cleaners that can dull the finish. For a full cleaning routine, including the sprayer head, our guide How to Clean Kitchen Faucet Head covers products safe for every common finish.
- Wipe down weekly with a soft, damp cloth
- Avoid abrasive pads on finished surfaces
- Clean the aerator every few months
- Check under-sink connections twice a year
- Address small drips before they worsen
- Keep manufacturer documentation for warranty needs
Frequently Asked Questions
How much does it cost to install a kitchen faucet?
A basic DIY installation costs only the price of the faucet itself, typically $50 to $300. Hiring a plumber adds labor costs, usually $150 to $350, depending on your region and whether old plumbing needs repair.
How do you tighten a kitchen faucet?
Locate the mounting nuts beneath the sink and turn them clockwise with a basin wrench, tightening evenly on all sides. If the base still wobbles, check that the gasket is seated properly before tightening further.
How do you remove the aerator from a kitchen faucet?
Grip the aerator at the spout tip and twist it counterclockwise by hand, or use pliers wrapped in tape to avoid scratching. Most aerators unscrew easily unless mineral buildup has fused the threads.
How do you install a new kitchen faucet from start to finish?
Shut off the water, remove the old unit, clean the sink deck, then seat and secure the new faucet before reconnecting supply lines. Testing for leaks afterward completes the process described throughout this guide.
How do you stop a kitchen faucet from dripping?
Most drips come from a worn cartridge or O-ring inside the handle assembly. Replacing that single part is usually far cheaper than installing an entirely new faucet.
What’s the best way to stop a dripping faucet in the kitchen?
Turn off the water supply, disassemble the handle, and inspect the internal cartridge for cracks or mineral buildup. Swapping in a matching replacement cartridge typically resolves the leak permanently.
How do you replace a Delta kitchen faucet?
The process mirrors general installation, though Delta models often use a quick-connect system for supply lines that skips traditional threading. Check your specific model number for any brand-specific clips or retainer rings.
How do you clean a kitchen faucet?
Wipe the exterior with a soft cloth and a mild dish soap solution, avoiding vinegar on finishes like oil-rubbed bronze. Rinse and dry immediately to prevent water spotting on chrome or stainless finishes.
How do you clean a kitchen faucet aerator?
Unscrew the aerator, then soak it in a vinegar solution for about 20 minutes to dissolve mineral deposits. Rinse thoroughly and use a small brush to clear any remaining debris from the mesh screen.
Installing a kitchen faucet is one of those projects that rewards preparation far more than raw skill. Once you’ve gathered the right tools, worked through each stage methodically, and tested the connections carefully, you’ll have a fixture that looks intentional and performs reliably for years.
Don’t be afraid to take your time on the trickier steps, like loosening old mounting nuts or aligning the gasket just right. With this guide in hand, your kitchen’s most-used fixture is one confident afternoon away from a refresh.

