


That steady drip in the middle of the night isn’t just annoying — over the course of a year, it can waste thousands of gallons of water and quietly inflate your water bill. Learning how to fix a dripping bathroom faucet is one of the most approachable plumbing repairs you can tackle yourself, usually in under an hour with a handful of inexpensive parts.
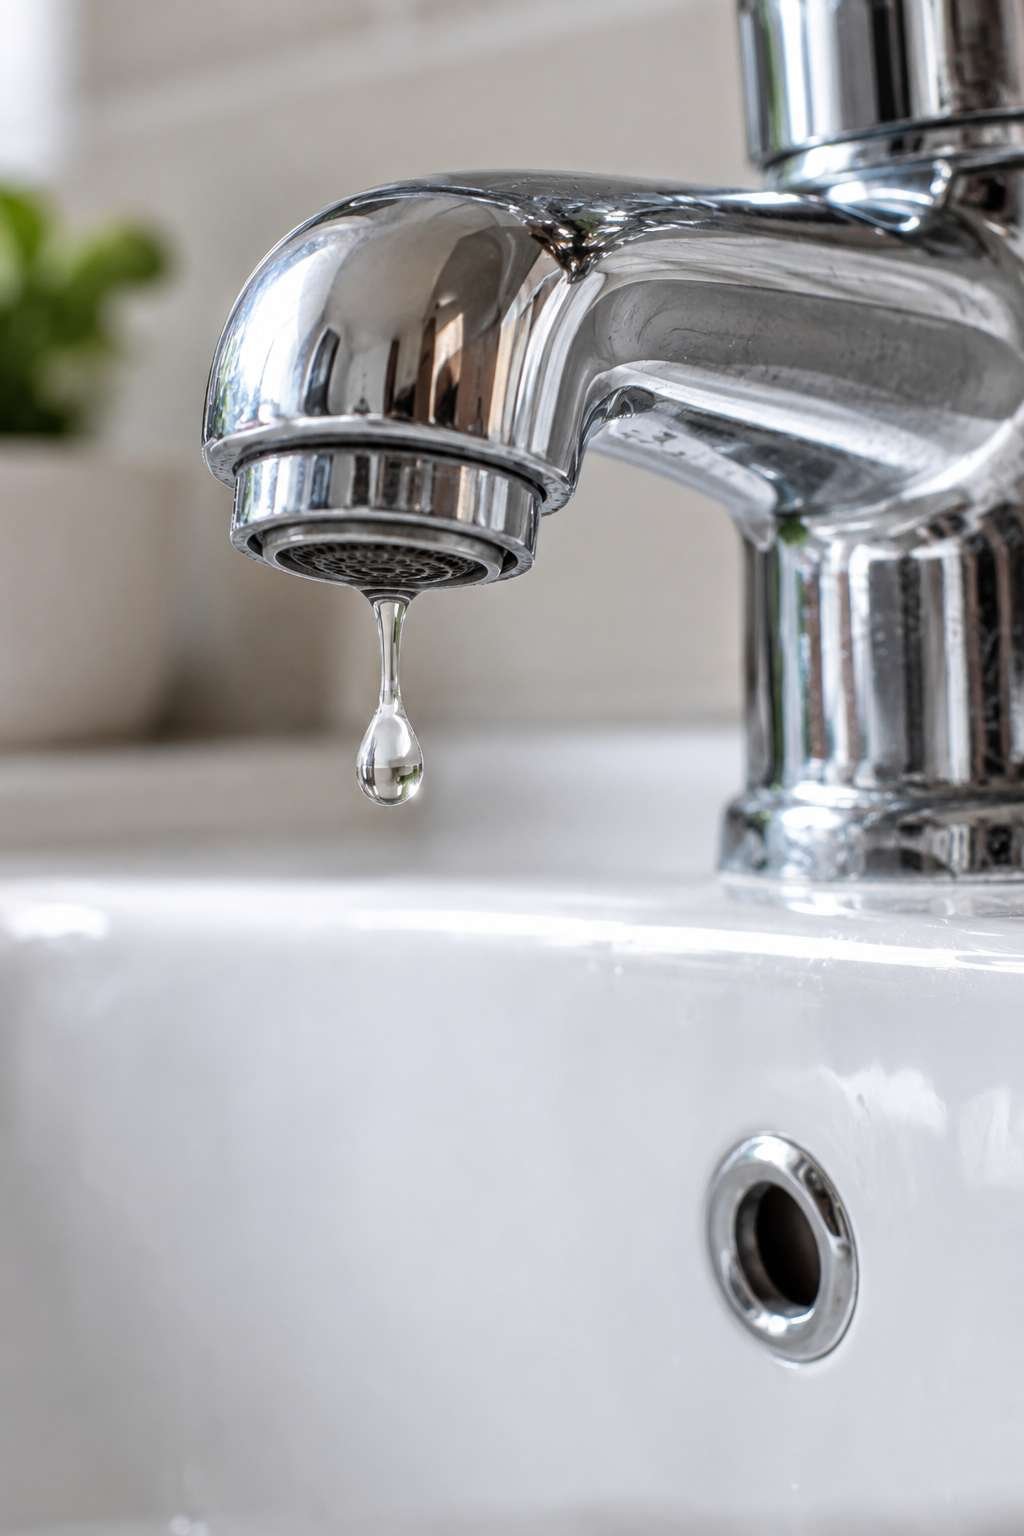
This guide walks through identifying your faucet type, finding the worn part causing the drip, and replacing it correctly, so the fix actually lasts rather than needing another round of tightening a few weeks later.
Almost every dripping faucet comes down to one worn internal component, and once you know which type you have, the repair itself is fairly straightforward.
1. Why Faucets Start Dripping in the First Place
A drip is almost always a sign that something inside the faucet has worn down enough to let a small amount of water through, even when the handle is fully closed. The most common culprit is a worn washer, cartridge, or O-ring, depending on your faucet’s internal design.
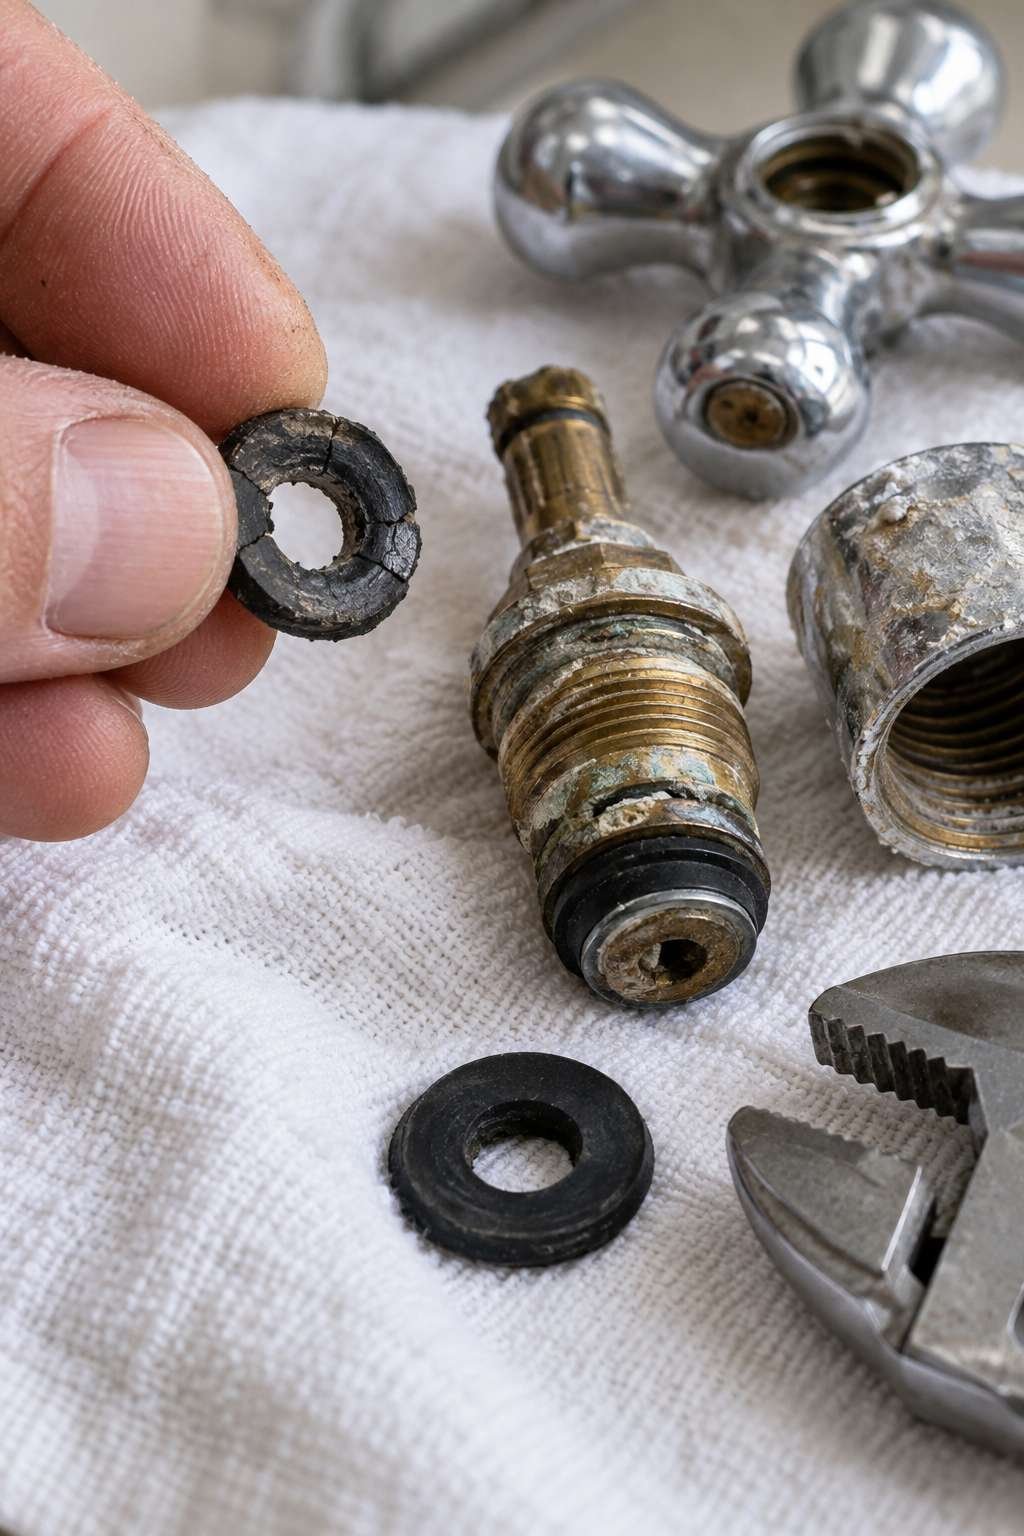
Mineral deposits from hard water can also cause dripping by preventing internal parts from sealing fully, even if those parts aren’t yet worn out. Over time, these deposits build up on washers and valve seats, creating tiny gaps water can seep through.
Age plays a role too — most internal faucet components are only rated to last a certain number of open-close cycles before they need replacing, regardless of how gently the faucet has been used.
- Worn washers, cartridges, or O-rings are the most common cause
- Mineral deposits prevent internal parts from sealing fully
- Age and cycle count wear down parts over time
- A cracked valve seat can also cause persistent dripping
- Excessive water pressure can accelerate part wear
- Using the same faucet daily for years naturally wears components
2. Identifying Your Faucet Type
Before buying any replacement parts, you need to know which of the four common faucet types you’re dealing with, since the repair process differs for each. Compression faucets, common in older homes, use a rubber washer that compresses against a valve seat.
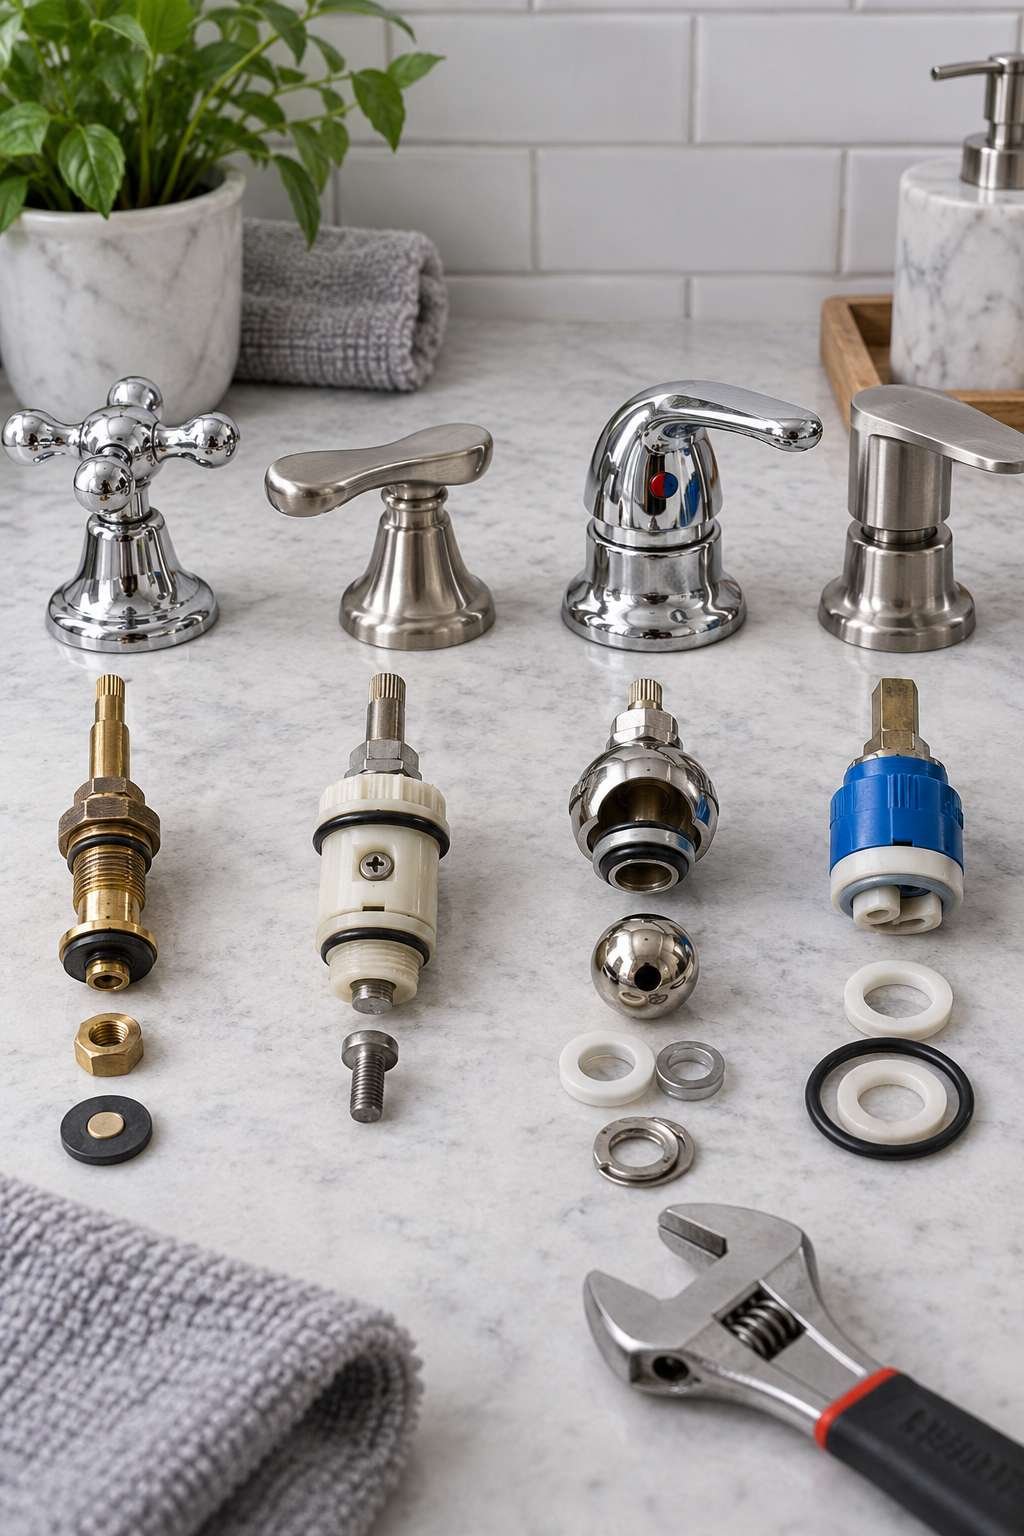
Cartridge faucets use a replaceable cartridge that controls water flow, ball faucets have a single handle that moves over a rounded ball to mix hot and cold, and ceramic disc faucets use two ceramic discs that slide against each other. If your faucet has separate hot and cold handles, it’s very likely a compression type.
A quick way to narrow it down is checking whether the handle needs to be tightened repeatedly (usually compression) or moves in a single lever motion (usually cartridge, ball, or disc).
- Compression faucets have separate hot and cold handles
- Cartridge faucets typically use a single lever handle
- Ball faucets have one handle that moves over a rounded ball
- Ceramic disc faucets often feel smooth with minimal handle resistance
- Check the manufacturer’s website with your model number if unsure
- The repair kit you buy must match your specific faucet type
3. Tools and Materials You’ll Need
Gathering supplies ahead of time saves you from repeated trips to the hardware store mid-repair. Beyond basic tools, you’ll need a replacement part specific to your faucet type — a washer kit, cartridge, ball assembly, or disc set.
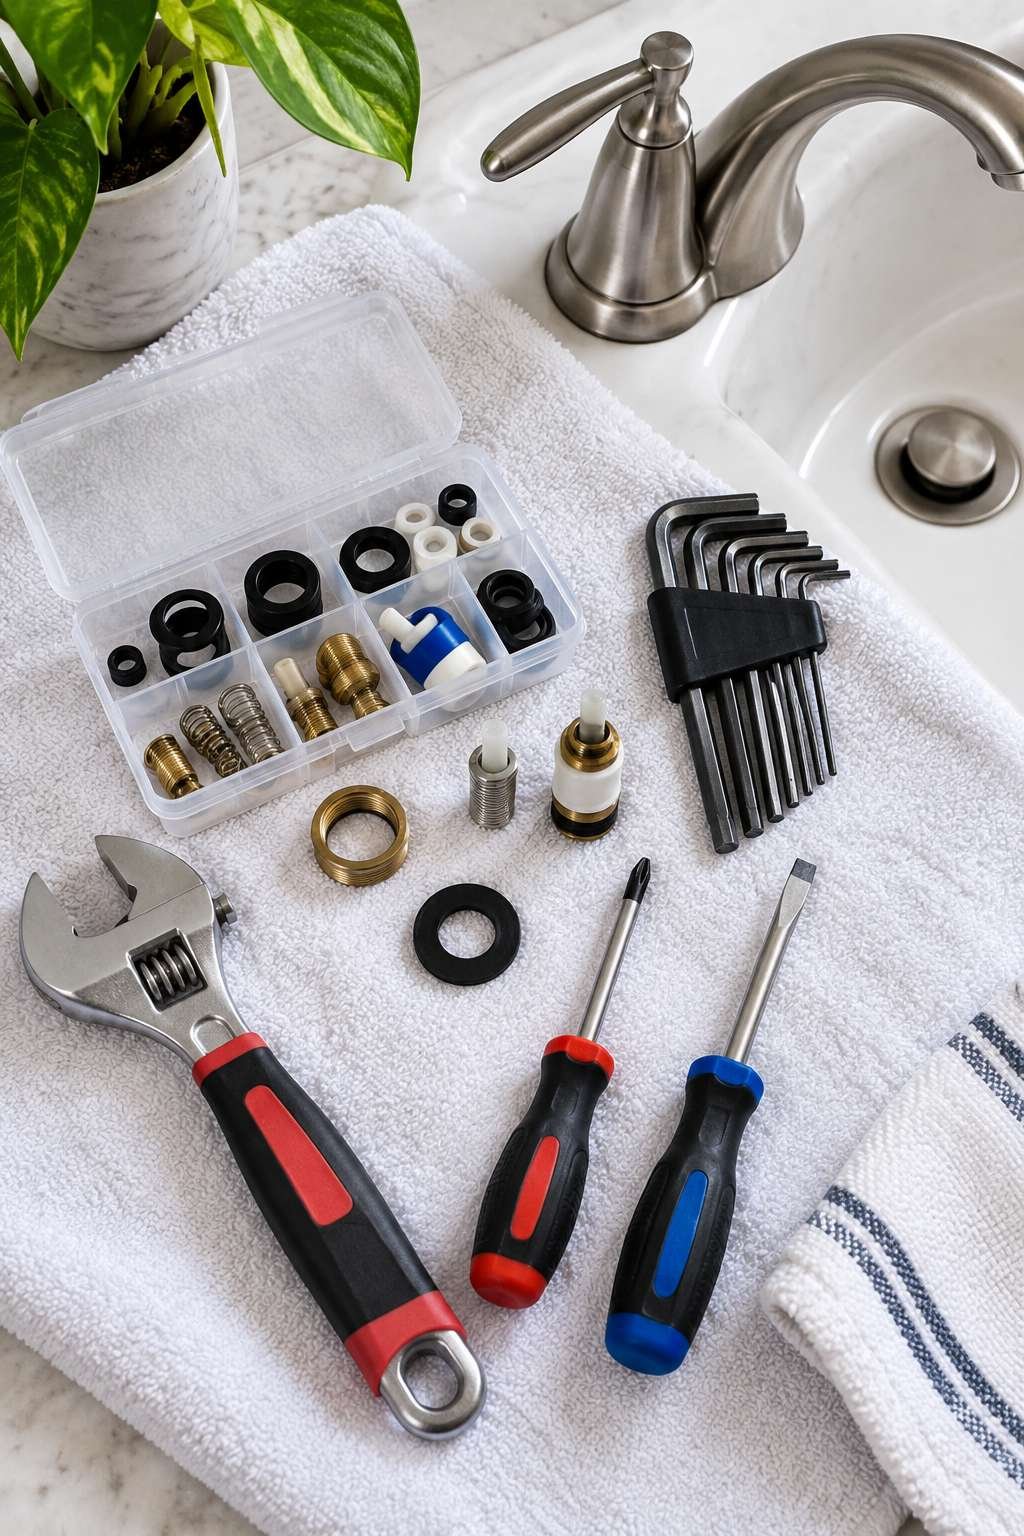
Taking the old part with you to the hardware store, rather than relying on memory, is the single best way to guarantee you come home with the right replacement the first time.
- Adjustable wrench or channel-lock pliers
- Small flathead and Phillips screwdrivers
- Allen wrench set (many handles use hex screws)
- Replacement part matching your faucet type
- Plumber’s grease for reassembly
- A small towel to plug the drain and catch small parts
4. Turning Off the Water Supply
Before removing anything, turn off the shutoff valves underneath the sink, typically one for hot and one for cold, by turning them clockwise until fully closed. If your sink lacks individual shutoffs, turn off the main water supply to the house instead.
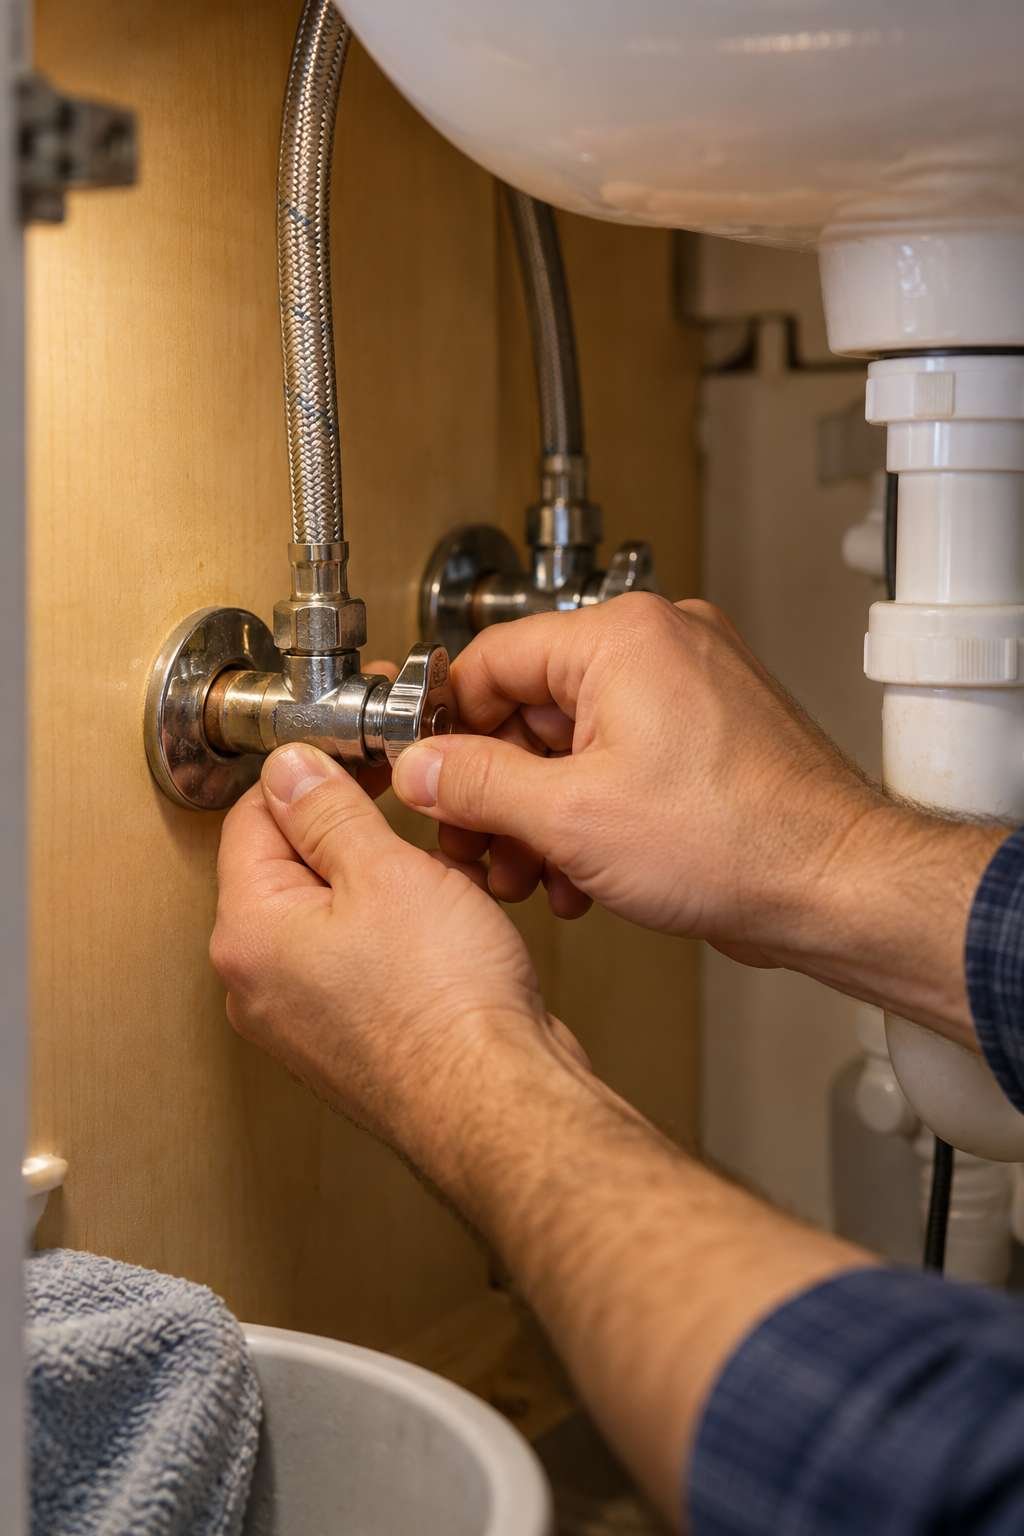
Open the faucet afterward to release any remaining pressure and confirm the water is actually off before proceeding. Plug the drain with a rag or stopper as well, since small screws and springs are notoriously easy to lose down an open drain during this repair.
Skipping this step is one of the most common reasons a simple repair turns into an unexpectedly wet, frustrating afternoon.
- Turn both hot and cold shutoff valves fully clockwise
- Use the main water shutoff if individual valves aren’t present
- Open the faucet to confirm water flow has stopped
- Plug the drain to catch small dropped parts
- Keep a towel handy for any remaining drips
- Double-check the water is fully off before disassembly
5. Removing the Faucet Handle
Most handles are held on by a single screw, often hidden under a decorative cap on top of the handle that pries off with a flathead screwdriver. Once the cap is removed, you’ll see the retaining screw underneath.
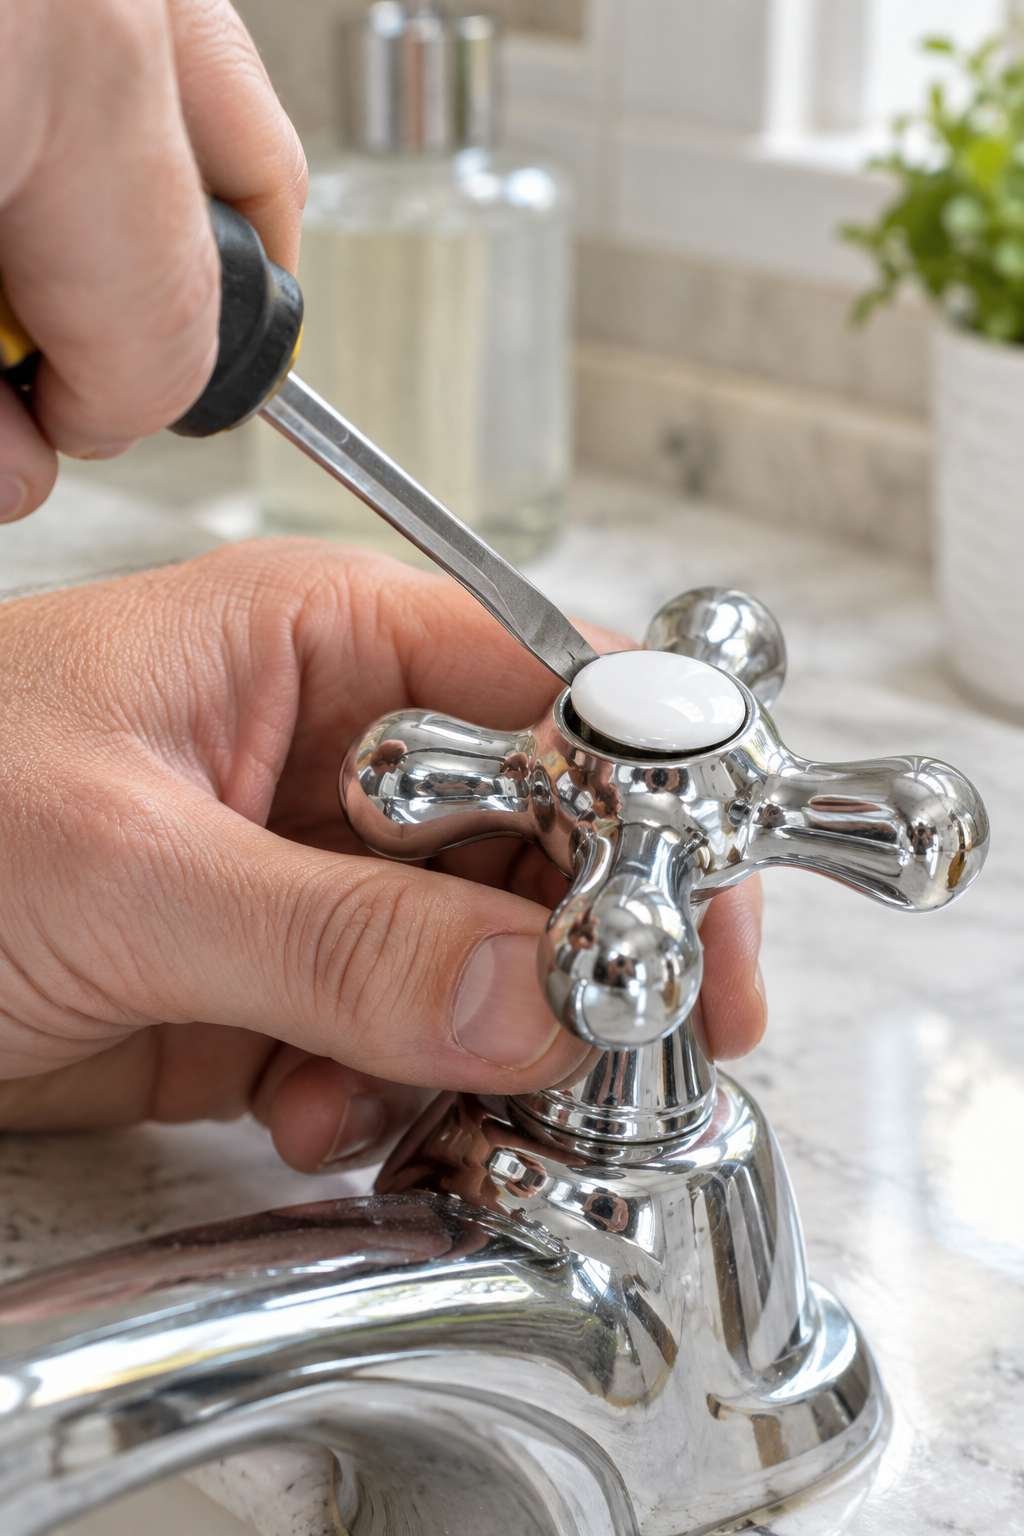
Remove the screw and gently pull or wiggle the handle off its base. If it feels stuck, avoid forcing it — a bit of penetrating oil around the base, left to sit for a few minutes, usually loosens a stubborn handle without needing excessive force.
Keep the screw and cap together in a small container so nothing gets lost before reassembly.
- Pry off the decorative cap to reveal the retaining screw
- Remove the screw and set it aside safely
- Gently wiggle the handle free rather than forcing it
- Use penetrating oil on stuck handles rather than force
- Keep small parts together in a labeled container
- Take a photo before disassembly if the order feels confusing
6. Accessing and Replacing the Worn Part
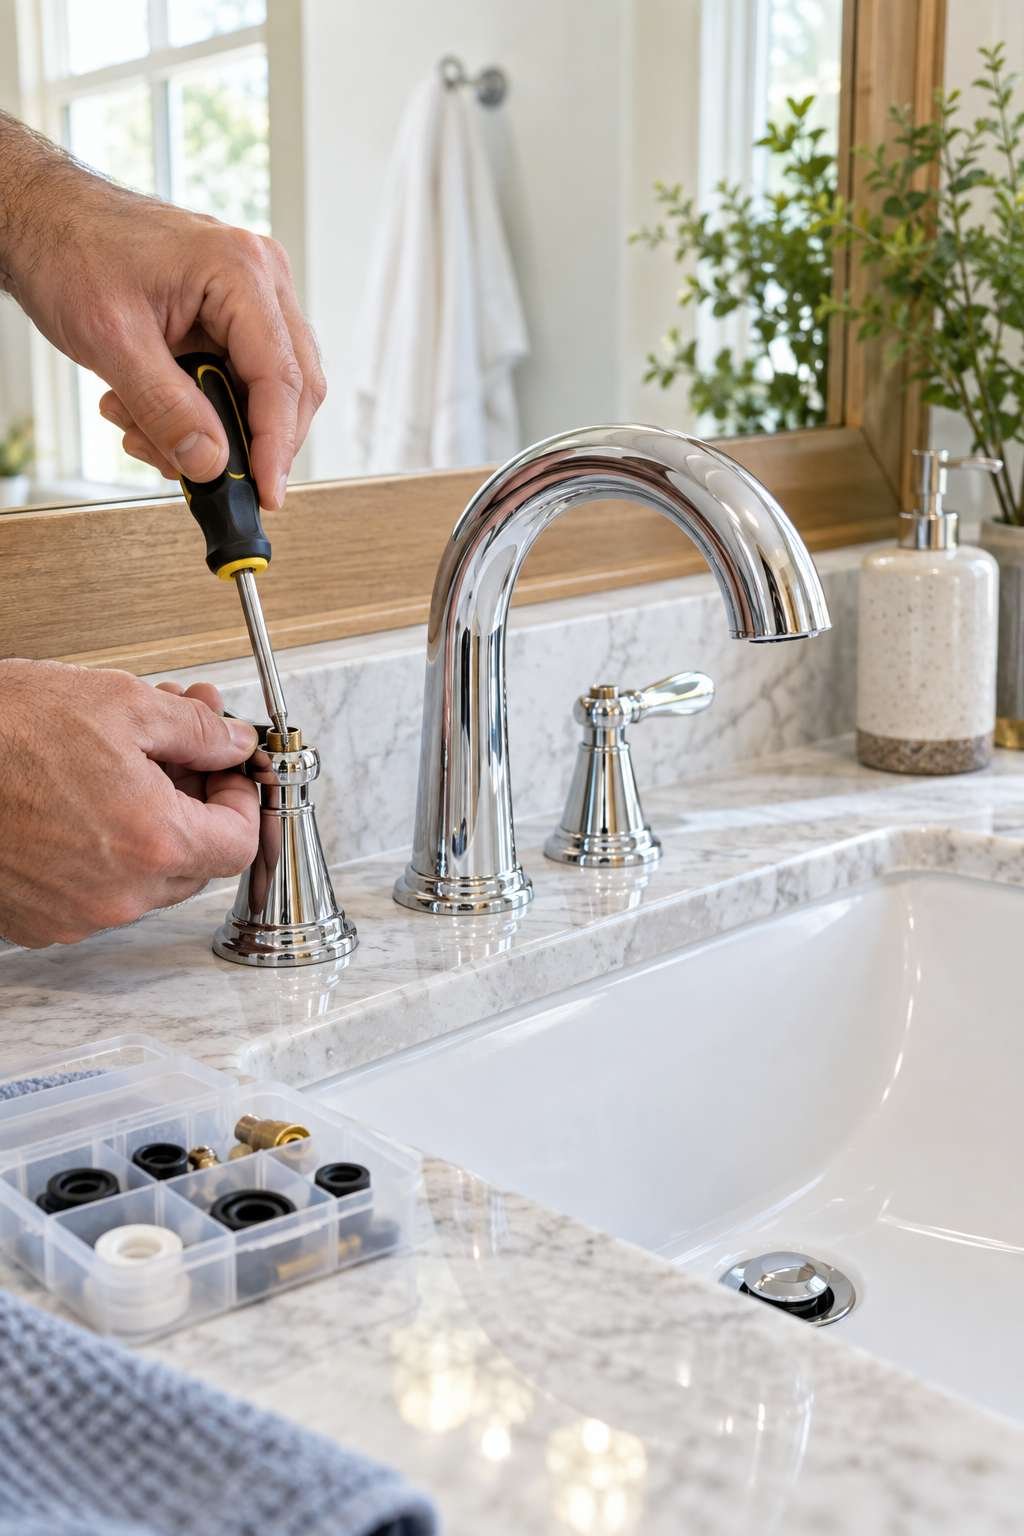
With the handle off, you’ll see either a retaining nut over a cartridge, a ball assembly, or a valve stem with a washer at the bottom, depending on your faucet type. Use an adjustable wrench to loosen the retaining nut and lift out the worn component.
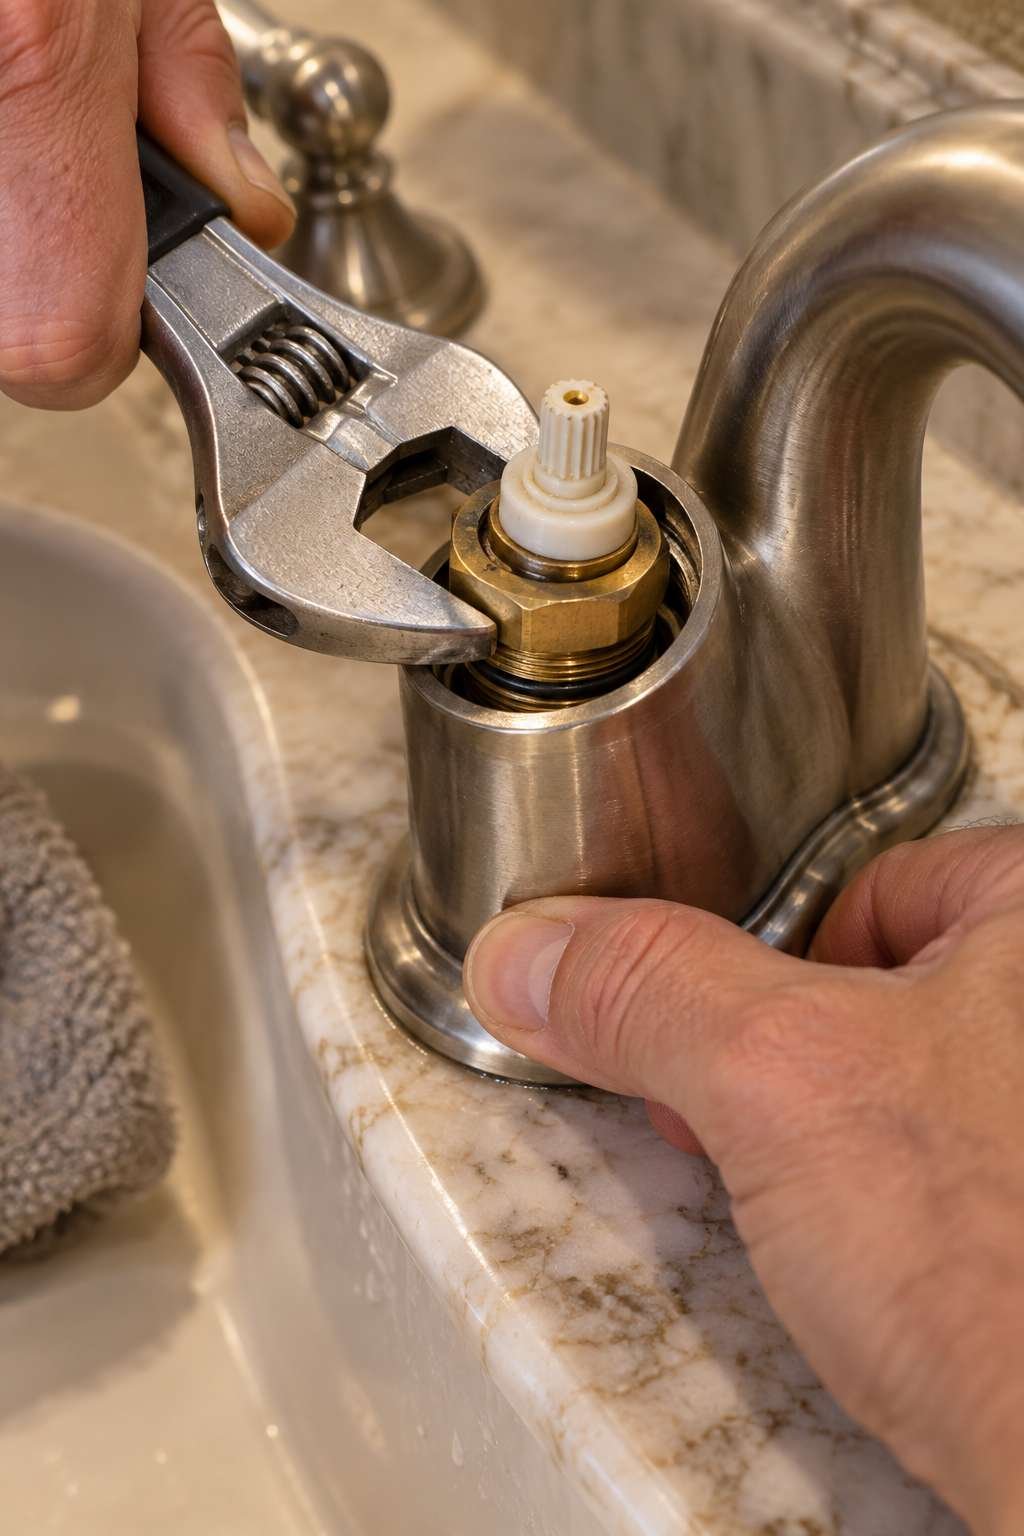
For compression faucets, unscrew the stem and check the washer at the bottom, replacing it with an exact match in size and shape. For cartridge faucets, pull the old cartridge straight out and insert the new one in the same orientation, checking for an alignment tab or notch.
Ball faucets require removing the cam, cam washer, and ball together, replacing the components included in a standard repair kit, while ceramic disc faucets typically involve unscrewing the disc cylinder and swapping in a new one.
- Loosen the retaining nut with an adjustable wrench
- Replace washers with an exact size and shape match
- Insert new cartridges in the same orientation as the old one
- Check for an alignment tab or notch on cartridge faucets
- Replace the full ball assembly kit together for ball faucets
- Swap the entire disc cylinder for ceramic disc faucets
If your faucet’s mounting hardware feels unusually stuck or corroded during this step, our companion post on how to remove a bathroom faucet entirely covers a few extra techniques for freeing seized parts.
7. Inspecting the Valve Seat and O-Rings
While everything is apart, take a moment to inspect the valve seat, the surface the washer or cartridge seals against, for pitting, corrosion, or mineral buildup that could cause dripping even with a brand-new part installed.
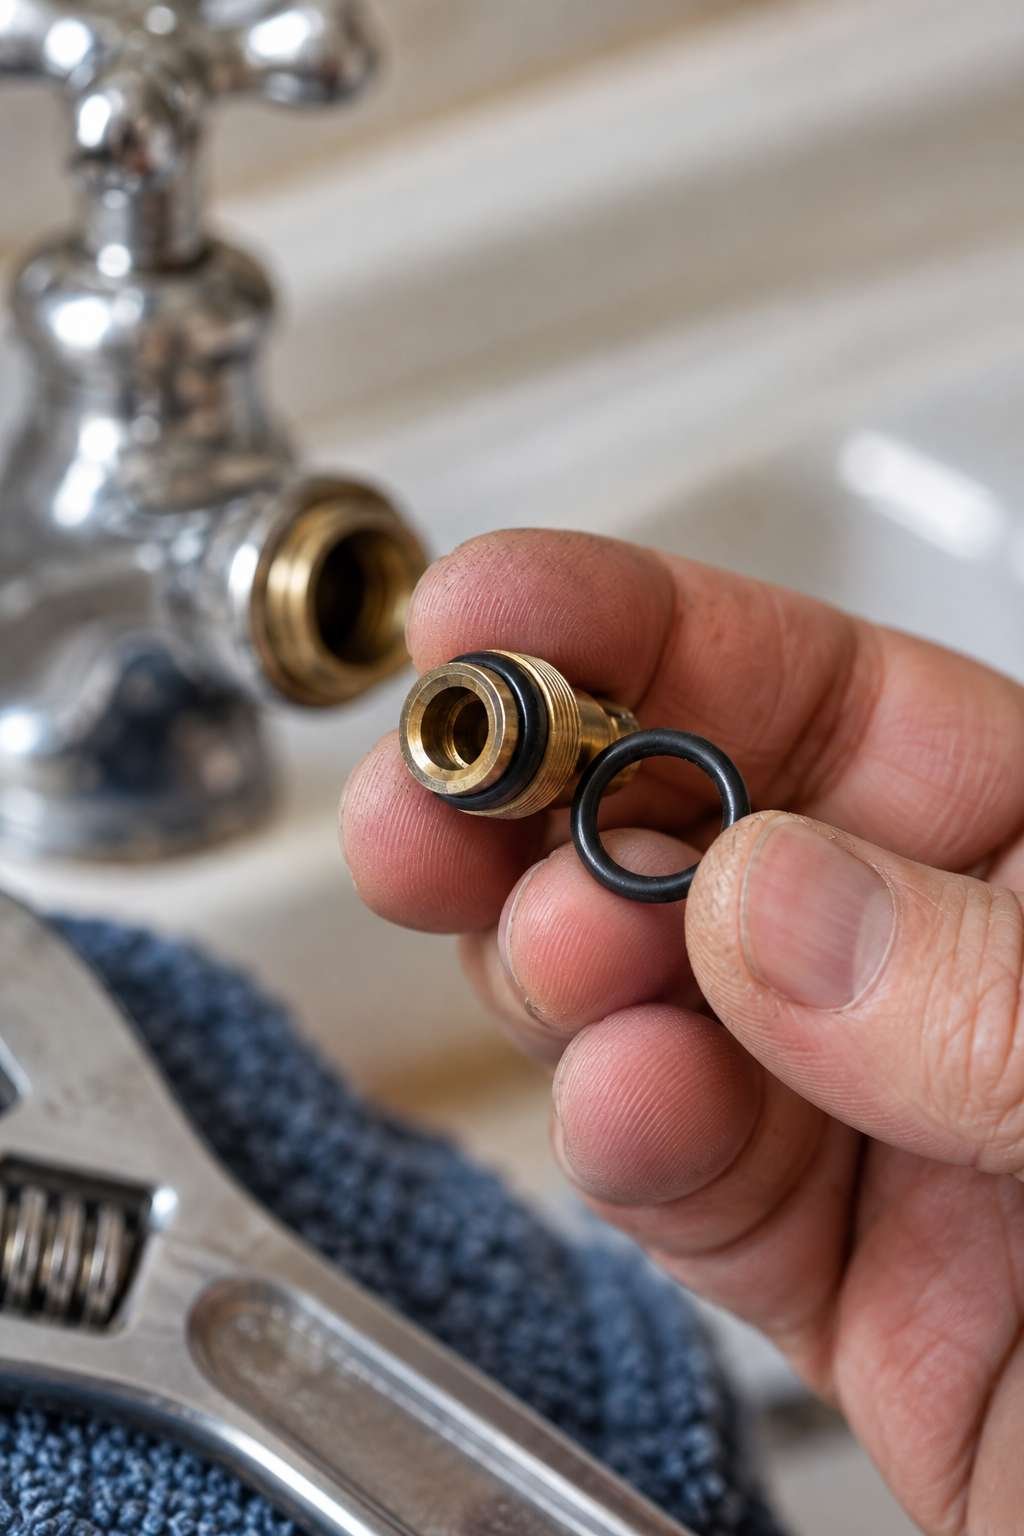
A valve seat that feels rough or scored can sometimes be smoothed with a valve seat wrench and reseating tool, though a heavily damaged seat may need professional attention or a full faucet replacement instead. Check any O-rings visible during disassembly for cracking or flattening, replacing them if they don’t look pliable anymore.
A small dab of plumber’s grease on O-rings during reassembly helps them seal properly and last longer before needing replacement again.
- Check the valve seat for pitting or mineral buildup
- Smooth minor roughness with a valve seat reseating tool
- Consider full replacement if the seat is heavily damaged
- Replace any O-rings that look cracked or flattened
- Apply plumber’s grease to O-rings during reassembly
- Clean mineral deposits off all parts before reinstalling
8. Reassembling the Faucet
Reassembly is essentially the removal process in reverse, but a little extra care here prevents needing to redo the whole repair. Insert the new part in the same orientation the old one came out, checking any alignment marks or notches along the way.
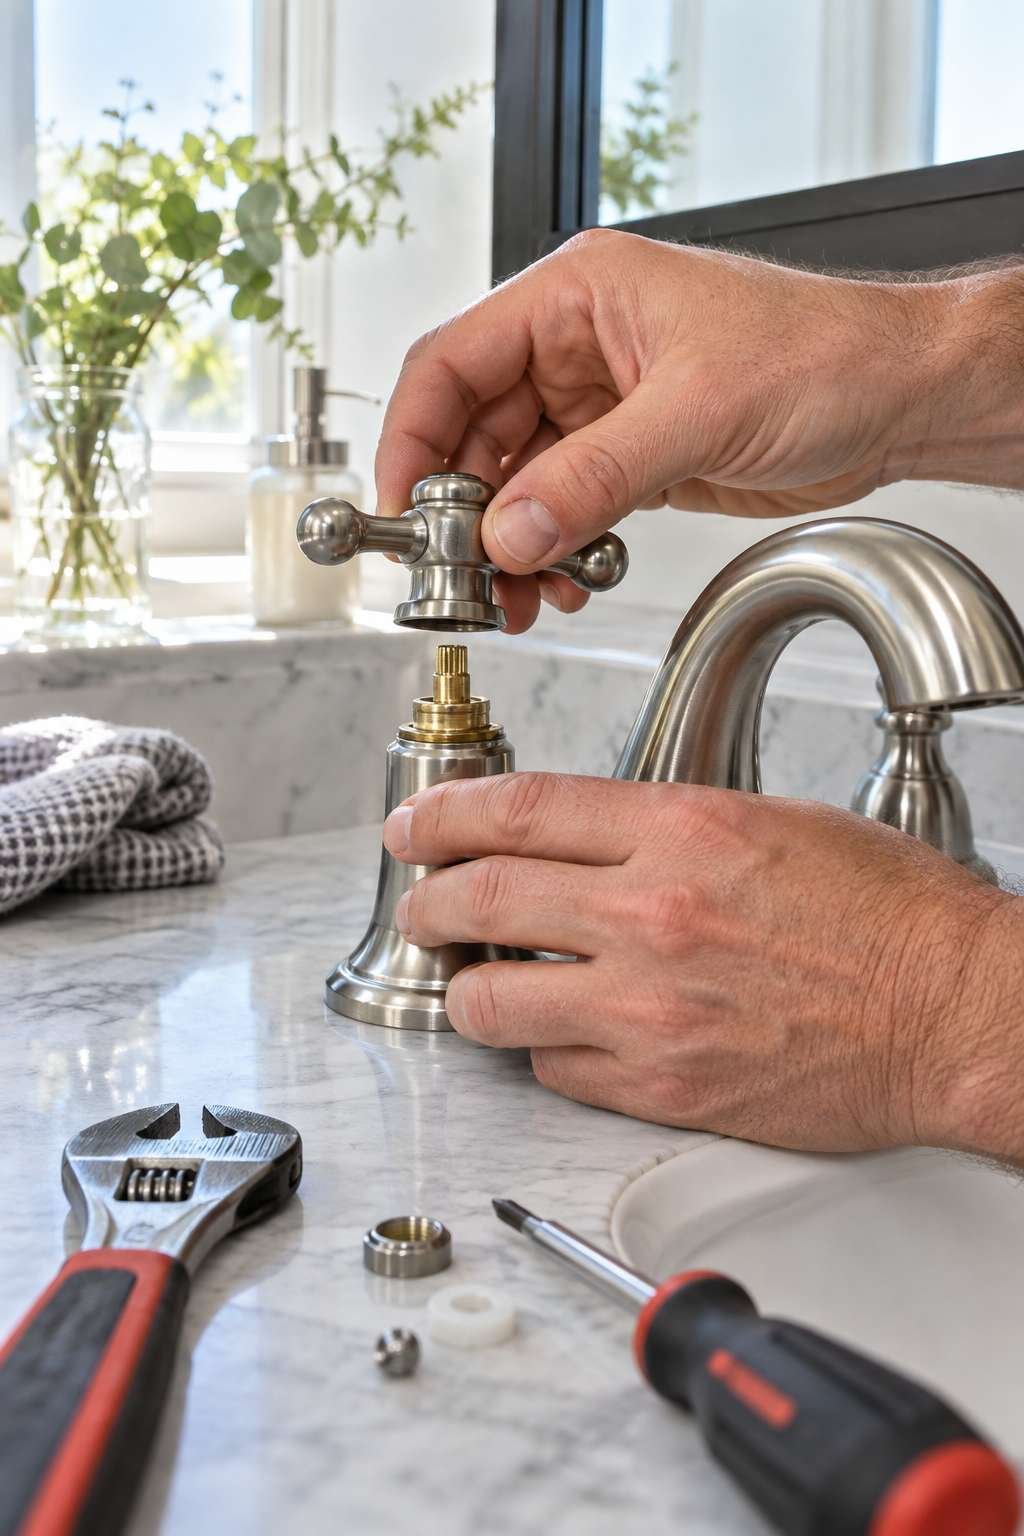
Hand-tighten the retaining nut first, then snug it with a wrench without overtightening, which can crack certain faucet materials or make the handle difficult to turn smoothly. Reattach the handle, screw, and decorative cap in the reverse order you removed them.
Take your time on this step rather than rushing, since a slightly misaligned cartridge or ball assembly is a common reason a repair doesn’t fully fix the drip.
- Insert new parts in the same orientation as the originals
- Hand-tighten the retaining nut before final wrench snugging
- Avoid overtightening, which can crack materials or bind handles
- Reattach the handle and cap in reverse removal order
- Double-check alignment marks match before final tightening
- Go slowly rather than rushing the final reassembly steps
9. Turning the Water Back On and Testing
Slowly turn the shutoff valves back on, watching closely for any leaks at the connections you worked on. Run the faucet on both hot and cold for a minute to clear any debris from the new parts and confirm the drip is actually gone.
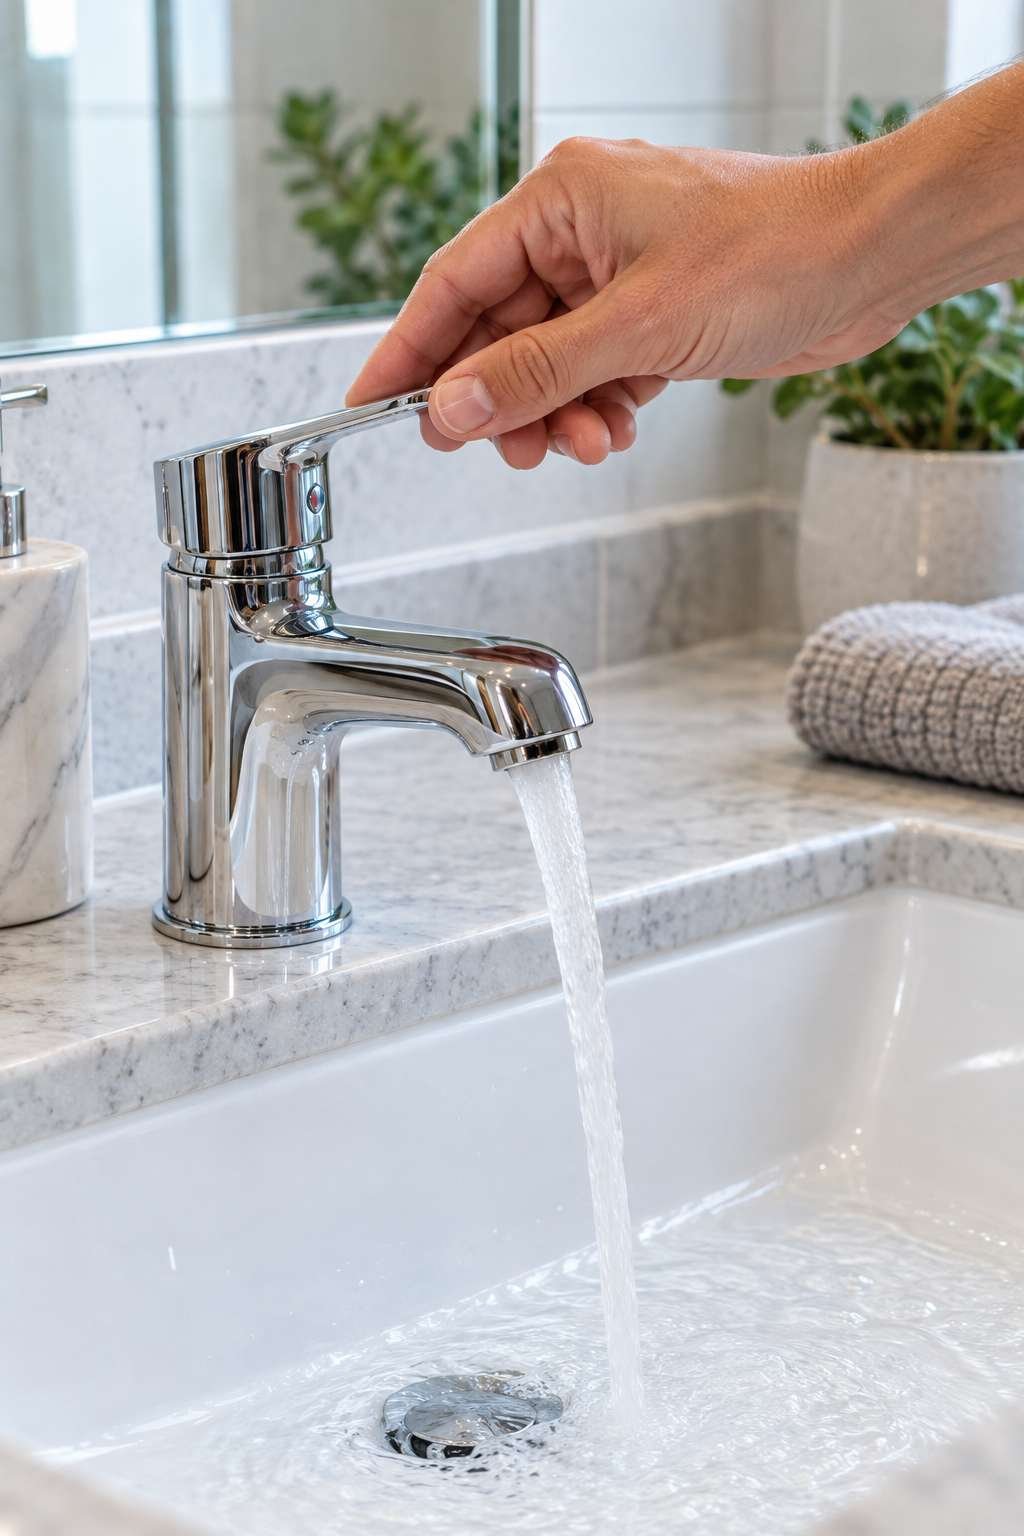
Turn the faucet fully off and watch closely for at least a minute, since a slow drip can sometimes take a moment to reveal itself even after a repair. If dripping continues, the issue may be a valve seat that needs attention rather than the part you just replaced.
Testing thoroughly now saves you from discovering the same problem again a few days later.
- Turn shutoff valves back on slowly, watching for leaks
- Run hot and cold water to clear debris from new parts
- Turn the faucet fully off and watch closely for a minute
- Check underneath the sink for any new leaks at connections
- Revisit the valve seat if dripping continues after the repair
- Consider a professional plumber if the drip persists despite these steps
10. Preventing Future Drips
A few small habits extend how long a repaired faucet stays drip-free. Avoid overtightening the handle when turning the faucet off, since excessive force actually accelerates wear on washers and valve seats rather than sealing better.
If your home has notably hard water, consider a water softener or at least periodic descaling of faucet parts, since mineral buildup is one of the most common accelerators of future dripping. Address any drip early, before mineral deposits have a chance to worsen the damage to internal components.
Keeping a basic repair kit matched to your faucet type on hand means the next drip, if it happens, is a quick fix rather than a delayed annoyance.
- Avoid overtightening the handle when shutting off water
- Address new drips early before deposits worsen the wear
- Consider a water softener if hard water is a recurring issue
- Periodically clean the aerator to maintain consistent water flow
- Keep a matching repair kit on hand for future convenience
- Have shutoff valves inspected occasionally for reliable operation
Frequently Asked Questions
What’s the fastest way to stop a dripping bathroom faucet?
Identifying your faucet type and replacing the specific worn part — washer, cartridge, ball assembly, or ceramic disc — is faster and more reliable than repeated tightening, which only masks the problem temporarily. Bringing the old part to the hardware store ensures you get an exact match on the first trip.
How do you stop a bathroom faucet from leaking at the base rather than the spout?
A leak at the base, rather than dripping from the spout, usually points to a worn O-ring rather than the washer or cartridge, and it’s fixed by disassembling the handle enough to access and replace that O-ring. Applying plumber’s grease to the new O-ring during reassembly helps it seal properly.
How do you stop a bathroom faucet from dripping overnight specifically?
Overnight dripping is fixed the same way as daytime dripping — by replacing the worn internal part — though it’s worth confirming the drip isn’t actually coming from a nearly-closed shutoff valve rather than the faucet itself. Fully closing both shutoff valves briefly can help you isolate where the drip is really originating.
How do you fix a bathroom faucet with more general issues beyond just dripping?
Beyond dripping, common faucet issues include low water pressure from a clogged aerator, a wobbly handle from a loose retaining nut, or inconsistent temperature from a miscalibrated cartridge, each addressed by cleaning, tightening, or replacing that specific part. Most non-drip issues are actually quicker fixes than a full drip repair.
What’s the best way to stop a leaky bathroom faucet for good?
A repair that fully replaces the worn part, rather than just tightening the existing one, is what makes a fix permanent rather than temporary. Combine that with periodic maintenance, like aerator cleaning and avoiding overtightening, to keep the same drip from returning in a few months.
Fixing a dripping bathroom faucet almost always comes down to identifying the right part and replacing it correctly, rather than any complicated plumbing knowledge. Once you’ve done it once, the whole process feels far less intimidating the next time a faucet starts dripping somewhere else in the house.
Keep the tools and a basic repair kit on hand, and this becomes a quick, confident fix rather than something you put off for weeks. If your faucet needs more than an internal part swap, our related guide on how to remove a bathroom faucet entirely walks through a full replacement instead.

