


A worn, leaking, or outdated faucet is one of the fastest fixes to notice and one of the fastest to fix yourself. Learning how to change a bathroom faucet doesn’t require a plumber for most standard sink setups — with the right tools and about an hour of your time, you can have a new faucet installed and leak-free.
This guide walks through the entire process, from shutting off water safely to removing the old unit and sealing in the new one, so you avoid the most common mistakes that lead to leaks after installation.
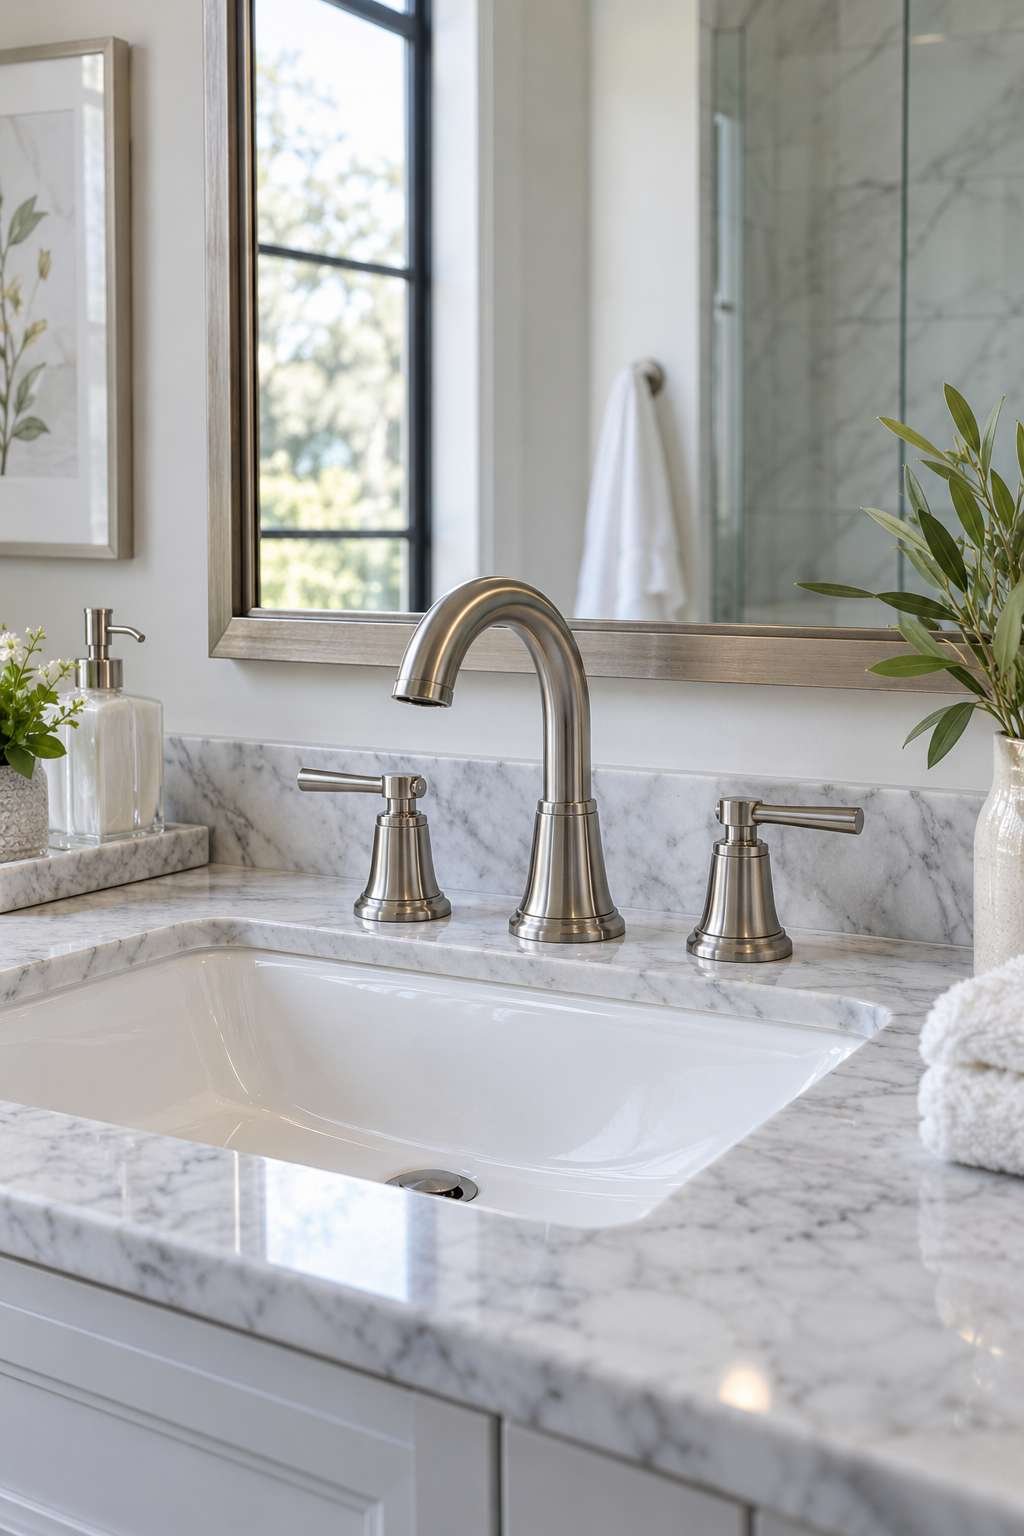
Whether you’re upgrading the look of your bathroom or replacing a faucet that’s finally given out, the process is largely the same across most standard sink configurations.
1. Signs It’s Time to Change Your Faucet
A faucet doesn’t have to be completely broken to be worth replacing. Persistent dripping, even after tightening the handle fully, usually points to worn internal parts that are cheaper to replace as a whole unit than to keep patching individually.
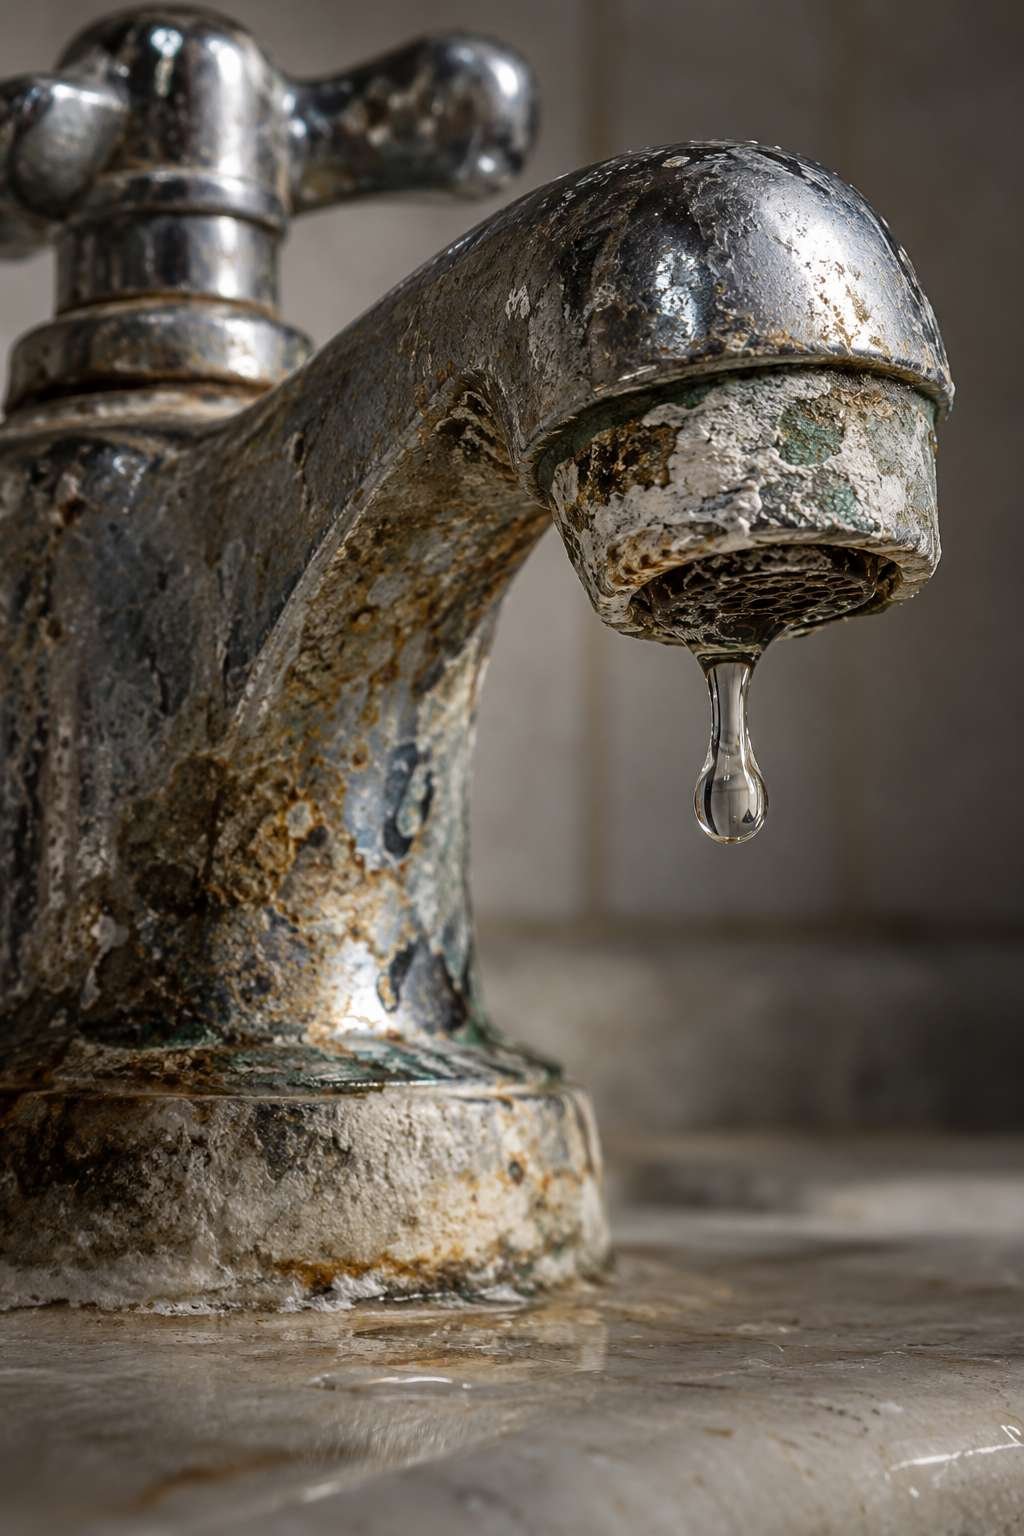
Visible corrosion around the base, mineral buildup that won’t scrub off, or a finish that’s peeling and discolored are all cosmetic signs that replacement will look better than continued cleaning. Wobbly handles or a spray pattern that’s become inconsistent are functional signs pointing the same direction.
If your current faucet simply doesn’t match your bathroom’s updated style anymore, that’s a perfectly good reason to change it too.
- Persistent dripping despite a fully tightened handle
- Visible corrosion or mineral buildup around the base
- Peeling, discolored, or worn finish
- Wobbly handles or loose base connections
- Inconsistent or reduced water flow pattern
- Style no longer matches an updated bathroom look
2. Choosing the Right Replacement Faucet
Before buying anything, confirm your sink’s hole configuration, since faucets are designed for specific mounting setups. Most bathroom sinks use either a single-hole, centerset (4-inch spread), or widespread (8-inch spread) configuration.
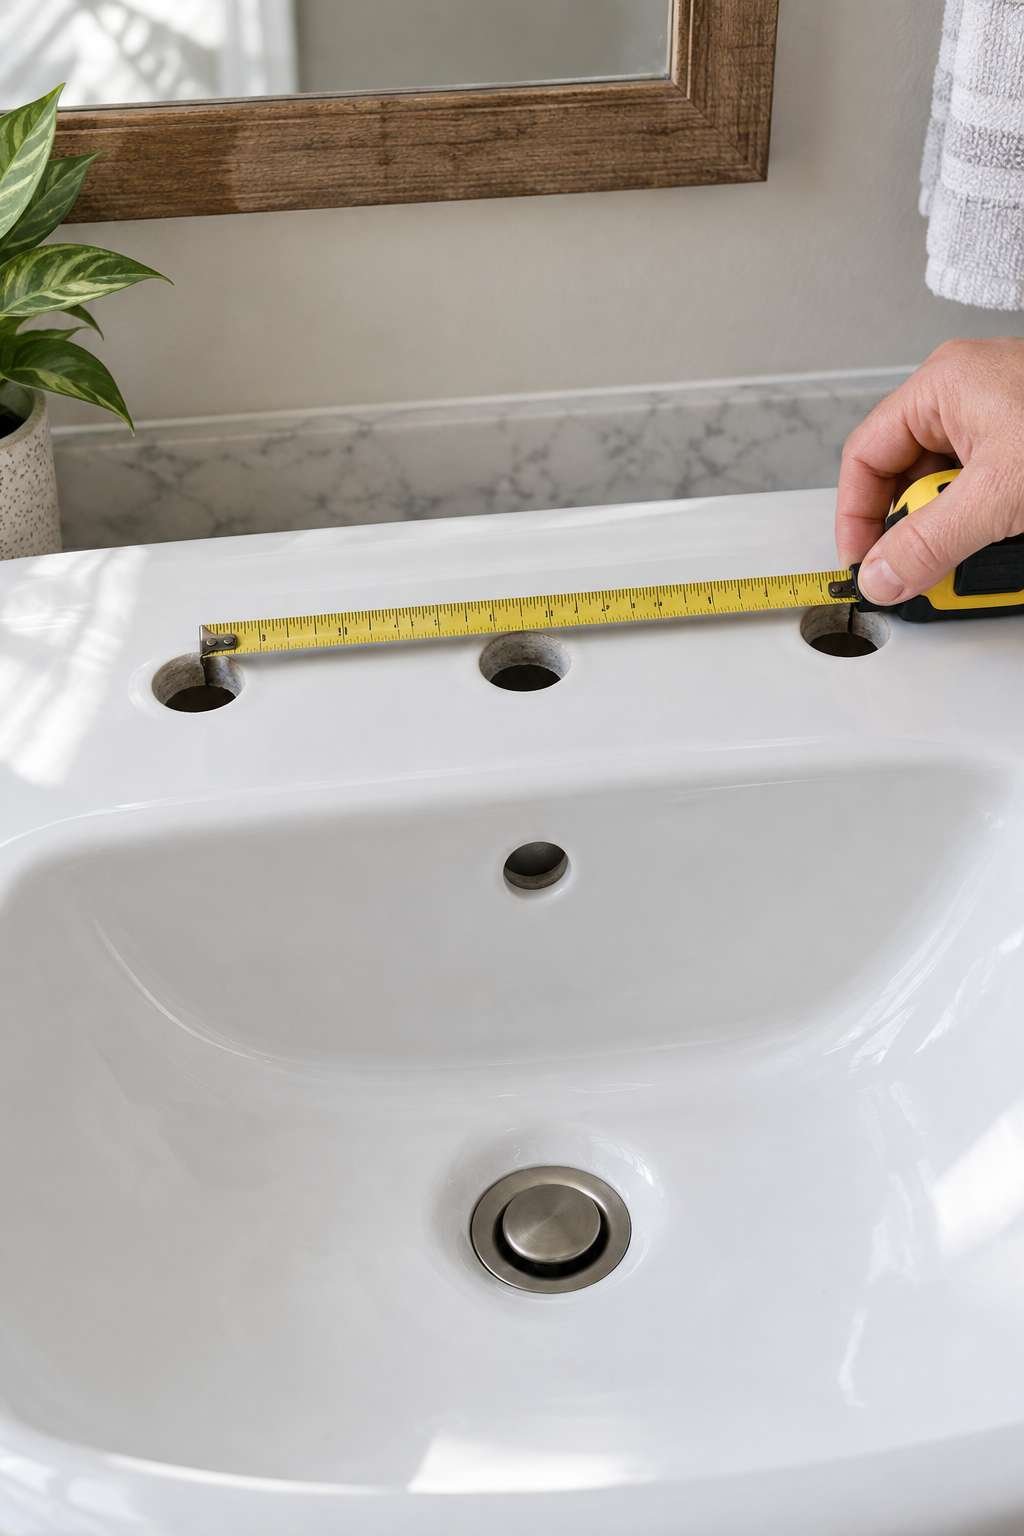
Measure the distance between your existing faucet’s mounting holes, or check the underside of your current faucet for a match, before shopping for a replacement. Buying a faucet that doesn’t match your sink’s hole spacing is one of the most common and frustrating mistakes in this project.
Beyond fit, decide on finish and handle style, keeping in mind that mismatched finishes between the faucet and other bathroom hardware can look unintentional rather than intentional.
- Measure your sink’s hole spacing before shopping
- Match single-hole, centerset, or widespread configurations exactly
- Check if your sink has extra holes needing a cover plate
- Consider finish consistency with existing bathroom hardware
- Look for supply line compatibility (usually 3/8-inch)
- Read reviews for long-term durability, not just appearance
3. Tools and Materials You’ll Need
Having the right tools on hand prevents the most common source of frustration in this project: reaching a nut in an awkward spot without the right wrench. A basin wrench is the single most useful specialty tool for this job.
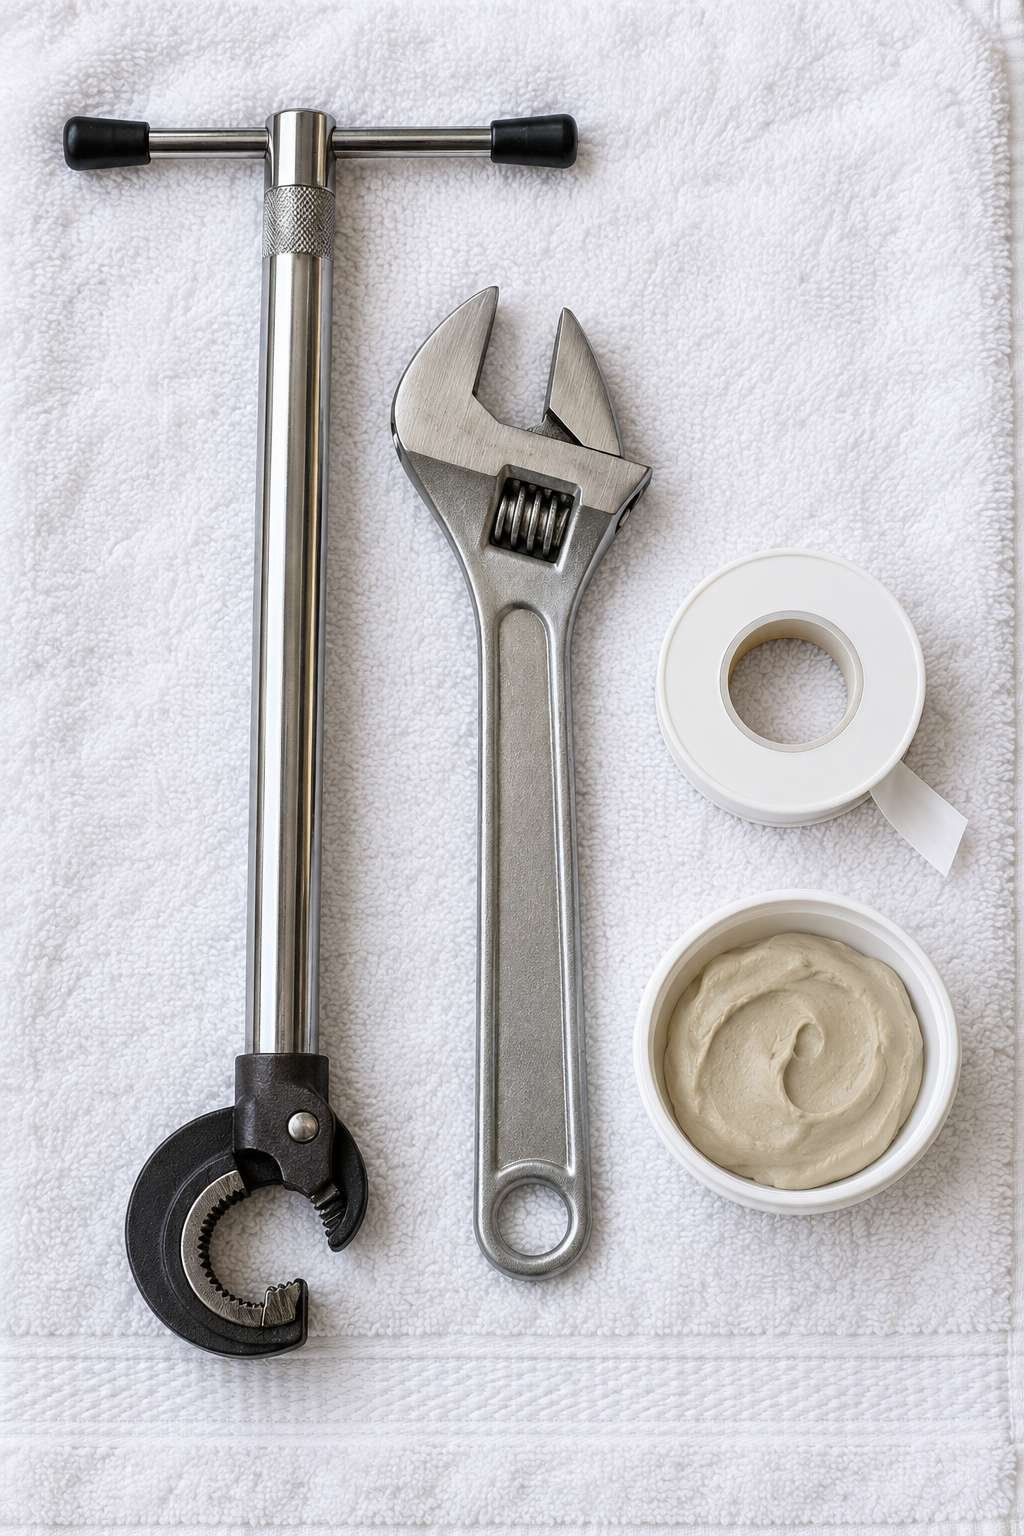
Most other tools are things many households already have, though it’s worth double-checking before you’re halfway under the sink with wet hands.
- Basin wrench (essential for reaching mounting nuts)
- Adjustable wrench or channel-lock pliers
- Plumber’s putty or silicone sealant
- Plumber’s tape (Teflon tape)
- Bucket and old towels
- Flashlight for visibility under the sink
4. Turning Off the Water Supply
Before touching anything, locate the shutoff valves underneath the sink, typically one for hot and one for cold water, and turn them clockwise until fully closed. If your sink doesn’t have individual shutoffs, you’ll need to shut off the main water supply to the house instead.
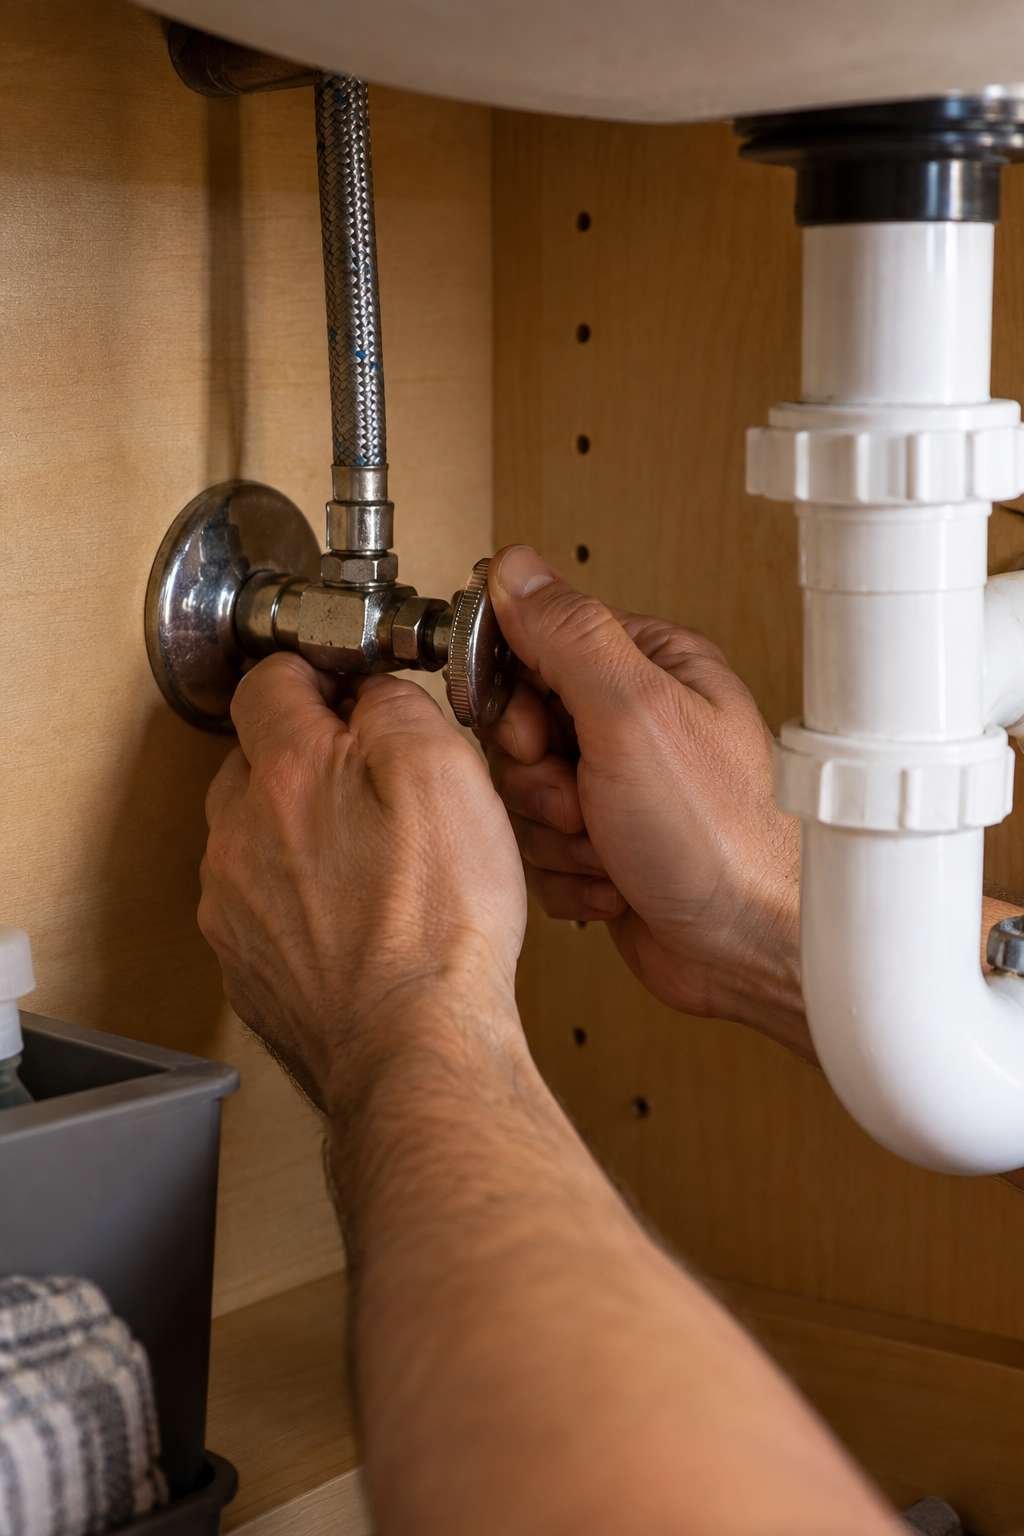
Open the faucet handles afterward to release any remaining pressure in the lines, and place a bucket underneath to catch the small amount of water that drains out. This step also confirms the shutoff valves are actually working before you disconnect anything.
If a shutoff valve won’t fully stop the flow, it’s worth replacing while everything is already apart rather than fighting a slow drip through the rest of the project.
- Turn both hot and cold shutoff valves fully clockwise
- Shut off the main supply if individual valves aren’t present
- Open the faucet handles to release remaining pressure
- Place a bucket underneath to catch residual water
- Confirm the valves are fully stopping flow before proceeding
- Replace a faulty shutoff valve now if you notice one leaking
5. Disconnecting and Removing the Old Faucet
With water off, disconnect the supply lines from the shutoff valves first, then from the faucet itself, using an adjustable wrench and keeping a towel handy for any drips. Set the old supply lines aside unless you’re reusing them.
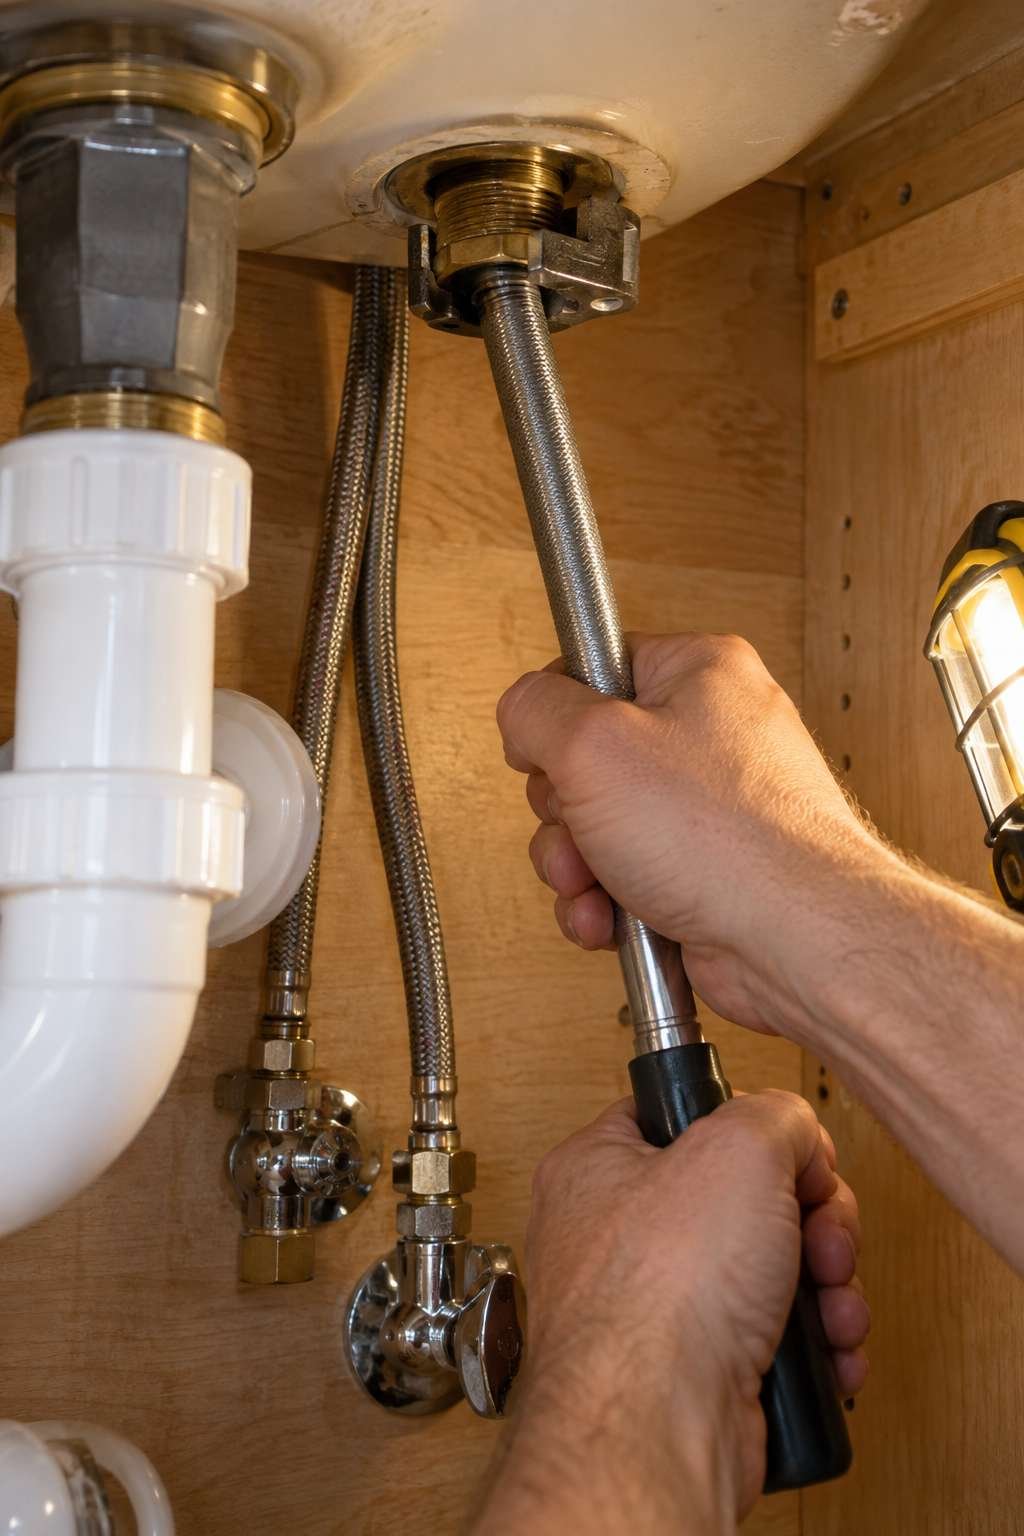
Reach underneath the sink with your basin wrench to loosen the mounting nuts holding the faucet in place, which can be awkward in a tight cabinet space — this is exactly where that specialty tool earns its keep. Once the nuts are off, lift the old faucet straight up and out from above.
Clean the sink surface thoroughly where the old faucet sat, removing any old putty, sealant, or mineral residue before installing the new one.
- Disconnect supply lines at the valve, then at the faucet
- Use a basin wrench to reach mounting nuts in tight spaces
- Loosen nuts fully before attempting to lift the faucet
- Lift the old faucet straight up and out from above
- Clean the sink surface of old putty and residue
- Inspect the sink deck for any damage before installing the new unit
For faucets with unusually stubborn or corroded mounting hardware, our companion post on how to change a bathroom sink setup covers a few additional tricks for freeing seized connections during a fuller sink replacement.
6. Preparing and Positioning the New Faucet
Before setting the new faucet in place, check whether it needs a plumber’s putty or silicone bead around the base, following the manufacturer’s specific instructions, since not all faucets require the same sealing method.
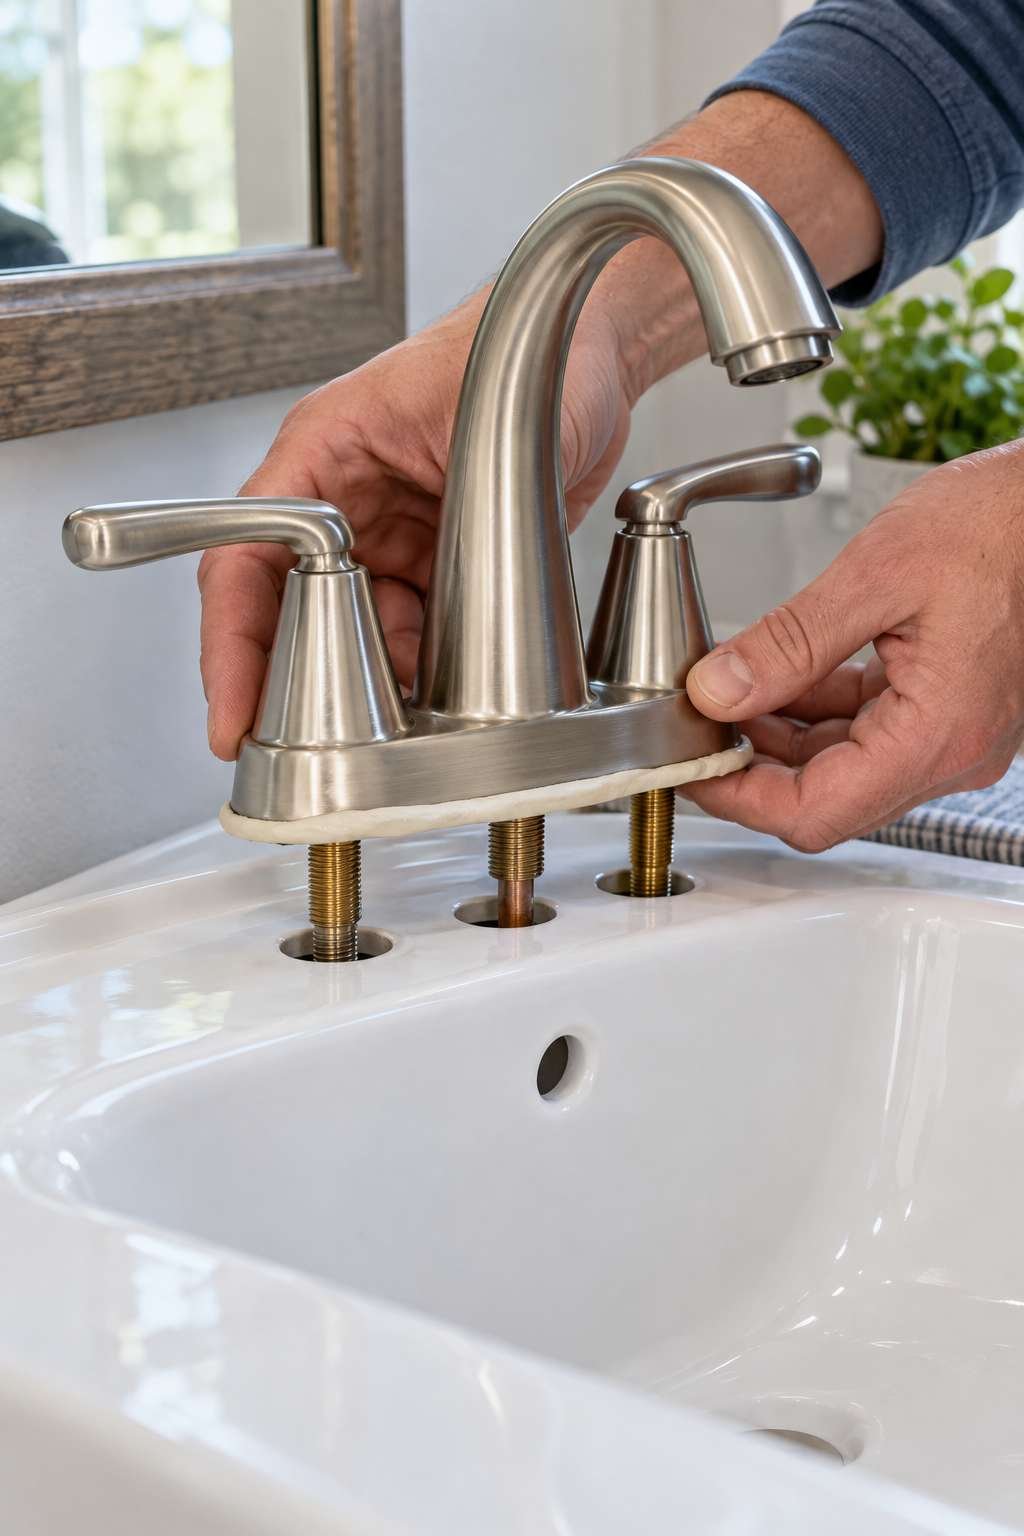
Feed the supply lines and any mounting hardware through the sink’s holes as you lower the faucet into position, checking that it’s centered and sitting flush against the sink surface. Some faucets include a rubber gasket instead of requiring putty, so check your specific model before applying anything extra.
Take a moment to confirm the faucet is oriented correctly and sitting level before securing anything from underneath.
- Check manufacturer instructions for putty vs. gasket sealing
- Feed supply lines through the sink holes as you position it
- Confirm the faucet sits flush and centered on the sink
- Check that it’s level before securing from underneath
- Wipe away any excess putty that squeezes out around the base
- Keep the installation manual handy for model-specific steps
7. Securing the Faucet from Underneath
Reach under the sink again to thread on the mounting nuts or brackets, tightening them evenly with your basin wrench until the faucet is firmly secured but not overtightened to the point of cracking the sink material.
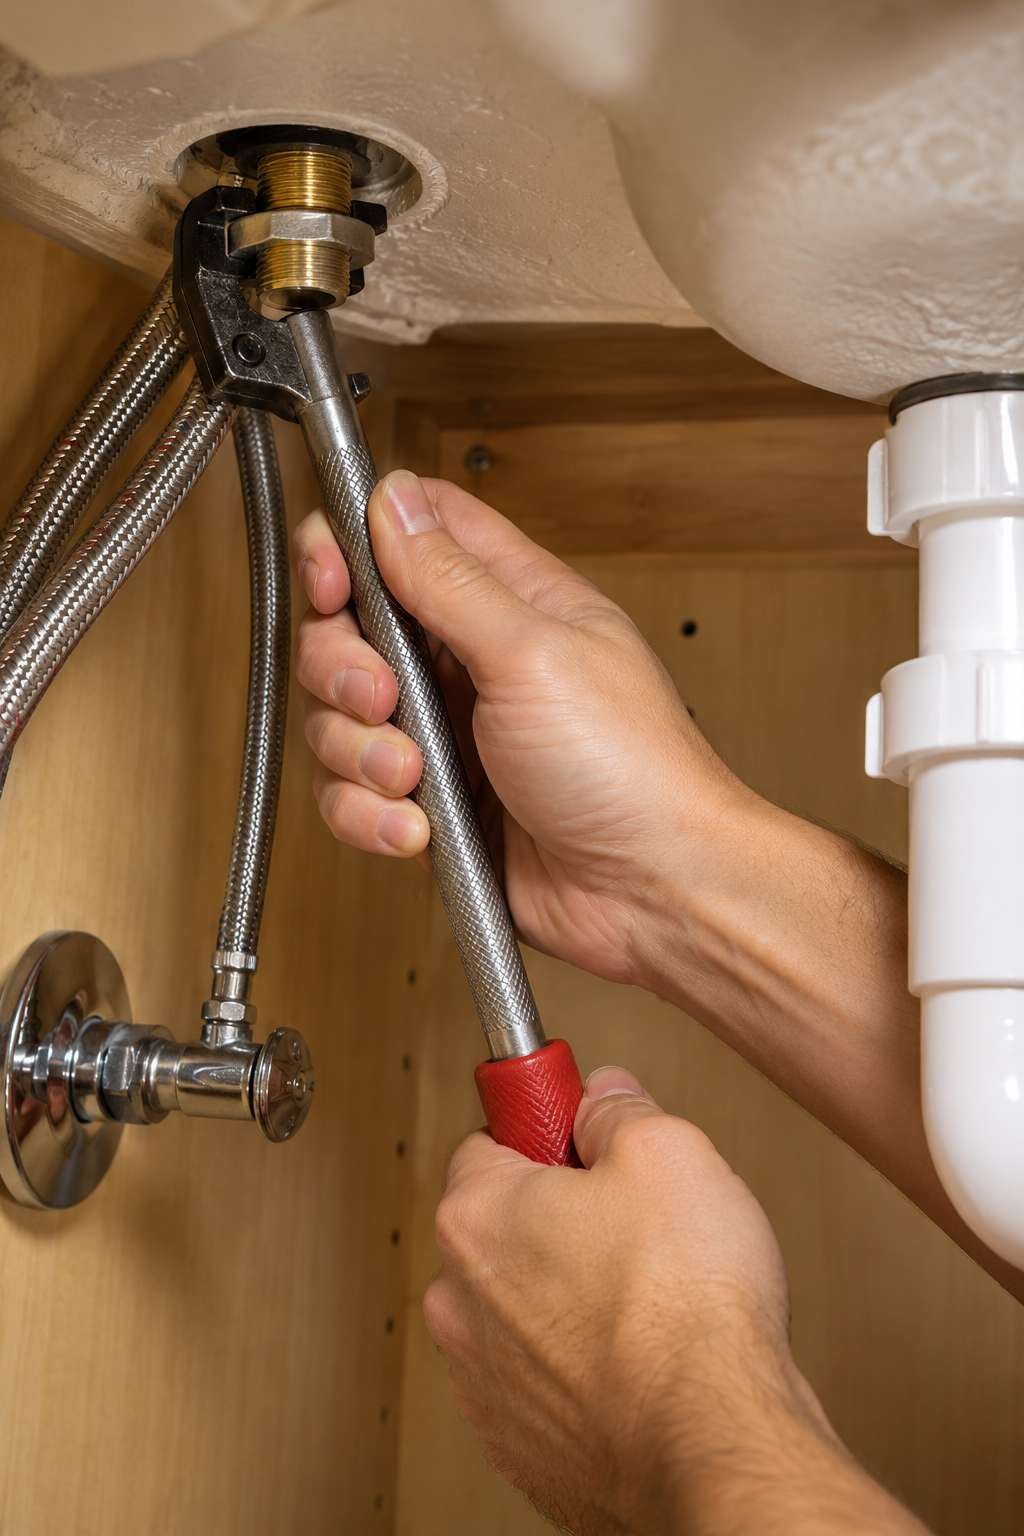
Alternate tightening slightly on each side if there are multiple mounting points, similar to tightening lug nuts on a wheel, to keep the faucet sitting evenly as it’s secured. Check from above periodically that the faucet hasn’t shifted out of position while tightening.
Once secure, give the faucet a gentle wiggle test from above to confirm there’s no play or looseness in the mounting.
- Tighten mounting nuts evenly, alternating sides if applicable
- Avoid overtightening, which can crack porcelain or stone sinks
- Check faucet position from above periodically while tightening
- Confirm no play or wiggle once mounting is complete
- Wipe away any excess sealant visible from underneath
- Double-check hand-tightness before applying final wrench pressure
8. Connecting the Water Supply Lines
With the faucet secured, connect the new or existing supply lines to the faucet’s inlet connections, wrapping the threads with plumber’s tape first for a reliable, leak-free seal.
Hand-tighten each connection first, then use an adjustable wrench for a final quarter-turn snug, being careful not to overtighten and strip the fitting. Connect hot to hot and cold to cold, following the same color-coded lines the old faucet used if they were labeled.
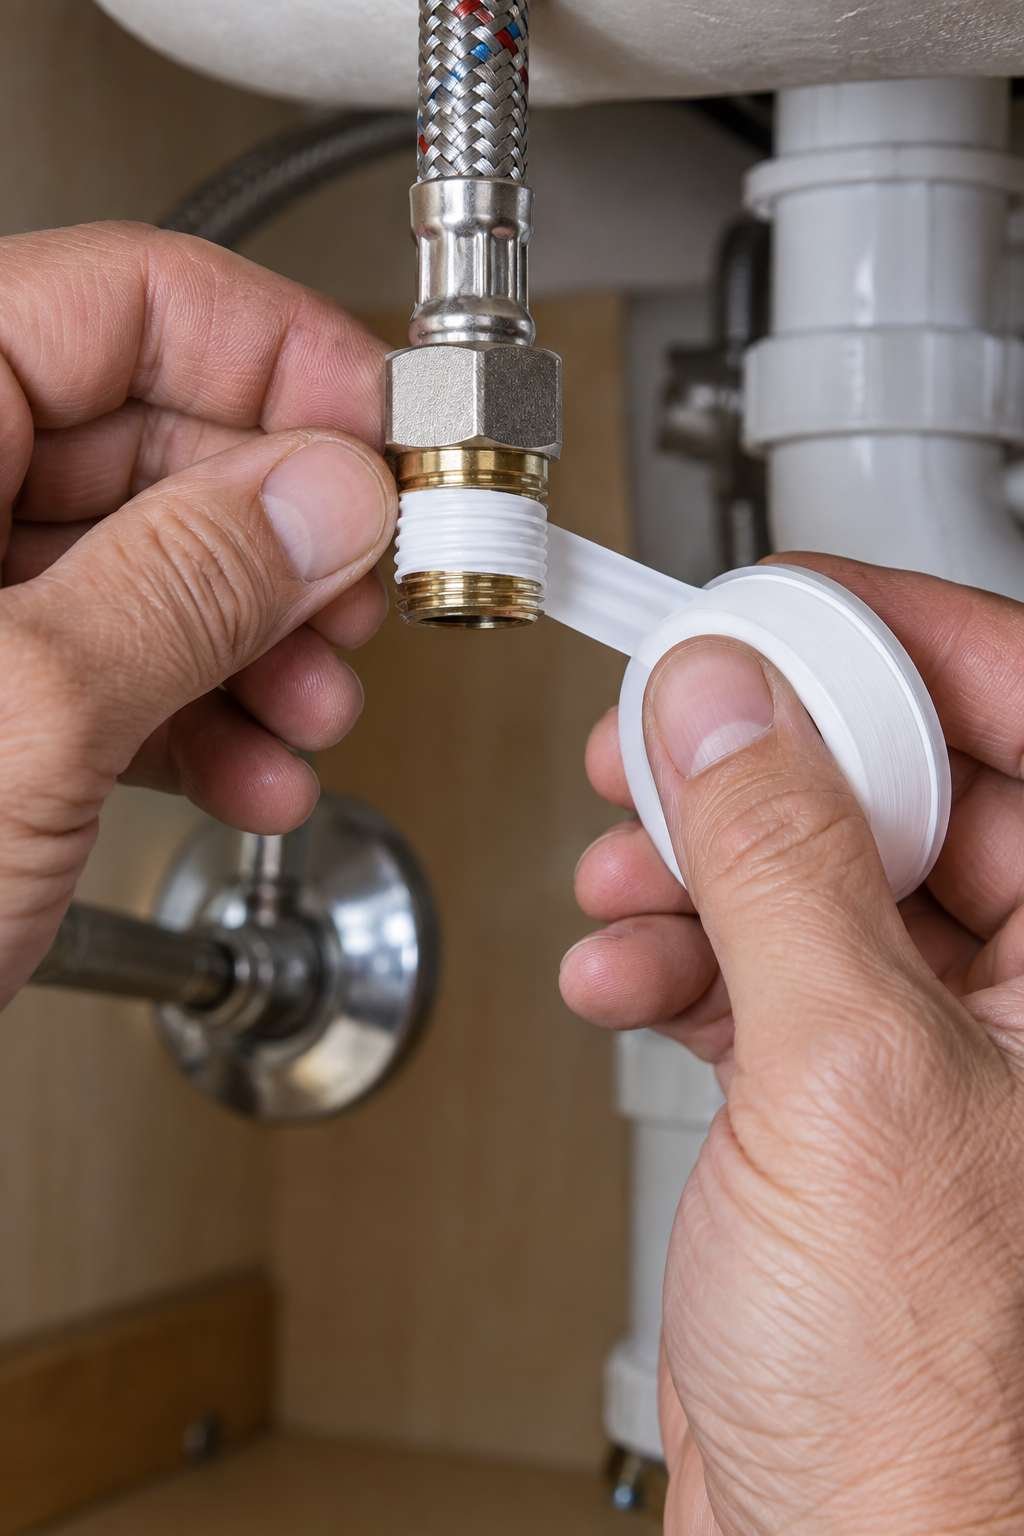
Double-check every connection is snug before moving on to testing, since a loose supply line is the most common cause of a leak discovered after the project seems finished.
- Wrap threads with plumber’s tape before connecting
- Hand-tighten first, then snug with a wrench
- Avoid overtightening, which can strip fittings
- Match hot and cold lines to the correct valve
- Double-check every connection feels fully snug
- Keep the bucket underneath during this step just in case
9. Turning the Water Back On and Testing for Leaks
Slowly turn the shutoff valves back on, watching closely at every connection point for any sign of dripping or spraying. Let the faucet run for a minute on both hot and cold to clear any debris from the new fittings and confirm steady water pressure.
Check underneath the sink again after a few minutes of running water, since some slow leaks only become visible once a connection has been under pressure for a little while. A dry paper towel wiped along each joint is a simple way to catch a leak too small to see directly.
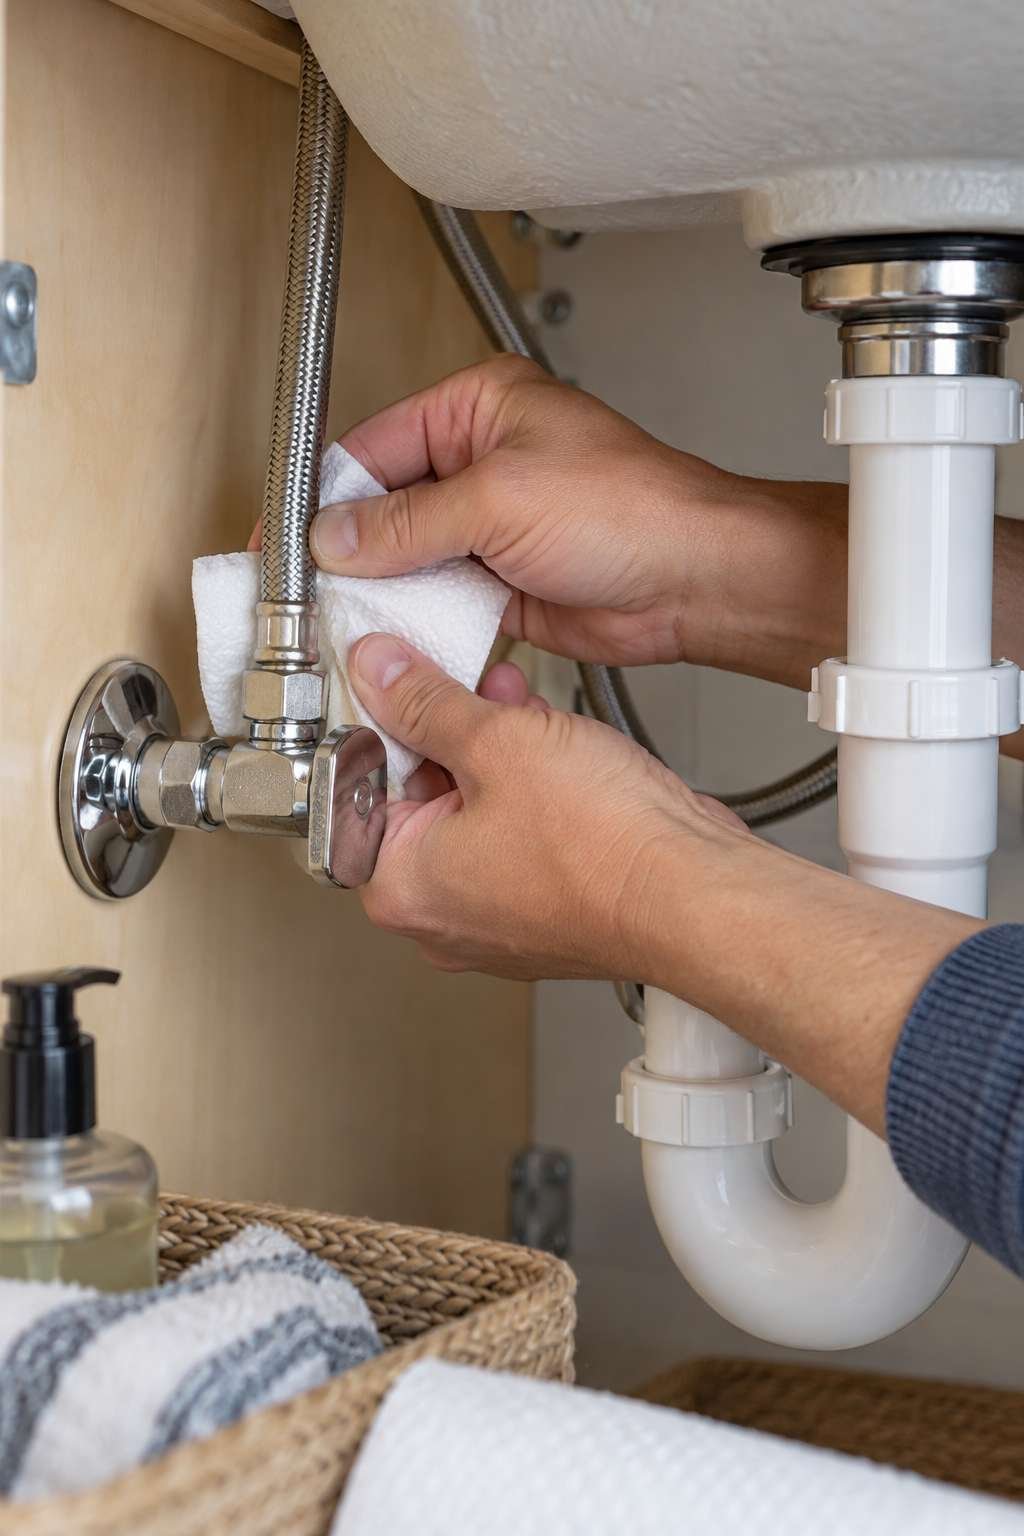
If you do find a leak, most are fixed by simply snugging the connection slightly further rather than needing to disconnect and redo it entirely.
- Turn shutoff valves back on slowly, watching for leaks
- Run hot and cold water to clear debris from new fittings
- Recheck connections after a few minutes under pressure
- Wipe joints with a dry paper towel to catch small leaks
- Snug any leaking connection slightly further, don’t overtighten
- Run the faucet a final time before considering the job complete
10. Maintaining Your New Faucet Long-Term
A little routine care keeps a new faucet performing well for years rather than developing the same issues that led you to replace the old one. Wiping down the finish after each use prevents mineral spots from building up, especially in areas with hard water.
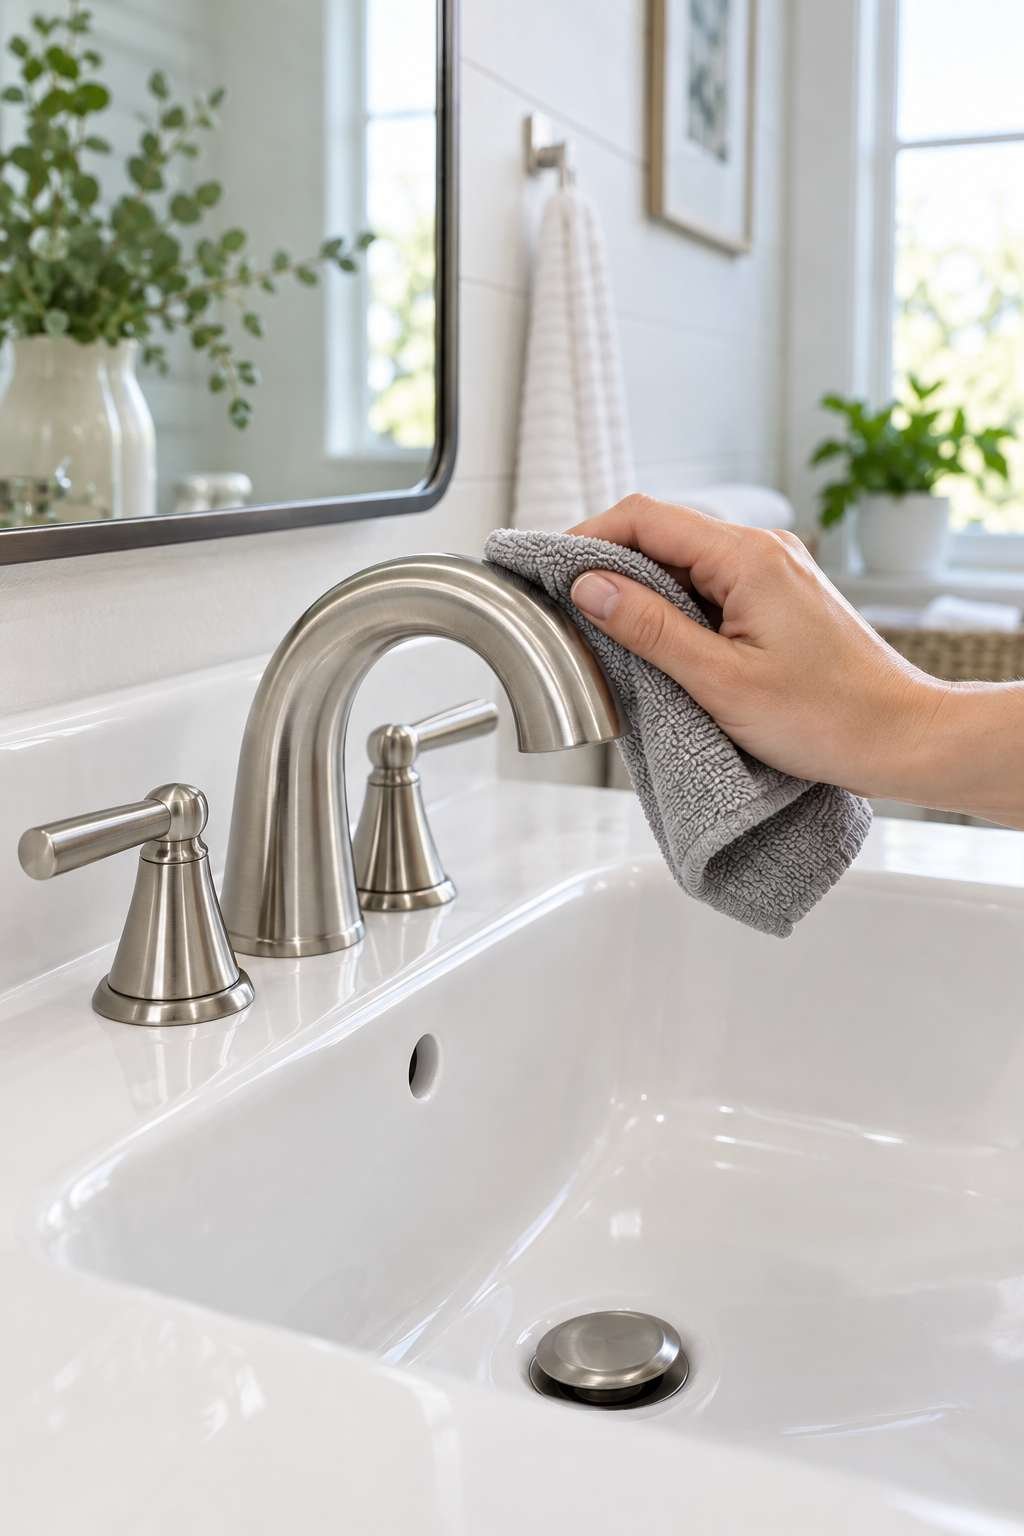
Periodically remove and clean the aerator screen at the tip of the spout, since mineral deposits collect there first and gradually reduce water flow and pressure. Avoid abrasive cleaners on finished surfaces, since they can dull or scratch a polished or brushed finish over time.
If your faucet ever develops a slow drip again down the road, it’s often a worn cartridge rather than a sign you need to replace the whole unit.
- Wipe down the finish regularly to prevent mineral spots
- Clean the aerator screen every few months
- Avoid abrasive cleaners on polished or brushed finishes
- Address small leaks early before they worsen
- Keep the manufacturer’s manual for warranty and part reference
- Consider a cartridge replacement before a full faucet replacement if drips return
Frequently Asked Questions
How do you change bathroom faucets across different sink types?
The core process is largely the same for pedestal, vanity, and undermount sinks, though tight cabinet space under a vanity often makes a basin wrench more essential, while pedestal sinks may require extra care supporting the faucet from below with limited access. Widespread faucets with separate hot, cold, and spout pieces also take a bit longer since each piece connects individually.
How do you change a bathroom faucet cartridge instead of the whole faucet?
Turn off the water supply, remove the handle to access the cartridge housing, then pull the old cartridge straight out and replace it with an exact match for your faucet’s brand and model. This fixes most dripping issues without the cost or effort of replacing the entire faucet, and cartridges are widely available at hardware stores with the model number handy.
Changing a bathroom faucet is a project that rewards a little patience, especially around measuring your sink’s hole spacing correctly before you buy anything. Get that part right, and the rest of the installation tends to go smoothly from start to finish.
Once your new faucet is in, the same core skills carry over if you decide to tackle a full sink swap down the road — our related guide on how to change a bathroom sink walks through that larger project when you’re ready for it.

