


A slow, smelly bathroom sink usually isn’t a sign of a serious plumbing problem — it’s just buildup that’s been quietly accumulating for months. Learning how to clean bathroom sink drain openings regularly keeps water flowing freely and stops odors before they start, without needing any special equipment.
This guide covers the easiest, most effective ways to clean your drain, from quick weekly habits to a deeper monthly refresh, so your sink stays fast-draining and fresh-smelling with minimal effort.
None of the steps below require harsh chemicals, so they’re safe to do often without worrying about damaging your pipes over time.
1. Why Bathroom Sink Drains Get Dirty So Fast
Bathroom sinks handle a surprising mix of substances every single day — toothpaste, hair, soap residue, and shaving cream all funnel down the same narrow opening. Over time, this creates a sticky film that clings to the pipe walls just below the stopper.
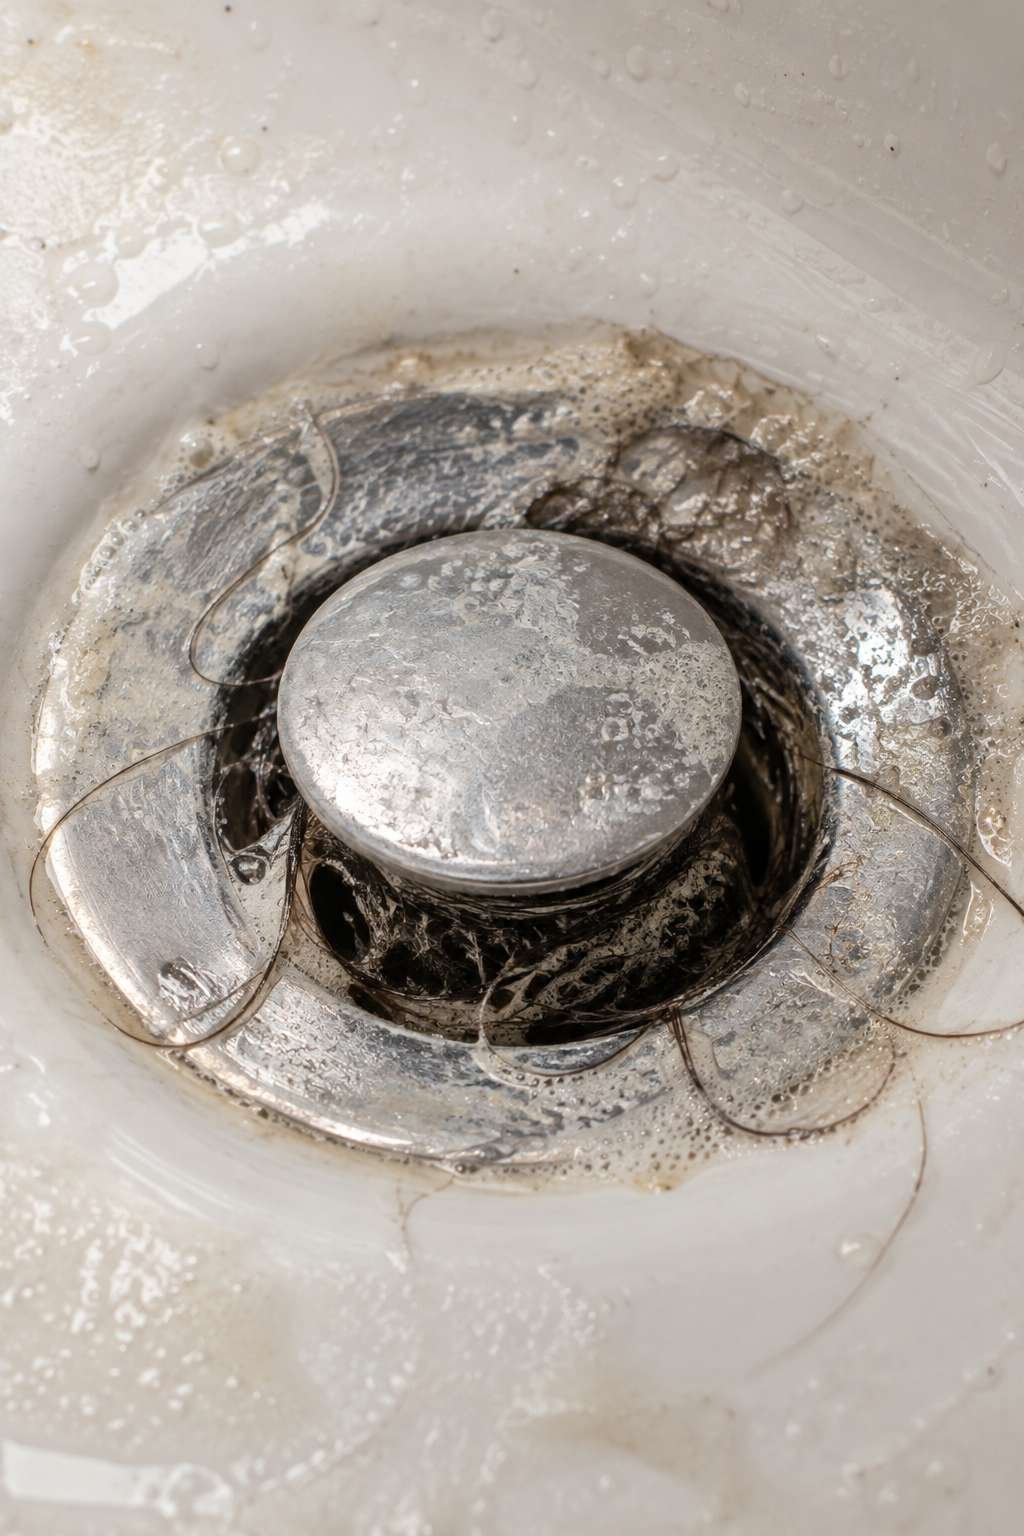
Unlike kitchen sinks, which deal mostly with food particles that rinse away easily, bathroom sink buildup tends to be gummier and more likely to trap hair, which acts like a net catching everything that follows it.
This combination is exactly why bathroom drains develop odors faster than most people expect, even when the sink still seems to be draining fine.
- Toothpaste and soap residue create a sticky film over time
- Hair acts as a net that traps everything else that follows
- Shaving cream and cosmetic residue add to the buildup
- Standing water in the trap can develop odor-causing bacteria
- Hard water minerals narrow the pipe diameter gradually
- Buildup near the stopper restricts flow before you notice a full clog
2. Weekly Maintenance: The Fastest Habit to Start
The single easiest way to keep a bathroom sink drain clean is a quick hot water flush after your last use of the sink each night. This simple habit prevents residue from ever fully setting into the pipe walls.
Run the hottest water your tap produces for about 15-20 seconds, letting it flow directly down the drain. This won’t remove an existing clog, but it dramatically slows how quickly new buildup forms in the first place.
Pairing this with a quick wipe of the visible stopper area, catching loose hair before it goes further down, takes less than a minute total.
- Run hot water for 15-20 seconds after the sink’s last daily use
- Wipe visible hair from the stopper area before it slips further down
- Avoid rinsing cotton swabs, floss, or wipes down the drain
- Keep a small trash bin nearby to catch grooming debris
- Make this a nightly habit rather than an occasional one
- Combine with a drain guard for the biggest impact
3. The Baking Soda and Vinegar Method
For a deeper clean without chemicals, baking soda and vinegar create a natural fizzing reaction that helps loosen residue clinging to the inside of the pipe. This is the method most people reach for as their go-to monthly refresh.
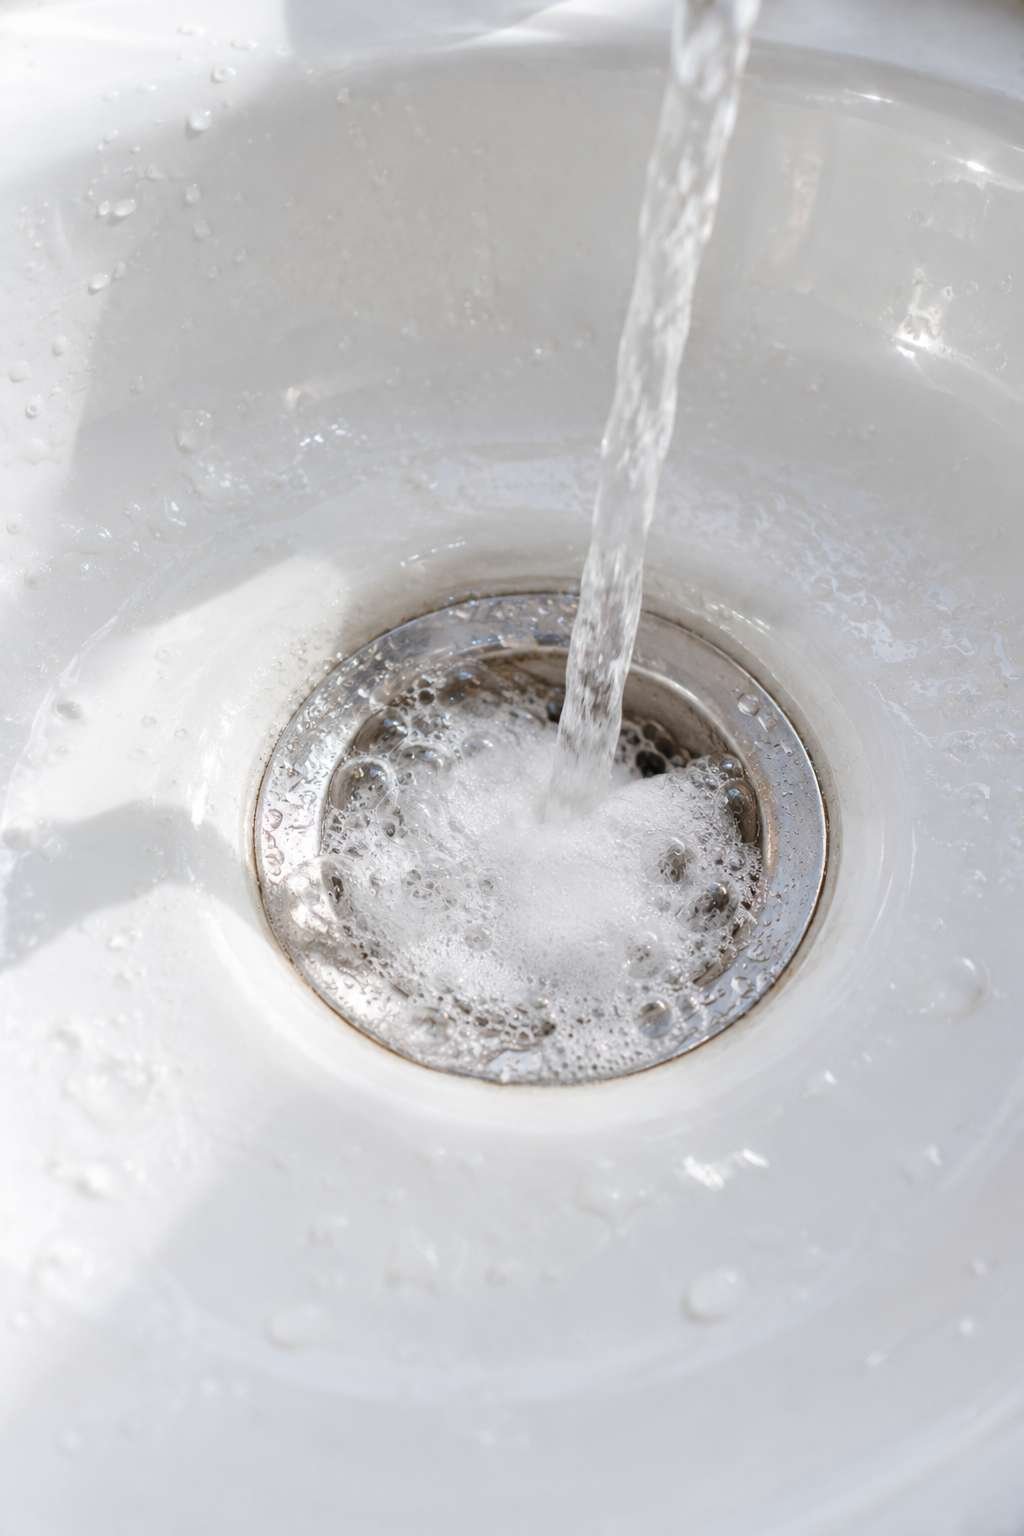
Pour about half a cup of baking soda directly into the drain, followed by half a cup of white vinegar. Let the mixture fizz and sit undisturbed for 15-20 minutes before flushing thoroughly with hot water.
This combination is gentle enough to use as often as weekly if your household tends to build up residue quickly, and it won’t damage pipes the way harsher chemical cleaners can over time.
- Use roughly equal parts baking soda and white vinegar
- Let the mixture sit for a full 15-20 minutes before rinsing
- Flush with hot, not boiling, water afterward
- Safe for regular use without damaging pipes
- Works well as a monthly maintenance routine
- Combine with the stopper-cleaning method below for best results
4. Cleaning the Stopper Thoroughly
A huge portion of drain buildup actually collects right at the stopper, not deep in the pipe, which makes this one of the highest-impact places to focus your cleaning. Most pop-up stoppers lift out after loosening the pivot nut underneath the sink.
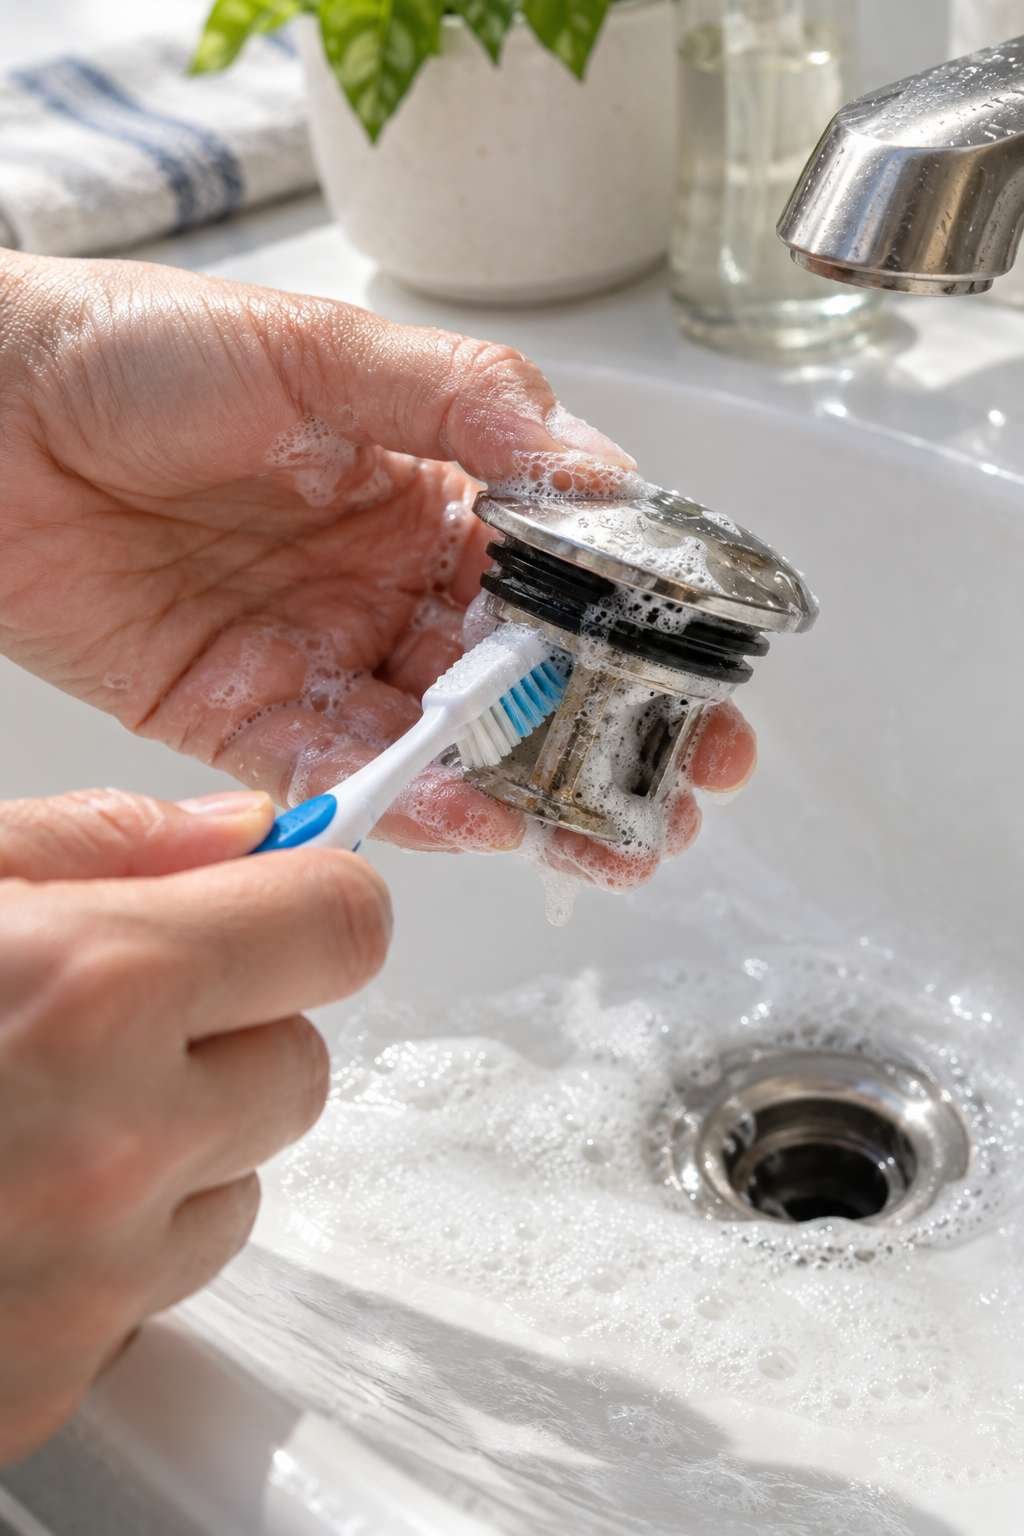
Once removed, you’ll likely find a clump of hair and grime wrapped around the base — scrub it thoroughly with an old toothbrush and a bit of dish soap before rinsing clean. Wipe down the visible drain opening as well while everything’s exposed.
Reinsert the stopper the same way it came out, and test that it opens and closes fully before considering the job done.
- Locate the pivot nut under the sink to release the stopper
- Scrub the stopper base with an old toothbrush and dish soap
- Wipe the visible drain opening while the stopper is out
- Check the rubber gasket for wear while you’re in there
- Reinsert the stopper in its original orientation
- Test the open-close action before finishing up
If your stopper won’t come loose easily, our detailed guide on how to remove bathroom sink drain hardware covers a few extra tips for stubborn pivot nuts and older mounting styles.
5. Using a Drain Snake for Deeper Buildup
When surface cleaning doesn’t fully restore your drain speed, a plastic zip-it tool or hand-crank snake can reach further down to pull out trapped hair and debris that’s settled below the stopper level.
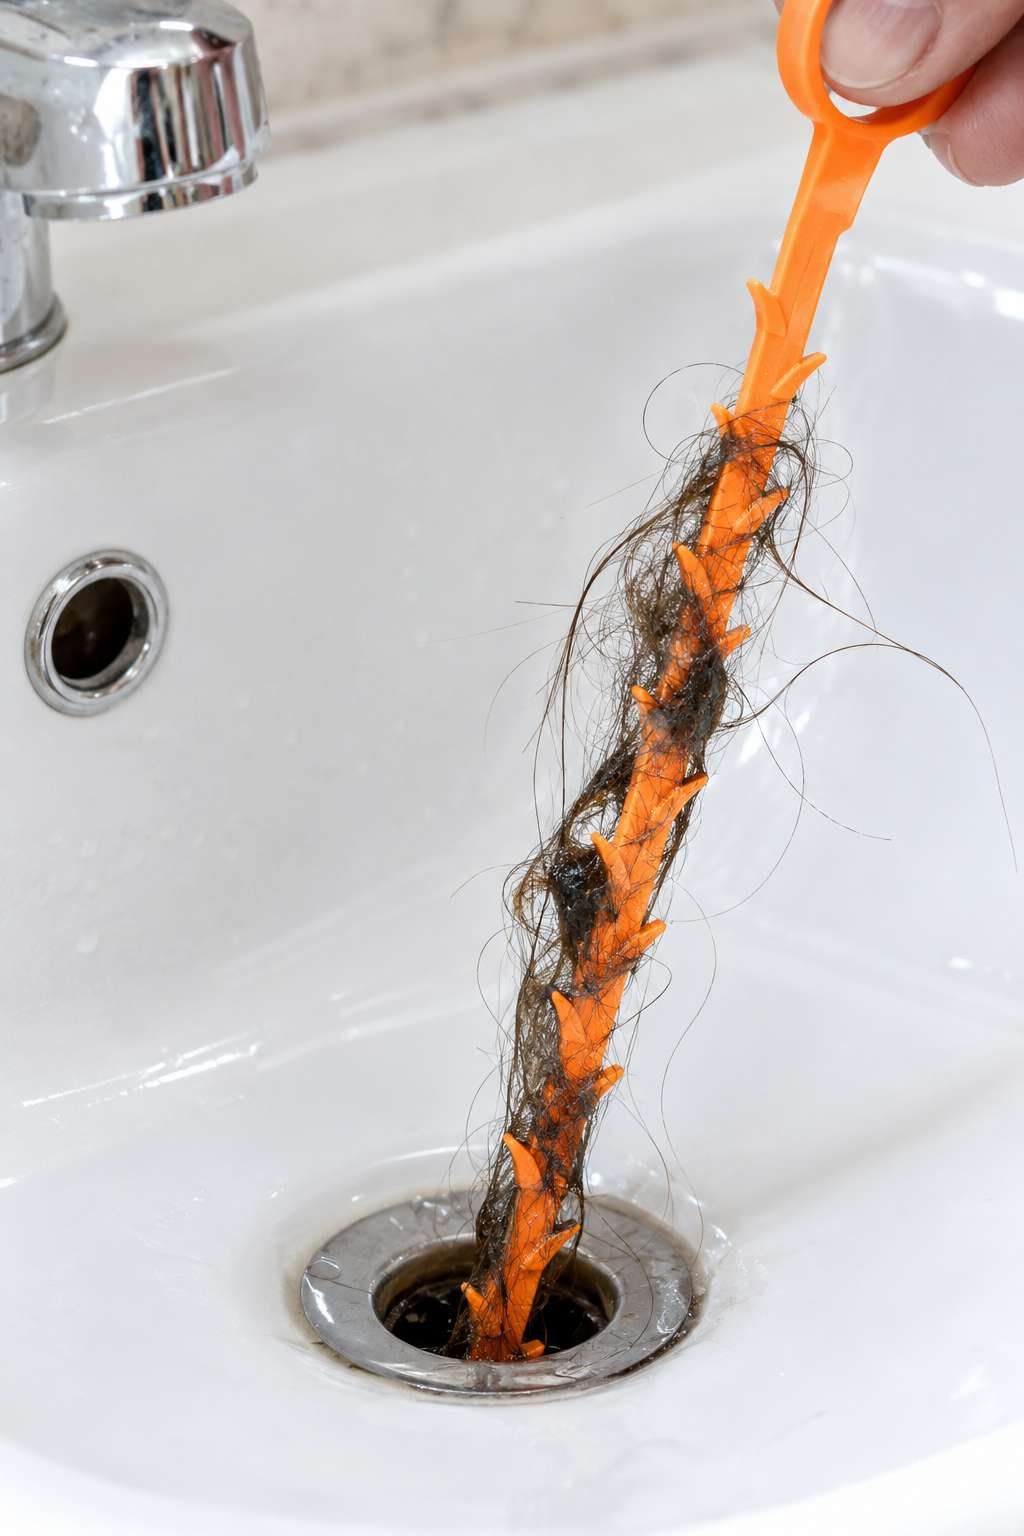
Insert the tool slowly, twisting gently as you feed it in, then pull back out slowly to bring debris with it. Repeat a few times from slightly different angles, since a single pass rarely catches everything at once.
Follow up with a hot water flush to clear any loosened residue the rest of the way down the pipe. If the drain is more fully blocked than just slow, our guide on how to clear bathroom sink drain clogs covers a stronger set of methods for a complete blockage rather than routine buildup.
- Plastic zip-it tools work well for hair near the surface
- A hand-crank snake reaches further for deeper buildup
- Twist gently while feeding the tool in to navigate bends
- Pull back slowly rather than yanking it out quickly
- Repeat from different angles for a more thorough pass
- Flush with hot water after each pass to clear loosened debris
6. Cleaning the P-Trap for a Truly Deep Clean
The P-trap, the curved section of pipe under the sink, is where heavier debris often settles once it’s too dense to stay suspended in the water flow. It’s worth cleaning every few months as part of a thorough drain refresh.
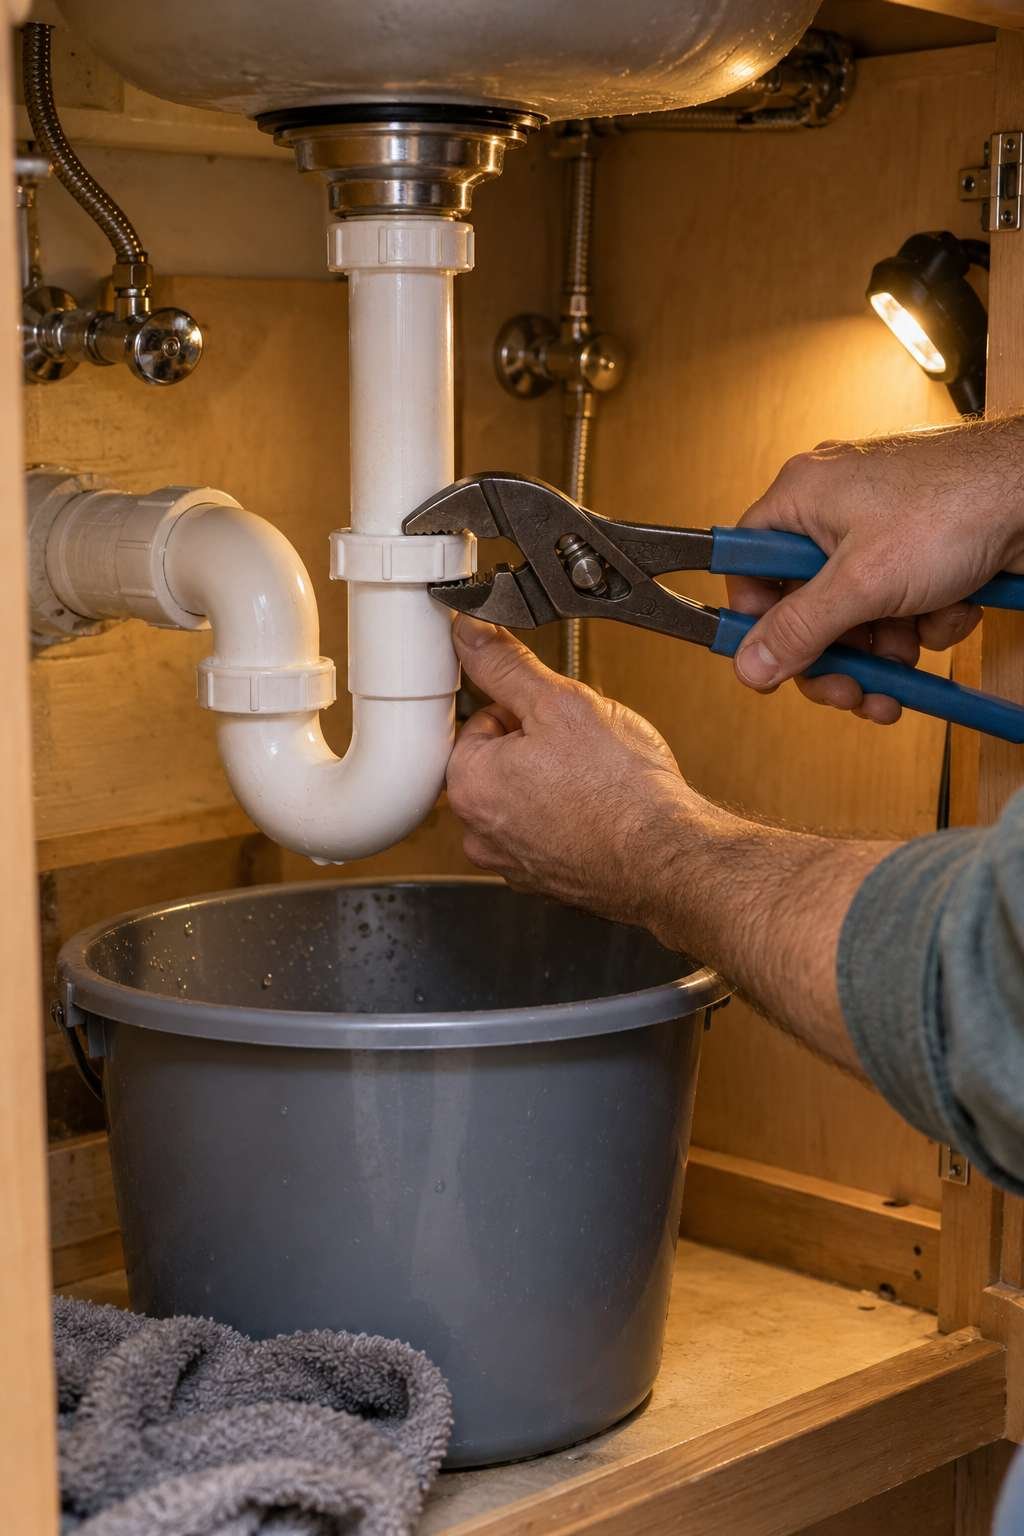
Place a bucket underneath the trap first, since it holds standing water even when the sink above is empty. Loosen the slip nuts on either end by hand or with pliers, then lower the trap carefully into the bucket to empty and clean it.
Use a bottle brush to scrub the inside thoroughly before reattaching everything, checking both pipe stubs for buildup while they’re accessible.
- Always place a bucket under the trap before loosening anything
- Use channel-lock pliers if the slip nuts won’t turn by hand
- Scrub the inside of the trap with a bottle brush
- Check both connecting pipe stubs while the trap is off
- Hand-tighten nuts first, then snug lightly with pliers
- Run water afterward to confirm there are no new leaks
7. Enzyme Drain Cleaners as a Gentler Alternative
For households that prefer a hands-off approach, enzyme-based drain cleaners use natural bacteria to slowly digest organic buildup like hair and soap scum over several hours, rather than an instant chemical reaction.
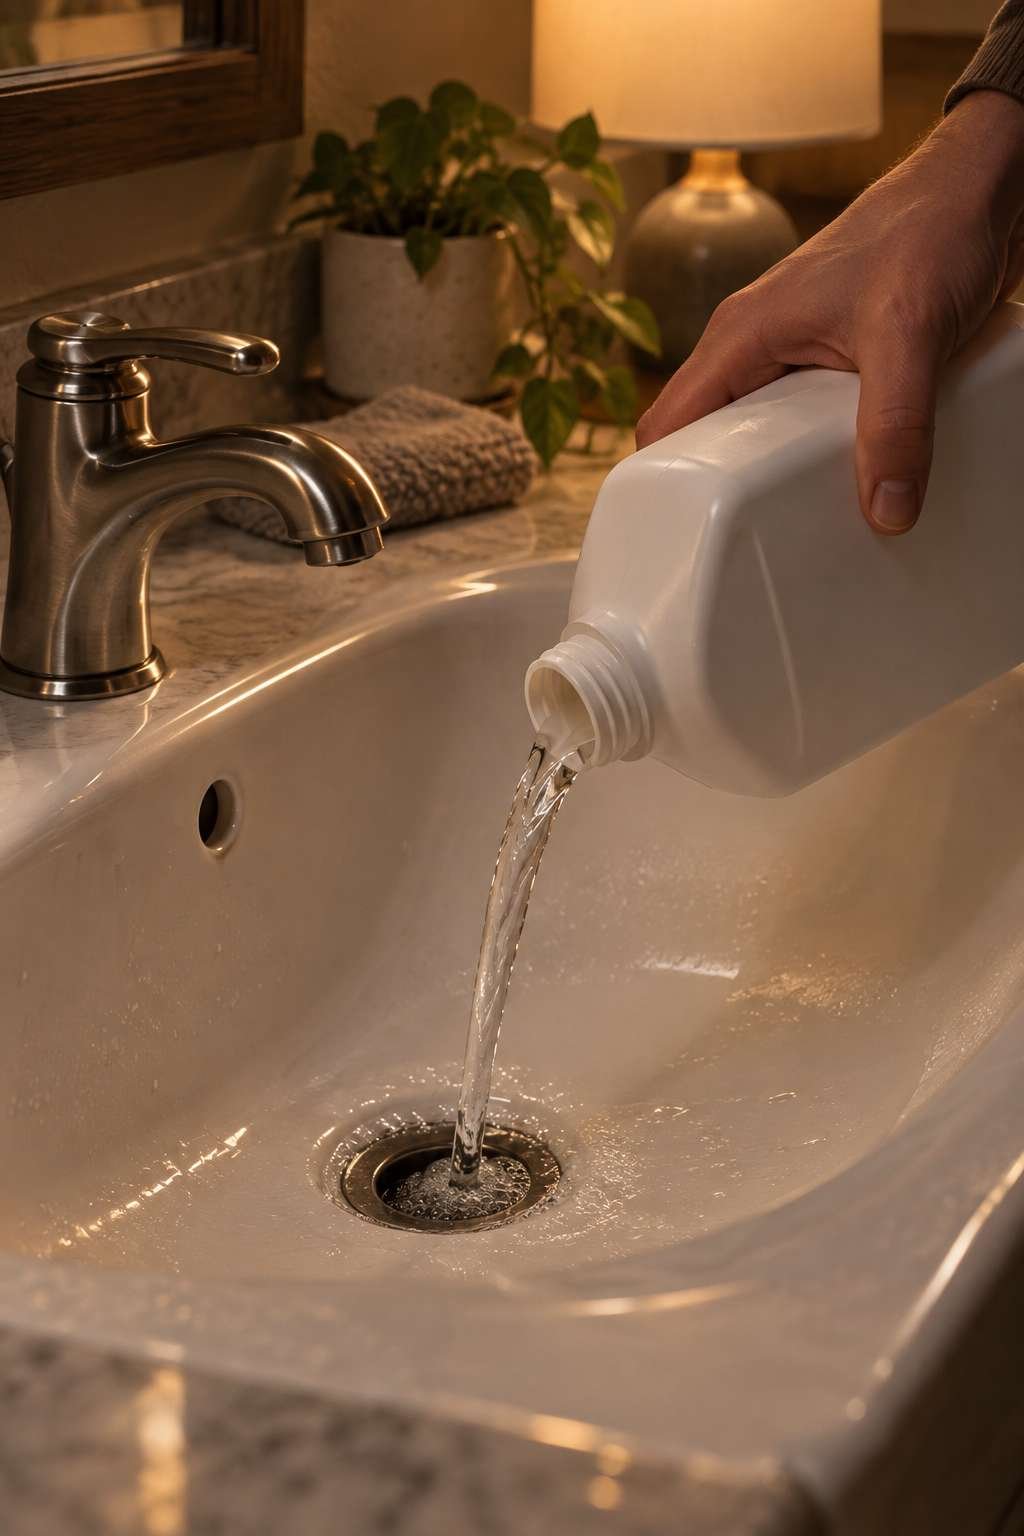
These products are typically poured in before bed and left to work overnight, making them a low-effort option for regular maintenance rather than emergency clog removal. They’re also generally safer for septic systems than harsh chemical alternatives.
Enzyme cleaners work best as ongoing prevention rather than a fix for an already slow or blocked drain, so pair them with the mechanical cleaning steps above for existing buildup.
- Use enzyme cleaners as ongoing prevention, not emergency fixes
- Apply before bed so the formula has hours to work undisturbed
- Generally safer for septic systems than chemical alternatives
- Won’t clear an already-formed solid clog on its own
- Follow the product’s recommended frequency of use
- Combine with monthly baking soda and vinegar treatments for best results
8. What to Avoid When Cleaning Your Drain
Not every cleaning method is worth the risk, and a few common habits can actually make future clogs worse. Bleach, for example, doesn’t break down hair or soap scum effectively and can damage certain pipe materials with repeated use.
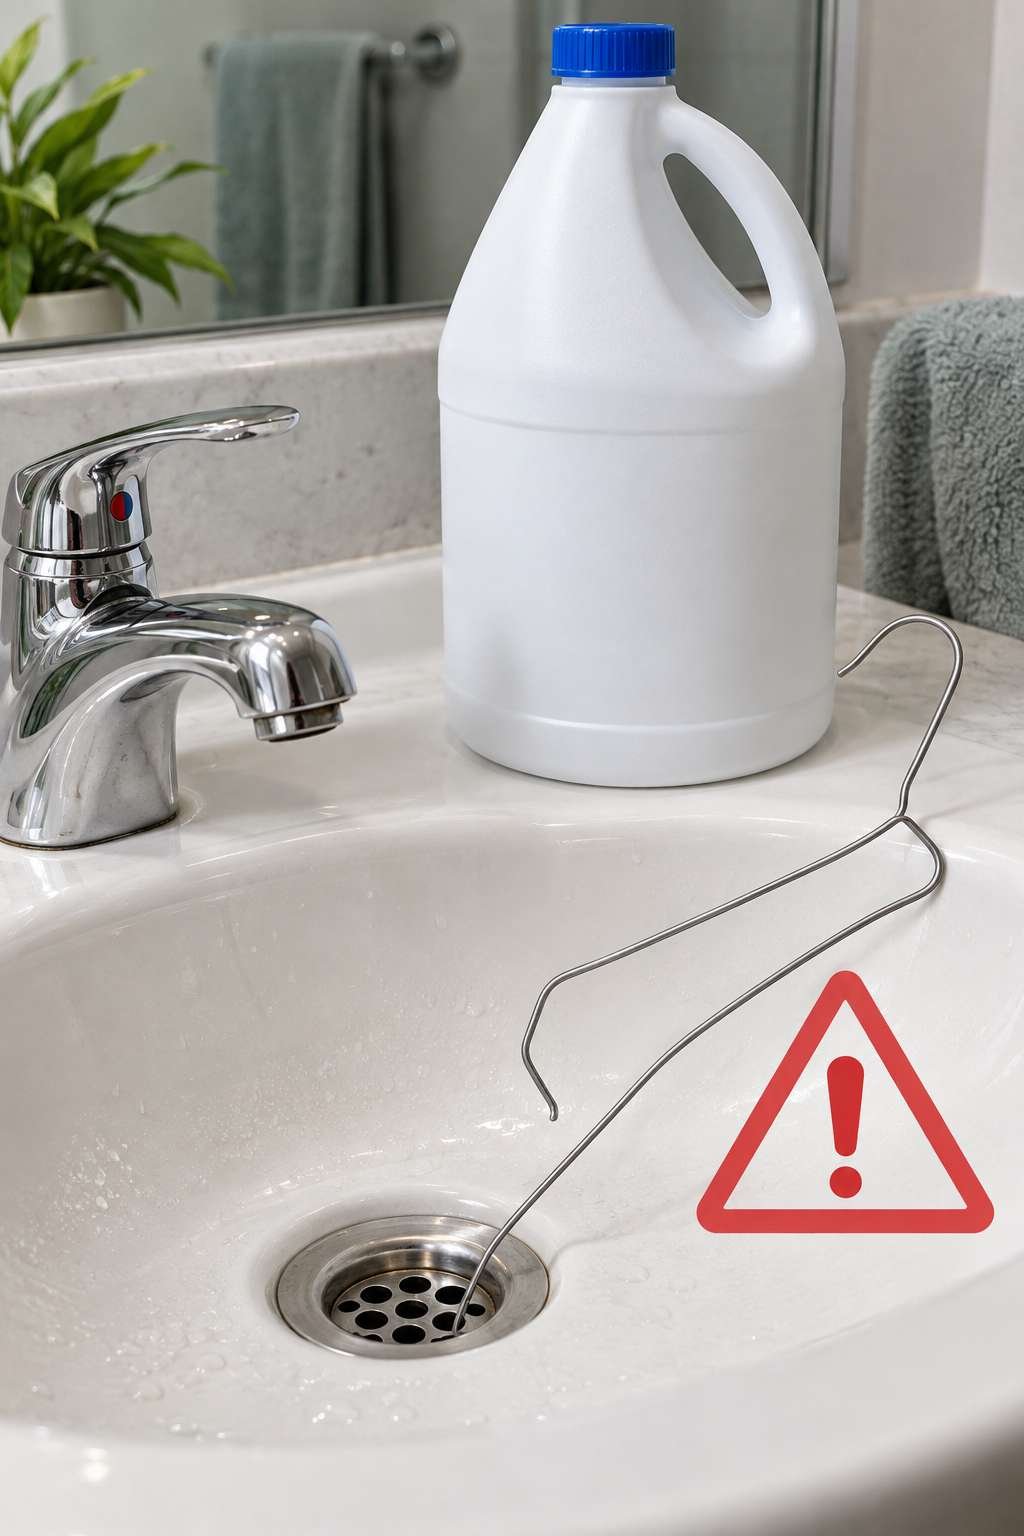
Avoid combining different chemical drain cleaners in the same session, since mixing products can produce dangerous fumes. Similarly, resist the urge to force a bent wire hanger too aggressively into the drain, which can scratch pipes or push a clog deeper rather than out.
If a chemical cleaner doesn’t work on the first try, switch to mechanical methods rather than repeatedly dosing the drain with more product.
- Avoid bleach as a routine drain cleaning method
- Never mix different chemical drain cleaners together
- Don’t force rigid tools aggressively into the drain opening
- Skip repeated chemical doses if the first attempt doesn’t work
- Avoid excessive force when reattaching P-trap connections
- Ventilate the bathroom well whenever using any chemical product
9. Preventing Buildup Before It Starts
The easiest long-term fix is stopping debris from entering the drain in the first place. A simple mesh drain guard placed over the opening catches hair before it ever reaches the pipe, and it’s the single most effective prevention tool available.
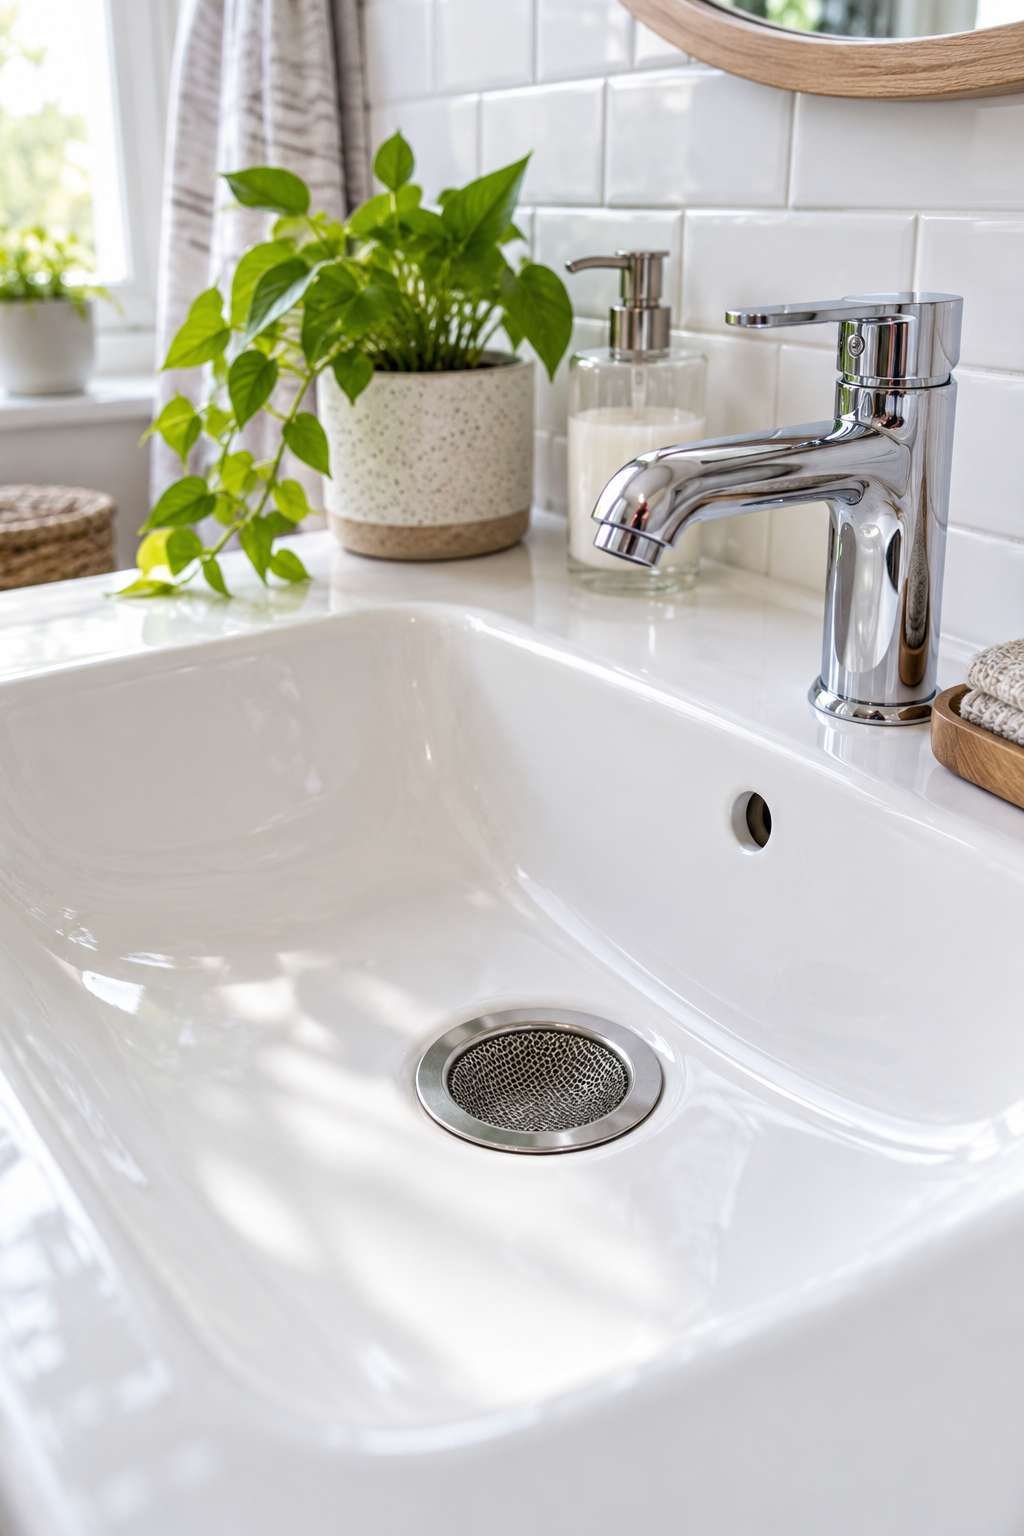
Get in the habit of wiping excess toothpaste and shaving cream into the trash rather than rinsing it down the sink, and avoid using the bathroom sink to rinse out cleaning tools that shed fibers or debris.
Small changes like these dramatically extend the time between deep cleanings, often turning a monthly chore into a quarterly one.
- Install a mesh drain guard over the stopper opening
- Wipe excess product into the trash instead of rinsing it down
- Avoid rinsing lint-heavy or fibrous items in the bathroom sink
- Keep a small trash bin within reach of the sink
- Do a quick stopper check every couple of weeks
- Stick to the weekly hot water flush as your baseline habit
10. When to Call a Professional Instead
Most bathroom sink drain cleaning is a simple DIY task, but a few situations call for a licensed plumber rather than more scrubbing. Water backing up into other fixtures, like the bathtub, when you run the sink is a sign the blockage is beyond the trap in the main line.
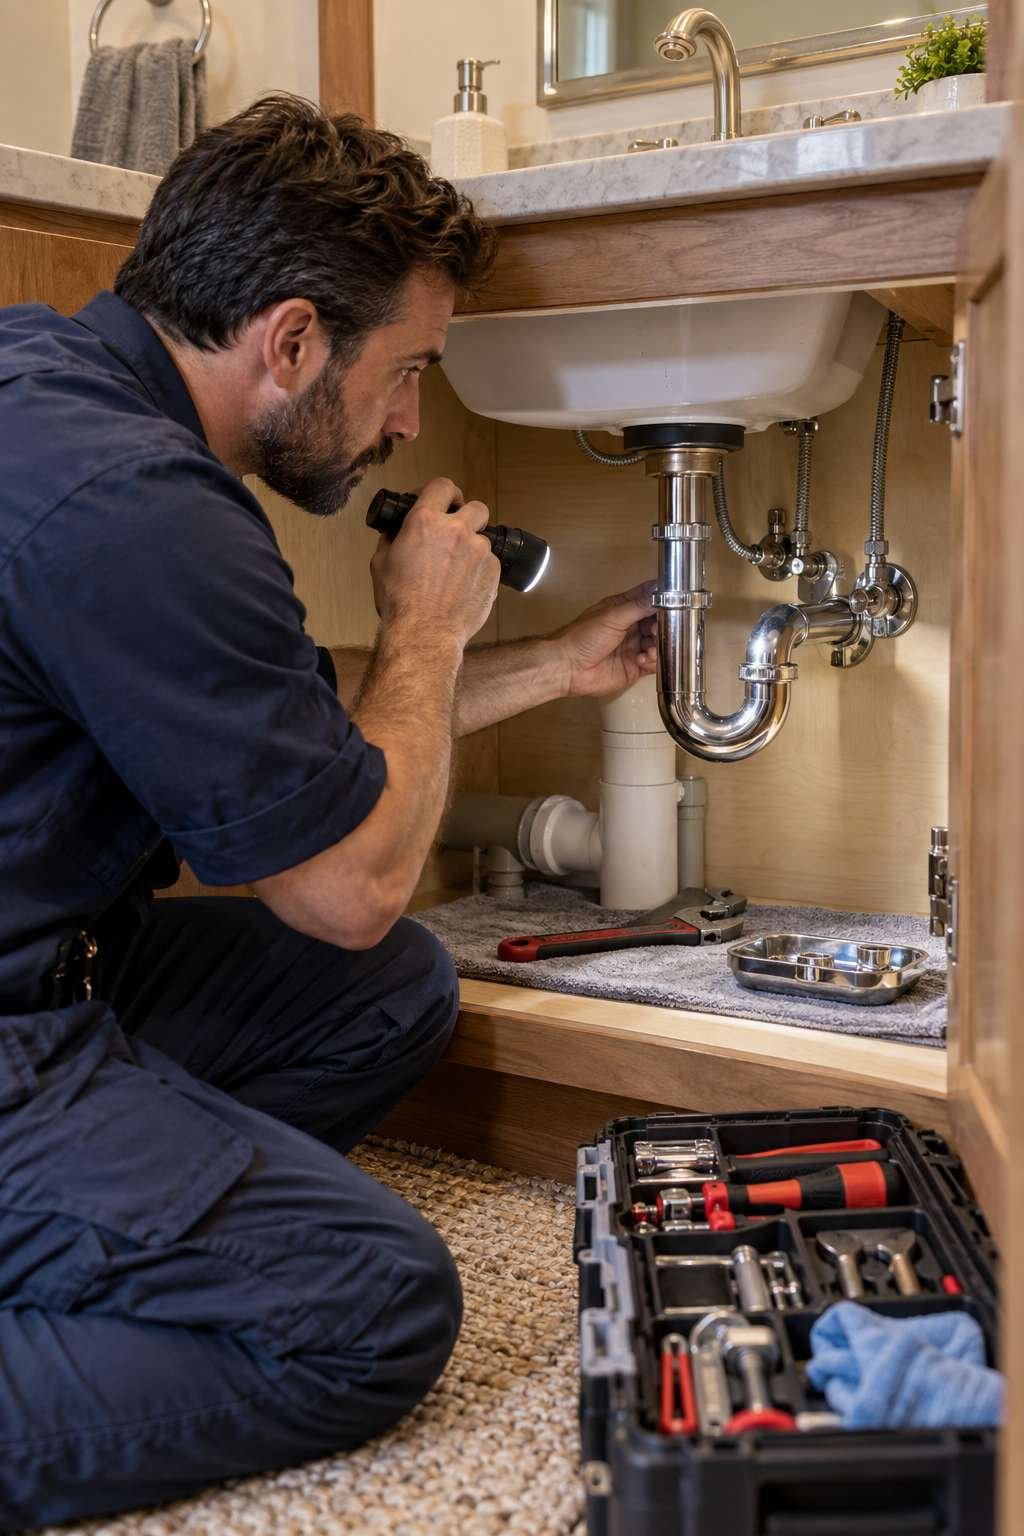
Recurring clogs that return within days of cleaning, despite trying every method above, often point to a deeper structural issue like pipe misalignment, tree root intrusion, or significant scale buildup that needs professional equipment to fully clear.
If you smell sewage rather than typical drain odor, or notice water pooling around fixtures unexpectedly, it’s worth having a professional take a look sooner rather than later.
- Water backing up into other fixtures signals a deeper blockage
- Clogs that return within days despite cleaning need professional attention
- Sewage smells are different from typical drain odor and worth investigating
- Unexpected pooling around fixtures can indicate a bigger issue
- Older homes with original plumbing may need periodic professional inspection
- A plumber’s camera inspection can pinpoint issues DIY methods can’t reach
Frequently Asked Questions
What’s the best way to clean out a bathroom sink drain thoroughly?
Combine a stopper removal and scrub with a baking soda and vinegar treatment, followed by a hot water flush, for the most thorough clean without chemicals. Doing this monthly, alongside the weekly hot water habit, keeps most drains running clear year-round.
How do you fix a bathroom sink drain that’s still slow after cleaning?
If cleaning the stopper and using baking soda and vinegar doesn’t restore full drainage, try a plastic zip-it tool or hand-crank snake to pull out debris trapped deeper in the pipe. If the drain remains slow after mechanical cleaning, check the P-trap for a hidden blockage, and consider whether a worn gasket or misaligned connection is letting air in and slowing the flow.
Keeping a bathroom sink drain clean really comes down to a handful of small, repeatable habits rather than one big fix. A quick hot water flush most nights, a monthly baking soda and vinegar treatment, and an occasional stopper cleaning will keep most drains running smoothly for years.
When it’s time for something more involved — replacing an old drain assembly, installing a new one, or connecting the plumbing during a renovation — our related guides on how to replace a bathroom sink drain, how do I install a bathroom sink drain, and how to hook up bathroom sink drain plumbing walk through those larger projects step by step.

