


Few home problems are as persistent as bathroom mold, which is exactly why learning how to eliminate mold in bathroom spaces properly, rather than just wiping away the visible spots, makes such a difference. Bathrooms combine heat, humidity, and organic surfaces like grout and caulk, creating near-ideal conditions for mold to establish itself again and again if the underlying cause isn’t addressed.
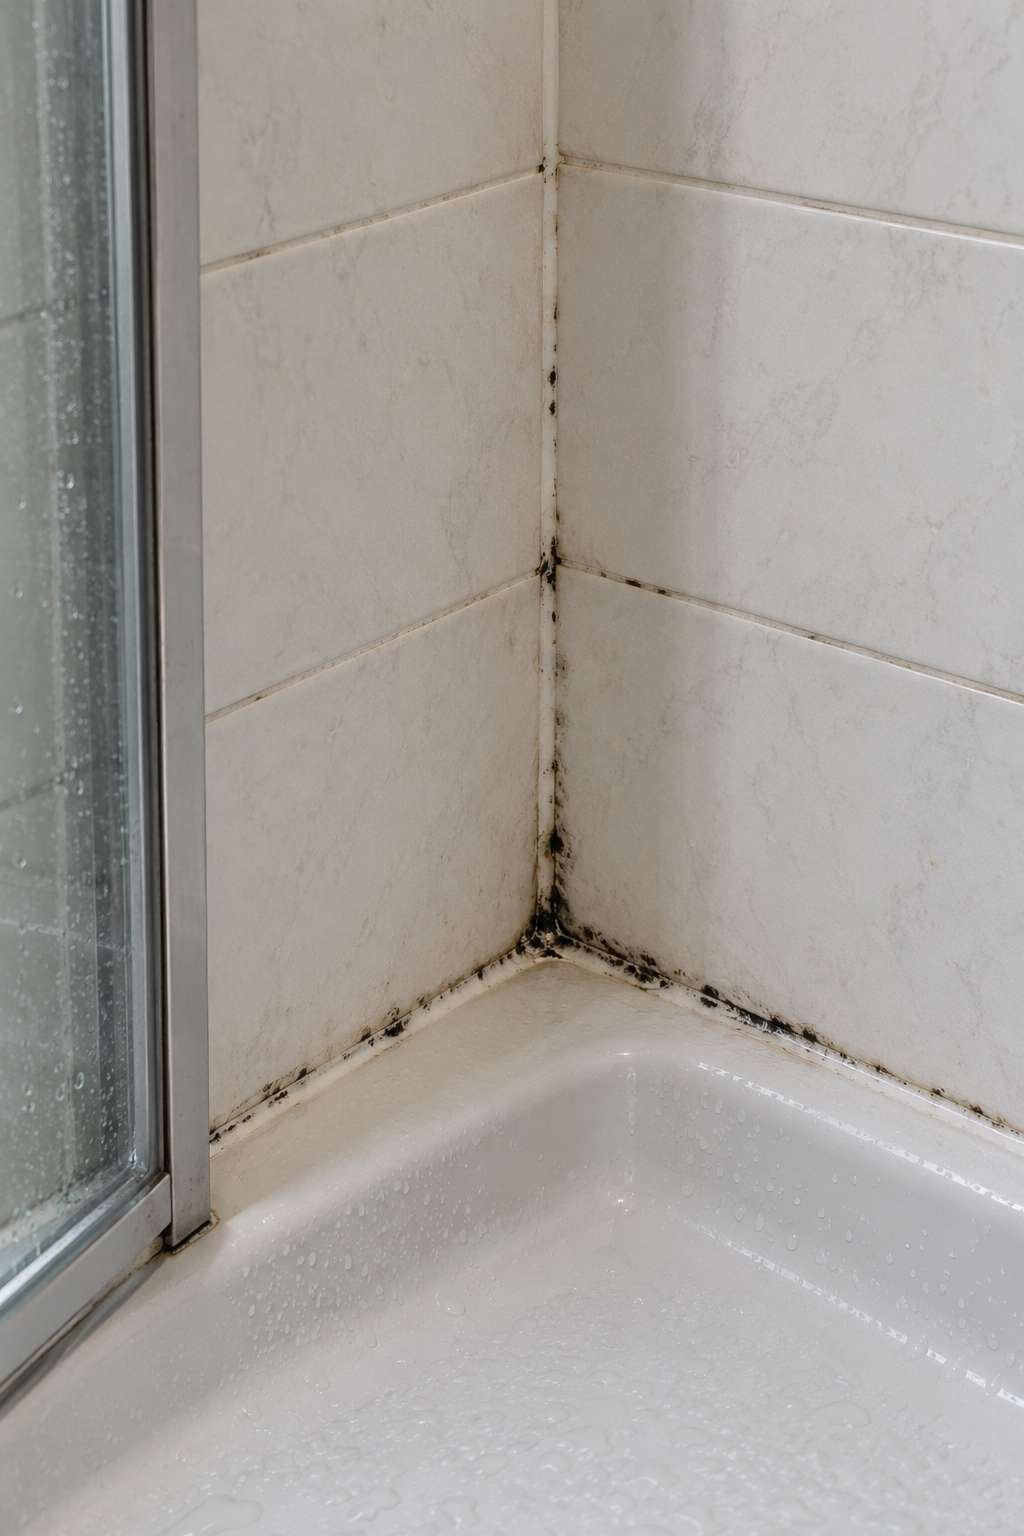
This guide covers where mold tends to hide, the safest and most effective ways to remove it, and the habits that keep it from coming back once your bathroom is finally clean. Whether you’re dealing with a small patch or mold that’s spread across multiple surfaces, these steps will help you take back control.
1. What Causes Mold to Grow in Bathrooms
Mold needs three basic conditions to grow: moisture, warmth, and an organic food source, and bathrooms provide all three almost constantly. Every shower releases steam that clings to walls, ceilings, and fixtures, while grout, caulk, and even drywall paper offer plenty of organic material for spores to feed on.
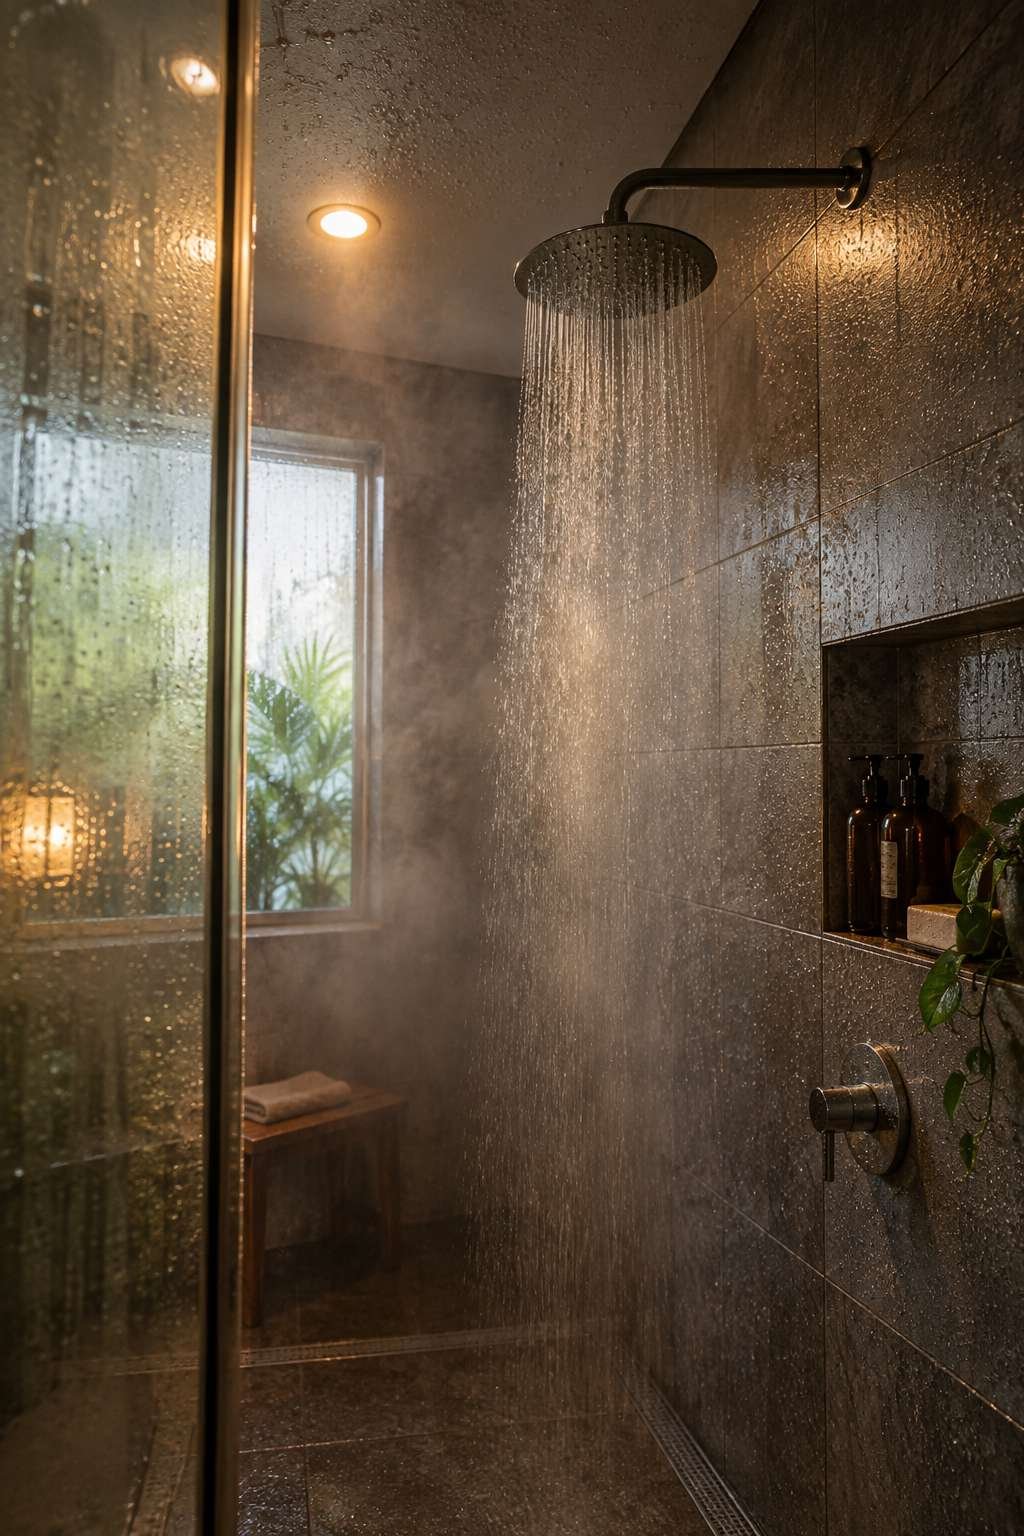
Poor ventilation compounds the problem significantly, since trapped humidity has nowhere to go and simply resettles onto cooler surfaces throughout the room. Homes in humid climates or with undersized exhaust fans tend to see mold return far more quickly than those with strong airflow.
- Steam and humidity condensing on surfaces
- Grout, caulk, and drywall offering organic food sources
- Poor or absent bathroom ventilation
- Humid climates accelerating regrowth
- Leaks introducing hidden, ongoing moisture
- Infrequent cleaning allowing spores to establish
2. Where Mold Commonly Hides in a Bathroom
Mold doesn’t limit itself to one obvious spot, which is why a thorough inspection matters before you start cleaning. The most common locations include grout lines, silicone caulk around the tub or shower, the ceiling directly above the shower, and the underside of sink cabinets where slow leaks often go unnoticed.
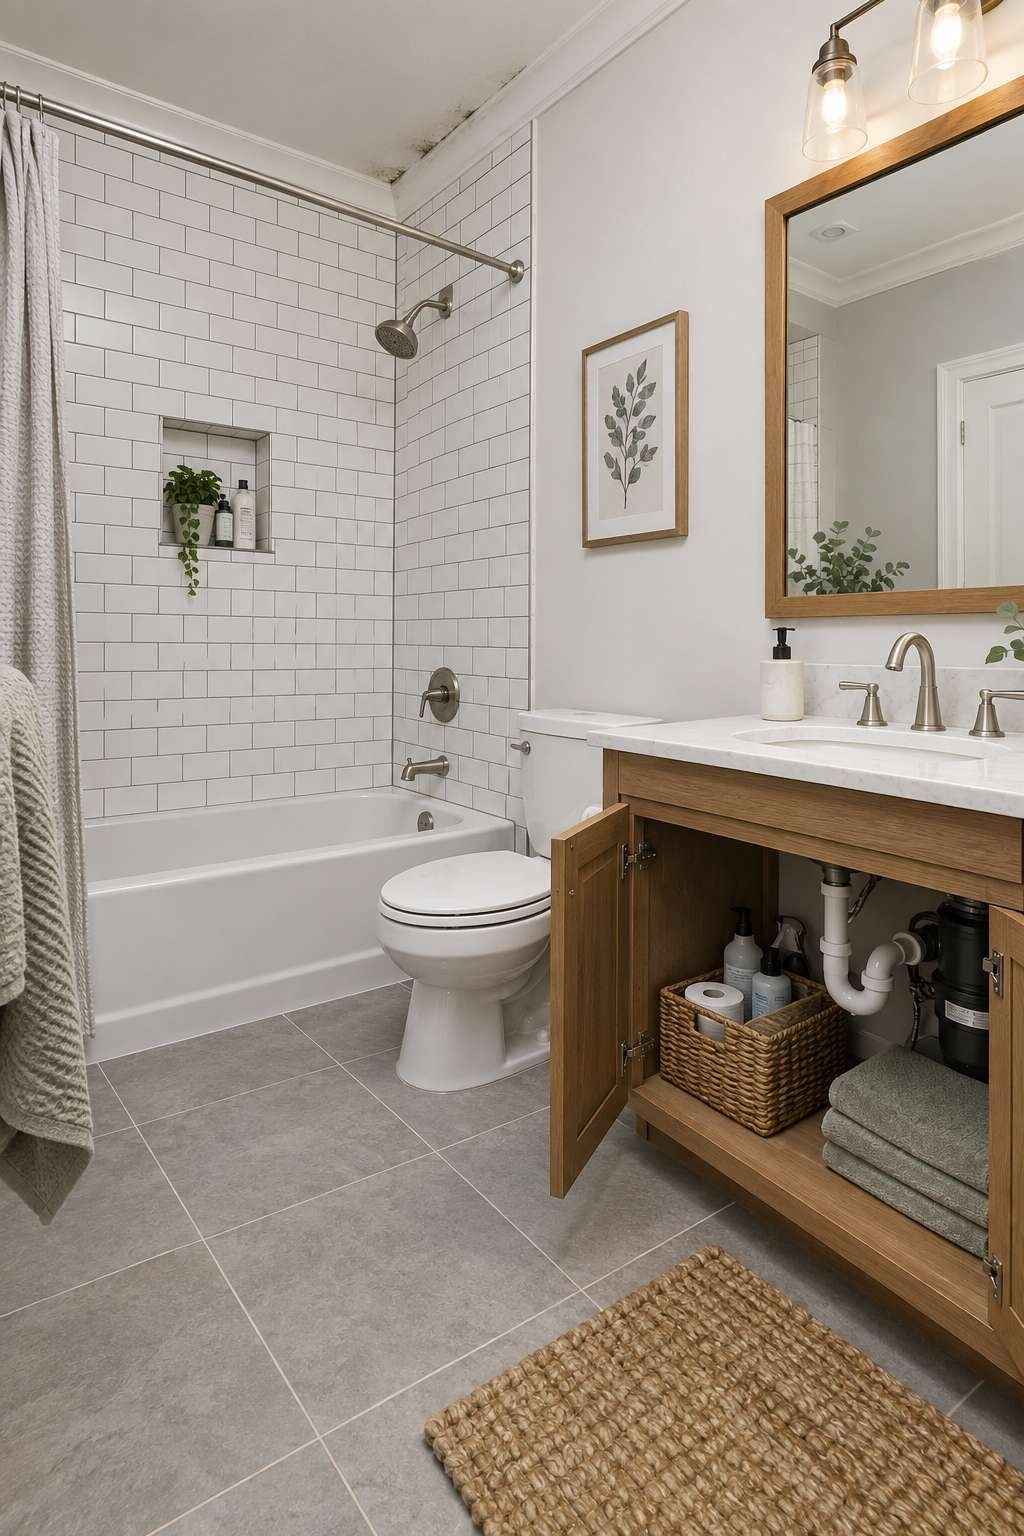
Less obvious spots include behind the toilet tank, inside the folds of a shower curtain, and around window frames if the bathroom has natural light. Checking these areas regularly catches growth early, before it spreads to more visible surfaces.
- Grout lines between floor and wall tile
- Silicone caulk around tubs and showers
- Ceiling areas directly above the shower
- Underside of sink cabinets near plumbing
- Behind the toilet tank and base
- Shower curtain folds and window frames
3. Health Risks of Bathroom Mold
Beyond the unpleasant appearance, mold exposure can trigger real health concerns for sensitive individuals. Common symptoms include respiratory irritation, coughing, and worsened allergy or asthma symptoms, particularly with prolonged exposure in a poorly ventilated space. Some people also experience skin irritation or headaches when mold levels are high.
Households with young children, elderly members, or anyone with existing respiratory conditions should treat mold removal as a priority rather than a cosmetic issue, since prolonged exposure tends to affect these groups more noticeably.
- Respiratory irritation and coughing
- Worsened asthma or allergy symptoms
- Skin irritation from direct contact
- Headaches with prolonged exposure
- Greater risk for children and elderly household members
- Increased sensitivity with repeated, long-term exposure
4. Safety Gear and Precautions Before Cleaning
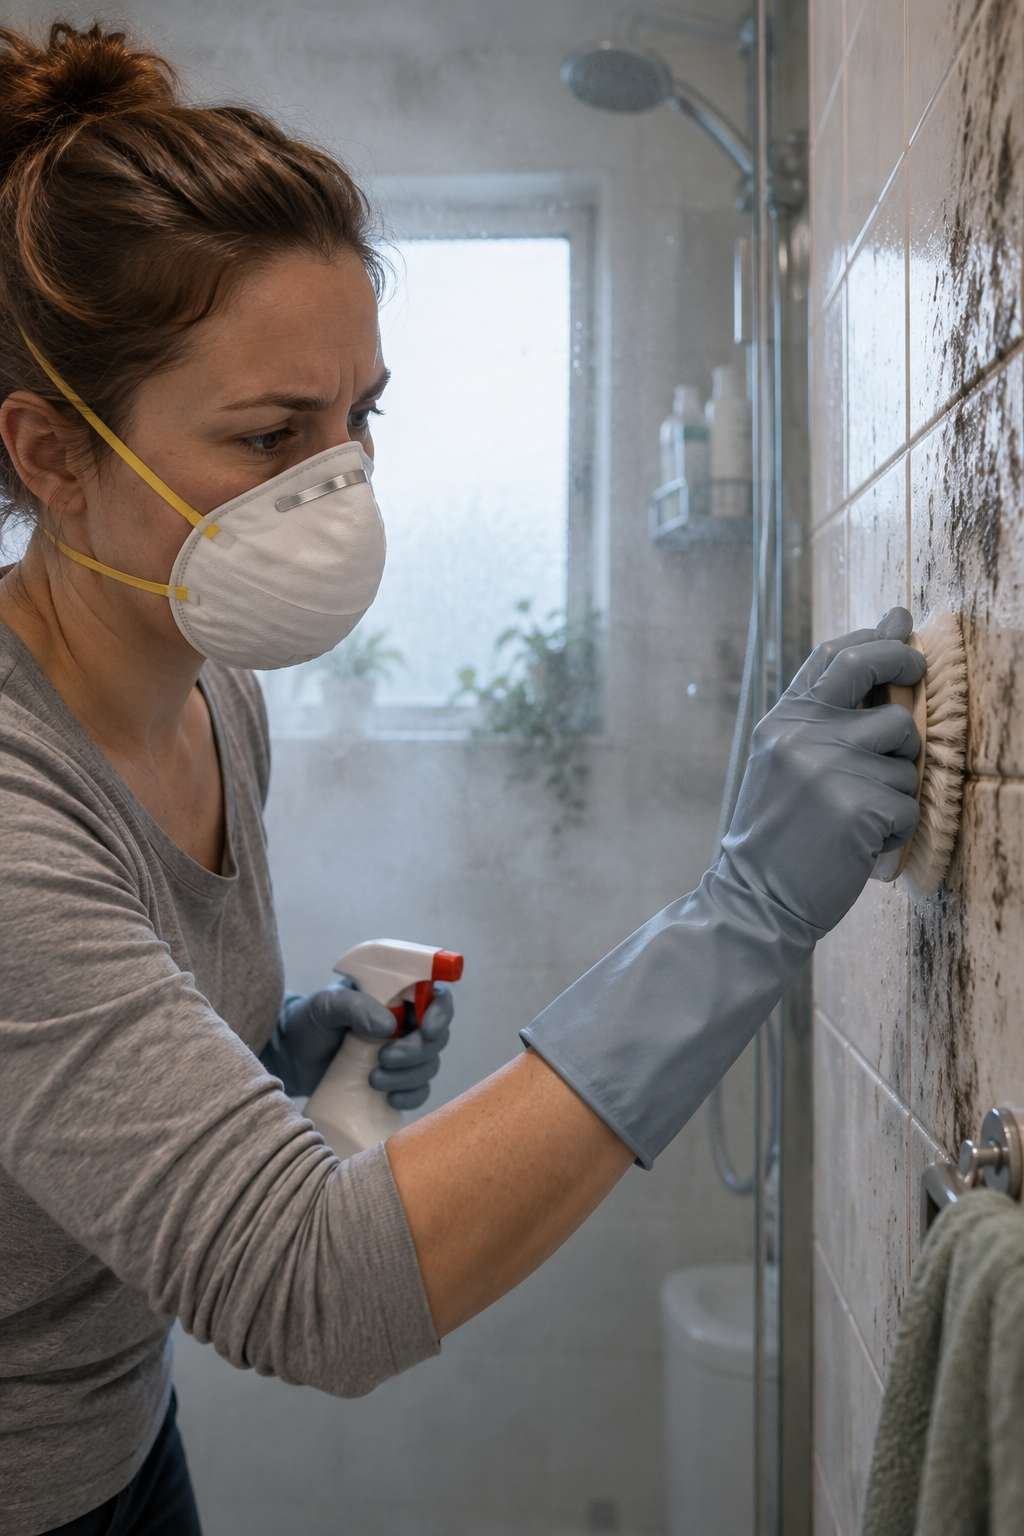
Before starting any mold removal, take a few basic precautions, especially if the affected area is larger than a small patch. Wear rubber gloves, a mask rated for mold spores, and eye protection, since scrubbing disturbs and releases spores into the air. Keep the room ventilated the entire time you’re working, either with an open window or a running exhaust fan.
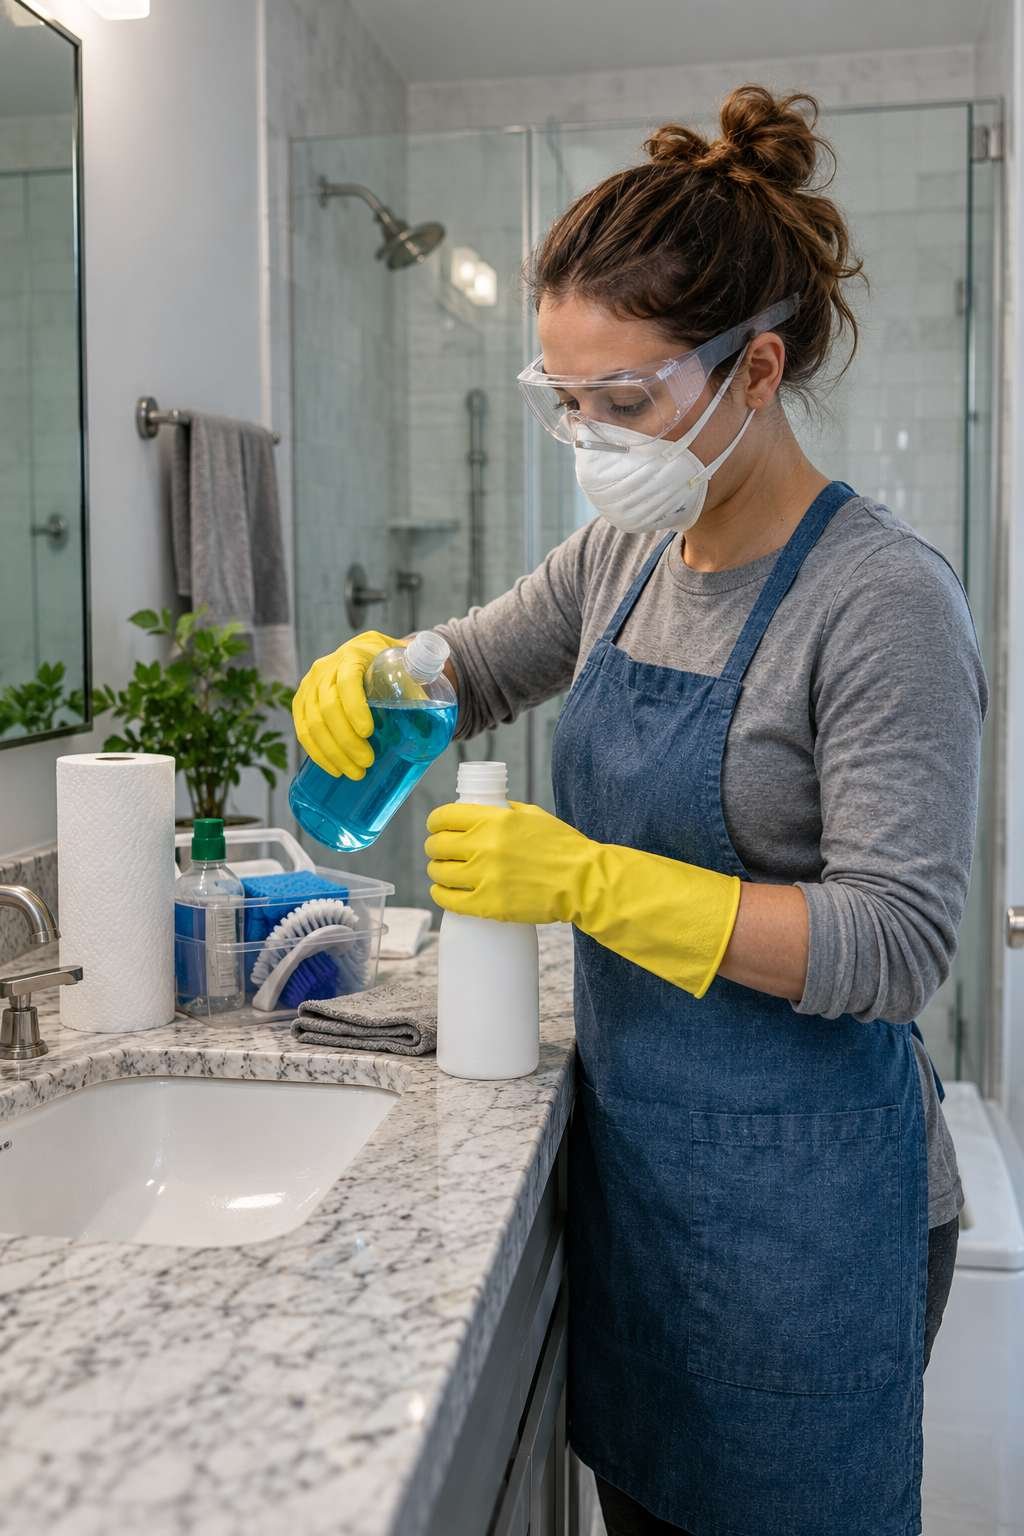
For areas larger than roughly ten square feet, or if you have respiratory sensitivities, it’s often safer to bring in a professional rather than handling it entirely on your own.
- Wear gloves, a spore-rated mask, and eye protection
- Keep the room ventilated throughout the cleaning process
- Never mix bleach with ammonia-based products
- Cover nearby surfaces to catch drips and splatter
- Take extra caution with asthma or allergy sensitivities
- Call a professional for patches over 10 square feet
5. Step-by-Step: How to Eliminate Mold in Bathroom Surfaces
Start by mixing your chosen cleaning solution and testing it in a small, inconspicuous area first. Apply it generously to the affected surface and let it sit for ten to fifteen minutes, giving it time to penetrate before scrubbing. Use a stiff-bristle brush in small circular motions, working outward from the center of the stain to avoid pushing spores into unaffected areas.
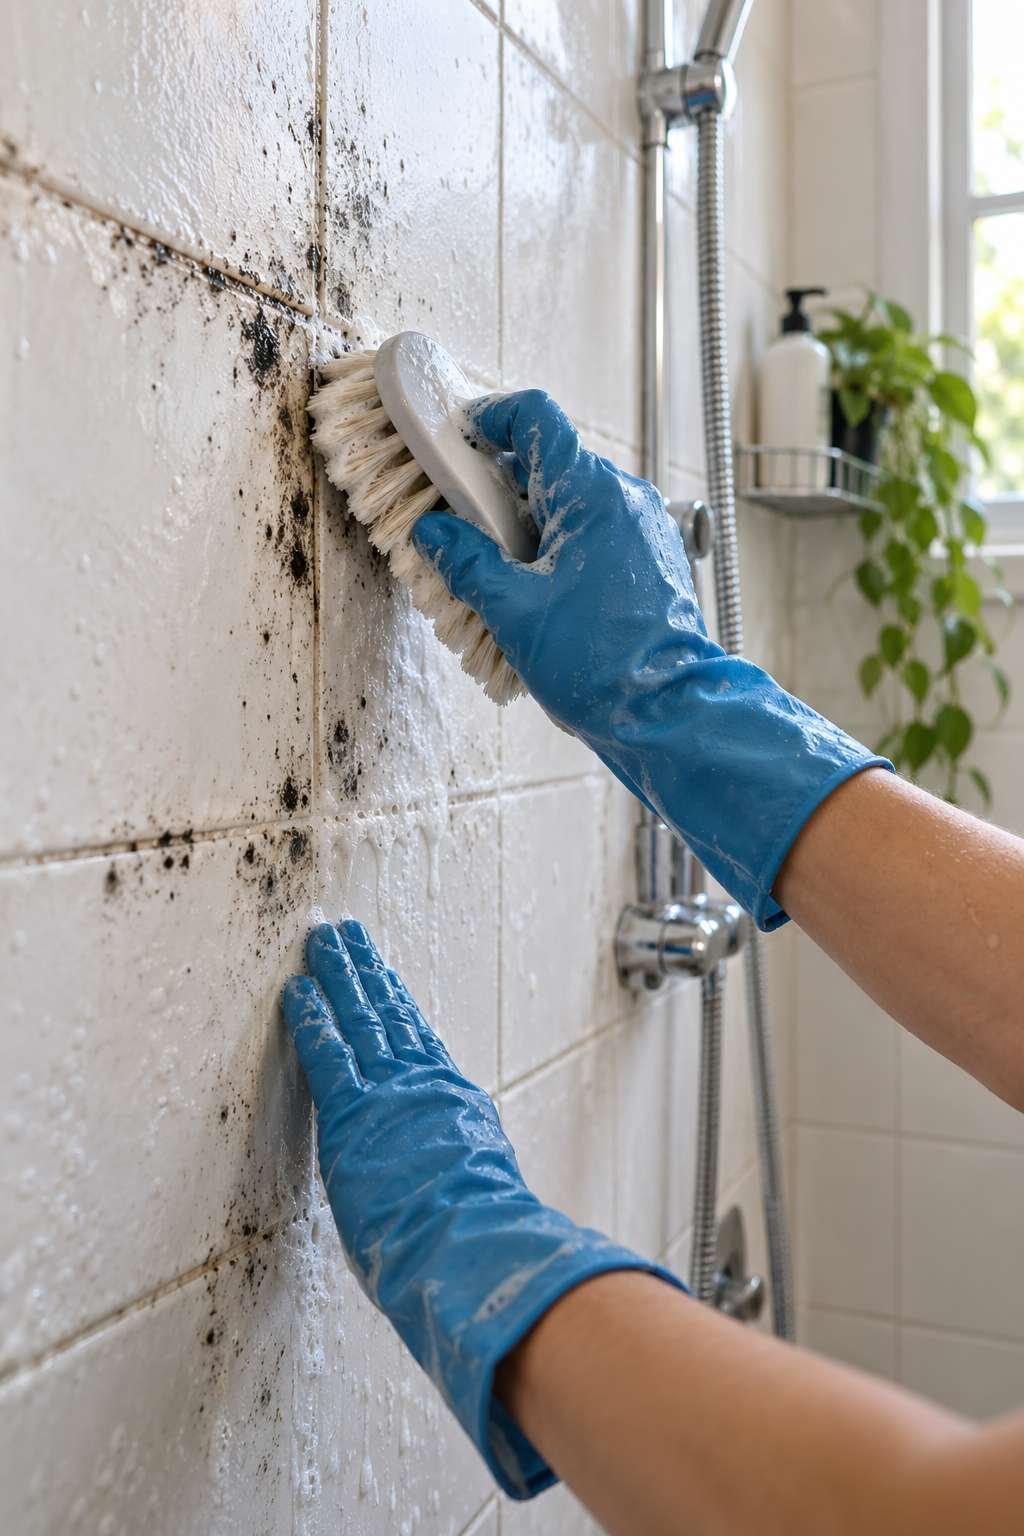
Once the mold lifts away, rinse the surface thoroughly and dry it completely, since leftover moisture simply invites the problem to return within days.
- Test any solution on a small area first
- Let solution dwell 10-15 minutes before scrubbing
- Scrub in small circular motions from the center outward
- Rinse the surface thoroughly after cleaning
- Dry completely to prevent immediate regrowth
- Repeat treatment on any remaining discoloration
6. Best Cleaning Solutions for Bathroom Mold
There’s no single perfect product, and the right choice depends on the surface and how comfortable you are with stronger chemicals. A diluted bleach solution, roughly one part bleach to three parts water, kills mold spores quickly and works well on non-porous surfaces like tile and tubs. White vinegar offers a gentler, chemical-free alternative that’s effective on lighter staining and safe for most painted surfaces.
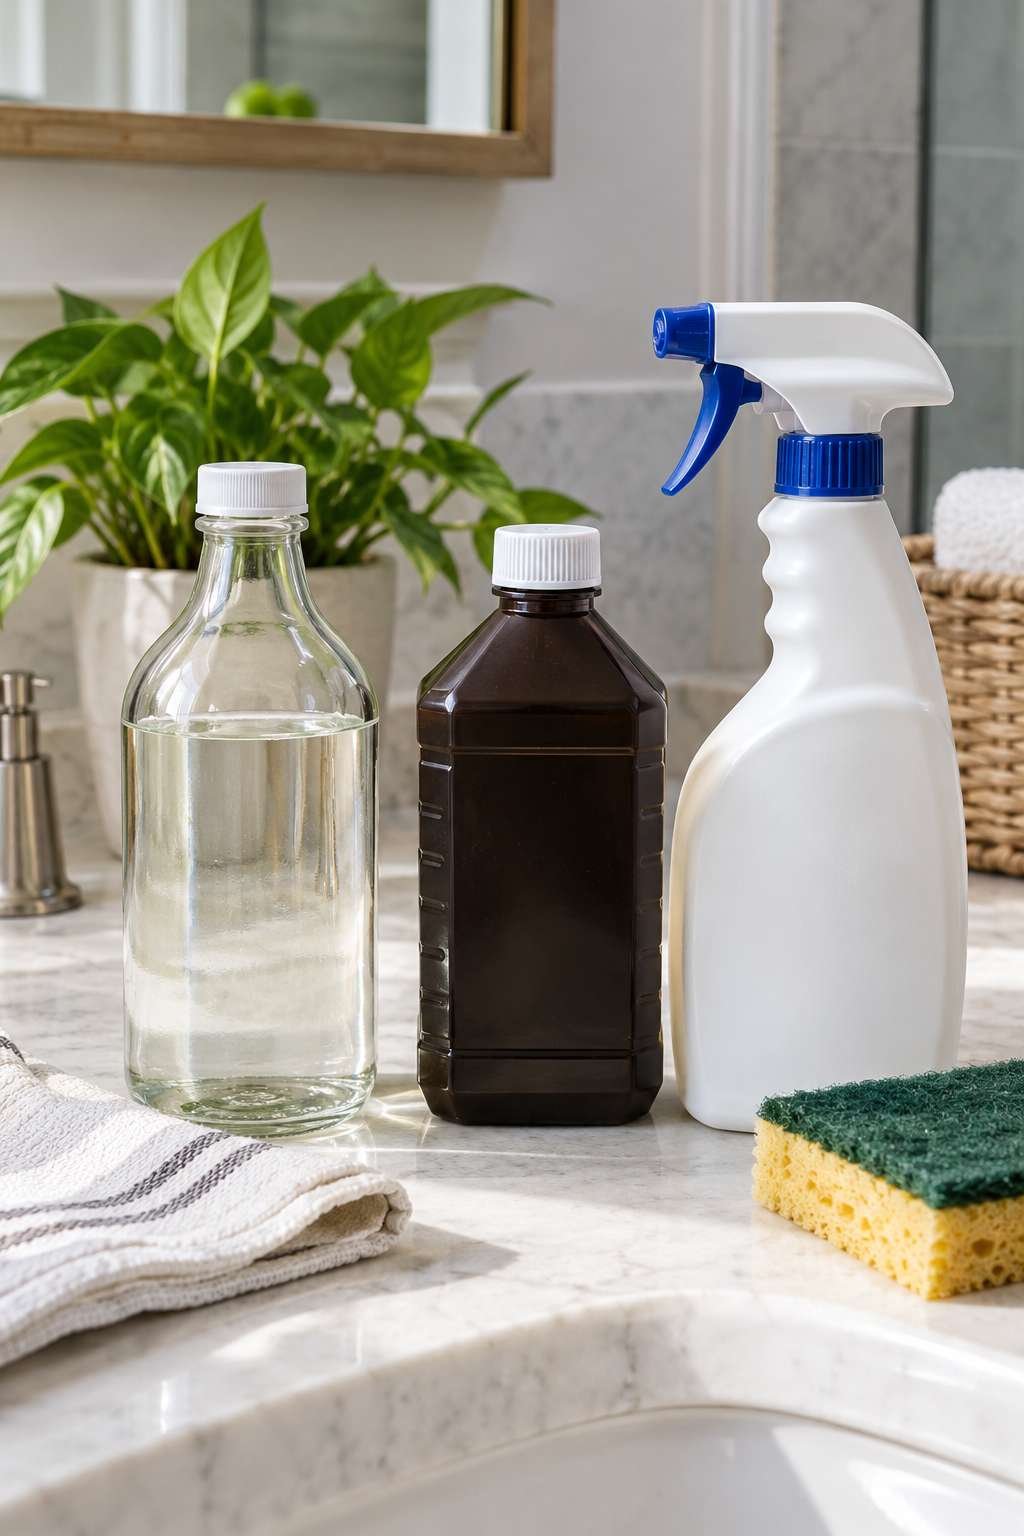
Hydrogen peroxide splits the difference, offering strong antimicrobial power without the harsh fumes or bleaching effect that concerns some households.
- Diluted bleach for strong, fast results on tile and tubs
- White vinegar for a gentler, chemical-free option
- Hydrogen peroxide for effective, lower-odor cleaning
- Commercial mold sprays for convenient pre-mixed formulas
- Baking soda paste for mild, sensitive-household cleaning
- Never combine bleach with other cleaning chemicals
7. Cleaning Mold from Grout and Caulk
Grout and caulk are especially prone to mold because their porous, textured surfaces trap moisture and organic residue more easily than smooth tile. A stiff grout brush paired with your cleaning solution of choice typically clears surface mold, though deeply set stains sometimes require a baking soda paste left to sit before scrubbing.
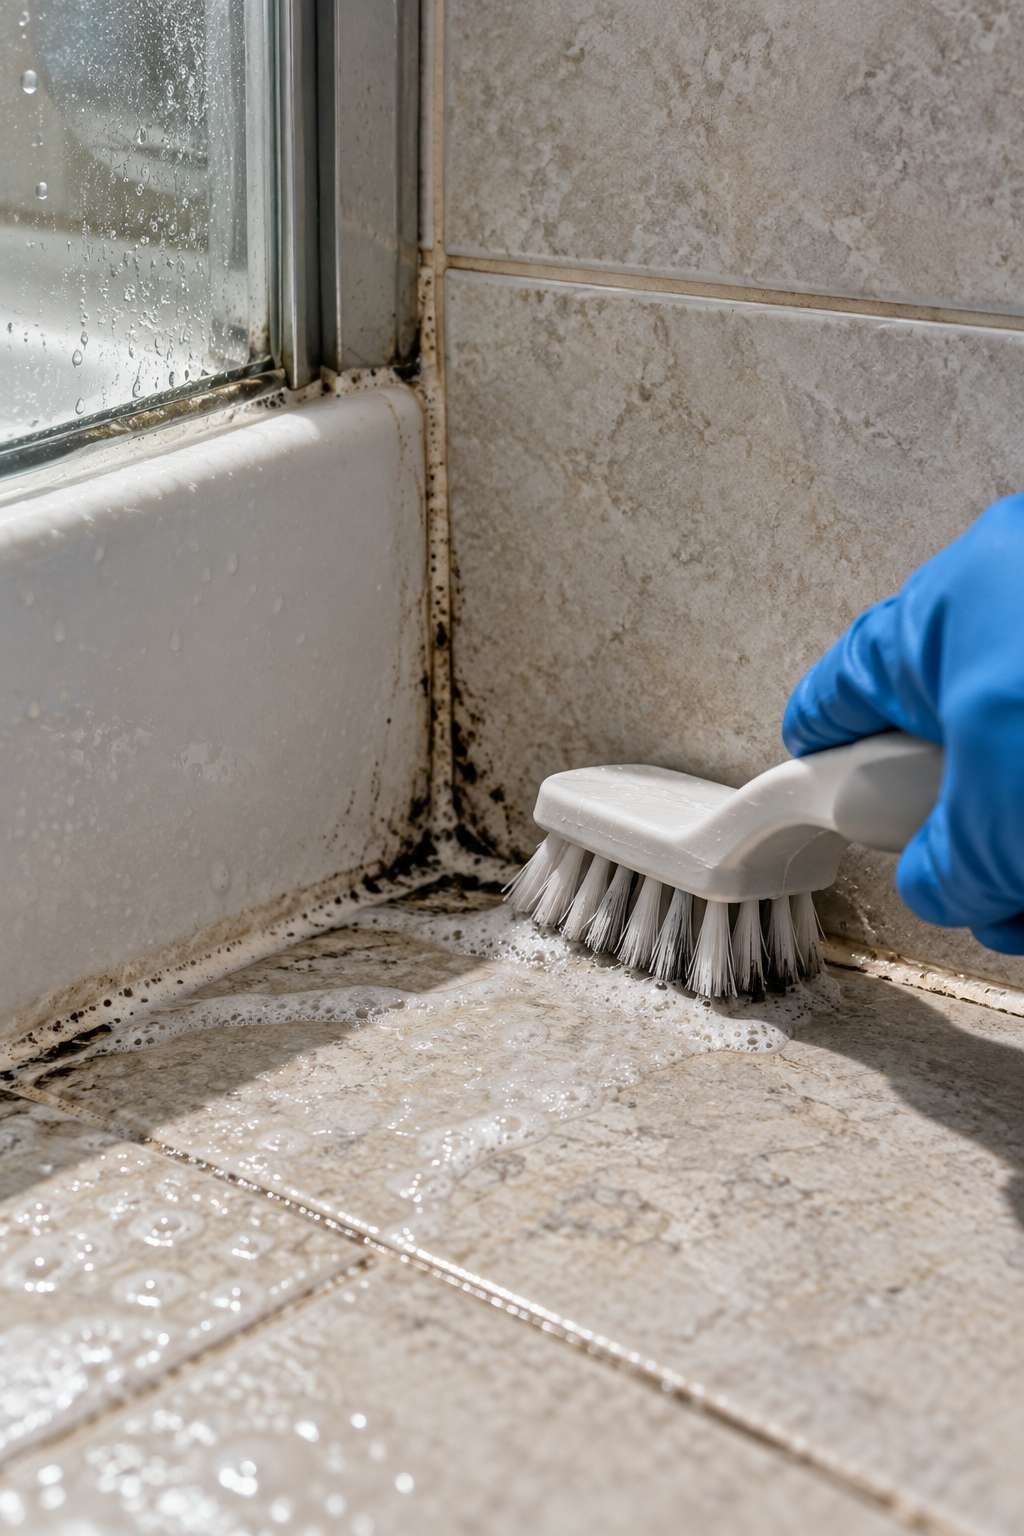
If caulk around the tub or shower shows persistent black mold that won’t fully clear, it’s often more effective to remove and replace the caulk entirely rather than continuing to scrub the same section repeatedly.
- Use a stiff grout brush for textured seams
- Baking soda paste helps with deeply set stains
- Replace badly stained caulk rather than repeatedly scrubbing
- Reapply fresh silicone caulk once the area is dry
- Seal grout after cleaning for added protection
- Address caulk issues promptly to prevent water intrusion
8. Preventing Mold From Returning
Removing visible mold solves the immediate issue, but without addressing the underlying moisture, it typically returns within a few months. The most effective habit is running the exhaust fan during every shower and for at least twenty minutes afterward, giving humid air enough time to clear. Wiping down wet surfaces after each shower also prevents condensation from settling into grout and caulk.

Repainting with mold-resistant, moisture-rated paint on walls and ceilings adds another layer of long-term protection against regrowth.
- Run the exhaust fan during and after every shower
- Wipe down wet surfaces after each use
- Repaint with mold-resistant, moisture-rated paint
- Keep the bathroom door open when not in use
- Fix any leaks promptly to remove hidden moisture sources
- Reseal grout and caulk periodically for added defense
9. Improving Airflow and Humidity Control
If mold keeps returning despite regular cleaning, the ventilation system itself likely needs attention. Many bathrooms have exhaust fans that are undersized for the room, moving too little air to fully clear humidity after a shower. Upgrading to a higher-capacity or humidity-sensing fan can make a significant difference without any change to your daily routine.
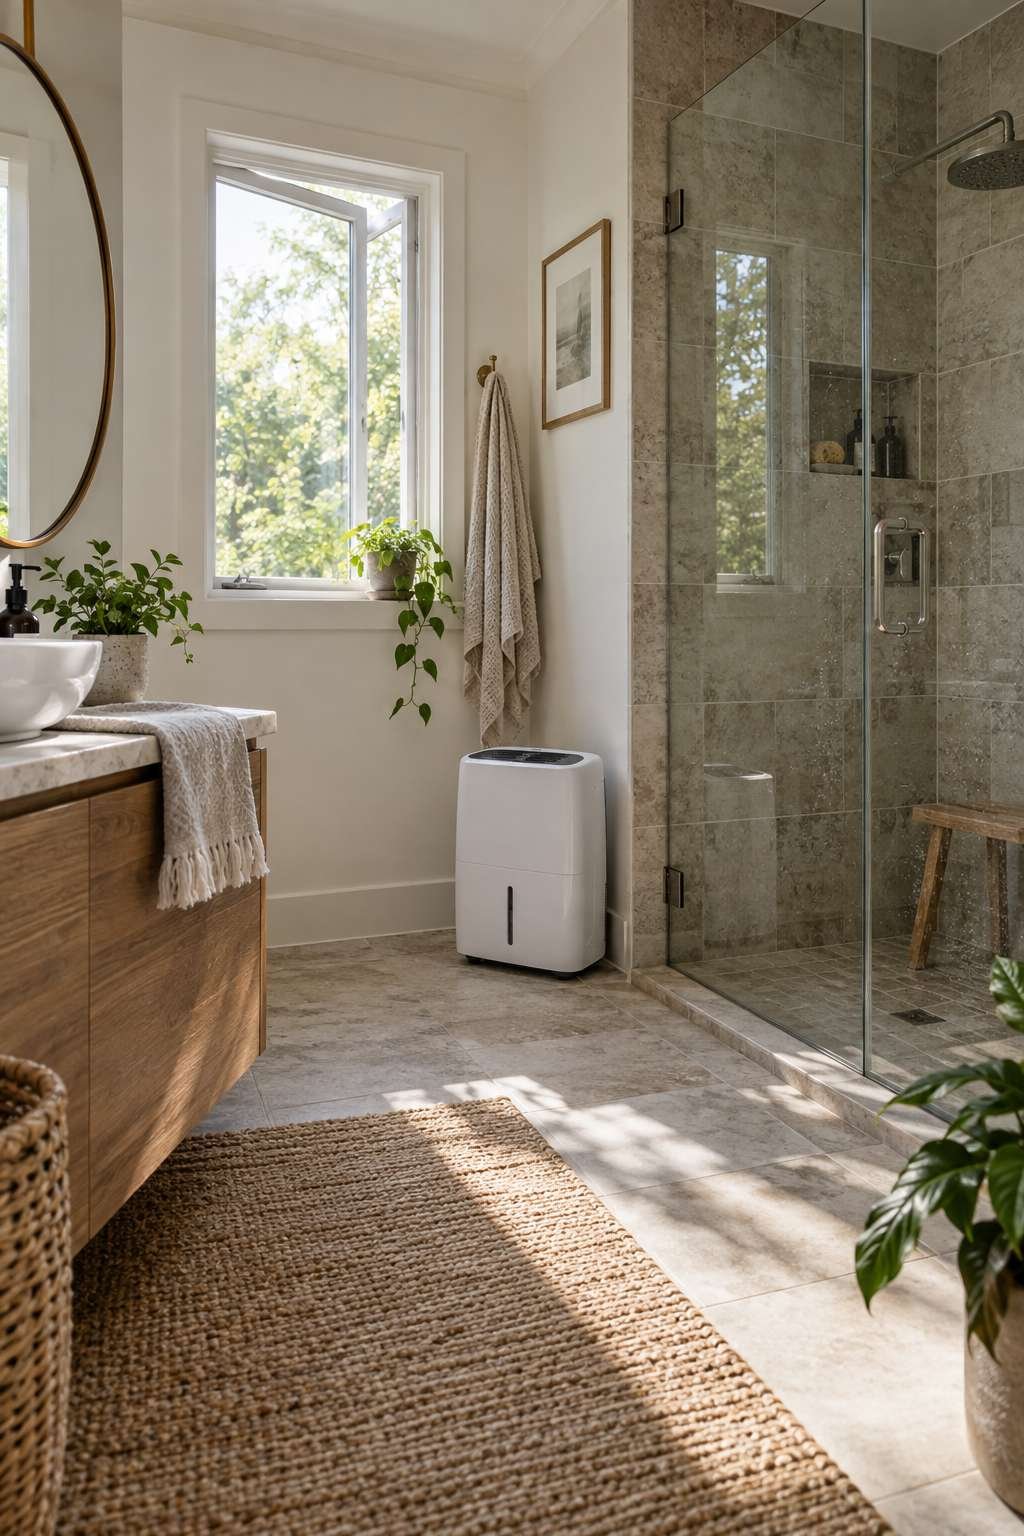
A portable dehumidifier is a useful stopgap in problem bathrooms, particularly in humid climates where even a strong fan struggles to keep pace with moisture levels.
- Confirm your exhaust fan’s capacity matches room size
- Consider a humidity-sensing automatic fan upgrade
- Use a portable dehumidifier in persistently damp bathrooms
- Crack a window during showers when possible
- Clean fan vents regularly to maintain proper airflow
- Have ductwork inspected if humidity issues persist
10. When to Call a Mold Remediation Professional
While most bathroom mold is manageable with DIY cleaning, certain signs point to a problem beyond a simple scrub-and-rinse. If mold covers more than roughly ten square feet, keeps returning immediately after cleaning, or is accompanied by a musty smell that won’t go away, there may be hidden moisture behind walls or flooring. Sagging drywall or discoloration that keeps spreading are also signs worth professional attention.
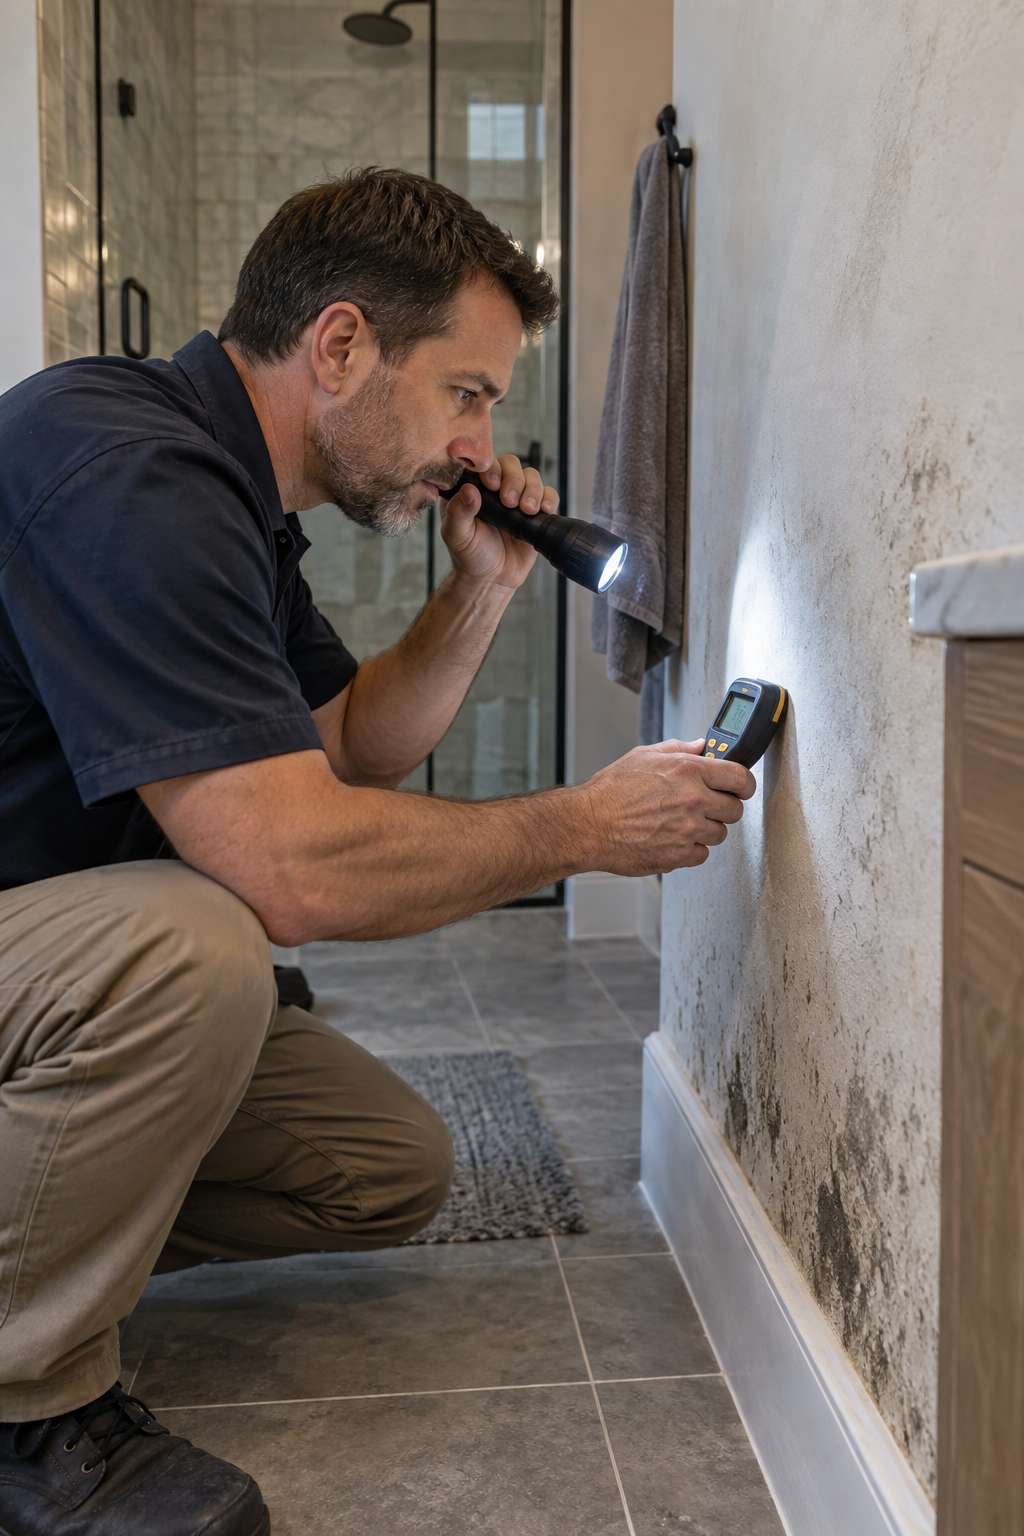
Remediation specialists can identify mold species and hidden sources, which matters most for households with existing respiratory conditions or repeated regrowth despite consistent cleaning.
- Affected area larger than 10 square feet
- Mold returns quickly after repeated cleaning
- Musty smell persists despite thorough cleaning
- Sagging or discolored drywall present
- Suspected hidden leak feeding ongoing growth
- Household members with respiratory sensitivities
Frequently Asked Questions
How do you clean mold from a bathroom ceiling?
Apply a diluted bleach or vinegar solution and let it sit for ten to fifteen minutes before scrubbing with a stiff brush from a step stool. Rinse and dry the area completely, then run the exhaust fan afterward to prevent immediate regrowth.
How do you clean mold from bathroom walls?
Test your cleaning solution on a small section first, then apply it generously and scrub with a stiff-bristle brush in circular motions. Rinse thoroughly, dry completely, and repaint with mold-resistant paint if staining remains after cleaning.
Eliminating mold in a bathroom really comes down to two consistent habits: thorough cleaning when growth appears and reliable moisture control afterward. Once the current mold is cleared, small daily routines like running the fan and drying surfaces make a far bigger difference than any single cleaning product.
If specific areas keep giving you trouble, guides like how to clean mold off bathroom ceiling and how do I remove mold from bathroom walls dig deeper into those trickier surfaces, while how to prevent mold in bathroom spaces covers long-term habits in more detail.

