


Learning how to replace a bathroom faucet is one of the most rewarding small upgrades you can tackle yourself, instantly refreshing a sink’s look without the cost of a full renovation. Most homeowners can complete the swap in an afternoon with just a handful of common tools, no plumbing experience required.

Whether your current faucet is leaking, outdated, or simply doesn’t match your updated bathroom style, this guide walks through every step of how to replace bathroom faucet hardware safely and correctly, from shutting off water to testing the final connections.
1. Tools and Supplies You’ll Need
Before starting, gather everything you’ll need so you’re not searching for a missing tool mid-project. At minimum, you’ll want an adjustable wrench, a basin wrench for reaching tight spaces under the sink, plumber’s tape, and a bucket or towel to catch drips. Having your new faucet unboxed and its included hardware laid out ahead of time also speeds things up considerably.
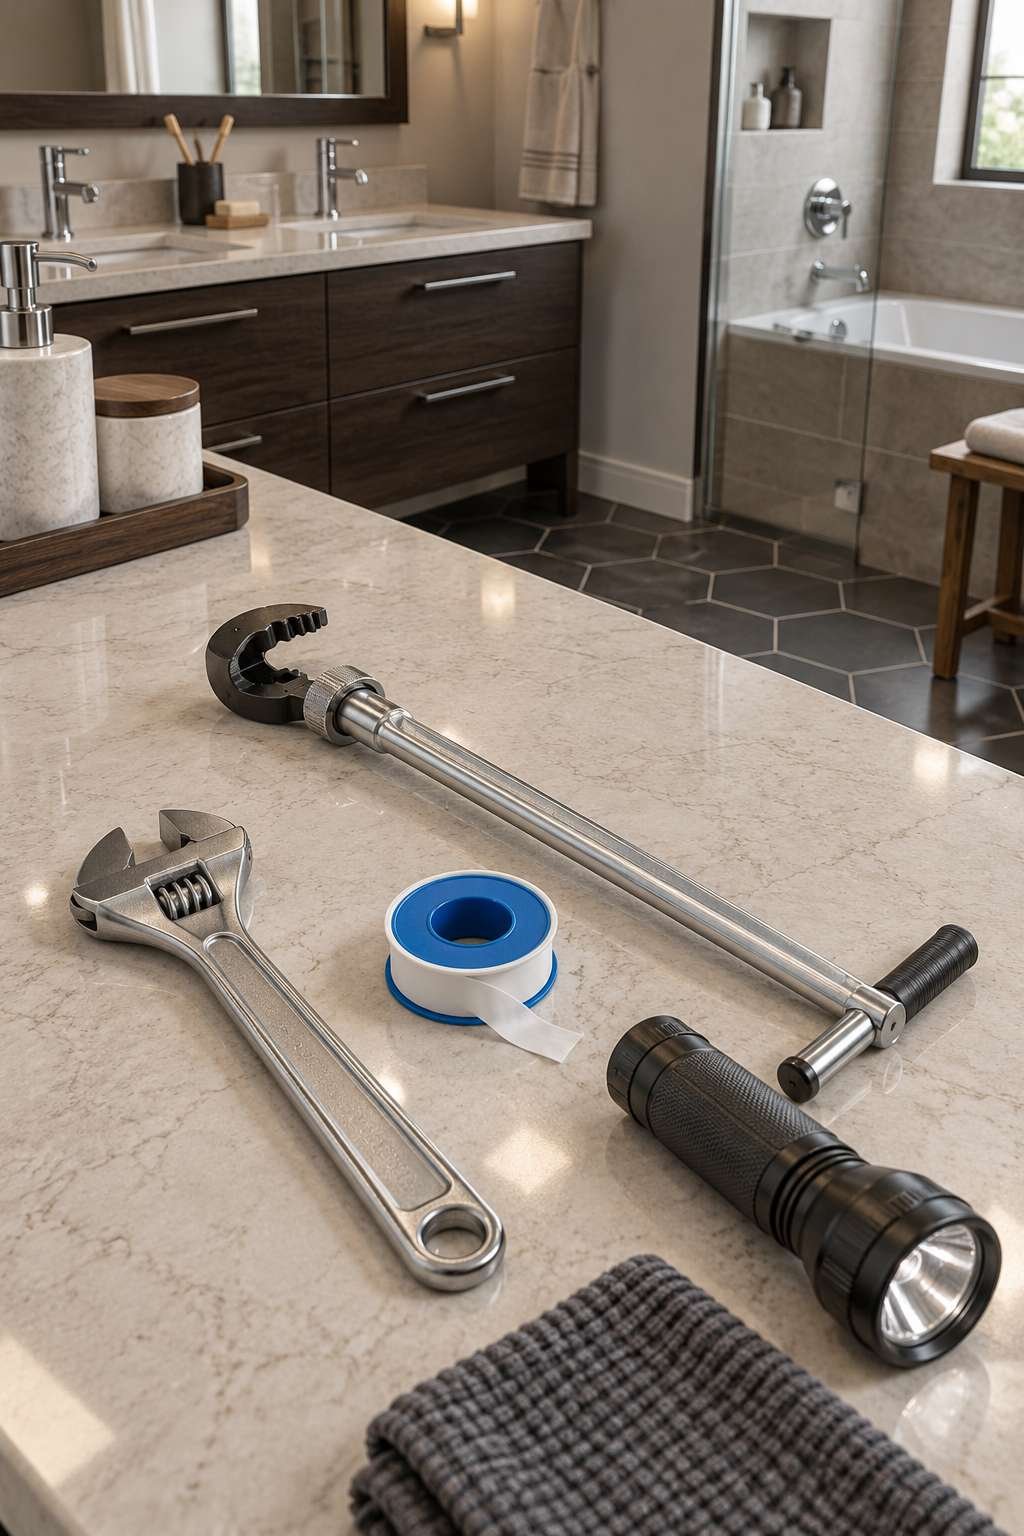
If your current faucet is older, a penetrating lubricant spray can help loosen corroded nuts that might otherwise fight you the entire way through removal. Tackling small plumbing swaps like this often builds confidence for other quick fixes, like learning how to replace a bathroom ceiling fan when the time comes.
- Adjustable wrench and basin wrench
- Plumber’s tape (PTFE tape)
- Bucket or towel to catch drips
- Penetrating lubricant spray for stuck nuts
- New faucet with included hardware
- Flashlight for visibility under the sink
2. Turn Off the Water Supply
Safety starts with cutting off water flow completely before you touch any connections. Locate the shutoff valves under the sink, typically one for hot and one for cold, and turn them clockwise until fully closed. If your sink doesn’t have dedicated shutoff valves, you’ll need to shut off the main water supply to the house instead.
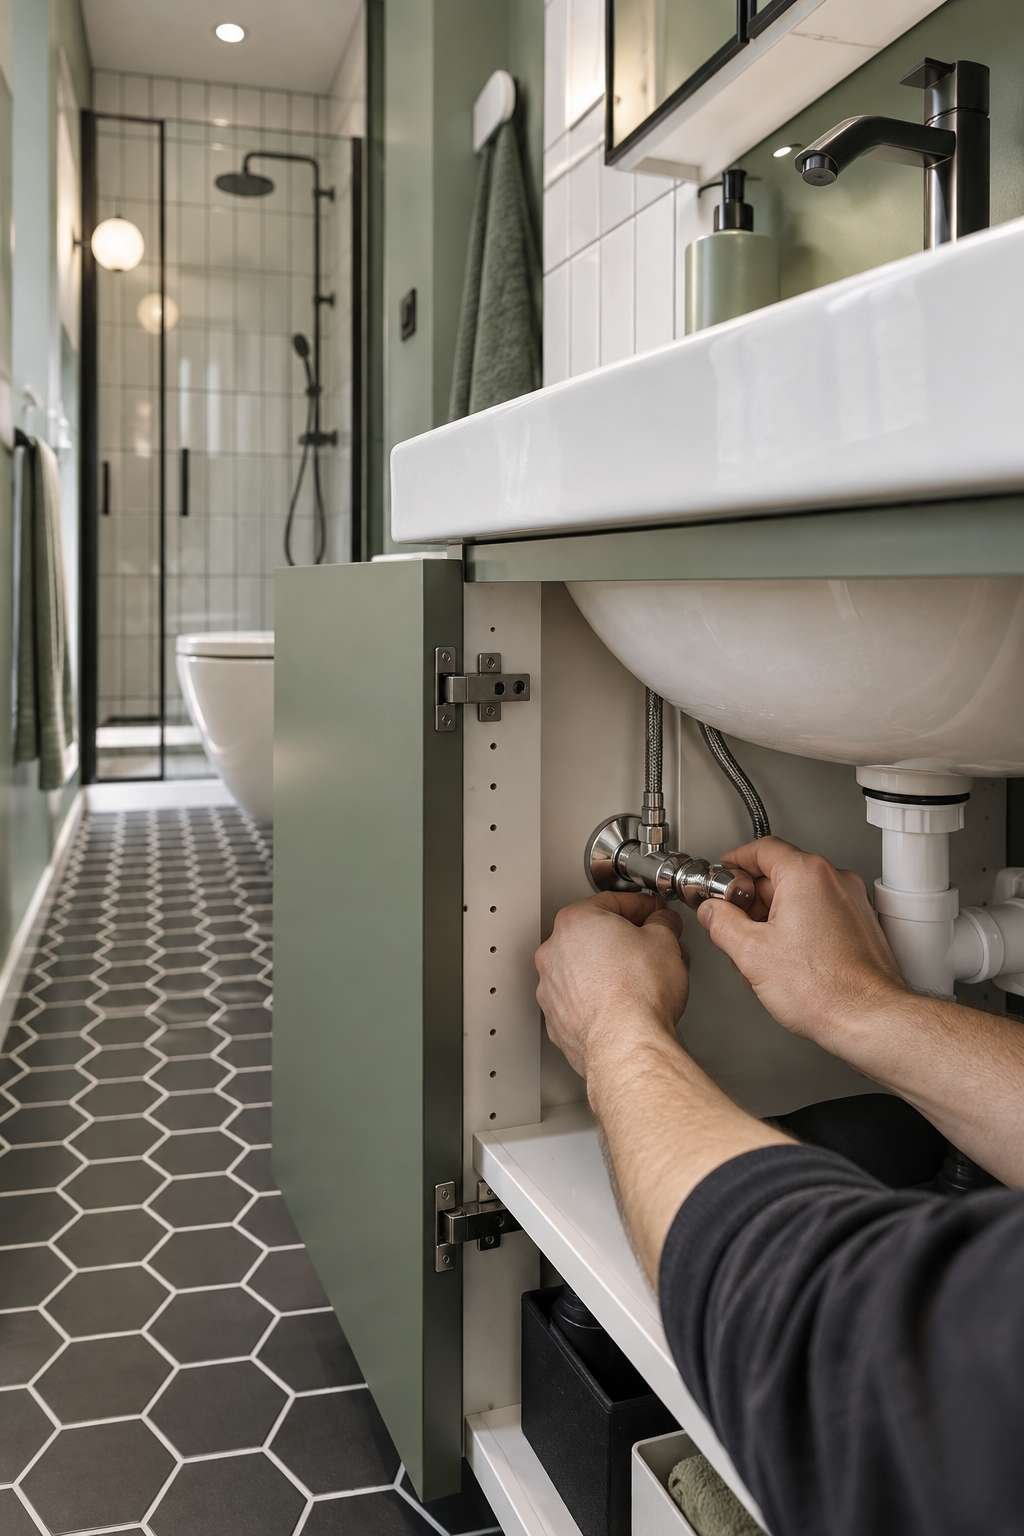
Once valves are closed, open the faucet handles to release any remaining pressure and confirm the water has actually stopped flowing before proceeding.
- Locate hot and cold shutoff valves under the sink
- Turn valves clockwise until fully closed
- Shut off the main supply if no local valves exist
- Open the faucet to release remaining pressure
- Confirm water flow has completely stopped
- Place a towel down to catch any residual drips
3. Remove the Old Faucet
With water off, disconnect the supply lines from the shutoff valves using your adjustable wrench, keeping a bucket underneath to catch any drips. Next, use a basin wrench to reach the mounting nuts securing the faucet to the sink from underneath, since these are often difficult to access with a standard wrench.
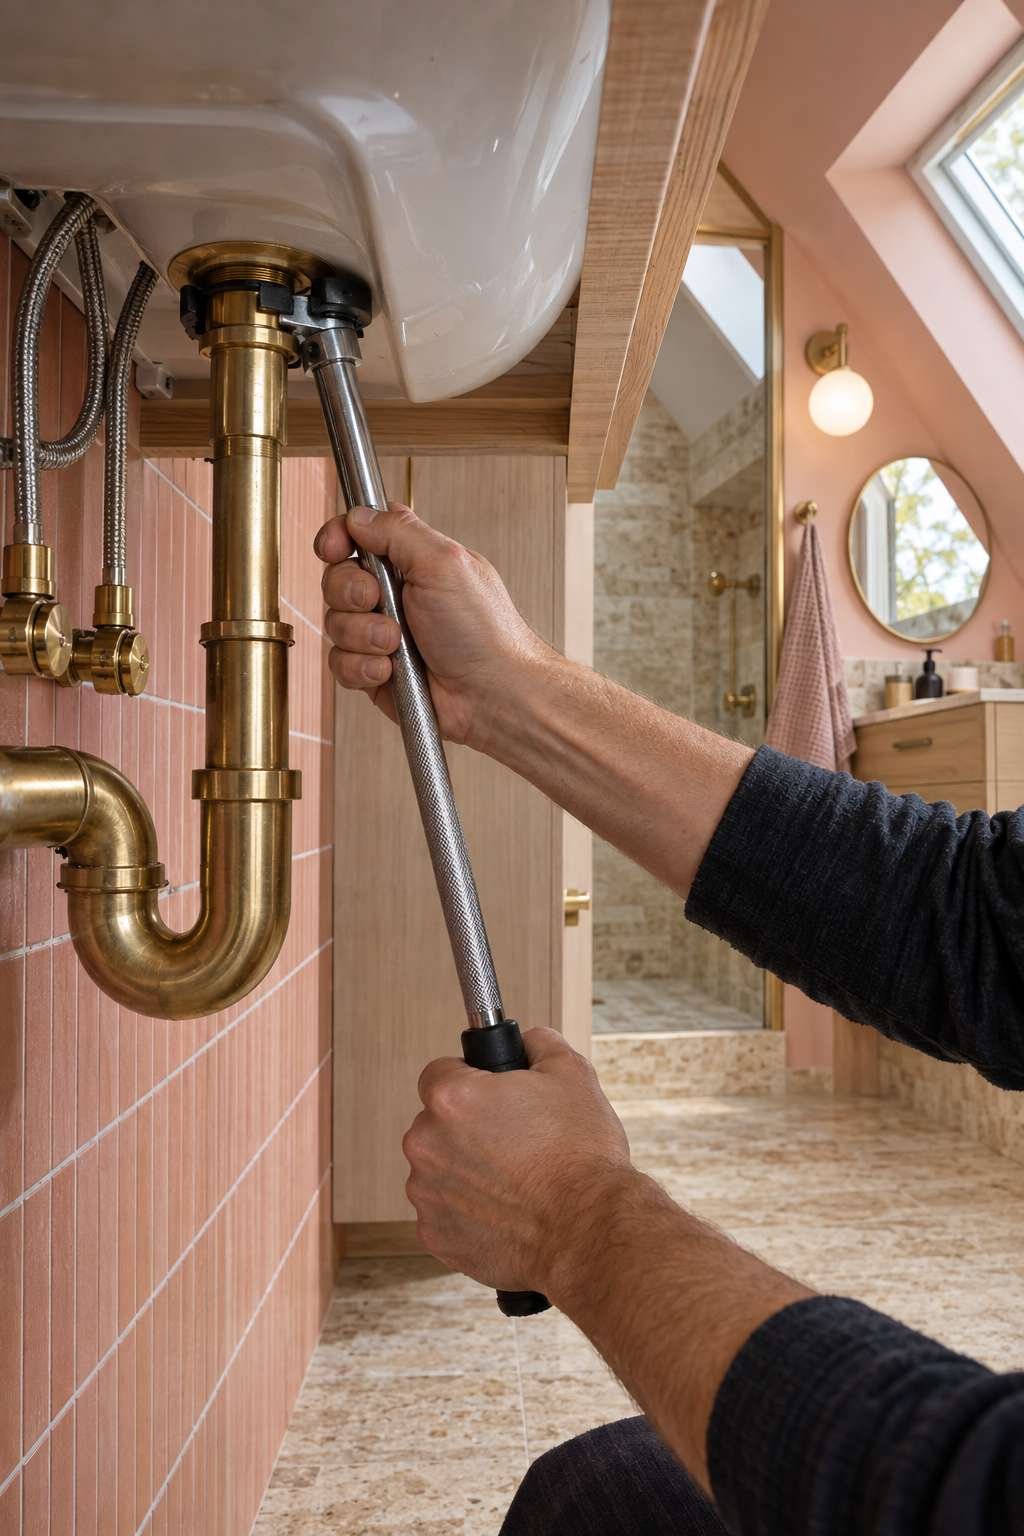
Older faucets can be stubborn if nuts have corroded over time, so apply penetrating lubricant and let it sit for a few minutes if you meet resistance.
- Disconnect supply lines with an adjustable wrench
- Use a basin wrench for hard-to-reach mounting nuts
- Apply penetrating lubricant on corroded connections
- Keep a bucket ready to catch residual water
- Lift the old faucet away once fully disconnected
- Set aside old hardware in case you need it later
4. Clean the Sink Surface
Once the old faucet is removed, you’ll likely find a buildup of grime, old caulk, or mineral deposits around the mounting holes. Scrape away old caulk with a plastic putty knife, then wipe the entire area with a vinegar solution to dissolve mineral residue and leftover soap scum.
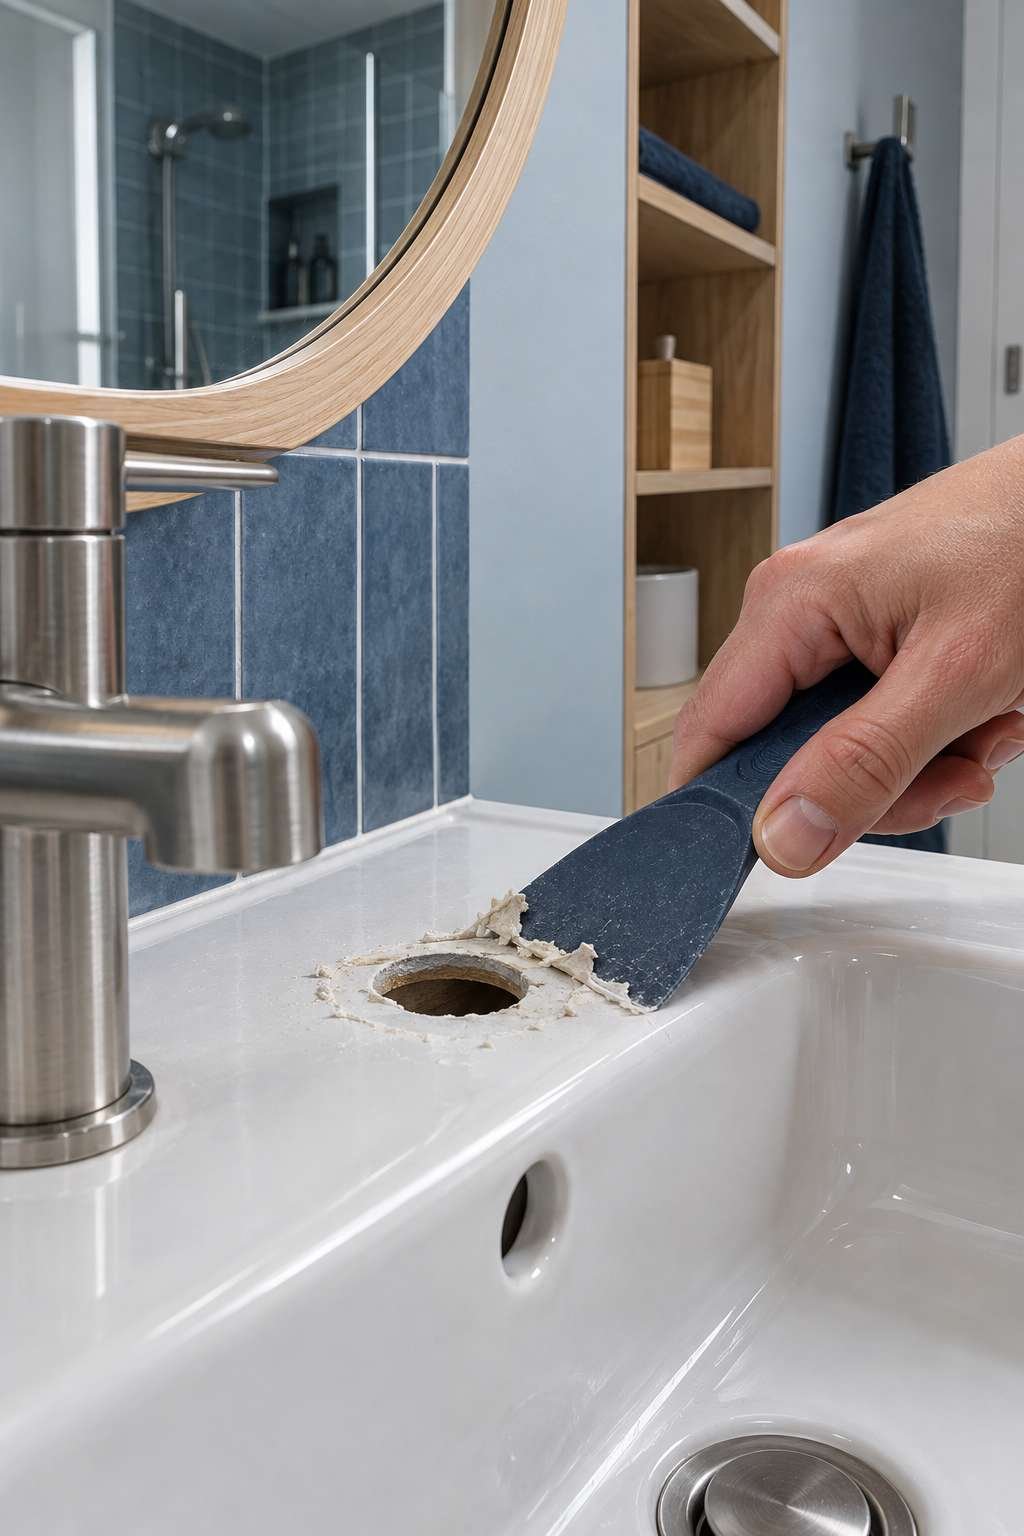
Taking time here matters, since a clean, dry surface ensures the new faucet’s gasket or base plate seals properly against the sink.
- Scrape away old caulk with a plastic putty knife
- Wipe area with a vinegar solution for mineral buildup
- Dry the surface completely before installing new hardware
- Check mounting holes are clear of old debris
- Inspect the sink surface for any damage
- Confirm the new faucet’s base will sit flush
5. Prepare the New Faucet
Before installing, lay out all the included components, such as gaskets, mounting nuts, and supply hoses, so you understand how everything fits together. Most modern faucets attach with a rubber gasket that sits between the faucet base and the sink, eliminating the need for plumber’s putty in many cases.
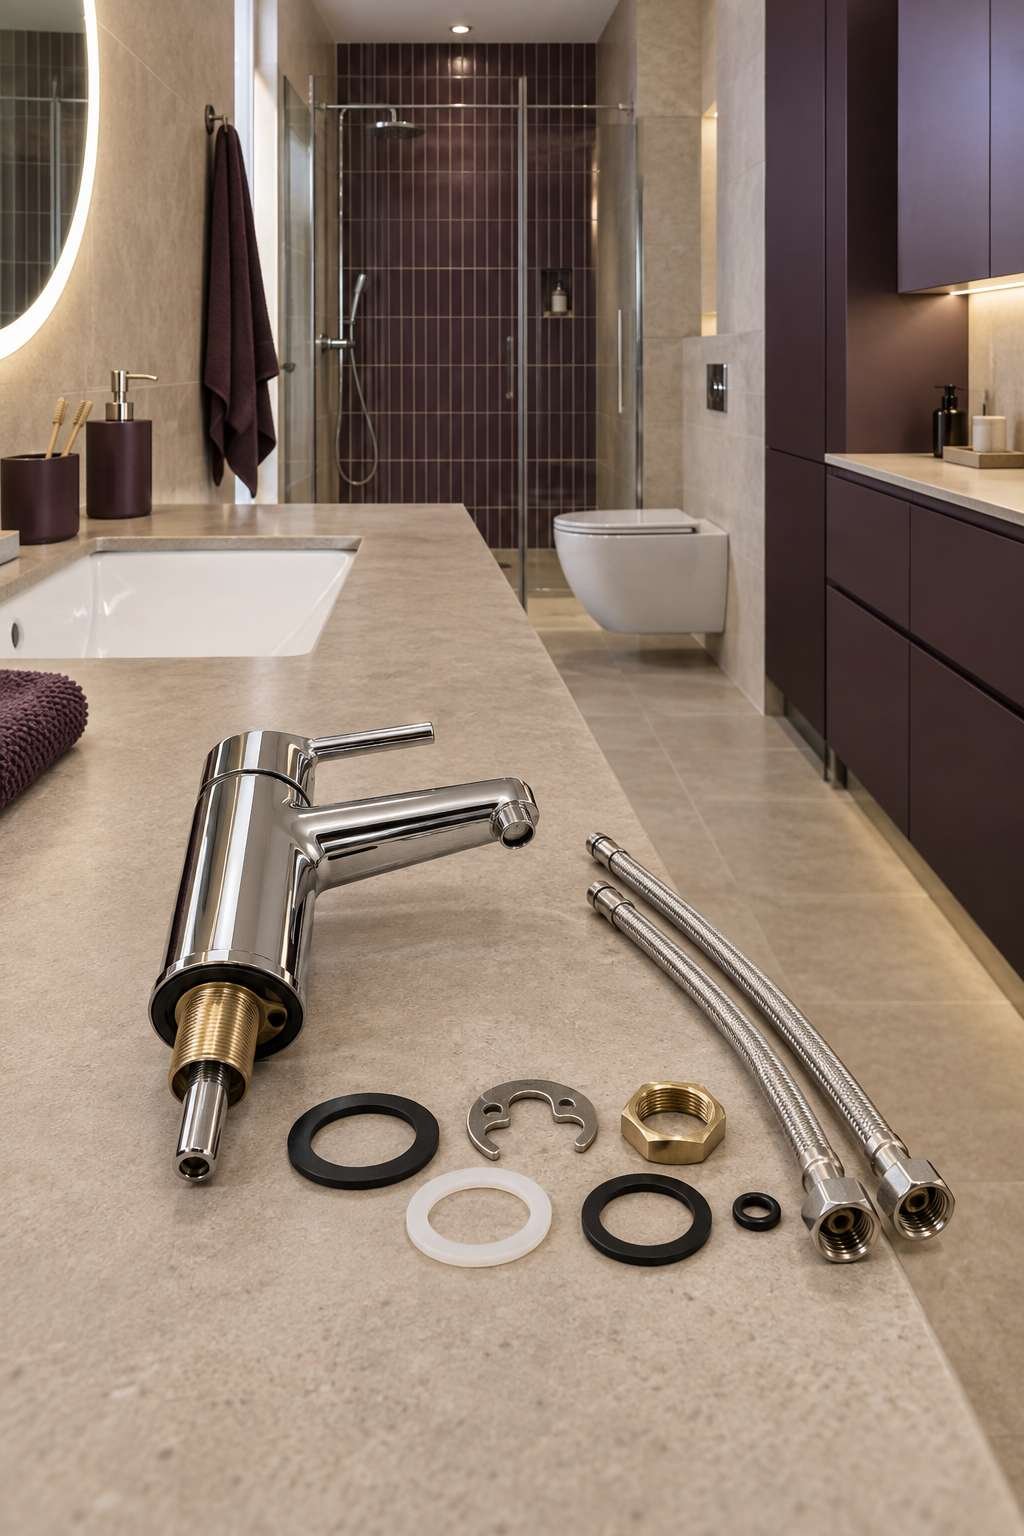
Check the manufacturer’s instructions for your specific model, since hole spacing and mounting hardware can vary between single-hole, widespread, and center-set faucet styles.
- Lay out all included hardware before starting
- Confirm gasket placement per manufacturer instructions
- Check hole spacing matches your sink configuration
- Attach supply hoses to the faucet body if not preinstalled
- Wrap threaded connections with plumber’s tape
- Keep the instruction manual nearby during installation
6. Install the New Faucet
Feed the faucet’s supply lines and mounting hardware down through the sink’s mounting holes from above, then secure the base with the provided nuts from underneath. Hand-tighten first to ensure proper alignment, then use your basin wrench to snug everything down firmly without overtightening.
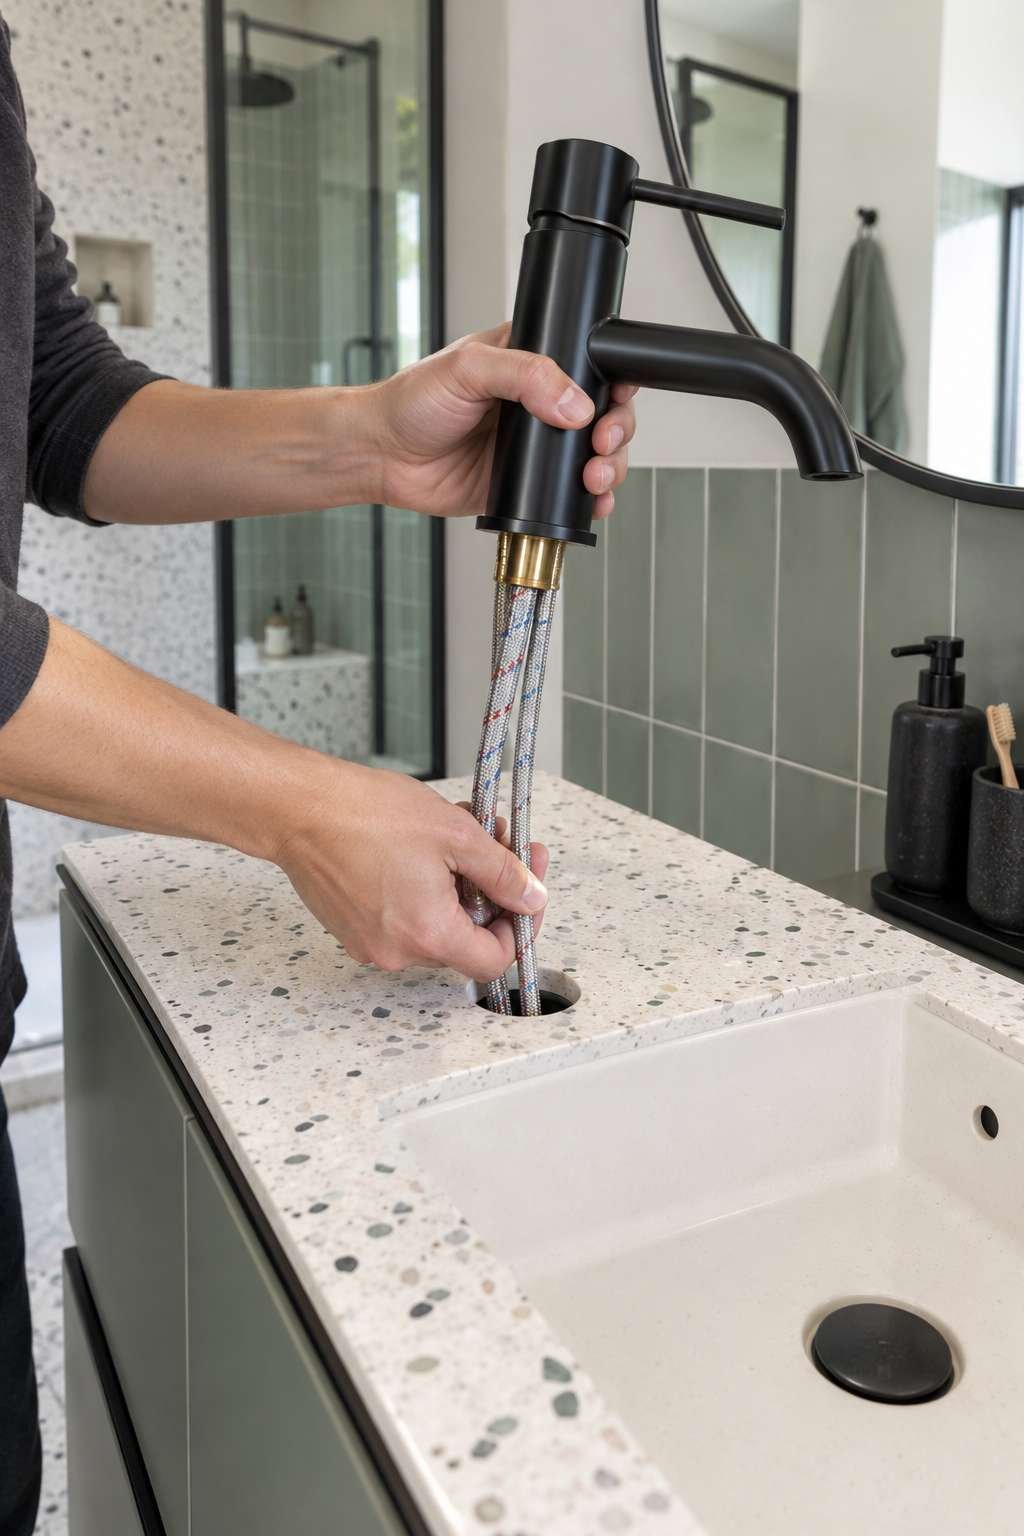
Overtightening can crack certain faucet bases or strip plastic mounting hardware, so stop once the faucet feels stable and doesn’t shift when gently wiggled.
- Feed lines and hardware through mounting holes from above
- Hand-tighten mounting nuts before final tightening
- Use a basin wrench to secure firmly underneath
- Avoid overtightening plastic mounting hardware
- Confirm the faucet sits flush and doesn’t wobble
- Double-check gasket seating before final tightening
7. Connect the Water Supply Lines
With the faucet mounted, reconnect the hot and cold supply lines to their matching shutoff valves, wrapping threaded connections with plumber’s tape beforehand to ensure a tight seal. Hand-tighten each connection first, then use an adjustable wrench for a final quarter-turn to secure it without overtightening the fitting.
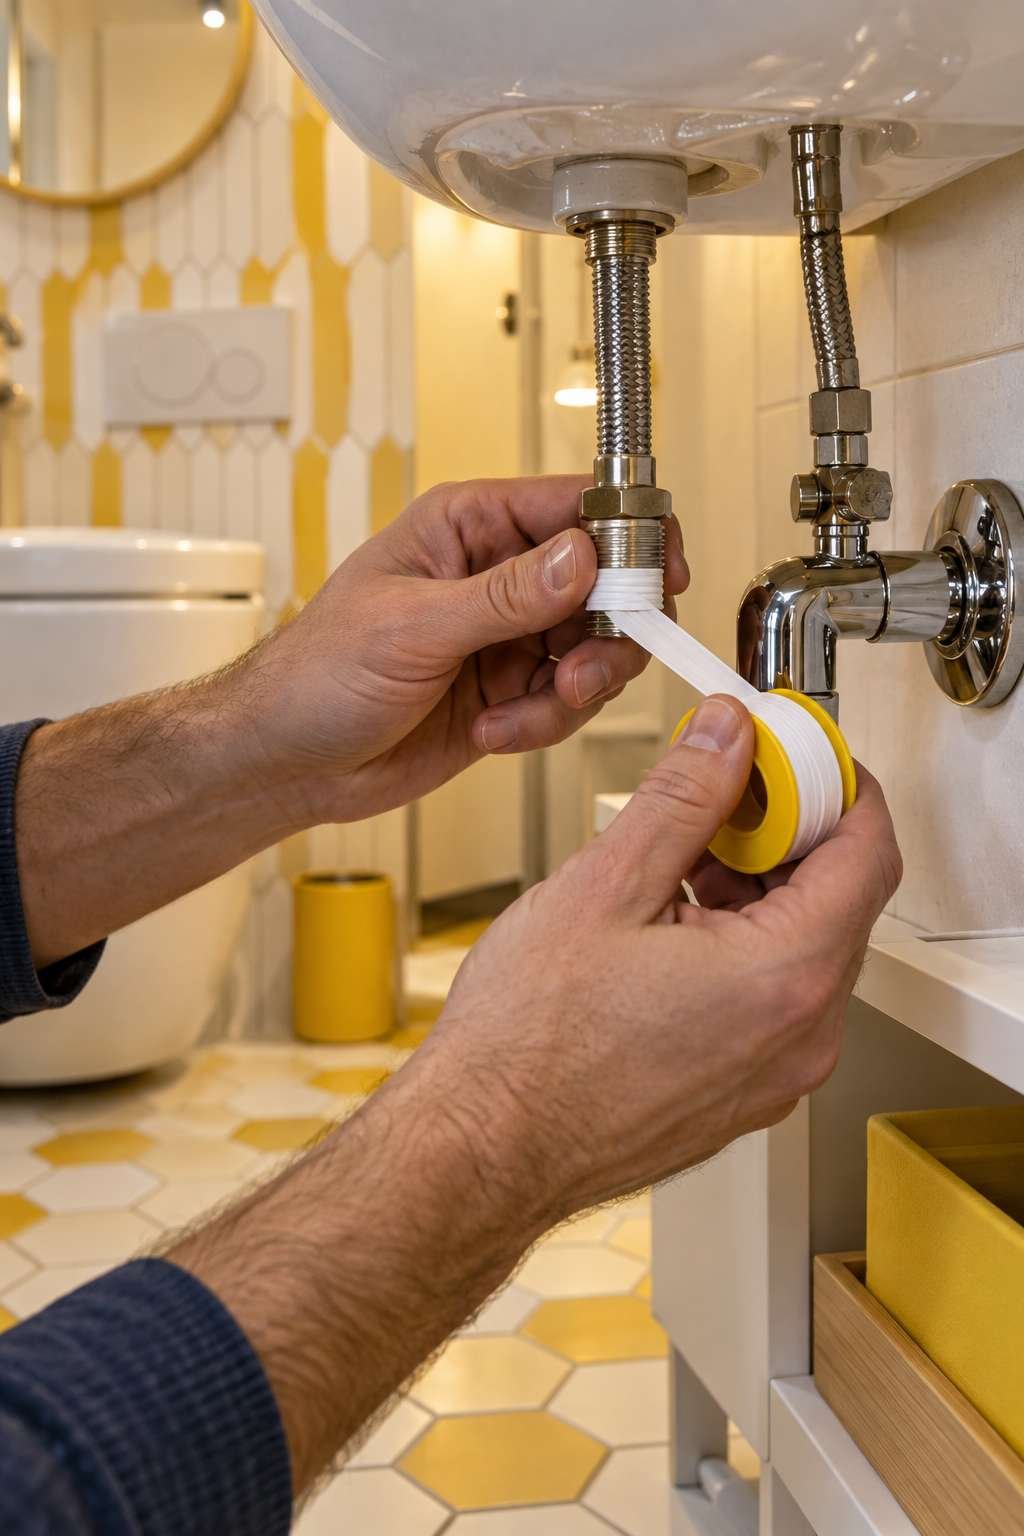
Double-check that hot and cold lines are connected to the correct corresponding valves, since a reversed connection will simply swap which handle controls which temperature.
- Wrap threaded connections with plumber’s tape
- Hand-tighten supply line connections first
- Finish with a quarter-turn using a wrench
- Confirm hot and cold lines match correctly
- Avoid overtightening compression fittings
- Keep a towel handy in case of minor drips
8. Test for Leaks
Once everything is connected, slowly turn the shutoff valves back on and check every connection point for drips or moisture before considering the job finished. Run the faucet on both hot and cold settings for a few minutes, watching closely underneath the sink the entire time.
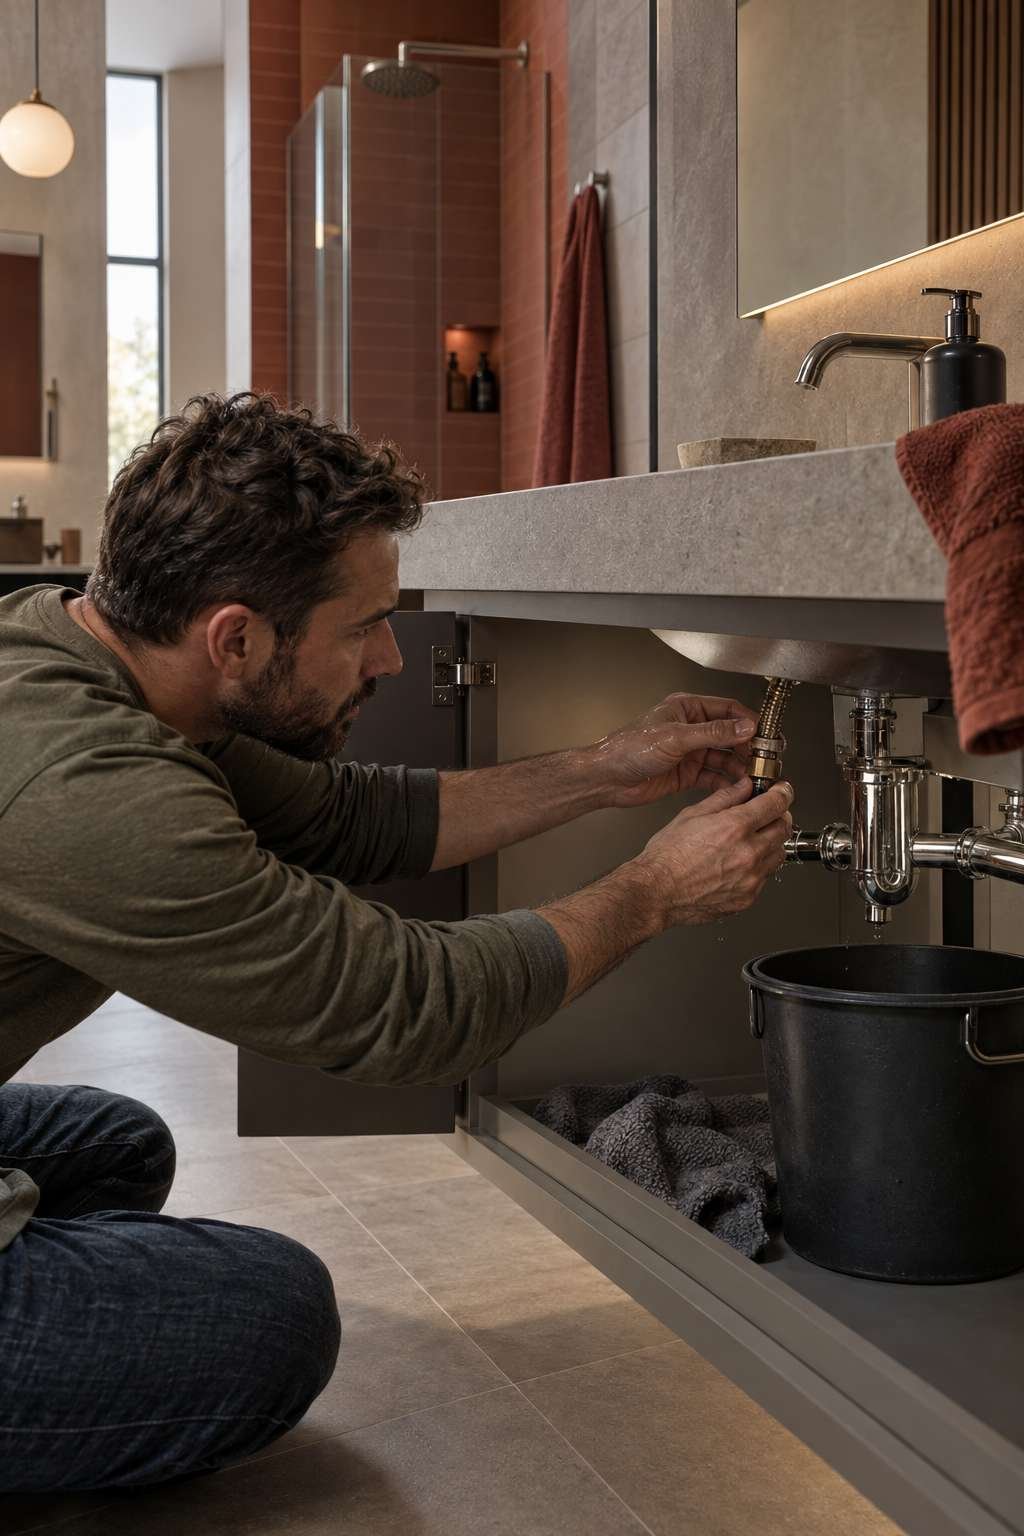
If you spot a leak, tighten the specific connection slightly and recheck, since most post-installation leaks trace back to a fitting that simply needs another partial turn.
- Turn shutoff valves back on slowly
- Check every connection point for drips
- Run hot and cold water for several minutes
- Watch underneath the sink closely during testing
- Tighten any connection showing moisture
- Recheck after adjustments to confirm the leak stopped
9. Common Faucet Types and Installation Differences
Not every bathroom faucet installs the same way, so it helps to know which type you’re working with before you begin. Single-hole faucets are the simplest, mounting through one hole with the handle and spout combined into a single unit. Widespread faucets, by contrast, have separate hot, cold, and spout pieces connected underneath by flexible hoses, requiring more careful alignment during installation.

Center-set faucets fall in between, with a fixed base connecting the handles and spout in one unit but still requiring a specific hole spacing to fit properly.
- Single-hole: simplest, all-in-one installation
- Widespread: separate pieces connected by hoses
- Center-set: fixed base, moderate installation complexity
- Confirm your sink’s hole configuration before buying
- Some center-set faucets need cover plates for extra holes
- Widespread installs typically take the longest overall
10. Troubleshooting Common Installation Problems
Even a careful installation can run into a few common snags worth knowing about in advance. Low water pressure after installation often points to a kinked supply line or a partially closed shutoff valve rather than a problem with the faucet itself. A wobbly faucet base usually means the mounting nut underneath needs another partial turn to fully secure it.
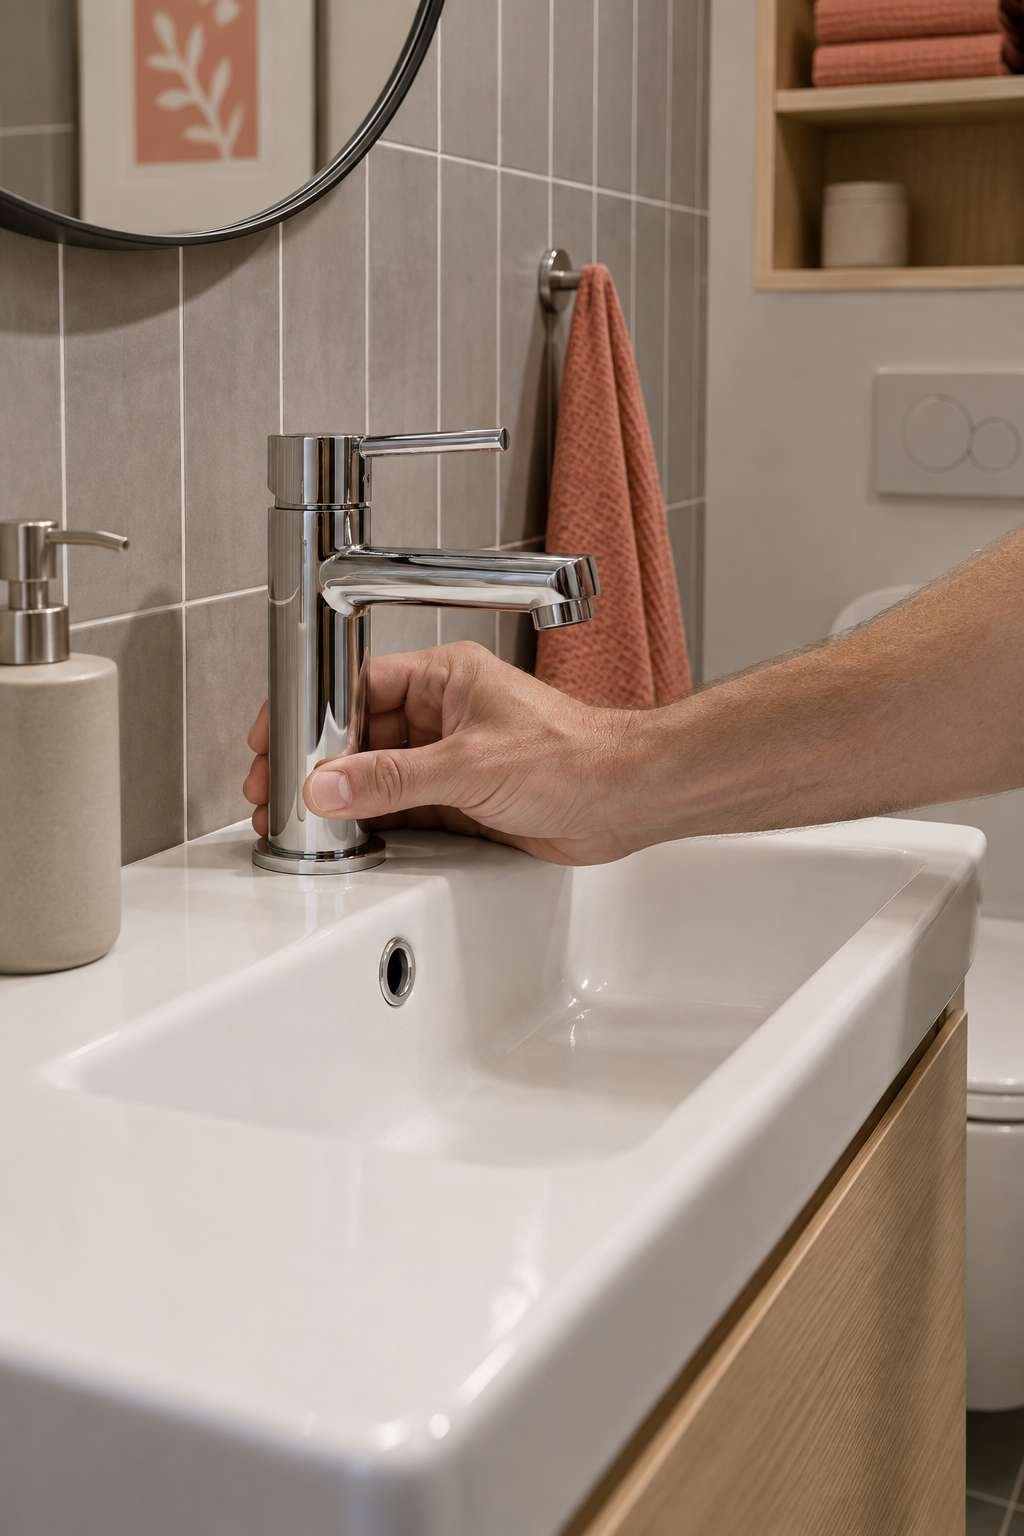
If hot and cold water seem reversed, simply disconnect and swap the two supply line connections at the shutoff valves to correct it.
- Low pressure often means a kinked or restricted line
- Wobbly base needs the mounting nut tightened further
- Reversed hot/cold means supply lines need swapping
- Persistent drips usually trace to one loose connection
- Squeaky handles may need a drop of plumbing-safe lubricant
- When in doubt, recheck every connection methodically
Frequently Asked Questions
How do you replace a bathroom ventilation fan?
Turn off power at the breaker, remove the old fan housing, and disconnect the wiring before installing the new unit in its place. Match the new fan’s wiring configuration to the old one, then secure the housing and restore power to test proper operation.
How do you replace a bathroom cabinet?
Remove the old cabinet by disconnecting any plumbing behind it and unscrewing it from the wall studs, then install the new cabinet using wall anchors or stud screws for stability. Reconnect plumbing carefully and check for a level, secure fit before finishing.
How do you replace a bathroom faucet with 3 holes?
A three-hole faucet setup typically uses a widespread configuration, with separate handles and spout pieces connecting underneath via flexible hoses. Installation follows the same basic steps as a standard faucet swap, with extra attention paid to aligning all three components evenly.
How do you replace a bathroom light?
Turn off power at the breaker first, then remove the old fixture and disconnect its wiring before installing the new light using matching wire connections. Secure the new fixture to the electrical box and restore power to confirm it works properly.
How do you replace a bathroom?
A full bathroom replacement typically involves removing old fixtures, updating plumbing and electrical as needed, and installing new flooring, fixtures, and finishes in sequence. Most full replacements are best handled with professional help due to the plumbing and electrical work involved.
How do you replace bathroom tile?
Remove old tile carefully with a chisel or oscillating tool, then prepare the surface before applying new thin-set mortar and setting fresh tile in place. Allow proper curing time before grouting and sealing the finished surface.
Replacing a bathroom faucet is a manageable project for most homeowners, and the payoff, both in appearance and function, is well worth the afternoon it takes. Taking your time with each connection and testing thoroughly afterward makes the difference between a quick fix and a callback repair.
If this project has you eyeing other bathroom upgrades, guides like how to replace a bathroom sink or how to replace a bathroom vanity are natural next steps that pair well with a fresh new faucet.

