


Soap scum, hard water spots, and grime build up fast in a room that’s used every single day, which is why learning how to clean bathroom tiles properly makes such a noticeable difference. A few smart habits and the right products can turn a dull, streaky bathroom into one that looks freshly renovated, without hours of scrubbing every weekend.

This guide breaks down the easiest, most effective methods for keeping tile surfaces clean, from walls and floors to grout lines that tend to trap the most grime. Whether you’re dealing with years of buildup or just want a faster weekly routine, these steps will help you get there.
1. Why Regular Tile Cleaning Matters
Bathroom tile faces near-constant exposure to moisture, soap residue, and mineral deposits, which is exactly why it dulls and stains faster than tile anywhere else in the home. Left unchecked, buildup doesn’t just look bad; it also creates a surface that’s easier for mould and bacteria to cling to over time.
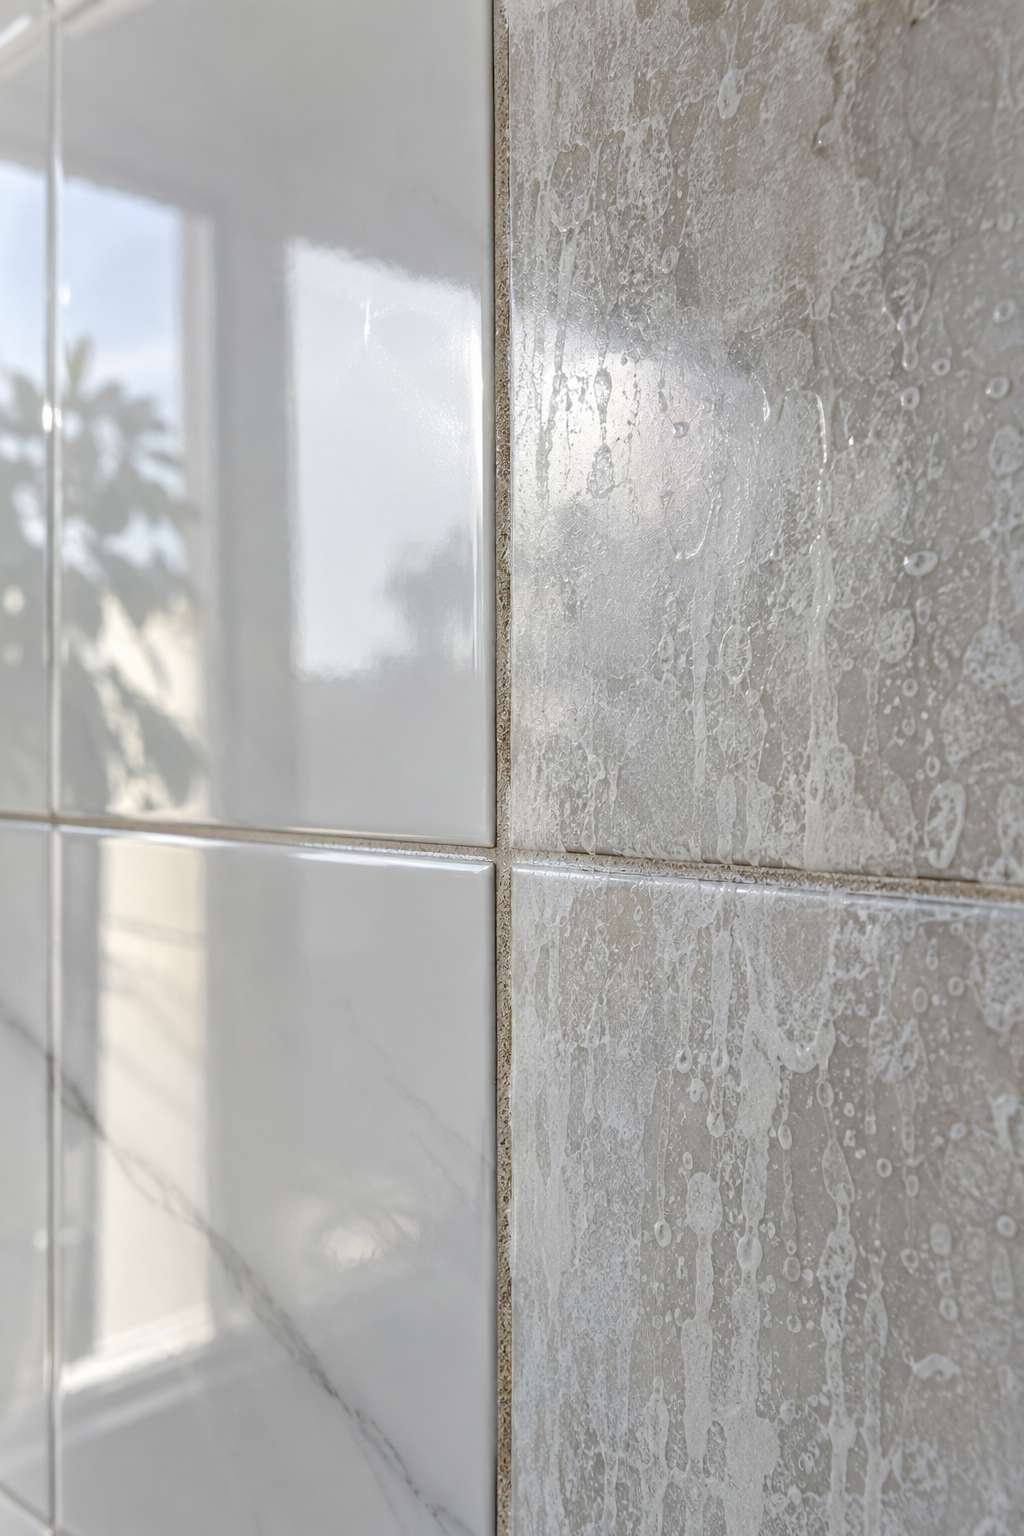
Staying on top of regular cleaning also protects the tile itself, since some cleaning products and mineral deposits can etch or discolor certain finishes if left sitting for too long. A consistent routine keeps both the appearance and the integrity of your tile intact for years.
- Prevents soap scum and mineral buildup from hardening
- Reduces the surface mould and bacteria can grow on
- Protects grout from staining and deterioration
- Keeps glossy tile finishes looking newer longer
- Makes deep cleans faster and less labor-intensive
- Improves overall bathroom air quality and freshness
2. Gather Your Cleaning Supplies
Having the right tools ready before you start makes the entire process faster and far less frustrating. At minimum, you’ll want a microfiber cloth, a soft-bristle scrub brush, a squeegee, and your cleaning solution of choice, whether store-bought or homemade. A grout brush with stiff, narrow bristles is especially useful for getting into tight seams that a regular cloth can’t reach.
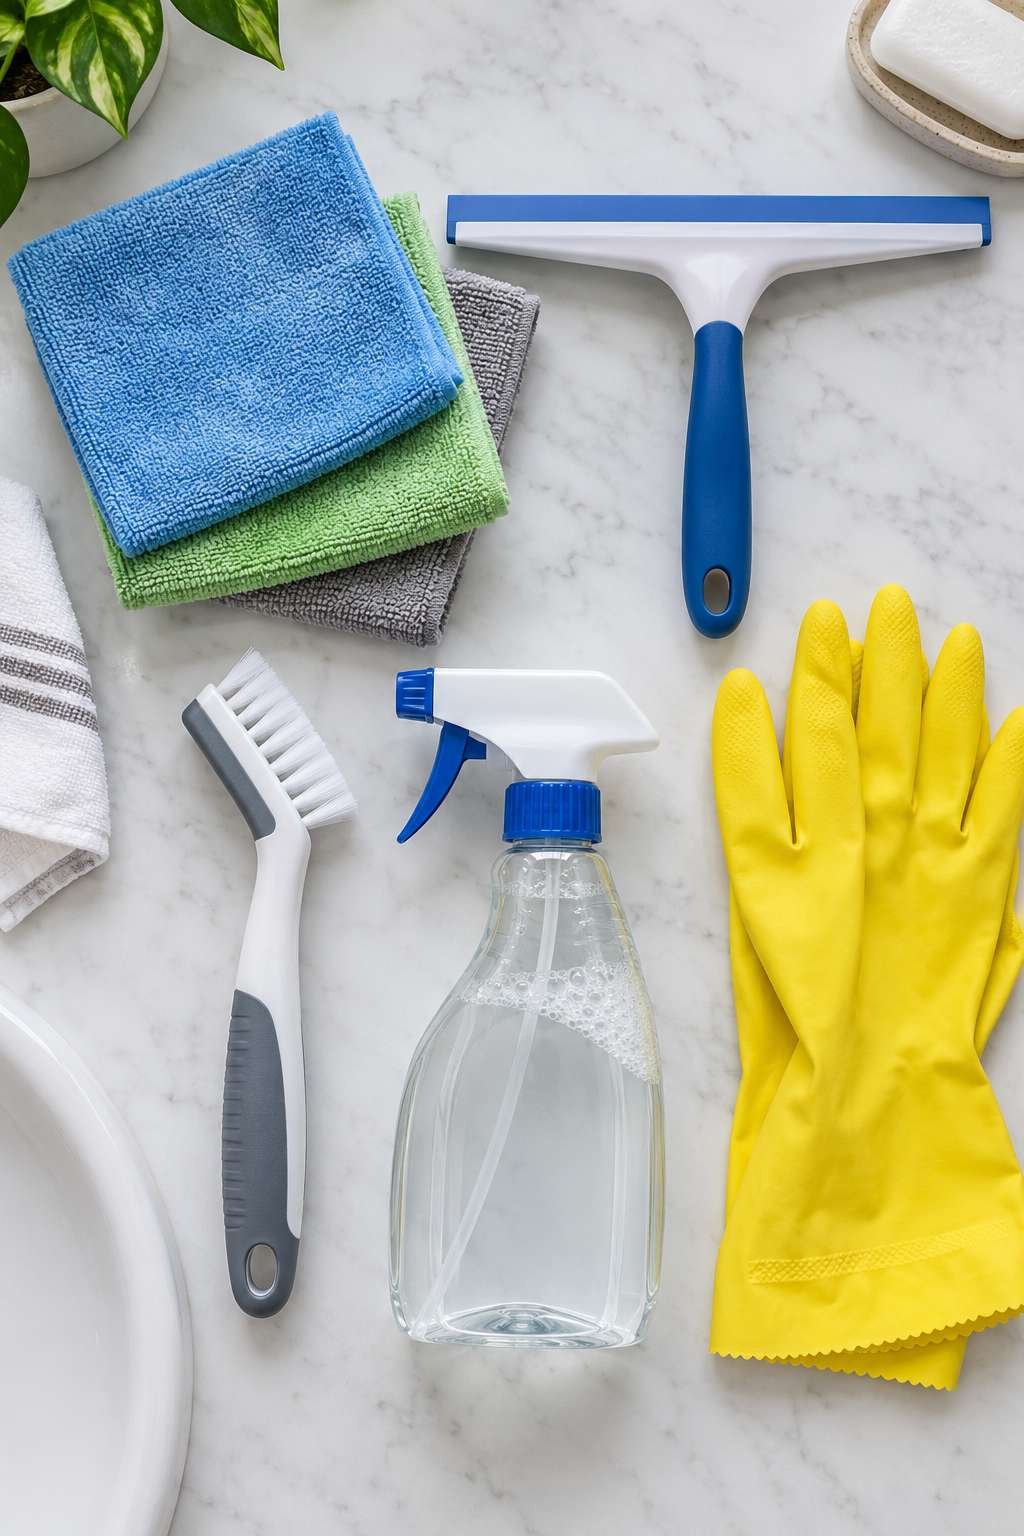
Rubber gloves are worth keeping on hand too, particularly if you’re using stronger commercial cleaners or working with hard water stains that need more scrubbing time.
- Microfiber cloths for streak-free wiping
- Soft-bristle brush for tile surfaces
- Stiff grout brush for narrow seams
- Squeegee for glass and wall tile
- Spray bottle for applying solution evenly
- Rubber gloves for extended cleaning sessions
3. How to Clean Wall Tiles
Wall tiles, especially inside the shower, tend to accumulate soap film and water spots faster than floor tiles due to constant splashing. Start by spraying your cleaning solution generously across the surface, letting it sit for a few minutes to loosen grime before wiping. Work from the top of the wall downward so dirty runoff doesn’t re-soil sections you’ve already cleaned.
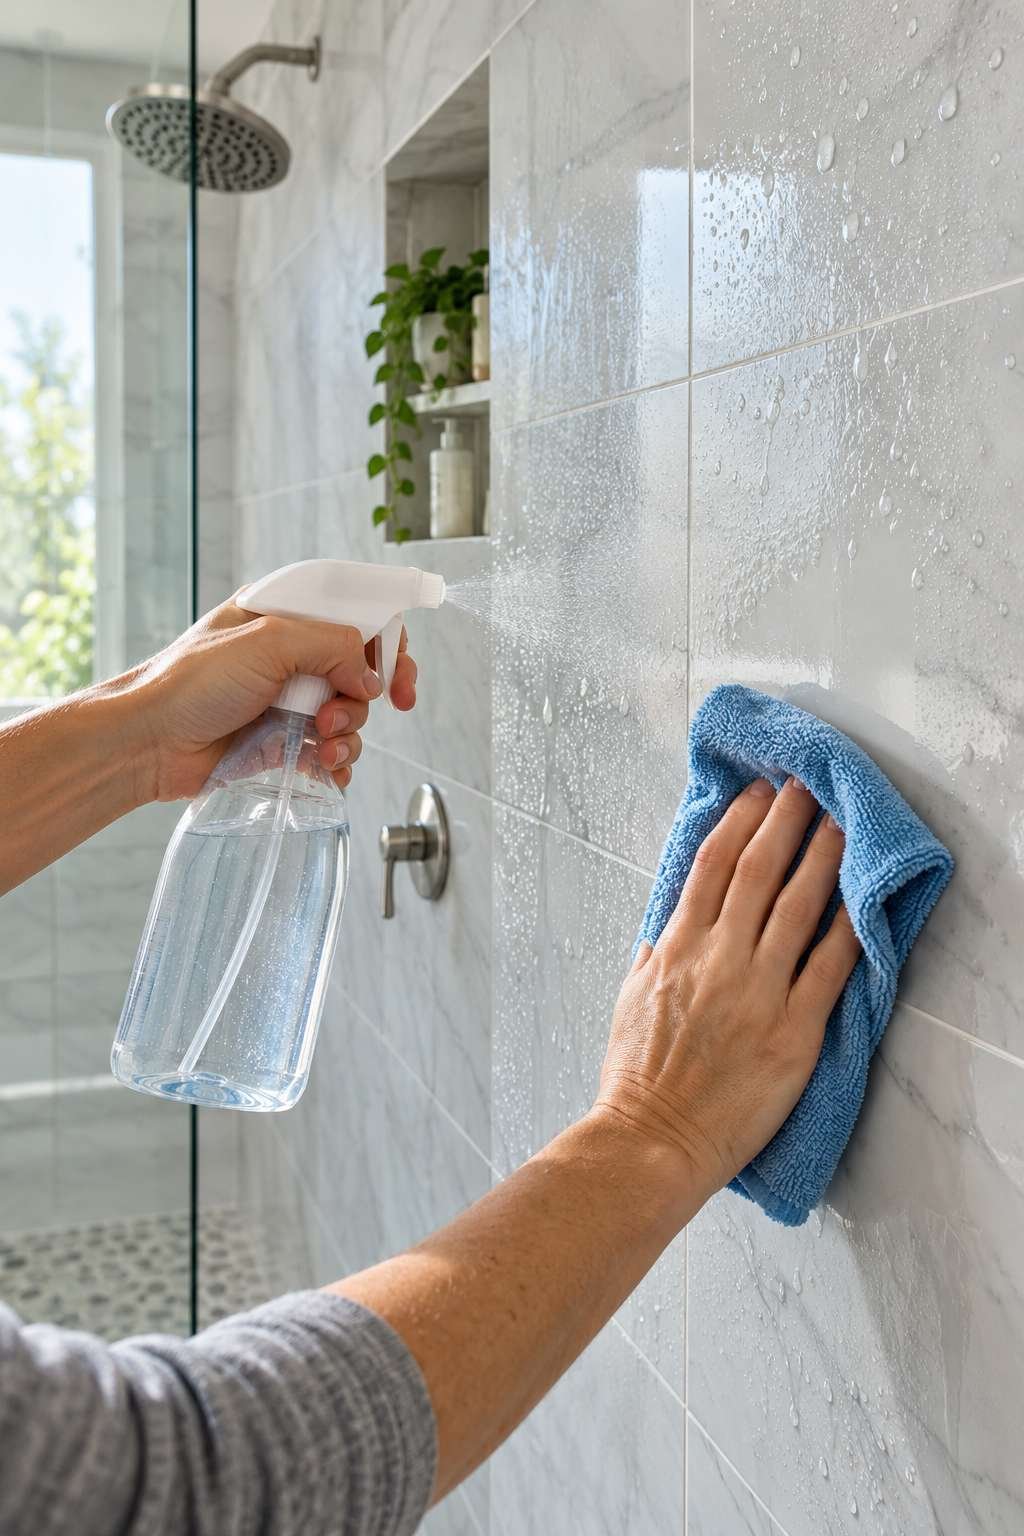
For tiles with a textured or matte finish, a soft brush works better than a cloth alone, since it reaches into small surface variations that trap residue.
- Spray solution and let it dwell before wiping
- Work top to bottom to avoid re-soiling clean areas
- Use a soft brush on textured tile finishes
- Rinse thoroughly to remove leftover residue
- Squeegee glass-adjacent tile to prevent water spots
- Dry with a microfiber cloth for a streak-free finish
4. Removing Soap Scum Buildup
Soap scum forms when soap residue combines with hard water minerals, creating a filmy layer that regular water alone won’t remove. A mixture of dish soap and white vinegar cuts through this buildup effectively, especially when left to sit for several minutes before scrubbing. For particularly stubborn spots, a baking soda paste applied directly to the area adds gentle abrasive power without scratching most tile finishes.
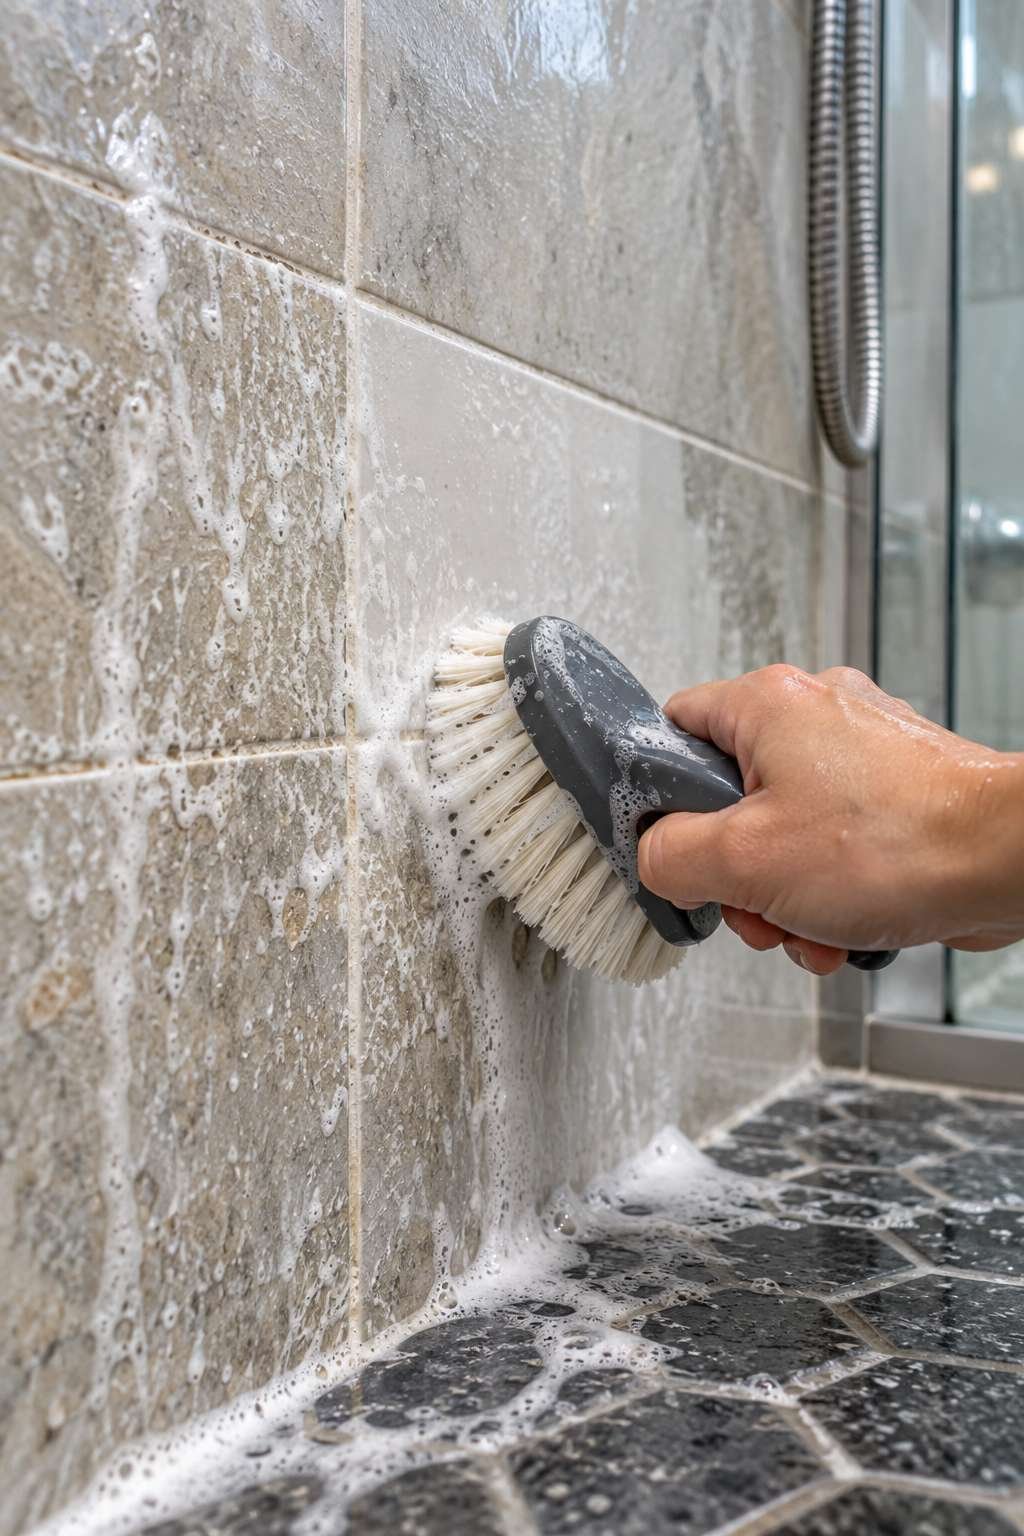
Consistent post-shower squeegeeing is one of the best long-term defenses against scum buildup, since it prevents the film from ever fully hardening in the first place.
- Dish soap and vinegar cuts through soap film
- Baking soda paste tackles stubborn buildup
- Let solution dwell before scrubbing for best results
- Squeegee tile after every shower to prevent buildup
- Rinse thoroughly to avoid residue re-settling
- Focus extra attention on lower wall sections
5. Tackling Hard Water Stains
Hard water stains appear as cloudy white or chalky deposits, most common in homes with high mineral content in their water supply. White vinegar is one of the most effective natural treatments, since its acidity breaks down mineral buildup on contact. For more stubborn stains, a paste of baking soda and vinegar, left to sit for ten to fifteen minutes, often lifts deposits that plain spraying can’t touch.
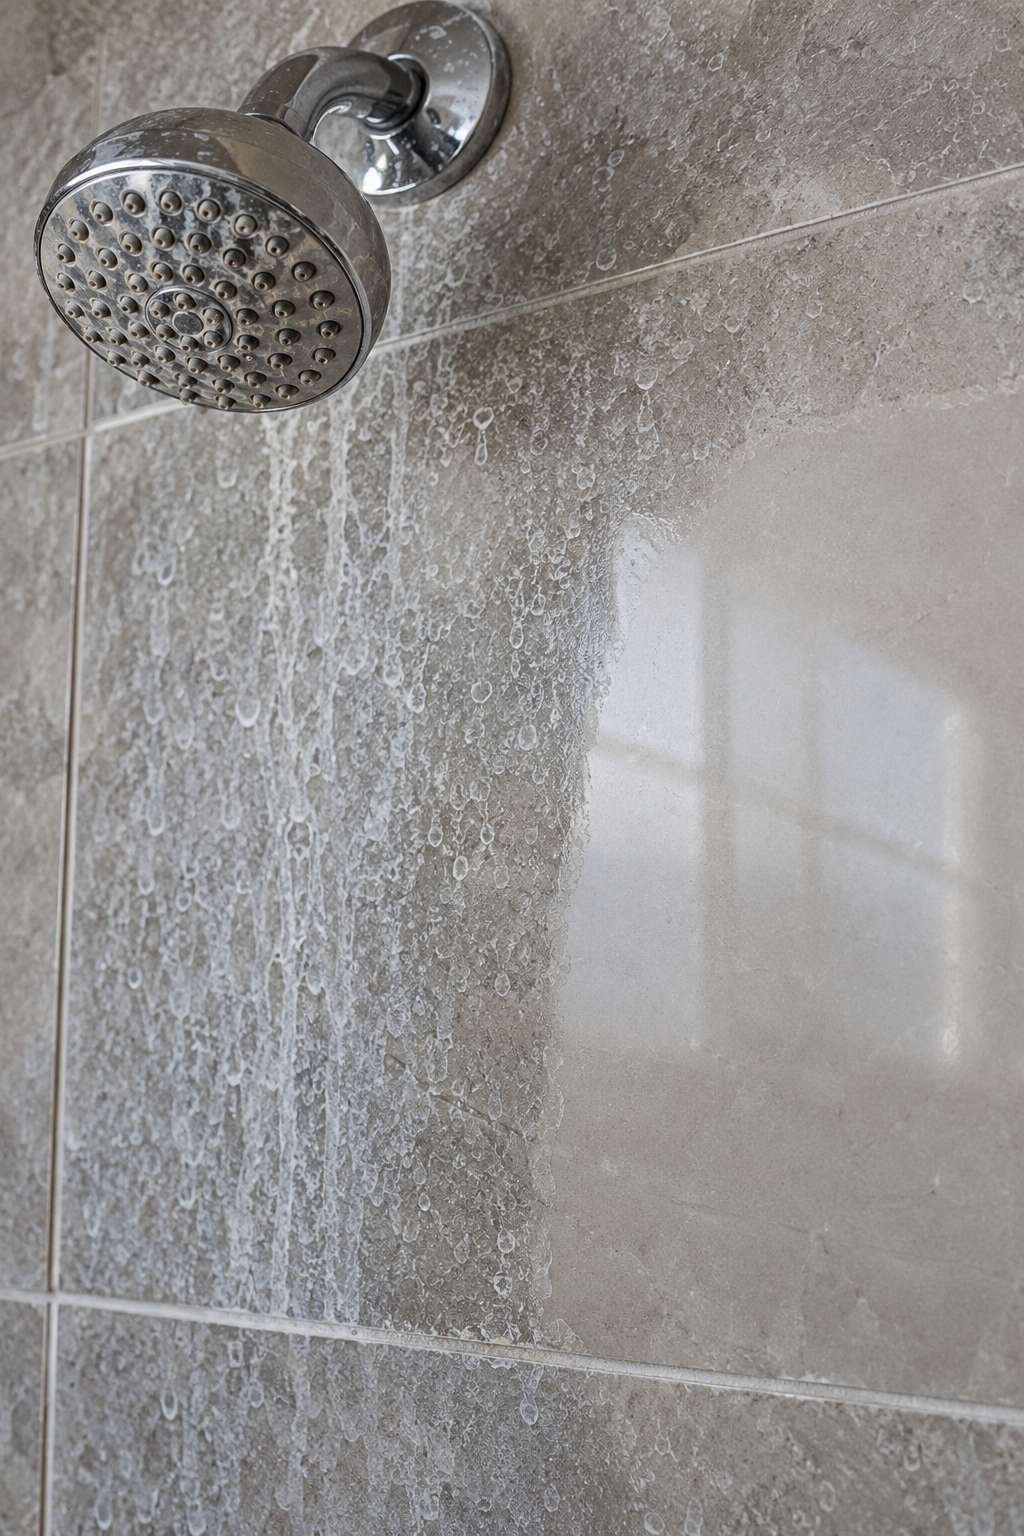
Installing a water softener can reduce how quickly these stains form in the first place, though regular cleaning remains necessary even with softened water.
- Cloudy white deposits indicate mineral buildup
- White vinegar breaks down hard water stains effectively
- Baking soda paste adds extra scrubbing power
- Let treatments dwell before rinsing away
- A water softener slows future stain formation
- Rinse and dry thoroughly to prevent new spotting
6. Natural Cleaning Solutions for Bathroom Tiles
For households that prefer to avoid harsh chemicals, several natural ingredients clean tile surfaces just as effectively as commercial products. White vinegar diluted with water handles general grime and light mineral deposits, while baking soda offers gentle abrasive cleaning power for tougher spots. Combining the two creates a mild fizzing reaction that can help lift buildup from textured or uneven tile surfaces.
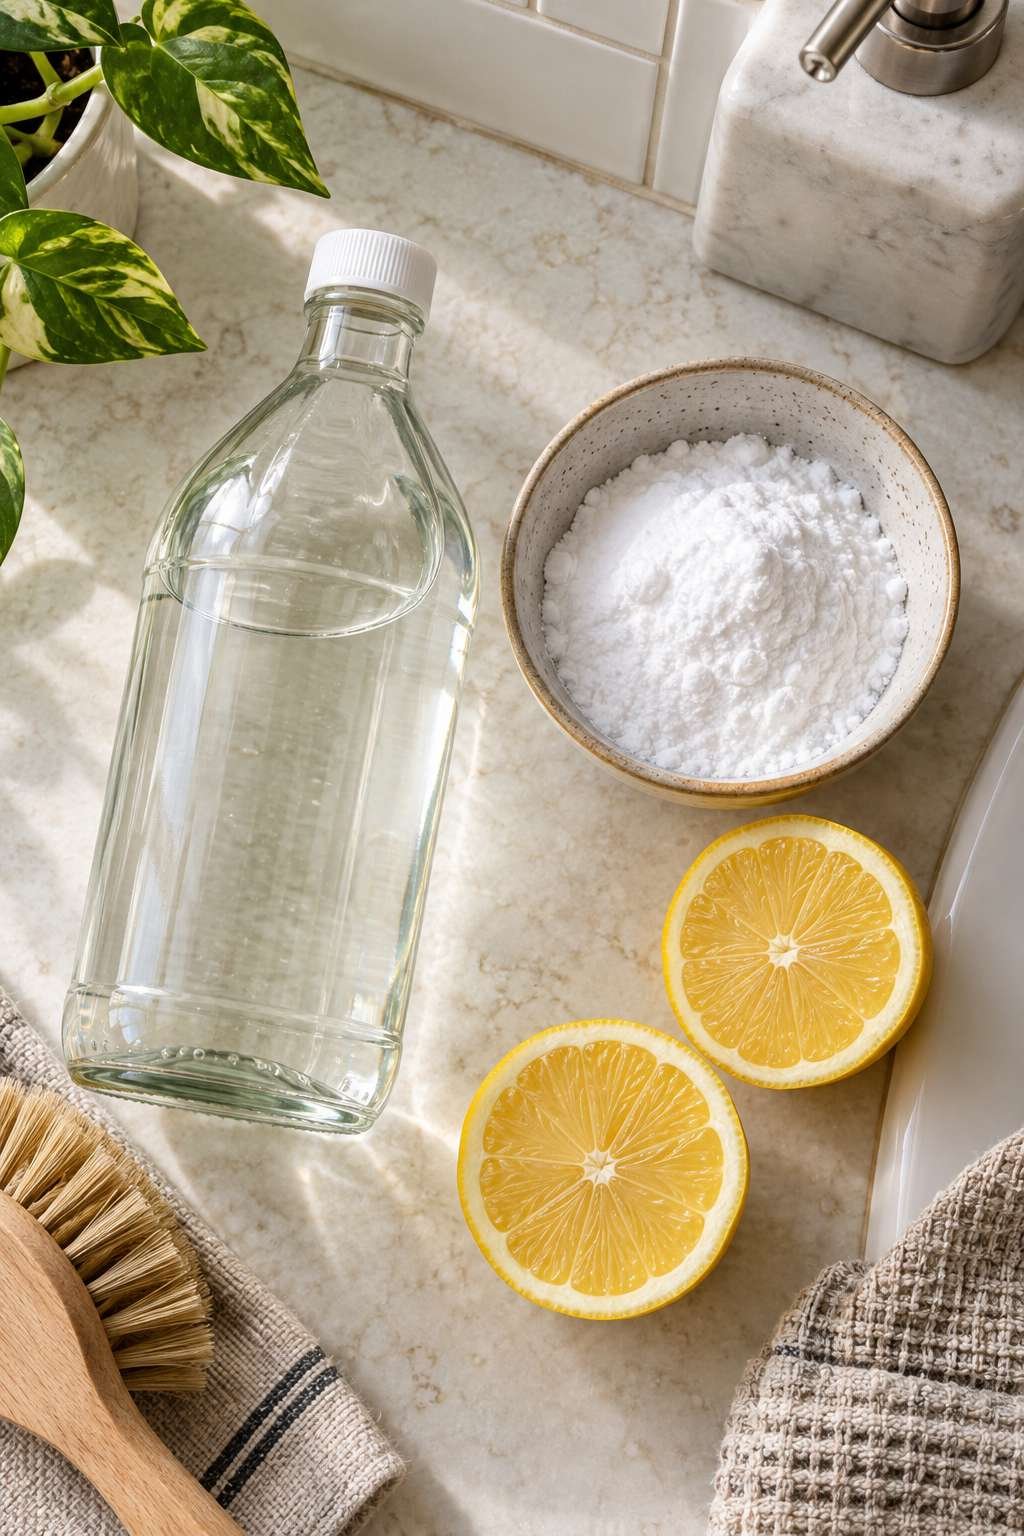
Lemon juice is another natural option, particularly effective on brighter tile colors where vinegar’s smell may be less desirable.
- White vinegar for general grime and mineral spots
- Baking soda for gentle scrubbing power
- Combined vinegar-and-baking-soda paste for tough buildup
- Lemon juice as a fragrant alternative to vinegar
- Castile soap for a gentle, residue-free clean
- Always rinse natural solutions thoroughly after use
7. Commercial Cleaners Worth Trying
Commercial bathroom cleaners are formulated specifically to cut through soap scum, hard water, and mildew faster than most homemade solutions. Products labeled specifically for tile and grout tend to perform best, since general all-purpose cleaners often lack the acidity or enzymes needed for tougher bathroom buildup. Foaming sprays are particularly useful on vertical wall tile, since the foam clings longer and gives the solution more time to work.
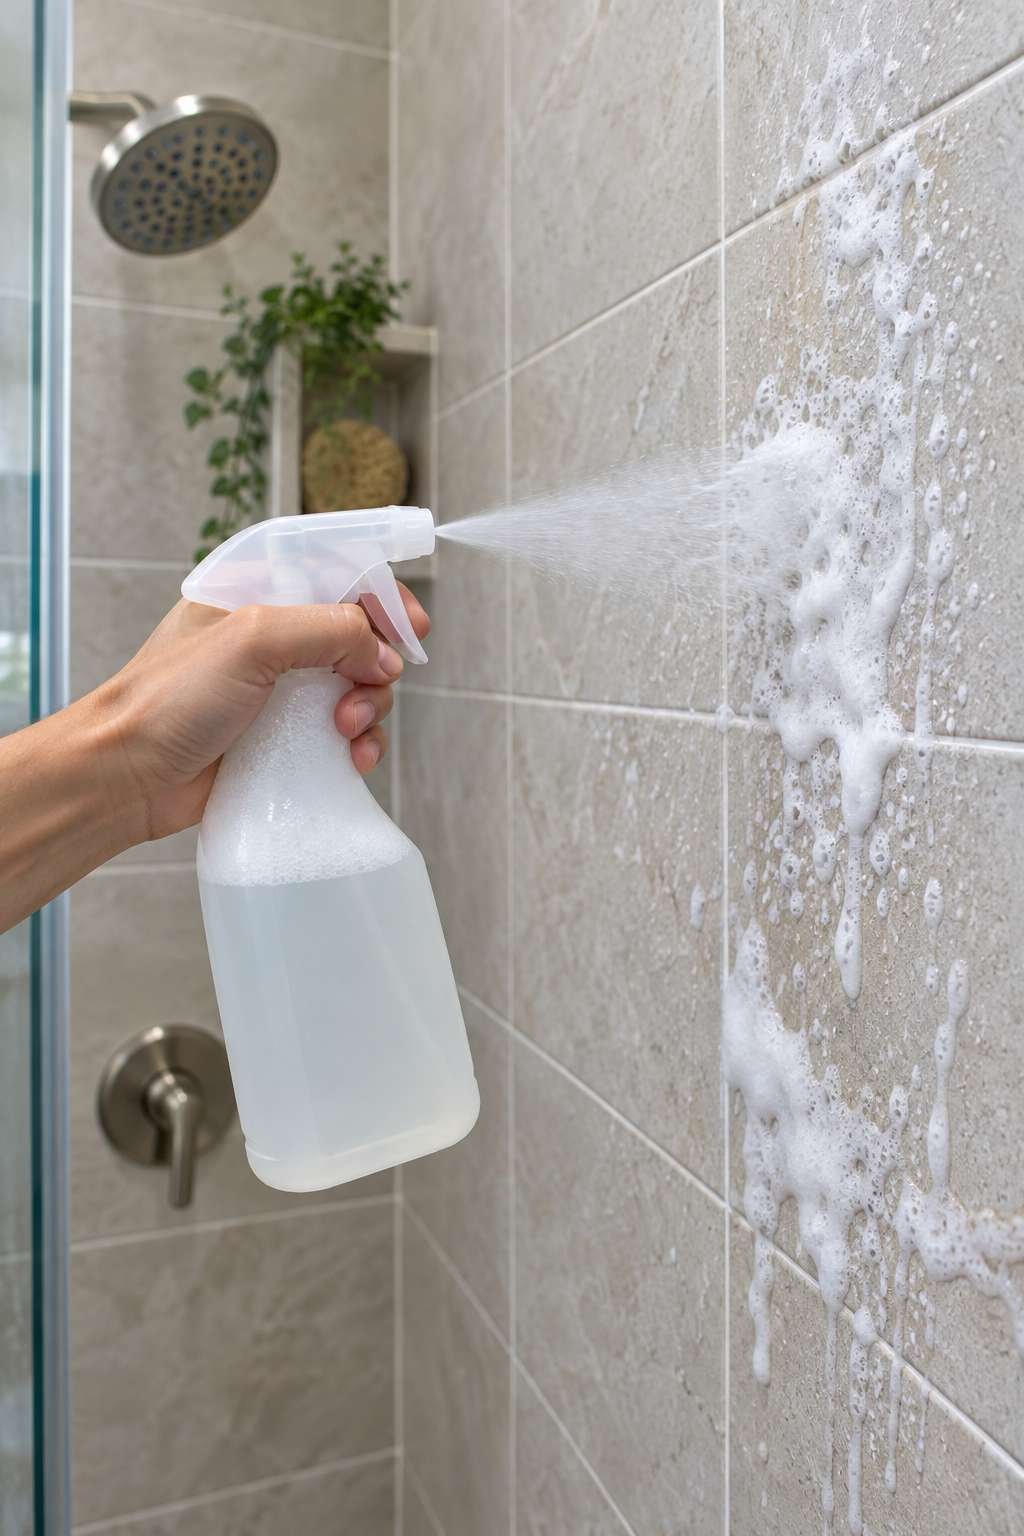
Always check that a product is safe for your specific tile material, since certain acidic cleaners can damage natural stone finishes like marble or travertine.
- Choose cleaners labeled specifically for tile and grout
- Foaming sprays cling better to vertical surfaces
- Enzyme-based cleaners help with organic buildup
- Check compatibility before use on natural stone
- Follow dwell-time instructions for best results
- Rinse thoroughly to avoid chemical residue buildup
8. Cleaning Techniques for Different Tile Materials
Not all tile responds the same way to cleaning products, which makes it worth knowing your specific tile material before choosing a solution. Ceramic and porcelain tile handle most standard cleaners well, including vinegar-based solutions, since they’re non-porous and highly resistant to staining or etching. Natural stone tiles like marble, travertine, or slate require pH-neutral cleaners instead, since acidic products can etch or dull their surface over time.

Glass tile also needs gentler care, since abrasive scrubbing pads can scratch its surface even when the tile itself is quite durable overall.
- Ceramic and porcelain: most standard cleaners work well
- Natural stone: use pH-neutral cleaners only
- Glass tile: avoid abrasive pads and scrubbers
- Textured tile: use a soft brush over a flat cloth
- Test any new product in a small hidden area first
- Reseal natural stone periodically for added protection
9. Preventing Buildup Between Deep Cleans
The easiest way to keep tile looking clean is to prevent heavy buildup from forming in the first place. A quick daily squeegee after showering removes most of the water and soap residue before it has a chance to dry and harden. Keeping a spray bottle of diluted vinegar solution in the shower makes a fast weekly wipe-down far more convenient than digging out full supplies each time.
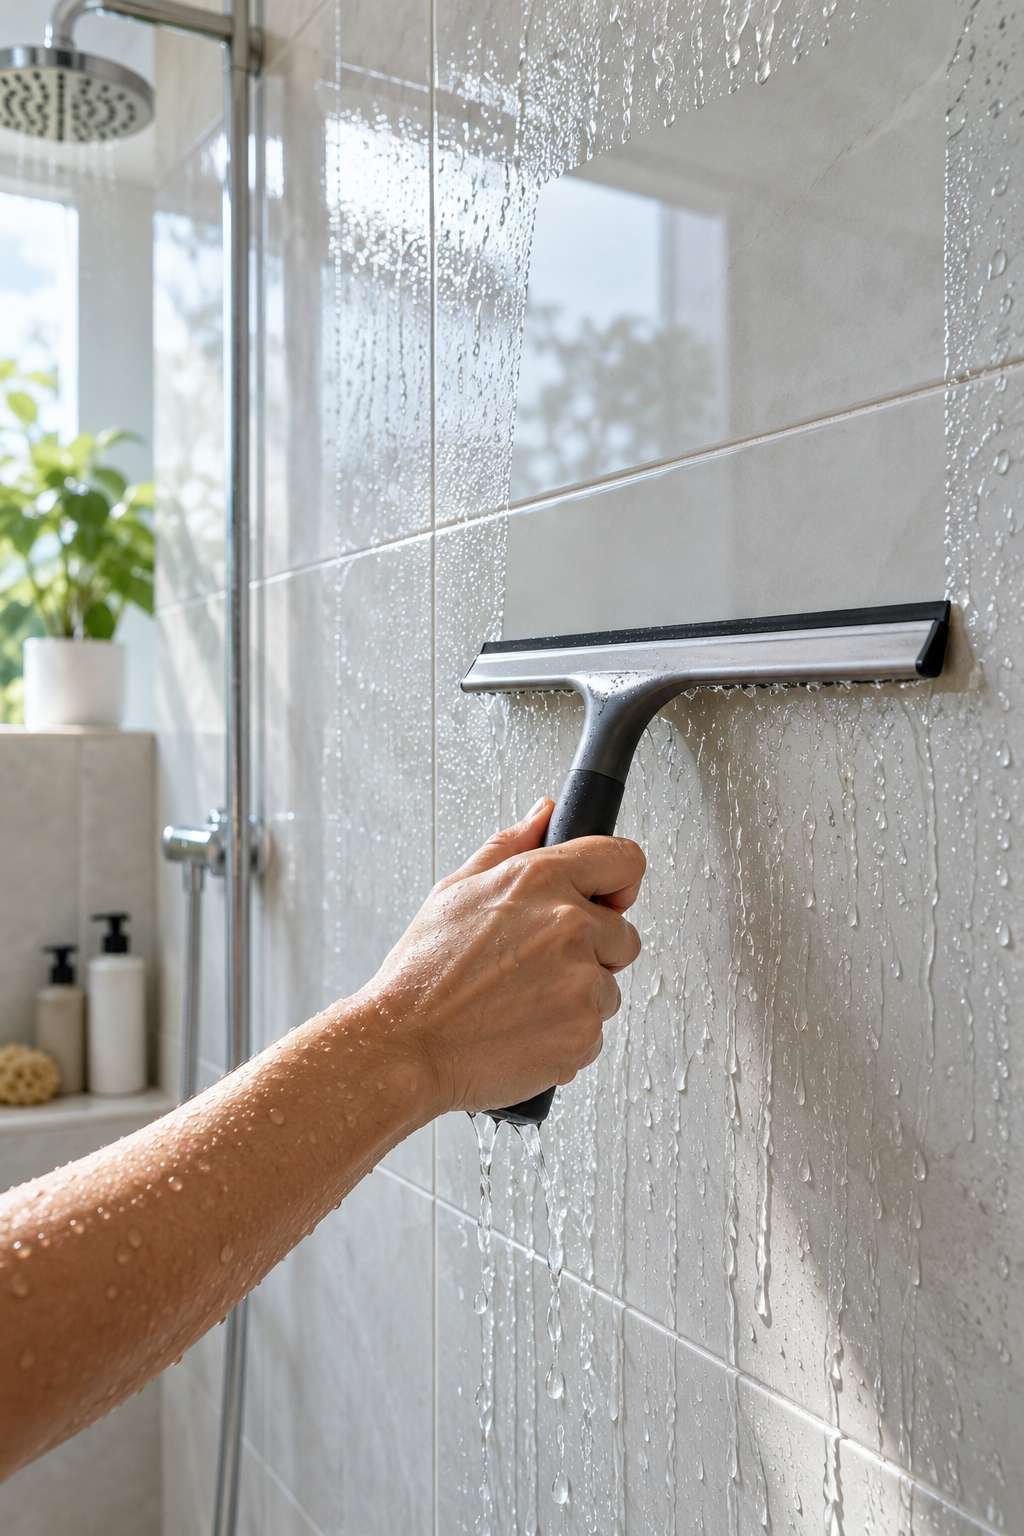
Good ventilation also plays a role here, since faster-drying surfaces give mineral deposits and soap film less time to settle into tile pores and grout lines.
- Squeegee tile after every shower use
- Keep a quick-access spray solution in the shower
- Run the exhaust fan to speed up drying time
- Wipe down high-splash areas weekly
- Address small stains before they set in
- Encourage household members to follow the same routine
10. Deep Cleaning Schedule and Maintenance Tips
Even with good daily habits, a more thorough deep clean every four to six weeks keeps tile and grout looking their best. Use this time to scrub grout lines specifically, check for any early hard water staining, and treat spots that daily maintenance alone hasn’t fully addressed.

Sealing grout annually adds an extra layer of stain resistance, particularly in high-traffic bathrooms where grout takes the most visible wear over time. Pairing a consistent deep-clean schedule with daily upkeep keeps your bathroom tile looking new far longer than either habit alone.
- Deep clean tile and grout every 4-6 weeks
- Reseal grout annually for added stain resistance
- Focus extra attention on high-splash zones during deep cleans
- Address hard water spots before they set permanently
- Keep supplies stocked so deep cleans stay quick
- Combine daily upkeep with scheduled deep cleaning
Keeping bathroom tile clean doesn’t require constant effort once you build the right habits into your routine. Between quick daily squeegeeing, a well-chosen cleaning solution, and a scheduled deep clean every few weeks, most bathrooms can stay looking fresh with surprisingly little ongoing work. If floor-specific grime and grout lines are your biggest challenge, our guides on how to clean bathroom floor tiles and how to clean bathroom tiles and grout dig deeper into those trickier areas.
Start small if the tile hasn’t been deep cleaned in a while, tackling one wall or section at a time rather than the whole bathroom at once. Once you’re caught up, the maintenance habits above make it easy to keep things that way with just a few minutes of upkeep each week.

