


Learning how to deep clean bathroom spaces is one of the most rewarding home projects you can tackle in a single weekend. A bathroom sees more daily wear than almost any other room, from steam and soap scum to toothpaste splatters and hard water spots. When you finally sit down and map out how to deep clean a bathroom from ceiling to floor, the payoff is a space that feels brand new and smells genuinely fresh.
This guide walks through every surface, fixture, and forgotten corner so nothing gets missed. Whether you’re prepping for guests, resetting after a renovation, or simply overdue for a reset, these steps build a repeatable system you can return to every season. We’ll cover everything from grout and grime to mold prevention and final finishing touches.
Along the way, you’ll notice this guide connects to several companion articles on our site that dig deeper into specific tasks. Think of this as your master roadmap, with each linked post offering a closer look at one piece of the puzzle, including our breakdown of how often should you clean your bathroom to keep this deep clean from becoming a rare event.

1. Gather Your Cleaning Supplies and Tools
Before you touch a single surface, take five minutes to stage your supplies in one caddy or bucket. Running back and forth under the sink breaks your momentum and makes the whole project feel longer than it is. A well-stocked kit typically includes an all-purpose cleaner, a dedicated toilet bowl cleaner, glass cleaner, and a grout-safe scrub brush.
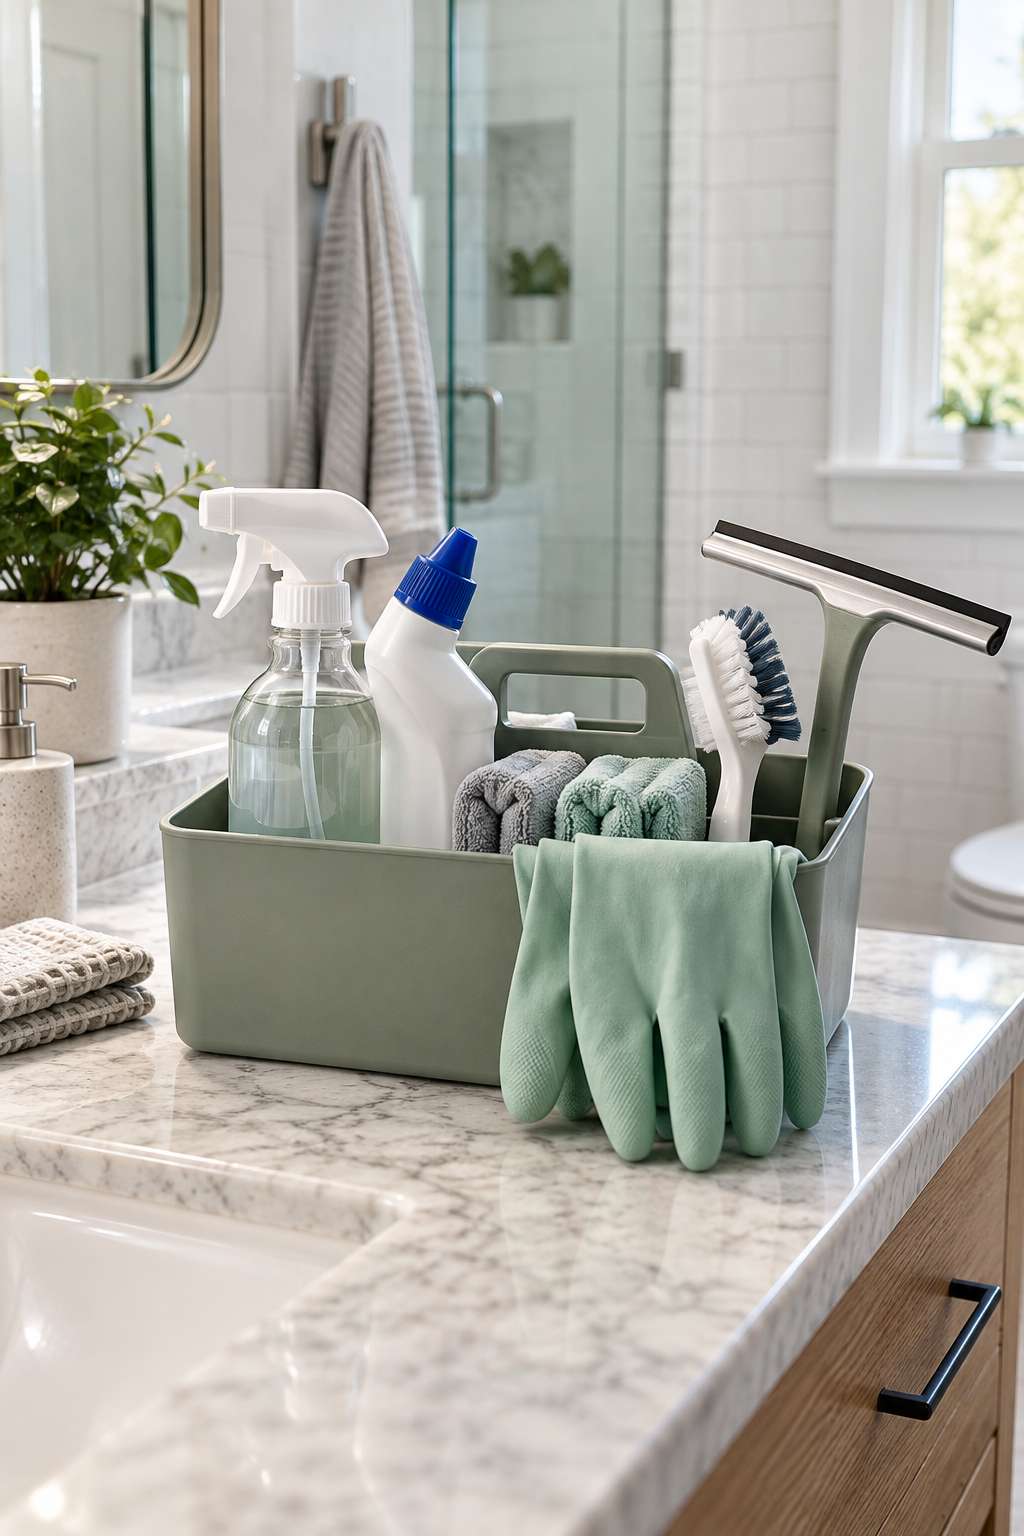
Don’t forget the basics that often get overlooked, like microfiber cloths, rubber gloves, and a small toothbrush for tight seams. Having a squeegee on hand also speeds up glass and tile work significantly. If you want the full rundown on go-to products, our general guide on how to clean bathroom surfaces covers a longer supply list in more detail.
- Stock an all-purpose cleaner and a toilet-specific formula
- Keep several microfiber cloths in rotation to avoid streaking
- Use rubber gloves to protect skin from harsh chemicals
- Grab a squeegee for glass shower doors and mirrors
- Set aside an old toothbrush for grout lines and corners
- Bring a small trash bag to collect debris as you go
2. Clear the Clutter and Prep the Space
A truly effective deep clean starts with an empty countertop. Remove bottles, toothbrush holders, and decorative trays so you can reach every inch of surface without maneuvering around obstacles. This step alone reveals just how much grime accumulates underneath everyday items.

While you’re clearing space, open a window or turn on the exhaust fan to keep ventilation flowing, especially if you’re using stronger chemical cleaners. Good airflow also helps surfaces dry faster once you’re finished, which reduces the chance of new water spots forming immediately after your hard work.
- Remove all products from counters, tubs, and shower shelves
- Toss expired toiletries and empty containers while you’re at it
- Turn on the exhaust fan or crack a window for airflow
- Lay down an old towel to catch drips near the tub
- Group cleaning products by surface type before you start
- Set a timer to keep the prep phase short and focused
3. Tackle the Toilet From Top to Bottom
The toilet deserves its own dedicated pass rather than a quick wipe. Start at the tank lid and work downward, spraying cleaner across the exterior, hinges, and base where dust and splashes collect unnoticed. These areas are frequently skipped during routine cleaning but make a huge visual difference once addressed.
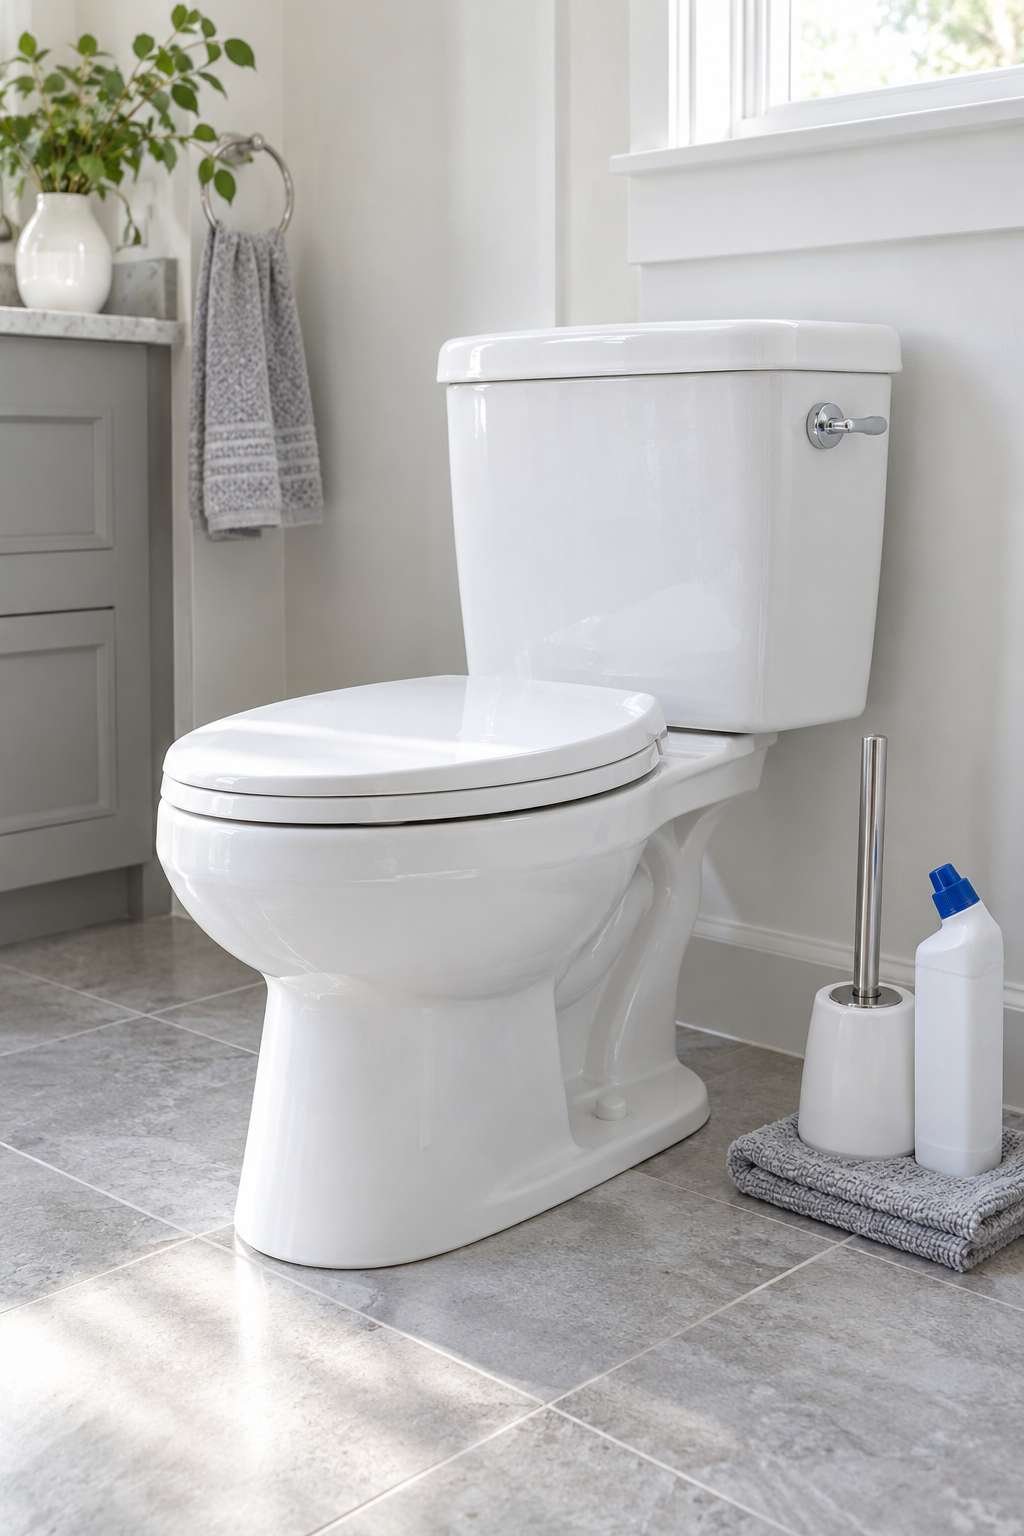
Inside the bowl, apply a toilet bowl cleaner and let it sit for several minutes before scrubbing with a stiff brush, paying close attention to the rim and waterline ring. Finish by wiping down the seat, lid, and flush handle with a disinfecting cloth, since these are among the most frequently touched surfaces in the entire home.
- Spray and wipe the tank, lid, and base thoroughly
- Let toilet bowl cleaner sit before scrubbing the rim
- Scrub the waterline ring with a stiff-bristled brush
- Disinfect the seat, lid, and flush handle last
- Check the base and floor bolts for hidden grime
- Replace the brush holder liner if yours has one
4. Deep Clean the Shower and Tub
Soap scum and hard water buildup make the shower one of the toughest areas to tackle, which is why it deserves extra time. Apply a bathroom cleaner spray generously across walls, the tub floor, and any built-in shelving, then let it sit to break down residue before you start scrubbing.

For stubborn buildup, a mix of baking soda and water forms a gentle abrasive paste that lifts grime without scratching most surfaces. Rinse thoroughly and finish glass doors with a squeegee to prevent new spots from forming as the water dries.
- Let cleaner sit for several minutes before scrubbing
- Use a baking soda paste on stubborn soap scum
- Scrub grab bars, shelves, and corner caddies too
- Squeegee glass doors immediately after rinsing
- Replace worn shower curtain liners if heavily stained
- Check the showerhead for mineral buildup and clogs
5. Scrub Grout and Tile Surfaces
Grout lines trap dirt and moisture in ways that flat tile never does, which is why they need targeted attention. A grout brush with stiff, angled bristles works best for getting into narrow seams without damaging the surrounding tile finish.
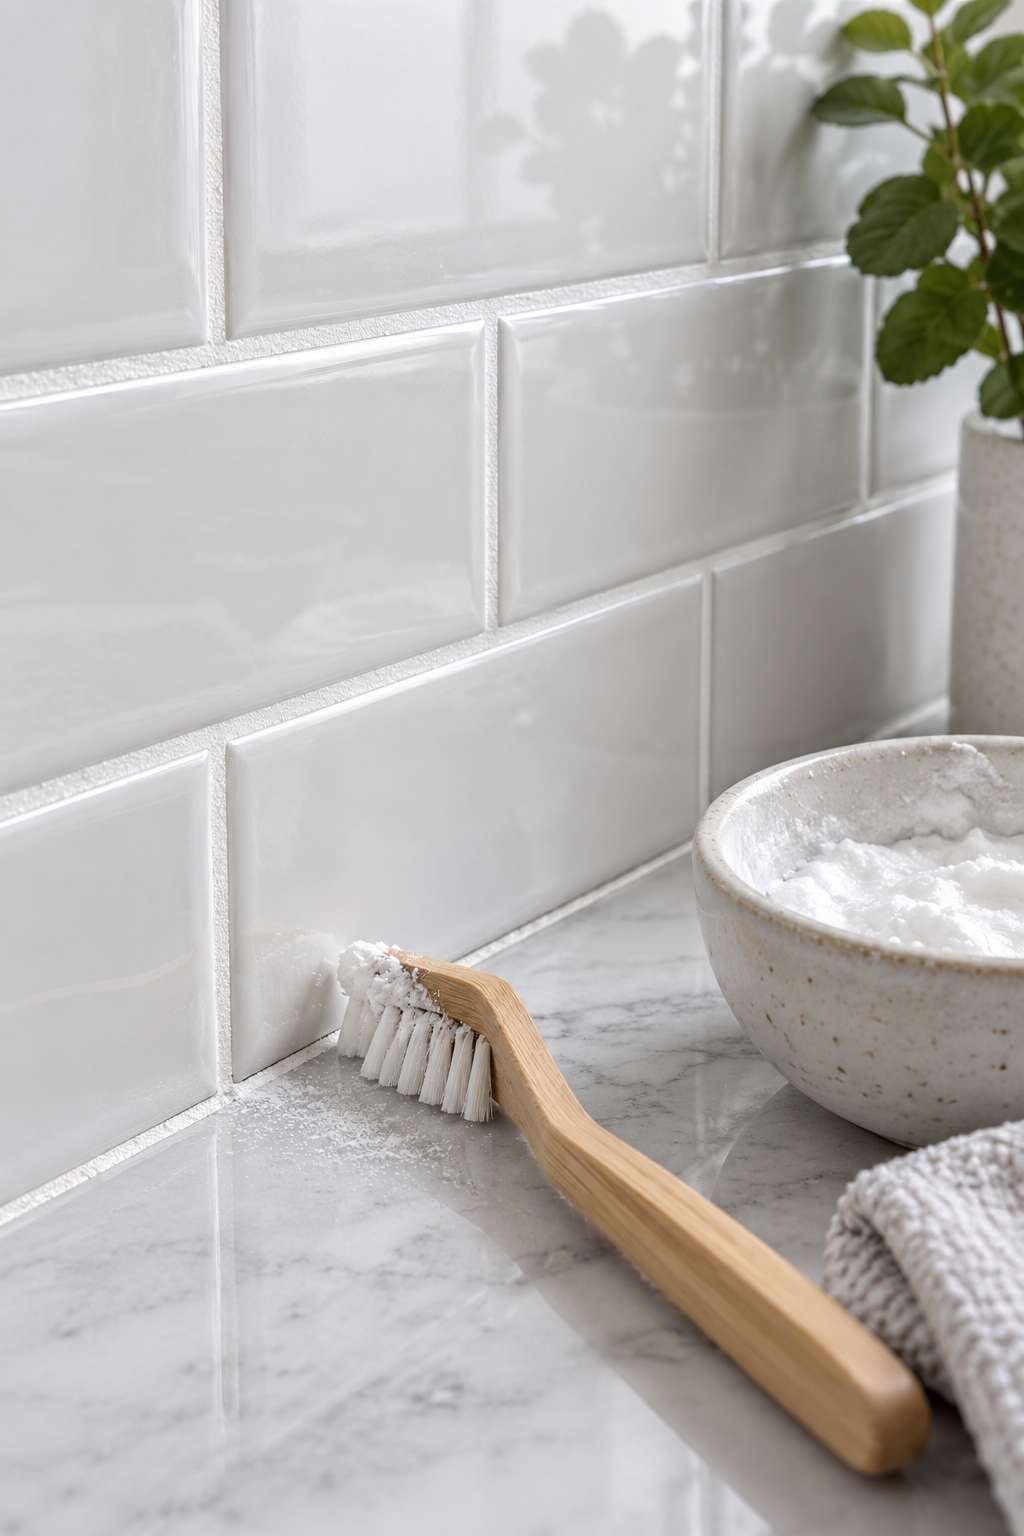
For discolored or moldy grout, a paste of baking soda and hydrogen peroxide can lighten stains significantly over a few applications. Work in small sections, rinsing as you go, so the paste doesn’t dry onto the tile and become harder to remove than the original stain.
- Apply grout paste and let it sit ten minutes
- Scrub in small circular motions with an angled brush
- Rinse each section before moving to the next
- Reapply sealant once grout is fully dry, if needed
- Focus extra effort on shower floor grout lines
- Avoid abrasive tools on colored or textured grout
6. Clean the Sink, Faucet, and Countertop
The sink area handles constant use, so mineral deposits and toothpaste splatter build up faster than most people realize. Start by wiping down the countertop with an all-purpose cleaner, then move to the basin itself, working cleaner into any visible rings or discoloration.
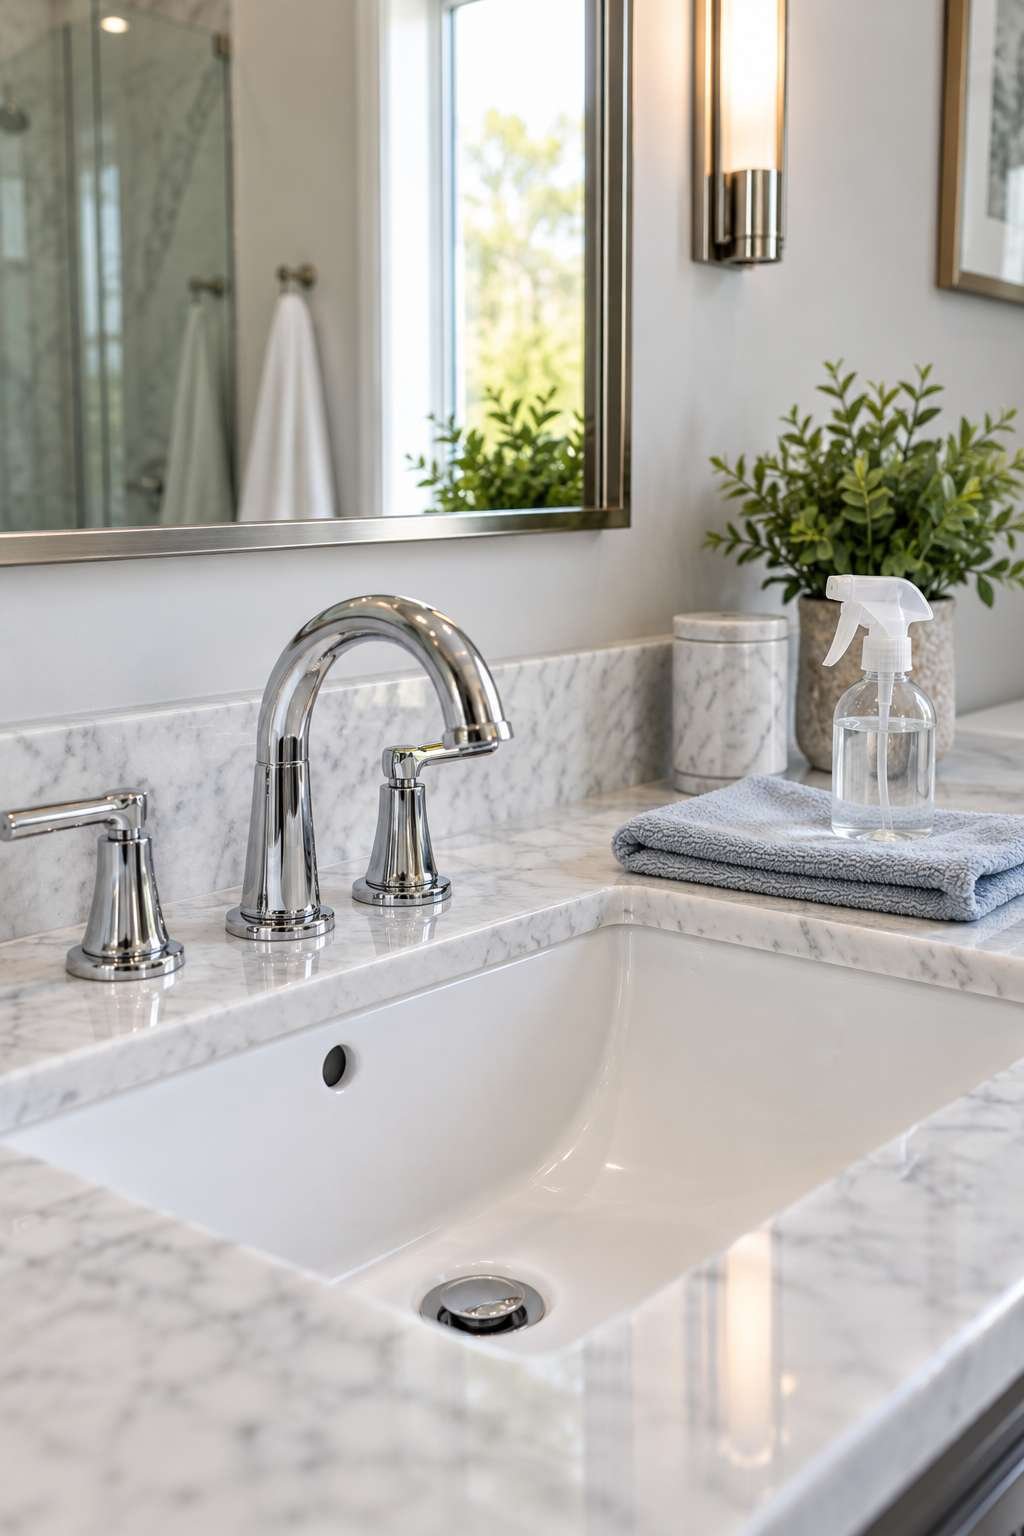
The faucet often gets overlooked, but hard water leaves a chalky film around the base and spout that a simple vinegar soak can dissolve. Wrap a vinegar-soaked cloth around the fixture for ten minutes before wiping it clean. For a full walkthrough dedicated to this fixture, our guide on how to clean bathroom sink areas covers additional tricks for stubborn stains.
- Wipe the countertop before moving to the basin
- Soak the faucet base in vinegar for mineral buildup
- Clean the drain stopper and surrounding ring separately
- Polish chrome fixtures with a dry microfiber cloth
- Check under the sink for leaks while you’re there
- Replace old soap dispensers or worn-out sponges
7. Wash Bathroom Walls and Fixtures
Walls collect splash marks and dust that rarely get addressed during a quick weekly wipe-down. Starting near the ceiling and working downward prevents drips from landing on sections you’ve already cleaned, saving you from doubling back unnecessarily.
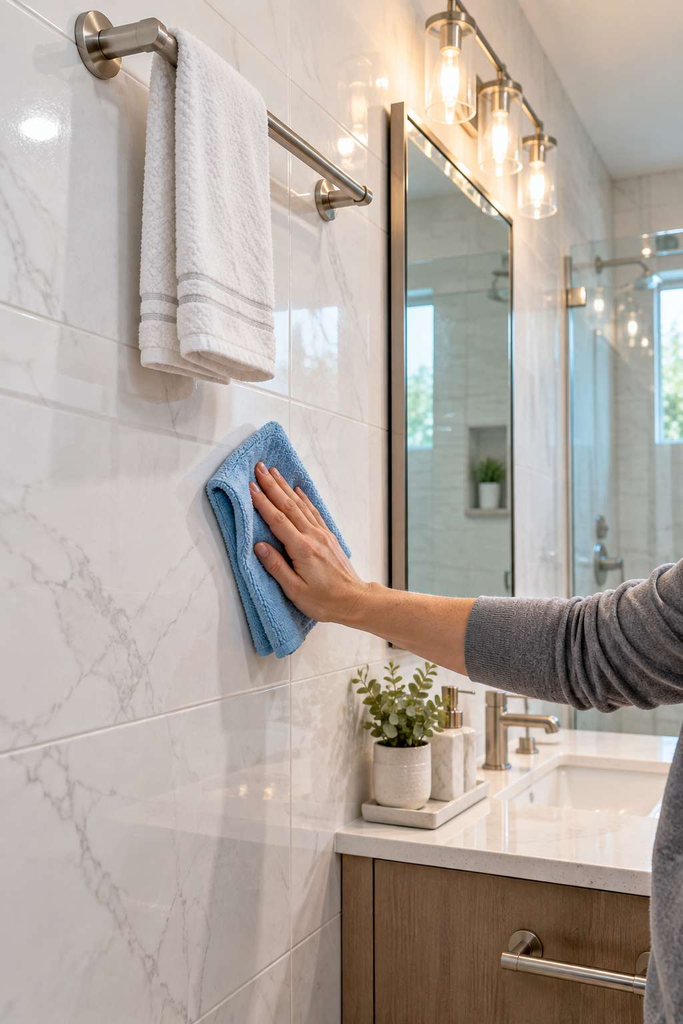
Light fixtures and exhaust fan covers accumulate dust surprisingly fast in a humid room, so give them a gentle wipe or vacuum pass as part of this step. If your fan cover looks especially dusty, our dedicated post on how to clean bathroom ceiling fan components walks through a safer removal and cleaning process.
- Work top to bottom to avoid re-cleaning drips
- Wipe switch plates and door handles with disinfectant
- Dust or vacuum exhaust fan covers carefully
- Spot-check walls near the shower for splash residue
- Wipe down towel bars and hooks thoroughly
- Clean any wall-mounted mirrors with glass cleaner
8. Address Mold and Mildew Problem Areas
Mold thrives in the damp corners of a bathroom, particularly around caulk lines, window sills, and behind toilets where air circulation is limited. Catching it early keeps a minor spot from becoming a stubborn, deeply set stain that’s far harder to remove.
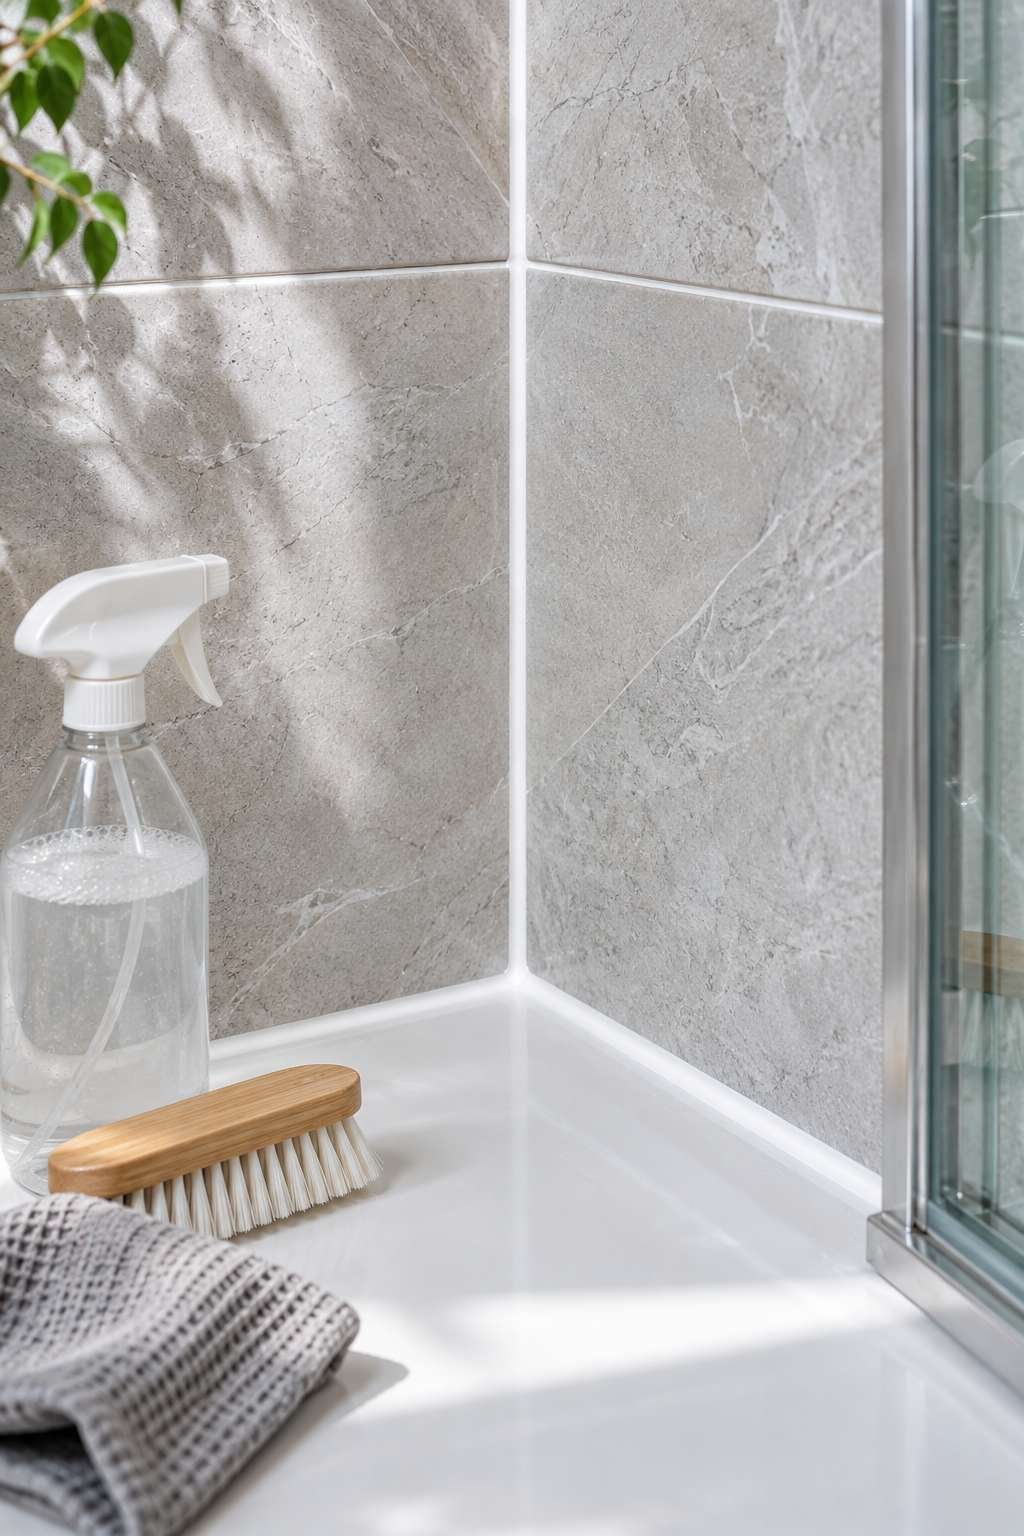
A diluted bleach solution or a dedicated mold and mildew remover works well on caulk and grout, but always ventilate the room and avoid mixing products. Reapply as needed for darker stains, and consider replacing caulk entirely if discoloration keeps returning despite repeated cleaning attempts.
- Ventilate the room before using any mold treatment
- Apply remover directly to caulk lines and let sit
- Scrub gently with a soft brush to avoid damage
- Check behind the toilet and under the sink too
- Replace caulk if mold keeps returning each season
- Run the exhaust fan longer after future showers
9. Clean the Floor and Baseboards
Floors take the brunt of splashes, hair, and tracked-in dirt, so a thorough mop pass should come near the end of your deep clean. Sweep or vacuum first to remove loose debris, then mop with a cleaner suited to your specific flooring material, whether that’s tile, vinyl, or laminate.
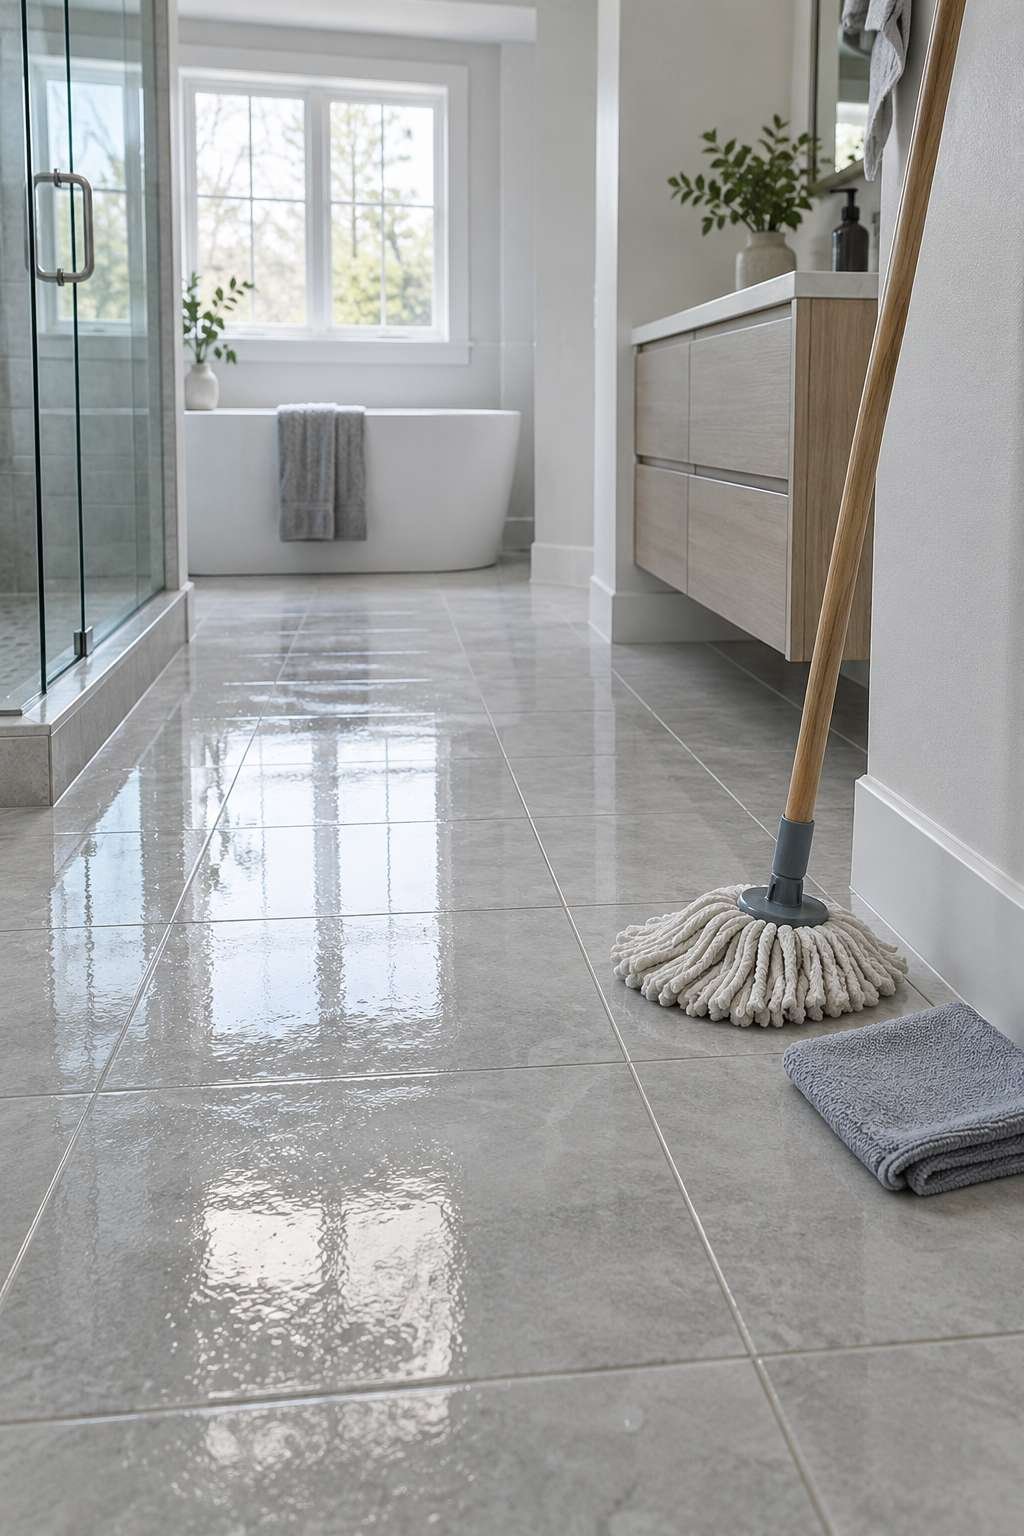
Baseboards are easy to forget but collect a surprising amount of dust and grime along the bottom edge. A damp microfiber cloth run along each baseboard finishes the room with a noticeably crisper, more polished look than most people expect.
- Sweep or vacuum before mopping to lift loose debris
- Match your mop solution to your flooring type
- Wipe baseboards with a damp microfiber cloth
- Pay extra attention to corners near the toilet
- Let the floor air dry with the fan running
- Add a fresh bath mat once the floor is dry
10. Freshen Rugs, Towels, and Final Touches
Soft textiles hold onto moisture and odor more than any hard surface, so they need their own finishing pass. Bathroom rugs should be shaken out and either machine washed or spot cleaned depending on their material, and our post on how to clean bathroom mats covers care instructions for different rug types in more depth.

Swap out towels for freshly laundered ones and restock essentials like soap and toilet paper once every surface is dry. This final styling step is what makes the room feel genuinely finished rather than simply scrubbed.
- Shake out and wash rugs according to their care label
- Replace towels with a freshly laundered set
- Restock soap, toilet paper, and tissue as needed
- Add a small air freshener or diffuser if desired
- Do a final walk-through to check for streaks
- Set a reminder for your next deep clean date
Frequently Asked Questions
How do you clean a bathroom drain?
Start by removing visible hair and debris by hand or with a drain tool, then flush with hot water. A baking soda and vinegar combination poured down the drain, left for fifteen minutes, and rinsed with more hot water helps clear lighter clogs and odors effectively.
How do you clean bathroom grout?
Apply a paste of baking soda and hydrogen peroxide directly onto grout lines and let it sit for about ten minutes. Scrub with an angled grout brush in small circular motions, then rinse thoroughly. Repeat for heavily stained areas over several cleaning sessions.
What’s the best way to clean bathroom tile?
Wipe down tile with a general bathroom cleaner spray, focusing on one wall or section at a time. For soap scum buildup, a baking soda paste works well on textured surfaces. Always rinse completely and squeegee glass or glossy tile to prevent new spotting.
How do you clean bathroom rugs properly?
Check the care label first, since many bathroom rugs are machine washable on a gentle cycle with cold water. Shake out loose debris before washing, and air dry rather than using high heat, which can break down rubber-backed rug materials over time.
What’s the correct way to clean a bathroom floor?
Sweep or vacuum first to remove loose hair and dust, then mop using a cleaner matched to your flooring material. Tile, vinyl, and laminate each respond differently to certain chemicals, so check manufacturer guidance before using stronger cleaning solutions.
How do you clean bathroom walls effectively?
Wipe walls from top to bottom using an all-purpose cleaner and a microfiber cloth, which prevents drips from landing on already-cleaned sections. Pay close attention to areas near the shower where splash marks and soap residue tend to accumulate most heavily.
How do you get rid of bathroom mold?
Apply a mold and mildew remover or diluted bleach solution directly to affected caulk or grout, then let it sit before scrubbing gently. Ventilate the room throughout the process, and consider replacing caulk entirely if mold keeps reappearing in the same spot.
How do you clean a bathroom faucet?
Wrap a vinegar-soaked cloth around the base and spout for about ten minutes to dissolve mineral deposits, then scrub gently with an old toothbrush. Rinse and buff dry with a microfiber cloth to restore shine and prevent new water spots.
What does it mean to properly clean a bathroom?
A proper clean covers every surface, not just visible ones, including the toilet base, grout lines, faucet fixtures, and exhaust fan. It also means addressing moisture-prone areas prone to mold and finishing with fresh textiles like towels and rugs.
How often should bathroom drains be cleaned?
Most bathroom drains benefit from a light cleaning every two to four weeks to prevent hair and soap buildup from forming clogs. Homes with long hair or heavy use may need more frequent attention to keep water flowing freely.
Conclusion
A genuinely deep clean touches every surface most people rush past on a busy weeknight, from grout lines to exhaust fans to the base of the faucet. Working through each section methodically, rather than jumping around the room, keeps the process efficient and ensures nothing gets missed along the way.
Once your bathroom is finished, take a moment to enjoy the difference before life resumes as usual. Building this routine into a regular seasonal habit keeps future cleans faster and far less overwhelming than starting from scratch every time.

