


Bathroom walls take a beating from daily steam, splashes, and humidity that other rooms rarely face. Over time, this creates the perfect environment for soap scum, mildew, and grime to build up unnoticed. Knowing how to clean bathroom walls properly keeps the space looking fresh while protecting the surfaces underneath.
Different wall materials, from tile to painted drywall, require slightly different cleaning approaches. Understanding these differences helps avoid damage while still achieving a spotless finish. This guide breaks down effective methods for tackling grime, mildew, and everyday buildup on bathroom walls.
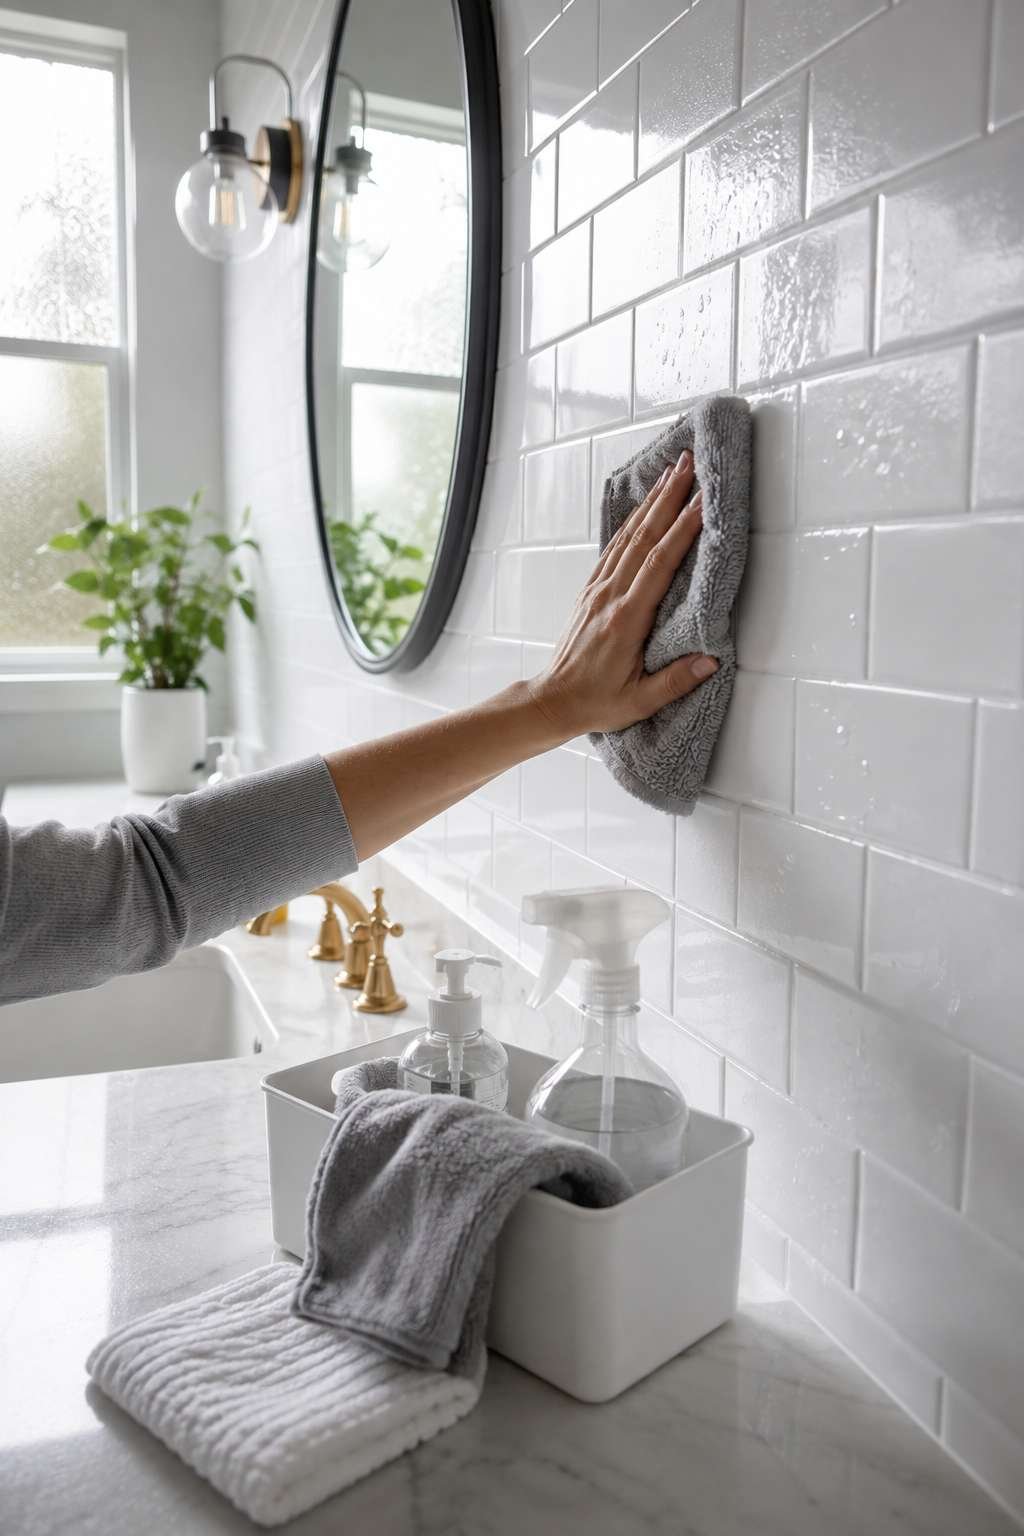
1. Identify Your Wall Material
Before grabbing any cleaning product, it’s essential to identify your wall material first. Tile, painted drywall, and vinyl surfaces each react differently to certain chemicals. Using the wrong cleaner can strip paint or damage grout lines permanently.
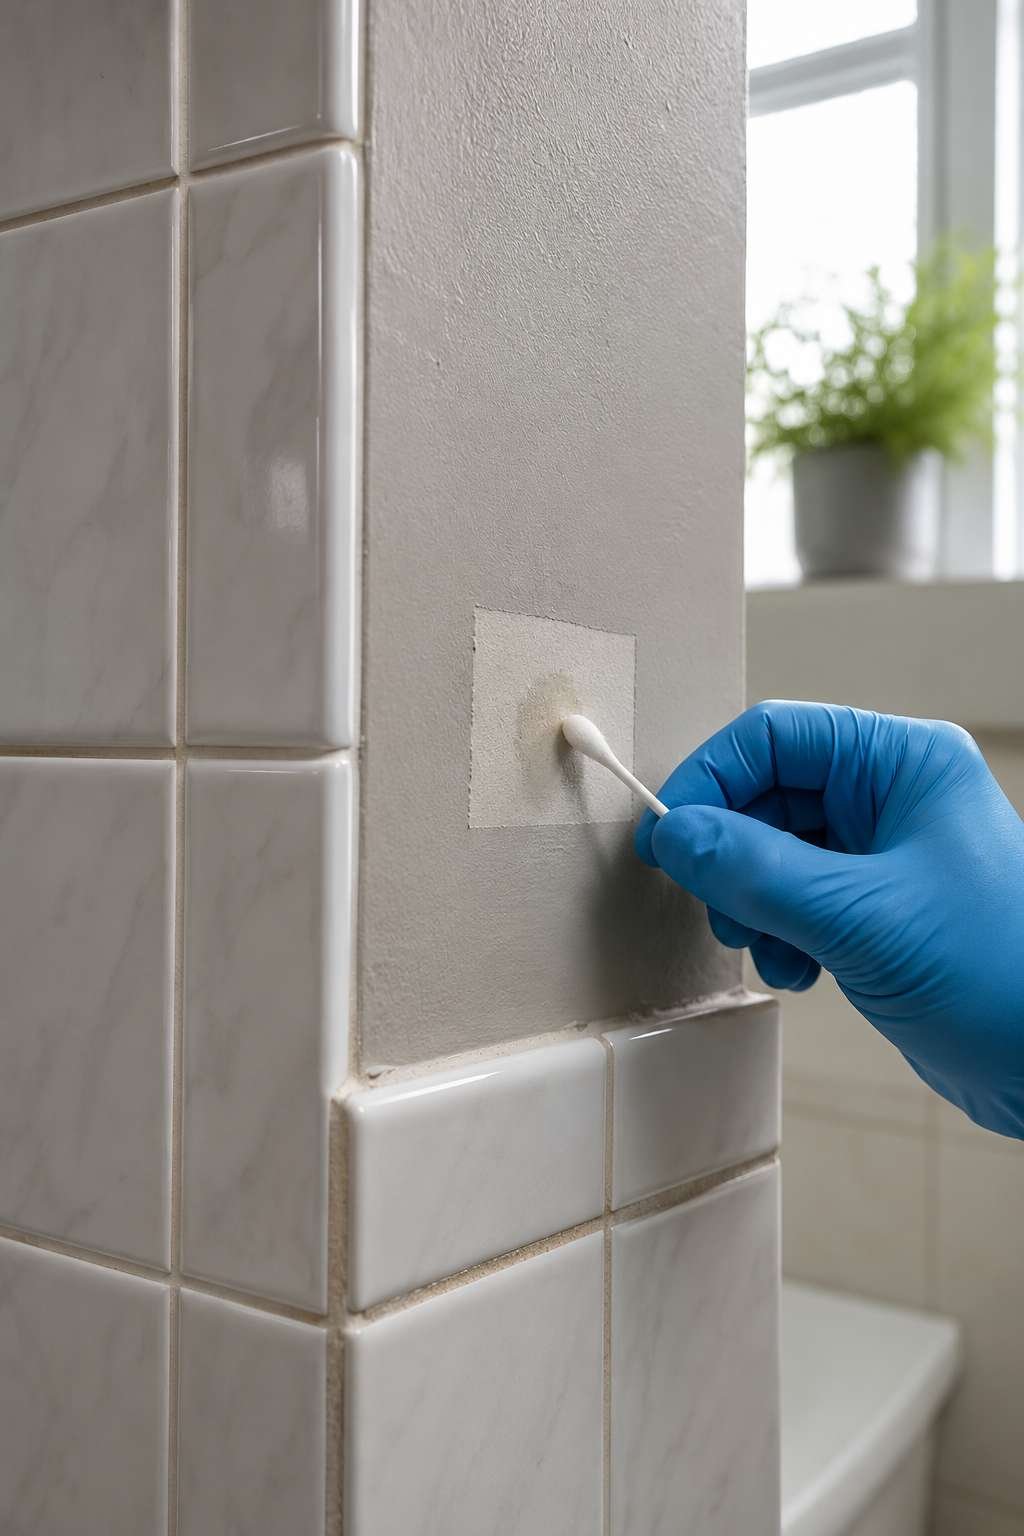
Ceramic and porcelain tile can typically handle stronger cleaners than painted surfaces. Painted walls, especially those with a matte finish, scratch or discolor easily under abrasive scrubbing. Taking a moment to check the material saves time and prevents costly mistakes later.
- Check for tile, paint, or vinyl before starting
- Test any new cleaner on a small hidden area
- Avoid abrasive pads on painted surfaces
- Note grout condition before using strong chemicals
- Research manufacturer guidelines for specialty finishes
2. Gather the Right Supplies
Having the right tools on hand makes the entire cleaning process faster and easier. A microfiber cloth, soft-bristle brush, and a bucket of warm water form the foundation of most cleaning routines. Adding a squeegee helps prevent water spots from forming on tile. Our guide on how to hang hand towels in bathroom walks through this step by step.
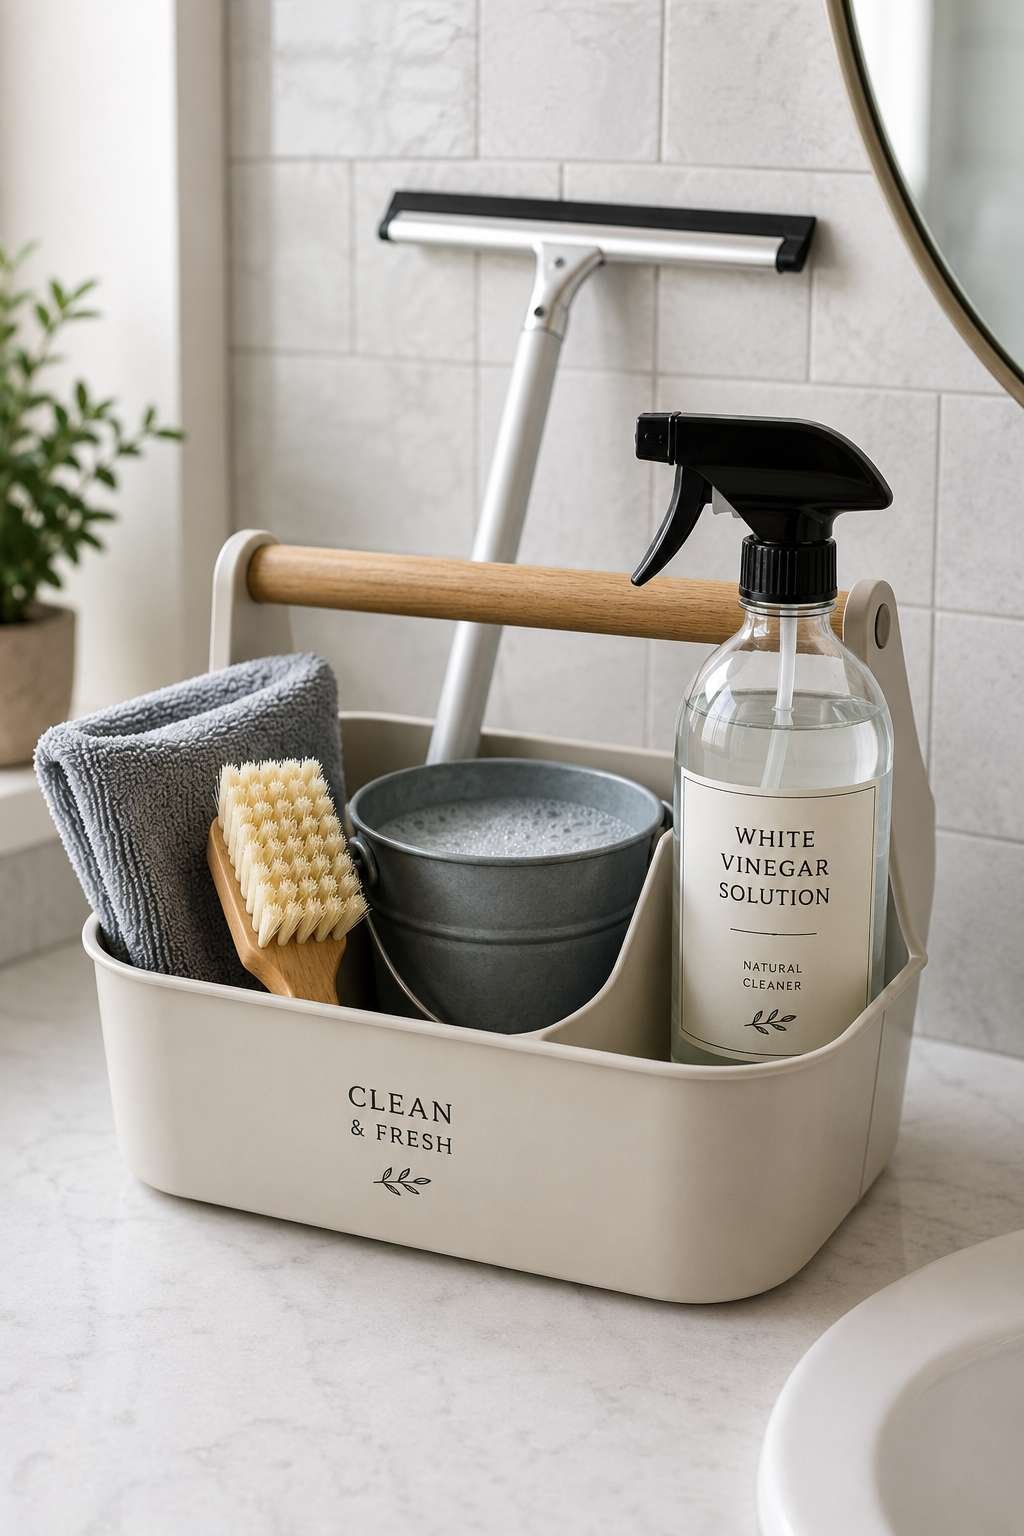
Choosing the right cleaning solution matters just as much as the tools themselves. A mixture of mild dish soap and warm water works well for most everyday grime. For tougher jobs, a solution of white vinegar and water tackles mineral deposits effectively.
- Keep a microfiber cloth for gentle wiping
- Use a soft-bristle brush for grout lines
- Mix mild dish soap with warm water
- Add a squeegee to reduce water spots
- Store supplies in a caddy for easy access
3. Remove Dust and Loose Debris
Skipping this step often leads to streaky results later in the process. Before applying any liquid cleaner, use a dry cloth or duster to remove loose dust and cobwebs from the walls. This prevents dirt from turning into mud once water is introduced.
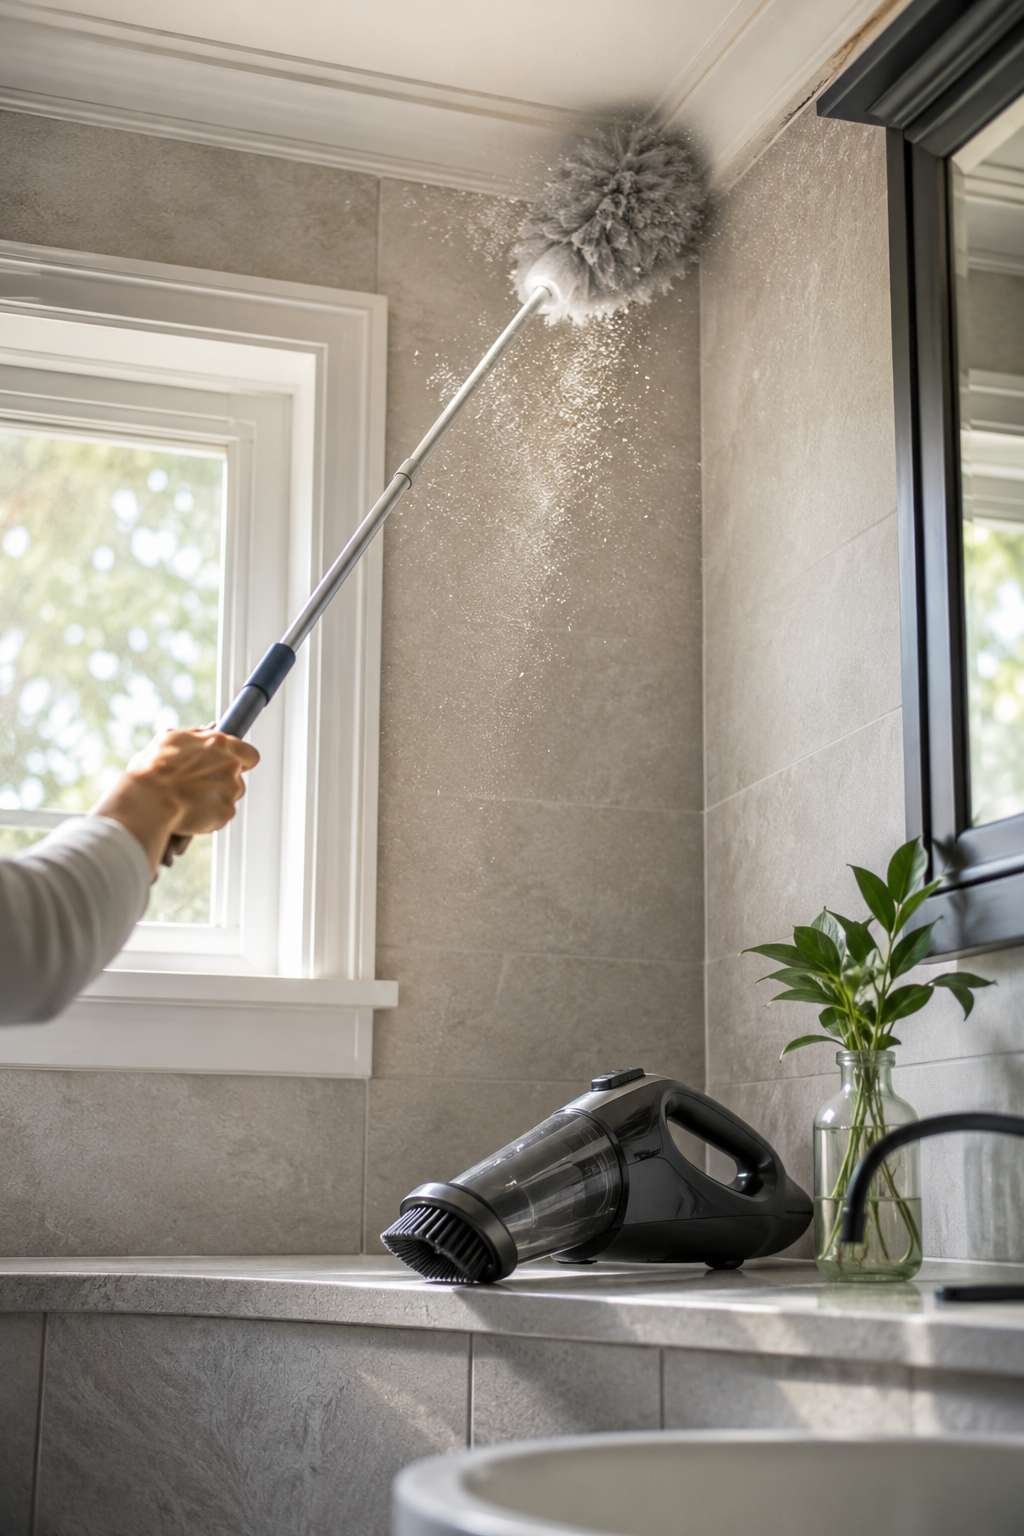
Paying attention to corners and upper wall sections catches debris that’s easy to overlook. A handheld vacuum with a brush attachment works well for larger areas or textured surfaces. This quick step significantly improves the final results of the deeper clean.
- Dust walls top to bottom before wet cleaning
- Use a handheld vacuum for textured surfaces
- Pay extra attention to corners and edges
- Remove cobwebs near the ceiling first
- Wipe light fixtures separately before wall cleaning
4. Tackle Soap Scum and Grime
Soap scum is one of the most stubborn issues on bathroom walls, especially near the shower. A paste made from baking soda and water can break down this buildup without scratching tile. Applying it with a soft brush in circular motions lifts grime effectively. Our this shower size guide is worth checking before you finalize the sizing.
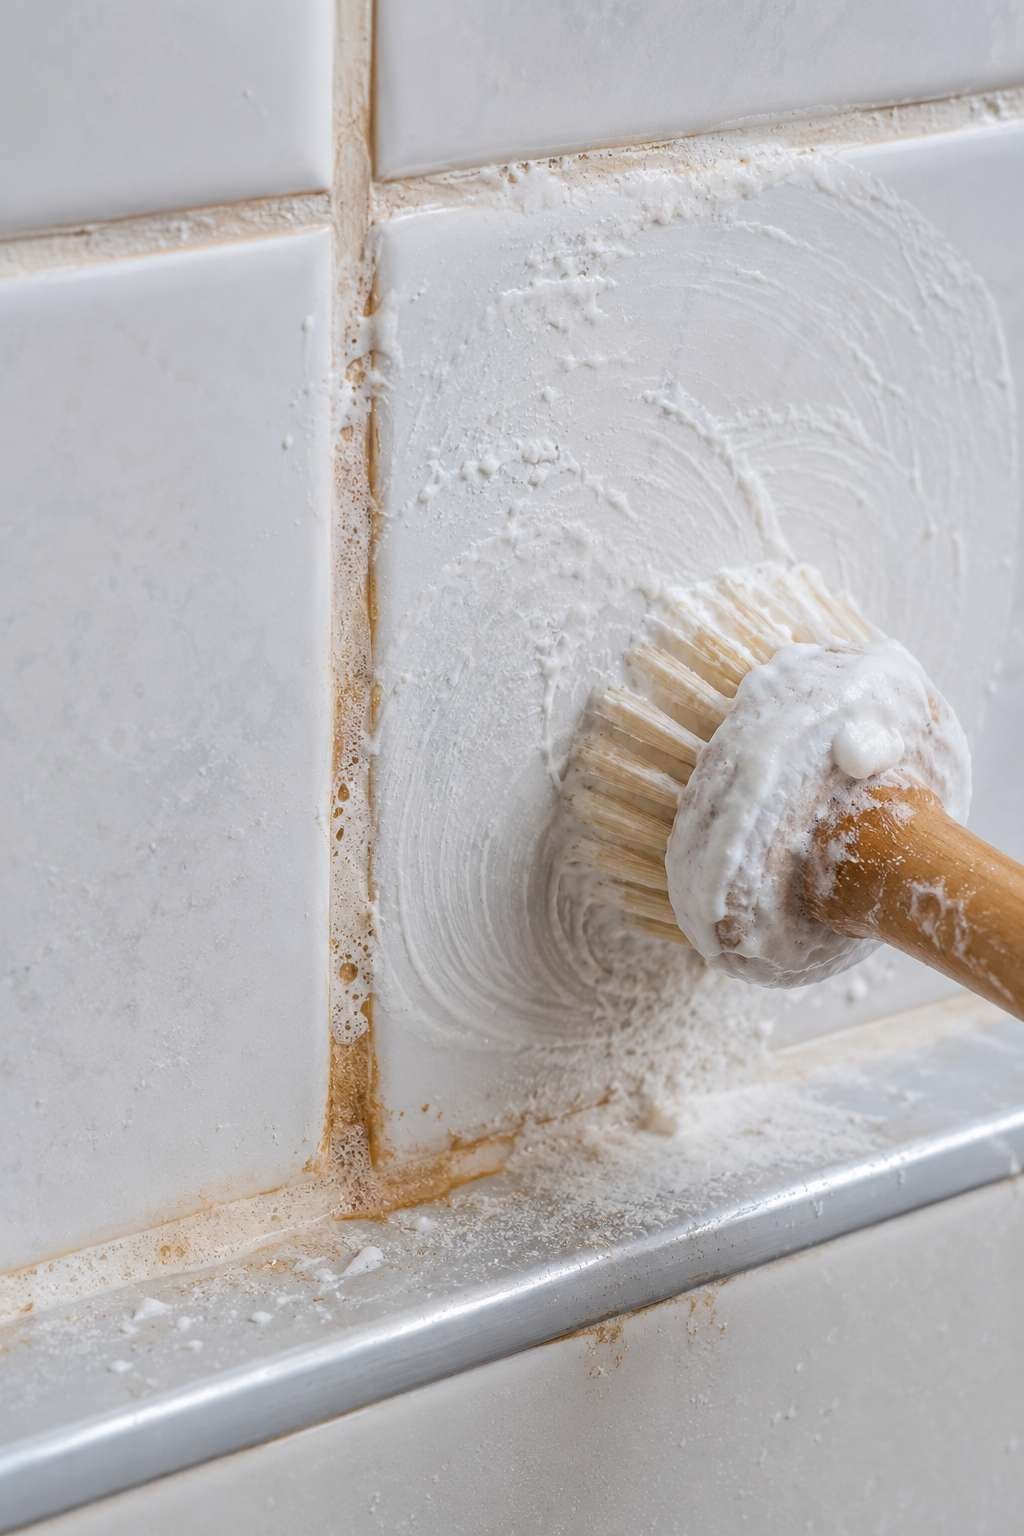
For particularly tough spots, letting the paste sit for several minutes before scrubbing improves results. Rinsing thoroughly afterward prevents residue buildup that can attract more dirt later. This method works well on both tile and fiberglass shower walls.
- Mix baking soda with water into a paste
- Scrub gently using circular motions
- Let tough stains sit for 5-10 minutes
- Rinse thoroughly to avoid leftover residue
- Repeat weekly to prevent heavy buildup
5. Address Mold and Mildew
Bathroom humidity creates ideal conditions for mold and mildew to develop, especially in grout lines. A solution of white vinegar sprayed directly onto affected areas helps break down these spores naturally. Letting it sit for fifteen minutes before wiping improves effectiveness.
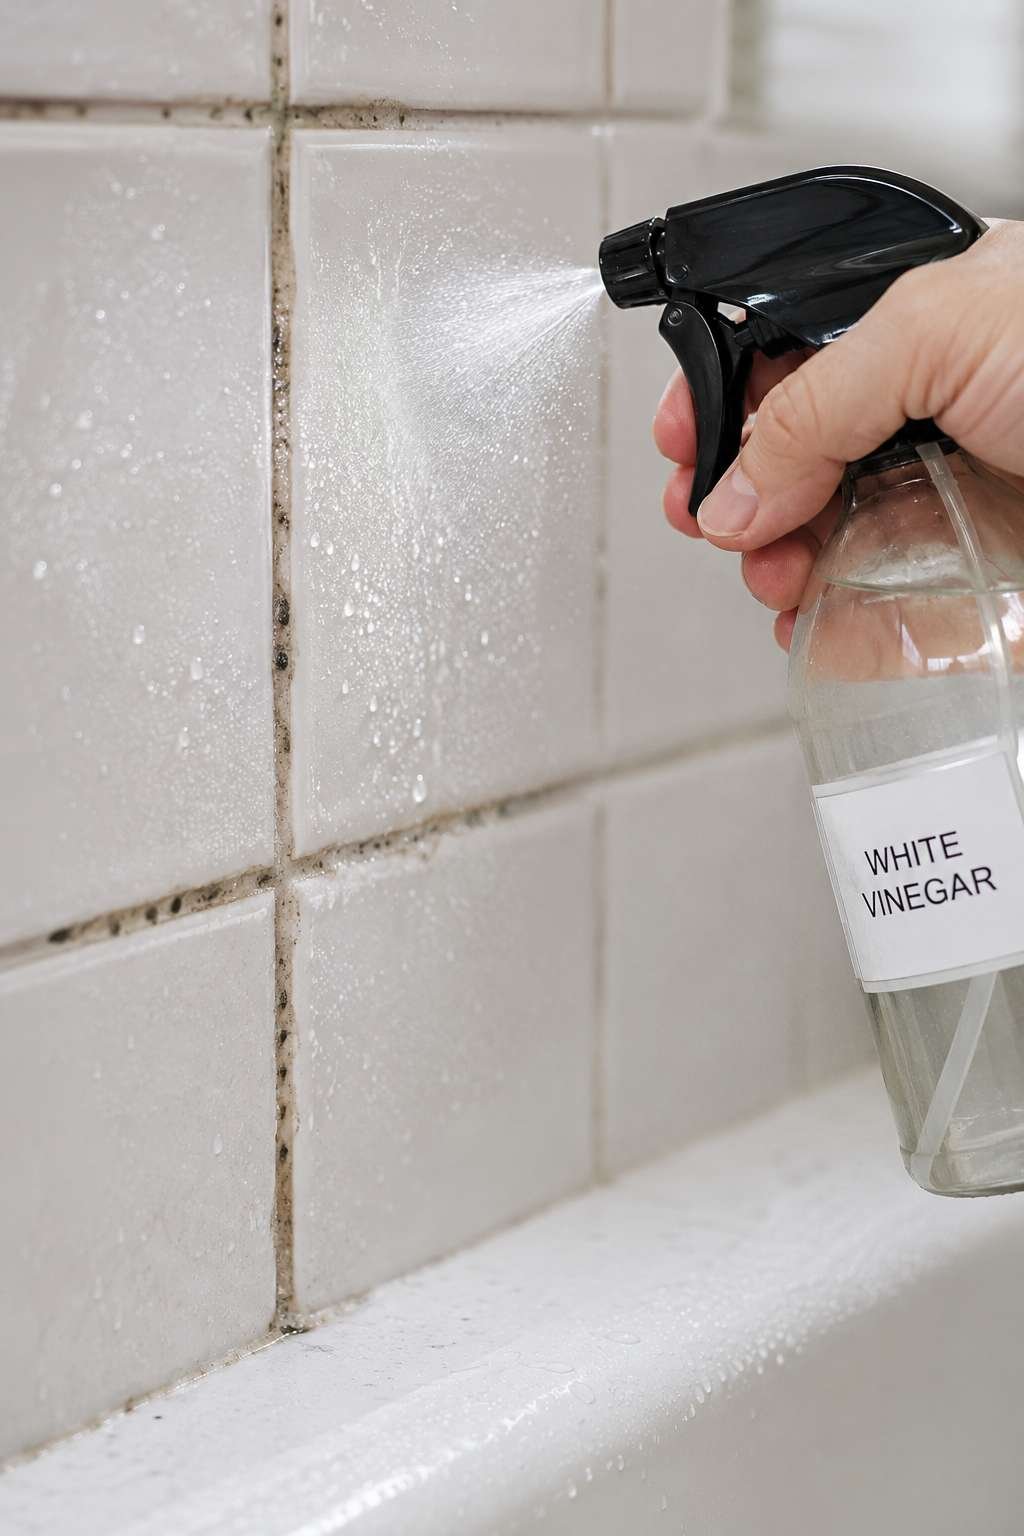
For more stubborn mildew stains, a diluted bleach solution may be necessary on non-porous surfaces. Always ensure proper ventilation when using bleach, and never mix it with other cleaning products. Regular treatment keeps mold from returning between deep cleans.
- Spray white vinegar directly on mildew spots
- Let solutions sit before wiping or scrubbing
- Use diluted bleach only on non-porous tile
- Ensure proper ventilation during chemical use
- Never mix bleach with ammonia-based cleaners
6. Rinse and Dry Thoroughly
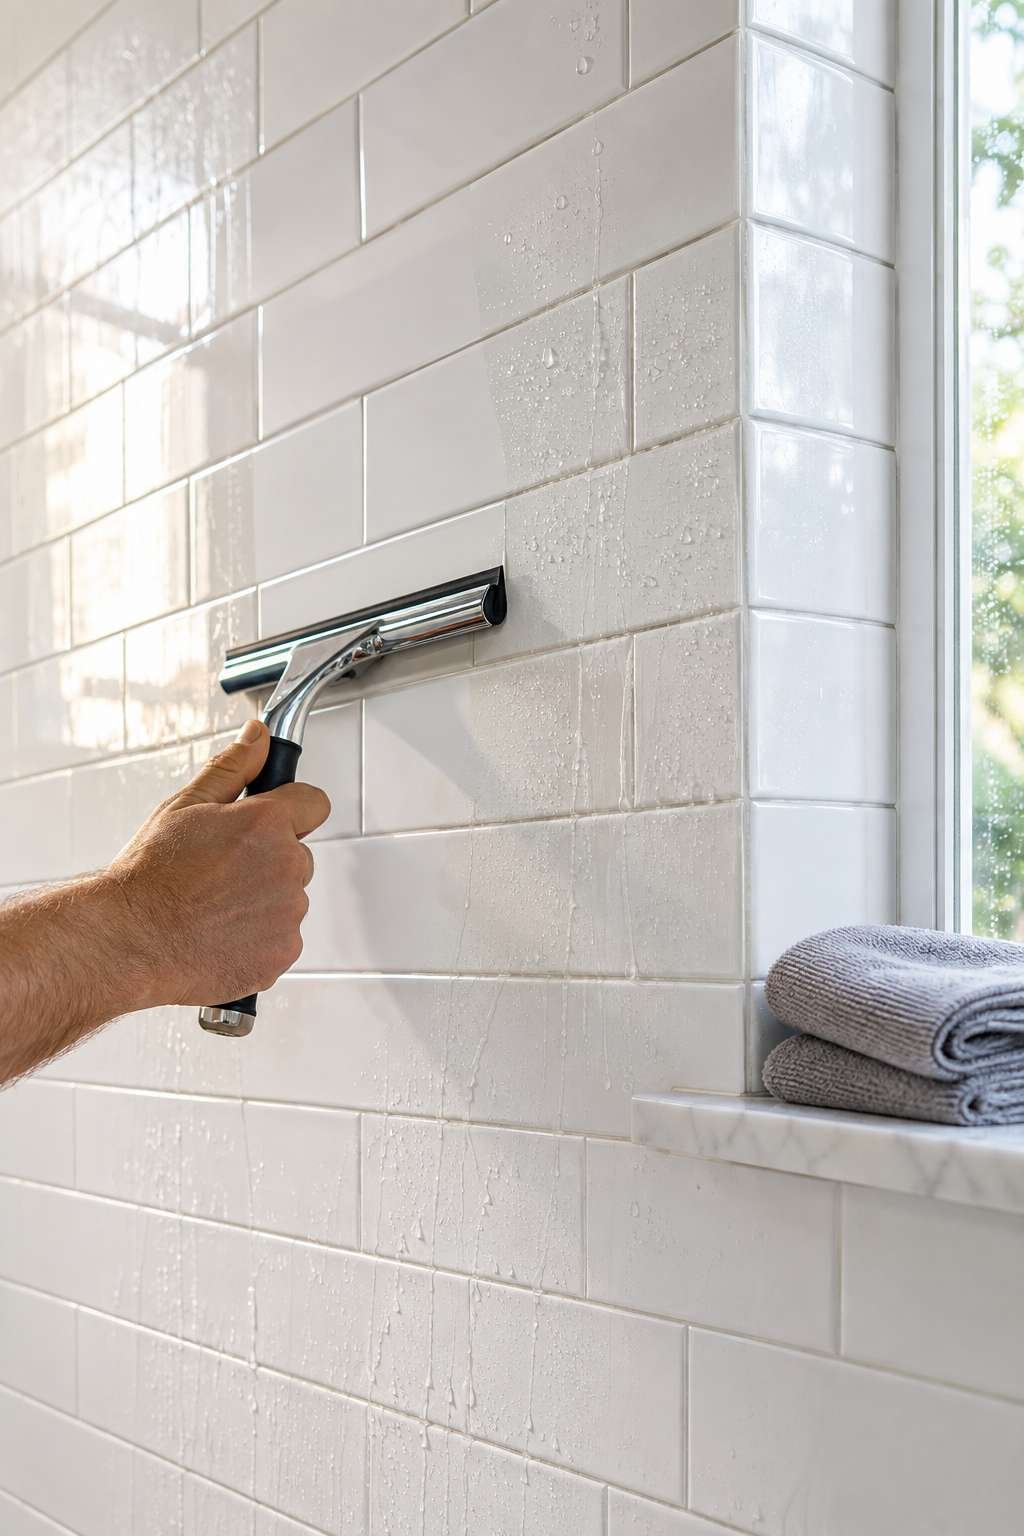
The final step involves rinsing walls thoroughly to remove any leftover cleaning solution. Leftover residue can attract dust and create a hazy film over time. A clean, damp cloth or a gentle spray of water helps clear away remaining product.
Different wall materials, from tile to painted drywall, require slightly different cleaning approaches. Understanding these differences helps avoid damage while still achieving a spotless finish. This guide breaks down effective methods for tackling grime, mildew, and everyday buildup on bathroom walls. Pair this with our these bathroom cleaning checklist to stay on top of the rest.
- Rinse with clean water after scrubbing
- Use a squeegee to clear tile surfaces
- Dry painted walls with a soft cloth
- Open a window or fan to speed drying
- Check for missed spots once fully dry
Keeping bathroom walls clean doesn’t have to be a dreaded chore. With the right supplies, a bit of baking soda, and a consistent routine, grime and mildew stay under control. Set aside time each week to maintain these habits and enjoy a fresher, brighter bathroom all year long.

