That dark, splotchy patch overhead usually means one thing: it’s time to learn how to get rid of mould in bathroom ceiling surfaces before it spreads further or starts affecting air quality. Bathroom ceilings are one of the most common places for mould to take hold, since heat, steam, and poor airflow combine to create the perfect breeding ground.
The good news is that most bathroom ceiling mould is treatable without professional help, as long as you catch it early and use the right approach. This guide walks through why it forms, how to remove it safely, and what to change afterward so it doesn’t just grow right back within a few weeks. If you’re also dealing with mould on tile, grout, or walls, our broader guide on how to get rid of mould in the bathroom covers those surfaces in more detail.
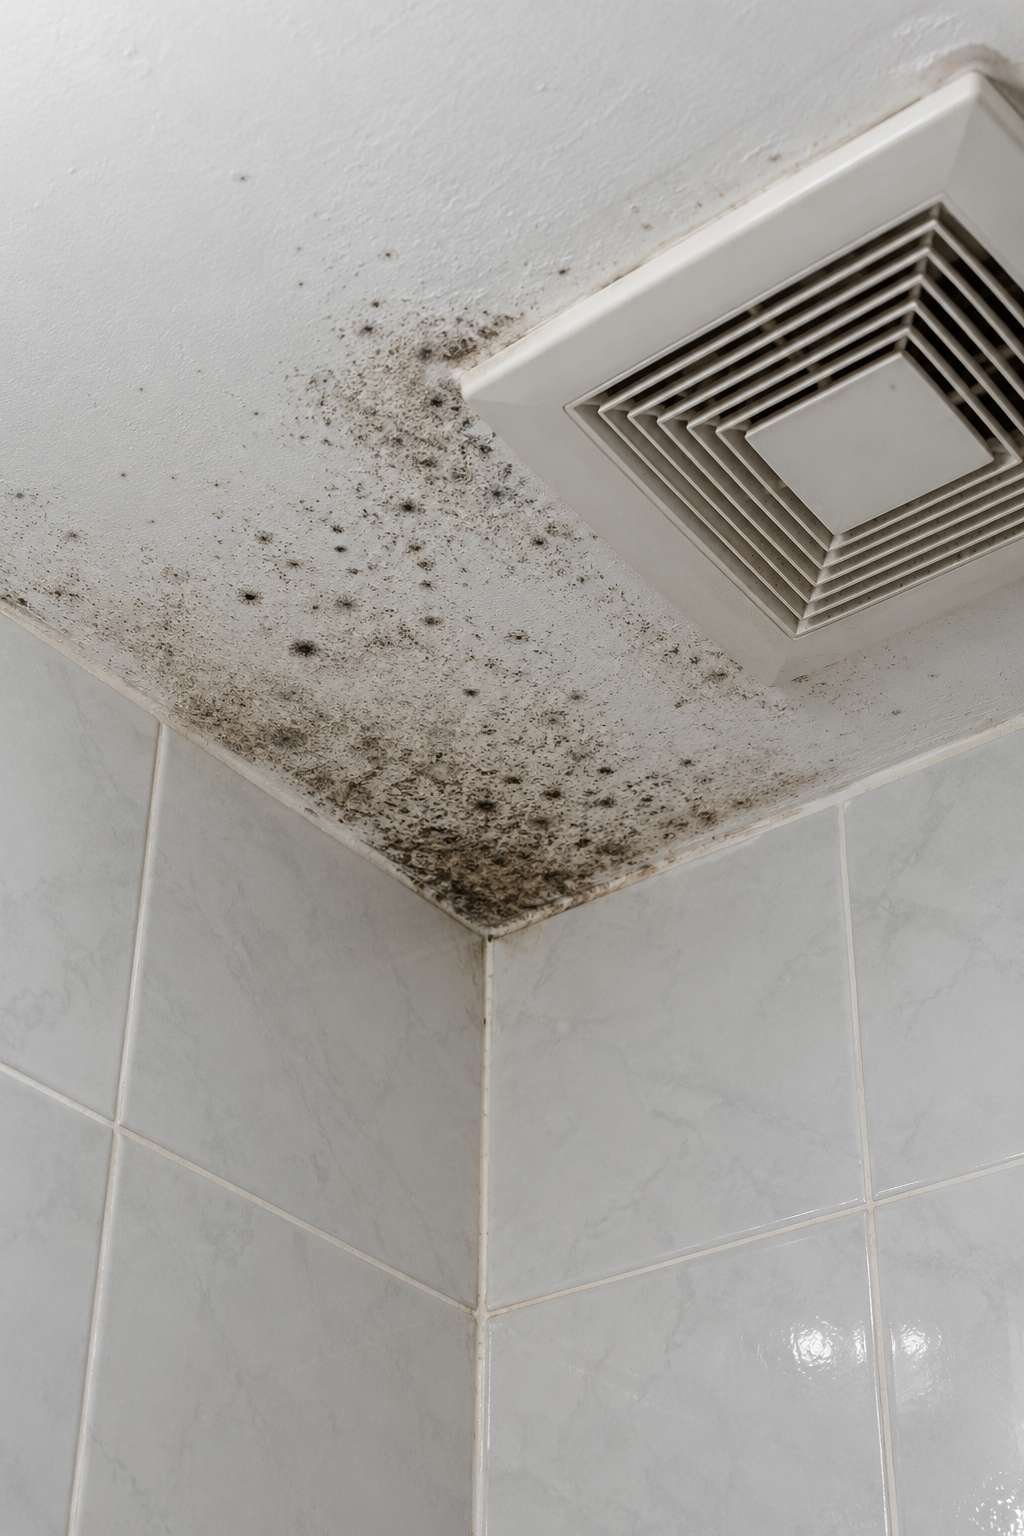
1. Why Mould Grows on Bathroom Ceilings
Mould needs three things to thrive: moisture, warmth, and a food source, and bathroom ceilings offer all three in abundance. Every hot shower sends steam rising directly upward, where it condenses on the cooler ceiling surface, especially if the room lacks proper ventilation. Over time, that trapped moisture soaks into paint and drywall, creating an ideal environment for spores to settle and multiply.

Older homes with outdated exhaust fans or none at all are particularly prone to this issue, since steam has nowhere to escape. Even newer homes can develop problems if the fan is undersized for the room or rarely used during and after showers.
- Steam rises and condenses on cooler ceiling surfaces
- Poor or absent ventilation traps humidity indoors
- Drywall and paint provide organic material mould feeds on
- Older exhaust fans often move too little air
- Humid climates worsen the problem year-round
- Leaks above the ceiling can introduce hidden moisture
2. Signs You Have Mould on Your Ceiling
Mould doesn’t always look the same, which makes it easy to miss in early stages. The most obvious sign is dark spotting, usually black, green, or grayish, clustered near corners or around the exhaust fan housing. A musty smell that lingers even after cleaning is another strong indicator, since it often means spores are present even where you can’t yet see them.
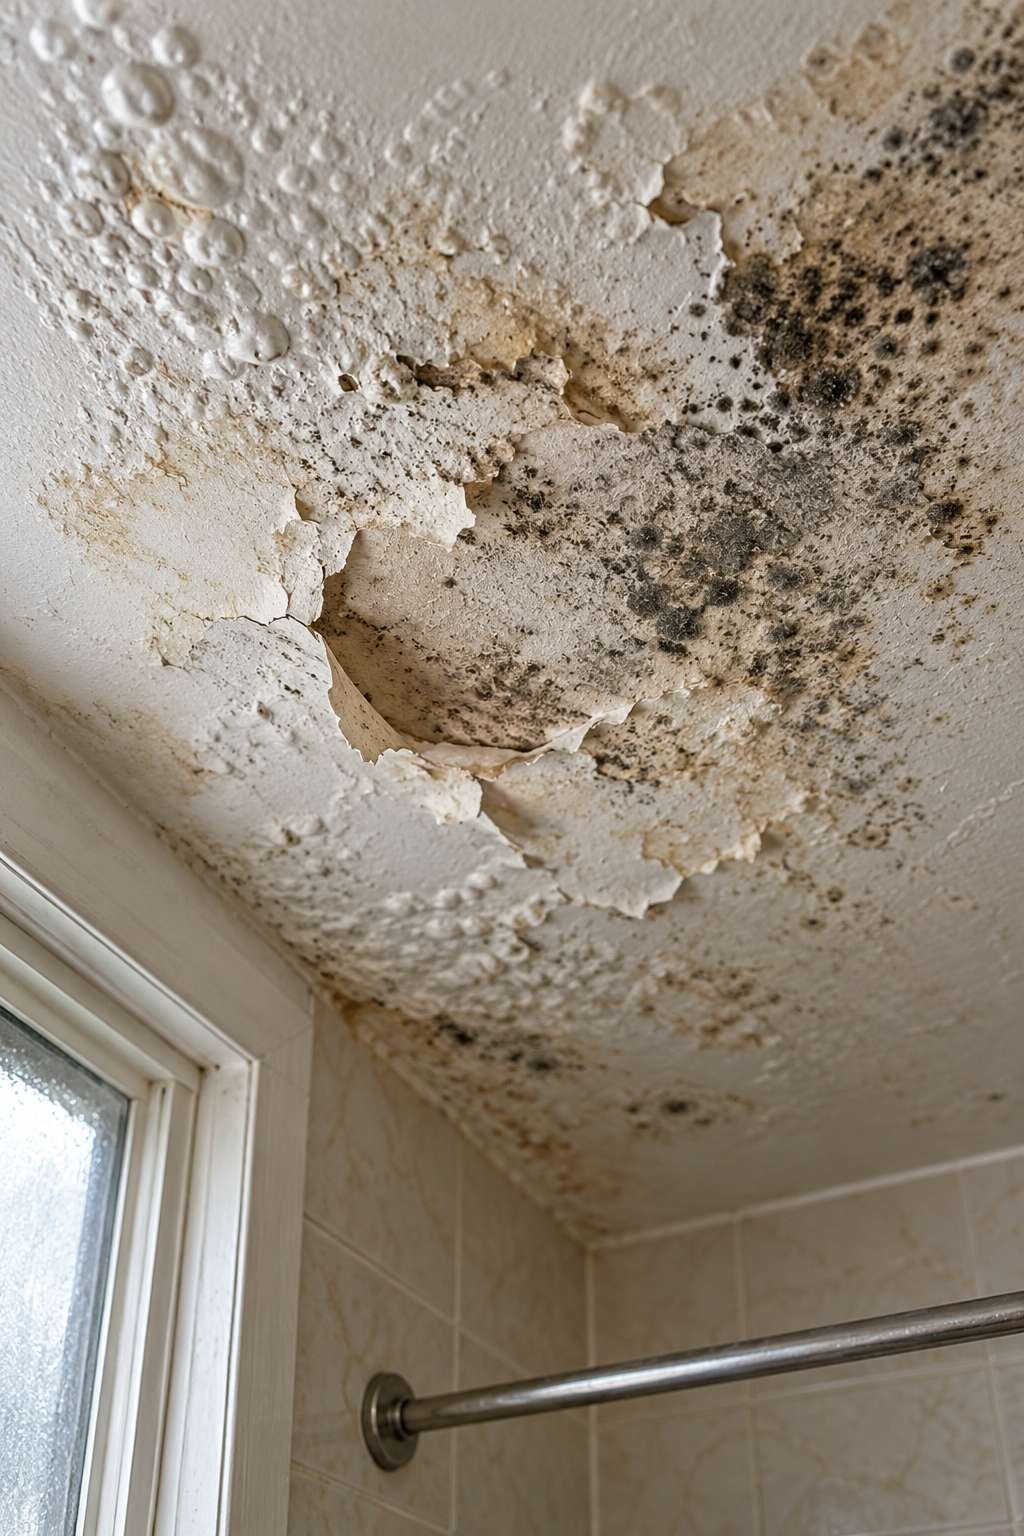
Peeling paint or bubbling drywall texture can also point to trapped moisture behind the surface, which may be feeding mould you haven’t spotted yet. Catching these early signs means dealing with a much smaller, simpler cleanup job. A lingering musty smell is sometimes confused with pee smell in the bathroom, so it’s worth ruling out mould before assuming the odor is coming from the toilet area.
- Dark black, green, or gray spotting
- Musty, persistent odor in the bathroom
- Peeling or bubbling paint texture
- Discoloration spreading outward from one spot
- Visible growth around the exhaust fan cover
- Soft or sagging drywall in severe cases
3. Safety Precautions Before You Start Cleaning
Before touching any mould, take a few basic precautions to protect yourself, especially if the affected area is larger than a small patch. Wear rubber gloves, a well-fitted mask rated for mould spores, and eye protection, since disturbing mould releases spores into the air. Open a window or run the exhaust fan the entire time you’re working to keep air moving.
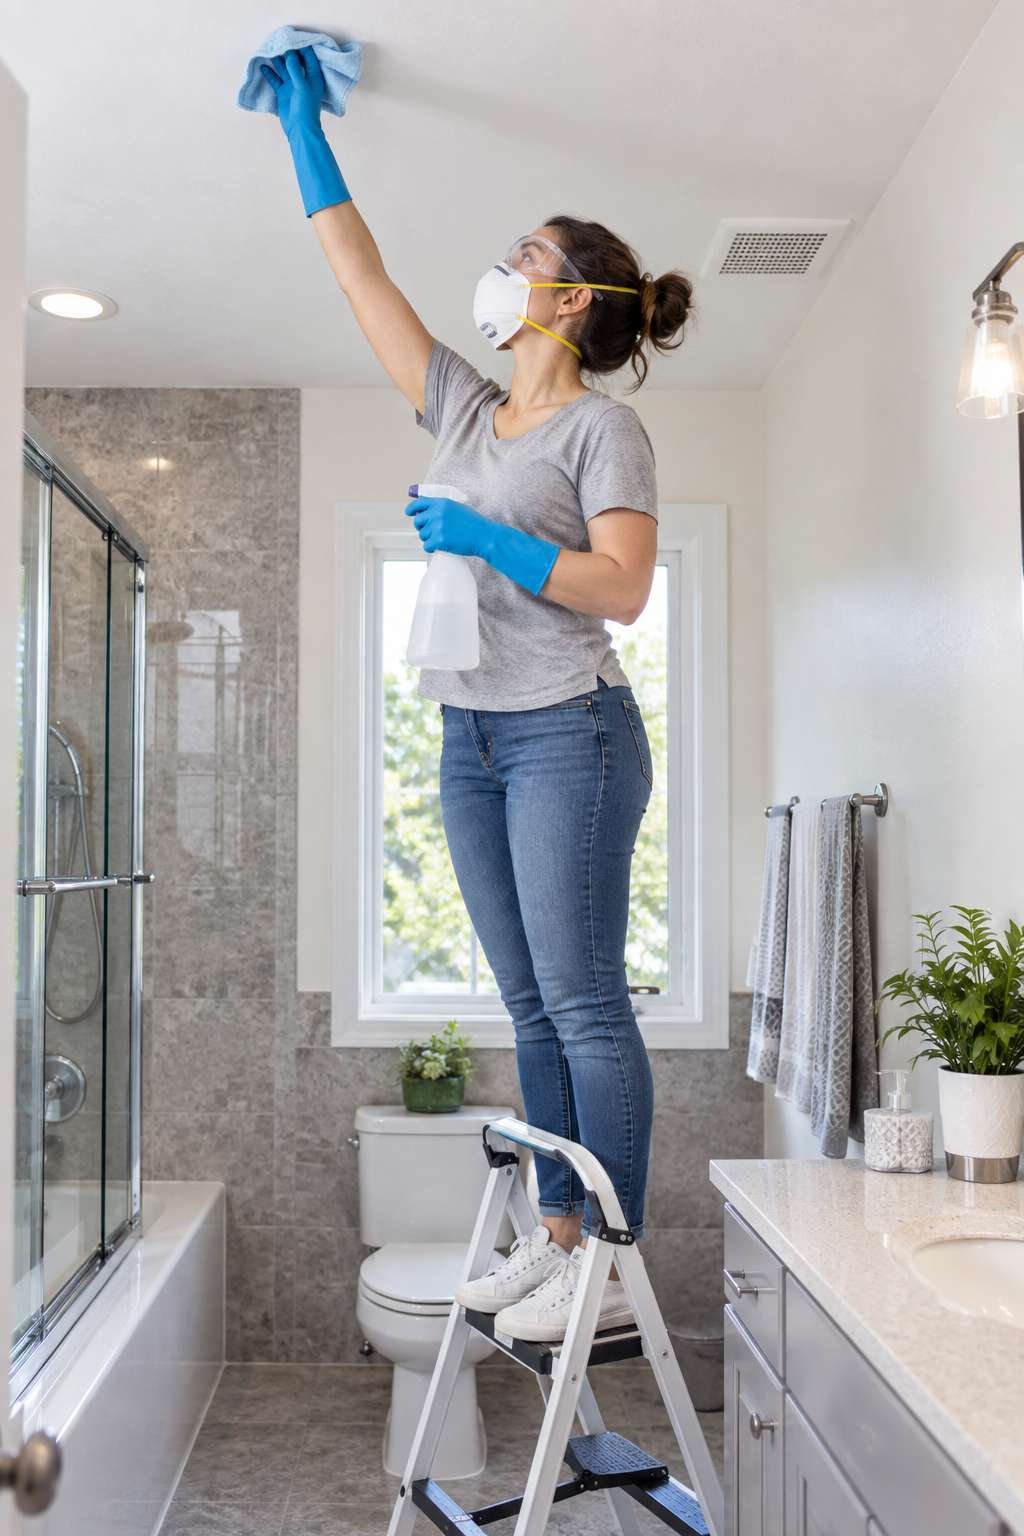
If you have asthma, allergies, or a compromised immune system, consider having someone else handle the job or hiring a professional instead. For patches larger than roughly ten square feet, most health guidelines recommend professional remediation rather than DIY cleaning.
- Wear gloves, a mould-rated mask, and eye protection
- Ventilate the room fully during cleaning
- Avoid mixing bleach with ammonia-based products
- Cover flooring and fixtures below the work area
- Take extra caution if you have respiratory sensitivities
- Call a professional for patches over 10 square feet
4. Tools and Supplies You’ll Need
Having the right supplies on hand before you start makes the job faster and more effective. At minimum, you’ll want a stiff-bristle scrub brush, a spray bottle, clean rags or disposable towels, and your cleaning solution of choice. A step stool or small ladder is essential for reaching ceiling height safely and comfortably.
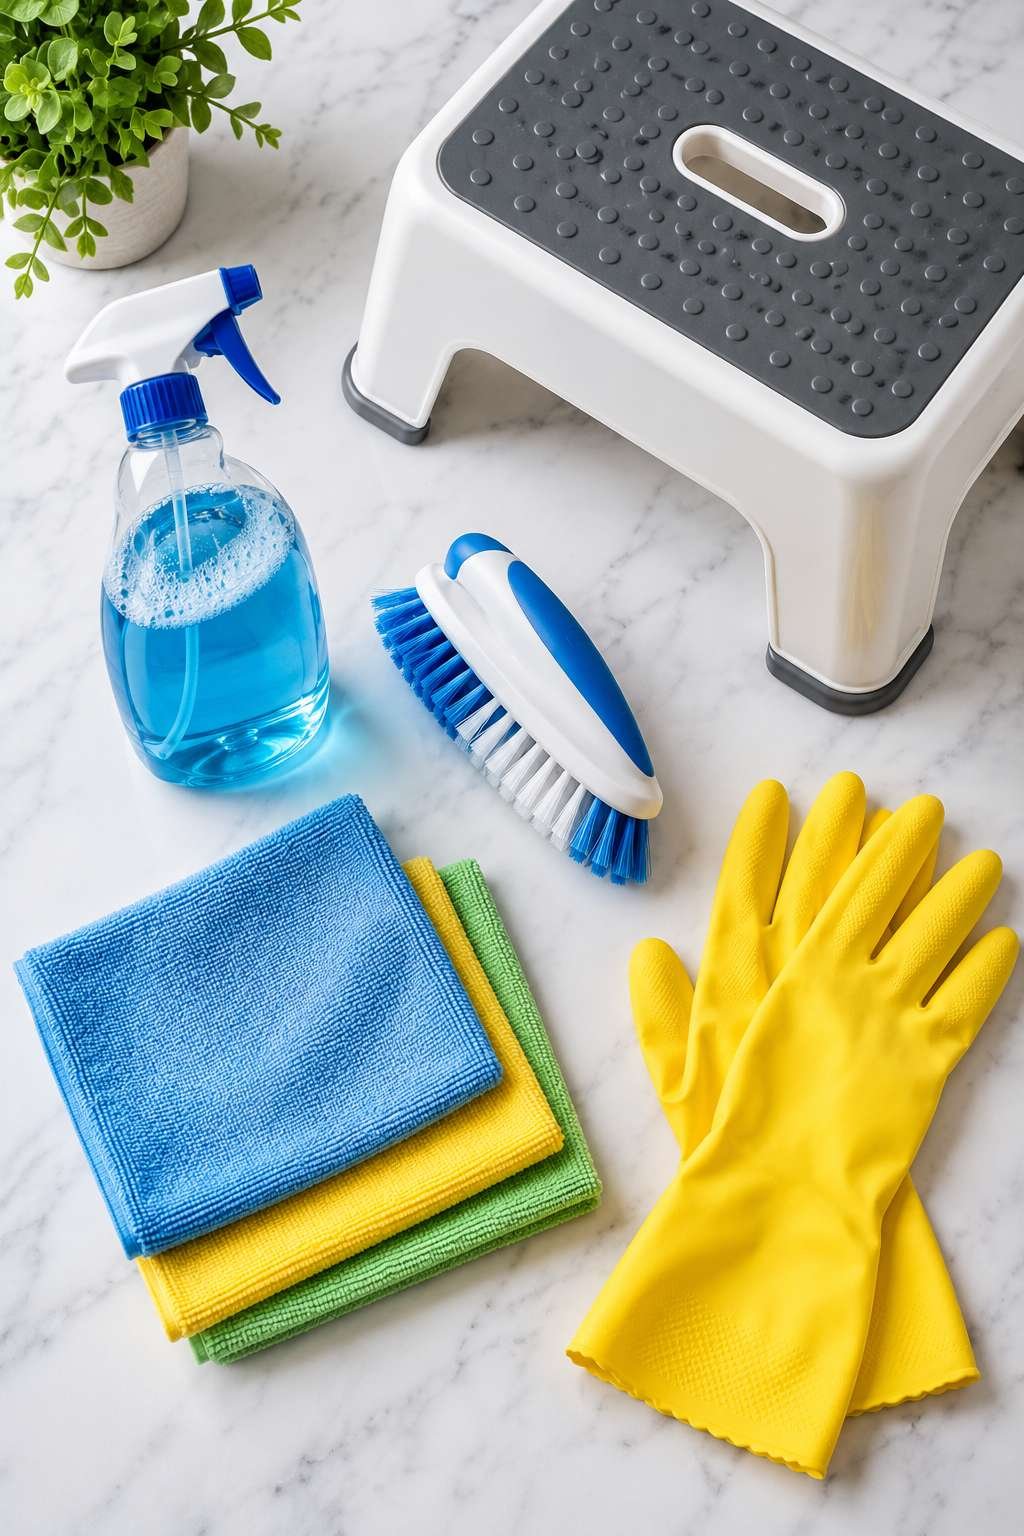
It also helps to have plastic sheeting or an old towel to catch drips, since scrubbing overhead tends to send solution dripping back down onto floors and countertops.
- Stiff-bristle scrub brush or old toothbrush
- Spray bottle for applying cleaning solution
- Clean rags or disposable paper towels
- Step stool or small ladder
- Plastic sheeting to catch drips
- Rubber gloves and a mould-rated mask
5. Step-by-Step: Removing Mould from a Bathroom Ceiling
Start by mixing your chosen cleaning solution and testing it on a small, inconspicuous section of ceiling first. Spray the affected area generously and let it sit for ten to fifteen minutes so the solution has time to penetrate the mould before scrubbing. Use your brush in small circular motions, working from the outer edge of the stain inward to avoid spreading spores further.
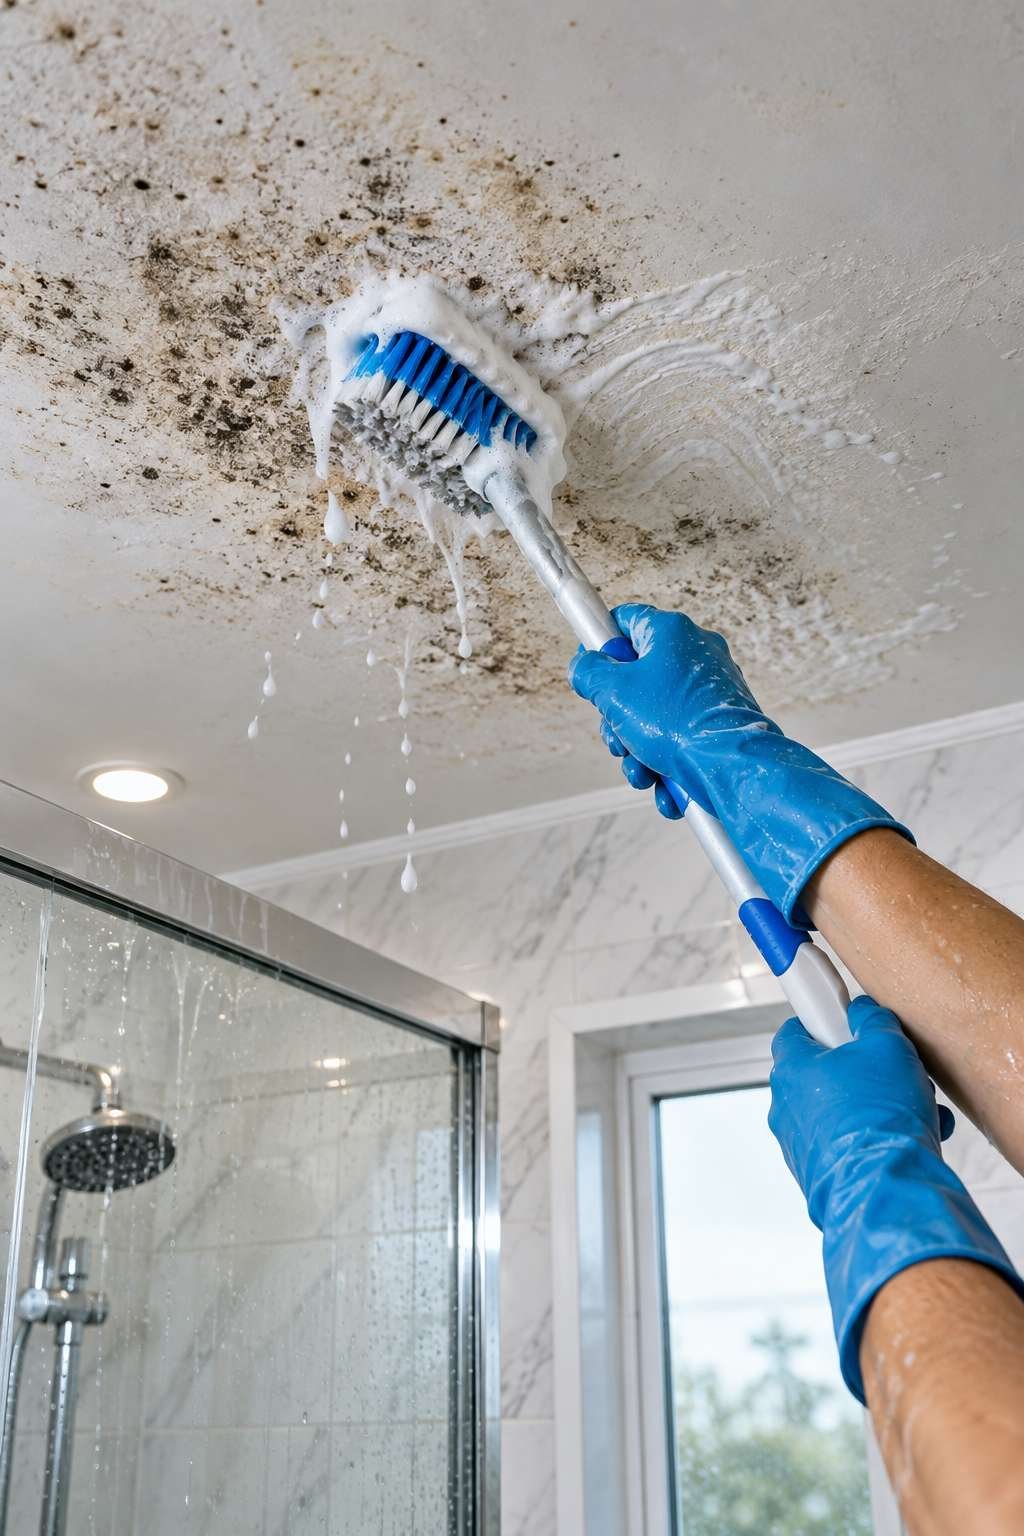
Once the visible mould lifts away, wipe the area clean with a damp rag, then dry it thoroughly with a fresh towel. Repeat the process if any discoloration remains, since stubborn stains sometimes need a second treatment to fully clear.
- Test the solution on a small area first
- Let solution sit 10-15 minutes before scrubbing
- Scrub from the outer edge inward
- Wipe clean with a damp rag afterward
- Dry the area completely once finished
- Repeat treatment if discoloration remains
6. Natural and Chemical Cleaning Solutions Compared
There’s no single correct product for this job, and the right choice depends on the severity of the growth and your personal preference for chemical exposure. A diluted bleach solution (about one part bleach to three parts water) is highly effective against surface mould and kills spores on contact. White vinegar is a gentler, chemical-free alternative that works well for lighter staining and won’t damage most paint finishes.
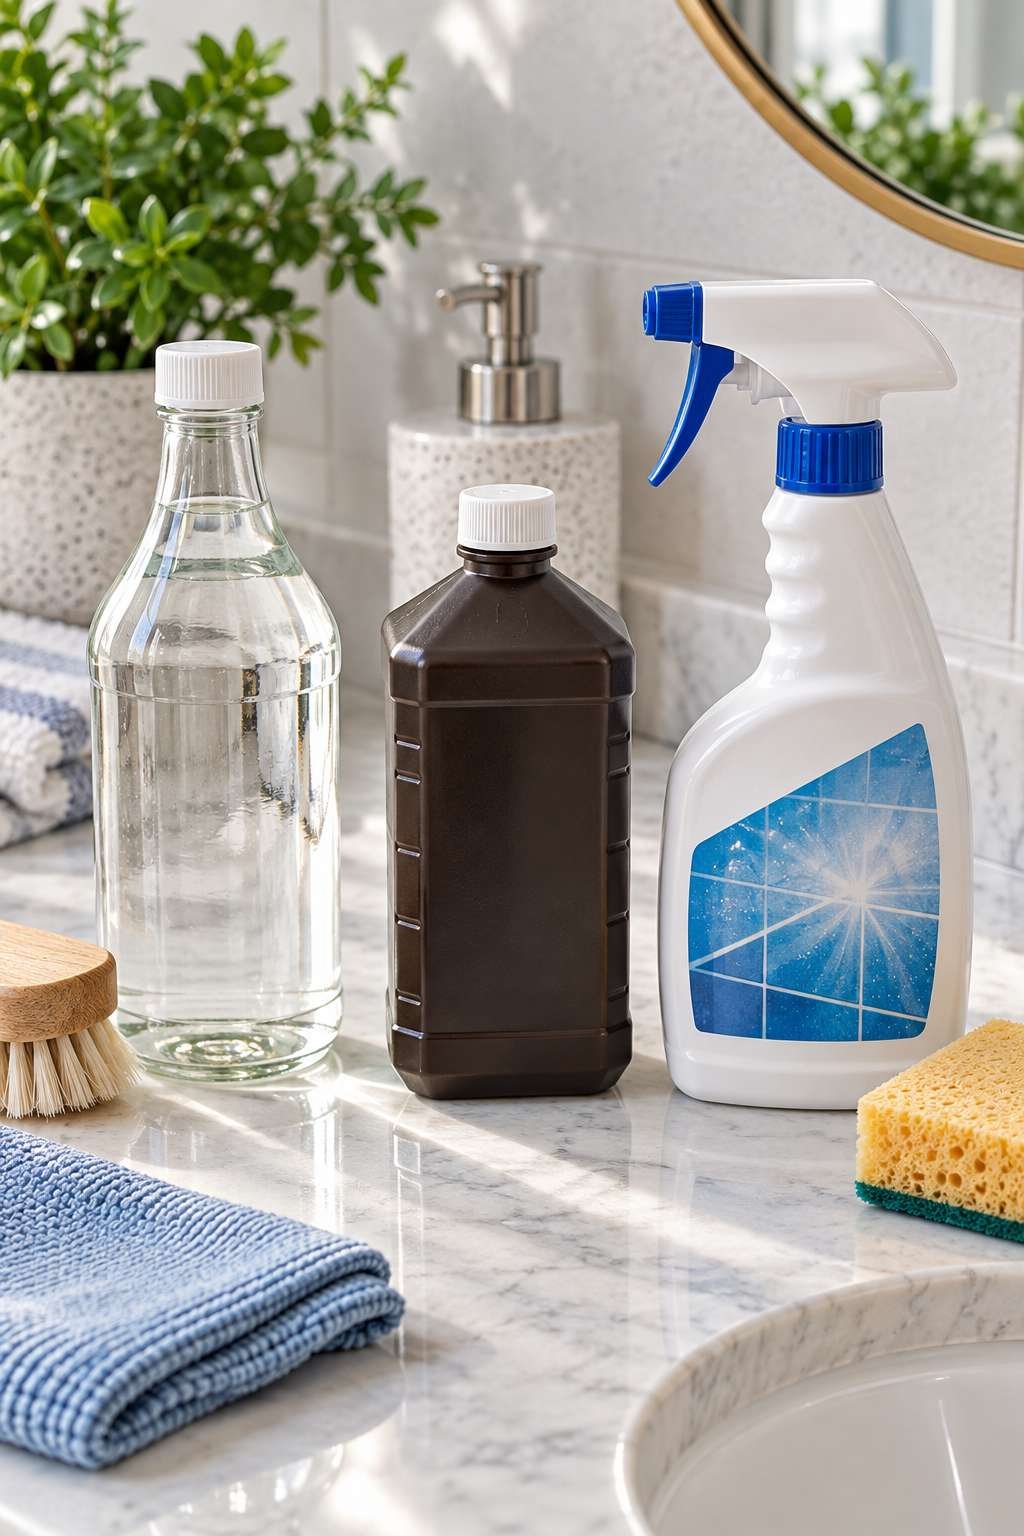
Commercial mould-and-mildew sprays offer a middle ground, often combining efficacy with easier application than mixing your own solution. Whichever you choose, always ensure good ventilation and avoid combining different cleaning chemicals. Standing moisture left behind from cleaning can also draw in gnats appearing in the bathroom, so dry the area thoroughly once you’re finished.
- Diluted bleach: strong, fast-acting, kills spores
- White vinegar: gentle, chemical-free, good for mild cases
- Hydrogen peroxide: effective and safer than bleach on painted surfaces
- Commercial mould sprays: convenient, pre-mixed formulas
- Baking soda paste: mild option for sensitive households
- Never mix bleach with ammonia or other cleaners
7. How to Prevent Mould From Coming Back
Cleaning the mould away solves the immediate problem, but without changing the underlying conditions, it will likely return within a few months. The single most effective fix is running your exhaust fan during every shower and for at least twenty minutes afterward, giving humid air time to fully clear the room. Wiping down the ceiling and walls with a towel after steamy showers also helps prevent condensation from settling in.
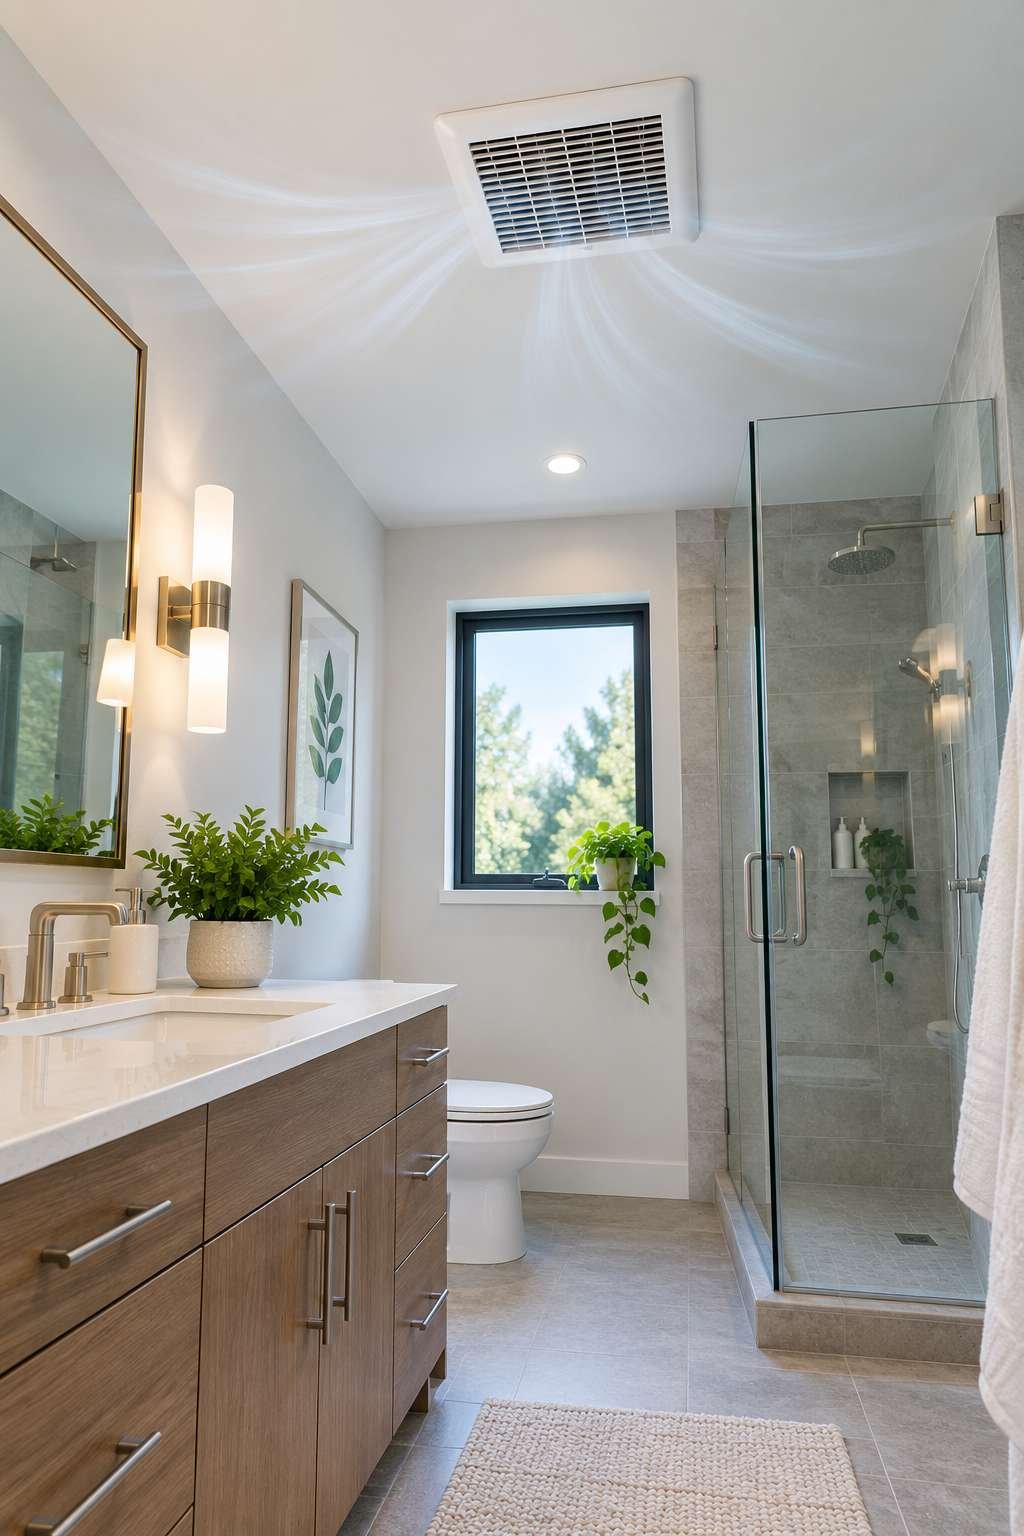
Repainting with mould-resistant, moisture-rated paint adds another layer of protection, since standard paint offers little resistance to repeated humidity exposure over time.
- Run the exhaust fan during and after every shower
- Wipe down ceiling and walls after steamy showers
- Repaint with moisture-resistant, mould-inhibiting paint
- Keep the bathroom door open when not in use
- Fix any leaks above the ceiling promptly
- Check fan function periodically to ensure proper airflow
8. Improving Bathroom Ventilation
If mould keeps returning despite regular cleaning, your ventilation system itself may need attention. An exhaust fan should move air at a rate matched to the room’s size, and many older bathrooms have fans that are undersized for their square footage. Upgrading to a higher-capacity fan, or adding a humidity-sensing model that runs automatically, can dramatically reduce moisture buildup.

If a full fan upgrade isn’t in the budget right now, even simple habits like cracking a window during showers or running a portable dehumidifier can meaningfully cut down on the humidity mould needs to grow. That same excess moisture is often why homeowners also deal with ants showing up in the bathroom, so improving airflow tends to solve more than one problem at once.
- Confirm your fan’s CFM rating matches room size
- Consider a humidity-sensing automatic fan
- Crack a window during showers when possible
- Use a portable dehumidifier in problem bathrooms
- Clean fan vents and covers regularly for airflow
- Have ductwork inspected if moisture persists
9. When to Call a Professional
While most bathroom ceiling mould is manageable on your own, certain situations call for professional remediation instead. If the affected area covers more than roughly ten square feet, or if mould keeps returning immediately after cleaning, there may be a hidden moisture source that needs proper diagnosis. Sagging drywall, water stains that keep expanding, or a musty smell that won’t go away are all signs of a deeper issue.
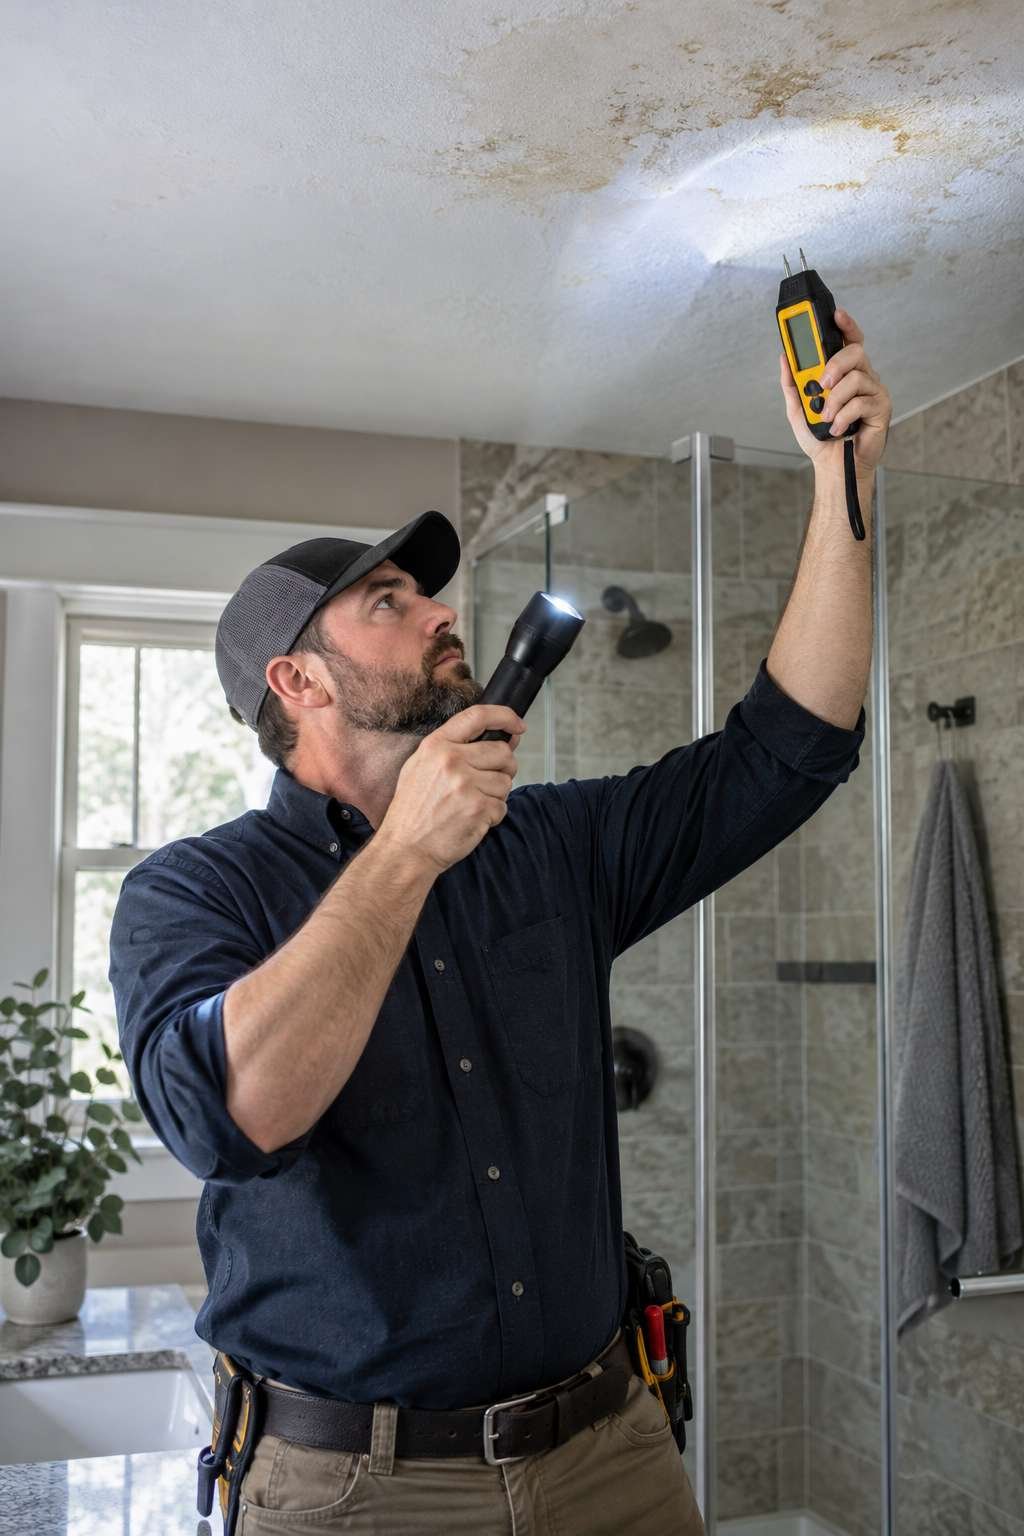
Professionals can also test for mould type, which matters if household members have respiratory conditions or allergies that worsen around certain species of mould.
- Affected area larger than 10 square feet
- Mould returns repeatedly after cleaning
- Sagging or soft drywall texture
- Persistent musty smell despite cleaning
- Household members with respiratory sensitivities
- Suspected hidden leak feeding the growth
10. Repainting and Sealing the Ceiling After Treatment
Once the ceiling is fully clean and completely dry, repainting is the final step that locks in your progress. Use a stain-blocking primer first to seal in any remaining discoloration, then finish with a bathroom-rated, mould-resistant paint designed to withstand humidity. Satin or semi-gloss finishes tend to hold up better than flat paint in consistently damp environments.
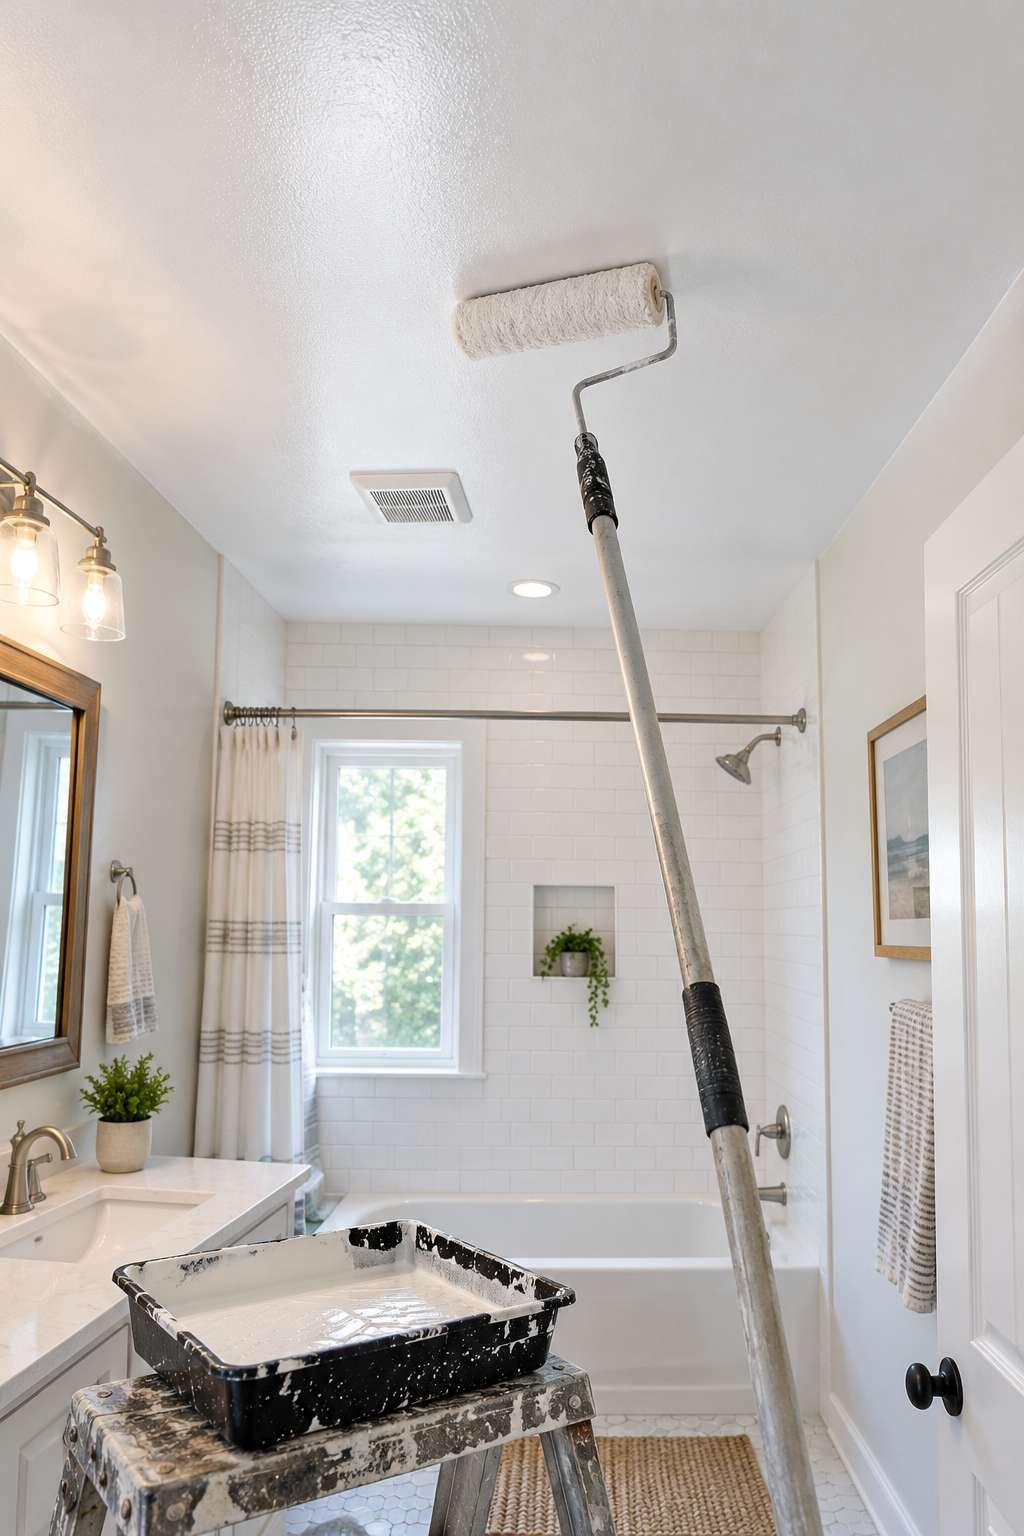
Allow full curing time before running hot showers again, since fresh paint needs time to properly seal against moisture exposure.
- Confirm the ceiling is completely dry before painting
- Apply a stain-blocking primer first
- Choose bathroom-rated, mould-resistant paint
- Favor satin or semi-gloss over flat finishes
- Allow full cure time before heavy steam exposure
- Reapply ventilation habits immediately after painting
Frequently Asked Questions
How do you get rid of silverfish in a bathroom?
Reduce humidity with a fan or dehumidifier, since silverfish thrive in damp environments similar to those that cause mould. Seal cracks around baseboards and pipes, and use sticky traps or a diatomaceous earth application to catch and reduce their population over time.
How do you get rid of urine smell in a bathroom?
Clean the base of the toilet and surrounding grout with an enzyme cleaner, which breaks down odor-causing residue better than standard products. Improve ventilation and check for hidden leaks around the toilet base if the smell persists after cleaning.
How do you get rid of springtails in a bathroom?
Springtails are drawn to excess moisture, so start by fixing any damp spots and improving airflow with a fan or dehumidifier. Vacuuming visible springtails and treating baseboards with a mild insecticidal soap typically clears them within a week or two.
How do you get rid of bathroom smell?
Run the exhaust fan regularly, clean drains with a bacterial drain cleaner, and wipe down damp surfaces after every shower. A small odor absorber like baking soda near the toilet or drain can also help keep smells from building up between deep cleans.
Keeping mould off your bathroom ceiling really comes down to two things: thorough cleaning when it appears, and consistent moisture control afterward. Once you’ve treated the current growth, small daily habits like running the fan and wiping down damp surfaces make a bigger difference than any single product.
If mould keeps coming back despite your best efforts, don’t hesitate to bring in a professional to check for hidden leaks or ventilation issues. A ceiling that stays clean and dry protects both your home and your air quality for the long run.