


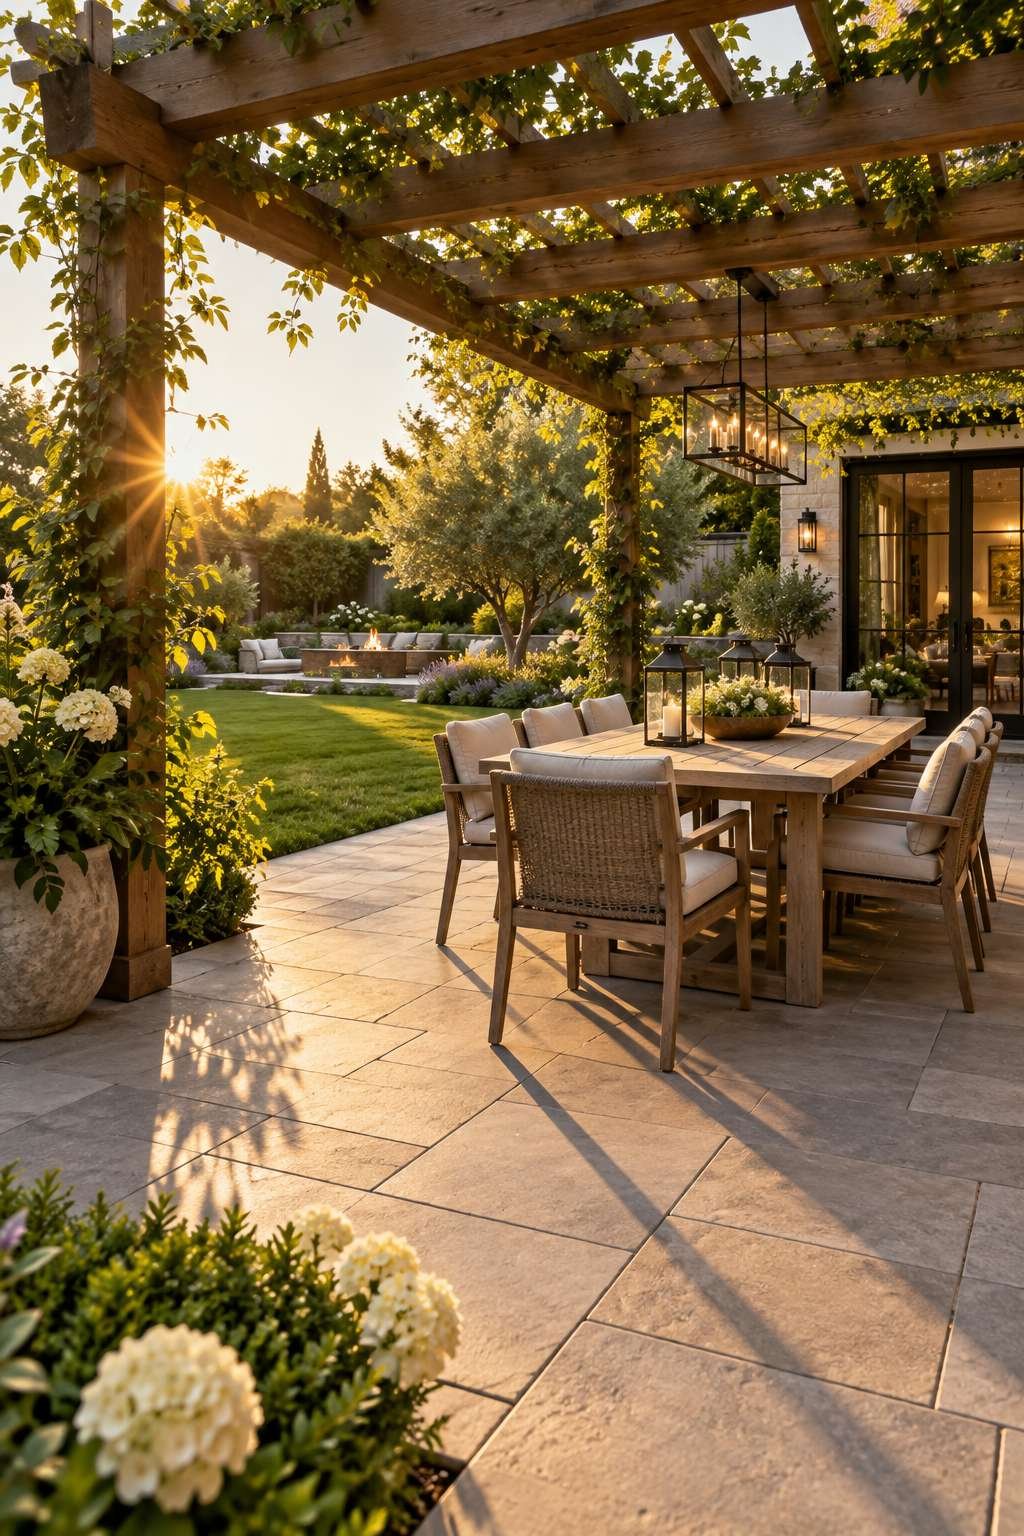
Learning how to build a patio is one of the most rewarding upgrades you can give your backyard. A well-planned patio turns an empty stretch of grass into a functional outdoor room for dining, relaxing, and entertaining. Thoughtful design choices, from material selection to layout, make the difference between a space that feels like an afterthought and one that feels like a true extension of your home.
Different homeowners want different things from their outdoor space — some crave a cozy reading nook, while others want a full-scale entertaining area with room for a grill and seating for ten. This guide walks through every stage of the process, from picking the right spot to laying pavers and adding the finishing touches. Whether you’re searching for tips on how to build patio projects on a tight budget or a more elaborate stone installation, you’ll find practical, actionable steps below.
1. Choosing the Right Patio Location
Before you touch a single tool, spend time observing your yard. The best patio sites get a mix of morning sun and afternoon shade, sit away from low-lying areas where water pools, and offer a natural sightline from your kitchen or living room. Watching how sunlight moves across your property for a few days will save you from building in a spot that turns unbearably hot by midday.
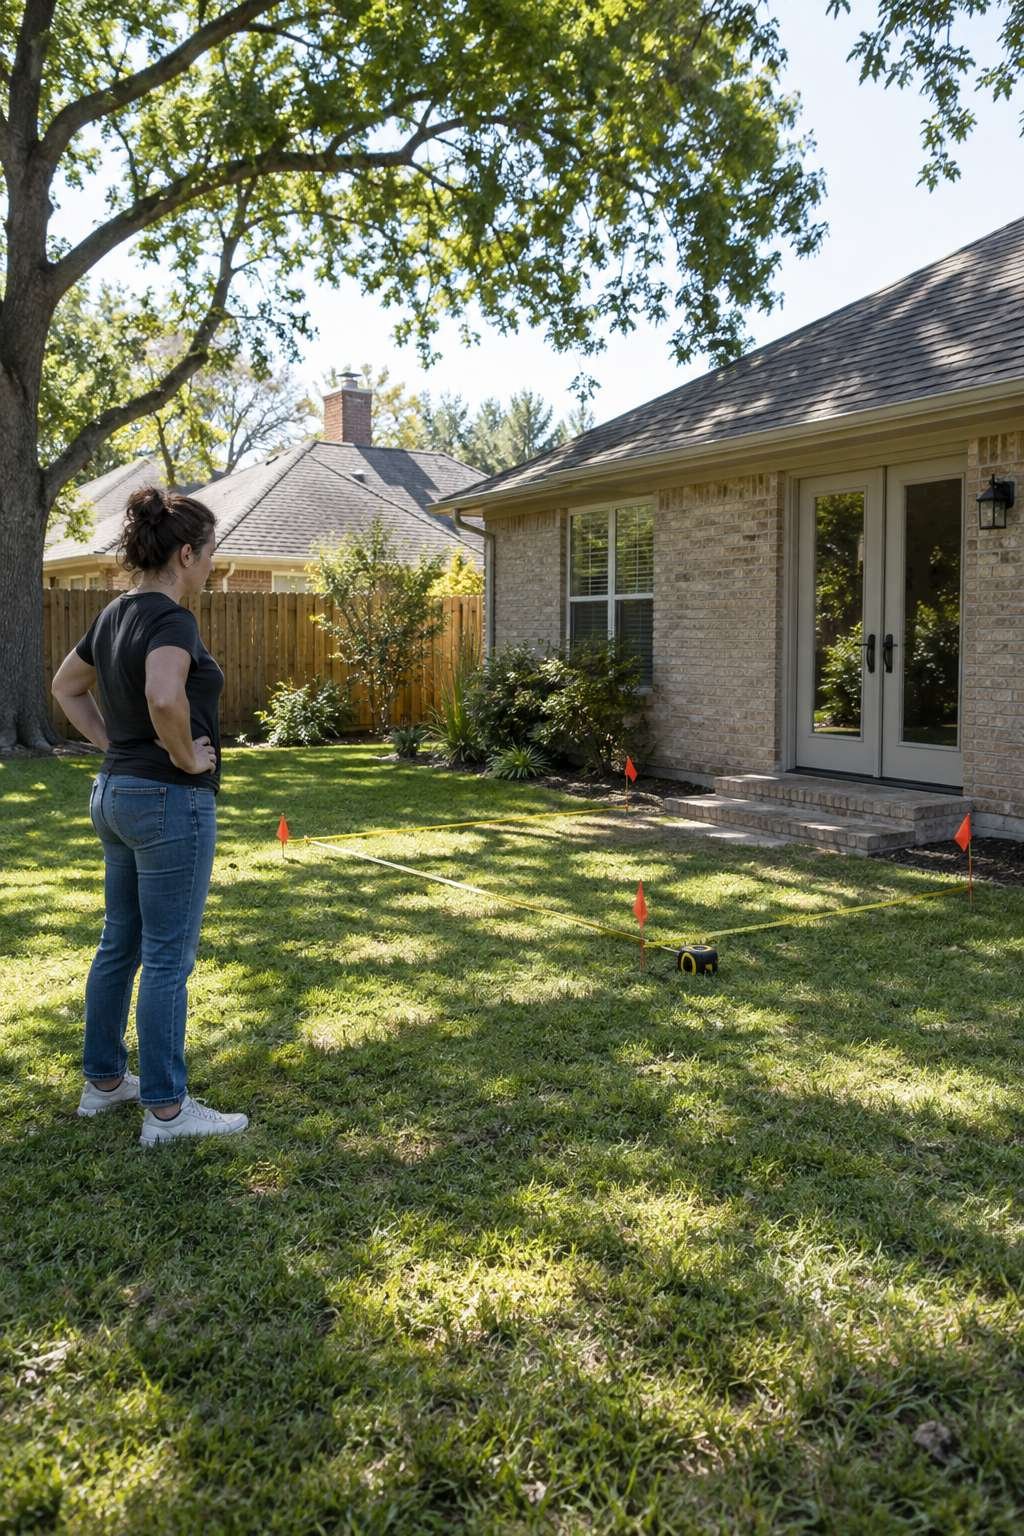
Proximity to the house matters too. A patio attached directly to your back door feels like a seamless extension of your indoor living space, while a detached patio tucked near a garden bed can serve as a quiet retreat. If you already know you’ll want overhead shade later, note the orientation now — it will make it easier when you’re ready to explore how to build a patio roof attached to house structures down the line.
- Watch sun and shade patterns over several days
- Avoid low spots prone to standing water
- Check for buried utility lines before digging
- Consider the view from indoor windows
- Leave room for future furniture and pathways
- Confirm the location complies with local setback rules
2. Selecting Patio Materials
Material choice shapes both the look and the lifespan of your project. Concrete pavers are affordable, durable, and available in dozens of colors and shapes, making them a popular starting point for beginners. Natural stone, like flagstone or bluestone, delivers a more organic, upscale appearance but typically costs more and requires careful cutting.
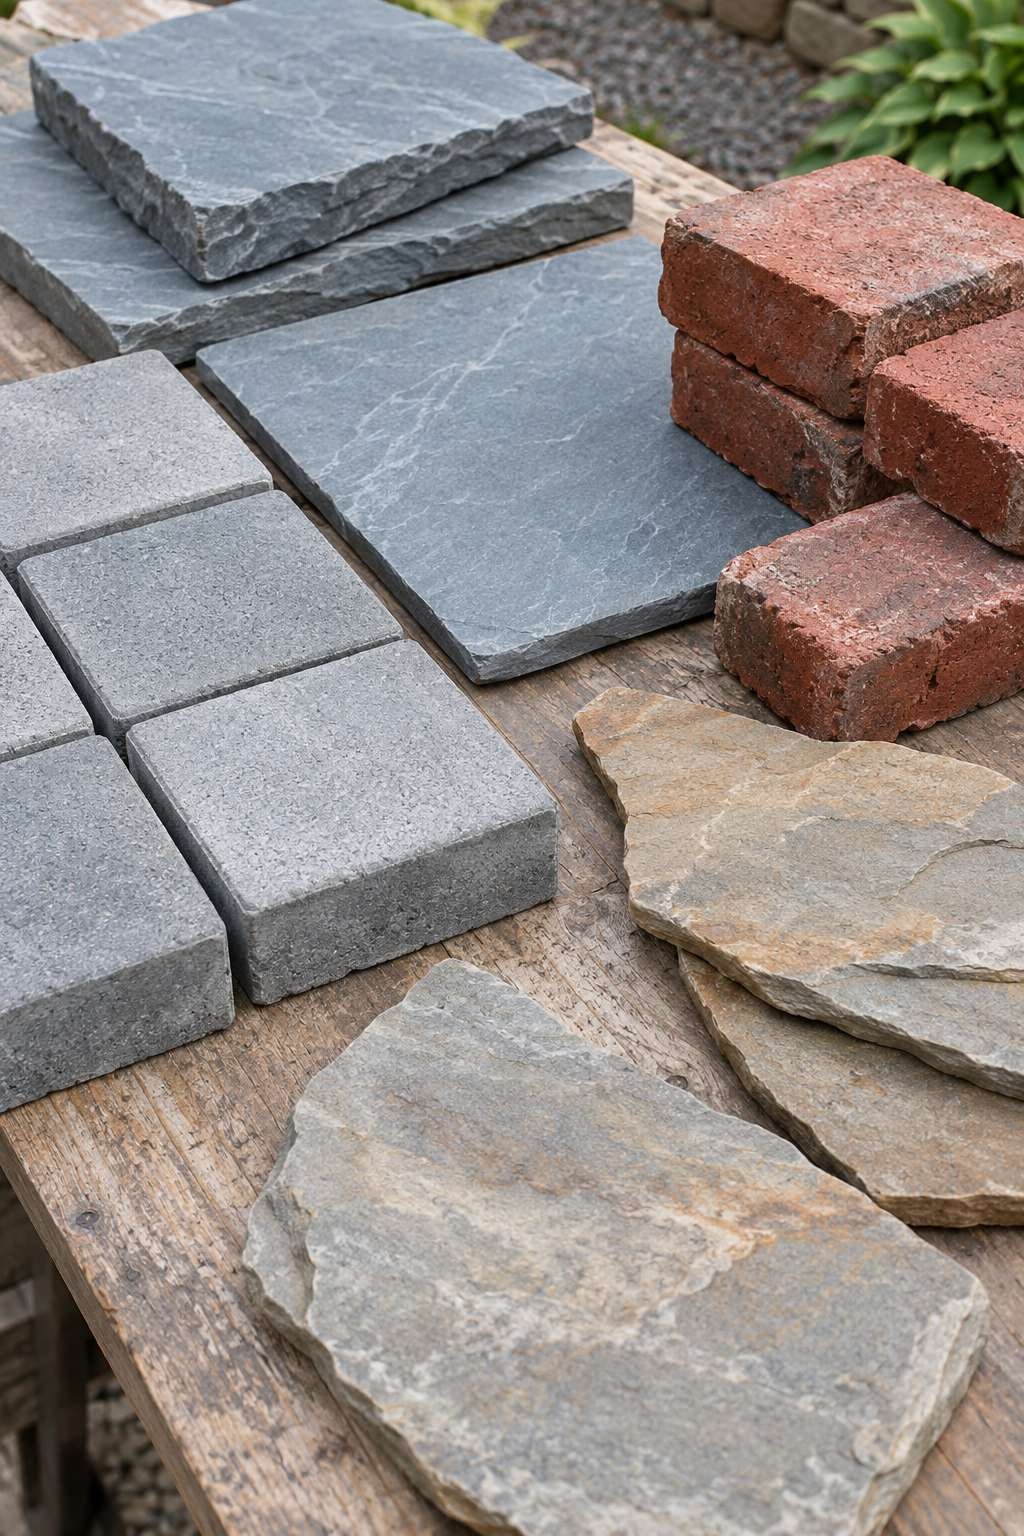
Brick offers a classic, warm aesthetic that pairs beautifully with traditional homes, while poured concrete slabs give a clean, modern look with fewer seams to maintain. If your climate sees heavy rain or snow, prioritize materials with strong freeze-thaw resistance so the surface doesn’t crack over time.
- Compare cost per square foot across pavers, stone, and concrete
- Match material style to your home’s architecture
- Choose slip-resistant textures for pool-adjacent patios
- Check freeze-thaw ratings in colder climates
- Order 10% extra material to cover cuts and waste
- Sample materials outdoors before committing
3. Planning Your Patio Layout and Shape
A well-proportioned layout keeps the space functional rather than cramped. Sketch your patio to scale, marking where a dining table, lounge chairs, or a fire pit will sit, and leave at least three feet of clearance around furniture for comfortable movement. Rectangular and square layouts are the easiest for beginners, since they minimize material cutting.
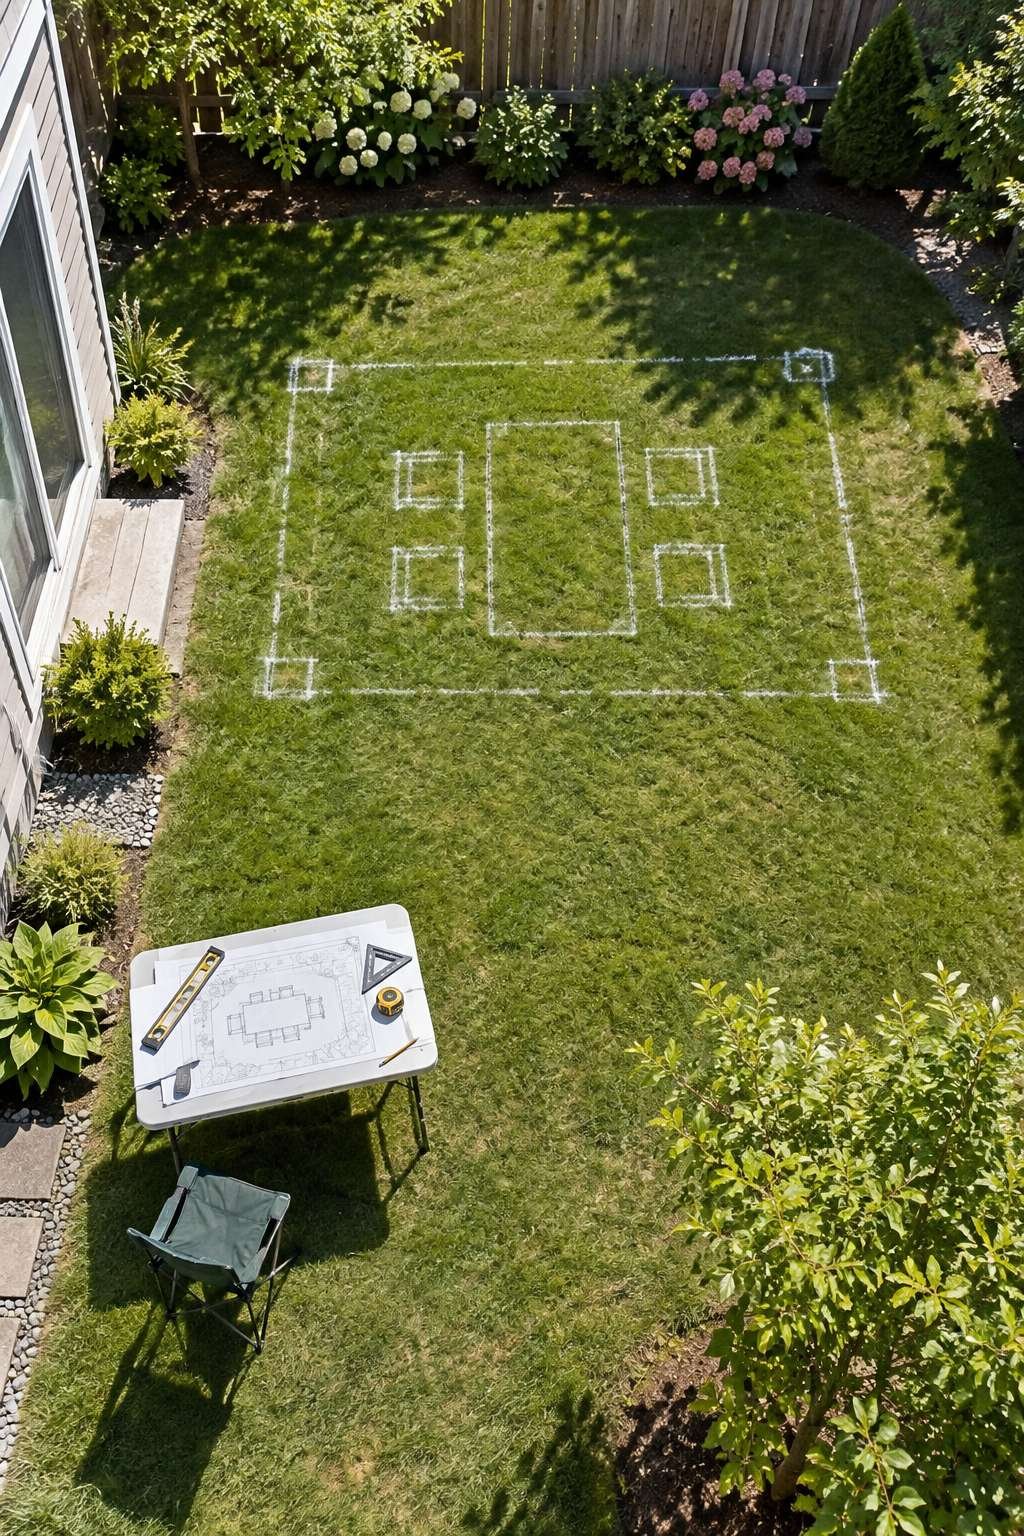
Curved or multi-level designs add visual interest but demand more advanced cutting and leveling skills. If your yard slopes, consider breaking the patio into tiered sections connected by shallow steps rather than forcing one flat plane across uneven ground.
- Sketch the layout to scale before ordering materials
- Leave 36+ inches of walking clearance around furniture zones
- Start with a rectangular shape if you’re a first-time builder
- Plan tiered levels for sloped yards
- Mark utility access points on your sketch
- Account for door swing and gate clearance
4. Preparing the Base for Your Patio
A patio is only as strong as what lies beneath it. Start by excavating the area to a depth of 6 to 8 inches, removing grass, roots, and topsoil completely. Skipping this step is the number one reason patios shift, sink, or crack within a year or two.
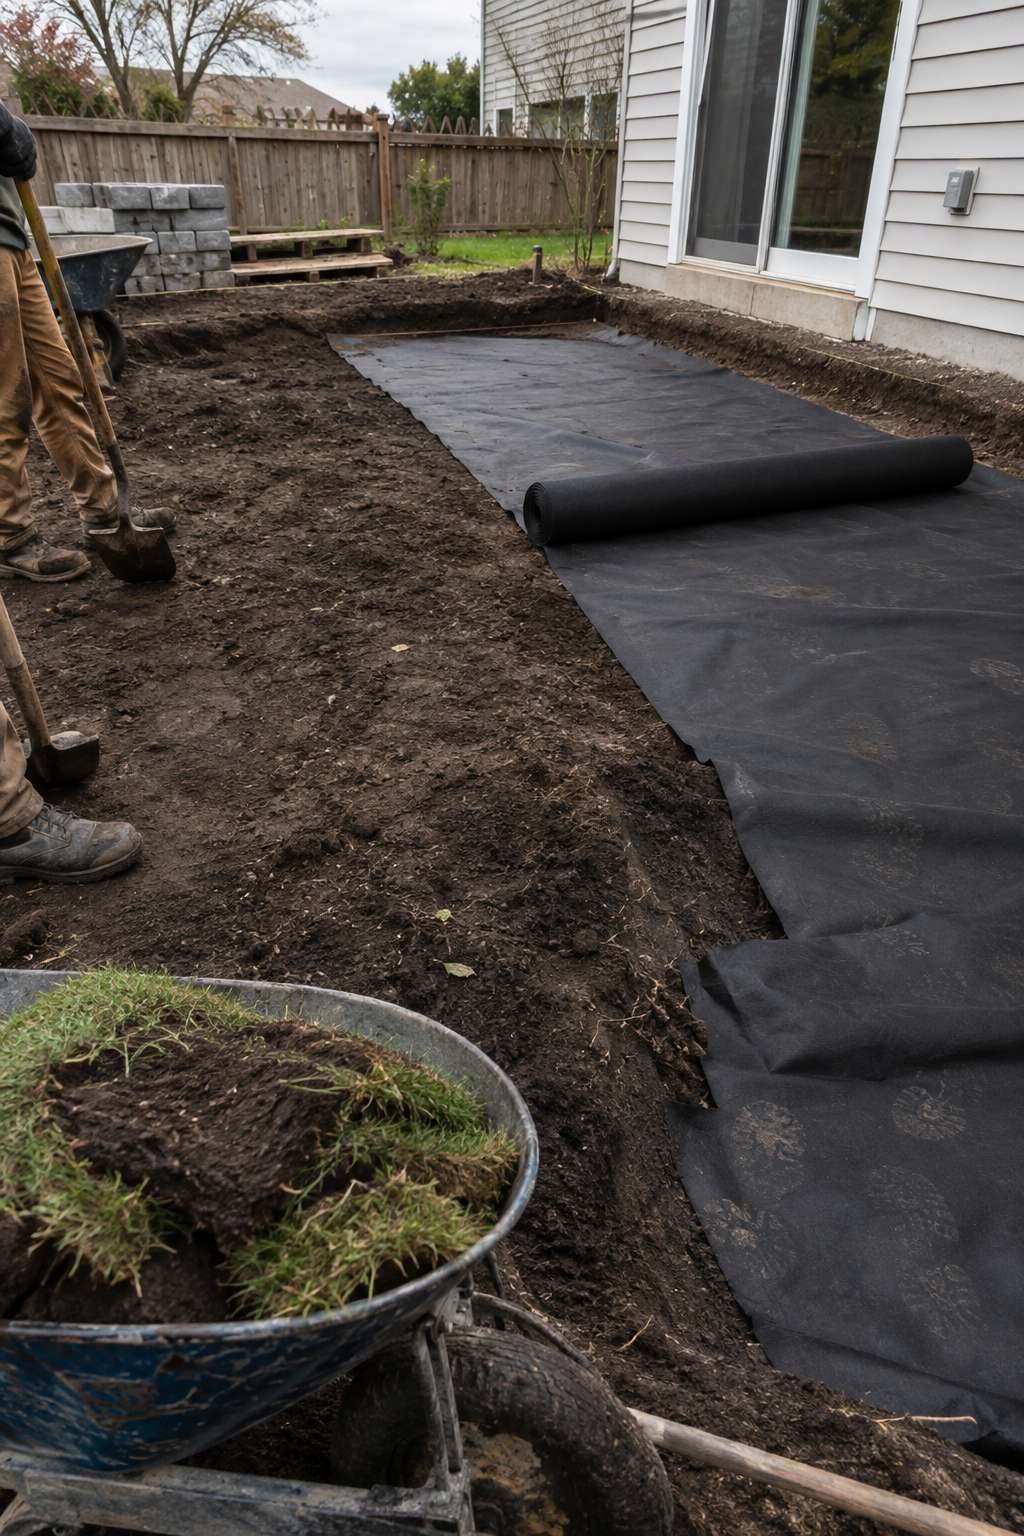
Once excavated, install landscape fabric across the entire area to block weeds from pushing through the joints later. This single layer saves hours of future maintenance and keeps the surface looking clean season after season.
- Excavate 6-8 inches deep across the full patio footprint
- Remove all grass, roots, and organic debris
- Lay landscape fabric before adding base material
- Slope the excavation slightly away from the house
- Rent a plate compactor for larger projects
- Check depth consistency with a string line
5. Laying the Patio Foundation
Spread a compactable gravel base, typically crushed limestone or road base, in 2-inch layers, compacting each layer before adding the next. This gradual approach prevents air pockets that would otherwise cause uneven settling. Most patios need 4 inches of compacted base for foot traffic areas and closer to 6 inches if vehicles will ever cross it.
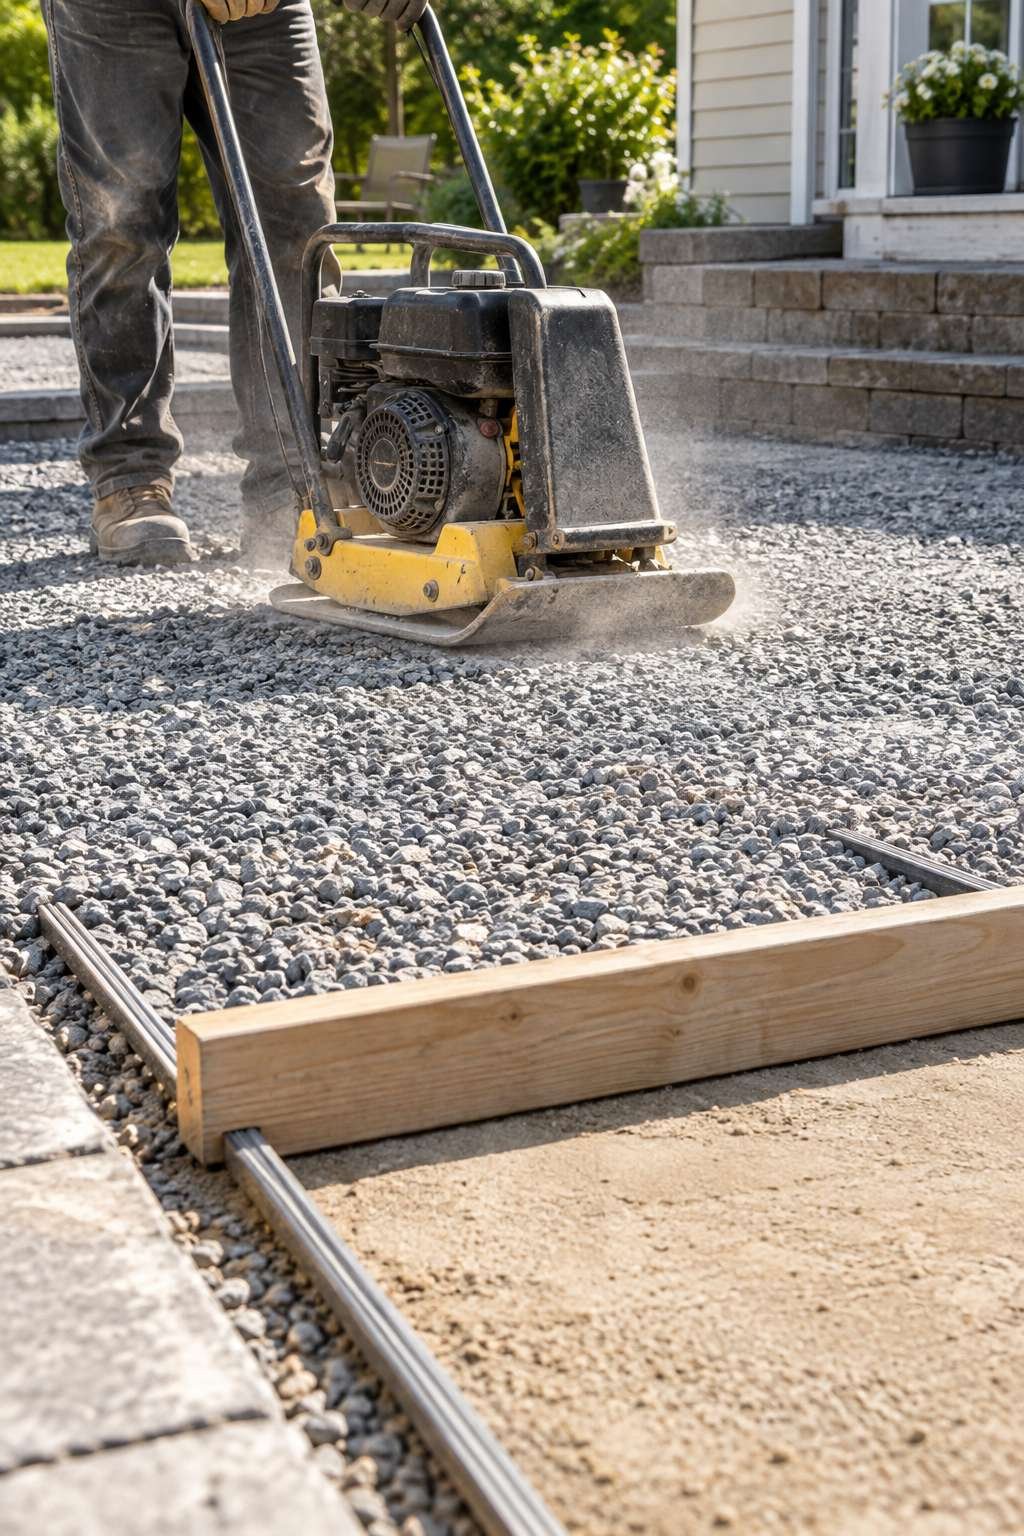
On top of the gravel, add a leveling layer of coarse sand, screeded flat with a straight board resting on temporary guide rails. This sand bed is what allows pavers to sit perfectly level once installed.
- Use crushed limestone or road base for the foundation layer
- Compact gravel in 2-inch lifts for even density
- Add a 1-inch sand leveling layer on top
- Screed the sand bed flat using guide rails
- Test level with a long spirit level across the surface
- Avoid walking on the screeded sand before laying pavers
6. Installing Pavers or Stone
With the base ready, begin laying your chosen material from one corner, working in straight rows and checking level every few pieces. Tap each paver gently with a rubber mallet to seat it firmly into the sand bed, keeping consistent gaps for jointing sand between pieces.
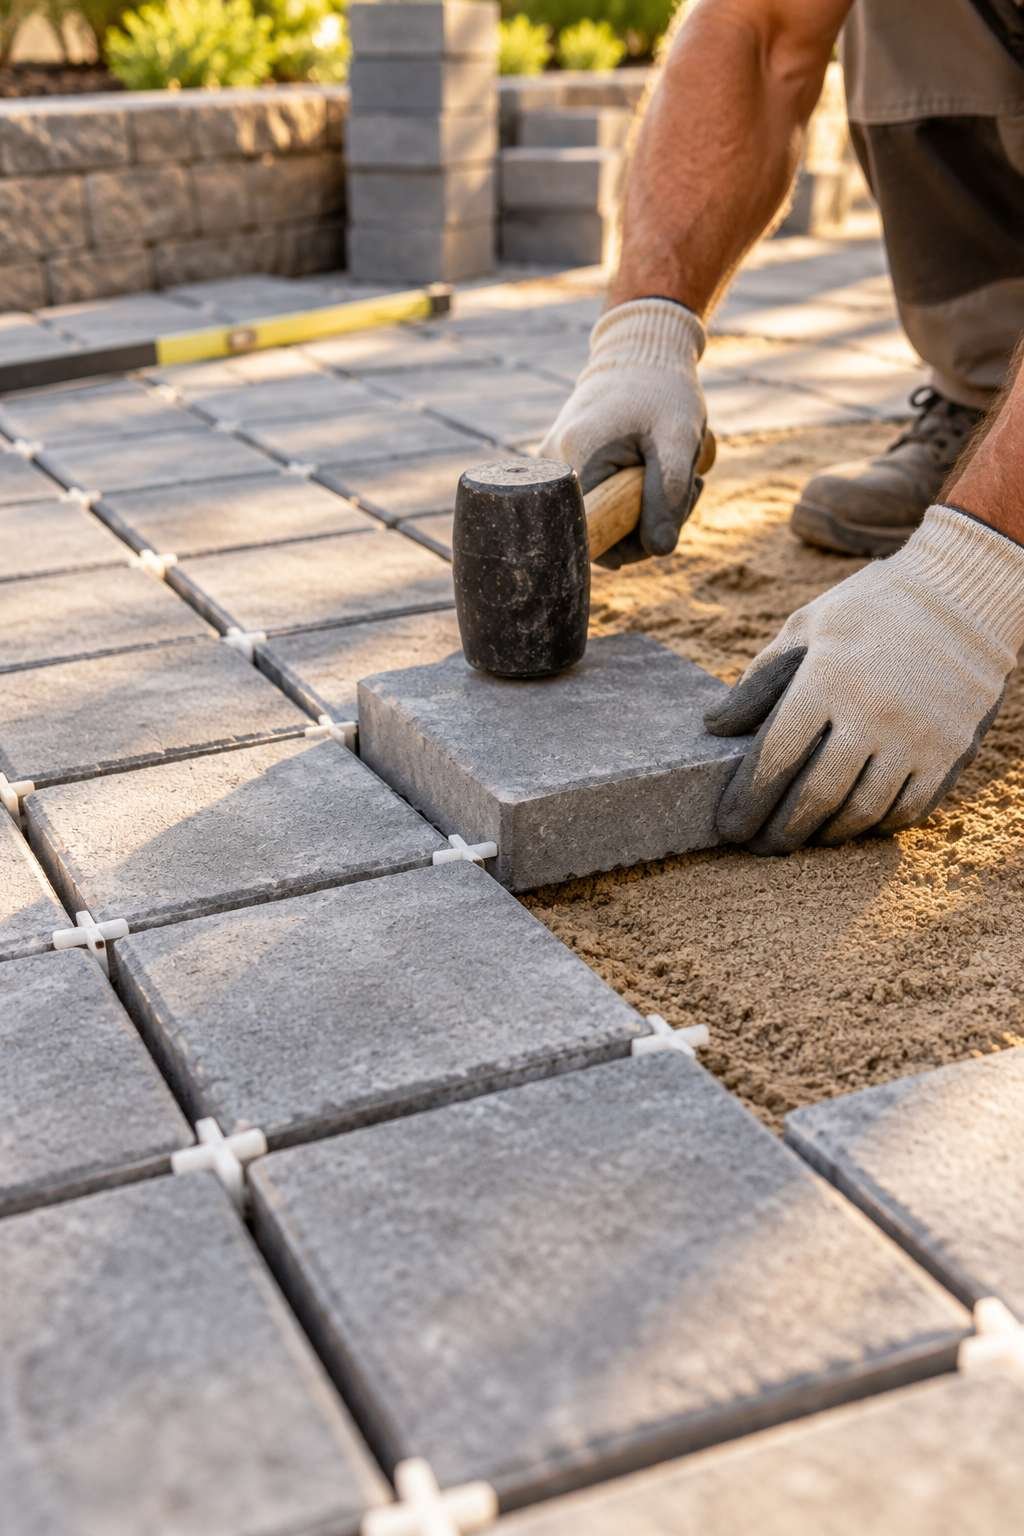
Cut border pieces last using a wet saw for clean, accurate edges. Taking your time here pays off — rushed cuts are the most common source of visible gaps and uneven lines in finished patios.
- Start laying from a straight edge or corner
- Check level every 3-4 pavers as you work
- Use spacers for consistent joint width
- Cut edge pieces last with a wet saw
- Sweep polymeric sand into joints once laid
- Mist the sand lightly to activate the binder
7. Adding Edging and Borders
Edge restraints keep your patio from spreading or shifting over time, especially in areas exposed to freeze-thaw cycles. Plastic or metal edging installed along the perimeter and staked into the ground provides invisible support without changing the look of the surface.
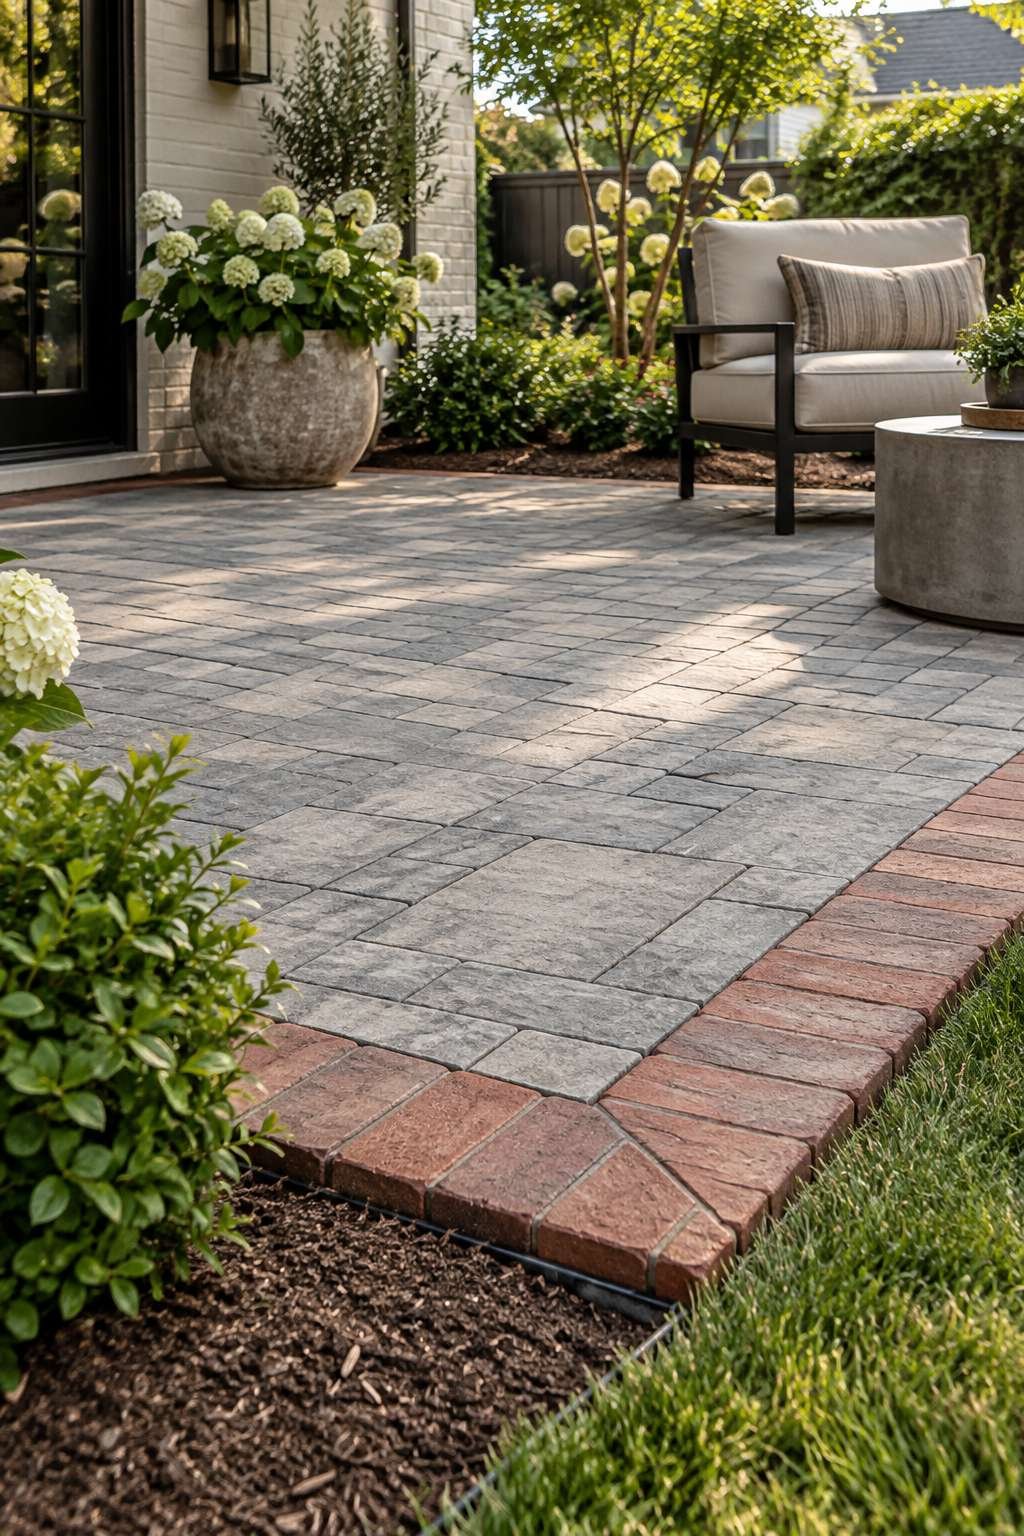
For a more decorative finish, consider a contrasting border of soldier-course pavers laid perpendicular to the field pattern. This small detail frames the entire patio and gives it a professionally finished appearance.
- Install edge restraints along the full perimeter
- Stake restraints every 12 inches for stability
- Choose a soldier-course border for a framed look
- Match border material to your main paving material
- Backfill against edging with soil or mulch
- Inspect edging annually for shifting or gaps
8. Incorporating Drainage Solutions
Standing water is one of the fastest ways to damage a new patio. Build in a slight slope, roughly a quarter-inch per foot, directing water away from your home’s foundation. This gentle grade is nearly invisible to the eye but critical for long-term durability.
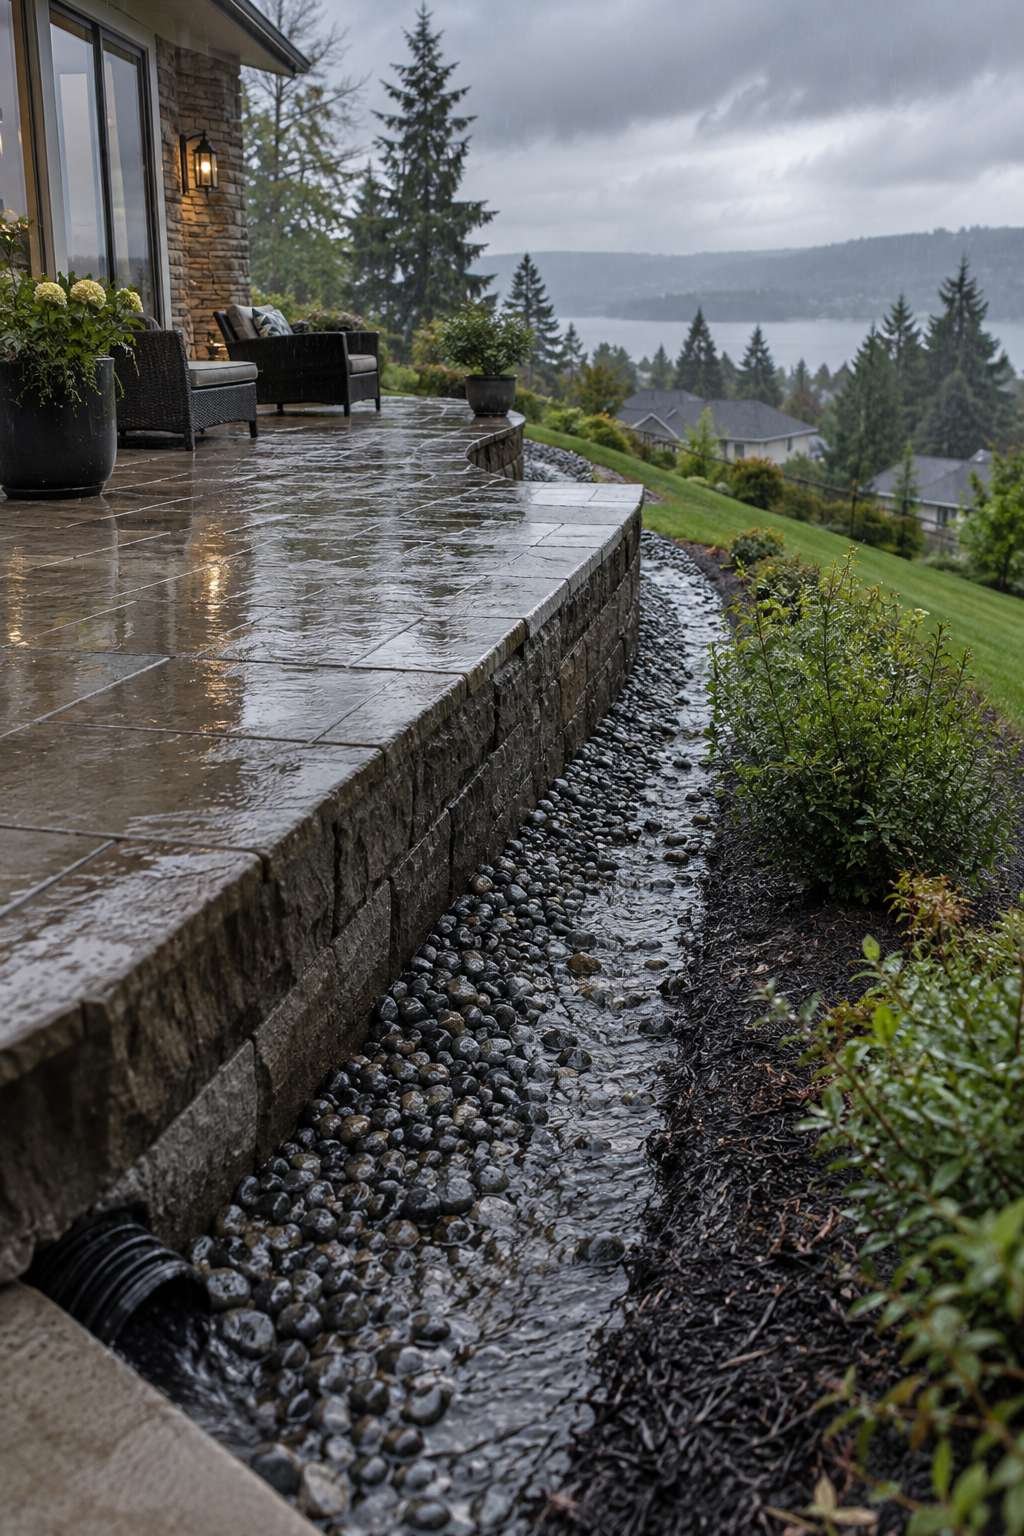
In low-lying yards, a French drain or a simple gravel-filled trench along the patio’s low edge can capture excess runoff before it pools. Combining proper grading with a drainage channel gives you the most reliable protection against erosion and cracking.
- Grade the patio a quarter-inch per foot away from the house
- Install a French drain in persistently wet yards
- Keep downspouts directed away from the patio edge
- Check drainage performance during the first heavy rain
- Add a gravel trench along low-lying borders
- Re-grade promptly if puddles form after installation
9. Adding Shade and Overhead Structures
Once the hardscape is finished, many homeowners turn their attention to shade. A pergola or shade sail can transform a sun-baked patio into a comfortable spot for midday lounging, and it pairs naturally with the seating layout you planned earlier. If you’re ready to explore something more permanent, our guide on how to build a patio cover walks through framing options step by step.

For patios directly against the house, a roofed extension ties the new space visually to your existing roofline and offers year-round protection from rain. We cover the framing and flashing details for that approach in our guide to how to build a roofed patio attached to the house, which pairs well once your base patio is complete.
- Choose a pergola for partial, filtered shade
- Consider a shade sail for a budget-friendly option
- Match roofing material to your home’s existing roof
- Plan post footings before pouring the patio slab if possible
- Add outdoor curtains or blinds for adjustable coverage
- Consult local codes before building an attached structure
10. Furnishing and Maintaining Your Patio
With construction complete, focus on furniture scale — oversized pieces overwhelm small patios, while undersized furniture gets lost on larger ones. Weather-resistant materials like teak, resin wicker, and powder-coated aluminum hold up best against sun and moisture.

Routine maintenance keeps your investment looking sharp for years. Sweep debris regularly, reapply polymeric jointing sand every few seasons, and reseal natural stone or concrete every one to three years depending on exposure. A little upkeep now prevents costly repairs later.
- Measure your space before buying furniture
- Choose weather-resistant materials for longevity
- Sweep and rinse the surface monthly
- Reapply jointing sand as it settles or washes out
- Reseal stone or concrete every 1-3 years
- Inspect edging and drainage each spring
Frequently Asked Questions
How do you build a patio roof?
Building a patio roof starts with setting sturdy support posts on concrete footings, then framing rafters that tie into a ledger board attached to your house or a freestanding beam. Once framed, add sheathing and your chosen roofing material, whether shingles, polycarbonate panels, or louvered slats.
How do you build a patio cover attached to a house?
A patio cover attached to a house begins by securing a ledger board to the exterior wall with flashing to prevent leaks. From there, posts support the outer edge, rafters span between the ledger and the beam, and the roofing surface is installed on top.
How do you build a patio roof attached to a house?
This process mirrors building any attached patio cover: anchor a ledger board to the house, set support posts at the correct spacing, and frame rafters between them. Local codes often dictate footing depth and rafter spacing, so check requirements before framing.
How do you build a patio covering?
A simple patio covering can be as basic as a shade sail stretched between anchor points, or as involved as a full pergola with a fabric or polycarbonate roof. Choose based on how much sun and rain protection you actually need year-round.
Conclusion
Building a patio rewards patience with a space you’ll enjoy for decades. From choosing the right location and materials to compacting a solid base and setting your final pavers, each step builds toward a durable, beautiful outdoor room. Take your time with the foundation work especially — it’s the part no one sees, but it’s what keeps everything else looking great.
Once your patio is in place, don’t be afraid to experiment with furniture arrangements, shade structures, and seasonal décor to make the space truly your own. A little creativity now turns a simple slab of pavers into the heart of your outdoor living.

