


A cluttered laundry room can turn a simple chore into a daily headache, but learning how to organize laundry room spaces doesn’t require a full renovation. With a few smart layout choices and some inexpensive storage solutions, even the smallest laundry nook can become efficient and pleasant to use. This guide walks you through every step, from decluttering to building a routine that keeps the space tidy long after the initial setup.
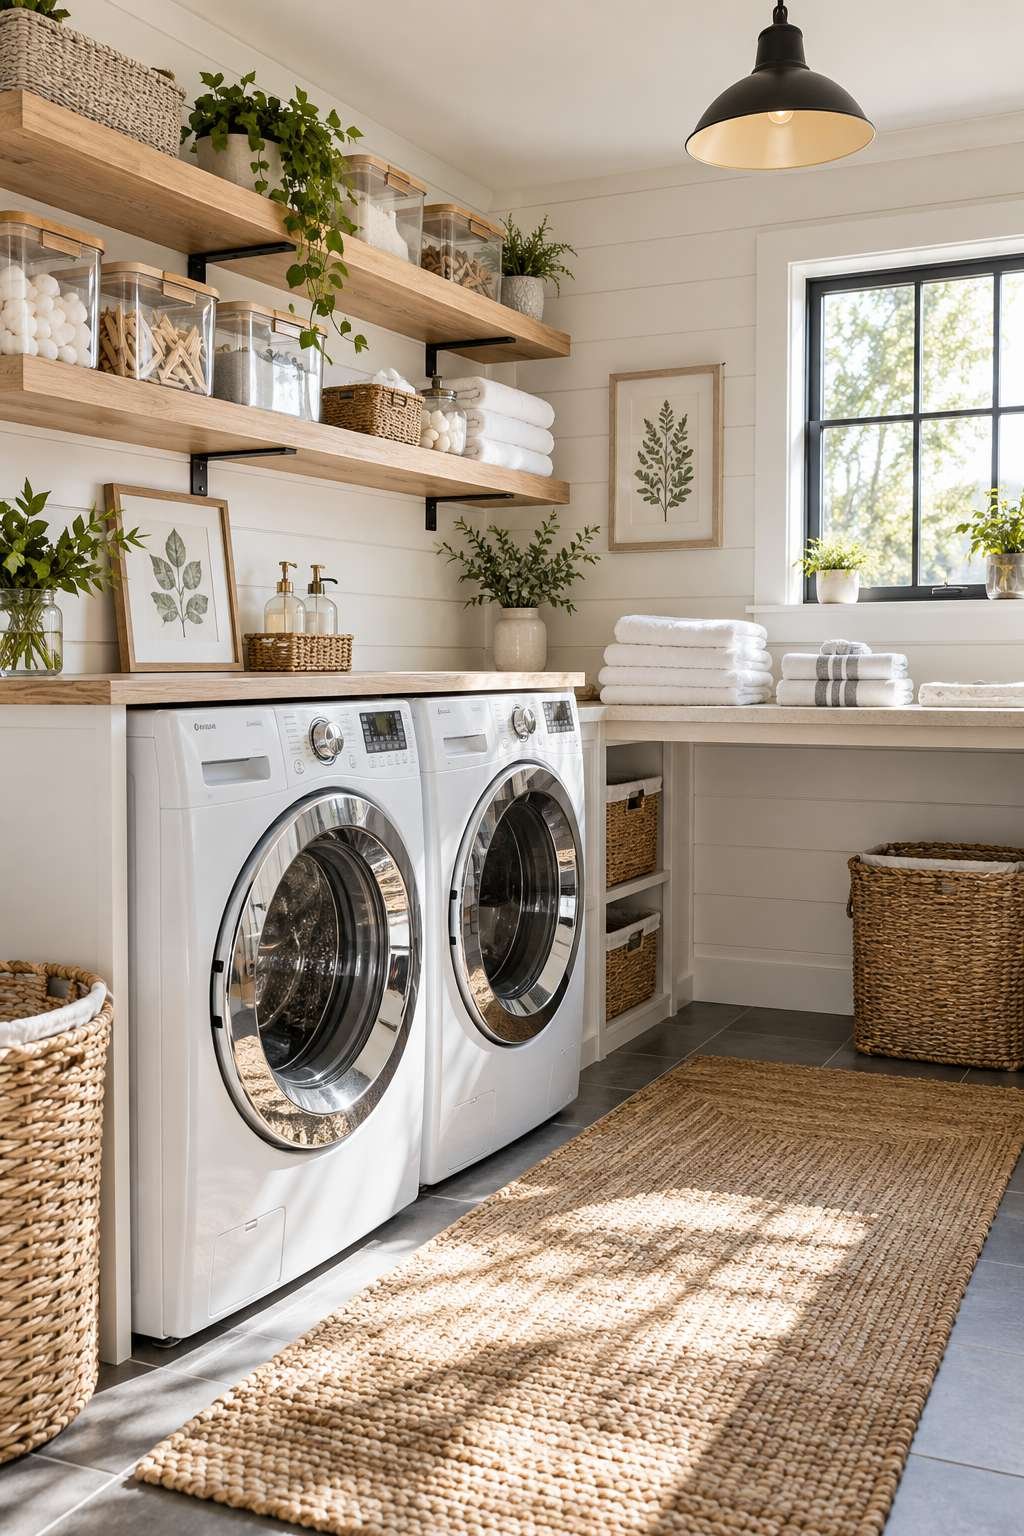
Whether you’re working with a large dedicated room or a narrow closet stacked with a washer and dryer, the same core principles apply. Thoughtful zoning and consistent habits matter far more than square footage.
1. Assess Your Laundry Room Layout
Before buying a single storage bin, take stock of what you’re actually working with. Measure the available wall space, note where outlets and plumbing sit, and identify any awkward corners that go unused. This assessment shapes every decision that follows, so it’s worth spending real time on it.
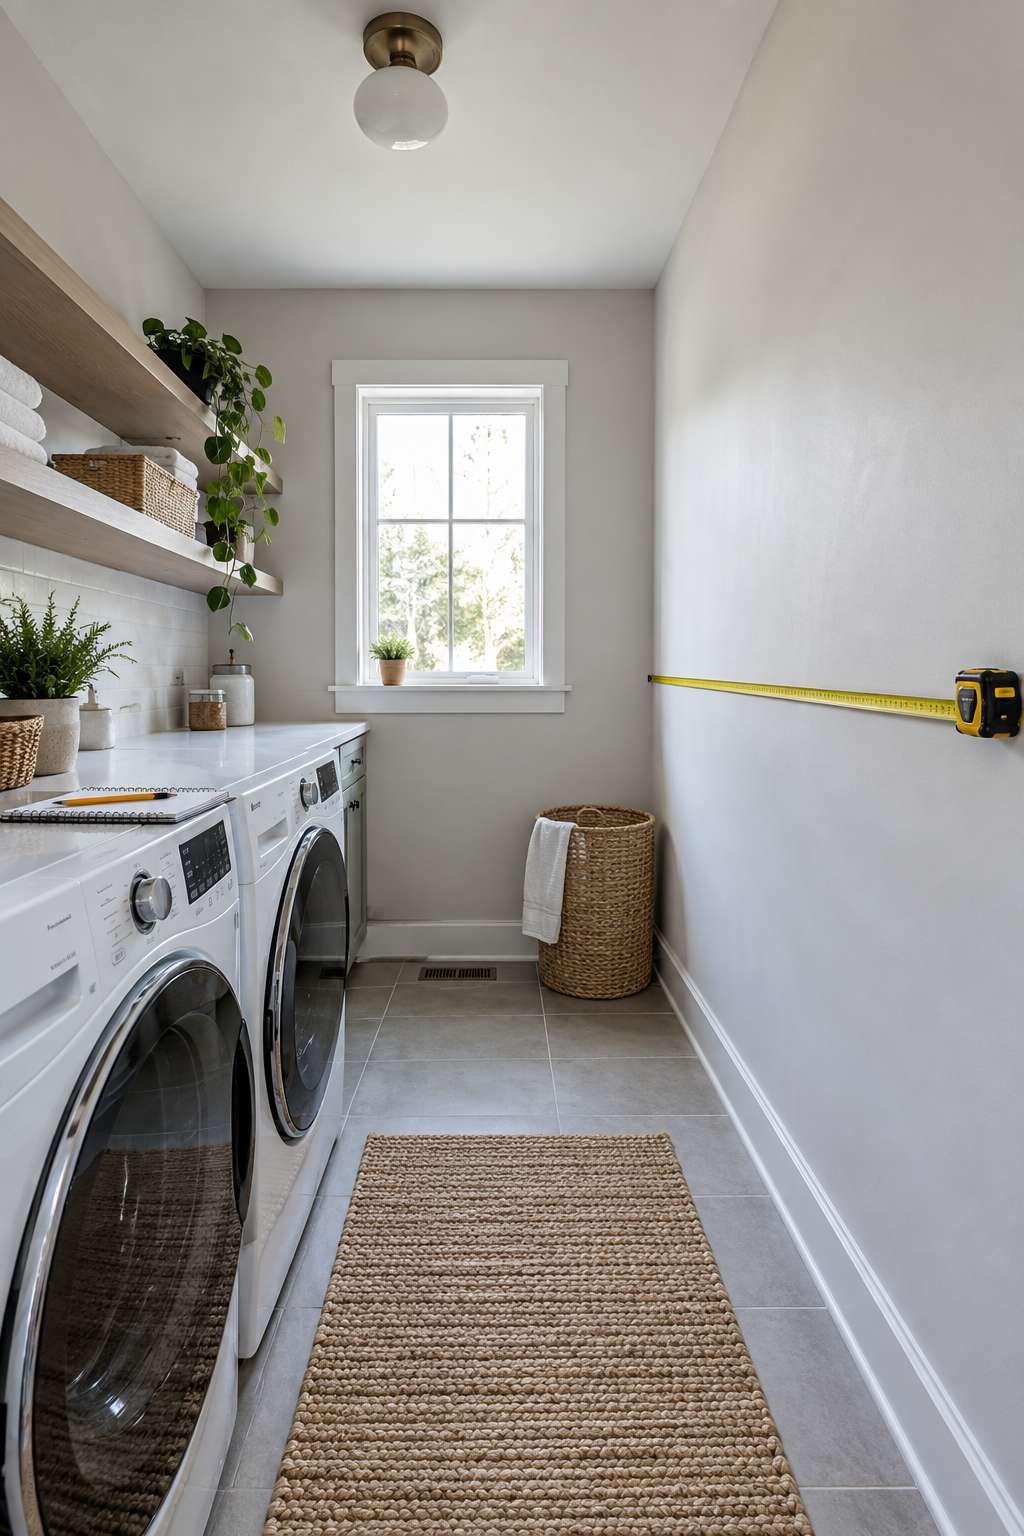
Think about how you move through the space when doing laundry. Do you carry clothes in from another room? Is the ironing board wedged behind the door? Mapping this natural workflow helps you place supplies where you’ll actually use them instead of where they happen to fit. If you’re still nailing down the basics of the wash cycle itself, our full guide to doing laundry from start to finish is worth reading alongside this layout planning.
- Sketch a rough floor plan, even a simple one on paper
- Note the location of outlets, vents, and water lines
- Identify unused vertical space above the machines
- Photograph the room to reference while shopping for storage
- List every task you perform in the room, from sorting to ironing
- Mark problem areas like doors that block cabinet access
2. Declutter Before You Organize
Organizing on top of clutter never works long-term. Pull everything out of the room — every bottle, basket, and forgotten sock — and sort it into keep, donate, and toss piles. This reset moment is uncomfortable but essential for a system that actually sticks.
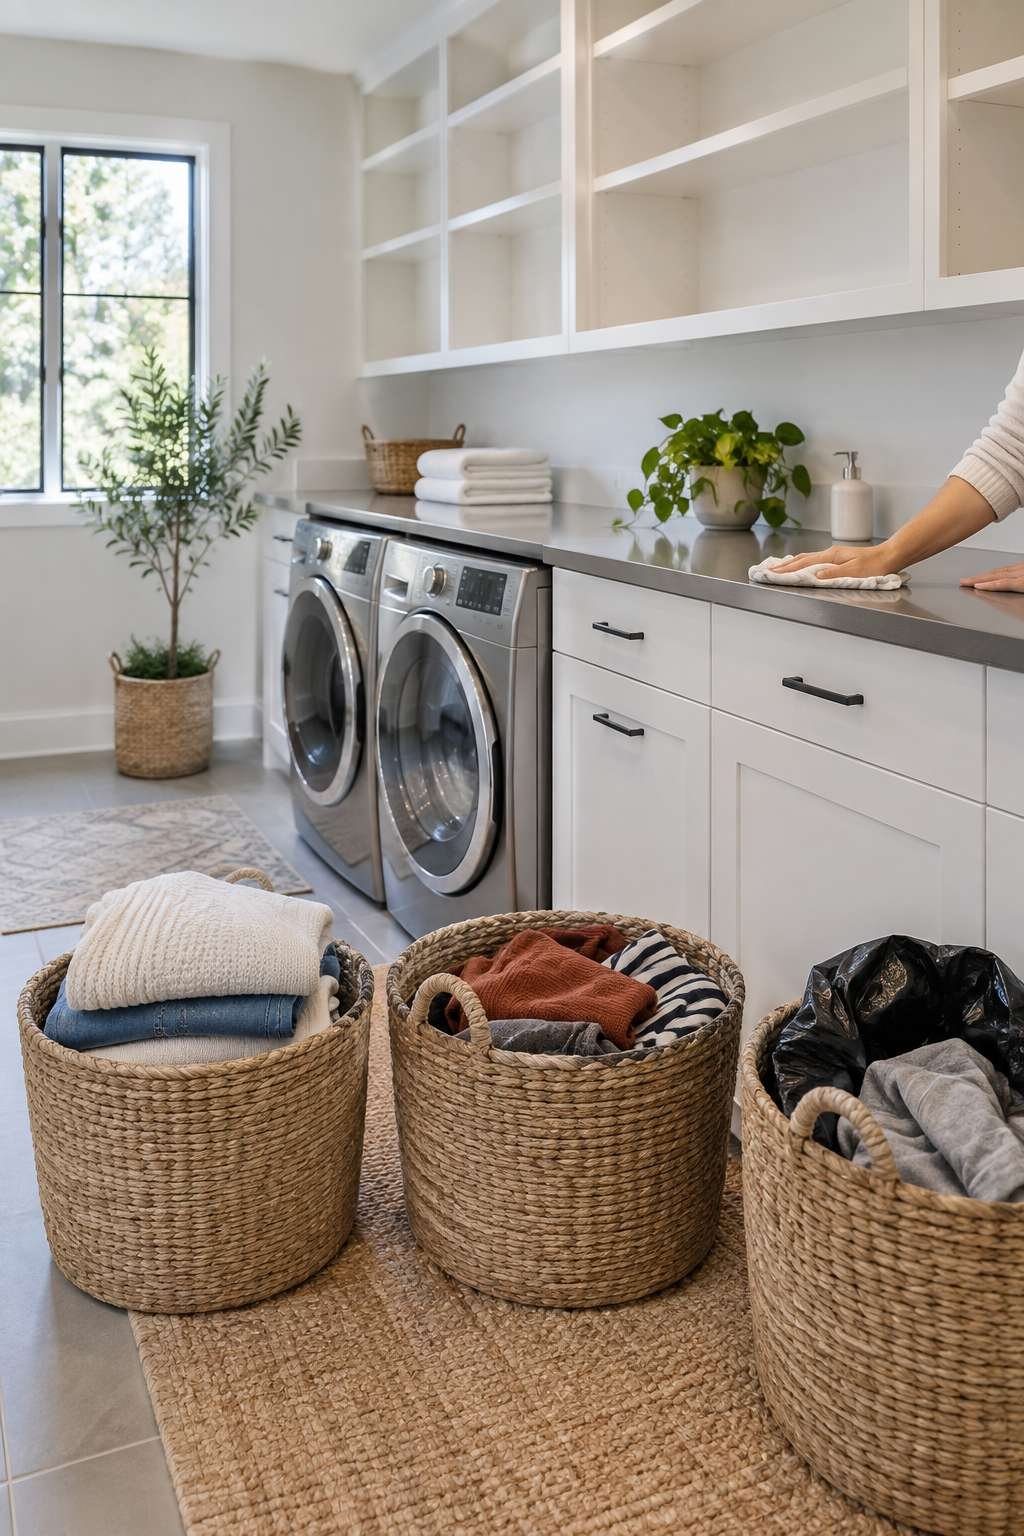
Be honest about expired detergents, single mismatched socks, and stain removers you never use. A smaller, curated supply list is far easier to maintain than a shelf crammed with duplicates. Once the room is empty, wipe down every surface before anything goes back in.
- Remove all items from shelves, cabinets, and the floor
- Toss expired or dried-out cleaning products
- Donate extra hangers, baskets, or unused hampers
- Wipe down the washer, dryer, and all surfaces
- Group similar items together before deciding what stays
- Only return items you use at least once a month
3. Choose a Zone-Based System
Professional organizers rely on zoning because it eliminates guesswork. Divide the room into distinct areas: a sorting zone, a washing zone, a drying zone, and a folding zone. Each zone holds only the tools relevant to that task.
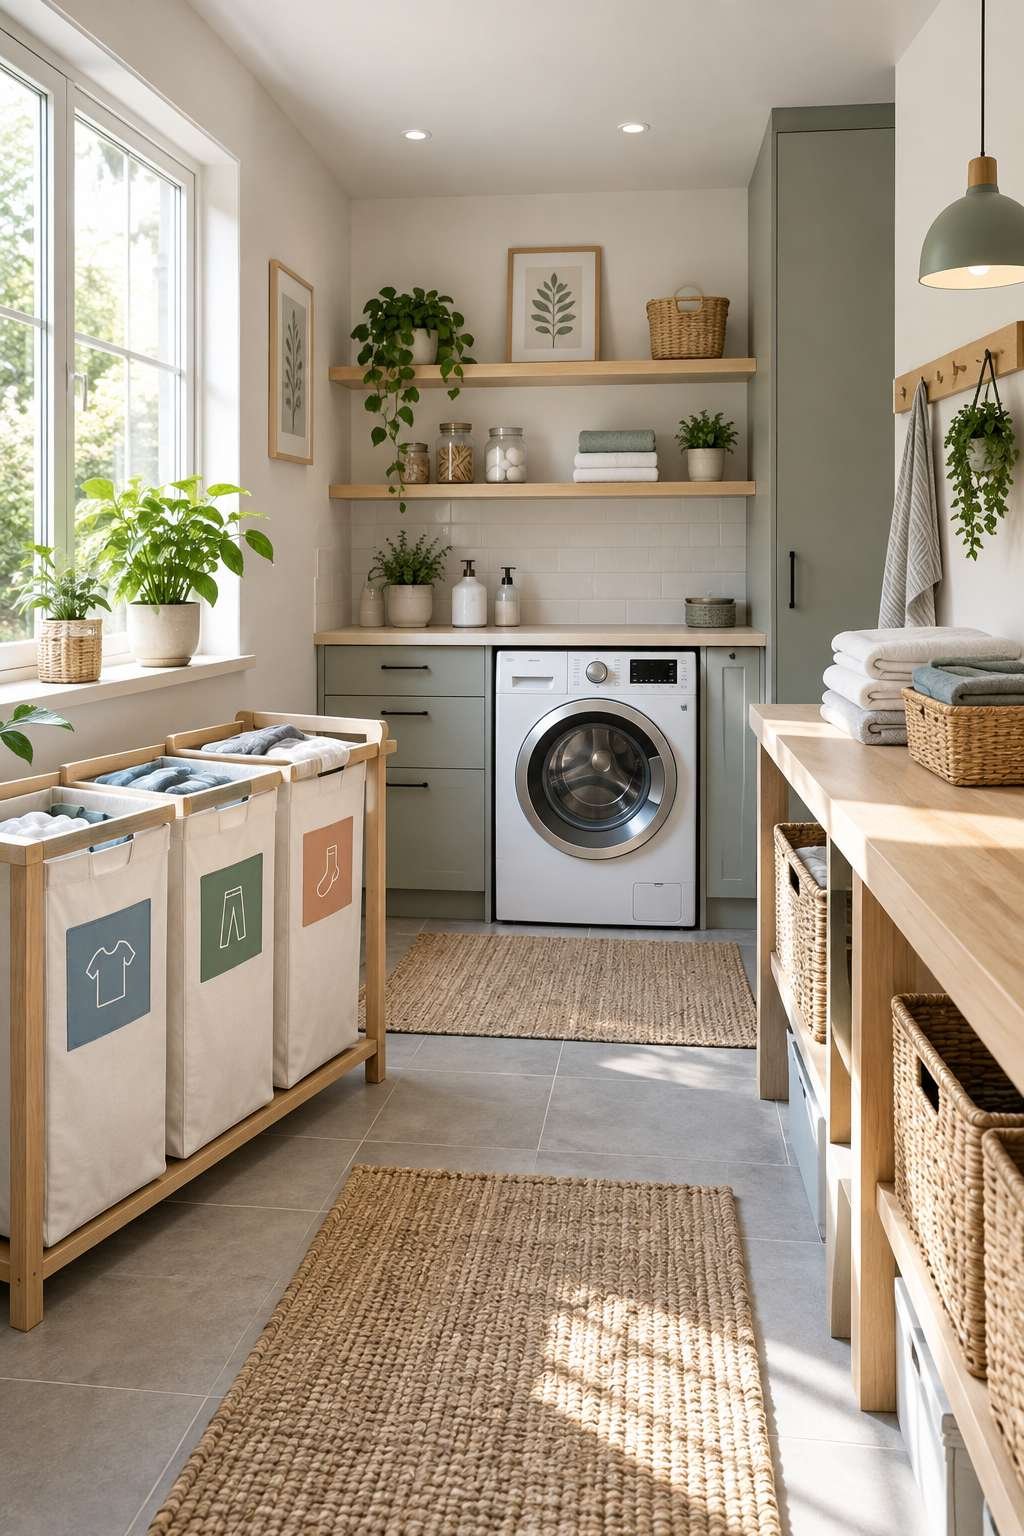
This approach means detergent lives near the washer, stain treatments live near the sorting bins, and hangers live near the drying rack. When everything has a designated home base, cleanup after each load takes seconds instead of minutes.
- Assign one clear purpose to each section of the room
- Keep sorting bins closest to the door for easy drop-off
- Store detergent and softener directly above or beside the washer
- Reserve a stretch of counter or table purely for folding
- Hang a drying rod near the dryer for delicates
- Revisit your zones after a month and adjust what isn’t working
4. Add Shelving and Vertical Storage
Most laundry rooms waste the space above the machines. Installing floating shelves or a cabinet over the washer and dryer instantly doubles your storage without shrinking the floor plan. Choose adjustable shelving so you can reconfigure it as your supplies change.
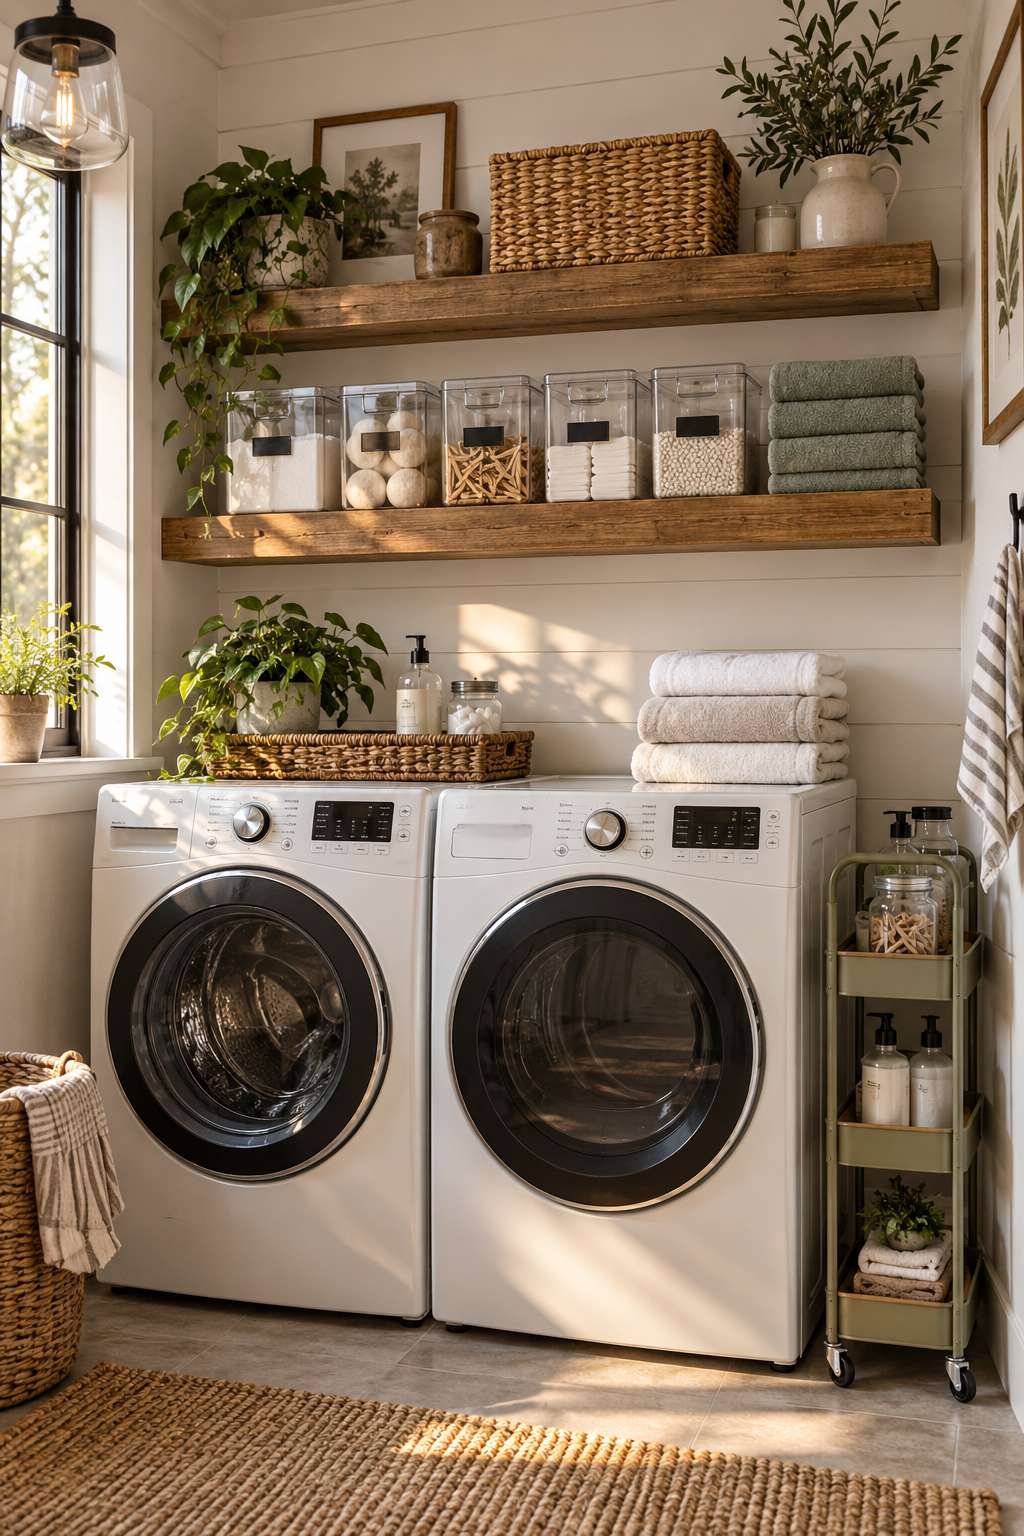
For narrow rooms, a slim rolling cart that fits between the washer and the wall is a practical addition. Vertical storage keeps frequently used items within reach while freeing up counters for actual folding and sorting work.
- Install shelves at least six inches above appliance height
- Use clear bins on shelves so contents are visible at a glance
- Add a pegboard for hanging small tools like lint brushes
- Mount a tension rod inside a cabinet for spray bottles
- Choose a rolling cart for narrow, closet-style laundry spaces
- Reserve the top shelf for rarely used seasonal items
5. Sort and Store Laundry Supplies
Grouping supplies by category prevents the scavenger-hunt feeling of searching for stain remover mid-load. Keep detergents, pods, and softeners together, stain treatments in a separate small caddy, and dryer accessories like sheets and wool balls in their own container.
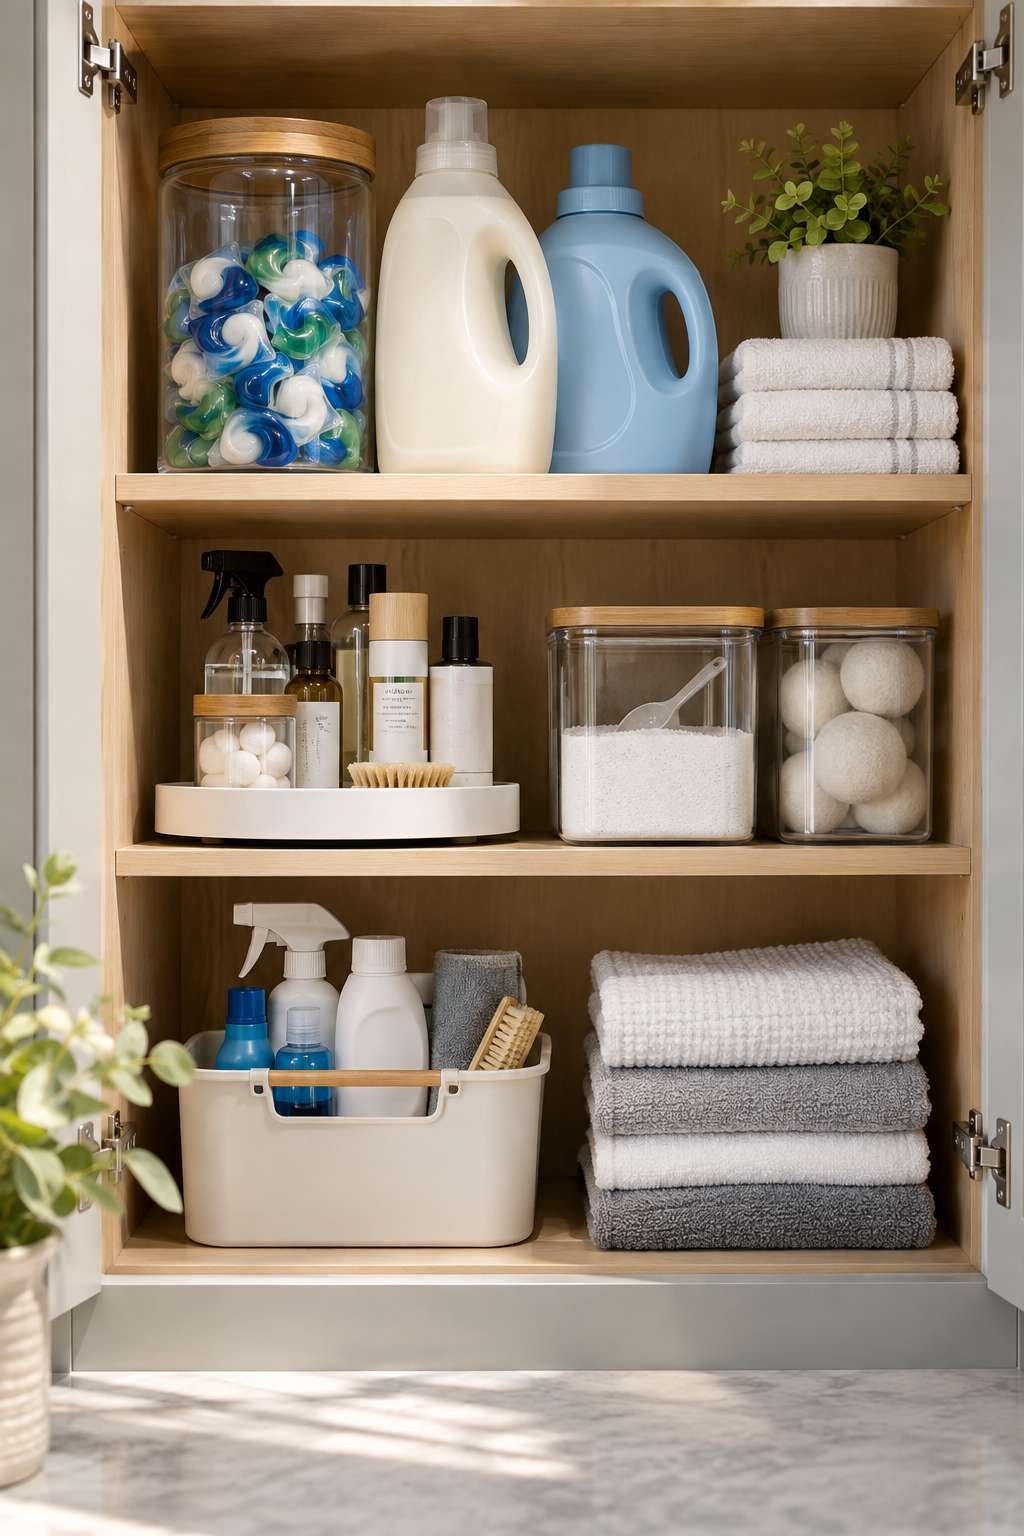
Consider decanting powders and liquids into matching containers if you enjoy a streamlined look, but this step is optional — function matters more than aesthetics here. The goal is that anyone in the household can find what they need without asking. This is also a good spot to keep a bottle of laundry bluing if you use one, since it’s worth understanding what laundry bluing actually does for whites before adding it to your regular rotation.
- Store liquids on lower shelves in case of spills
- Keep a small caddy specifically for stain pre-treatment
- Group dryer sheets and wool dryer balls in one bin
- Store bulk detergent refills in a closed cabinet, not the counter
- Use a lazy Susan for small bottles to maximize cabinet depth
- Keep a spare bottle of each essential to avoid mid-cycle surprises
6. Set Up a Laundry Hamper System
A multi-bin hamper system is one of the fastest ways to reduce sorting time on wash day. Use separate bins for lights, darks, and delicates so clothes arrive already sorted before they even reach the sorting zone. Label each bin clearly, especially in households with kids.
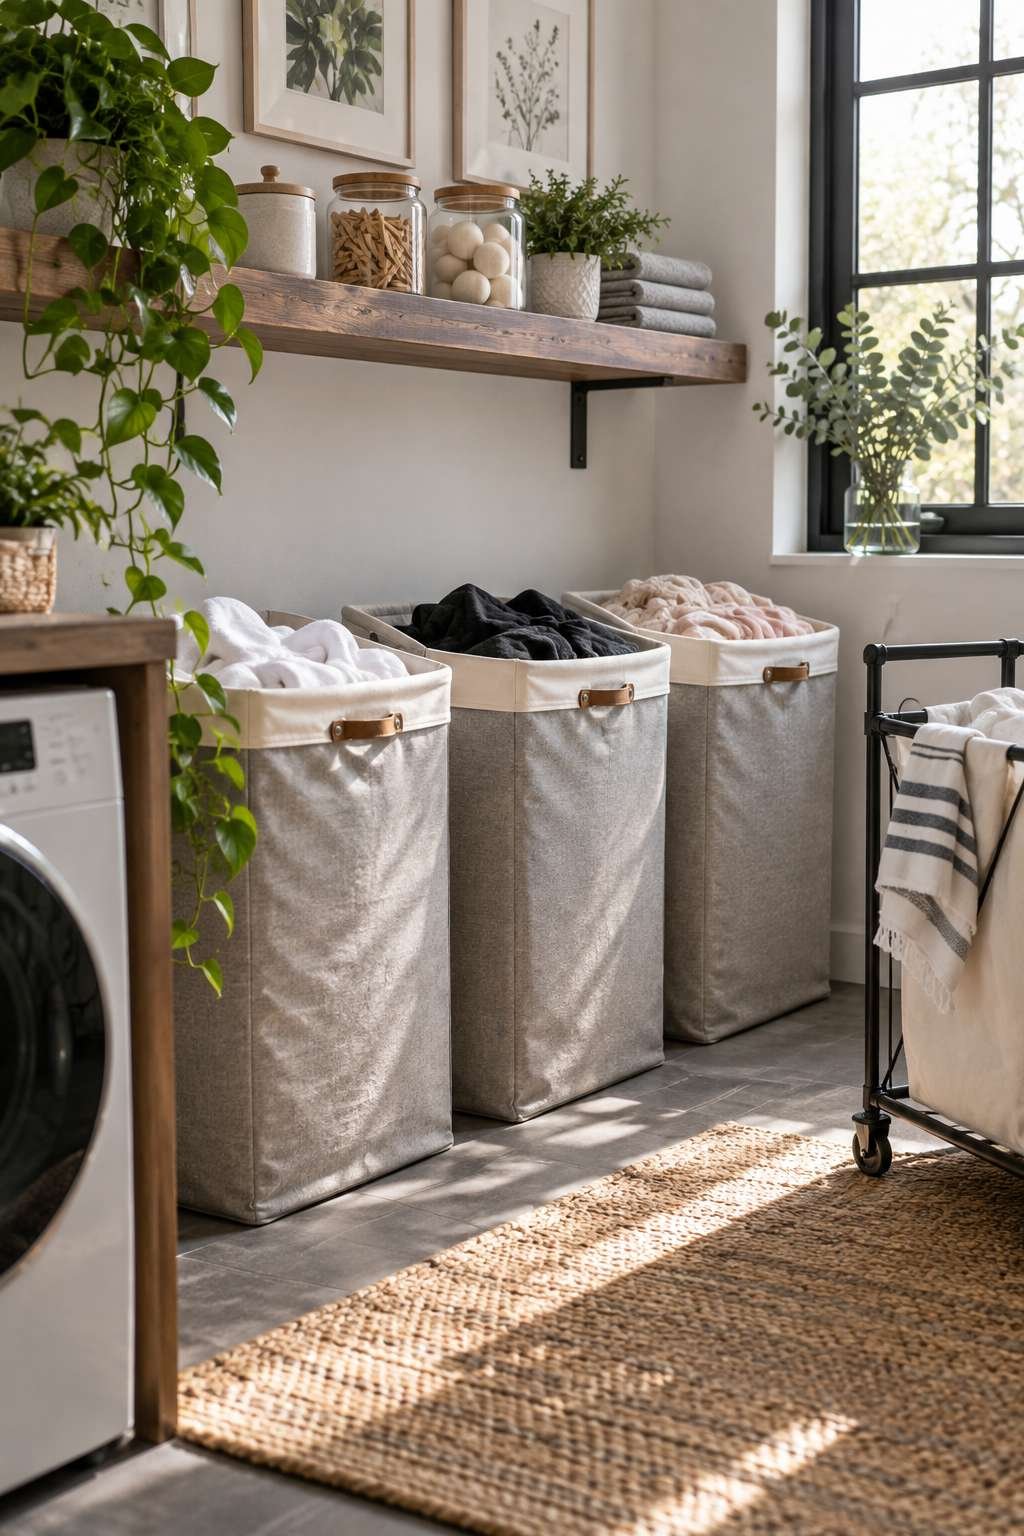
Position hampers where dirty laundry naturally accumulates, whether that’s a bathroom, bedroom, or the laundry room itself. If space allows, a rolling hamper cart lets you sort in one room and transport everything to the washer in a single trip. Denim tends to pile up fastest in these bins, so it helps to know the right way to wash jeans before they get mixed in with a regular load.
- Choose bins in three colors matching lights, darks, and delicates
- Place one hamper station in each bedroom for busy families
- Add a mesh bin specifically for hand-wash-only items
- Use a hamper with a removable liner for easy transport
- Empty hampers completely before starting a new sorting cycle
- Teach kids to sort as they add clothes to reduce your workload
7. Create a Folding and Sorting Station
A dedicated folding surface transforms laundry day from chaos into a smooth process. This can be a fold-down table, a countertop over a front-loading machine, or a simple table brought in temporarily. The key is having enough flat space for at least one full load.
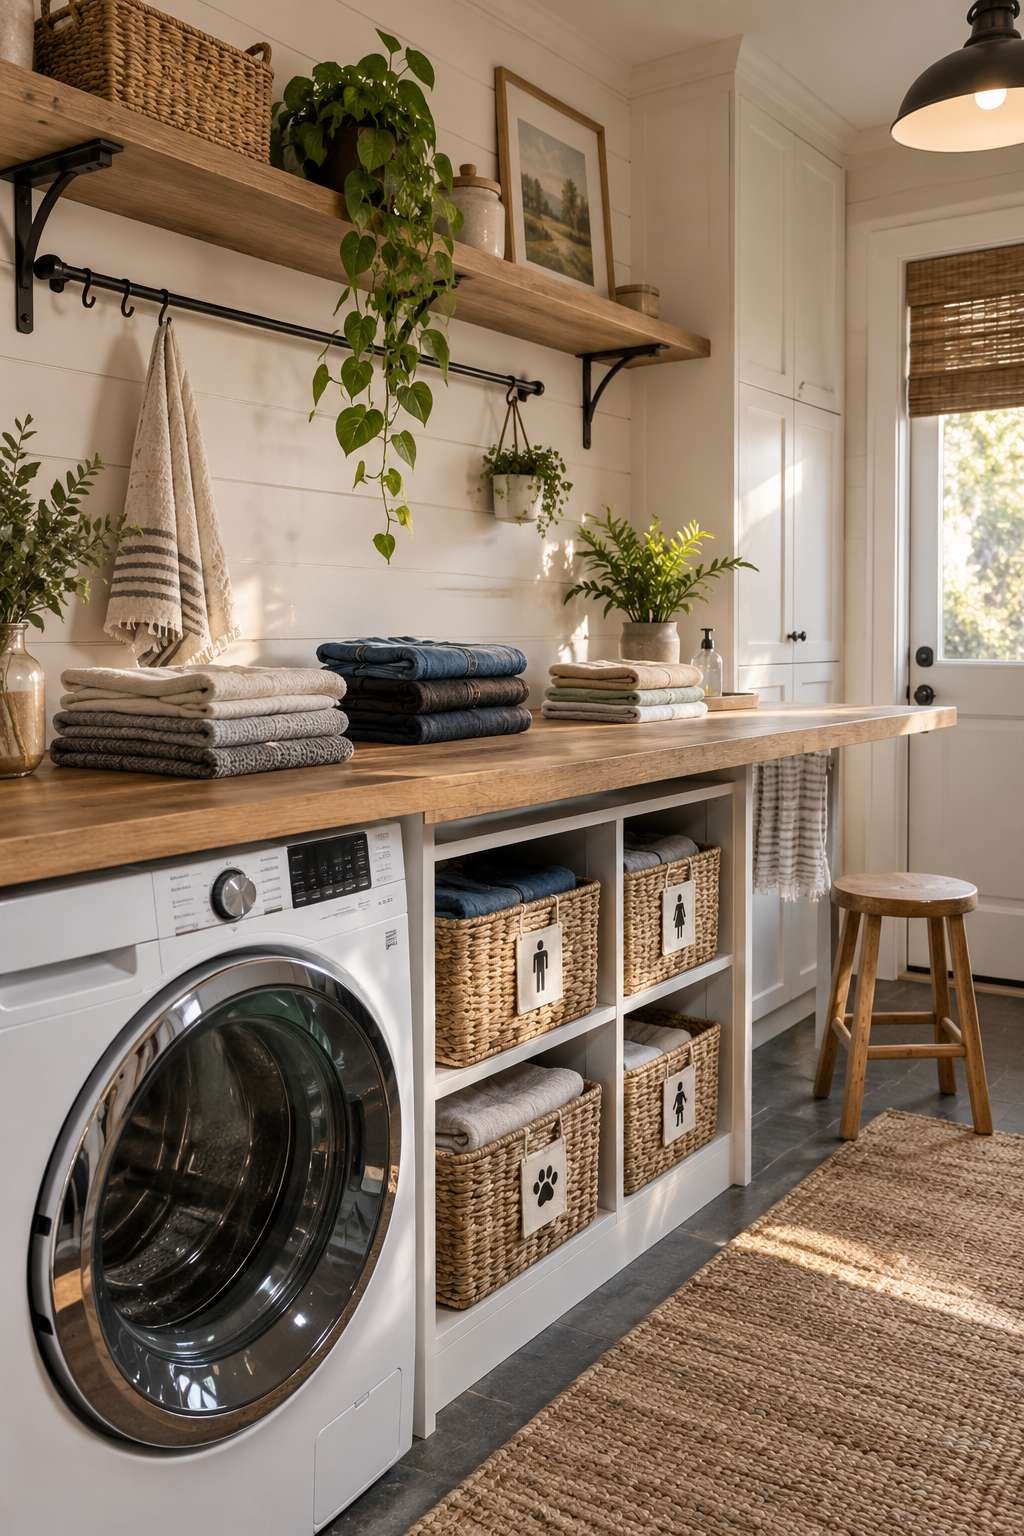
Keep a stack of empty baskets nearby labeled by family member or room, so folded clothes go directly into their destination basket instead of piling up. This small habit is often the difference between laundry that gets put away and laundry that lives in a chair for a week.
- Choose counter height that’s comfortable for standing folding
- Keep a basket per person for immediate distribution
- Add a small stool if the counter also works for seated folding
- Store hangers within arm’s reach of the folding surface
- Fold as soon as the dryer cycle ends to avoid wrinkles
- Keep a lint roller nearby for a final touch-up before putting clothes away
8. Label Everything for Easy Access
Labels remove the need to remember which bin holds what, and they keep shared spaces consistent even when different people use the room. Use a label maker for a clean look, or simple chalkboard tags for a more casual style.
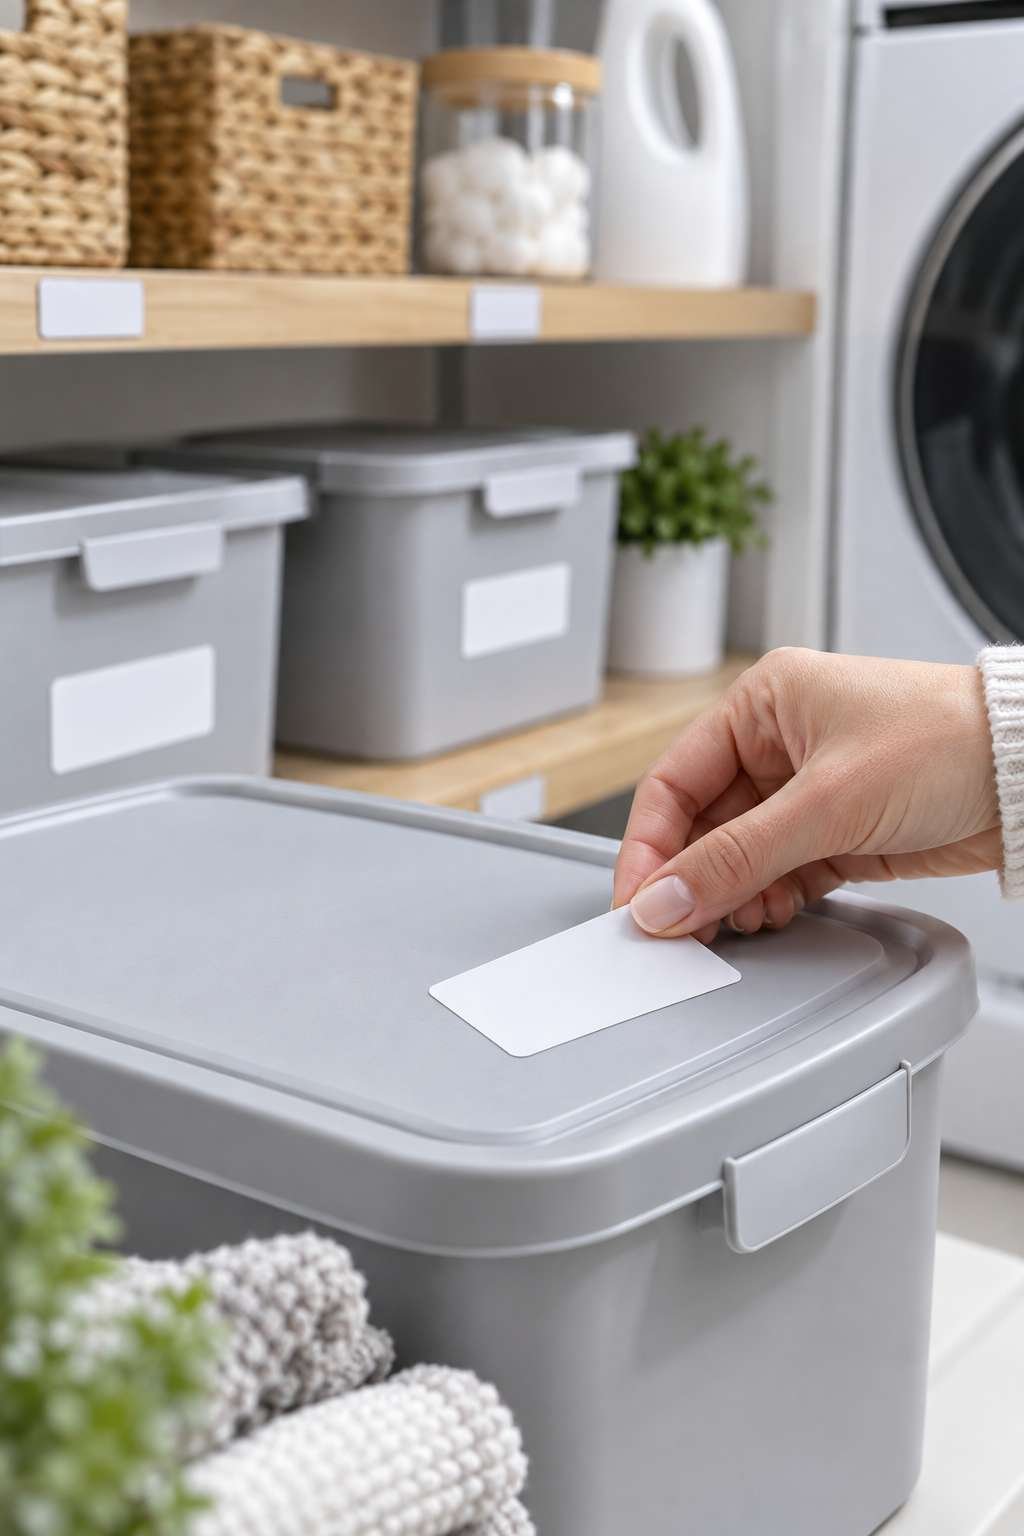
This step matters most in households where kids, roommates, or guests share laundry duties. Clear labeling means less time explaining the system and more time actually getting laundry done. While you’re at it, posting a quick reference for what those little symbols on garment tags mean near the sorting bins saves everyone a trip to look it up mid-load.
- Label bins by category: whites, darks, delicates, dry-clean only
- Add labels to shelf edges indicating what belongs there
- Use icon-based labels for young children who can’t read yet
- Label supply containers with usage instructions if decanted
- Include a small card explaining any color-coding system
- Update labels immediately if you reorganize a section
9. Maintain a Clutter-Free Countertop
Countertops fill up fast with stray socks, lost buttons, and half-empty boxes. Reserve this space exclusively for active tasks like folding and sorting, and relocate anything else to a bin or drawer. A clear countertop makes the whole room feel more organized, even before deeper systems are in place.
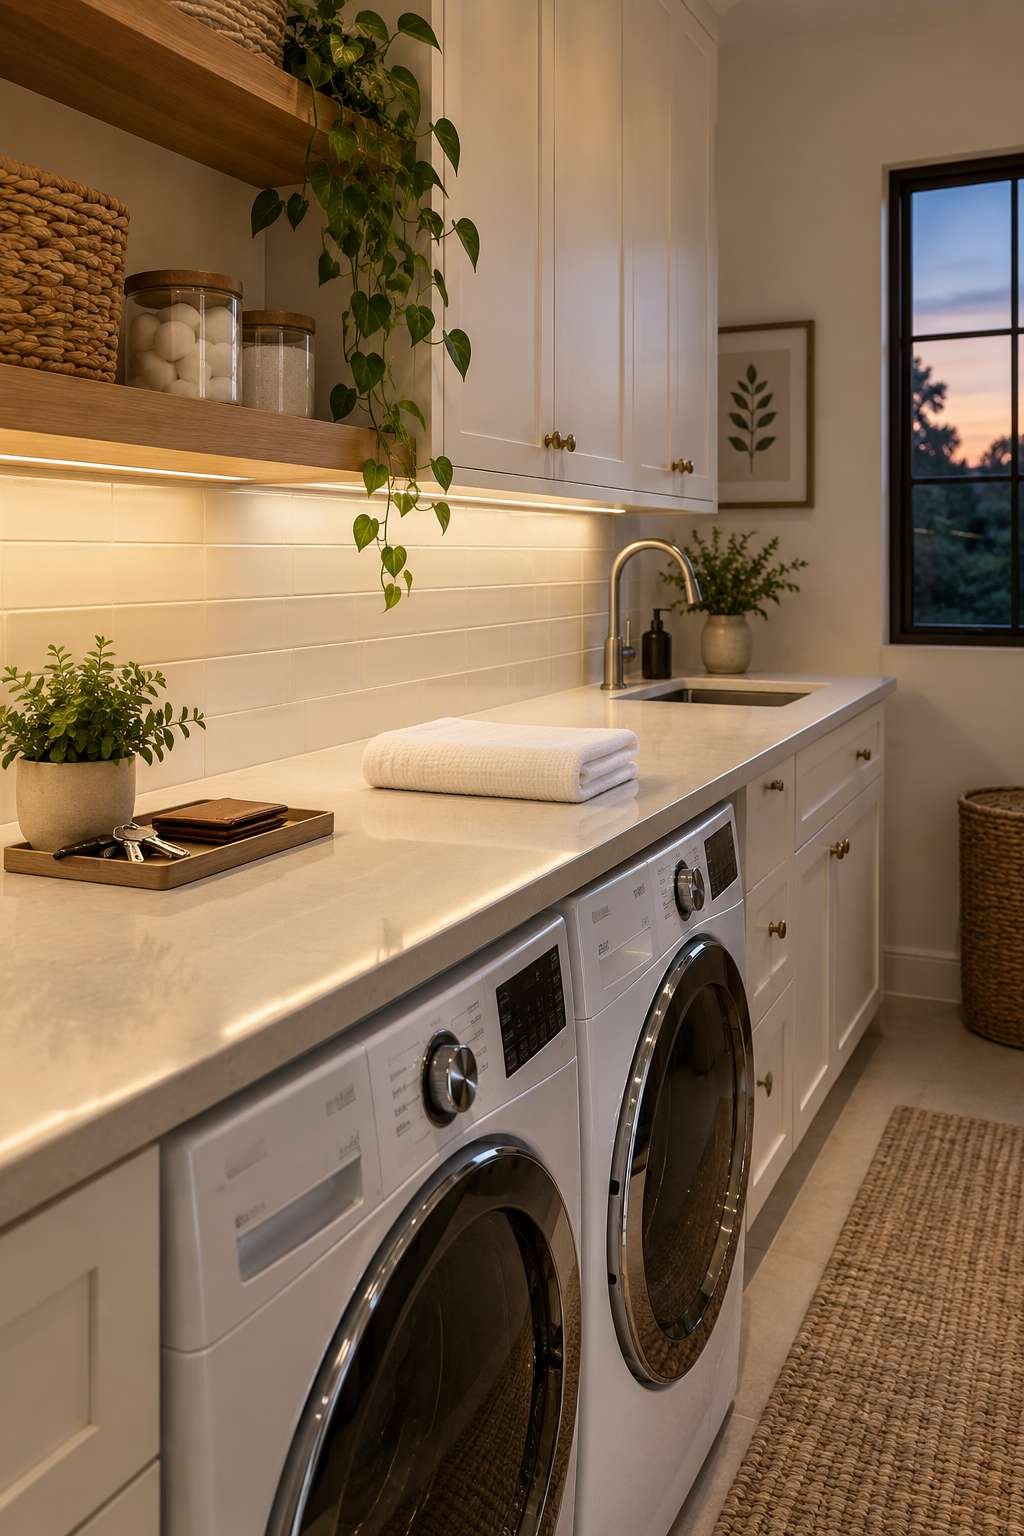
Do a quick nightly sweep, tossing loose items into their assigned bins. This two-minute habit prevents the slow buildup that eventually requires another full declutter session.
- Keep only items used during an active laundry session on the counter
- Add a small tray for miscellaneous pocket finds like coins or keys
- Relocate decorative items if they interfere with workspace
- Do a nightly reset sweep of any stray items
- Store cleaning rags in a drawer, not draped over the counter
- Reassess the counter setup every few weeks
10. Build a Simple Cleaning Routine
An organized room stays organized only with regular upkeep. Set a recurring reminder to wipe down surfaces, clean the lint trap, and check behind the machines for dropped items. Monthly, run a cleaning cycle on the washer itself to prevent odor buildup.

Involve the whole household in quick maintenance tasks so the system doesn’t fall entirely on one person. A five-minute weekly reset — wiping counters, restocking supplies, and emptying hampers — keeps the room functioning the way you designed it. For towels and bedding that have lost their softness over time, an occasional deep laundry-stripping session can restore them before you decide to replace anything.
- Clean the lint trap after every dryer cycle
- Wipe down the washer drum monthly to prevent mildew smell
- Vacuum behind and under machines every few months
- Restock low supplies before they run out completely
- Do a full supply and bin check-in once a season
- Assign one household member to a weekly five-minute reset
Frequently Asked Questions
How do you wash laundry by hand?
Fill a basin with lukewarm water and a small amount of gentle detergent, then submerge the garment and gently agitate it for a few minutes. Rinse thoroughly with clean water until no suds remain, then press out excess water without wringing and lay the item flat to dry.
Can you wash a leather jacket in the laundry?
No, leather jackets should never go through a standard wash cycle since water and agitation damage the material. Instead, wipe the jacket with a damp cloth and use a leather-specific cleaner, then condition it afterward to keep the material supple.
What does borax do for laundry?
Borax acts as a natural water softener and stain booster, helping detergent work more effectively in hard water. It also helps deodorize fabrics and can be added directly to the wash alongside your regular detergent for tougher loads.
How do you separate laundry?
Separate laundry primarily by color — whites, lights, and darks — to prevent dye transfer, then further split loads by fabric weight and care instructions. Delicates and heavily soiled items should always be washed in their own separate loads.
How much bleach should you add to laundry?
For a standard top-loading machine, about half a cup of chlorine bleach is typical for a full load of whites, but always check your machine and detergent packaging for exact ratios. Never mix bleach directly with detergent before adding it to the water.
How much does it cost to start a coin laundry?
Opening a coin laundromat typically requires a significant investment, often ranging from $200,000 to over $500,000 depending on location, equipment, and lease terms. Costs include commercial-grade machines, plumbing and electrical work, and ongoing utility expenses.
What is laundry stripping?
Laundry stripping is a deep-cleaning method that soaks fabrics in a mixture of hot water, borax, washing soda, and detergent to pull out built-up residue. It’s typically used occasionally on towels and bedding rather than as a regular wash routine.
How do you sanitize laundry?
To sanitize laundry, wash items on the hottest water setting the fabric allows and add a sanitizing additive or color-safe bleach designed for that purpose. Drying on high heat afterward adds an extra layer of germ reduction.
How do you disinfect laundry?
Disinfecting laundry follows a similar approach to sanitizing: use hot water, an appropriate disinfecting laundry additive, and a full drying cycle on high heat. This is especially important after illness or when washing items like cleaning rags.
How do you sort laundry?
Sorting laundry starts with separating by color, then refining further by fabric type, such as keeping delicates, towels, and heavily soiled workwear in their own piles. Checking care labels before sorting prevents accidental shrinking or fading.
How do you do laundry in college?
Doing laundry in college usually means using shared coin or card-operated machines, so bring quarters or a laundry card, a mesh bag for delicates, and pre-measured detergent pods to simplify the process. Sorting lights and darks beforehand and sticking to cold water saves both time and money in a shared laundry room.
Bringing all of these habits together turns a chaotic laundry room into a space that genuinely supports your routine instead of working against it. Start small — even tackling just the decluttering and zoning steps makes a noticeable difference. Over time, the labeling, shelving, and maintenance habits will feel automatic, and laundry day will stop being a dreaded chore.
Every home is different, so don’t be afraid to experiment with the layout until it fits how your household actually lives. The best laundry room system is the one you’ll actually keep up with.

