Overhead mold is one of the trickiest cleaning jobs in the house, which is why knowing how to remove mold from bathroom ceiling surfaces takes more than just spraying and wiping. Working against gravity, reaching awkward angles, and avoiding drips all add extra challenges that regular tile or wall cleaning doesn’t involve.
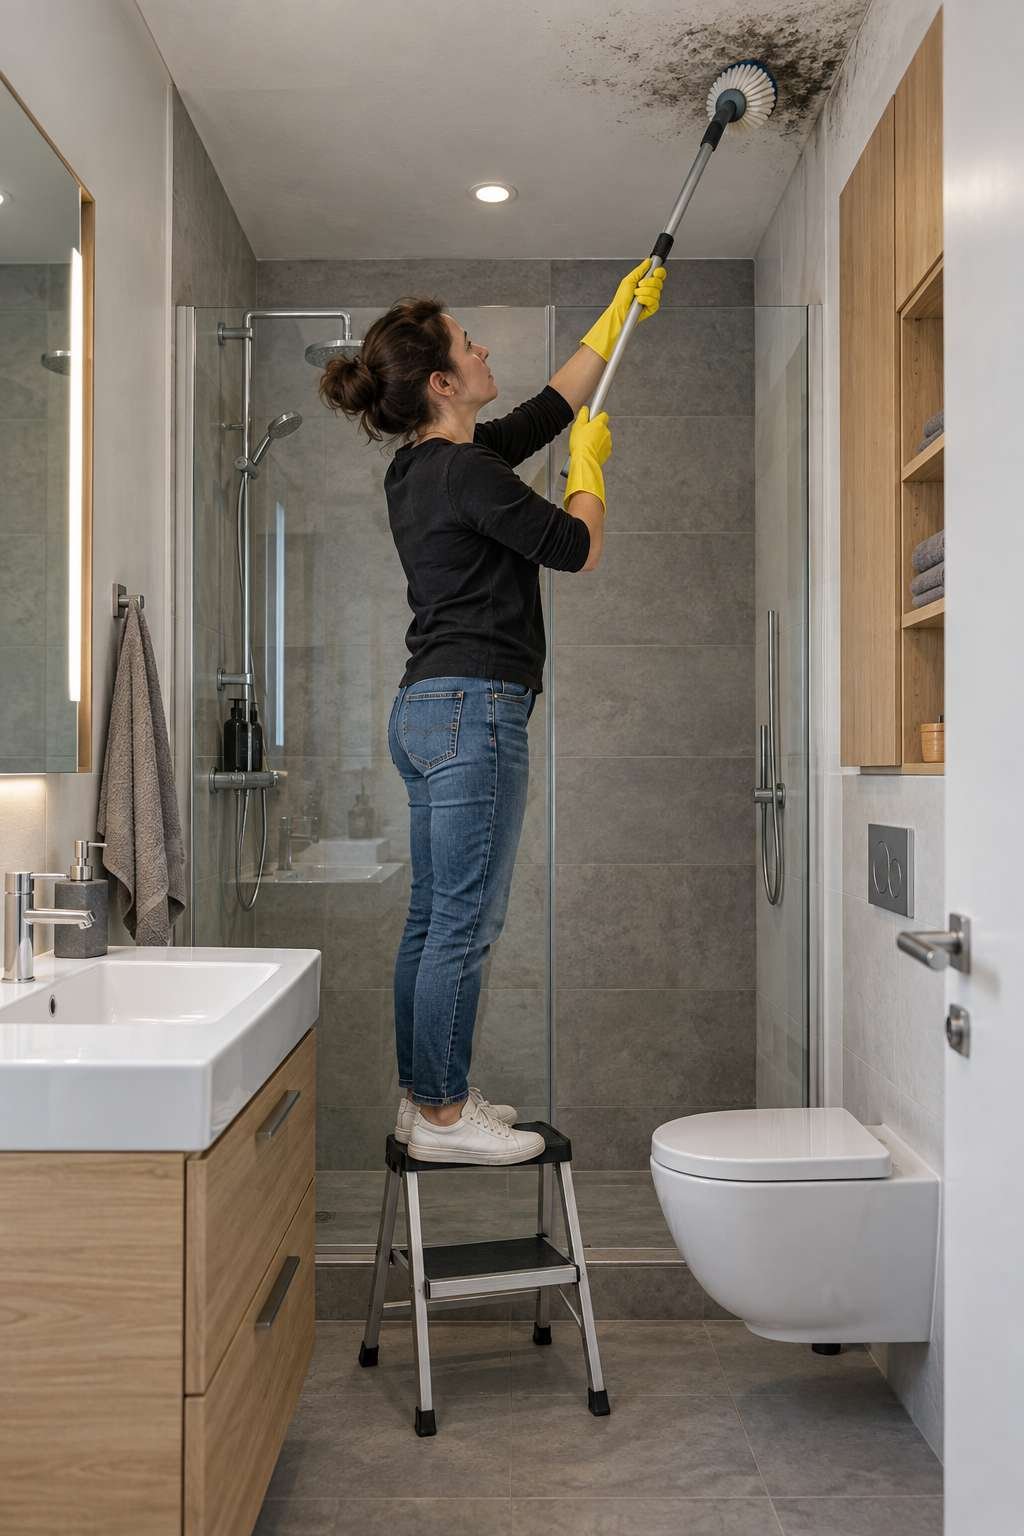
This guide focuses on the tools, tricks, and techniques that make ceiling mold removal faster and more effective, whether how do you remove mold from bathroom ceiling questions came up during a routine clean or after noticing a stubborn dark patch overhead.
1. Why Bathroom Ceilings Attract Mold
Ceilings sit directly above the shower, catching rising steam before it has anywhere else to go, which makes them one of the most mold-prone surfaces in the entire home. As hot water runs, moisture-laden air travels upward and condenses on the cooler ceiling surface, soaking into paint and drywall over repeated exposures.
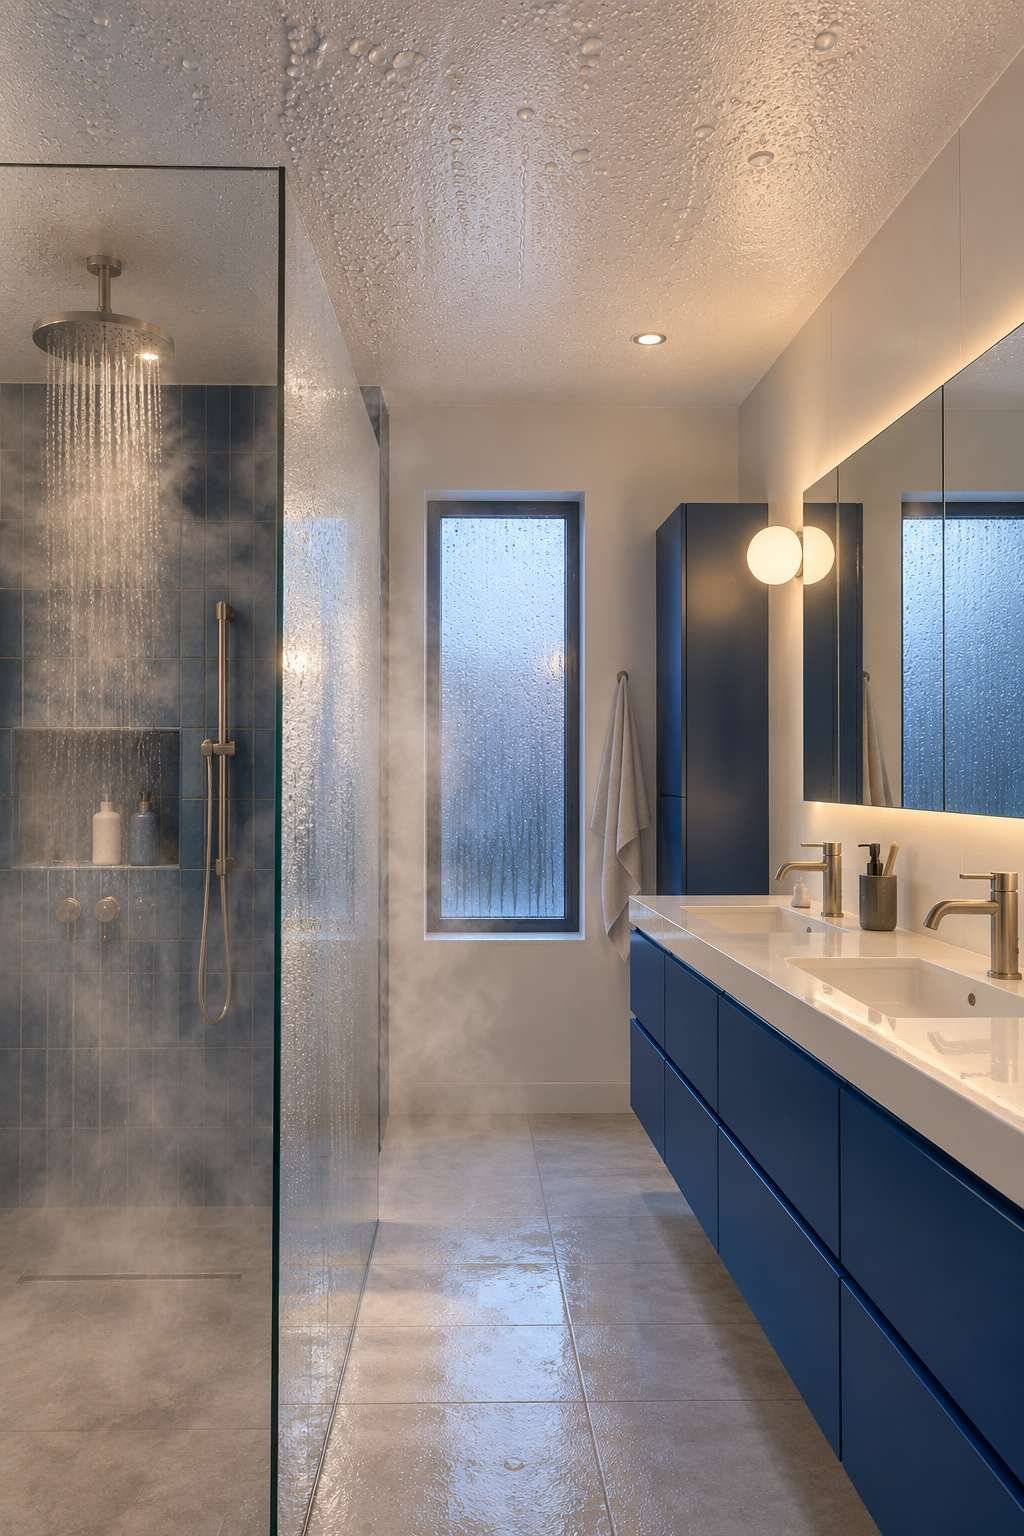
Without strong ventilation pulling that humid air out of the room, condensation simply resettles again and again, giving mold spores a steady supply of the moisture they need to establish themselves.
- Rising steam condenses directly on ceiling surfaces
- Ceilings are typically the coolest surface in the room
- Weak or absent ventilation traps humid air
- Paint and drywall provide organic material for growth
- Older exhaust fans often can’t keep pace with steam
- Hidden leaks above the ceiling add extra moisture
2. Tools and Supplies for the Job
Ceiling work calls for a slightly different toolkit than standard bathroom cleaning. A sturdy step stool or small ladder is essential, along with an extendable handle for your scrub brush if the ceiling is higher than comfortable reach. Plastic sheeting or an old towel laid across counters and the floor catches drips before they become their own cleanup job.

Beyond the basics, keep a spray bottle, clean microfiber cloths, and your chosen cleaning solution close by so you’re not climbing up and down repeatedly.
- Step stool or small ladder
- Extendable handle for scrub brushes, if needed
- Plastic sheeting to catch drips below
- Spray bottle for even solution application
- Microfiber cloths for wiping and drying
- Rubber gloves and a mold-rated mask
3. Safety Tips Before You Start
Working overhead adds a few safety considerations beyond standard mold cleaning precautions. Always use a stable step stool rather than balancing on furniture or a shaky chair, and keep one hand free for balance whenever possible. Wear a mask rated for mold spores and eye protection, since scrubbing overhead sends particles falling directly toward your face.
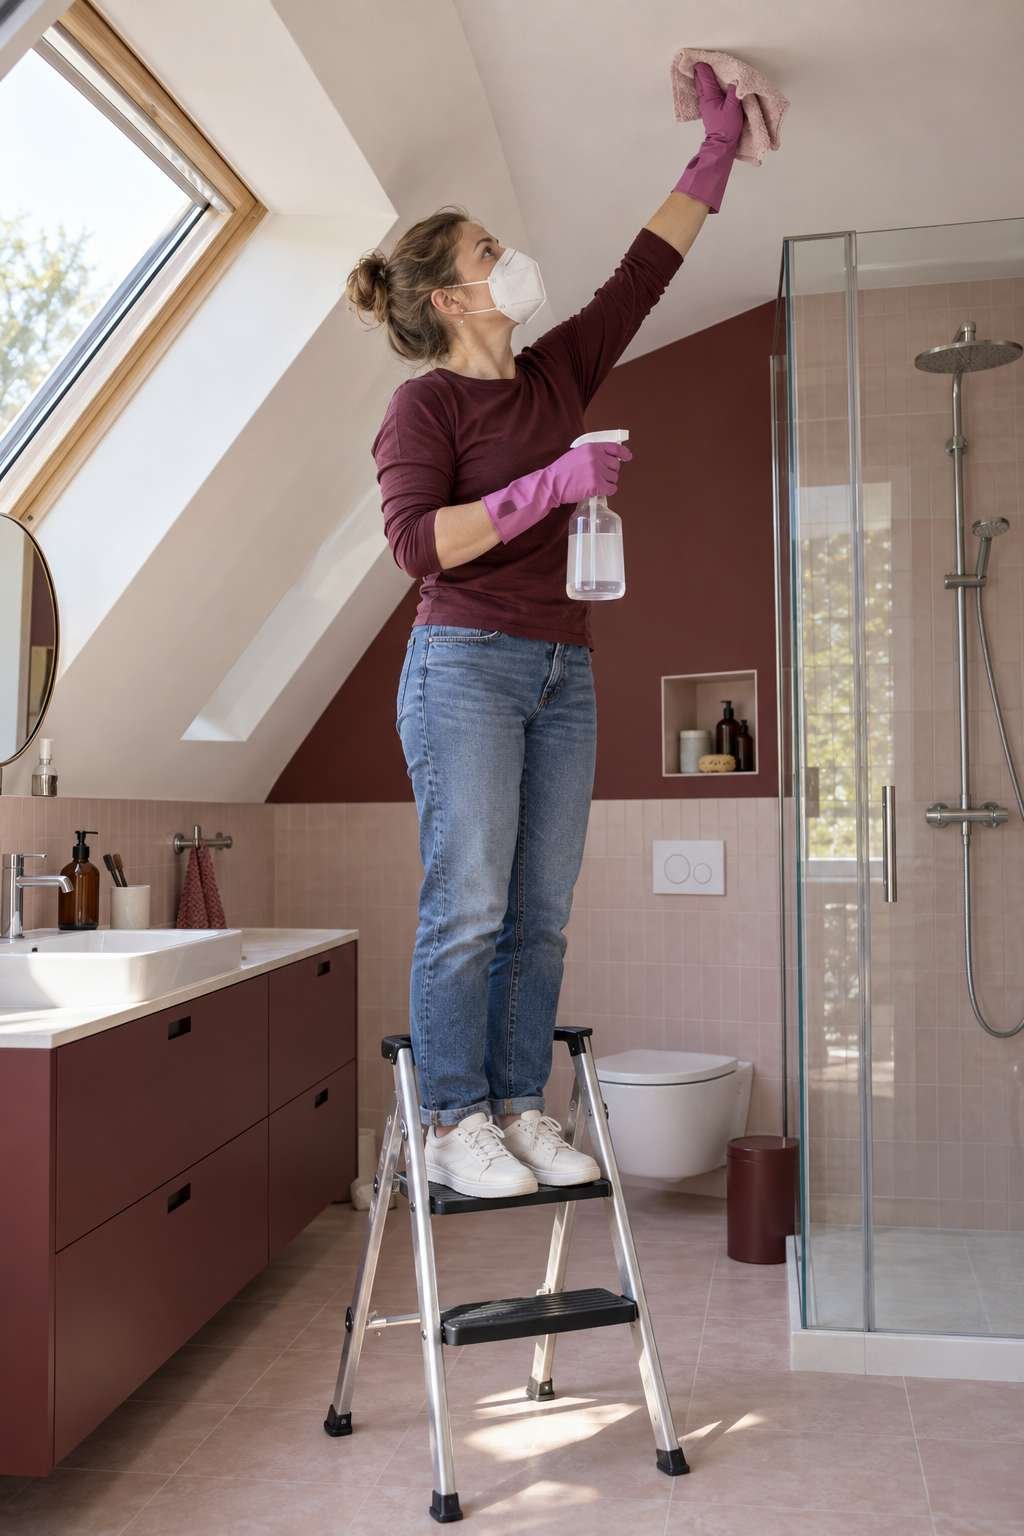
Take breaks if your arms tire from working above shoulder height for extended periods, since fatigue increases the risk of an unstable step or a dropped tool.
- Use a stable step stool, never furniture or chairs
- Keep one hand free for balance while working overhead
- Wear eye protection since debris falls toward your face
- Take breaks during extended overhead scrubbing
- Ventilate the room fully throughout the process
- Have someone nearby if working at height alone
4. Step-by-Step Removal Process
Start by testing your chosen cleaning solution on a small, inconspicuous section of ceiling. Spray the affected area generously and let it sit for ten to fifteen minutes, giving it time to break down the mold before you scrub. Work in small sections, moving from the outer edge of the stain inward to avoid spreading spores across clean areas.
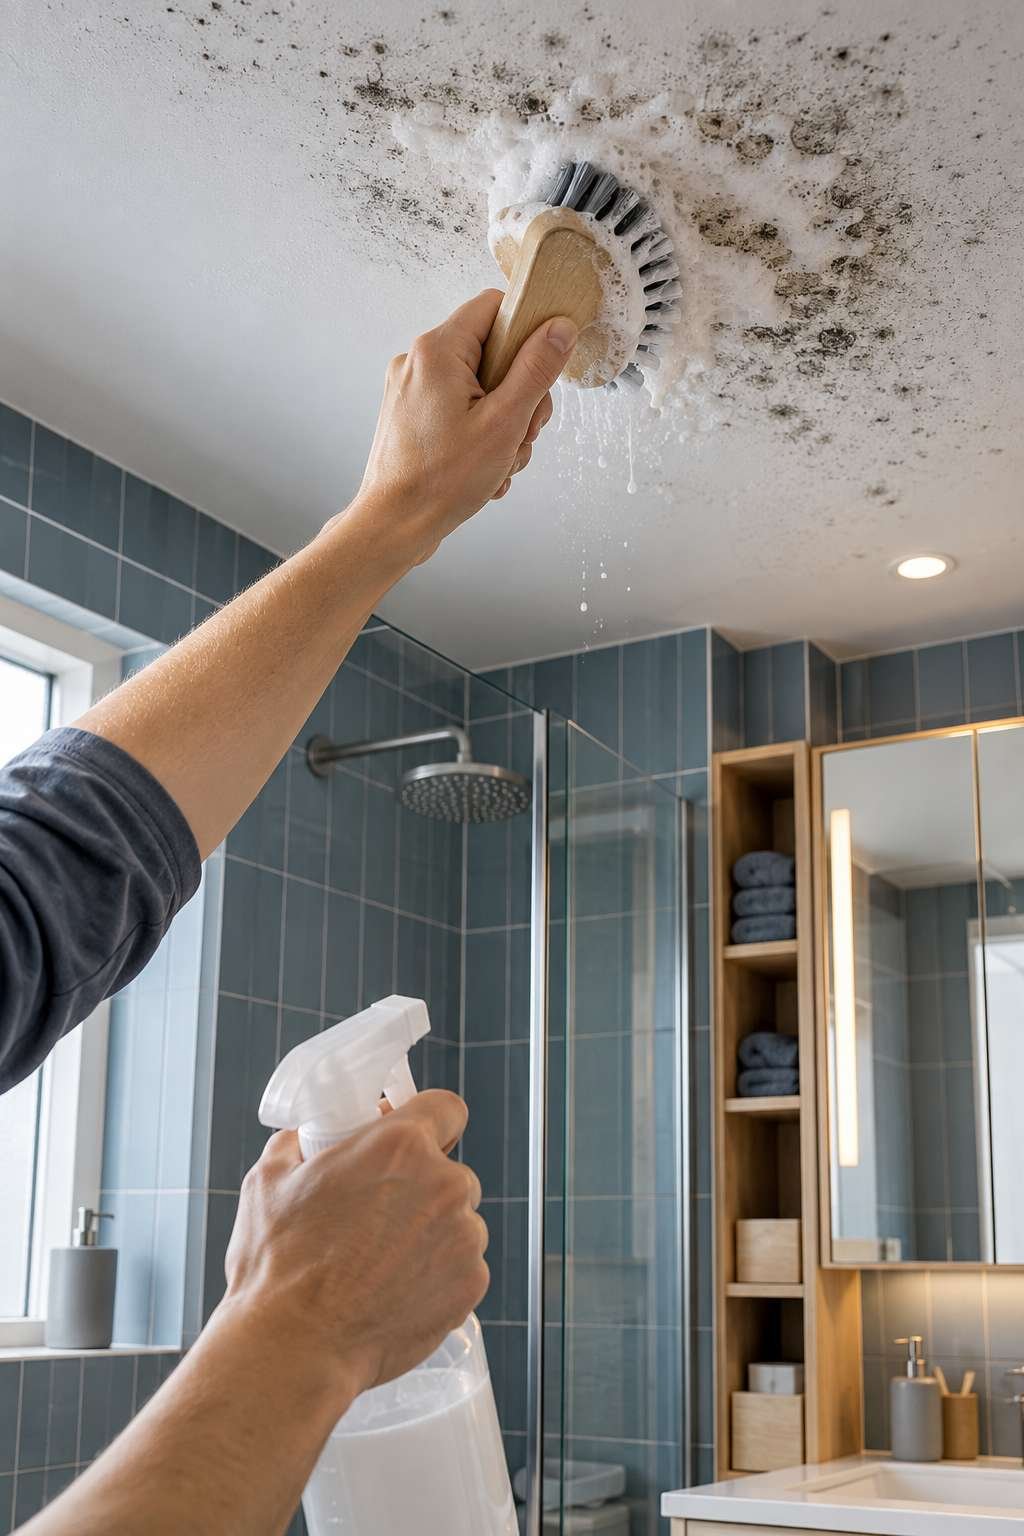
Once the mold lifts away, wipe the section with a damp cloth, then dry it thoroughly before moving to the next area, repeating the process for any remaining discoloration.
- Test the solution on a small section first
- Let solution dwell 10-15 minutes before scrubbing
- Work in small sections from the outer edge inward
- Wipe clean with a damp cloth after scrubbing
- Dry each section before moving to the next
- Repeat on any stubborn remaining spots
5. Bleach vs Vinegar vs Commercial Products
Choosing the right solution depends on how severe the growth is and your comfort level with stronger chemicals. Diluted bleach, roughly one part bleach to three parts water, kills mold spores quickly and works well on painted, non-porous ceiling surfaces. White vinegar offers a gentler alternative that’s effective on lighter staining and won’t damage most paint finishes over time.

Commercial mold-and-mildew sprays split the difference, offering strong performance in a ready-to-use formula that doesn’t require mixing your own solution.
- Diluted bleach: strong, fast-acting on painted surfaces
- White vinegar: gentle, chemical-free option
- Hydrogen peroxide: effective with less harsh odor
- Commercial sprays: convenient, pre-mixed formulas
- Never mix bleach with ammonia-based products
- Rinse and dry thoroughly after any treatment
6. Tricks for Reaching and Scrubbing Ceiling Areas
A few small tricks make overhead scrubbing noticeably easier. Attaching a scrub brush to an extendable pole lets you cover more ceiling area without constantly repositioning your step stool. Working in a grid pattern, section by section, helps ensure you don’t miss spots or double back over areas you’ve already treated.
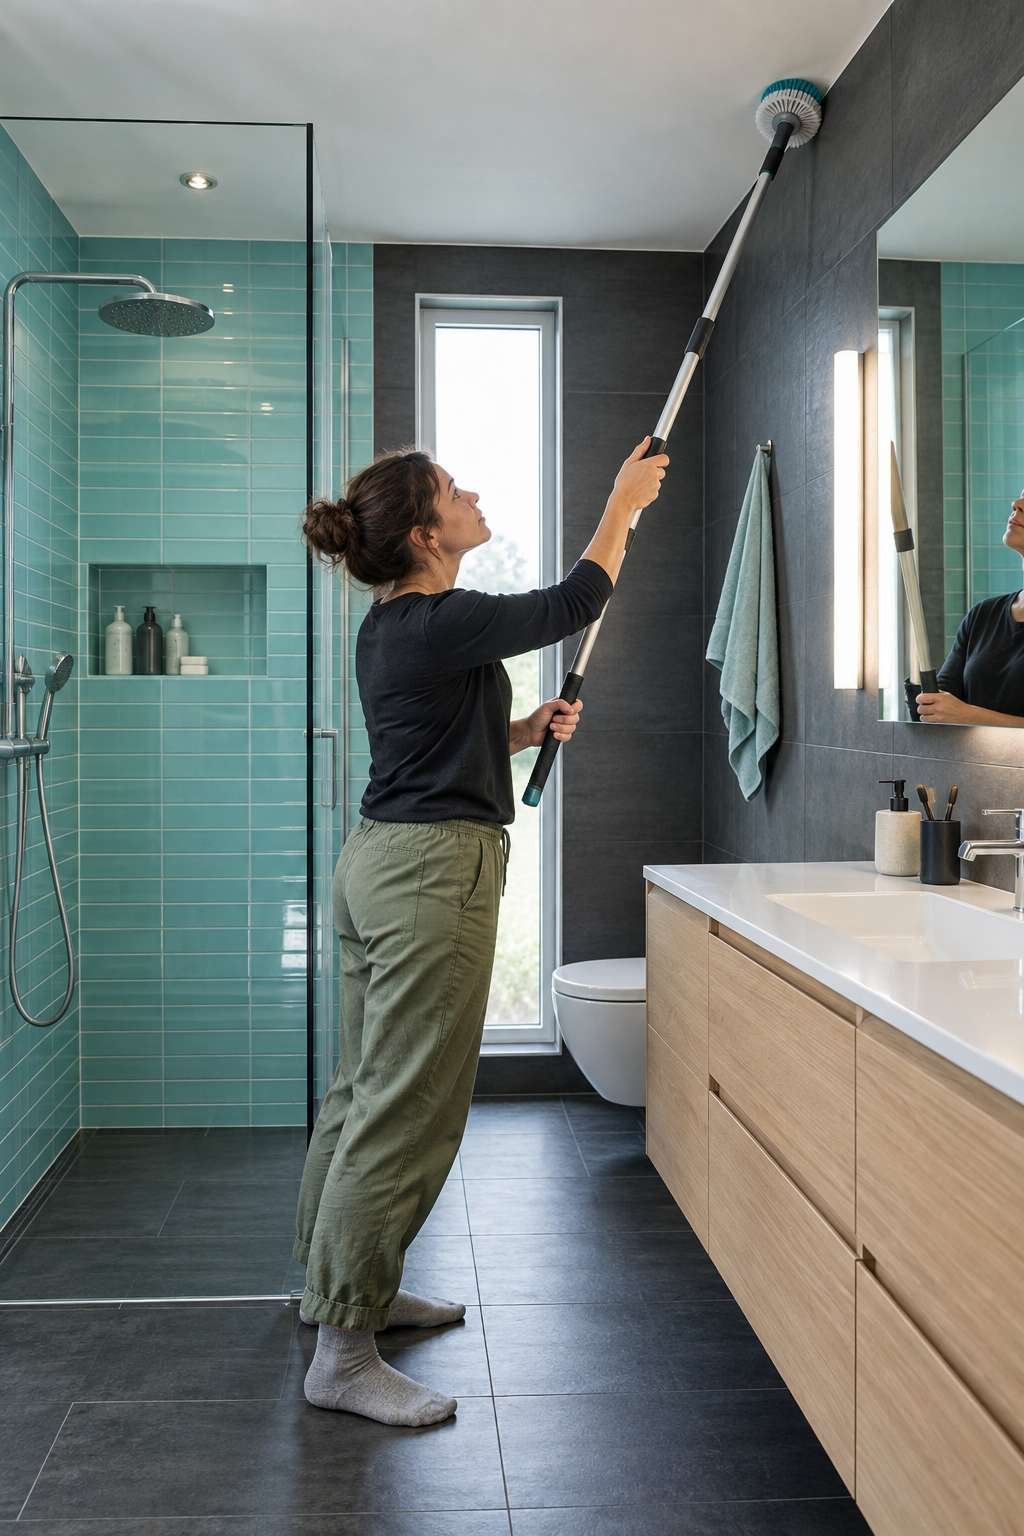
Angling your spray bottle slightly rather than spraying straight up also reduces the amount of solution that drips directly back down onto your face and arms.
- Attach a scrub brush to an extendable pole
- Work in a grid pattern to avoid missed spots
- Angle spray bottles to reduce drip-back
- Reposition your step stool often rather than overreaching
- Use a headlamp or flashlight for shadowed corners
- Keep a dry towel nearby for quick face wipes
7. Dealing with Deep-Set or Recurring Stains
Some ceiling stains resist standard cleaning because mold has worked its way beneath the paint’s surface rather than sitting on top of it. In these cases, a baking soda paste left to sit for fifteen to twenty minutes before scrubbing often lifts what a quick spray-and-wipe can’t. If discoloration remains even after thorough cleaning, it may be a stain rather than active mold, which calls for a stain-blocking primer instead.
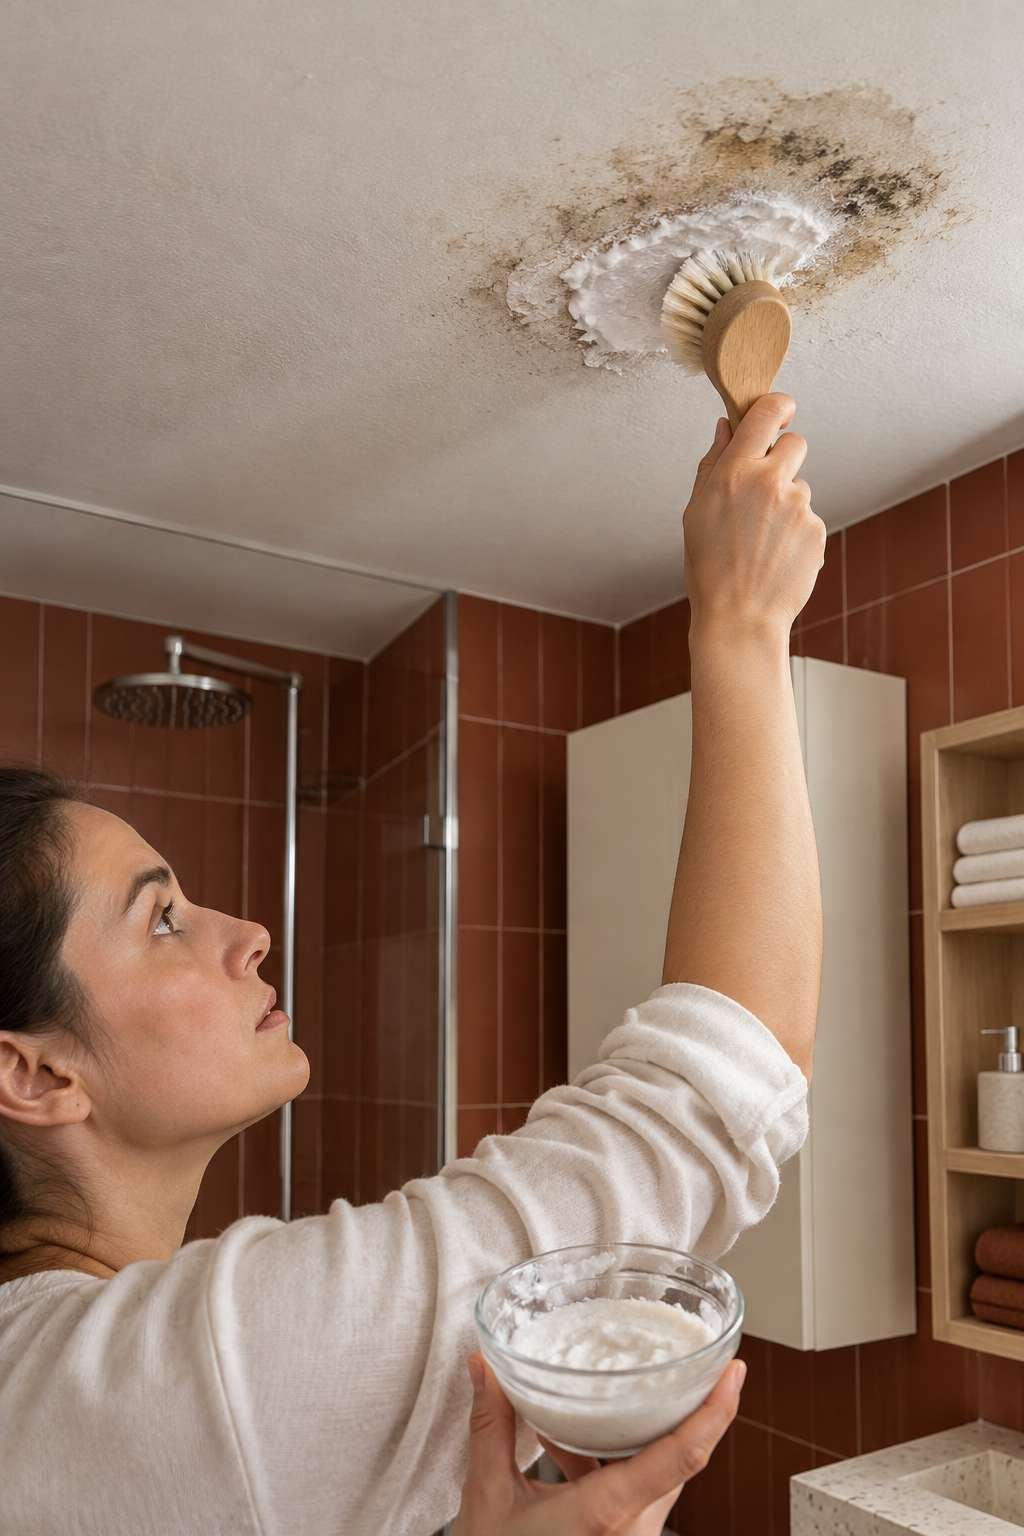
Recurring mold in the exact same spot, even after repeated cleaning, usually points to a ventilation or moisture issue that needs addressing separately from the cleaning itself.
- Baking soda paste for deep-set stains
- Stain-blocking primer for leftover discoloration
- Recurring spots suggest a ventilation issue
- Check for hidden leaks feeding the same area
- Consider a stronger solution for repeated regrowth
- Document problem spots to track improvement over time
8. Ventilation Tricks to Speed Drying
Getting the ceiling dry quickly after cleaning matters just as much as the cleaning itself. Running the exhaust fan at full capacity for at least thirty minutes after treatment helps clear lingering humidity before it has a chance to resettle. Pointing a small portable fan toward the ceiling temporarily can speed up drying time even further in stubborn cases.
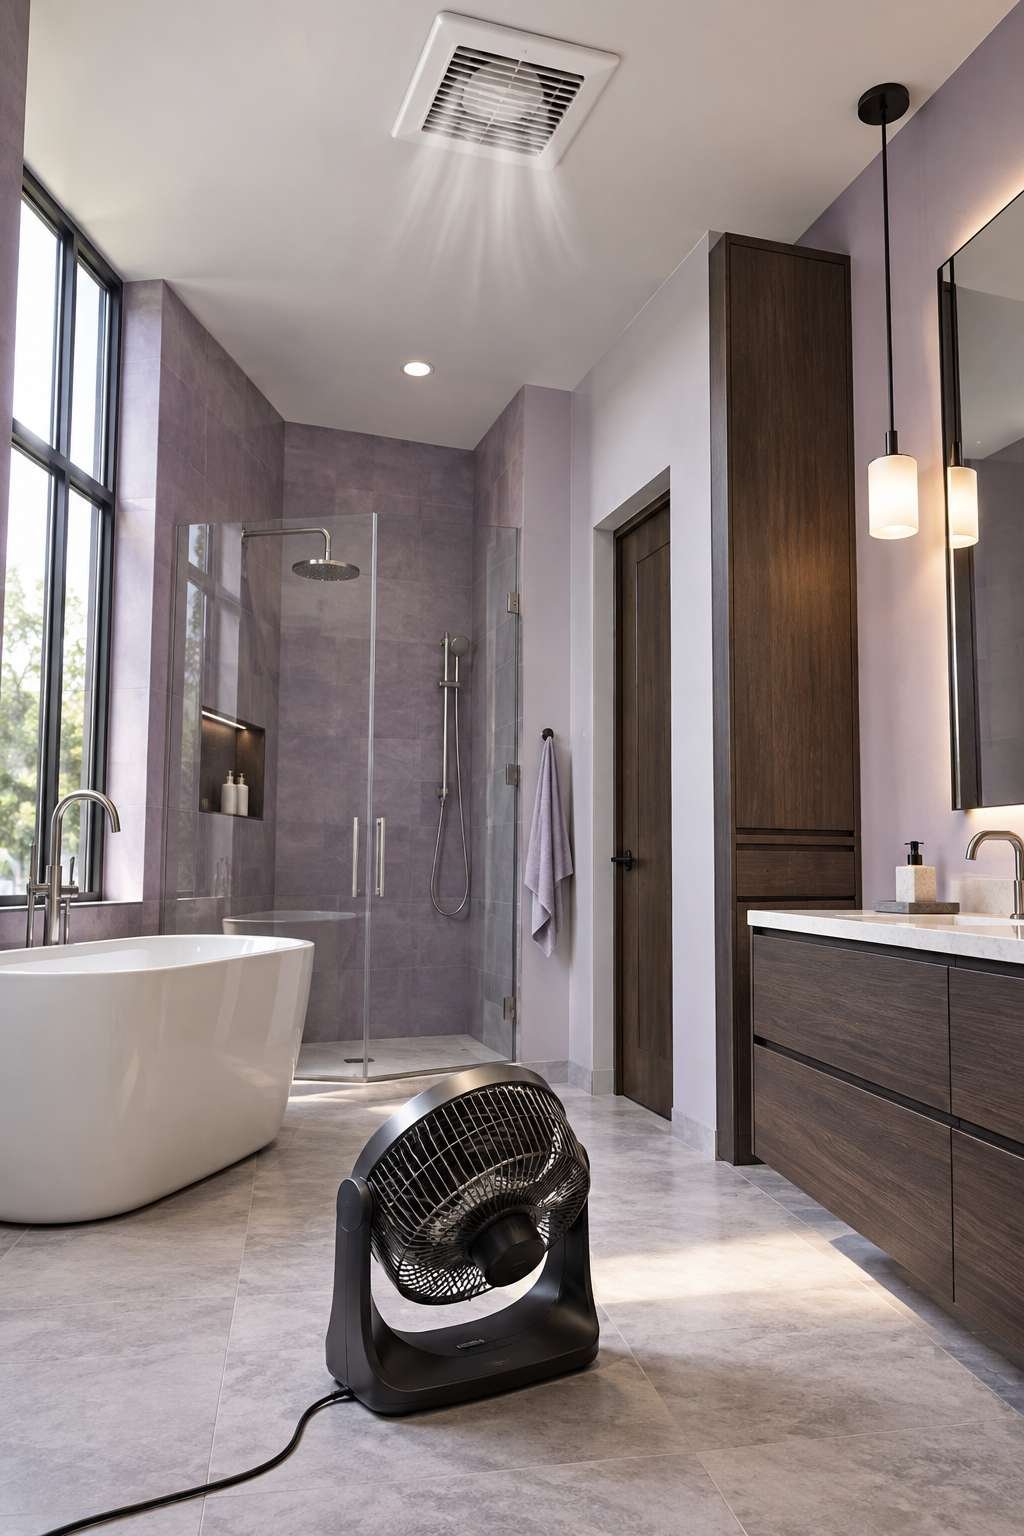
Cracking a window, if your bathroom has one, adds extra airflow that a fan alone sometimes can’t fully replicate, especially in smaller, poorly ventilated spaces.
- Run the exhaust fan at full capacity after cleaning
- Use a portable fan aimed at the ceiling temporarily
- Crack a window for additional airflow if available
- Avoid hot showers until the area is fully dry
- Check that fan vents aren’t blocked or clogged
- Confirm airflow reaches the specific problem area
9. Repainting Tools and Techniques
Once the ceiling is completely clean and dry, repainting locks in your progress and adds a fresh layer of protection. Apply a stain-blocking primer first to seal any remaining discoloration before your topcoat. A small roller with an extension pole makes ceiling painting far more manageable than a brush alone, especially over larger areas.
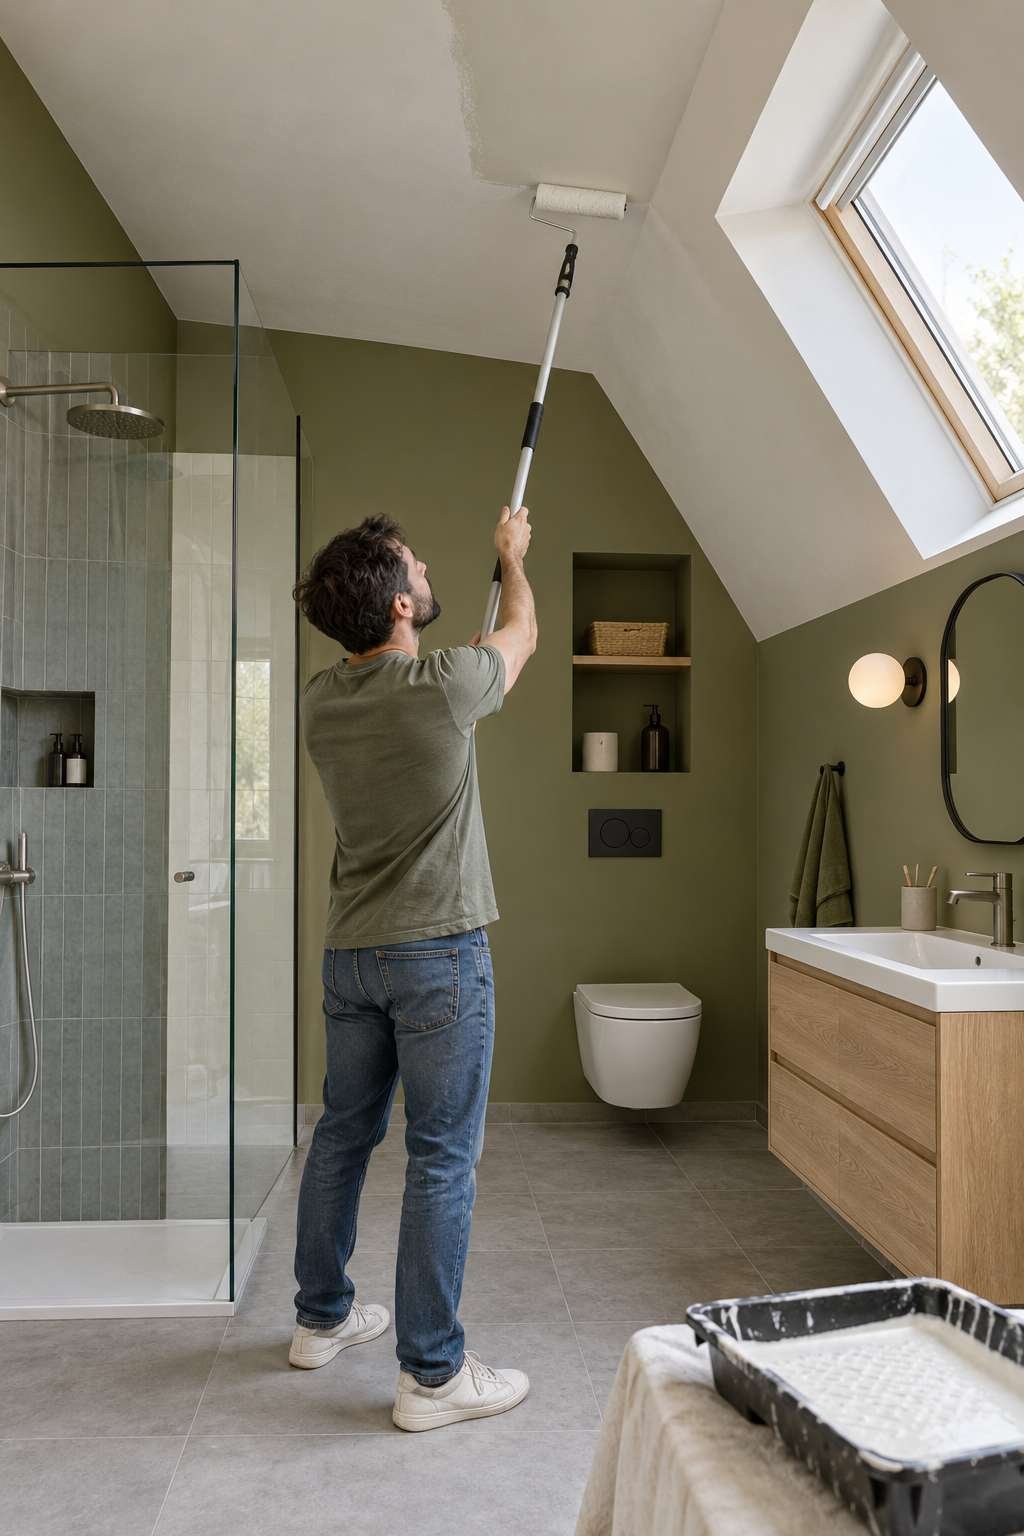
Choose a bathroom-rated, moisture-resistant paint in a satin or semi-gloss finish, since these hold up noticeably better against humidity than flat paint over time.
- Stain-blocking primer before the topcoat
- Small roller with extension pole for easier reach
- Bathroom-rated, moisture-resistant paint
- Satin or semi-gloss finish over flat paint
- Allow full cure time before running hot showers
- Keep leftover paint on hand for future touch-ups
10. Long-Term Tools for Keeping Ceilings Mold-Free
A few ongoing tools make future prevention far easier than starting from scratch each time mold reappears. A humidity-sensing exhaust fan automatically clears moisture without relying on you to remember to switch it on. Keeping a small spray bottle of diluted vinegar solution under the sink makes quick touch-up cleaning convenient the moment you spot early spotting.

A portable dehumidifier is worth considering in particularly humid climates, where even a strong fan sometimes struggles to keep pace with moisture buildup.
- Humidity-sensing exhaust fan for automatic ventilation
- Quick-access spray bottle for early touch-ups
- Portable dehumidifier for especially humid climates
- Periodic visual checks of ceiling corners and fan covers
- Reapplication of mold-resistant paint every few years
- Prompt leak repairs to remove hidden moisture sources
Frequently Asked Questions
How do you kill mold on a bathroom ceiling?
A diluted bleach solution, roughly one part bleach to three parts water, kills mold spores quickly on painted ceiling surfaces. Let it sit for ten to fifteen minutes before scrubbing, then rinse and dry the area completely to prevent immediate regrowth.
How do you kill mold in a bathroom?
Apply a bleach, vinegar, or hydrogen peroxide solution directly to the affected surface and let it dwell before scrubbing with a stiff brush. Rinse thoroughly, dry completely, and improve ventilation habits afterward to prevent the mold from quickly returning.
Removing mold from a bathroom ceiling comes down to having the right tools on hand and working through the process methodically, section by section. With a stable step stool, the right cleaning solution, and a bit of patience working overhead, most ceiling mold is entirely manageable without professional help.
Once your ceiling is clean, guides like how to get mold off bathroom ceiling and how to treat mold on bathroom ceiling offer additional techniques worth keeping in your back pocket for the next time a stubborn spot appears.