Bathrooms are the most mold-prone room in most homes, and it’s not hard to see why — steam, standing water, and poor airflow create exactly the conditions mold needs to thrive. Learning how to get rid of mold in bathroom spaces properly means treating both the visible growth and the underlying moisture problem that let it form in the first place.
This guide walks through identifying what you’re actually dealing with, the safest and most effective removal methods for different surfaces, and the habits that keep mold from coming right back a few weeks later.

Most bathroom mold is manageable as a DIY project, though a few warning signs mean it’s time to bring in a professional instead.
1. Identifying Mold vs. Mildew vs. Soap Scum
Before treating anything, it helps to know exactly what you’re looking at, since not every dark spot in a bathroom is actually mold. Mildew tends to appear as a flat, powdery gray or white growth, while true mold is often raised, fuzzy, and darker in color — black, green, or dark brown.
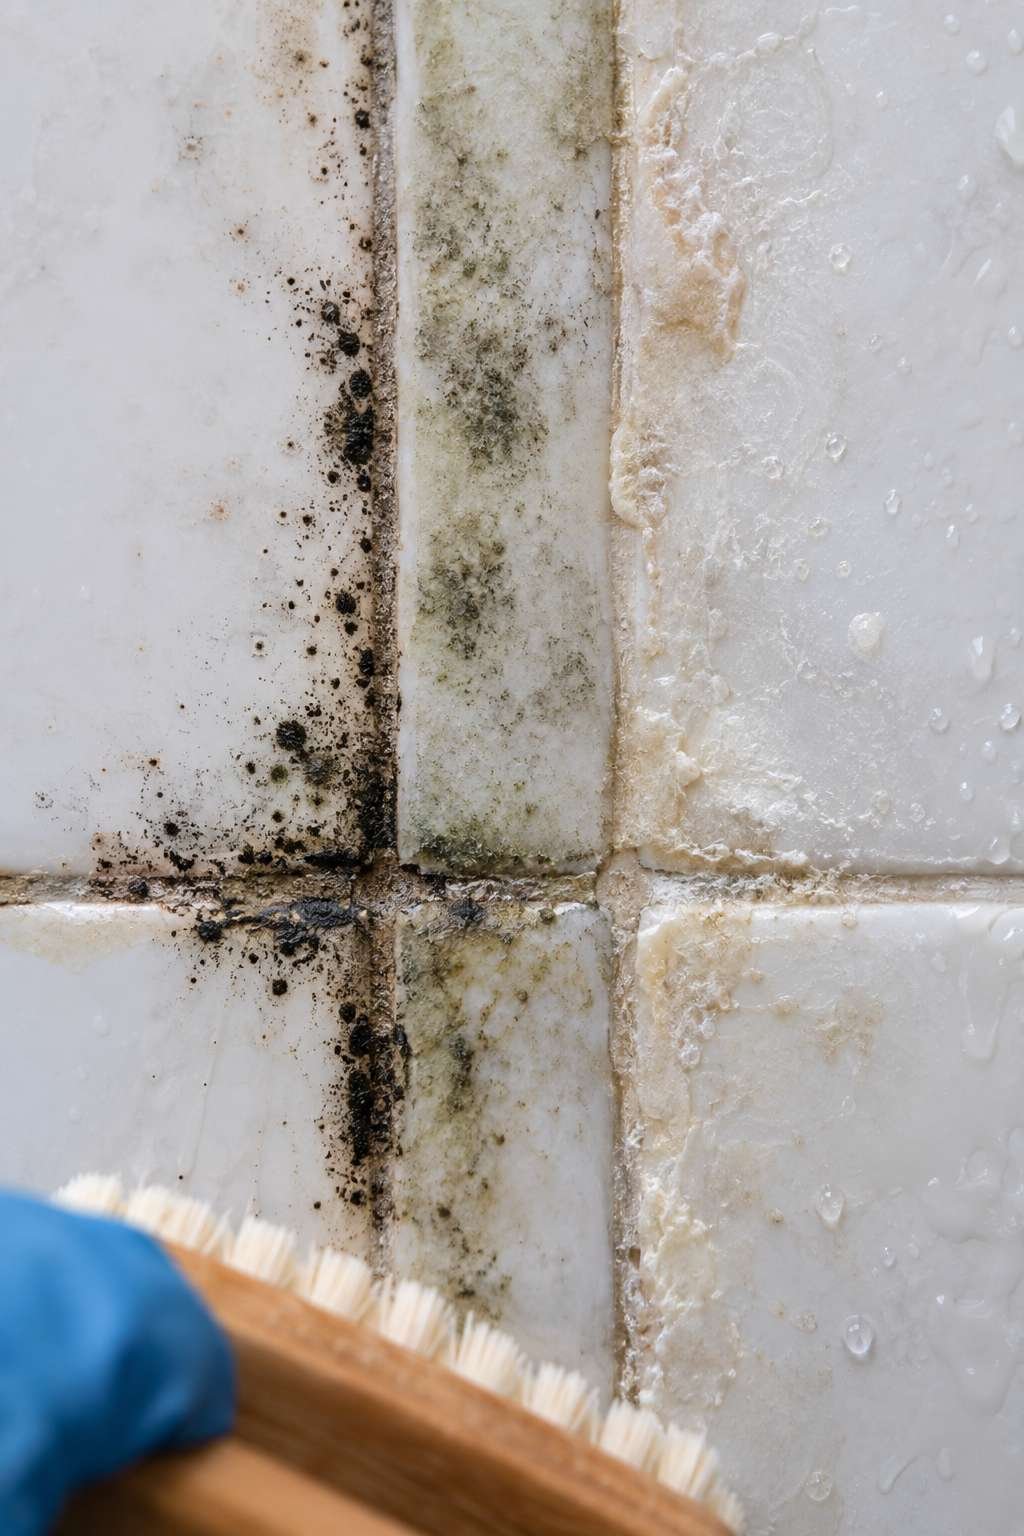
Soap scum, by contrast, is usually a hard, chalky white or gray film that doesn’t spread the way mold does over time. A quick way to tell mold from simple dirt or grime is to dab a small amount of diluted bleach on the spot; mold will typically lighten quickly, while regular dirt won’t change much.
Getting this distinction right matters because mildew and light surface mold respond well to basic cleaning, while deeper mold growth sometimes needs a stronger approach.
- Mildew appears flat, powdery, and gray or white
- Mold is often raised, fuzzy, and darker in color
- Soap scum is a hard, chalky film that doesn’t spread
- A diluted bleach dab test can help confirm mold quickly
- Musty odors are a strong indicator even without visible growth
- Recurring spots in the same location suggest an ongoing moisture source
2. Common Places Mold Hides in a Bathroom
Mold doesn’t just grow where you can see it — some of the most persistent growth happens in spots that rarely get cleaned. Grout lines are a classic hiding spot, since their porous surface traps moisture long after the rest of the tile has dried.

Behind the toilet base, under the sink cabinet, along window sills, and inside the folds of shower curtains are all common trouble spots that get overlooked during a routine wipe-down. The area around the exhaust fan grille can also hide surprising buildup if it isn’t cleaned regularly.
Checking these overlooked areas periodically, even when nothing looks obviously wrong, catches problems before they spread further.
- Grout lines between tiles trap moisture long-term
- Behind the toilet base and under the sink cabinet
- Window sills and the tops of window frames
- Inside the folds of fabric shower curtains
- Around and inside the exhaust fan grille
- Under bath mats and inside cabinet corners
3. Gathering the Right Cleaning Supplies
Different mold situations call for different products, so it’s worth understanding your options before grabbing whatever’s under the sink. A mold-specific cleaner or a simple diluted bleach solution both work well for hard, non-porous surfaces like tile and glass.
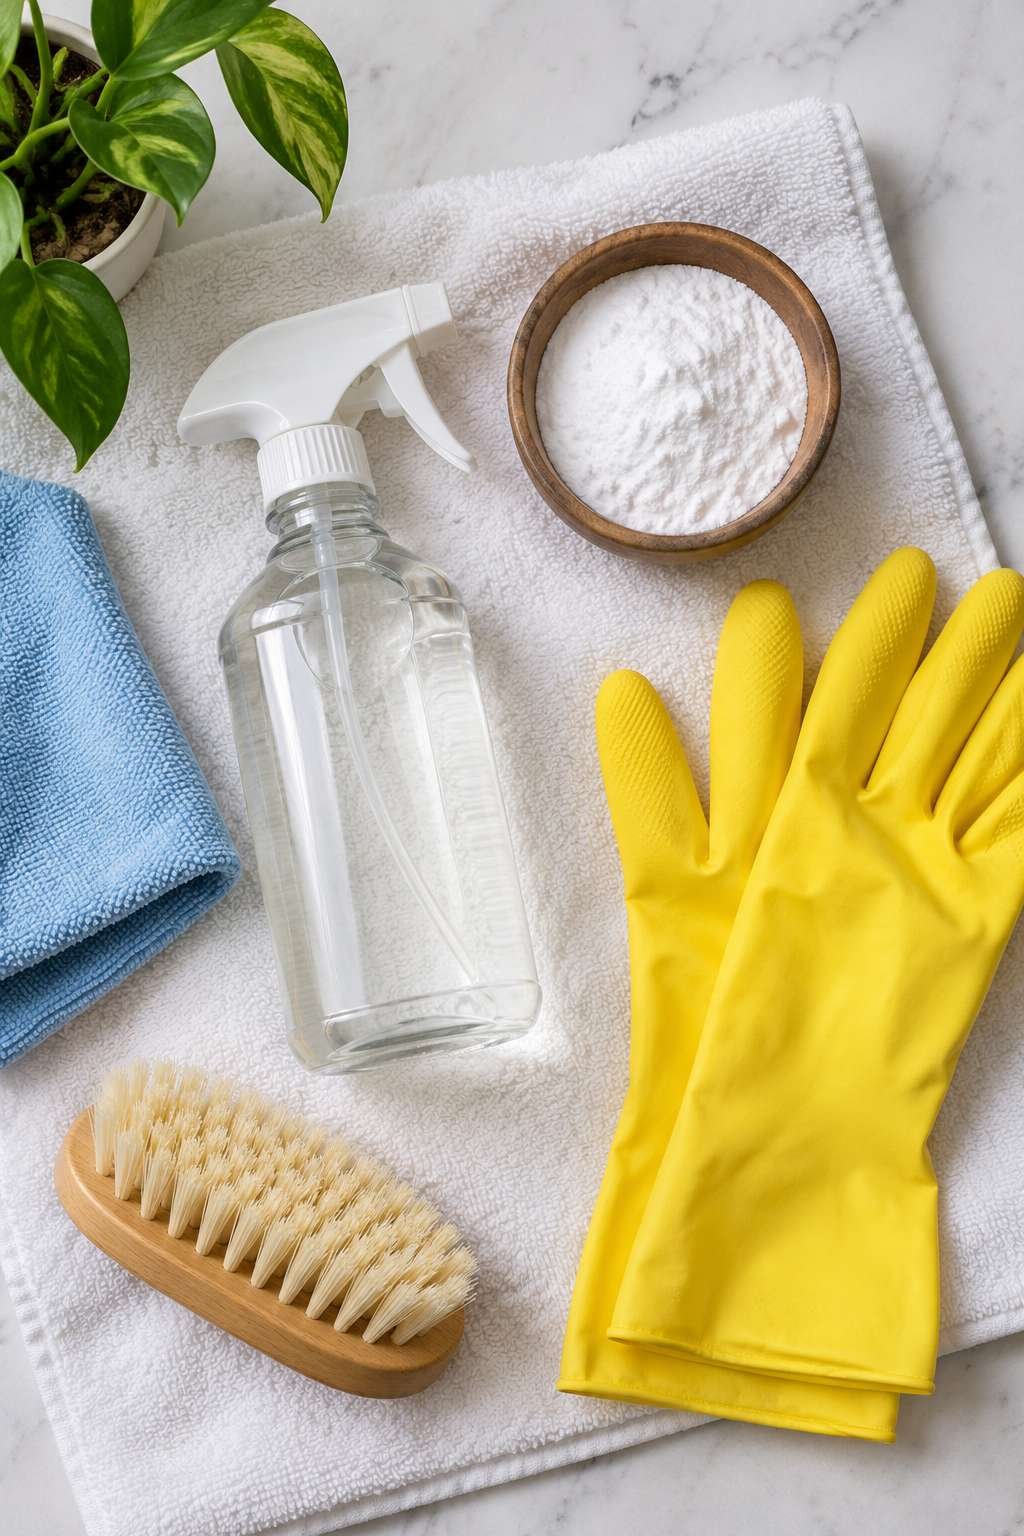
For grout and other porous surfaces, a baking soda paste or a hydrogen peroxide solution tends to work better than bleach, since bleach mostly whitens the surface without fully killing mold embedded deeper in porous material.
Always have proper ventilation and protective gear ready before starting, regardless of which product you choose.
- Mold-specific cleaner or diluted bleach for hard surfaces
- Baking soda paste for scrubbing grout lines
- Hydrogen peroxide as a bleach-free alternative
- Rubber gloves and eye protection
- A stiff-bristled scrub brush or old toothbrush
- Microfiber cloths for wiping down treated surfaces
4. Cleaning Mold Off Tile and Grout
Tile itself is usually easy to clean, but the grout between tiles requires more patience since mold can work its way into the porous surface. Start by applying your chosen cleaner directly to the affected grout lines and letting it sit for the time recommended on the product label.
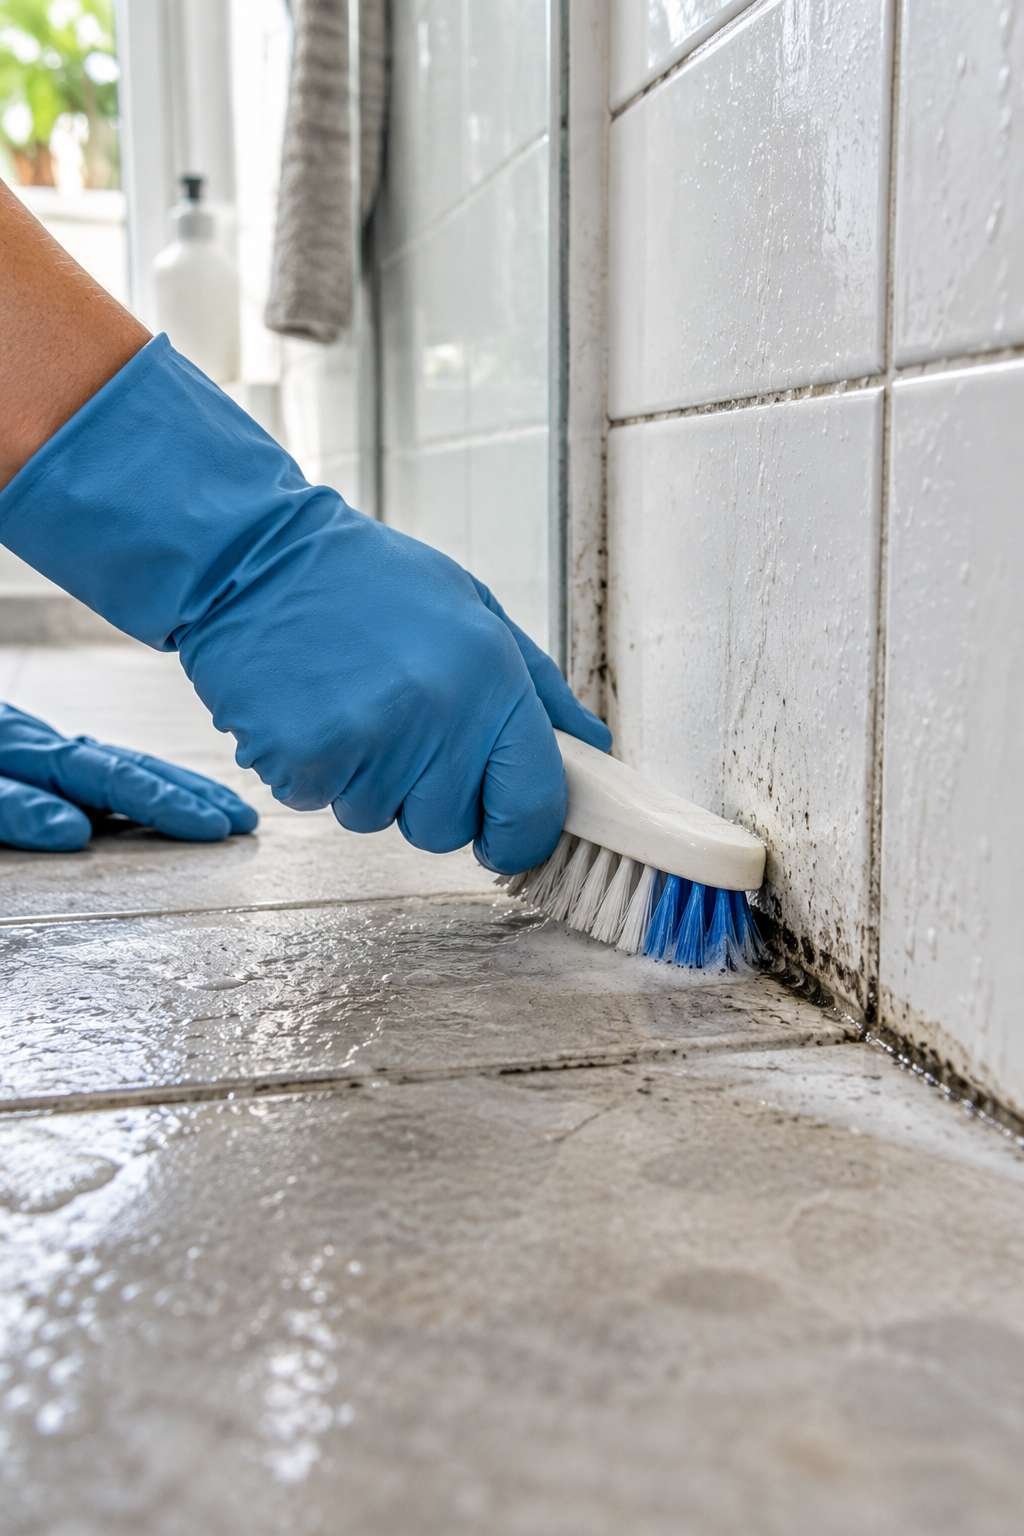
Scrub firmly with a stiff-bristled brush or old toothbrush, working in small sections rather than trying to cover the whole wall at once. Rinse thoroughly with clean water, and repeat the process if any discoloration remains after the first pass.
For grout that stays stained even after mold is fully killed, a grout whitening pen can restore the appearance without needing to regrout the entire area.
- Apply cleaner directly to affected grout lines
- Let the product sit for its full recommended contact time
- Scrub firmly in small sections with a stiff brush
- Rinse thoroughly with clean water after scrubbing
- Repeat the process if discoloration remains
- Consider a grout pen for lingering stains once mold is gone
5. Removing Mold from Bathroom Walls
Painted drywall requires a gentler touch than tile, since aggressive scrubbing can damage the paint or the wall surface underneath. A solution of water and mild detergent, or a bleach solution diluted to about one part bleach to ten parts water, works well for most painted surfaces.

Apply the solution with a sponge rather than spraying it directly, wiping in gentle circular motions rather than scrubbing hard. Let it air dry fully afterward, since trapped moisture behind fresh cleaning can encourage regrowth if the area isn’t allowed to dry completely.
If mold has caused the paint to bubble or peel, that section may need to be scraped, treated, and repainted with a mold-resistant paint once fully dry.
- Dilute bleach to roughly one part bleach to ten parts water
- Apply with a sponge rather than spraying directly onto walls
- Wipe gently in circular motions to avoid damaging paint
- Allow the area to air dry fully after cleaning
- Scrape and repaint any bubbled or peeling sections
- Use mold-resistant paint when repainting affected walls
For a deeper dive specifically focused on wall treatment and prevention, our companion post on how to get rid of mold from bathroom walls covers paint selection and drywall repair in more detail.
6. Treating Mold on Bathroom Ceilings
Ceiling mold often points to a slightly different cause than wall or grout mold — usually poor ventilation combined with warm, rising steam that has nowhere to escape. Because you’re working overhead, safety matters as much as the cleaning method itself.
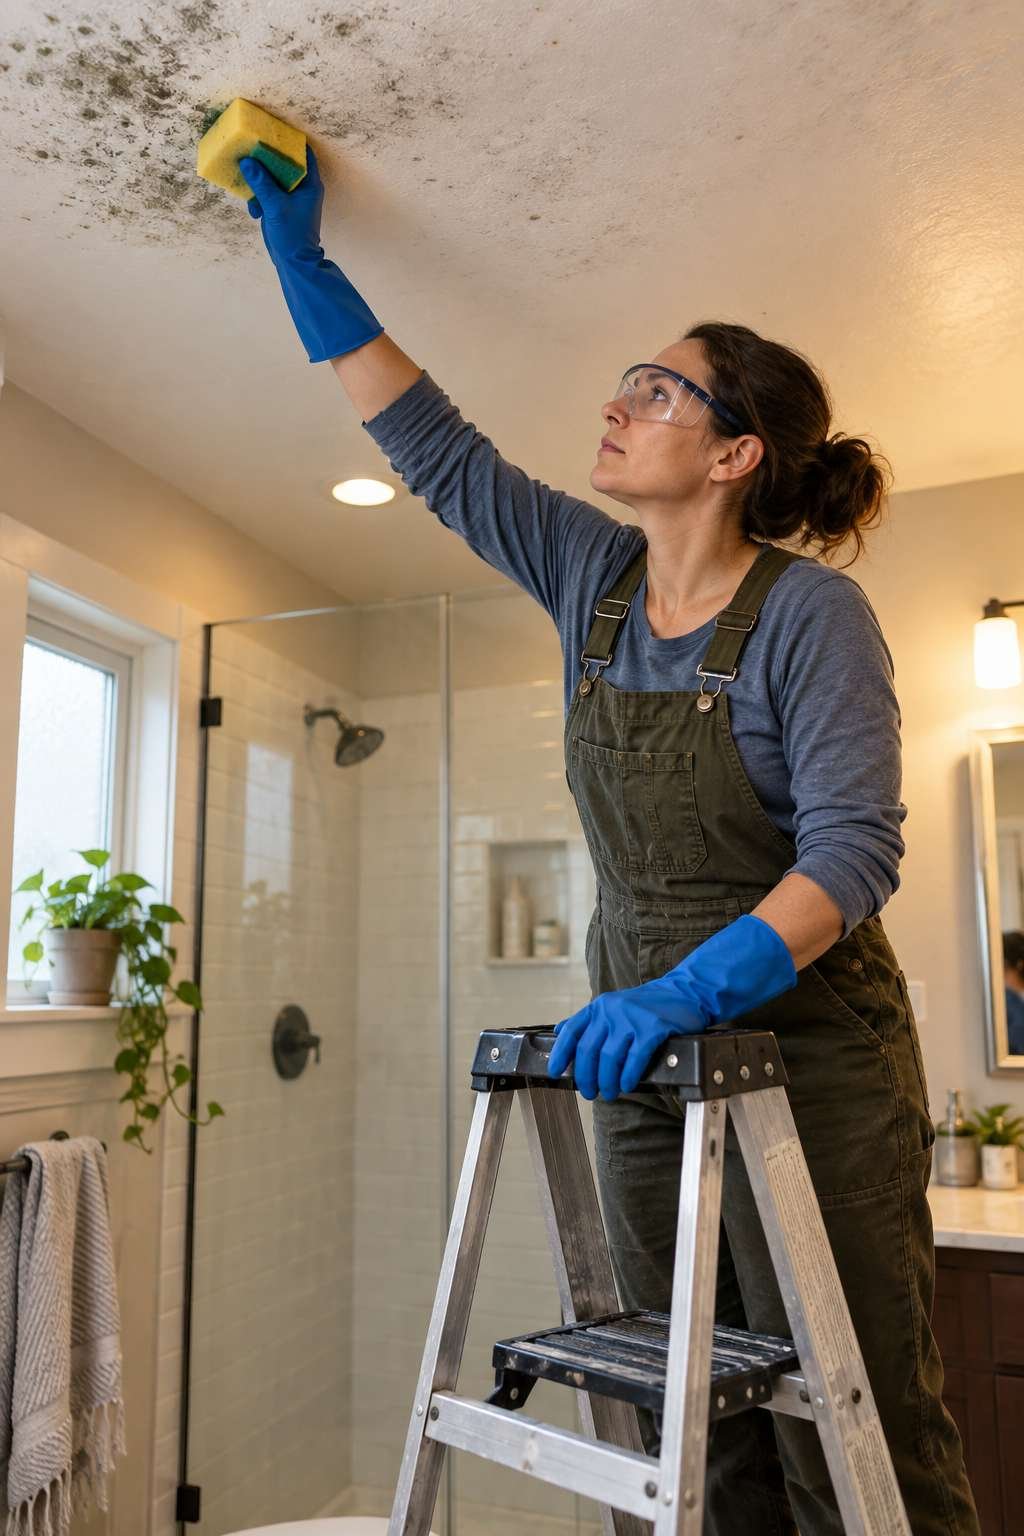
Set up a stable step ladder and protect your eyes with goggles, since drips are common when treating an overhead surface. Apply your chosen solution with a sponge or spray bottle, working in manageable sections, and avoid oversaturating painted ceiling surfaces.
If ceiling mold keeps returning despite regular cleaning, it’s a strong sign your bathroom’s ventilation isn’t adequate for the space, regardless of how well you clean.
- Use a stable ladder and wear eye protection
- Work in small sections to avoid oversaturating the ceiling
- Avoid spraying cleaner directly upward into your face
- Let the ceiling dry fully with the fan running afterward
- Recurring ceiling mold usually points to a ventilation issue
- Consider a mold-resistant ceiling paint for problem areas
Our dedicated guide on how to get rid of mold in bathroom ceiling areas goes further into ventilation upgrades and ceiling-specific paint options if this is a recurring issue for you.
7. Dealing with Mold on Fabric and Silicone
Shower curtains, bath mats, and silicone caulk around the tub each need slightly different treatment than hard surfaces. Fabric shower curtains can often go straight into the washing machine with detergent and a cup of white vinegar on a hot cycle.
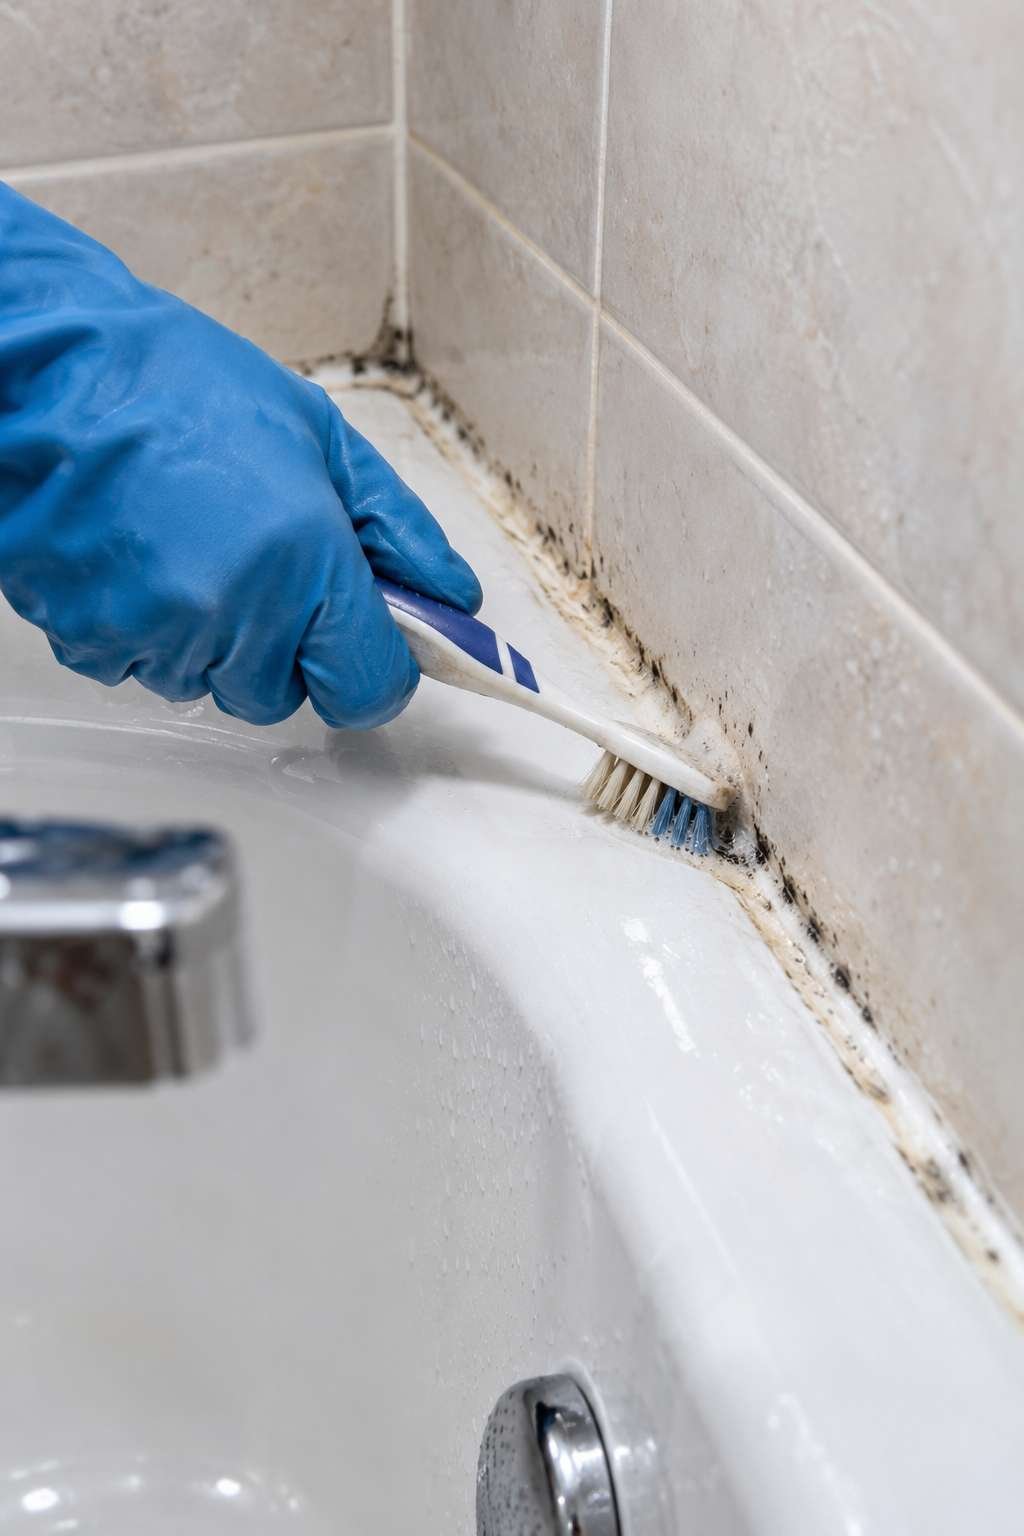
Silicone caulk is trickier, since mold tends to grow underneath the surface rather than just on top of it. Light surface mold can sometimes be cleaned with a bleach solution and an old toothbrush, but caulk that’s deeply discolored or peeling usually needs to be removed and replaced entirely.
Bath mats with a rubber backing should be checked regularly, since moisture trapped underneath is a common spot for mold to develop unnoticed.
- Wash fabric shower curtains with detergent and vinegar on hot
- Clean light caulk mold with a bleach solution and toothbrush
- Replace caulk that’s deeply discolored or peeling
- Check under rubber-backed bath mats regularly
- Hang shower curtains fully open after each use to dry
- Air dry all fabric items fully before storing or reusing
8. Natural and Chemical-Free Alternatives
For households that prefer to avoid bleach, a few natural alternatives work well for lighter mold growth, though they may need more repeat applications for stubborn cases. White vinegar applied undiluted and left to sit for an hour before wiping is a common go-to.

Hydrogen peroxide in a 3% concentration is another effective, bleach-free option that works well on both hard and porous surfaces without leaving behind harsh fumes. Tea tree oil diluted in water is popular as well, though it’s typically better suited to prevention than heavy active growth.
Whichever method you choose, consistency matters more than the specific product — regular light cleaning prevents the kind of buildup that becomes hard to remove later.
- Undiluted white vinegar left to sit for about an hour
- 3% hydrogen peroxide as a bleach-free option
- Diluted tea tree oil, better for prevention than heavy growth
- Baking soda paste for light scrubbing on porous surfaces
- Natural options generally need more repeat applications
- Consistency matters more than which specific product you choose
9. Preventing Mold From Coming Back
Cleaning existing mold only solves half the problem if the underlying moisture issue isn’t addressed. Running your exhaust fan for at least 20 minutes after every shower is one of the single most effective prevention habits you can build.
Wipe down wet surfaces like the shower walls and glass door after each use, and keep shower curtains and bath mats spread out rather than bunched up, so moisture can evaporate rather than staying trapped in folds.

Fixing any small leaks around the tub, sink, or toilet promptly also removes a constant moisture source that mold can exploit even in an otherwise well-ventilated bathroom.
- Run the exhaust fan at least 20 minutes after every shower
- Wipe down wet surfaces immediately after each use
- Keep shower curtains and bath mats spread out to dry
- Fix small leaks around fixtures promptly
- Crack a window when possible for extra airflow
- Do a quick weekly check of grout lines and corners
10. When to Call a Professional
Most bathroom mold is a manageable DIY project, but a few situations call for professional remediation instead of more scrubbing. Mold covering an area larger than about 10 square feet is generally considered a job for a professional, according to EPA guidance.
If mold keeps returning in the same spot despite repeated cleaning and improved ventilation, there may be a hidden moisture source behind the wall or under the flooring that needs a professional inspection to locate. Persistent musty odors without visible mold can also indicate hidden growth.

Anyone in the household with mold allergies, asthma, or a compromised immune system should also consider having a professional handle larger or recurring mold issues rather than tackling them personally.
- Mold covering more than roughly 10 square feet
- Mold that keeps returning despite repeated cleaning
- Musty odors persisting without visible mold growth
- Suspected mold behind walls or under flooring
- Household members with mold allergies or respiratory conditions
- Mold following a significant water leak or flooding event
Getting rid of bathroom mold for good comes down to two things working together: thoroughly treating what’s already there, and closing the moisture gaps that let it grow in the first place. Handle both, and most bathrooms stay mold-free with just a few minutes of upkeep each week.
If you’re dealing with a specific problem area rather than a bathroom-wide issue, our related guides on how to get rid of mold in bathroom ceiling spaces and how to get rid of mold from bathroom walls go deeper into those particular surfaces.