Swapping out a tired, outdated cabinet is one of the fastest ways to transform a bathroom without a full renovation. Learning how to install bathroom vanity units yourself can save hundreds of dollars in labor costs while giving you full control over the finished look. With the right prep, a few common tools, and a bit of patience, this is a project most confident DIYers can finish in a weekend.

This guide walks through every stage of the process, from removing the old cabinet to sealing the final joint around your new sink. Whether you’re working with a freestanding cabinet or a wall-mounted style, the fundamentals stay the same.
1. Gather Your Tools and Materials
Before you touch the old vanity, lay out everything you’ll need so the project doesn’t stall halfway through. A complete toolkit prevents mid-project hardware-store runs and keeps the timeline realistic.
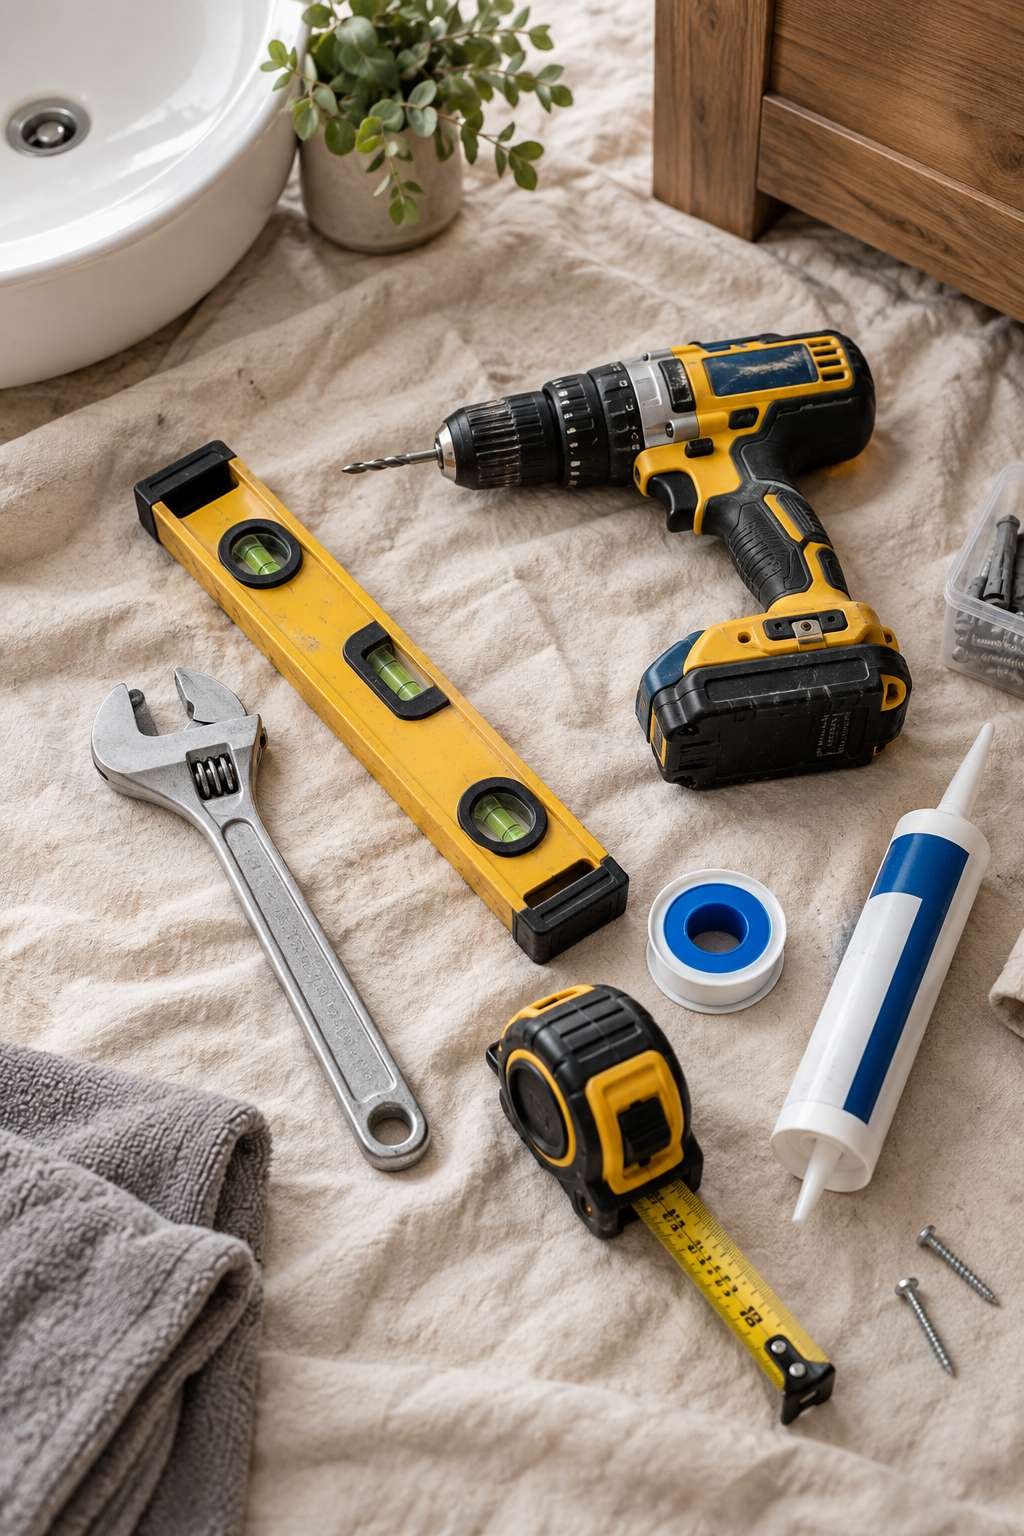
Most installs require a mix of basic hand tools and a few specialty items for plumbing connections. Having fresh silicone caulk and plumber’s tape on hand matters just as much as the power tools, since a rushed seal is the most common cause of future leaks.
- Adjustable wrench, screwdriver set, and a stud finder
- Level, tape measure, and pencil
- Cordless drill with mixed bits
- Bucket, towels, and a shop vacuum for water cleanup
- Plumber’s tape and silicone caulk
- New supply lines if the old ones show any wear
2. Choose the Right Vanity for Your Space
Not every cabinet fits every bathroom, so measure twice before you buy. A vanity that’s too deep can block the door swing, while one that’s too tall feels awkward for shorter household members.

If you’re still deciding on a style or footprint, it helps to understand the different categories of cabinets available before committing to a purchase. Our guide on What Is a Bathroom Vanity breaks down the freestanding, floating, and corner styles so you can match one to your layout.
Height is another detail people overlook until it’s too late to change. Our piece on How Tall Bathroom Vanity cabinets should be covers the standard ranges for adults and kids’ bathrooms alike.
- Measure the full width, depth, and height of the available wall space
- Confirm door and drawer clearance against nearby fixtures
- Check that plumbing rough-in locations match the new cabinet
- Decide between a drop-in, undermount, or vessel sink style
- Order the vanity a week or two early to absorb shipping delays
3. Shut Off the Water and Remove the Old Vanity
Every installation starts with cutting the water supply at the shutoff valves under the sink. Turn the faucet on afterward to release any pressure still in the lines before disconnecting anything.
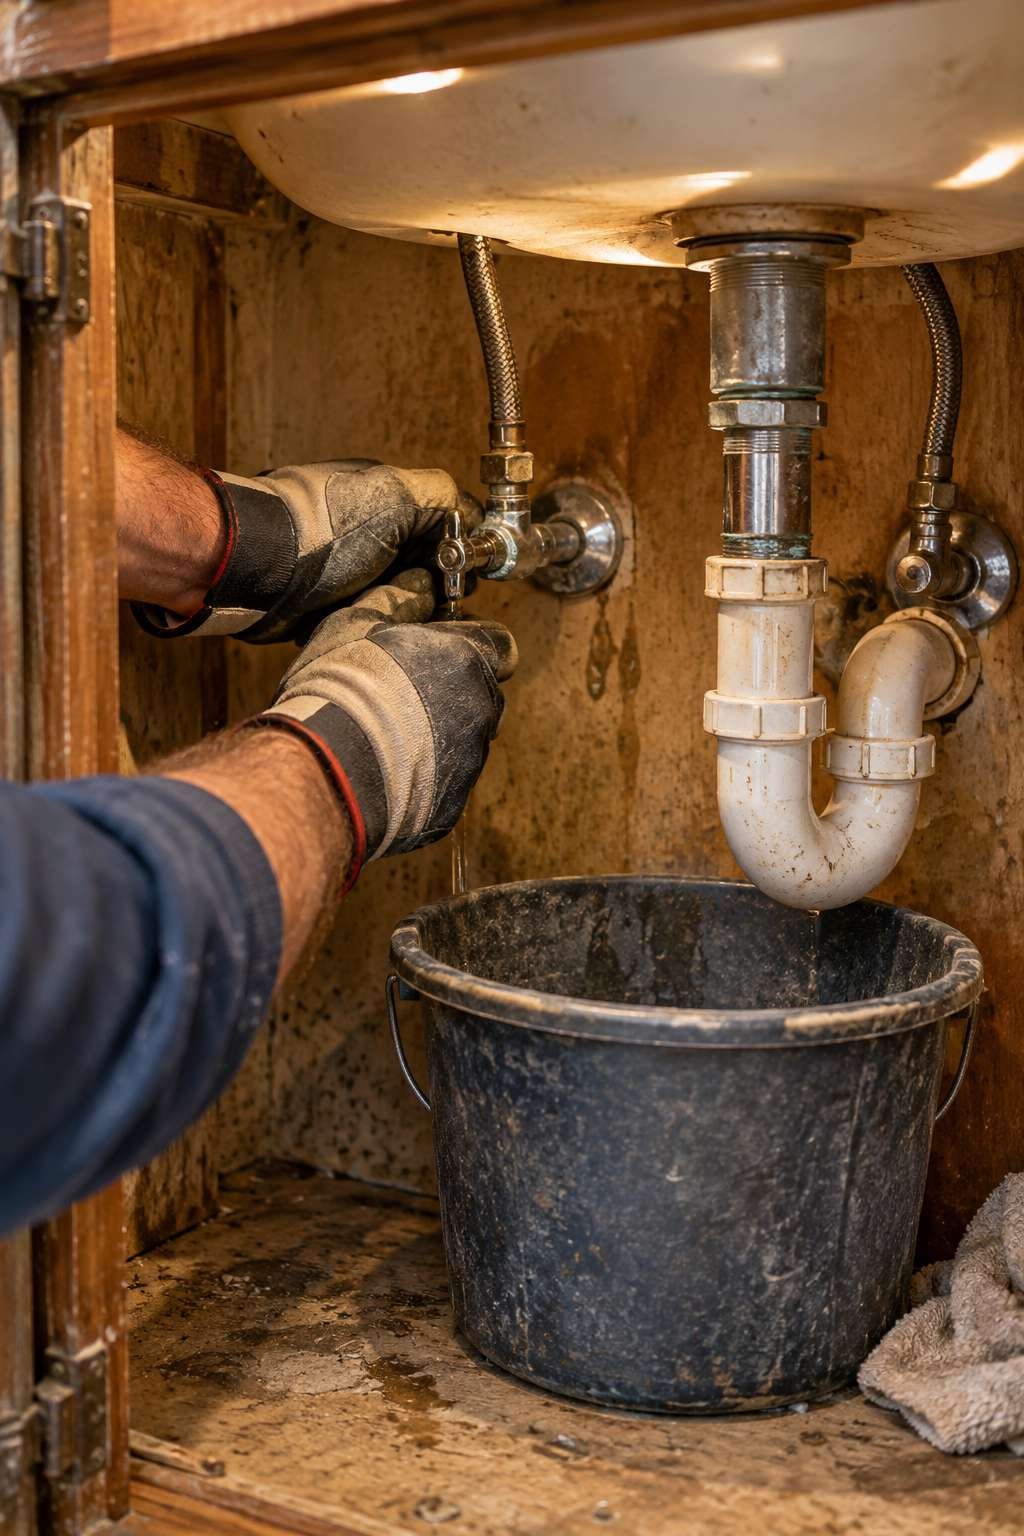
Once the water is off, disconnect the supply lines and drain trap, then remove any screws or brackets holding the old cabinet to the wall or floor. Old caulk around the base often needs a putty knife to break the seal cleanly.
- Place a bucket under the P-trap to catch residual water
- Disconnect supply lines at the shutoff valves, not the faucet
- Remove mounting screws from wall studs or the floor
- Pull the vanity straight out to avoid scraping the wall
- Patch and clean the wall area before moving forward
4. Prep the Space and Check for Level
With the old cabinet gone, inspect the subfloor and wall for water damage, soft spots, or mold before installing anything new. This is the easiest point in the whole project to fix a hidden problem.
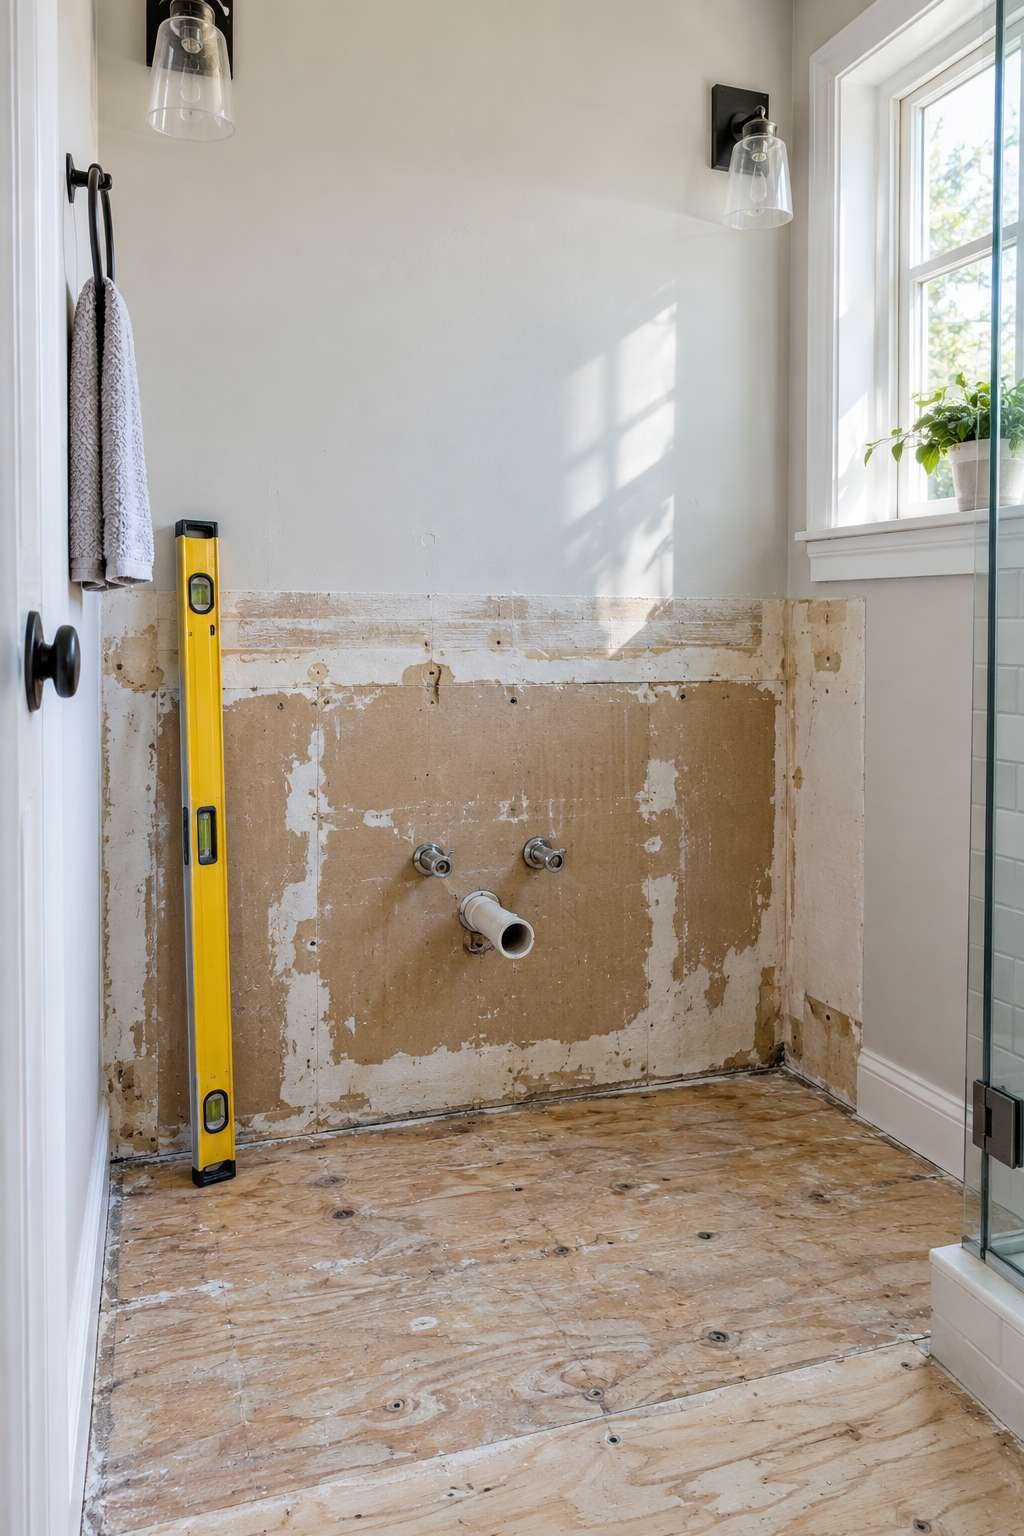
Use a level across the floor where the vanity will sit. Bathrooms settle over time, and an uneven floor will telegraph into doors that won’t close flush or a countertop that rocks slightly.
- Check subfloor and drywall for soft spots or discoloration
- Mark stud locations behind the planned vanity position
- Confirm the floor is level in both directions
- Note the exact height of the drain and supply stub-outs
- Clean the area thoroughly before any new caulk goes down
5. Mark and Measure Vanity Placement
Accurate marking now prevents crooked results later. Dry-fit the cabinet in position and trace its footprint lightly onto the floor with a pencil so you have a reference line to work back to.
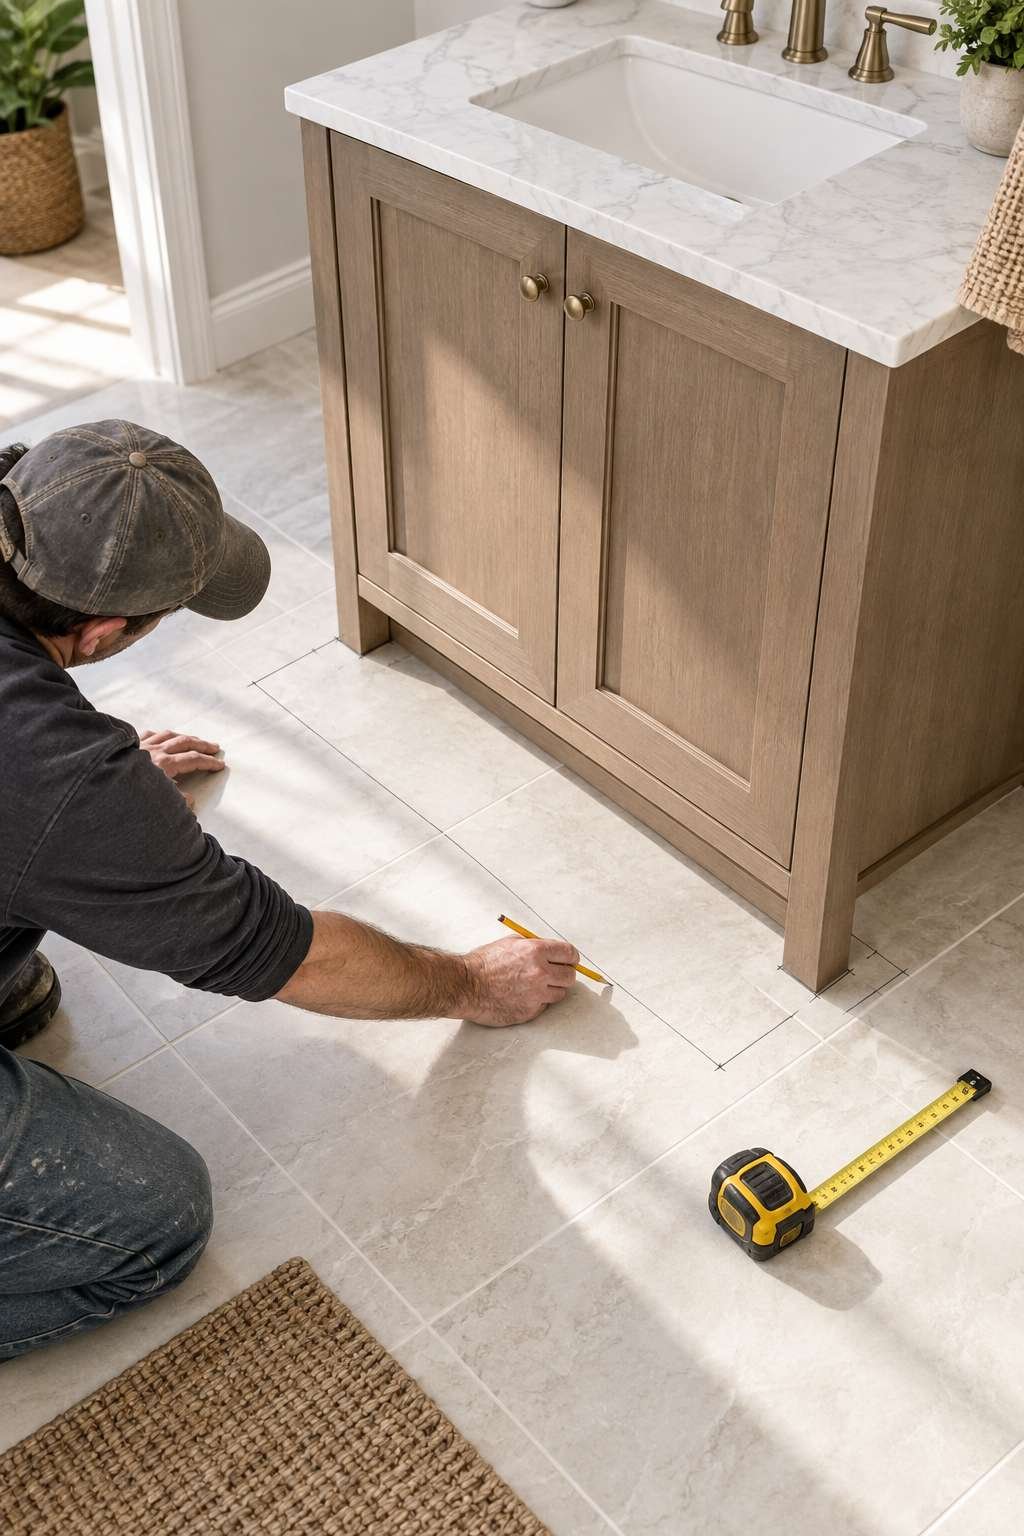
Double-check that the marked position leaves enough clearance for the plumbing to connect without kinking the supply lines or forcing the trap into an odd angle.
- Dry-fit the vanity and trace the base outline
- Confirm centerline alignment with the drain stub-out
- Mark stud centers on the back wall for anchoring
- Leave manufacturer-recommended clearance from adjacent fixtures
- Recheck measurements once more before drilling anything
6. Secure the Vanity to the Wall
This step is where how to install a bathroom vanity really comes down to precision. Position the cabinet against your marked lines, then screw through the back rail into wall studs whenever possible rather than relying on drywall anchors alone.

For floating or wall-mounted styles, follow the manufacturer’s weight rating closely and use the specified mounting bracket rather than substituting standard screws.
- Slide the vanity into position against the marked outline
- Use a level to check both horizontal and vertical alignment
- Drive screws into studs through the back support rail
- Shim the base if the floor has minor unevenness
- Recheck level after every screw before fully tightening
7. Connect the Plumbing
With the cabinet anchored, reconnect the drain and supply lines. Wrap threaded connections with plumber’s tape before tightening to reduce the chance of a slow leak developing months later.
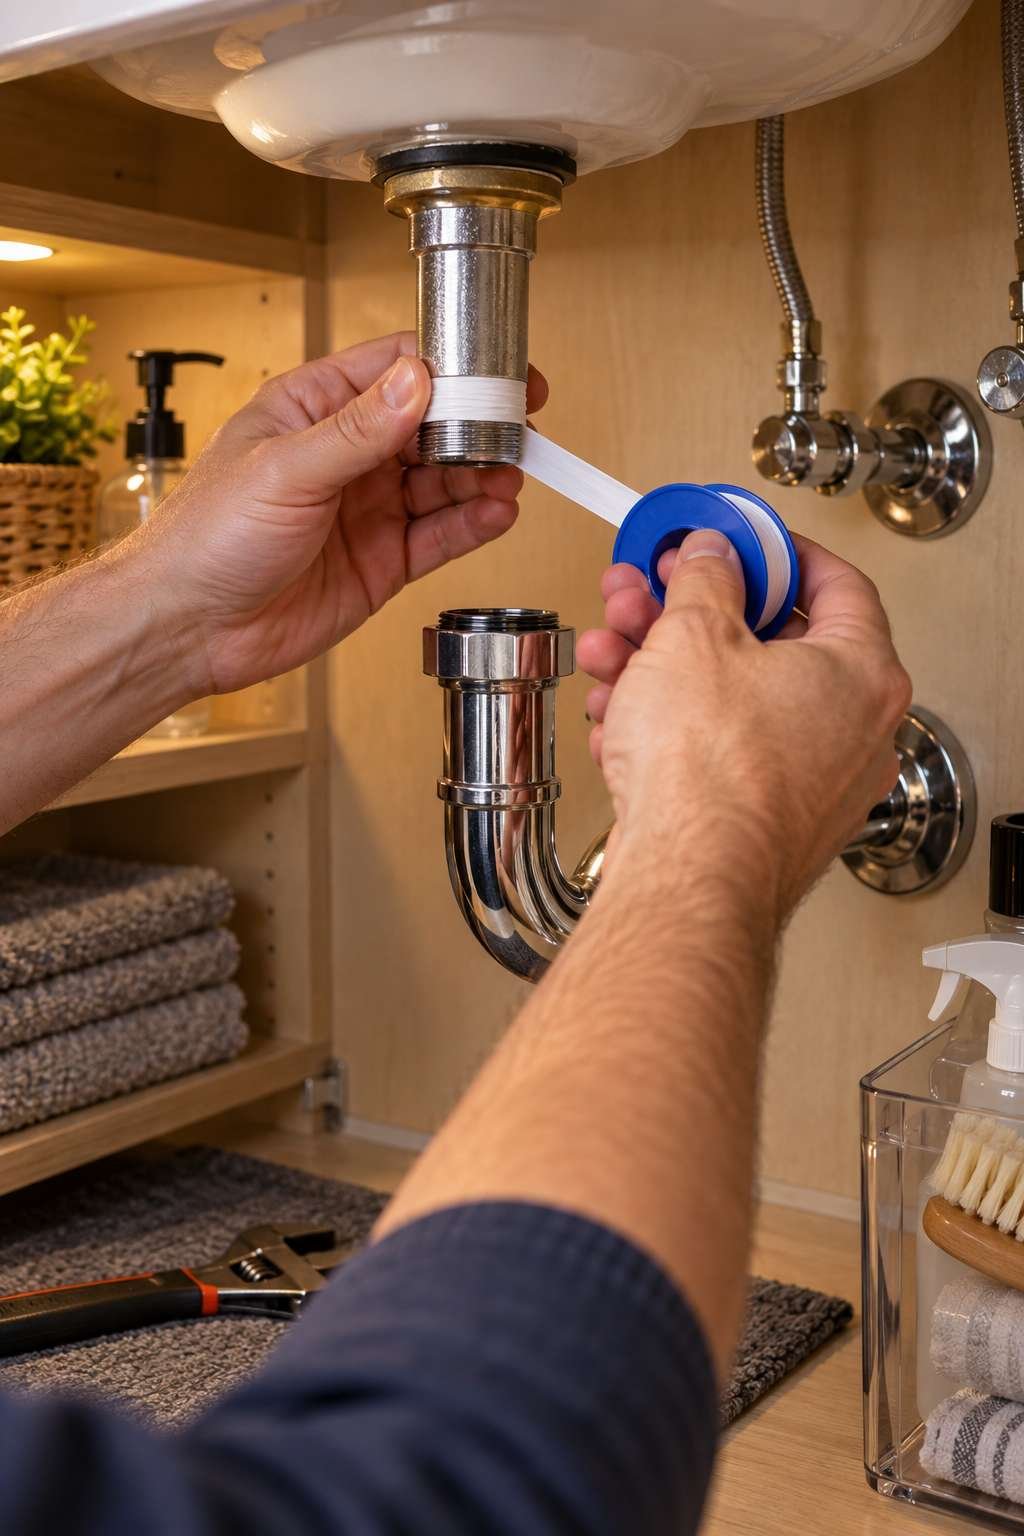
Hand-tighten fittings first, then use a wrench for a final quarter-turn — overtightening plastic P-trap components is a common way to crack them.
- Reconnect the P-trap and tailpiece to the drain
- Wrap threaded fittings with plumber’s tape
- Attach supply lines to the shutoff valves and faucet
- Turn water back on slowly and check every joint
- Run the faucet for two minutes while watching for drips
8. Install the Countertop and Sink
If your vanity didn’t come pre-assembled with a top, set the countertop in place and run a bead of silicone along the cabinet edge before lowering it down. Press firmly and wipe away excess caulk immediately.
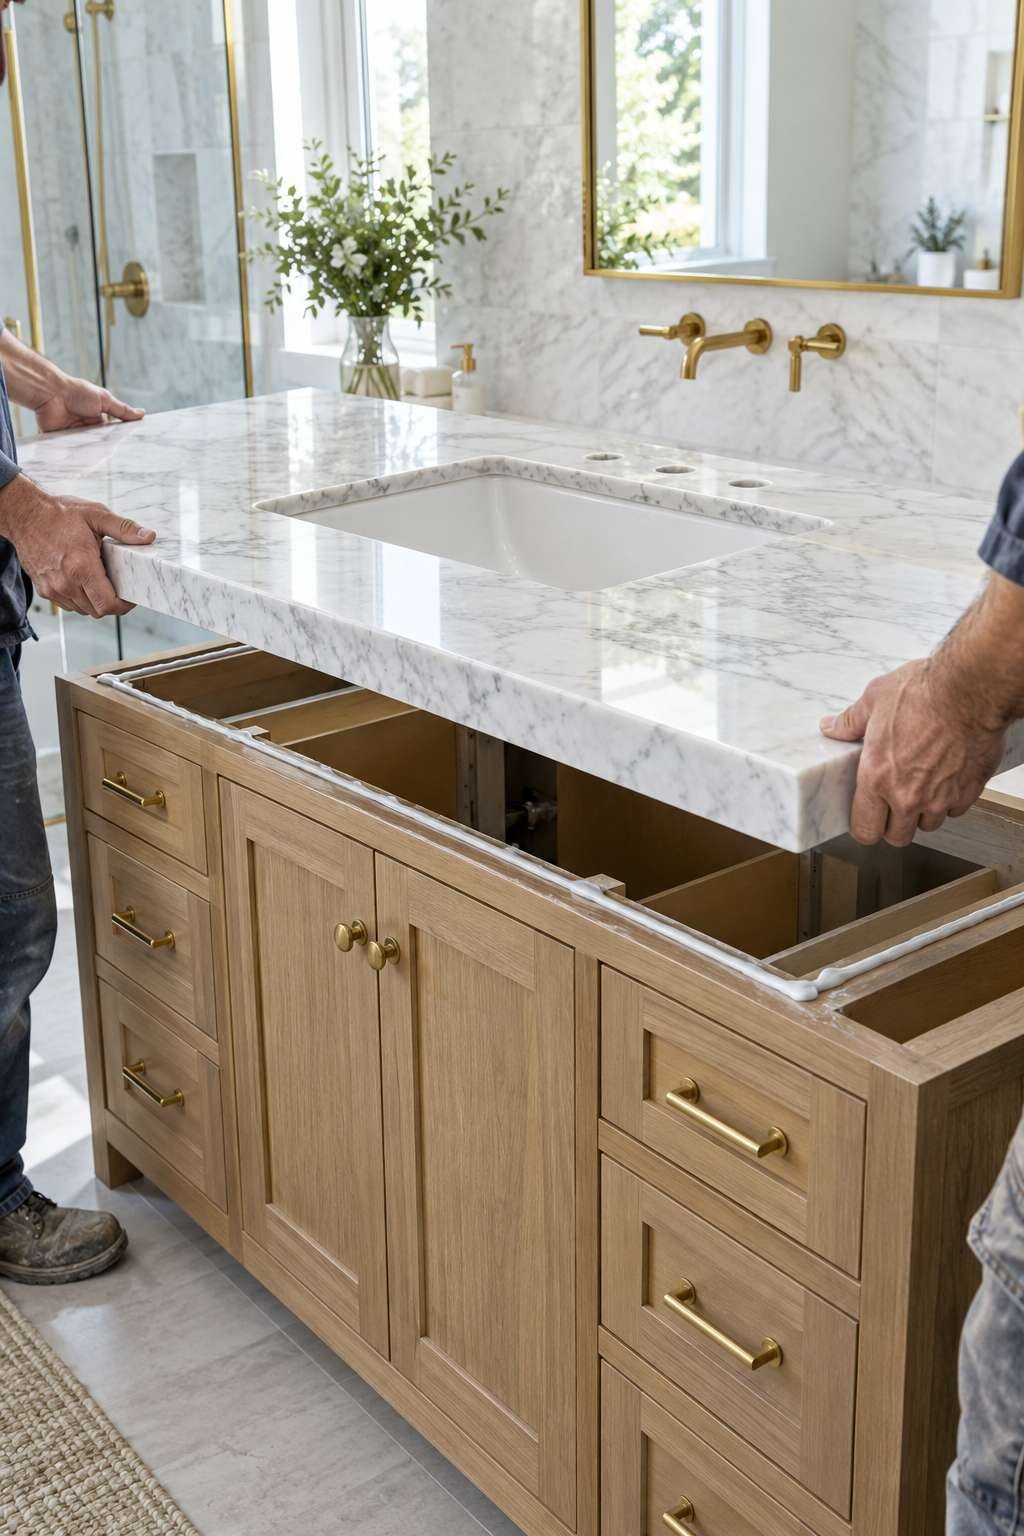
For a drop-in or vessel sink, follow the same sequence: dry-fit first, then seal, then make the final plumbing connections once the sink is secure.
- Dry-fit the countertop before applying any adhesive
- Run a continuous silicone bead along the cabinet rim
- Set the countertop and press evenly across the surface
- Install the sink per its specific mounting hardware
- Reconnect the faucet and drain once the sink is seated
9. Seal and Finish the Installation
The final seams matter more than they might seem. Caulk the joint between the backsplash and wall, and again along the base of the vanity where it meets the floor, to keep water from seeping behind the cabinet.
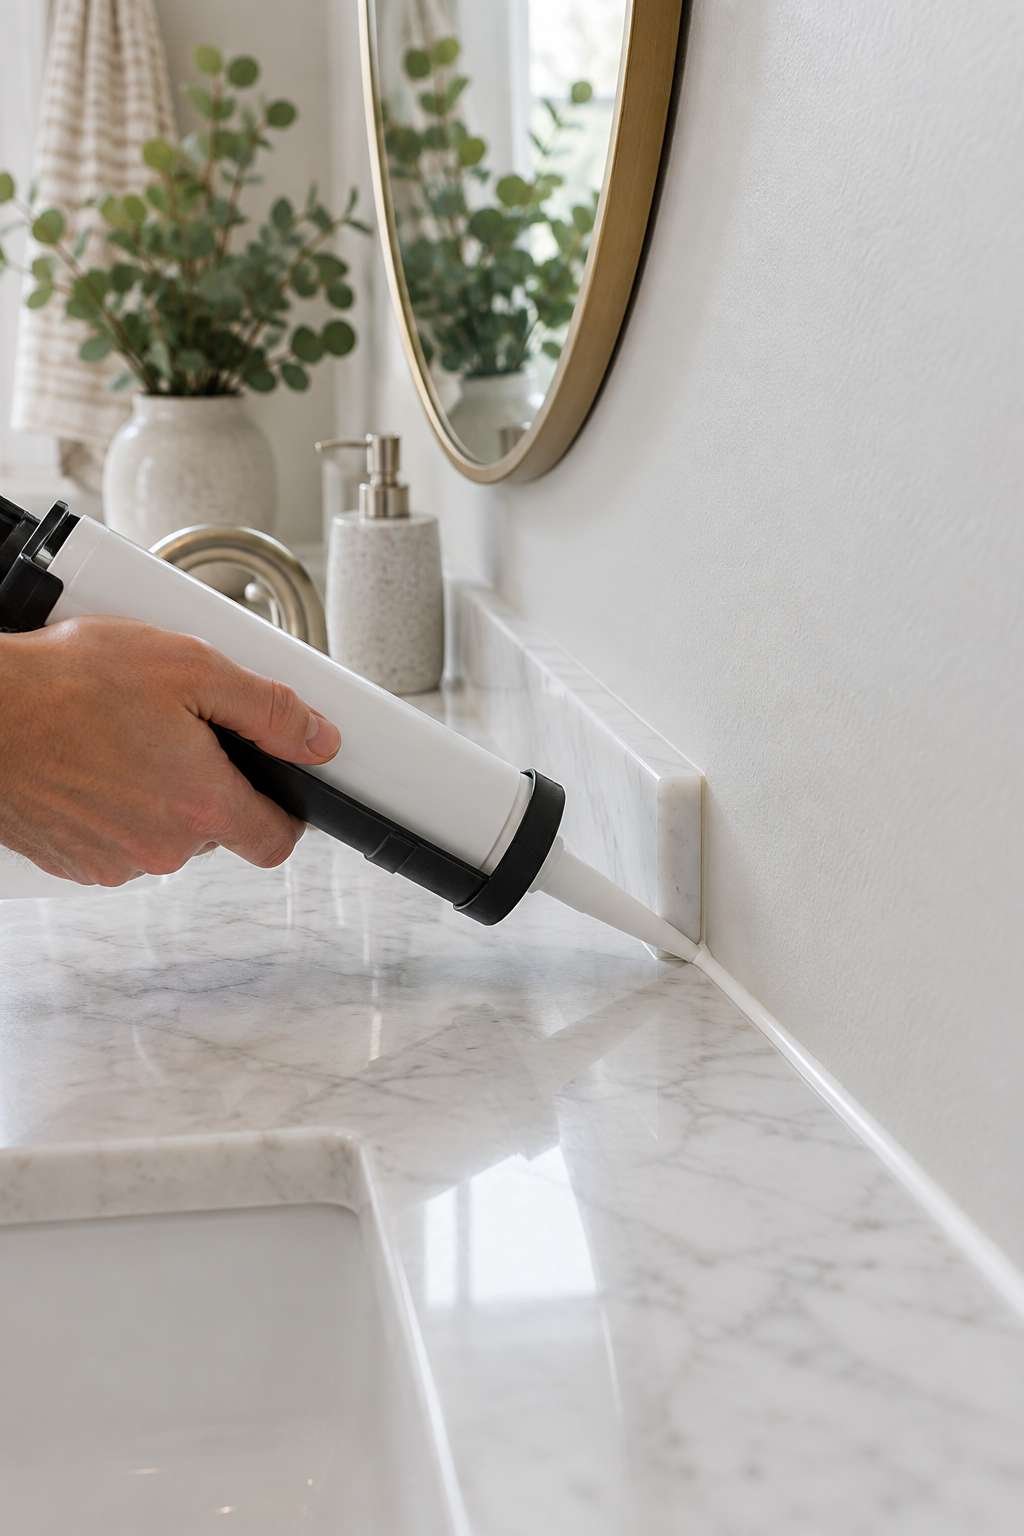
Give silicone caulk the full cure time listed on the tube — usually 24 hours — before running water near it or wiping it down.
- Caulk the backsplash-to-wall seam in a straight, even line
- Seal the base of the vanity against the floor
- Smooth caulk lines with a damp finger or caulk tool
- Let caulk cure fully before use
- Reinstall drawer fronts, handles, and any trim pieces
10. Common Mistakes to Avoid
A handful of small errors account for most vanity-installation problems. Skipping the level check tops the list, followed closely by reusing old, brittle supply lines instead of replacing them for a few extra dollars.
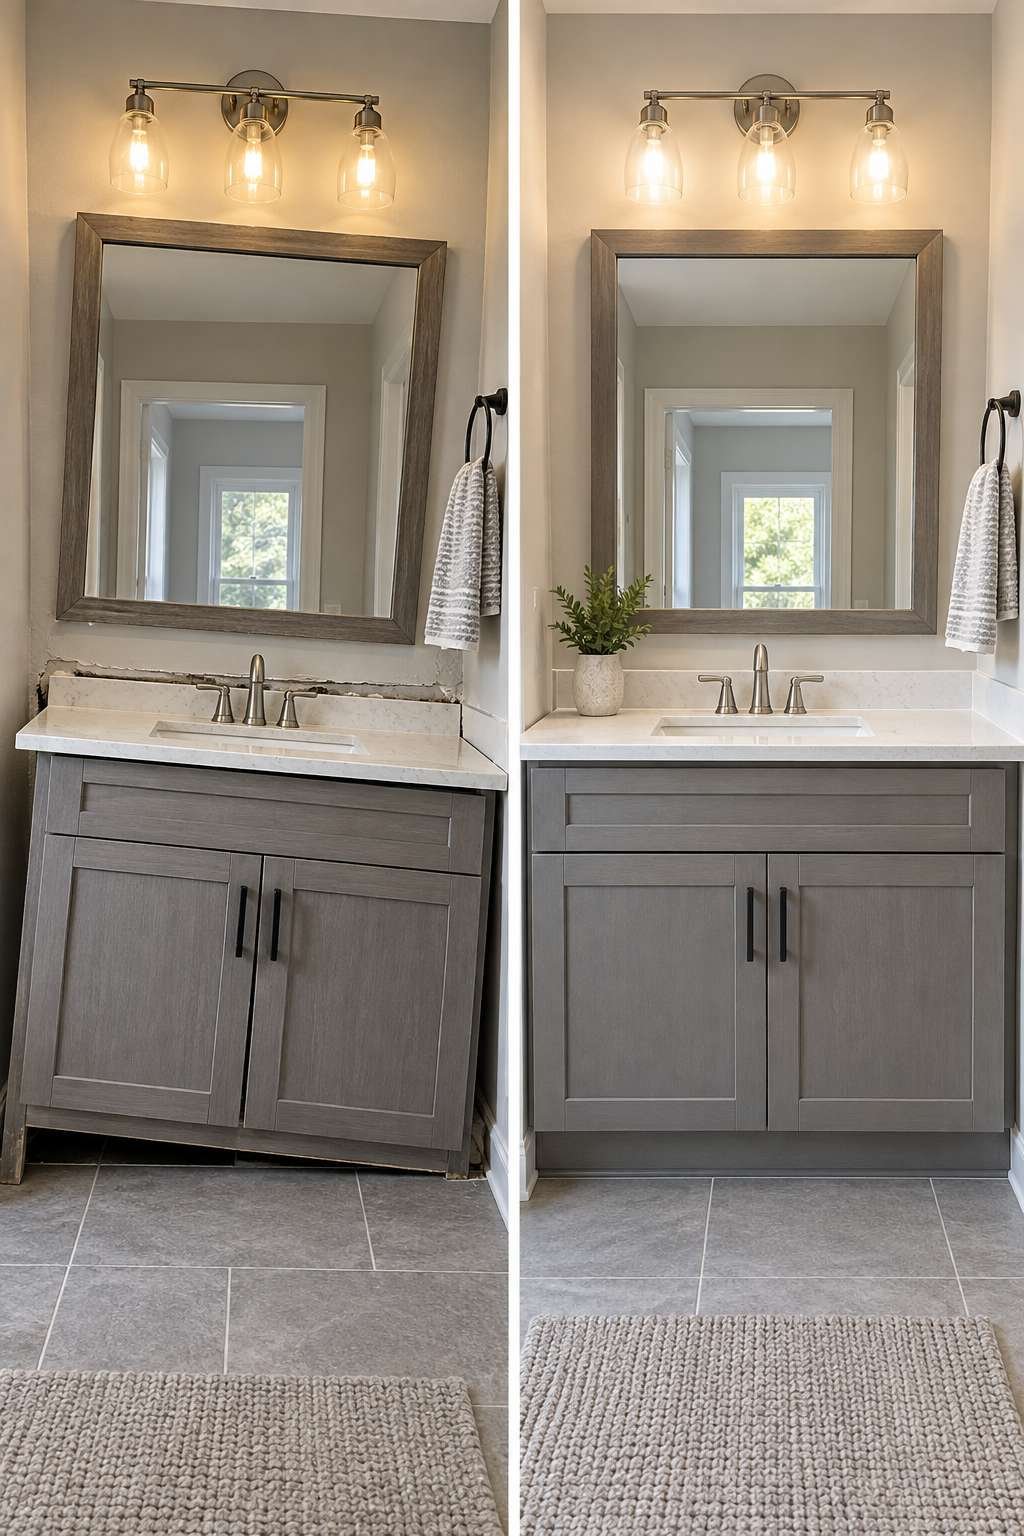
If your current vanity’s finish is dated but the cabinet itself is solid, it’s worth knowing that a full replacement isn’t always necessary — our guide to How to Refinish Bathroom Vanity surfaces covers when a refresh makes more sense than a teardown. And for anyone tackling this from the ground up rather than buying pre-made, How to Build a Bathroom Vanity walks through the framing and assembly steps in detail.
- Don’t skip checking the floor and wall for level
- Don’t reuse worn or cracked supply lines
- Don’t overtighten plastic plumbing fittings
- Don’t rush the caulk cure time before using the sink
- Don’t forget to test every connection before calling it done
Frequently Asked Questions
How long does it take to install a bathroom vanity?
Most straightforward swaps take four to six hours for someone with basic DIY experience. Add extra time if the new cabinet requires plumbing adjustments or if the wall needs repair work first.
Do I need a plumber to install a bathroom vanity?
Not necessarily. If you’re reconnecting to existing supply and drain lines in roughly the same position, most homeowners can handle it. Hire a plumber if lines need to be moved or if local code requires a permit.
What tools do I need to install a bathroom vanity?
A basic kit covers it: an adjustable wrench, screwdriver, drill, level, and plumber’s tape. Having a bucket and towels nearby keeps water cleanup manageable during the swap.
Can I install a bathroom vanity myself?
Yes, for most standard cabinet swaps. The project mainly involves carpentry and basic plumbing, both of which are manageable with patience and the steps outlined above.
Conclusion
Installing a new bathroom vanity is one of those projects that pays off immediately — a fresh cabinet changes the entire feel of the room without the cost or disruption of a full remodel. Take your time with the leveling and plumbing steps in particular, since those are the details that separate a professional-looking result from one that needs revisiting in a few months.
With the tools gathered, the old cabinet out, and every connection double-checked, you’ll have a vanity that looks great and holds up for years to come.