Learning how to tile a bathroom floor is one of the most rewarding home improvement projects you can take on yourself, and it costs far less than hiring a professional. Whether you’re renovating an outdated space or starting from a bare subfloor, this guide walks you through every stage of the process in a clear, beginner-friendly order.
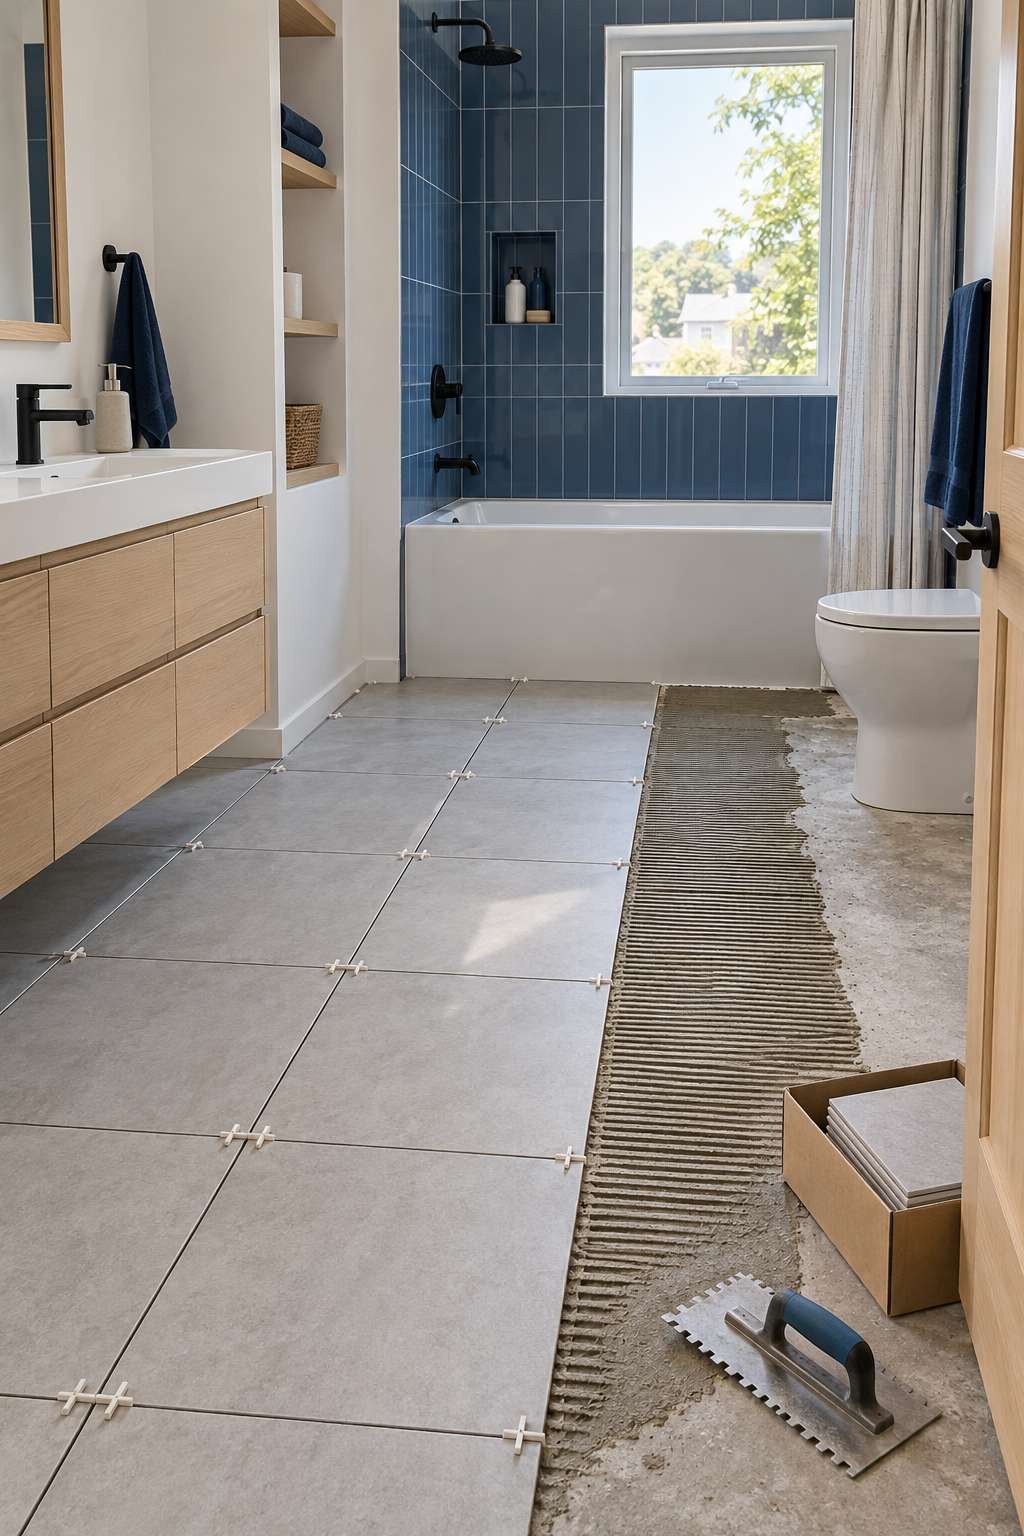
Tiling a bathroom floor rewards patience more than raw skill. With the right prep work, the correct materials, and a little attention to detail, you can achieve a professional-looking result even on your first attempt. If you’ve searched how to tile bathroom floor projects before and felt overwhelmed, this guide breaks the same process into a much simpler order. Let’s go through the process step by step.
1. Choosing the Right Tile and Materials
Before you buy anything, think about how the space will actually be used day to day. Bathroom floors deal with constant moisture, so slip resistance and water absorption matter as much as appearance. Porcelain and ceramic are the most common choices for good reason — both hold up well in wet environments.
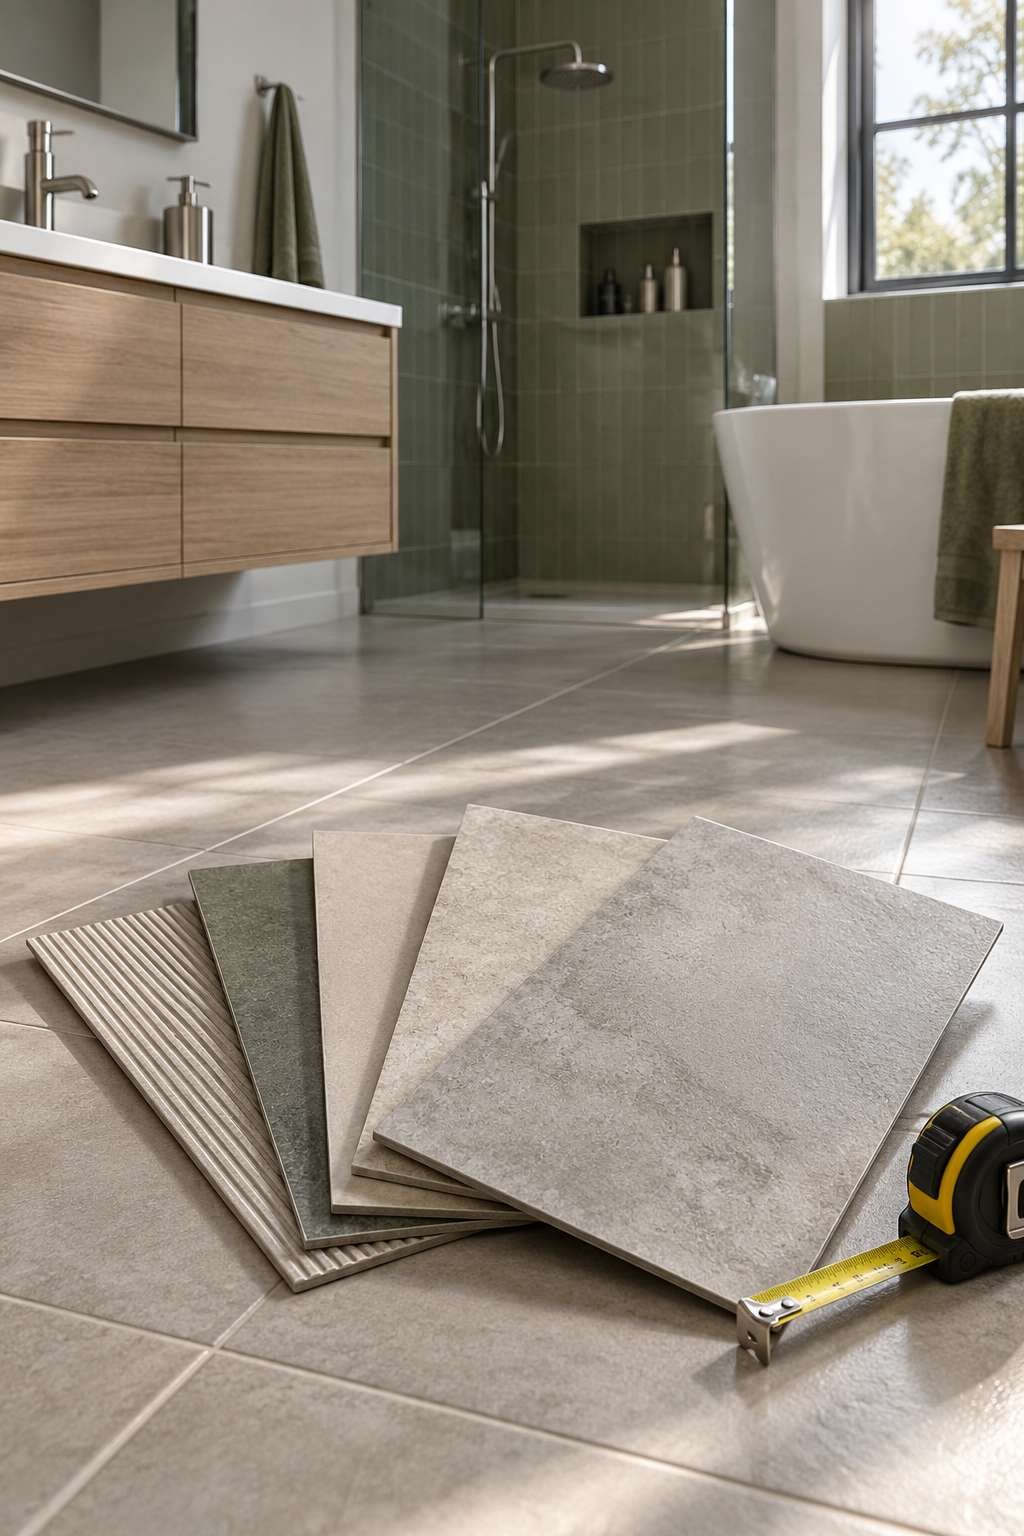
If you’re unsure which option fits your space, our guide on What Is Good Material for Bathroom Floor breaks down the pros and cons of porcelain, ceramic, natural stone, and vinyl in more detail.
- Choose porcelain or ceramic for reliable water resistance
- Check the tile’s slip-resistance rating before buying
- Buy 10-15% extra tile to account for cuts and breakage
- Match tile size to the room — smaller tiles suit smaller bathrooms
- Confirm the tile is rated for floor use, not wall use only
2. Tools and Supplies You’ll Need
Having everything on hand before you start prevents frustrating mid-project trips to the hardware store. A tile cutter or wet saw makes clean cuts around edges and fixtures, while a notched trowel ensures even mortar coverage across the subfloor.

Beyond the basics, a few smaller items make a noticeable difference in the final result. Tile spacers keep your grout lines consistent, and a rubber float is essential for pressing grout cleanly into the joints.
- Notched trowel sized for your specific tile
- Tile cutter or wet saw for straight and angled cuts
- Rubber mallet for setting tiles evenly
- Tile spacers in your desired grout-line width
- Level and measuring tape for accurate layout
- Grout float and sponge for the finishing stage
3. Measuring and Planning the Layout
Good planning prevents awkward, sliver-thin tiles along the edges of the room. Measure the total floor area, then dry-lay a row of tiles across the widest point of the bathroom to see how the pattern will fall before applying any mortar.
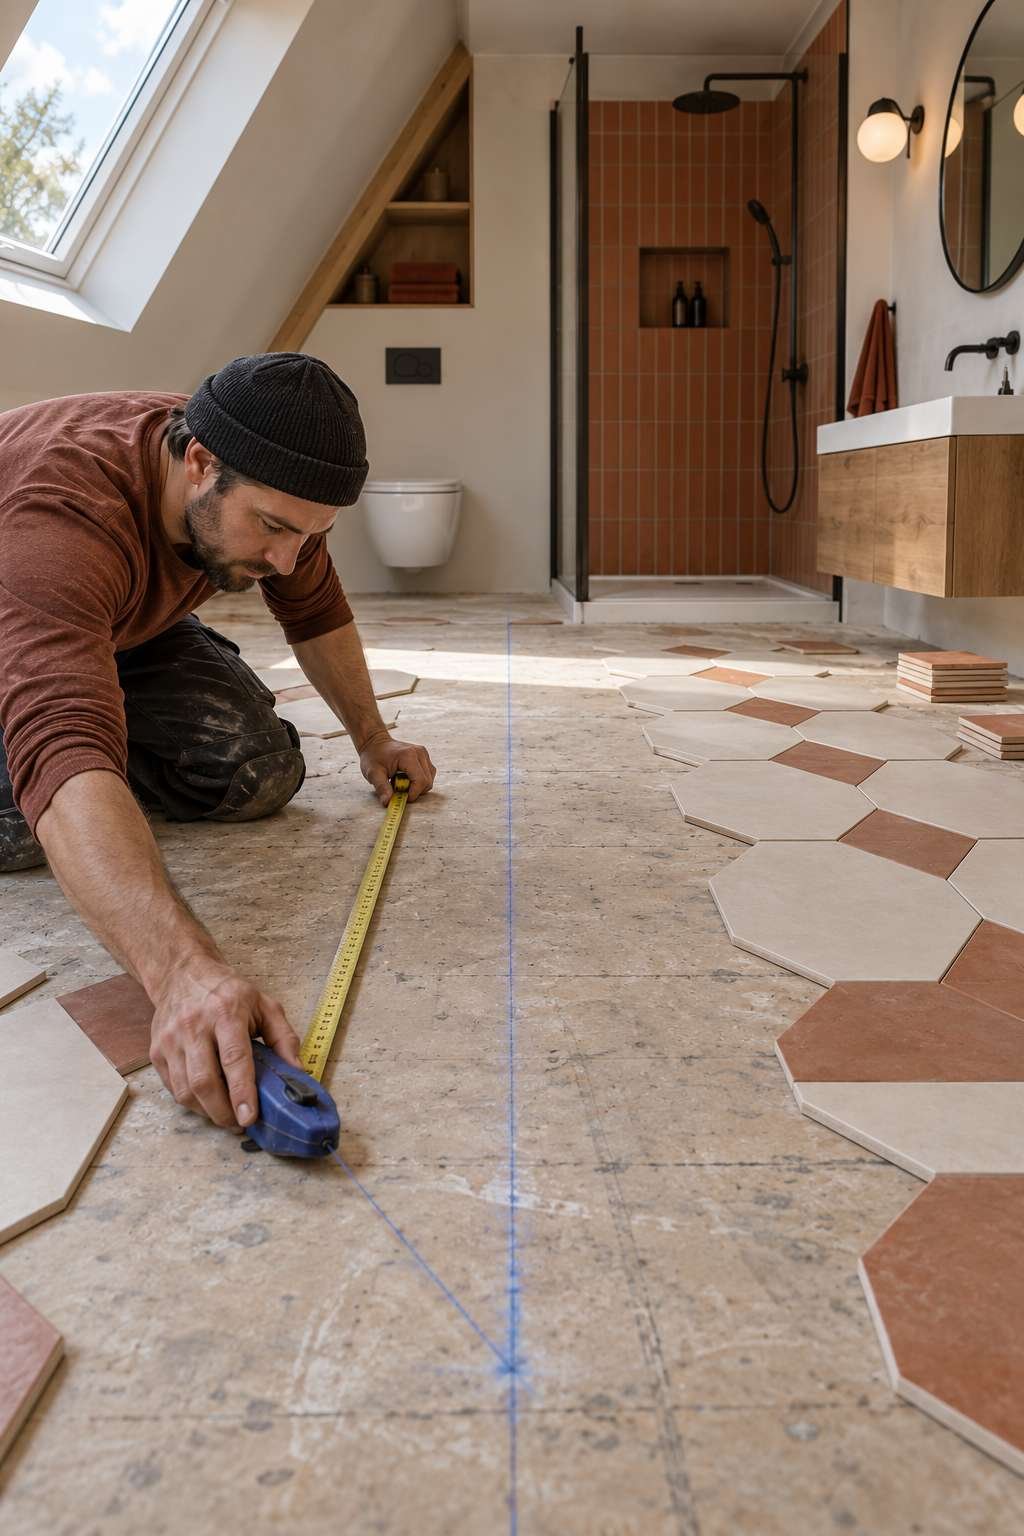
Mark a centerline with chalk so you can work outward symmetrically in both directions. This single step is what separates a professional-looking layout from one that looks noticeably off-center once the tiling is finished.
- Measure the room’s length and width accurately
- Dry-lay tiles first to preview spacing and cuts
- Mark a centerline as your starting reference point
- Plan for full tiles in the most visible areas
- Adjust the layout so edge cuts stay larger than half a tile
4. Preparing the Subfloor
A clean, level, and stable subfloor is the foundation of a long-lasting tile job. If old flooring is still in place, it needs to come out first — our guide on How to Remove Bathroom Floor Tile covers the safest way to strip old material without damaging the subfloor underneath.
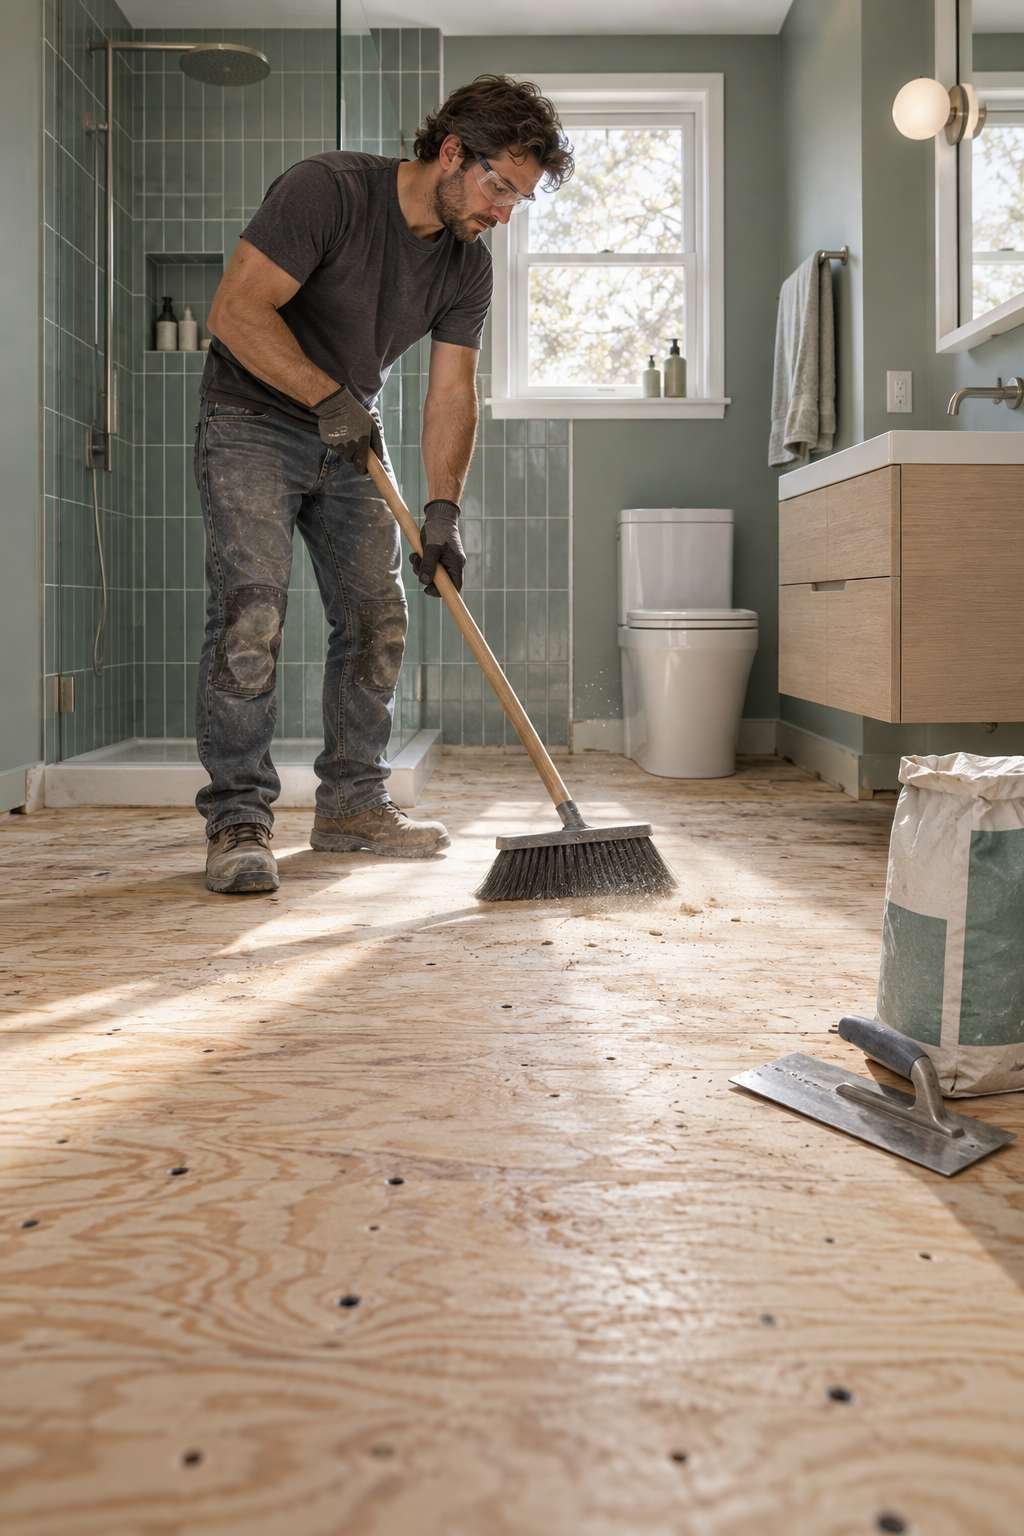
Once the old surface is gone, check for any dips, cracks, or uneven spots, since tile installed over an uneven subfloor is far more likely to crack over time.
- Remove old flooring completely before starting fresh
- Sweep and vacuum thoroughly to remove dust and debris
- Check for level using a long straightedge
- Fill low spots with a self-leveling compound
- Install cement backer board for extra stability if needed
5. Mixing and Applying Thinset Mortar
Mixing thinset to the right consistency matters more than most beginners expect. It should hold its shape on the trowel without sliding off, similar to thick peanut butter. Mix small batches at a time so it doesn’t dry out before you can use it.
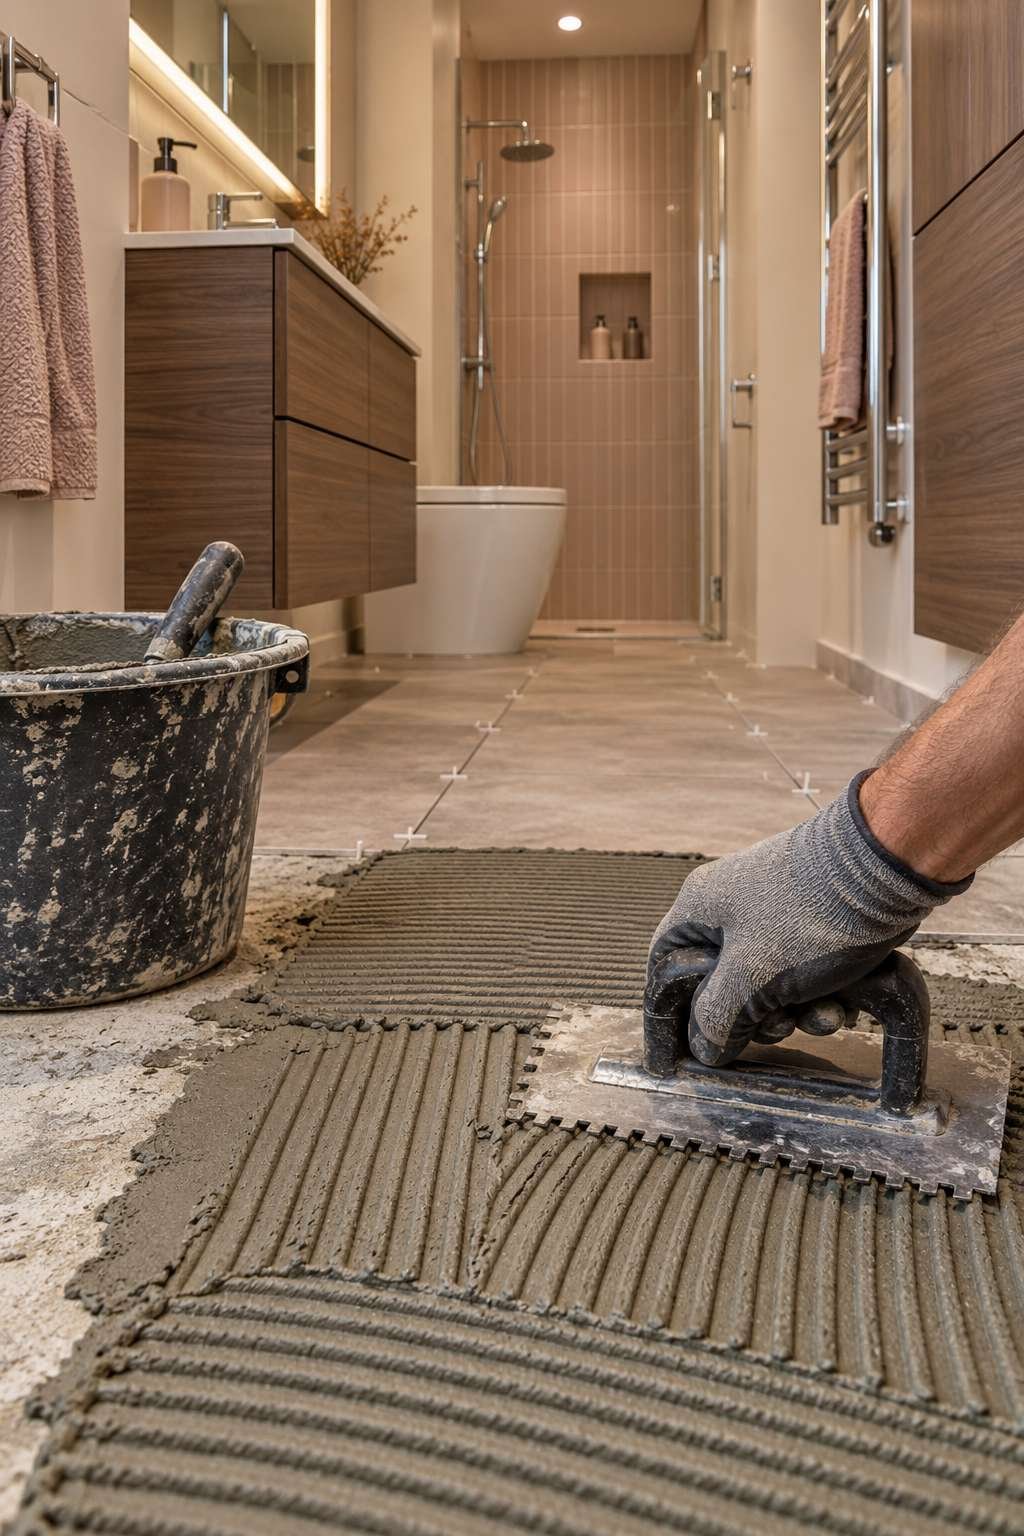
Apply the mortar with the flat side of your trowel first, then comb it with the notched edge at a consistent angle. This creates even ridges that help the tile bond securely once it’s pressed into place.
- Mix mortar in small batches to avoid waste
- Aim for a thick, peanut-butter-like consistency
- Spread mortar with the flat trowel edge first
- Comb ridges at a consistent 45-degree angle
- Only cover the area you can tile within about 15 minutes
6. Laying the Tiles
With mortar spread, begin setting tiles along your marked centerline, working outward toward the walls. Press each tile down firmly with a slight twisting motion, then check it with a level as you go. For a more detailed breakdown of technique and spacing, see our companion post on How to Lay Bathroom Floor Tiles.
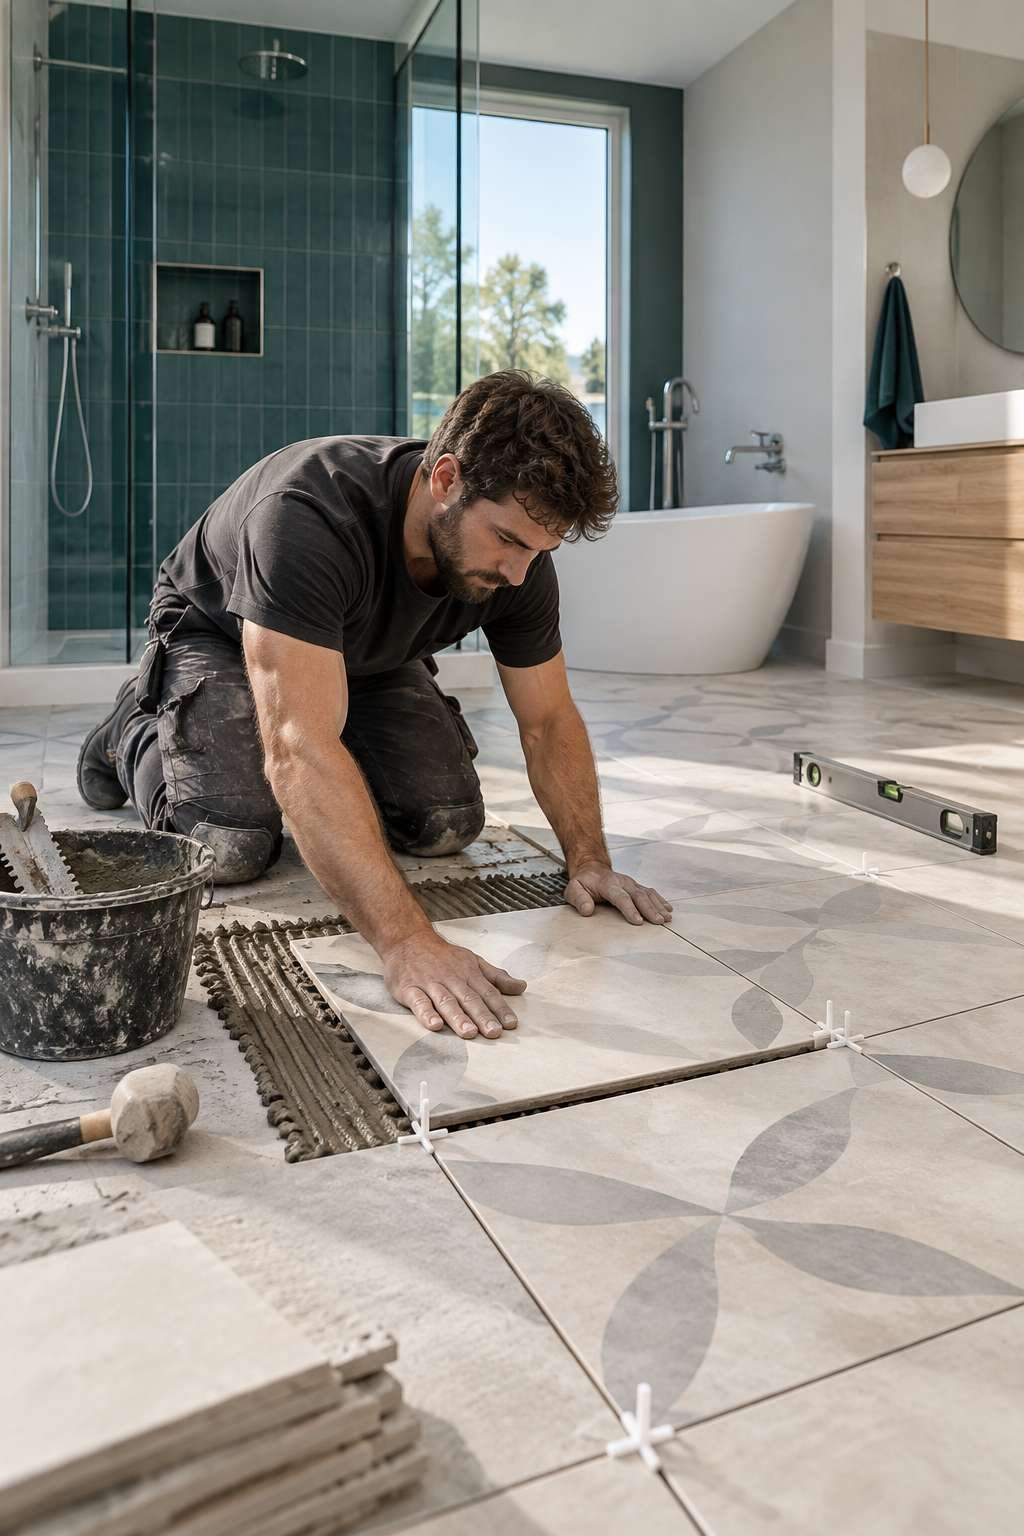
Insert tile spacers between each piece to maintain consistent grout lines throughout the room. Work in small sections so the mortar underneath doesn’t set before you can place and adjust the tile.
- Start from the centerline and work outward
- Press and twist each tile to seat it in the mortar
- Insert spacers between tiles for even grout lines
- Check level frequently across multiple tiles
- Wipe excess mortar from tile edges immediately
7. Cutting Tiles Around Fixtures
Toilets, cabinet bases, and door frames all require careful, custom cuts. Measure twice before cutting, and use a wet saw for straight cuts or a tile nipper for small, irregular shapes around pipes and fixtures.
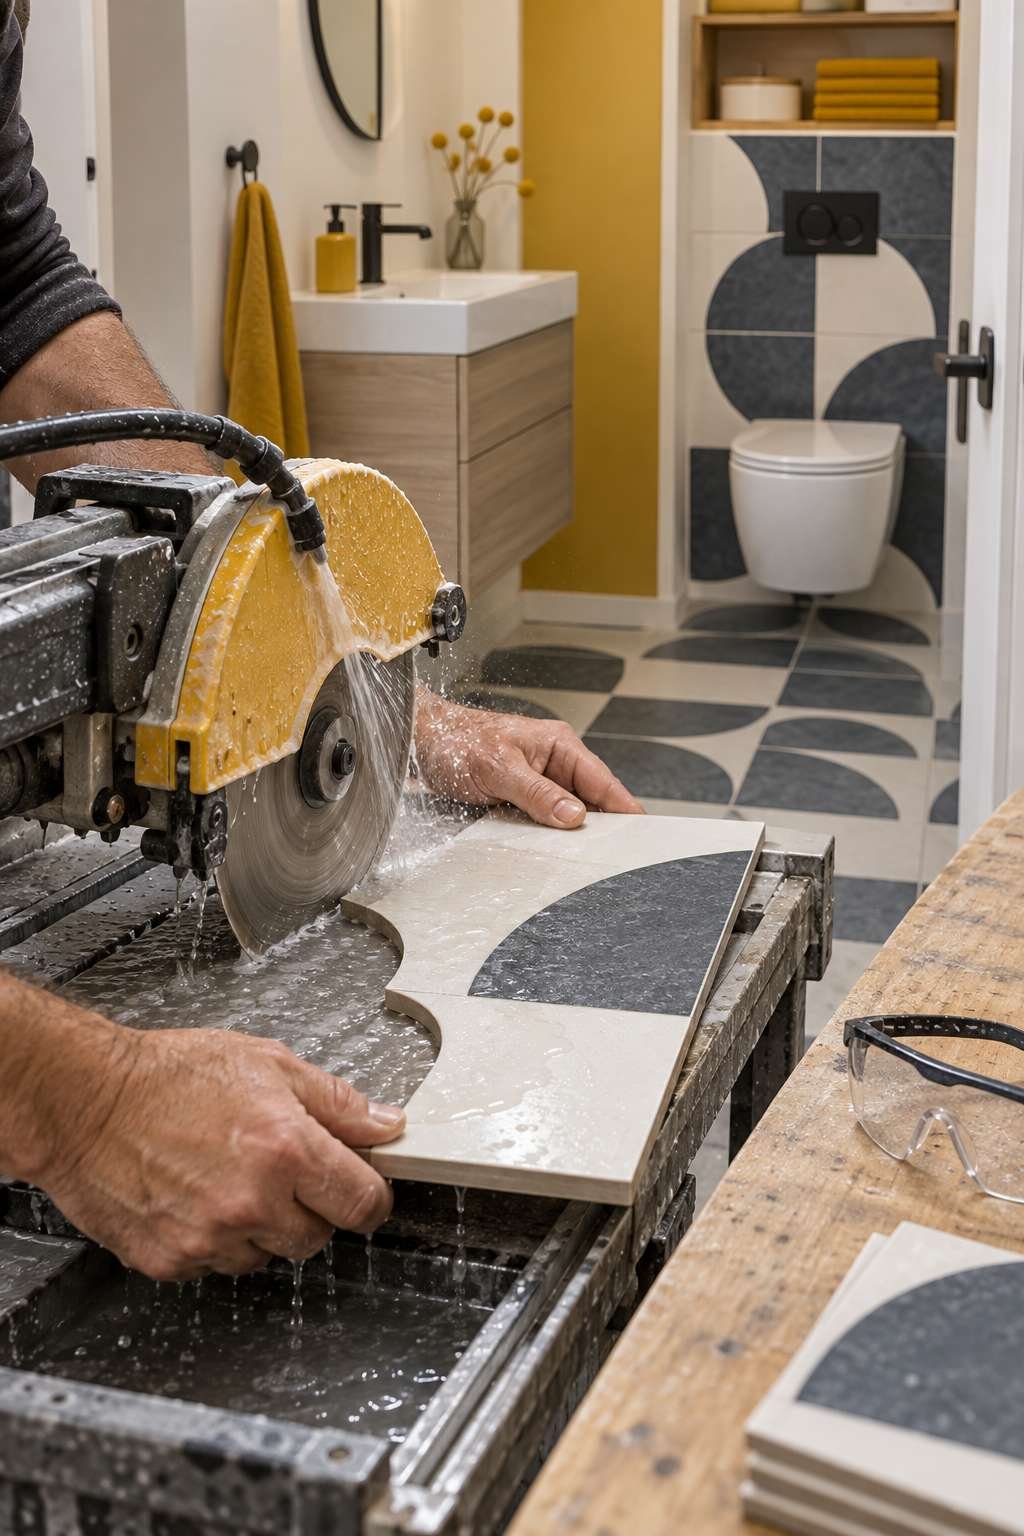
Dry-fit every cut piece before applying mortar to confirm it fits properly. Rushing this step is one of the most common mistakes beginners make, since an ill-fitting cut is far more noticeable than a slightly imperfect grout line.
- Measure the exact space twice before cutting
- Use a wet saw for straight cuts, a nipper for curves
- Dry-fit each cut tile before setting it in mortar
- Mark cut lines clearly with a grease pencil
- Sand rough tile edges lightly before installation
8. Grouting the Tile
Once the mortar has cured for at least 24 hours, it’s time to grout. Choose a grout color that complements your tile, then mix it to a smooth, spreadable consistency using a rubber float held at a 45-degree angle.
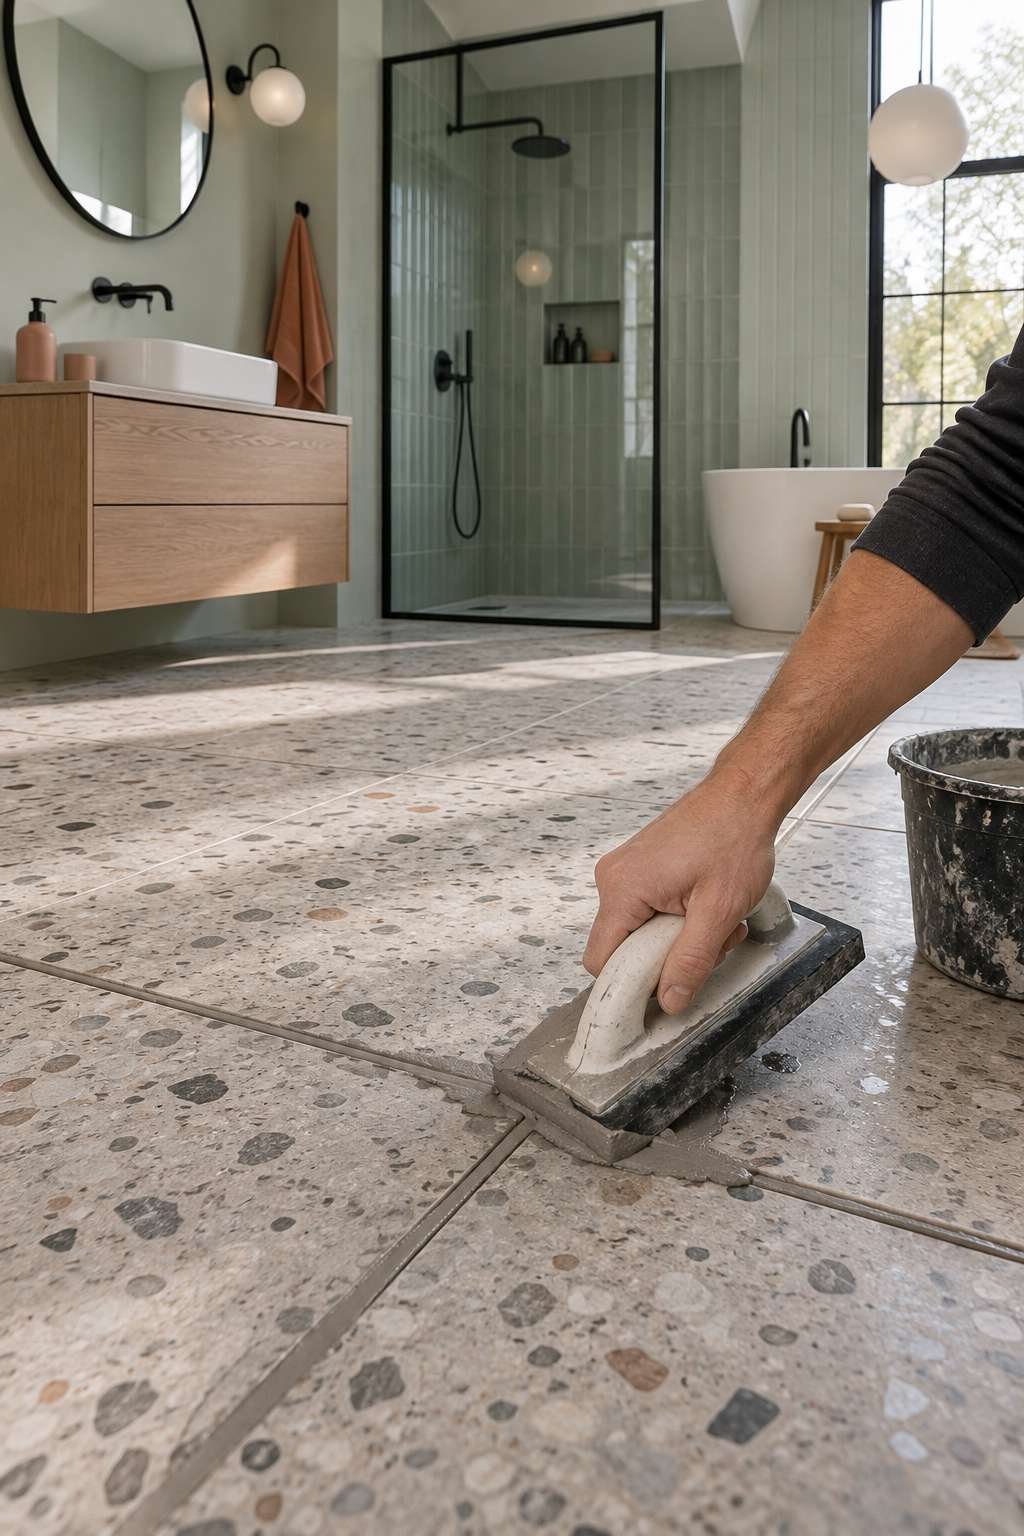
Work the grout diagonally across the joints to fully pack each line, then wipe away excess with a damp sponge before it hardens on the surface. A light haze often remains and buffs off easily once fully dry.
- Wait at least 24 hours before grouting
- Mix grout to a smooth, lump-free consistency
- Apply diagonally to fully pack the joints
- Wipe excess with a damp sponge in circular motions
- Buff off any dried haze with a soft cloth
9. Sealing and Curing
Grout needs time to cure fully before the bathroom sees regular use again, typically 48 to 72 hours depending on humidity and ventilation. Rushing this stage can lead to cracking or crumbling grout down the line.

Once cured, apply a penetrating grout sealer to protect against staining and moisture absorption. This small step extends the life of your new floor significantly, especially in a room that deals with daily splashes and steam.
- Allow grout to cure for 48-72 hours minimum
- Keep the room dry and well-ventilated during curing
- Apply a penetrating sealer once curing is complete
- Reapply sealer annually to maintain protection
- Avoid heavy foot traffic until the floor is fully set
10. Cleaning and Maintaining Your New Floor
Once your bathroom floor is finished and cured, a simple maintenance routine keeps it looking new for years. Our guide on How to Clean a Bathroom Floor Tile covers the right cleaners and techniques for your specific tile type without damaging the grout or finish.
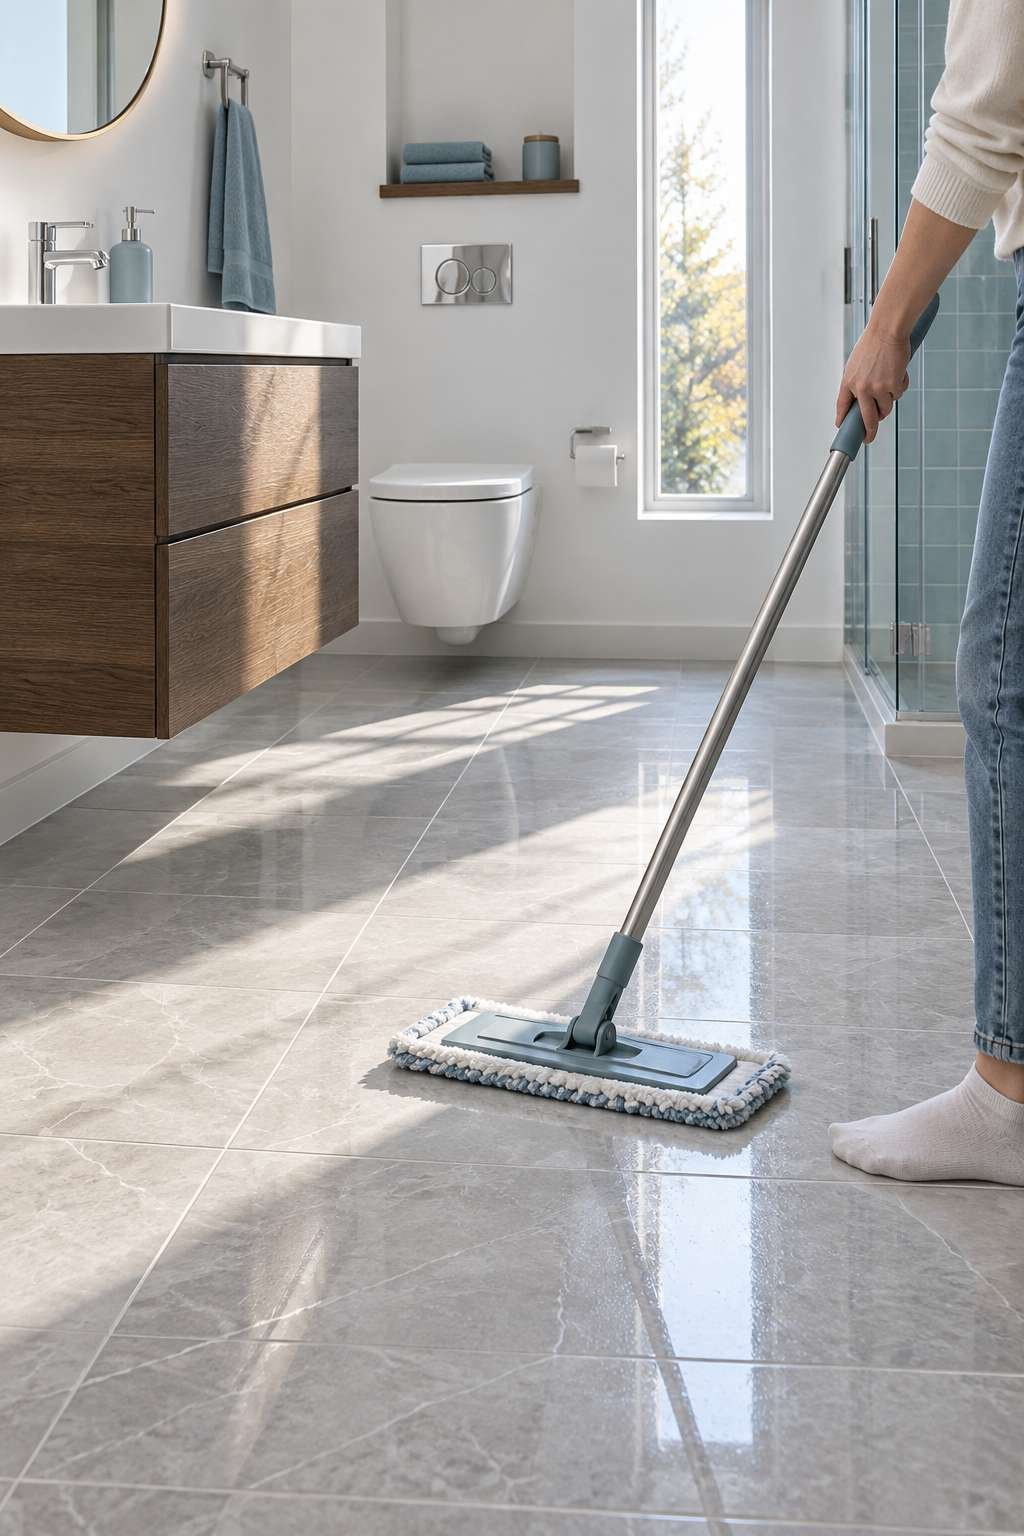
Regular sweeping and occasional mopping go a long way toward preventing grime buildup, and catching small issues early — like a cracked grout line — saves you from bigger repairs later.
- Sweep or vacuum regularly to prevent grit buildup
- Mop with a pH-neutral cleaner suited to your tile
- Avoid harsh acidic cleaners that can etch grout
- Reseal grout lines annually for lasting protection
- Address cracked or loose tiles promptly to prevent spreading
Conclusion
Tiling a bathroom floor is a project that rewards careful preparation just as much as steady hands during installation. From choosing the right material to sealing the finished surface, each step builds on the one before it, and skipping ahead is usually where problems start.
Take your time with the layout and subfloor prep in particular, since those early decisions are the hardest to fix later. Anyone researching how to tile a floor bathroom renovation for the first time can follow this same order with confidence. With patience and the right tools, you’ll end up with a floor that looks professionally installed and holds up for years to come.