A dusty, dirty vent fan doesn’t just look bad — it works harder to move less air, which means more moisture lingering in your bathroom and a higher risk of mold. Learning how to clean bathroom vent fan covers isn’t complicated, and most homeowners can tackle it in under an hour with tools they already have.

This guide walks through the entire process, from safely cutting power to reassembling the cover, so your fan runs quieter and more efficiently once you’re done.
1. Why Regular Cleaning Matters
Bathroom vent fans pull moist, steamy air out of the room, but that same airflow constantly pulls dust and lint through the cover and into the motor housing. Over time, this buildup restricts airflow significantly.

A fan working through a thick layer of dust runs less efficiently, sounds noisier, and struggles to clear humidity effectively — which can contribute to mold growth on walls and ceilings if left unaddressed for too long.
- Dust buildup restricts airflow and reduces moisture removal
- Clogged fans run louder and can overheat the motor
- Poor ventilation contributes to mold and mildew growth
- Regular cleaning extends the fan’s overall lifespan
- Most fans benefit from a deep clean every three to six months
2. Safety First: Cut the Power
Before touching anything, turn off the fan at the wall switch, then flip the corresponding breaker at your electrical panel for good measure. Vent fans are wired directly into household electrical circuits, so this step isn’t optional.

If you’re not confident identifying the correct breaker, turn off power to the entire bathroom circuit rather than guessing, and test the switch afterward to confirm the fan won’t unexpectedly start while you’re working.
- Turn off the fan at the wall switch
- Flip the corresponding circuit breaker
- Test the switch to confirm power is off before touching the fan
- Keep a flashlight handy since the room may lose overhead light too
- Never clean a vent fan with power still connected
3. Gather Your Cleaning Supplies
Cleaning a vent fan doesn’t require anything specialized. A vacuum with a brush attachment, a soft cloth, and some mild dish soap handle the vast majority of the buildup you’ll encounter.
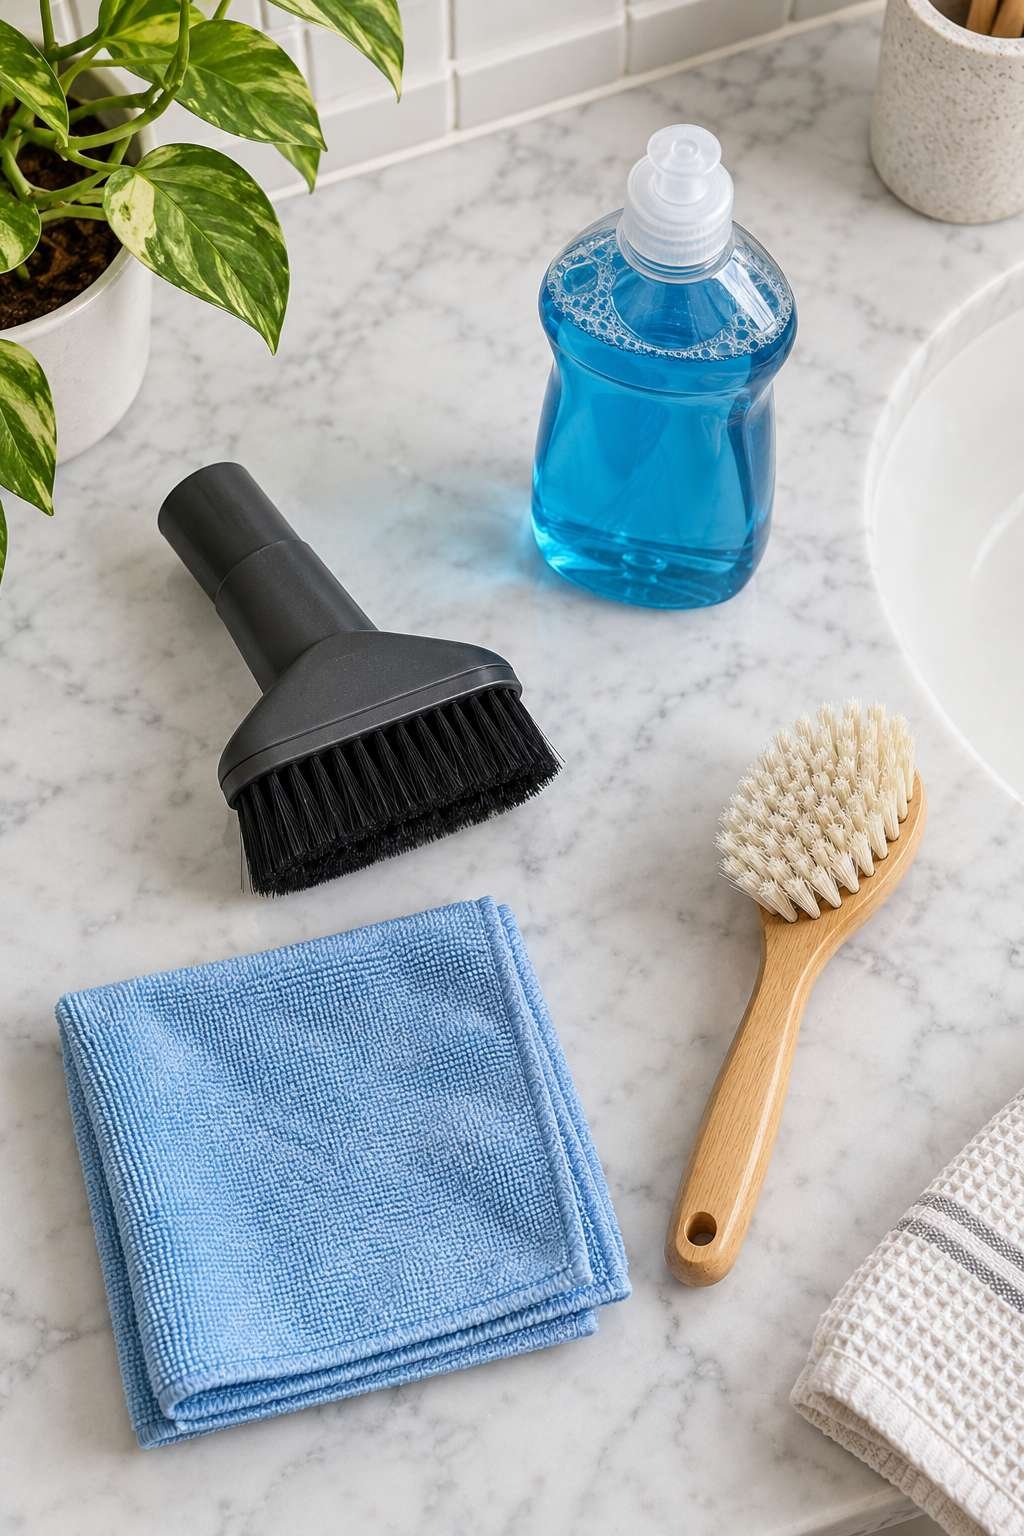
For fans that haven’t been cleaned in years, a soft-bristle brush helps loosen caked-on dust from the motor housing and blades before vacuuming it away.
- Vacuum with a brush or crevice attachment
- Soft microfiber cloth or rag
- Mild dish soap and warm water
- Soft-bristle brush (an old toothbrush works well)
- Step stool or ladder for safe reach
4. Remove the Fan Cover
Most vent fan covers simply pull down or twist to release, often held by spring clips rather than screws. Grip the cover gently on both sides and pull straight down until the clips release.

If the cover doesn’t budge, check for a hidden screw near the edge — some older or higher-end models secure the cover more firmly than standard spring-clip versions.
- Locate the spring clips on either side of the cover
- Pull down and toward you at a slight angle to release the clips
- Check for hidden screws if the cover resists
- Set the cover aside somewhere it won’t get stepped on
- Take a quick photo of the cover orientation if you’re unsure how it reattaches
5. Wash the Cover in Soapy Water
Once removed, the plastic cover can usually go straight into a sink or bathtub filled with warm, soapy water. Let it soak for a few minutes to loosen dust before scrubbing.
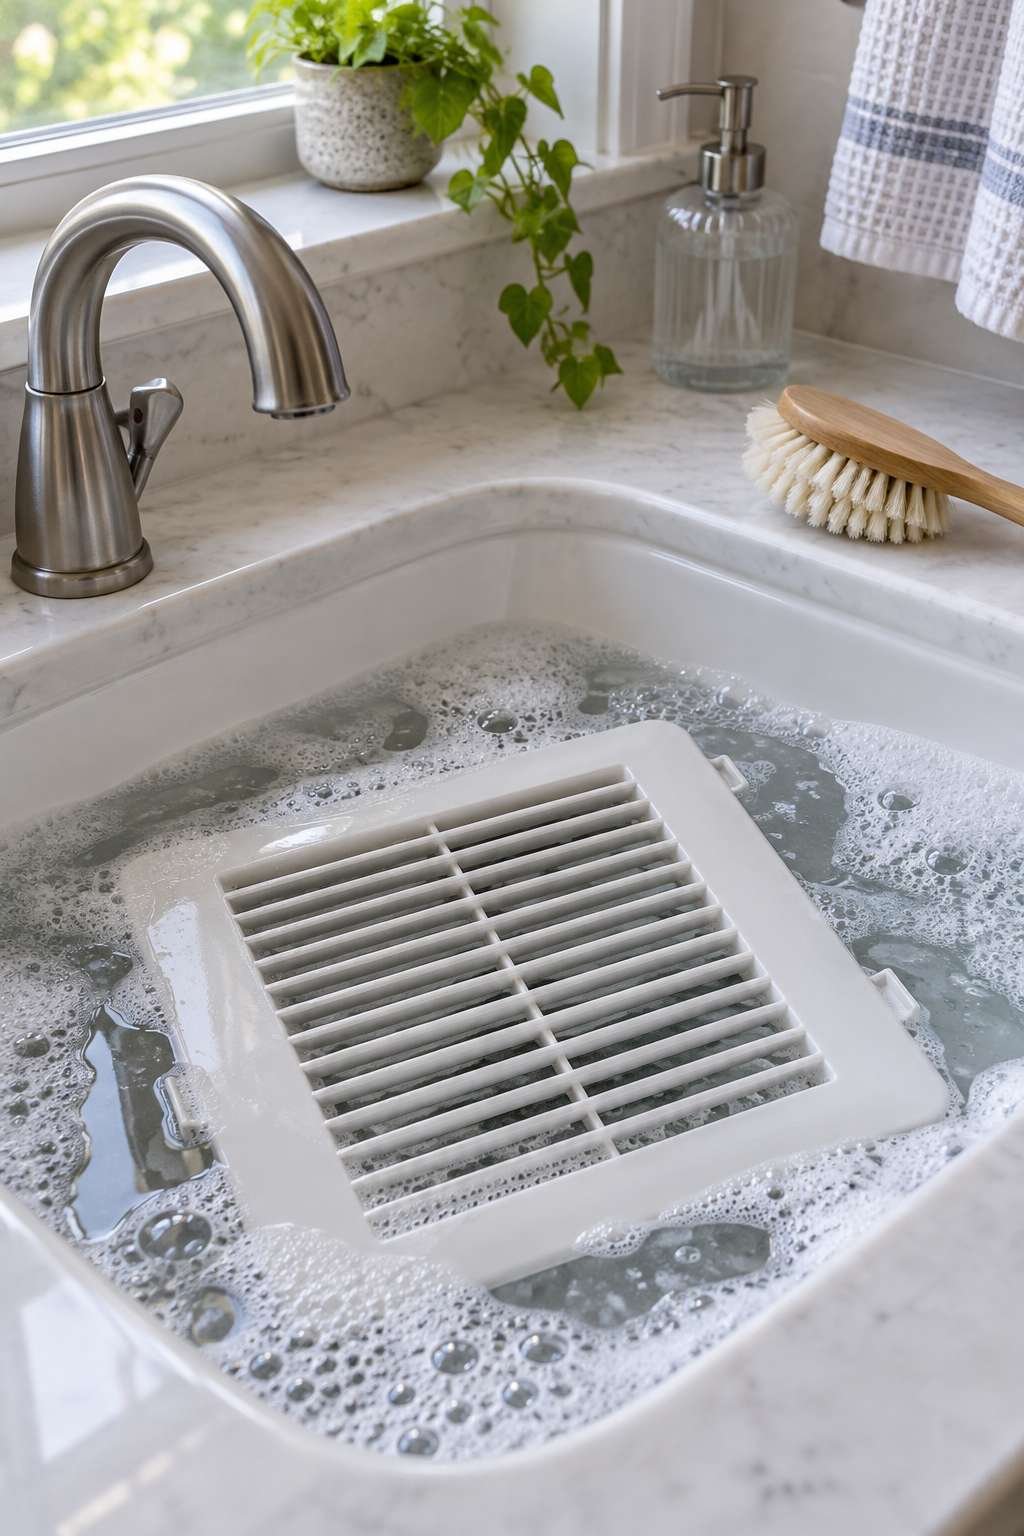
A soft brush works well for the grille slats, where dust tends to accumulate most stubbornly. Rinse thoroughly and let the cover air dry completely before reattaching it.
- Soak the cover in warm water with a few drops of dish soap
- Scrub grille slats with a soft brush to remove embedded dust
- Rinse thoroughly under running water
- Set the cover on a towel to air dry fully
- Avoid reattaching a still-damp cover, which can trap moisture inside
6. Vacuum the Motor and Housing
With the cover off, use your vacuum’s brush attachment to clean the exposed motor housing and fan blades directly. This is where the most stubborn buildup usually collects, since it sits closest to the airflow path.

Work slowly and avoid pressing the vacuum attachment directly against the fan blades with much force, since some blade assemblies are more delicate than they look.
- Vacuum visible dust from the motor housing
- Gently vacuum along each fan blade
- Use the brush attachment rather than a bare hose nozzle
- Vacuum the surrounding ceiling area where dust tends to settle
- Repeat if the housing was heavily coated before starting
7. Wipe Down the Blades and Housing
After vacuuming, a damp microfiber cloth picks up the finer dust that vacuuming alone tends to leave behind. Wipe each blade individually rather than swiping across all of them at once, which helps avoid bending thinner blade material.
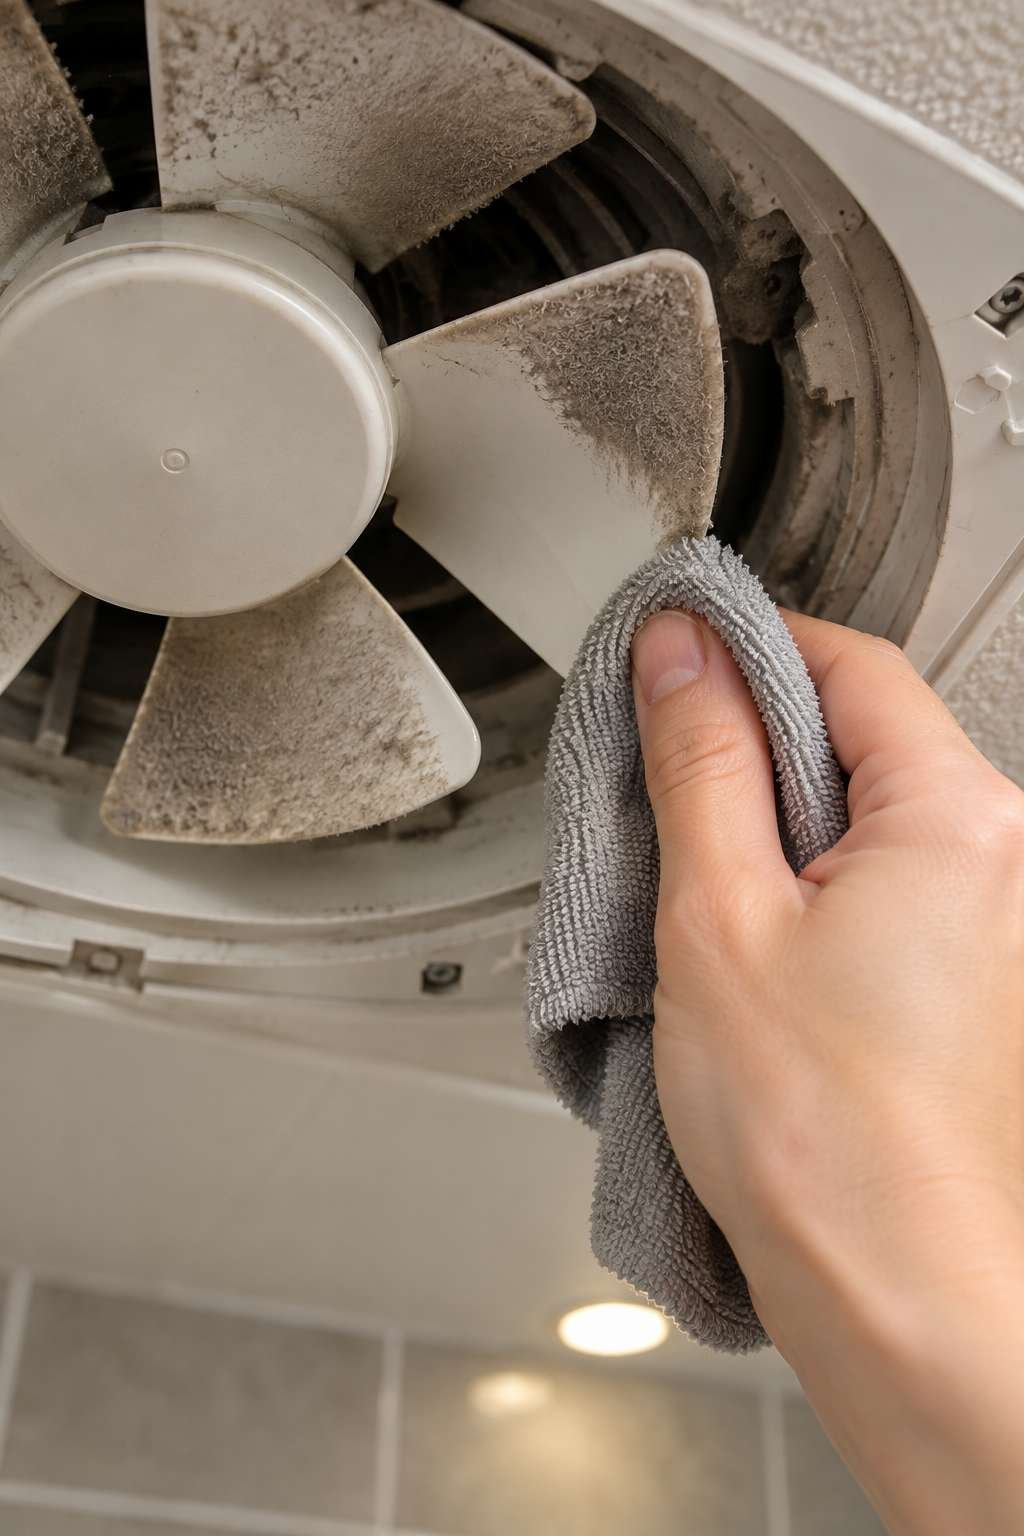
Avoid spraying any liquid cleaner directly into the motor housing — dampen the cloth first, then wipe, keeping moisture away from electrical components entirely.
- Dampen a microfiber cloth rather than spraying liquid directly
- Wipe each fan blade individually
- Wipe the interior housing walls where dust has settled
- Avoid getting any moisture near the motor or wiring
- Let everything air dry fully before moving to reassembly
8. Check the Fan Motor’s Condition
While everything is exposed, take a moment to listen and look for signs the motor itself needs attention beyond a simple cleaning. A fan that’s unusually loud, wobbly, or slow to start even after cleaning may be signaling a deeper issue.
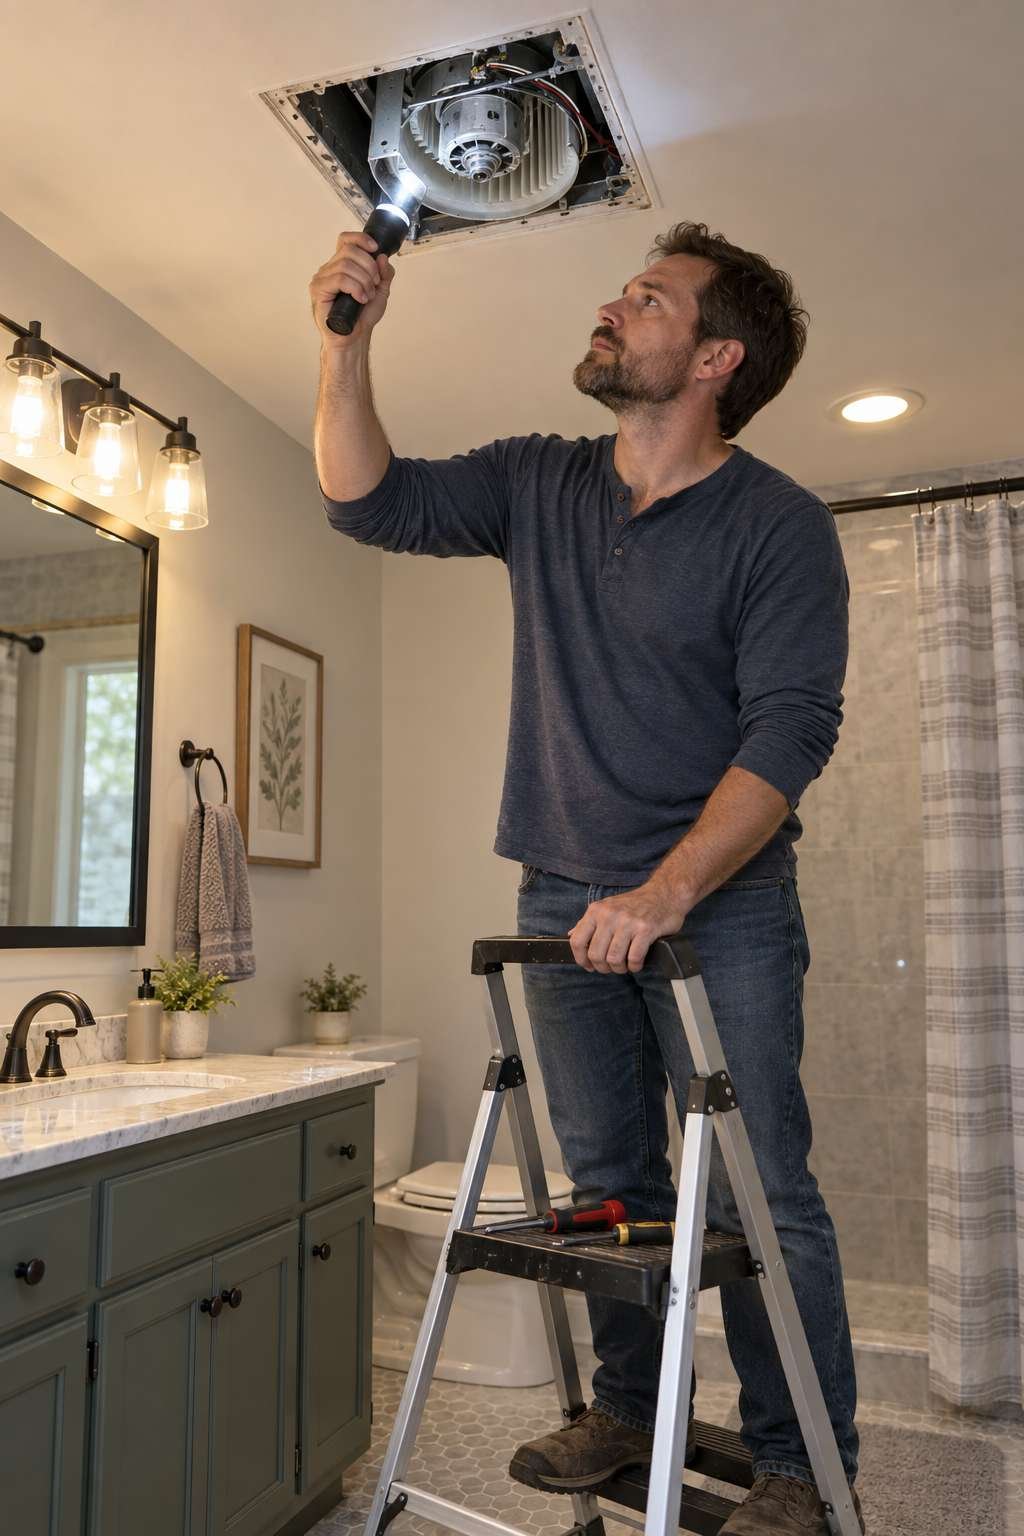
If you notice ongoing problems after a thorough cleaning, our guide on How to Fix Bathroom Vent Fan issues walks through common motor and wiring troubleshooting steps in more detail.
- Spin the fan blades gently by hand to check for resistance
- Listen for grinding or rattling once power is restored
- Check that the fan starts promptly when switched on
- Note any unusual vibration during operation
- Consider a motor lubricant if the manufacturer specifically recommends it
9. Reassemble and Test the Fan
Once everything is fully dry, reattach the cover using the same clip or screw method you used to remove it. Restore power at the breaker, then test the fan at the wall switch.

Listen for a noticeably quieter operation compared to before cleaning — this is usually the clearest sign the buildup was significantly reducing airflow and efficiency.
- Confirm the cover and all internal parts are completely dry
- Reattach the cover firmly until the clips click into place
- Restore power at the breaker
- Test the fan at the wall switch
- Listen and watch for smoother, quieter operation
10. When Cleaning Isn’t Enough
Sometimes a thorough cleaning reveals that the fan itself is simply worn out or beyond a reasonable fix. If yours is more than 10-15 years old or still underperforms after cleaning, replacement may make more sense than continued troubleshooting.

For that next step, our guides on How to Remove Bathroom Vent Fan units and How to Change a Bathroom Vent Fan walk through the full swap process, while How to Install a Bathroom Vent Fan and How to Install Bathroom Vent ducting cover what’s involved in putting a new one in from scratch.
- Consider replacement if the fan is 10+ years old and still underperforming
- Persistent rattling or grinding often signals a motor nearing the end of its life
- A fan that won’t restart after cleaning may have a wiring issue worth inspecting
- Compare replacement cost against continued troubleshooting time
- New fans often run quieter and more efficiently than older models
Frequently Asked Questions
How often should I clean my bathroom vent fan?
Most fans benefit from a thorough cleaning every three to six months, though households with more moisture or frequent use may want to clean more often.
Can I clean a bathroom vent fan without turning off the power?
No. Always cut power at the breaker before removing the cover or touching any internal components, since vent fans are wired directly into household circuits.
Why is my bathroom vent fan so loud after cleaning?
If noise persists after a thorough cleaning, the issue may be a worn motor or bearing rather than dust buildup, which usually points toward repair or replacement.
What household items can I use to clean a vent fan cover?
Warm water and mild dish soap handle most buildup effectively, along with a soft brush for stubborn grille slats and a microfiber cloth for wiping down blades.
Conclusion
A clean bathroom vent fan does more than look better — it moves air more efficiently, runs quieter, and helps keep moisture-related problems like mold at bay. With power safely disconnected and a few basic supplies on hand, most fans can be fully cleaned in under an hour.
Make it a habit every few months, and you’ll extend the life of your fan while keeping your bathroom noticeably fresher in the process.