Soap scum, hard water stains, and mildew build up in a bathtub faster than most people realize, and once they set in, a quick wipe-down stops being enough. Knowing how to clean bathroom tub surfaces properly — with the right products and technique for your specific tub material — makes the difference between a tub that looks new and one that never quite feels clean.

This guide covers everyday cleaning, deep cleaning for serious buildup, and material-specific tips so you don’t accidentally damage a delicate surface with the wrong product.
1. Identify Your Tub Material First
Not all tubs clean the same way, and using the wrong product on the wrong surface can cause permanent dulling or scratching. Before reaching for any cleaner, confirm whether your tub is acrylic, fiberglass, porcelain-enameled cast iron, or natural stone.
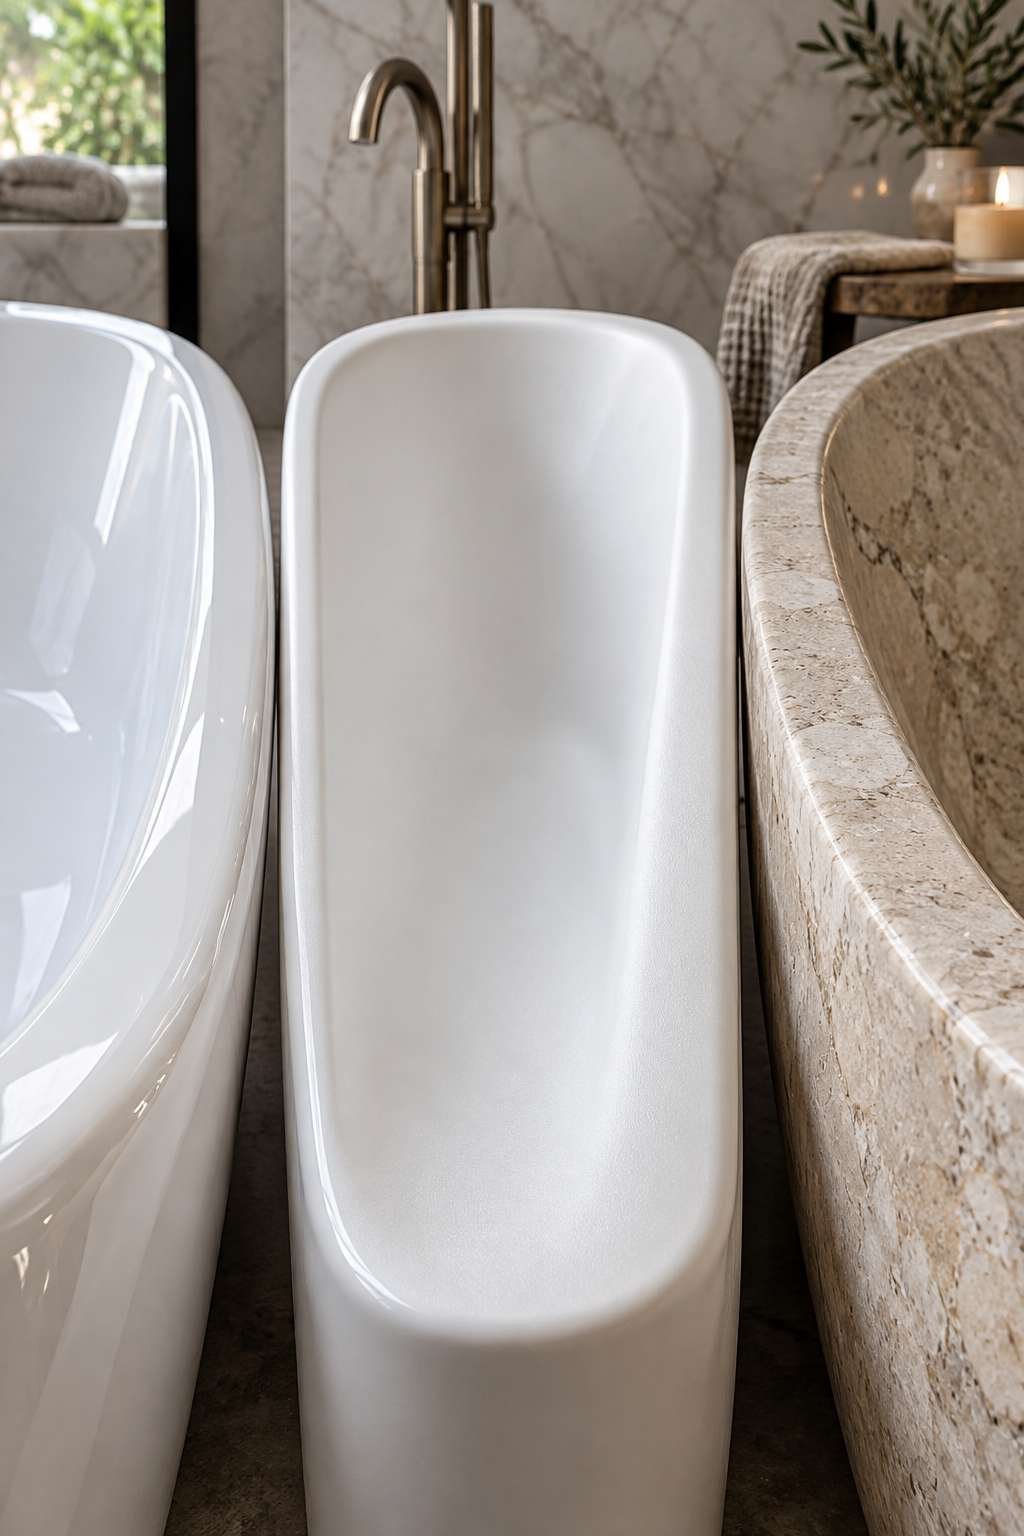
Acrylic and fiberglass scratch easily and need gentle, non-abrasive cleaners. Porcelain-enameled cast iron holds up to slightly tougher scrubbing, while natural stone requires pH-neutral products to avoid etching the surface.
- Acrylic and fiberglass: avoid abrasive powders and scouring pads
- Porcelain-enameled cast iron: tolerates moderate scrubbing but avoid harsh acids
- Natural stone: use only pH-neutral, stone-safe cleaners
- Check the manufacturer’s care instructions if you’re unsure of the material
- When in doubt, test any new cleaner in a small inconspicuous spot first
2. Gather Your Cleaning Supplies
A basic cleaning kit handles most bathtub jobs without needing anything specialized. Having everything within reach before you start keeps the process moving without interruptions.

For most tubs, a mix of mild dish soap and a soft-bristle brush covers everyday cleaning, while baking soda and white vinegar step in for tougher, set-in stains.
- Soft-bristle brush or non-scratch sponge
- Mild dish soap or a pH-balanced bathroom cleaner
- Baking soda and white vinegar for natural deep cleaning
- Microfiber cloths for drying and buffing
- Rubber gloves to protect skin from prolonged cleaner exposure
3. Clear the Tub and Rinse First
Remove any bottles, toys, or bath mats, then run warm water across the entire tub surface to loosen loose grime before applying any cleaner. This simple first pass makes the actual scrubbing noticeably more effective.

Warm water also helps activate most cleaning products, so don’t skip this step even if the tub looks only lightly dirty.
- Remove all items from the tub and surrounding ledge
- Run warm water across the full surface
- Wipe away any loose debris or hair before applying cleaner
- Check the drain for visible clogs while you’re at it
- Note any cracks or damage you notice during this initial pass
4. Apply Your Cleaner and Let It Sit
Whether you’re using a store-bought spray or a homemade baking soda paste, giving the product a few minutes to sit before scrubbing makes a significant difference in how easily grime lifts away.

For tougher soap scum, a paste of baking soda and a small amount of water spread across the affected areas and left for ten to fifteen minutes tends to outperform an immediate scrub.
- Spray or spread cleaner evenly across the entire tub surface
- Pay extra attention to corners and the area around the drain
- Let the cleaner sit for 5-15 minutes depending on buildup severity
- Don’t let cleaner dry out completely before scrubbing
- Reapply if the surface looks dry before you’re ready to scrub
5. Scrub Systematically
Work in sections rather than jumping around the tub randomly, which helps ensure you don’t miss spots and keeps the process efficient. Start at one end and work your way around in a consistent pattern.

Use circular motions with light to moderate pressure, adjusting based on your tub material — acrylic and fiberglass need a gentler touch than cast iron or tile surrounds.
- Start at one corner and work systematically around the tub
- Use circular motions with a soft-bristle brush or sponge
- Focus extra attention on corners, seams, and around fixtures
- Adjust pressure based on your tub material
- Rinse the brush periodically to avoid redistributing grime
6. Tackle Hard Water Stains and Soap Scum
Hard water stains and soap scum are the two most common culprits behind a tub that never looks fully clean, even after regular wiping. Both respond well to acidic cleaners like white vinegar, though stone tubs need a gentler, pH-neutral alternative instead.
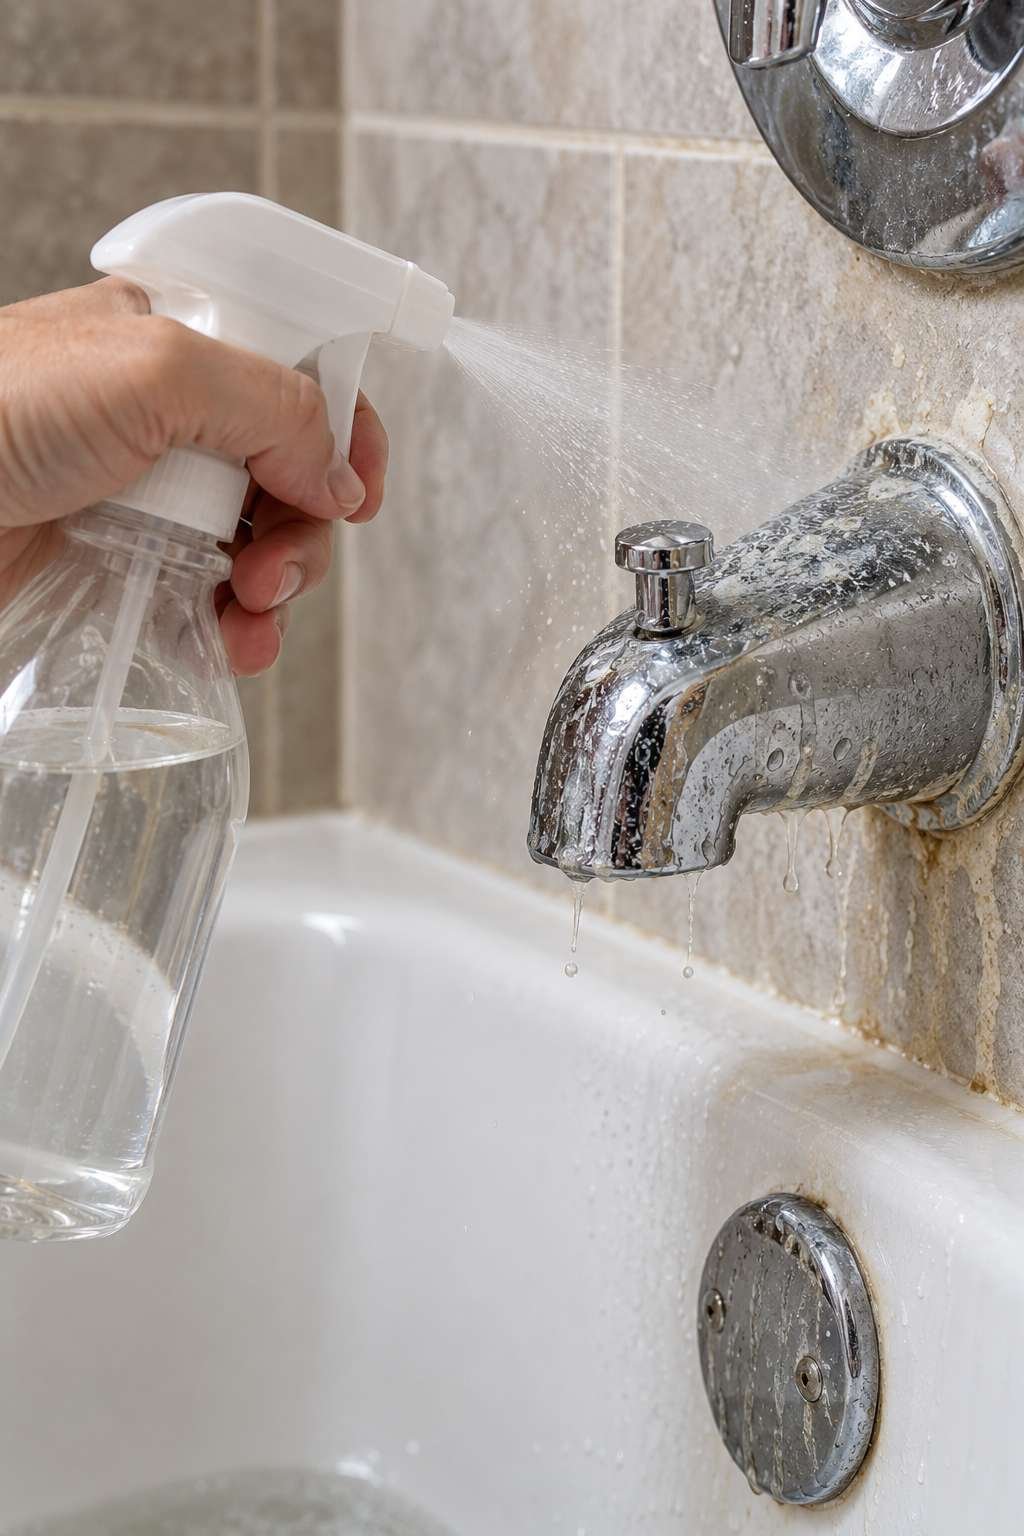
For mineral deposits around the faucet or drain specifically, a vinegar-soaked cloth left in place for twenty minutes often loosens buildup that scrubbing alone struggles with.
- Spray white vinegar directly onto hard water stains
- Let vinegar sit for 10-20 minutes before scrubbing
- Use a stone-safe alternative for marble or granite tubs
- Combine baking soda with vinegar for extra-stubborn soap scum
- Rinse thoroughly after using any acidic cleaner
7. Address Mold and Mildew
Bathtub caulking and grout lines are prime spots for mold and mildew, especially in humid bathrooms without strong ventilation. A diluted bleach solution works well on non-porous surfaces, though it should never be mixed with other cleaning products.

For a gentler approach, hydrogen peroxide handles mild mildew effectively without the strong fumes that come with bleach-based cleaners.
- Use a diluted bleach solution on caulking and grout, ventilating the room well
- Never mix bleach with ammonia or other cleaning chemicals
- Try hydrogen peroxide as a gentler alternative for light mildew
- Scrub grout lines with an old toothbrush for detailed access
- Replace caulking entirely if mold has deeply penetrated it
8. Rinse and Dry Thoroughly
Once scrubbing is done, rinse the entire tub thoroughly with warm water, checking corners and seams where cleaner residue tends to collect. Leftover product residue can leave a dull film if not fully rinsed away.

Finish with a dry microfiber cloth to buff the surface, which helps prevent new water spots from forming as the tub air-dries.
- Rinse thoroughly with warm water, checking all corners and seams
- Wipe down with a clean cloth to catch any remaining residue
- Buff dry with a microfiber cloth for a streak-free finish
- Check the drain area for any leftover cleaner buildup
- Open a window or run the fan to help the tub finish drying
9. Handle Deeper Issues Beyond Cleaning
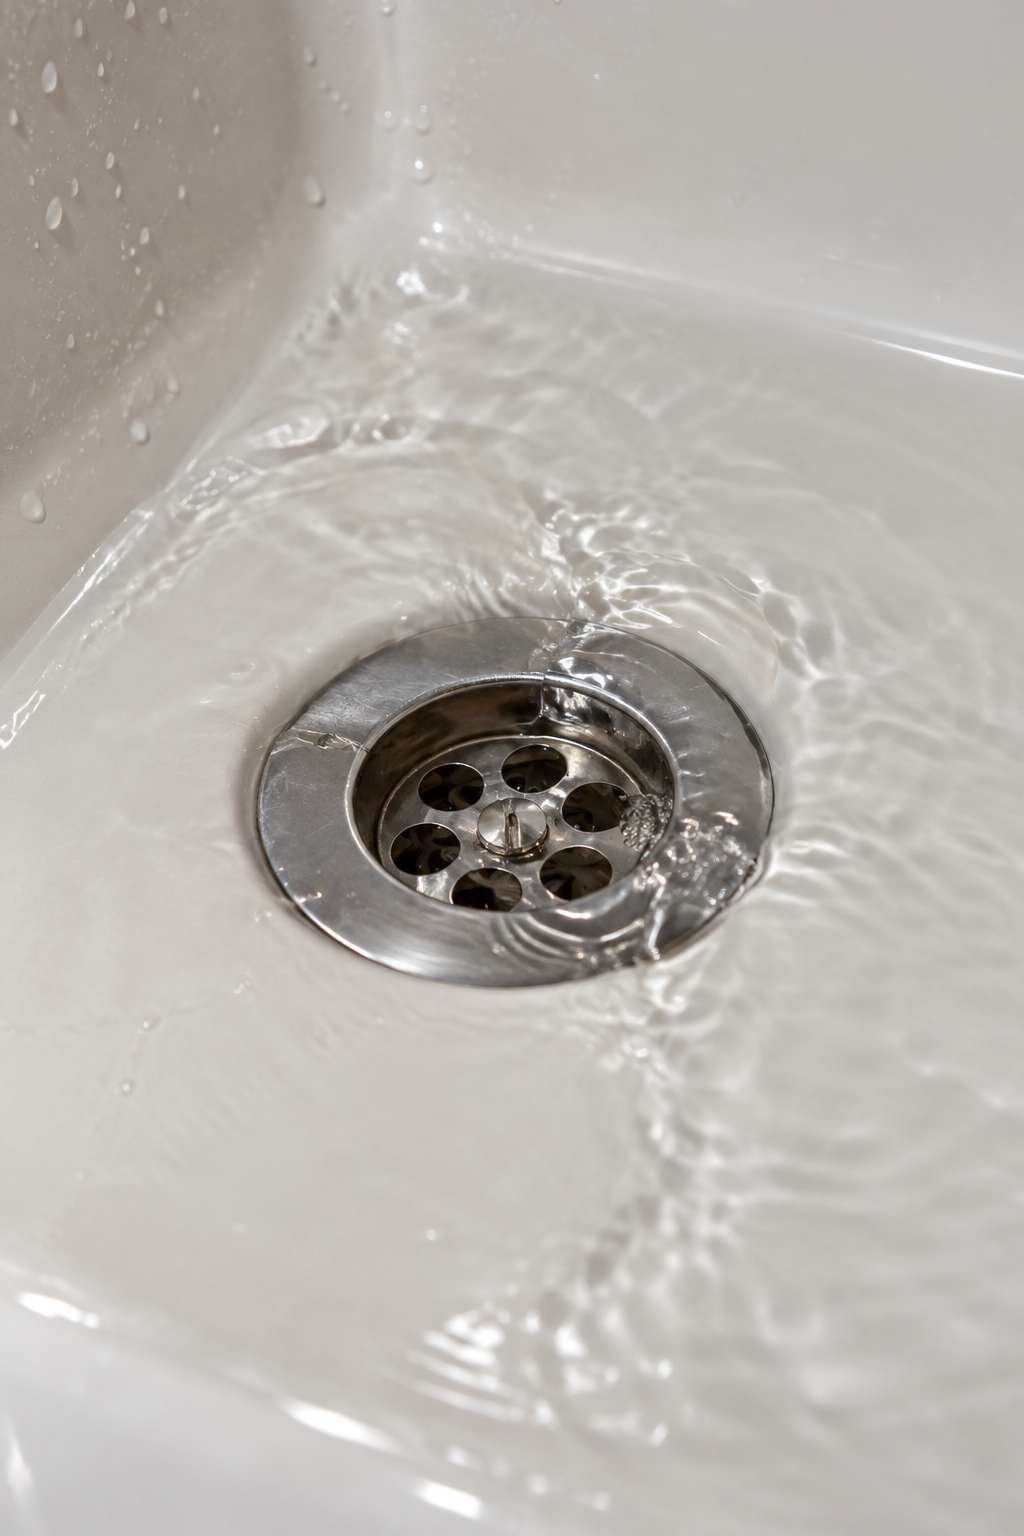
Sometimes what looks like a stain is actually surface damage, or what seems like grime buildup is actually a slow drain that keeps redepositing residue. If your tub drains slowly no matter how much you clean, our guide on How to Unclog Bathroom Tub drains covers the most common fixes, and How to Fix a Clogged Bathroom Tub walks through a few additional troubleshooting steps.
If the tub’s finish itself is worn, chipped, or discolored beyond what cleaning can address, How to Paint Bathroom Tub surfaces covers refinishing options that can restore the look without a full replacement.
- A slow drain often looks like a dirty tub even after cleaning
- Persistent discoloration may indicate surface wear rather than dirt
- Refinishing is often cheaper than full tub replacement
- Address drain and surface issues separately from routine cleaning
- Revisit cleaning technique once underlying issues are resolved
10. Maintain a Regular Cleaning Routine
The easiest way to avoid a deep-clean marathon is to prevent heavy buildup from forming in the first place. A quick wipe-down after each use, combined with a more thorough weekly clean, keeps most tubs looking consistently fresh.

If your fixtures are contributing to buildup around the faucet area, it may also be worth checking whether How to Change Bathroom Tub Faucet or How to Replace Bathroom Tub Faucet hardware could reduce mineral buildup at the source going forward.
- Squeegee or wipe down the tub after each use
- Do a full scrub-down once a week to prevent heavy buildup
- Address hard water stains promptly before they set in
- Inspect caulking periodically for early signs of mold
- Keep cleaning supplies stocked and within easy reach
Frequently Asked Questions
How do I fix a bathroom tub that’s cracked or chipped?
Minor chips and cracks can often be repaired with a porcelain or acrylic repair kit designed for your specific tub material. Larger structural damage typically calls for a professional refinisher or replacement.
What’s the best natural cleaner for a bathtub?
A combination of baking soda and white vinegar handles most everyday grime and soap scum without harsh chemicals, and it’s safe on most tub materials when used correctly.
How often should I deep clean my bathtub?
A quick wipe-down after each use paired with a full scrub once a week keeps most tubs from needing an intensive deep clean more than a few times a year.
Can I use bleach to clean my bathtub?
Yes, on non-porous surfaces like porcelain or cast iron, but always ventilate the room well and never mix bleach with other cleaning chemicals like ammonia.
Conclusion
A consistently clean bathtub comes down to knowing your tub’s material, using the right products for the type of buildup you’re facing, and staying ahead of grime with a simple regular routine. Deep, set-in stains take a bit more effort, but with the right approach they’re rarely permanent.
Keep a basic cleaning kit stocked under the sink, and a few minutes each week will keep your tub looking fresh far longer than an occasional deep-clean scramble ever could.